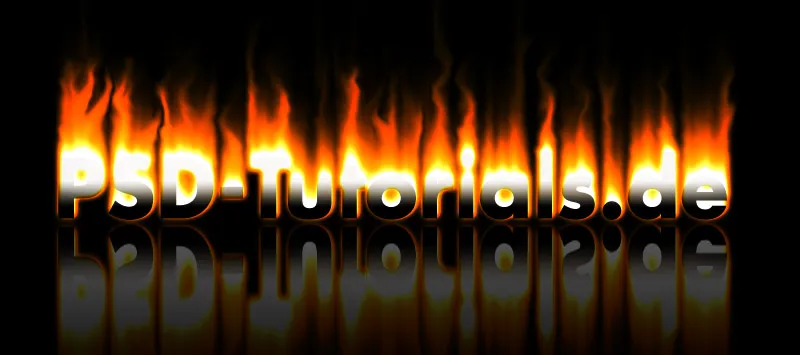
Fire text or text with a flame texture immediately attracts attention and creates a dramatic and intense look. Photoshop allows you to create this effect realistically by combining textures, layer effects and brushes. In this tutorial you will learn how to create both a glowing fire text and an impressive flame texture on your text step by step. Perfect for posters, gaming designs or any project that needs to radiate heat and passion. Let's get started and set your text on fire!
The wiping finger simulates the effect that every child already knows, namely wiping a finger through paint that has not yet dried. The point at which the wiping finger touches the work surface when clicking is the pick-up point for the color, which is then drawn through the image with the movement of the wiping finger , depending on the set threshold value.
In the Liquify filter , the Forward Curl tool, which pulls the pixels forward as you drag, and the Turbulence tool, which blends the pixels as you move, work in a similar way. This is why these three tools are always very popular for creating flickering flames.
Create flame texture text
This tutorial section is based on a tutorial written by MrScorpio on February 16, 2007, which involved creating realistic fire with Photoshop 7.0.
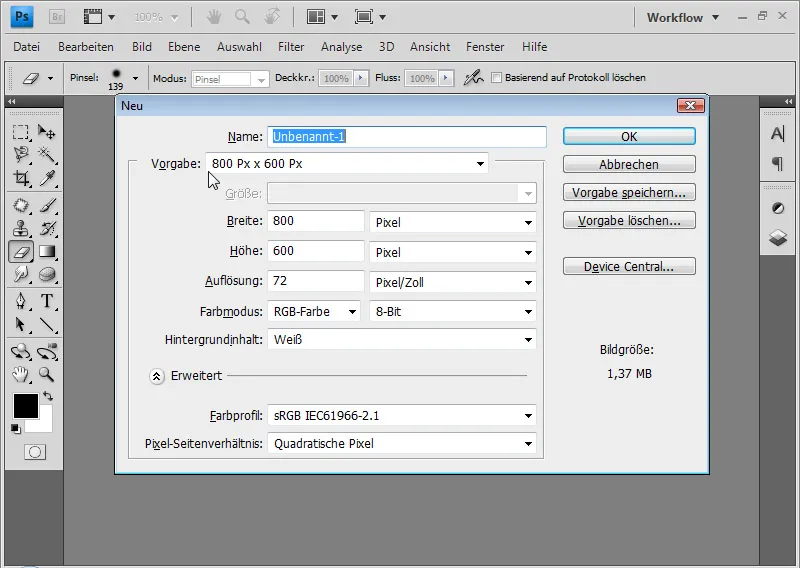
I create a new file (Ctrl+N) in the size 800x600 px.
I fill the background layer with black color. The quickest way to do this is with the shortcut combination D and Alt+Reset. The D ensures that the standard colors black for the foreground and white for the background are set, and with Alt+Reset I fill the existing layer with the foreground color.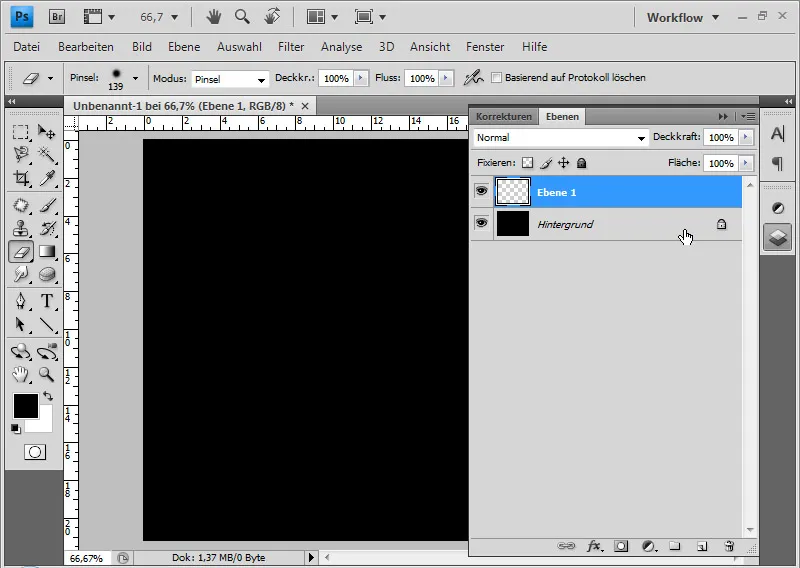
In a new layer (Shift+Ctrl+Alt+N; I hold the Alt key in addition to the usual shortcut Shift+Ctrl+N for new layer, then the dialog box is omitted) I apply the render filter>clouds. The result is a soft cloud image created using random values from the foreground and background colors.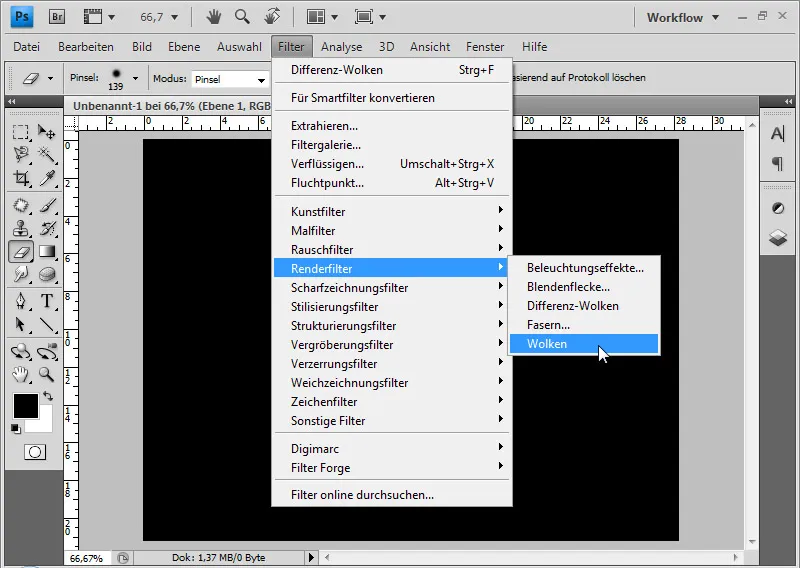
Next, I apply the Render filter>Different clouds about three times. To repeat a filter, I can also use the shortcut Ctrl+F.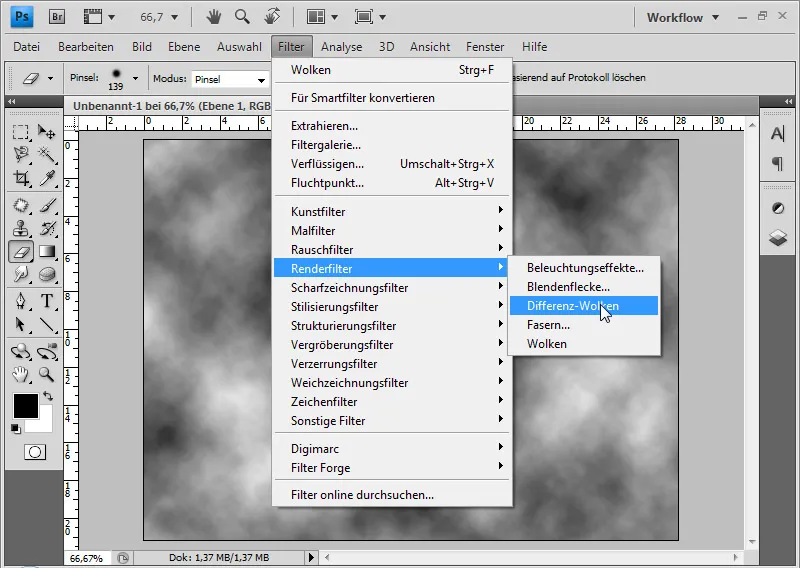
This filter works in a similar way to the cloud filter, except that in addition to the random values from the foreground and background color, it also mixes in the existing pixels.
I can use the eraser (E) to delete the upper area of a soft edge in the image.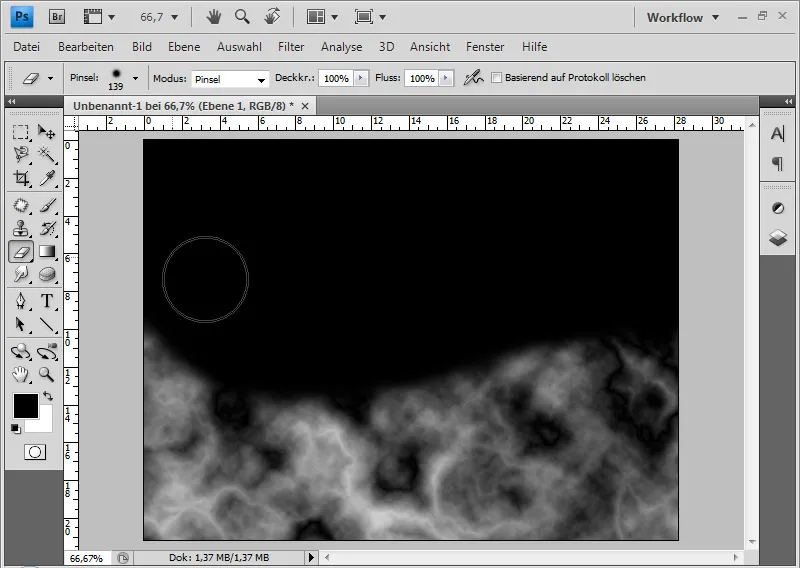
If unwanted dark spots remain in the texture, I can remove them with a soft copy stamp .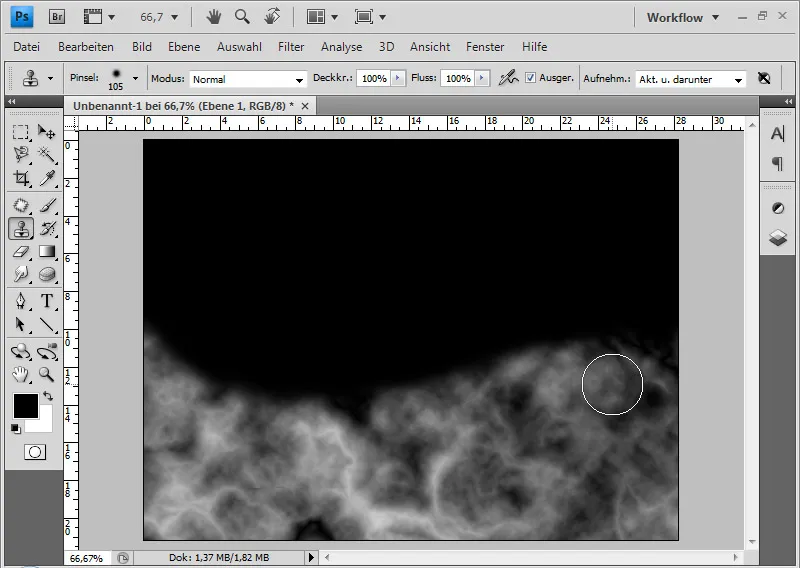
With the wiping finger , I can wipe the flickering flames into the image with a soft edge and with different diameters between 5 and 20 pixels. It is important that I not only create the flames at the edge, but also wipe them within the flame texture so that the result also has a uniform look.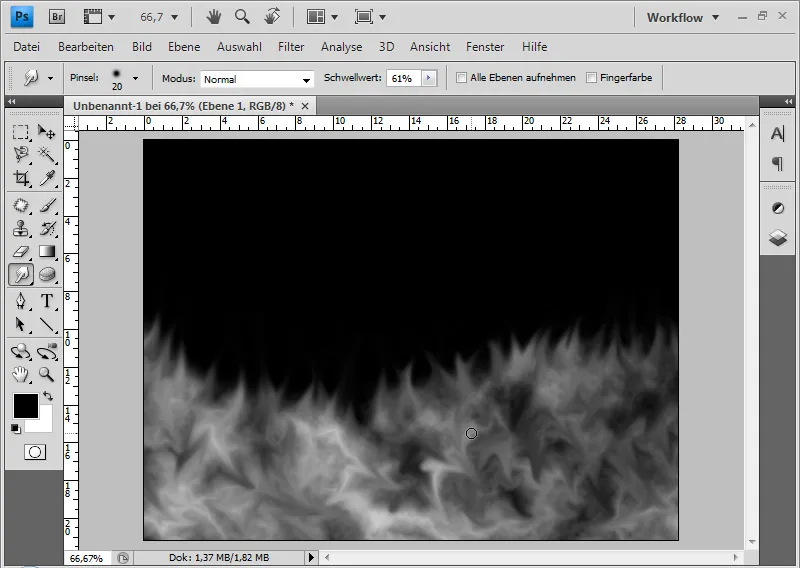
I apply the Hue/Saturation image correction to this layer via the Image>Corrections>Hue/Saturation menu (Ctrl+U) in Colorize mode with the settings: 15, 60, 0.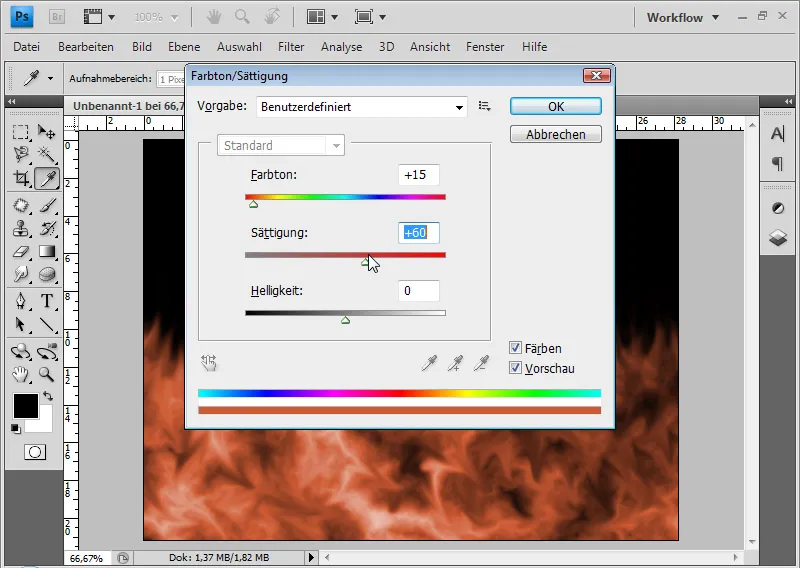
The flames now look too red. I can create a mood in the flames with the lighting effects render filter. It is a good idea to convert the layer into a smart object beforehand so that I can apply the filter as a smart filter. This allows me to make changes to the filter at any time without loss.
I make the following settings (see image).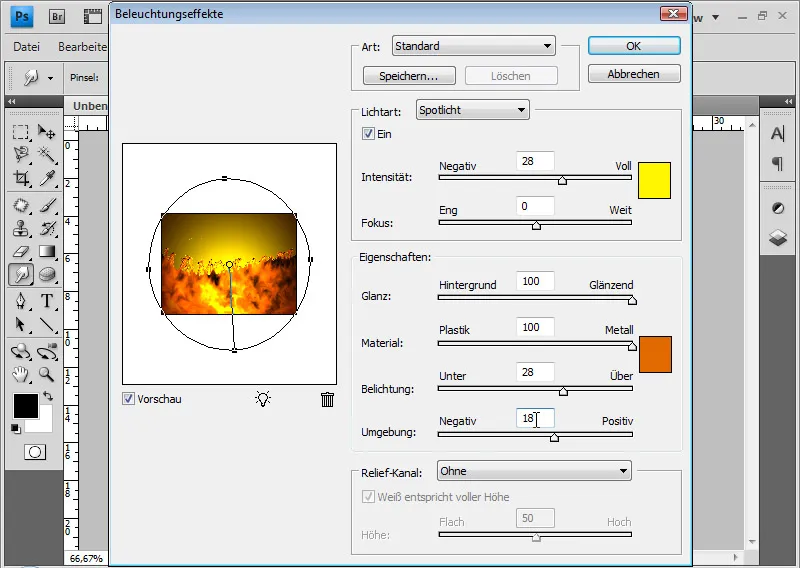
My fire texture is finished.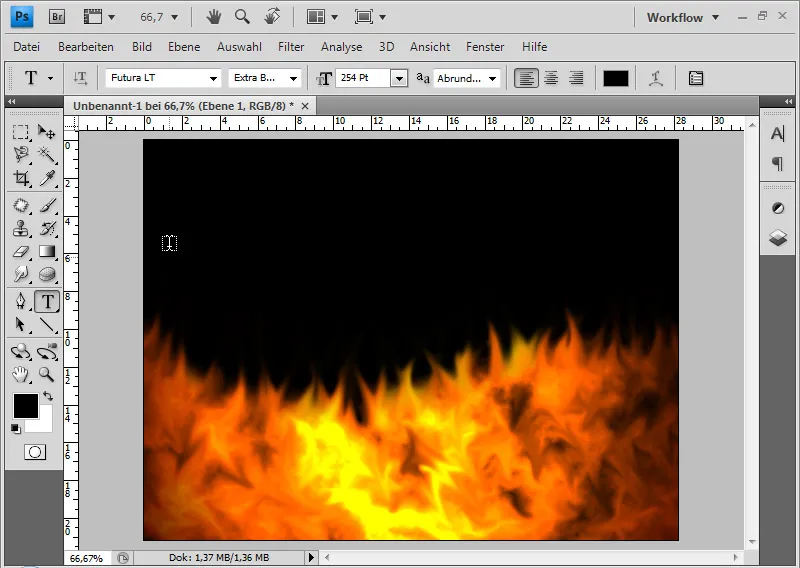
Now I can add a text with fill options, place the text layer below the fire layer and connect the two with a clipping mask. For a better view, I have filled the previously dark background layer with white color(Ctrl+Reset key, if the default colors black and white are set in the color picker ).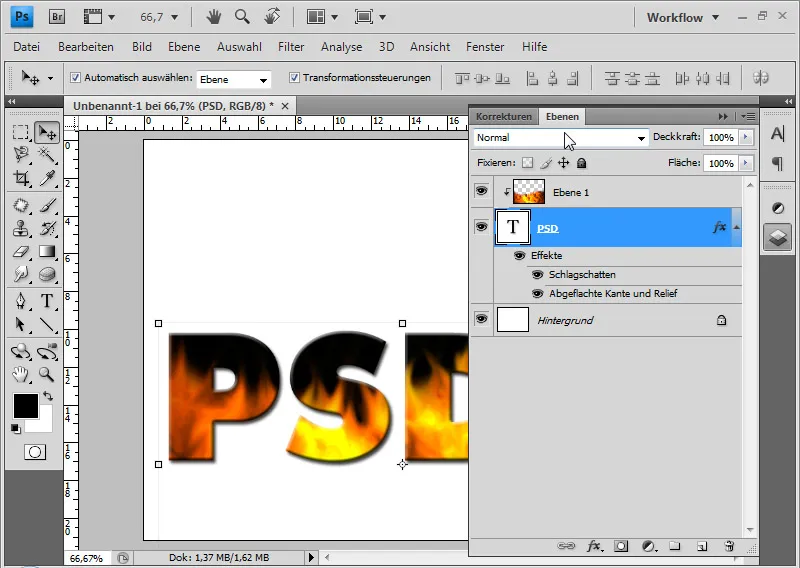
It's OK as a flame texture text, but it's not a pure fire text. The effect of creating flames from wiped pixels can also be applied very well to text that is to be set on fire.
Creating fire text
The basis of this tutorial part is a tutorial written by tris on July 6, 2004, which included the creation of a fire text with Photoshop 7.0.
I create a new file (Ctrl+N) in the size 800x600. I fill the background layer with black color. The quickest way to do this is to use D for standard colors, unless black is set as the foreground color in the color picker, and Alt+Reset to fill with foreground color.
Using the text tool , I write the text "PSD-Tutorials.de" in white in a new layer. In this example, I use the 80-point Futura LT. I duplicate the text layer with Ctrl+J and Blender it out. I will need the duplicated layer again later.
The active text layer is rasterized by right-clicking on thelayer>Rasterize Text.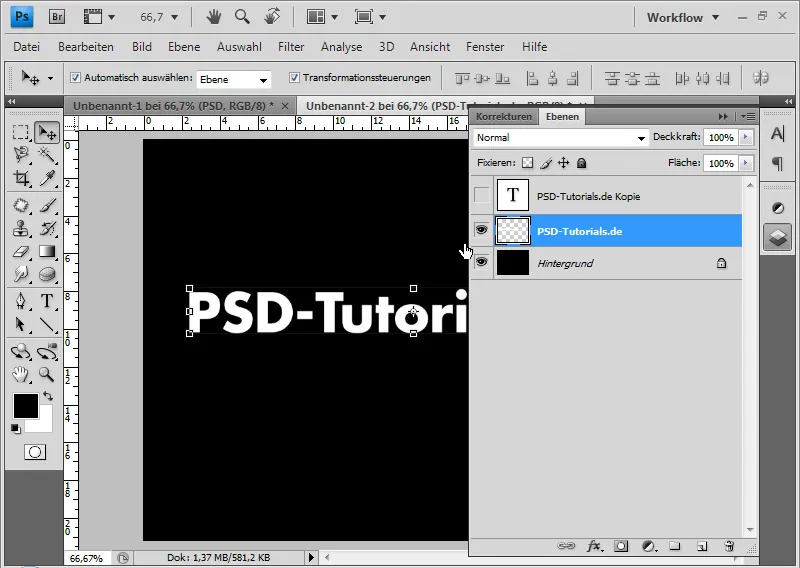
I rotate the image clockwise via the Image>Image rotation>90 degrees menu.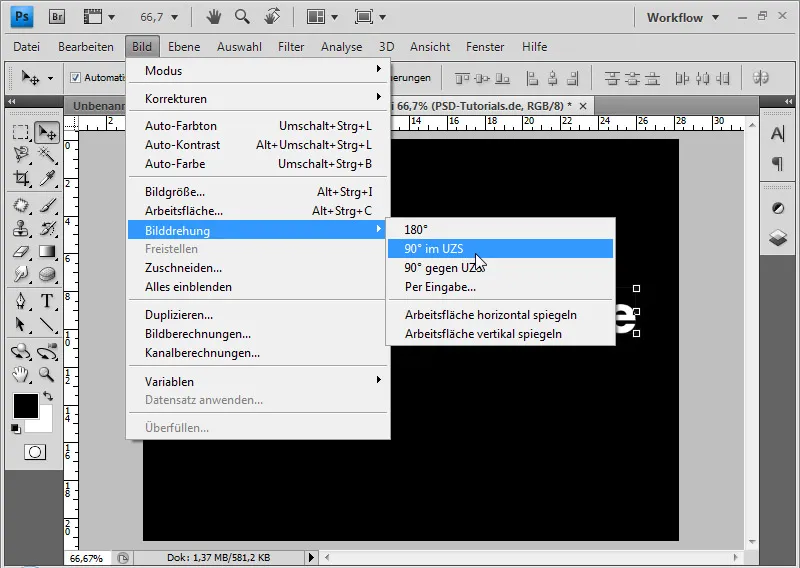
I add white "wind rays" to the rasterized text via the Filter>Stylization filter>Wind effect menu. I repeat the effect up to three times - as required. To repeat the last filter, I can use the shortcut Ctrl+F.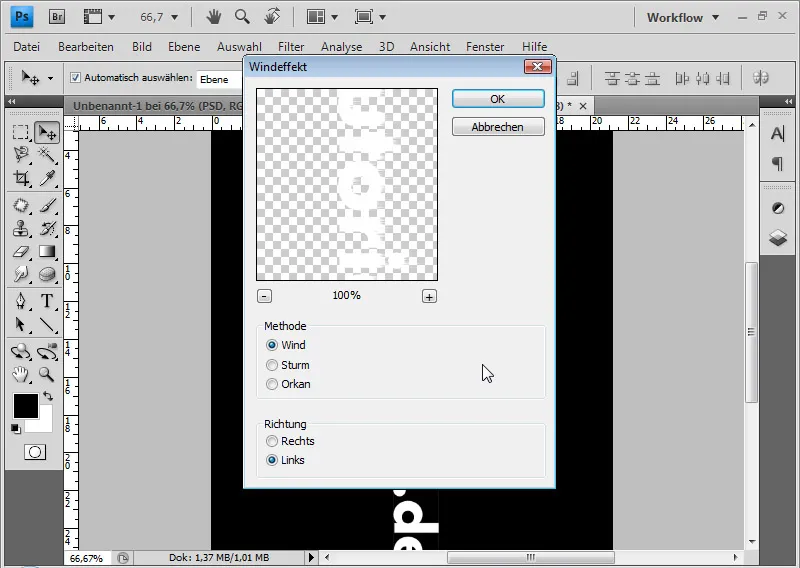
I can then undo the counter-clockwise image rotation.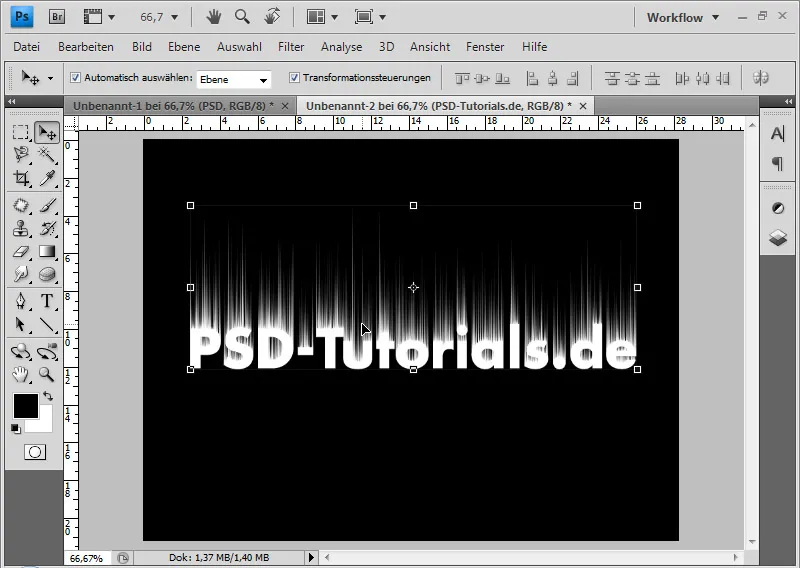
In the next step, I select the Gaussian blur filter with a radius of 3 pixels. This turns the rays of wind into smoky swaths.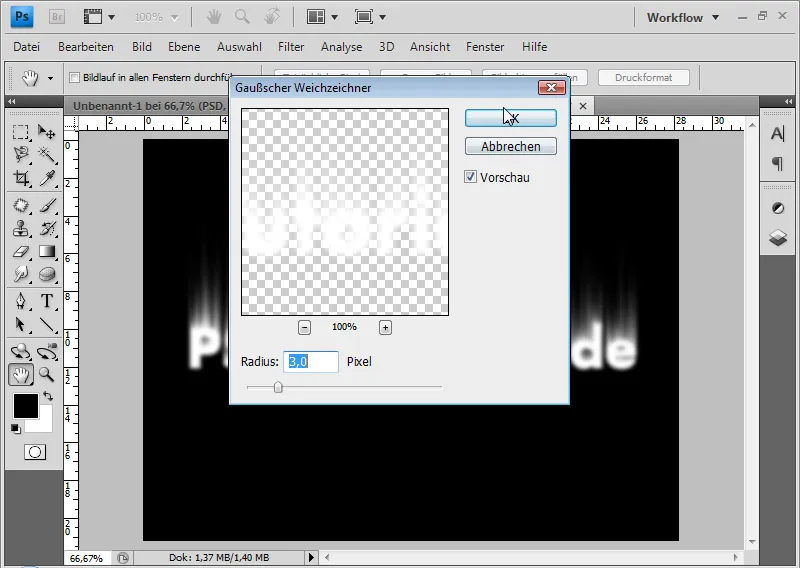
The text with the swaths is now colored. First, I reduce the rasterized text layer with the black background layer to one using the keyboard shortcut Ctrl+E.
For coloring, I select the image correction Hue/Saturation with Ctrl+U or via the menu Image>Image Corrections>Hue/Saturation.
I activate the checkbox for coloring and set a hue of 40 with a saturation of 100.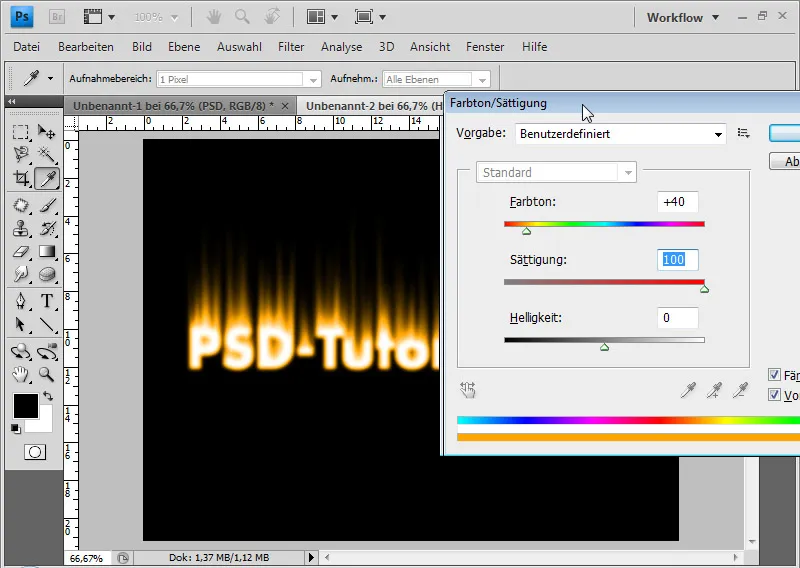
I duplicate the layer with Ctrl+J and select the image correction Hue/Saturation for the duplicated layer again. Without coloring, I now set the hue to -35.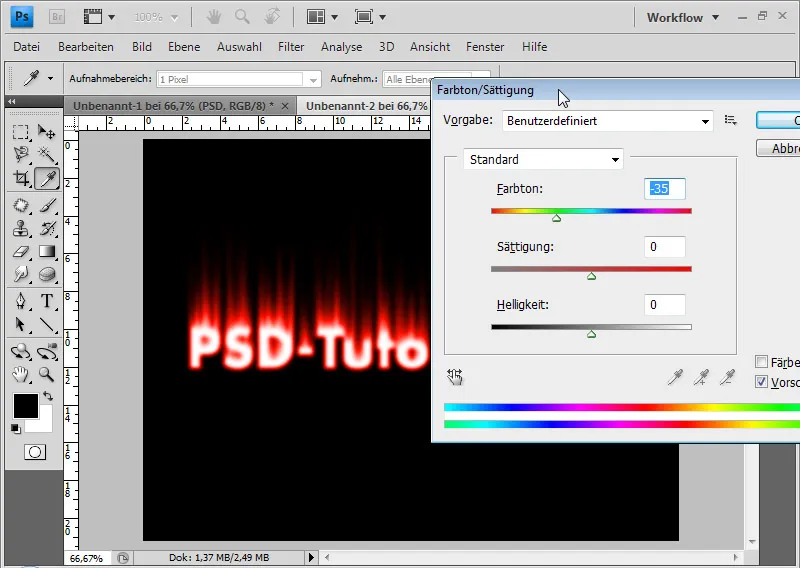
I achieve the desired fire color effect by setting the layer's blending mode to Dodge Color(Shift+Alt+D). Color dodge means that the contrast of the color channels is reduced and the saturation of the layer content is increased.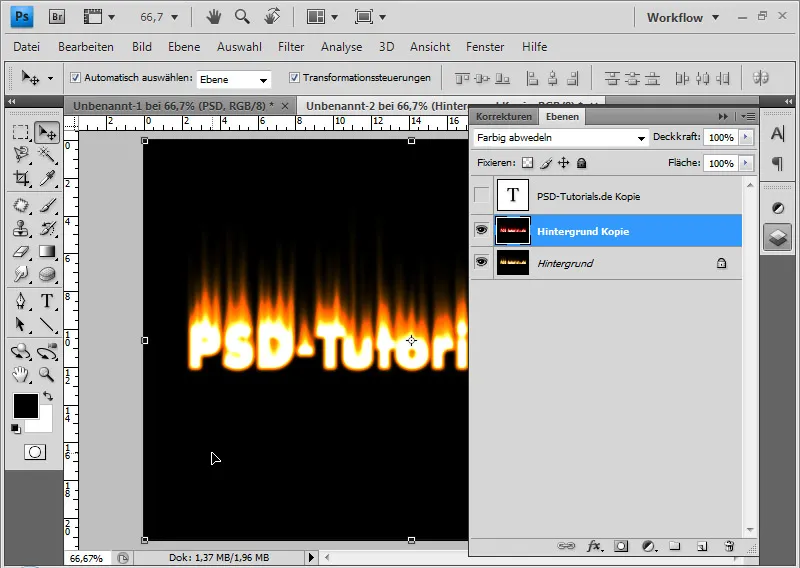
I can reduce both layers to one (Ctrl+E).
The next step is to simulate the flames. To do this, I call up the liquefy filter via the Filter>Liquefy menu or Shift+Ctrl+X.
I can simulate the flames using the turbulence tool (T) with a small brush tip of approx. 15-25pt. To do this, I generate the flame tongues with the turbulence tool.
Alternatively - but not quite as sensitive in its application - I can also use the forward bend tool (W). I can use the reconstruction tool (R) to correct areas that I have changed too much.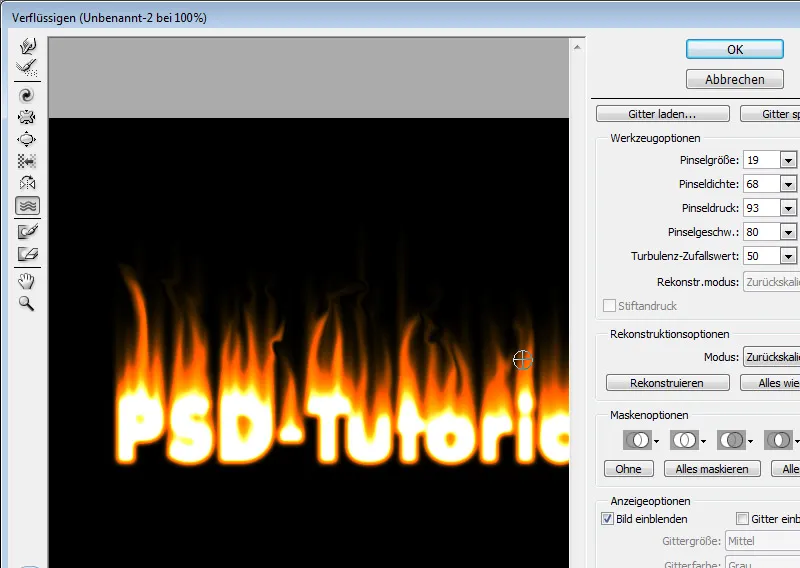
With Alt+Shift+Ctrl+E I can duplicate all visible layers down to one. I place this duplicated layer in the blend mode Copy one into the other and reduce the opacity to 60 percent if necessary. This peps up the flames a little.
If the flames look too harsh, I can also soften the layer with the Gaussian blur filter. I can then fine-tune the effect using the opacity.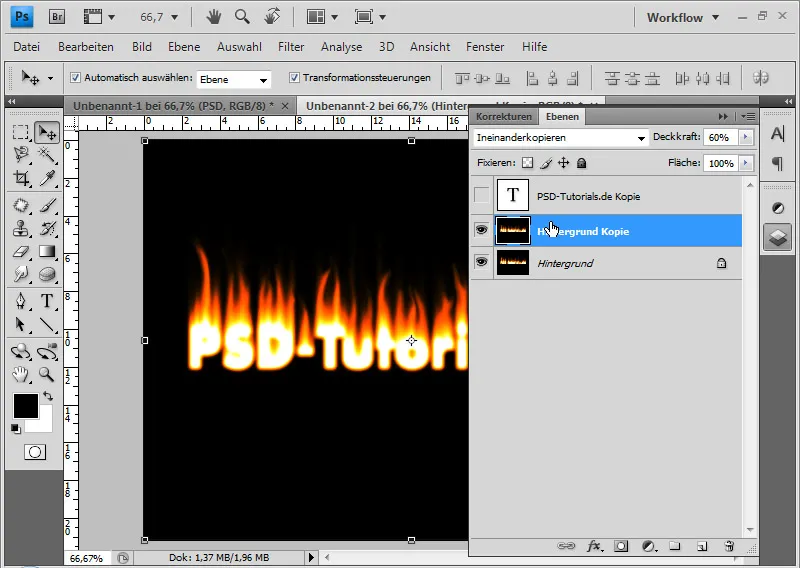
If I want the flame effect to be a little more authentic, I can duplicate all the visible layers back to one reduced layer and apply the Ripple distortion filter to the new layer at 75 percent/medium. This gives me the typical shaky flame effect.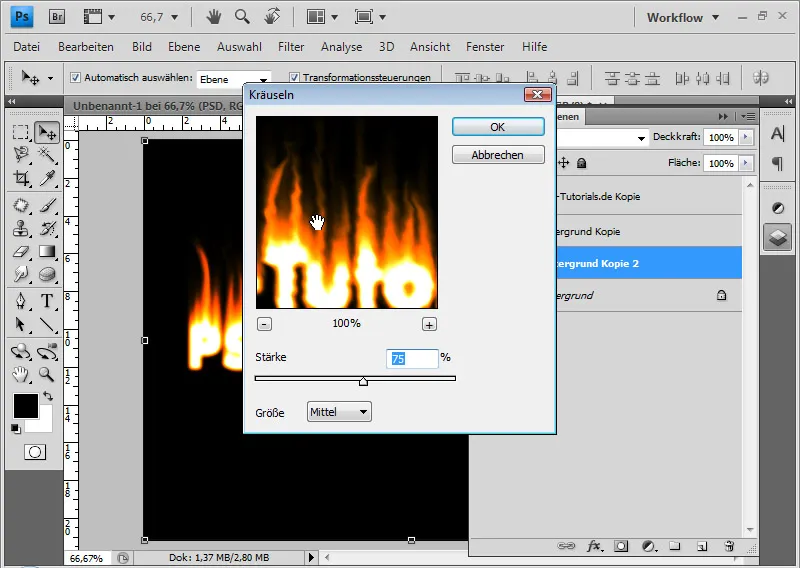
I then reduce the opacity to approx. 50 percent and use a layer mask to limit the effect to the upper part of the flames by applying a black and white gradient in the layer mask .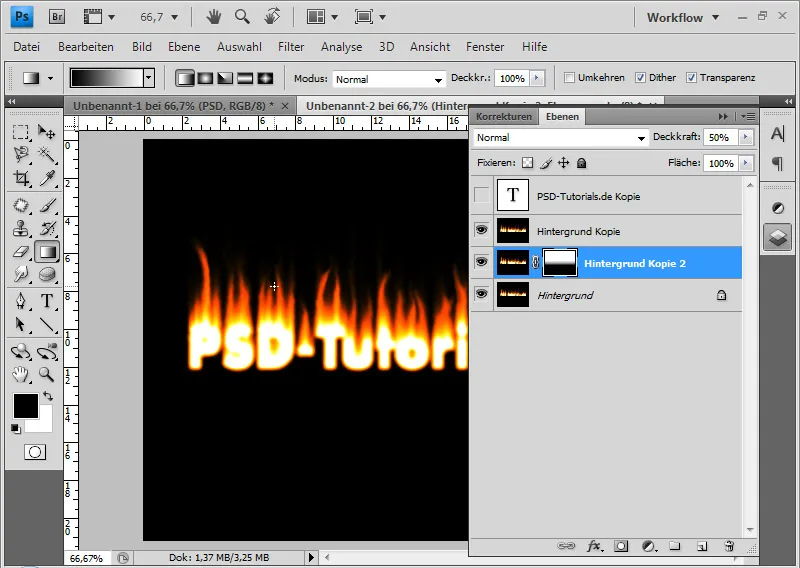
I can reactivate the initially deactivated text layer and place it at the top of the layer hierarchy. I change the text color to black.
For an optimal transition, I add a layer mask to the text layer and create a black and white gradient . This allows the black text color to blend nicely into the flames at the top.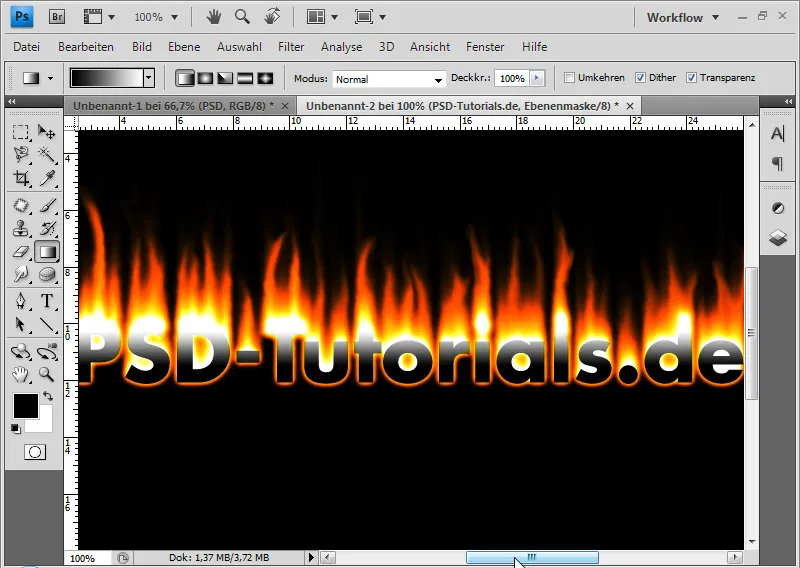
In the last step, I duplicate all the visible layers again, reducing them to one with Alt+Shift+Ctrl+E. I select Ctrl+T and mirror the layer vertically. In the Multiply negative layer mode, I can offset all the light layer contents so that they become visible and I don't have to crop the flame area first.
I reduce the layer opacity to approx. 60 percent. I add a black and white gradient in a layer mask so that the reflection effect becomes weaker towards the bottom. If necessary, I can use Ctrl+T to transform the reflection, e.g. lengthen it.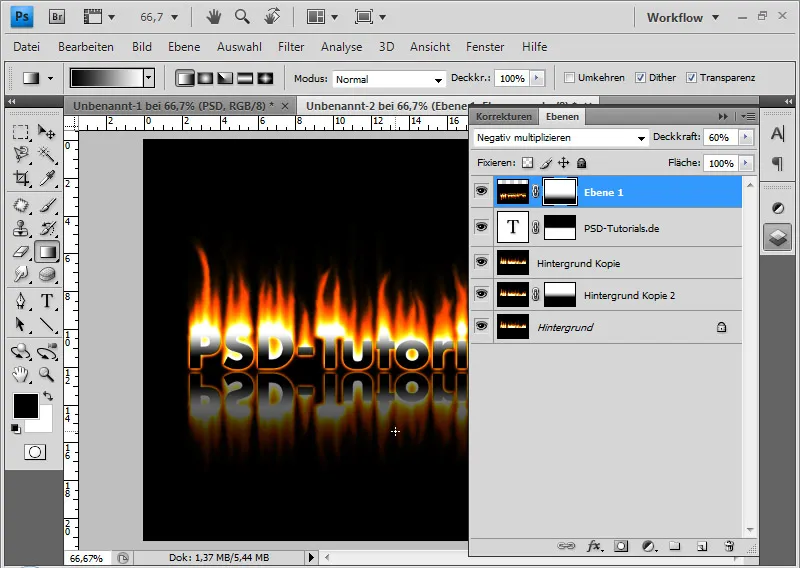
The result can look like this after this tutorial: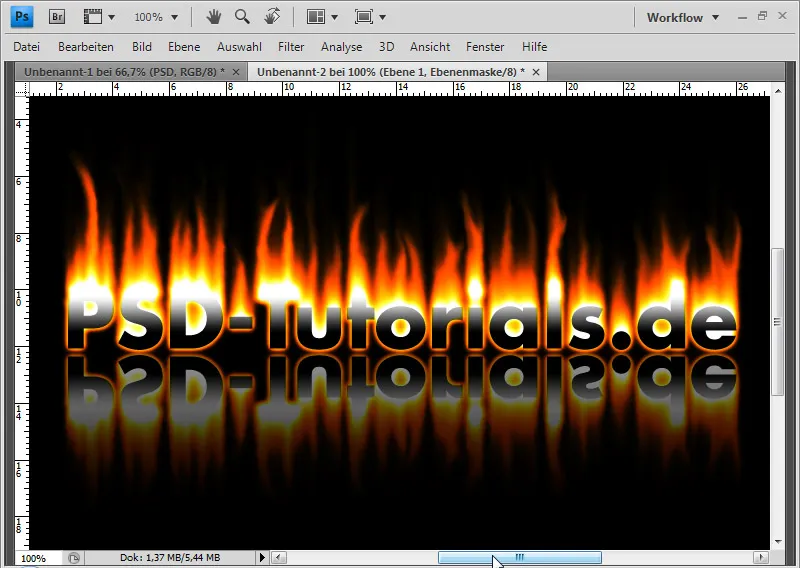
The fire effect varies depending on how I have edited the flame swaths with a wiping finger tool . Here is an alternative flame look based on this tutorial: