You want to give your YouTube channel a personal touch? Then individually designed emojis and logos are exactly what you need! You can easily create these with Photoshop and give your channel a unique look. In this tutorial, I'll show you how to design appealing badges and emotes for your channel membership with a few simple steps.
Main Takeaways:
- Create a new document in Photoshop.
- Download free vector graphics from the internet.
- Adjust colors of badges and create different variations.
- Create text emotes and work with styles.
- Export the final designs.
Step-by-Step Guide
Step 1: Create a New Document
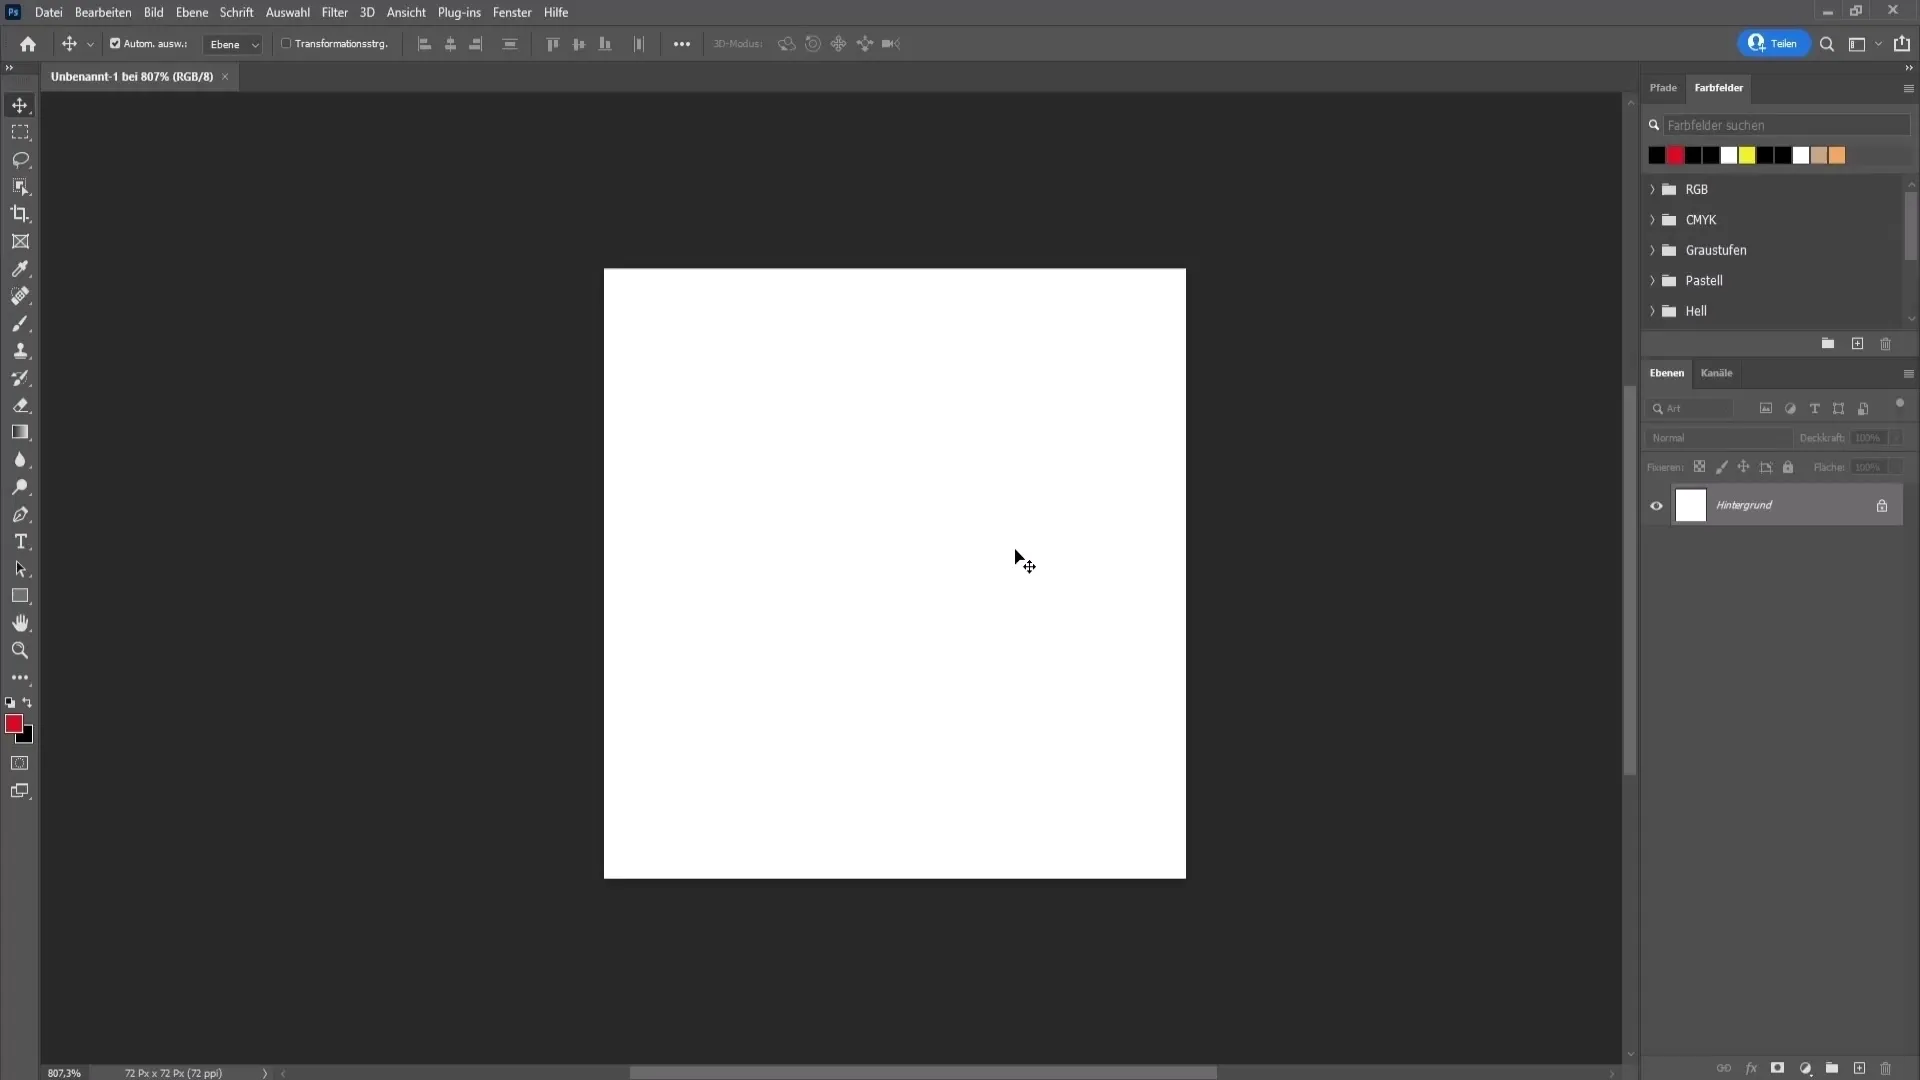
First, you need to create a new document in Photoshop. Go to "File" in the top left corner and select "New". Set the width and height to 72 pixels and the resolution also to 72 pixels. Leave the other settings unchanged. Click on "Create" to open your new document.
Step 2: Find a Vector Graphic
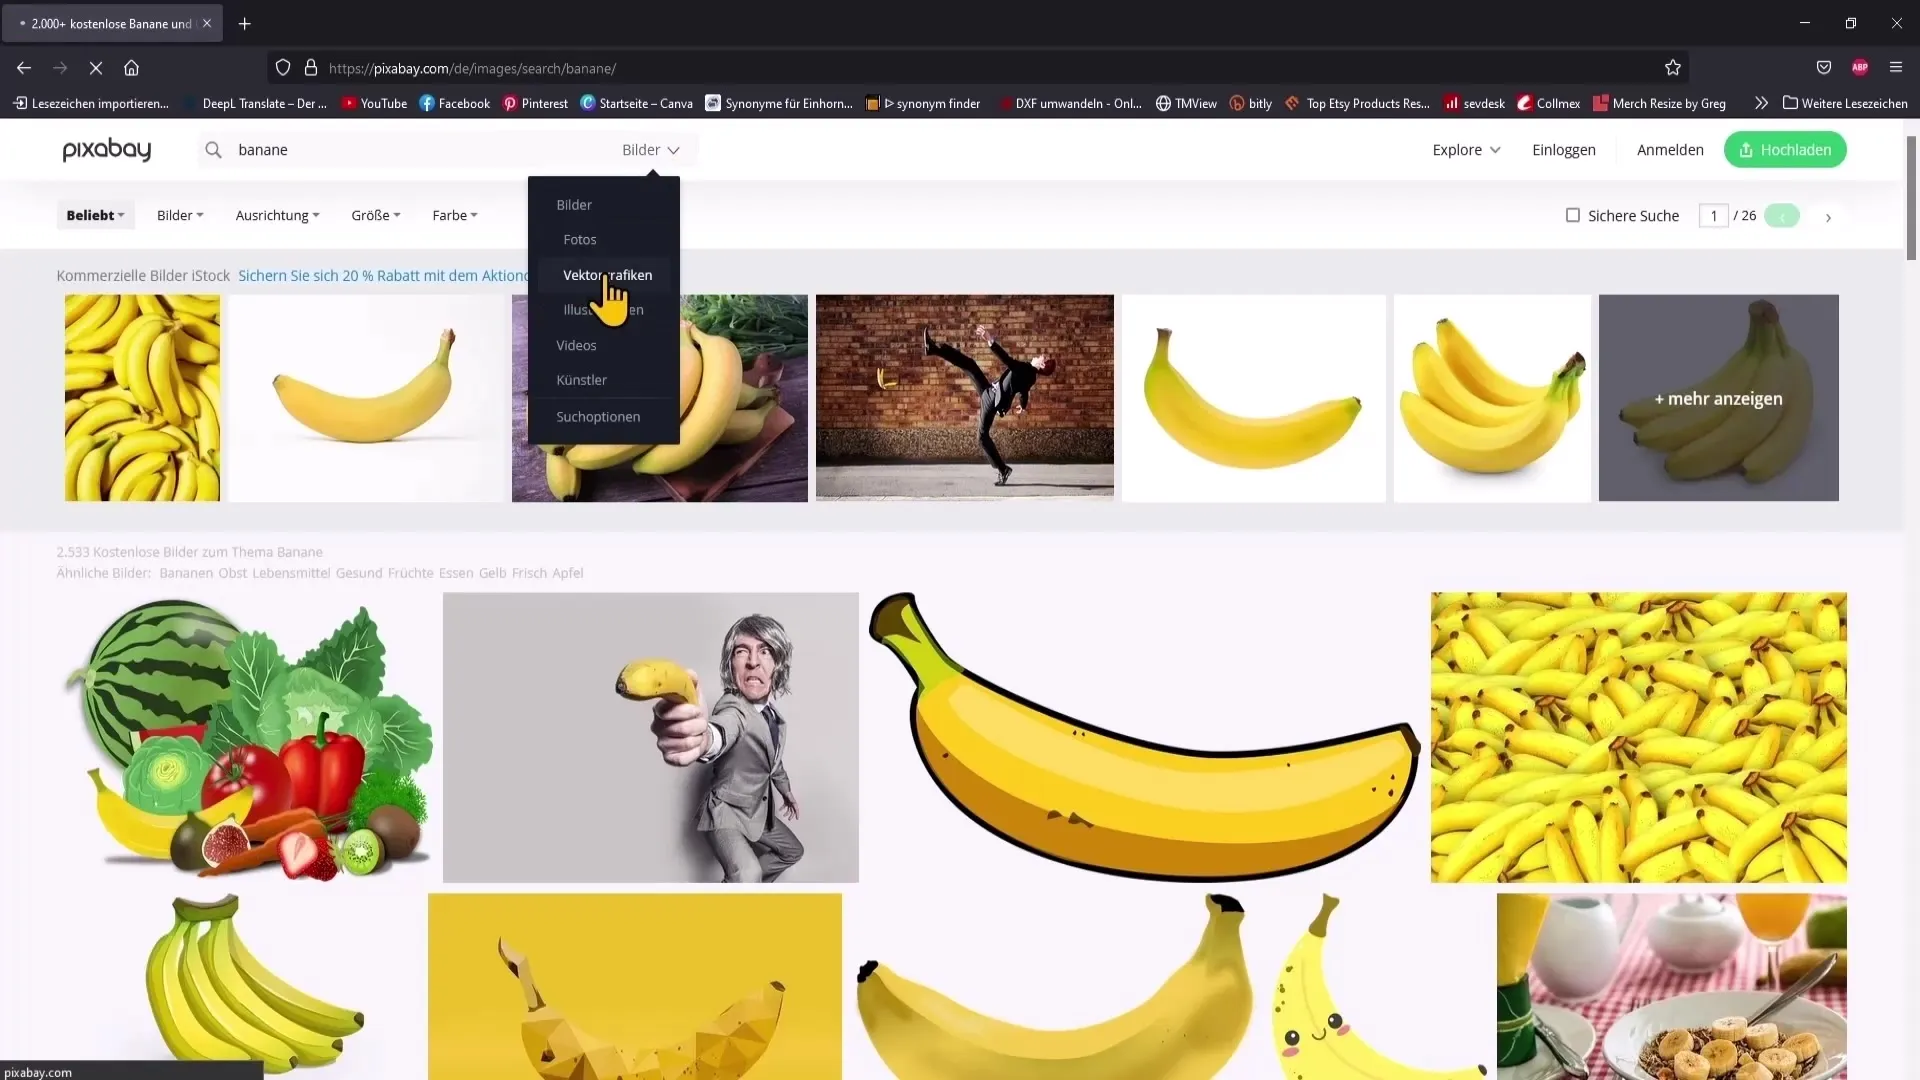
If you're not good at drawing, sometimes it's enough to search the internet for suitable graphics. I recommend using the website "pixabay.com". There you can search for a motif that you want to use as a badge. For example, you can enter "banana" and start the search by hitting the Enter key.
Step 3: Select Vector Graphics
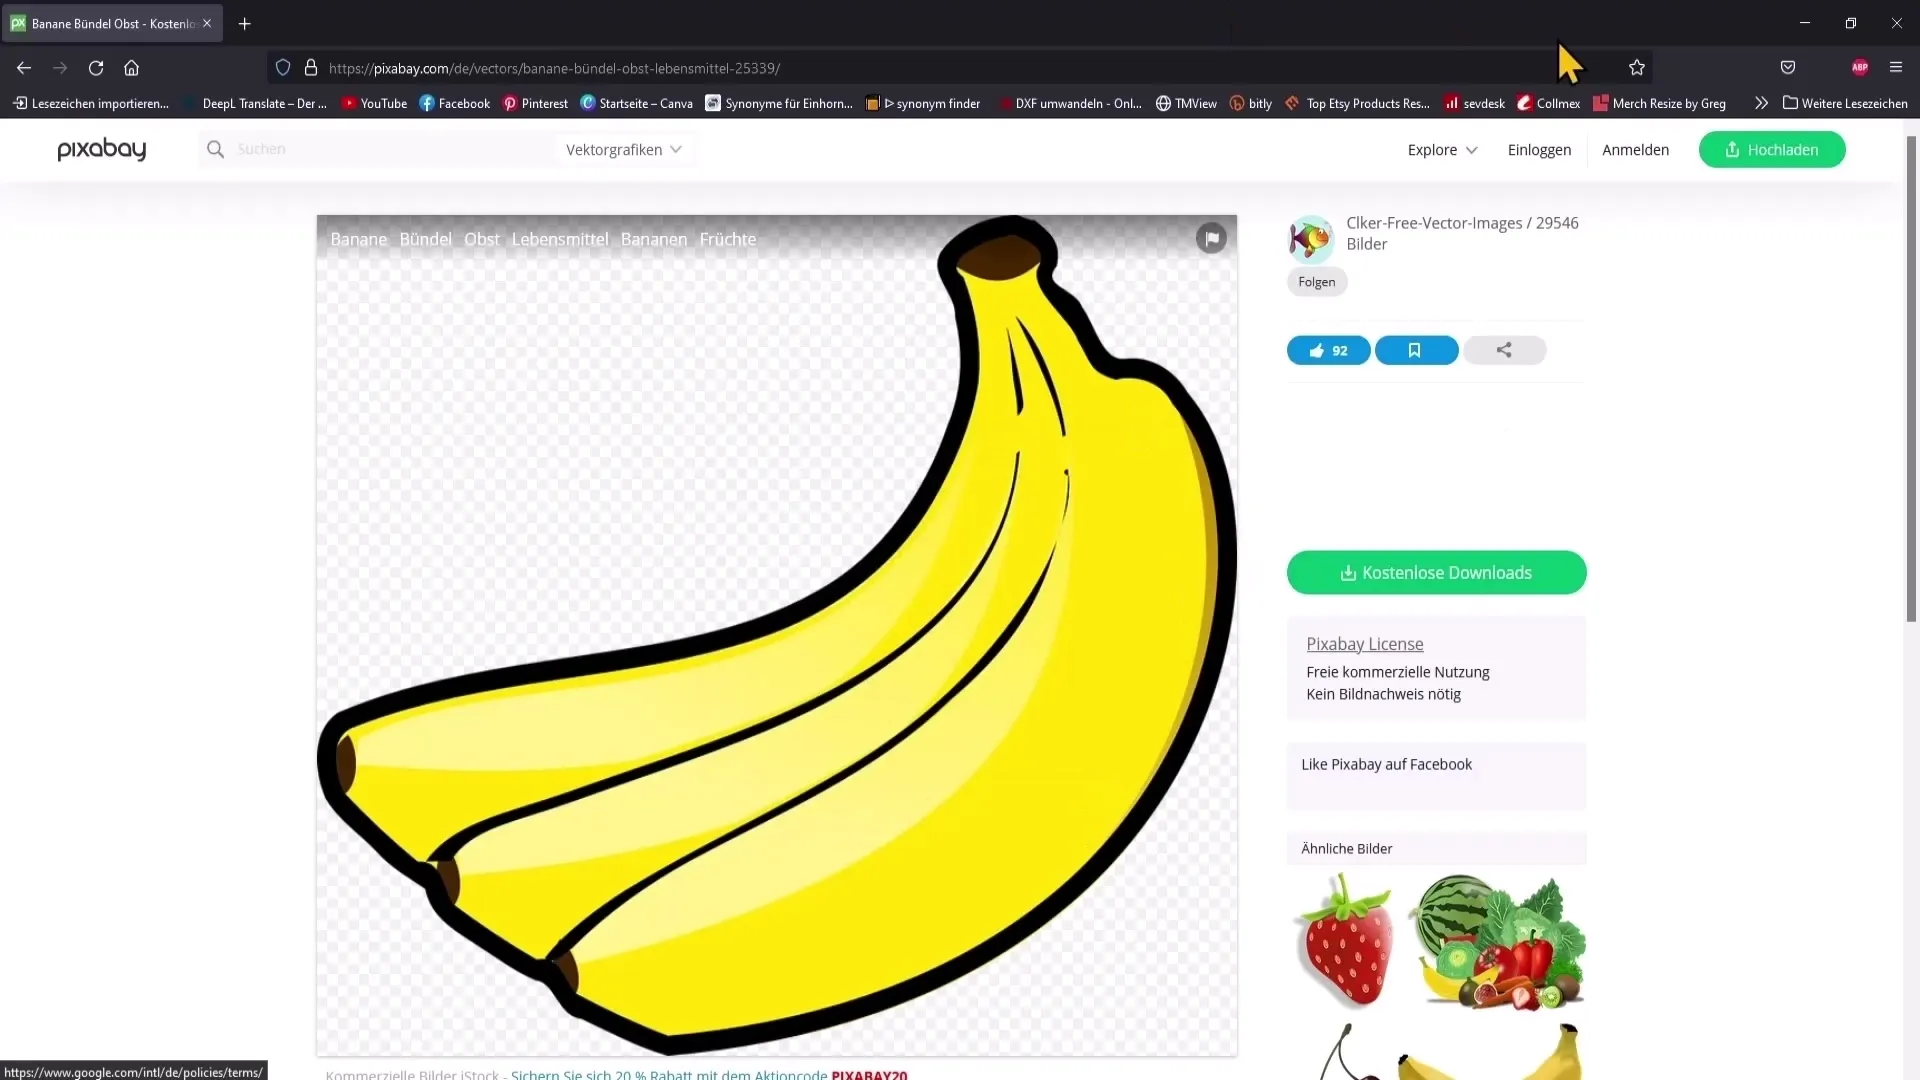
To display the desired vector graphics, go to "Images" at the top and then select "Vector Graphics". Choose a graphic that has a black outline. This is important to stand out from different backgrounds.
Step 4: Download the Graphic
To download the graphics, click on the desired Download button. Confirm that you are not a robot and download the vector graphic to your computer.
Step 5: Import Graphic into Photoshop
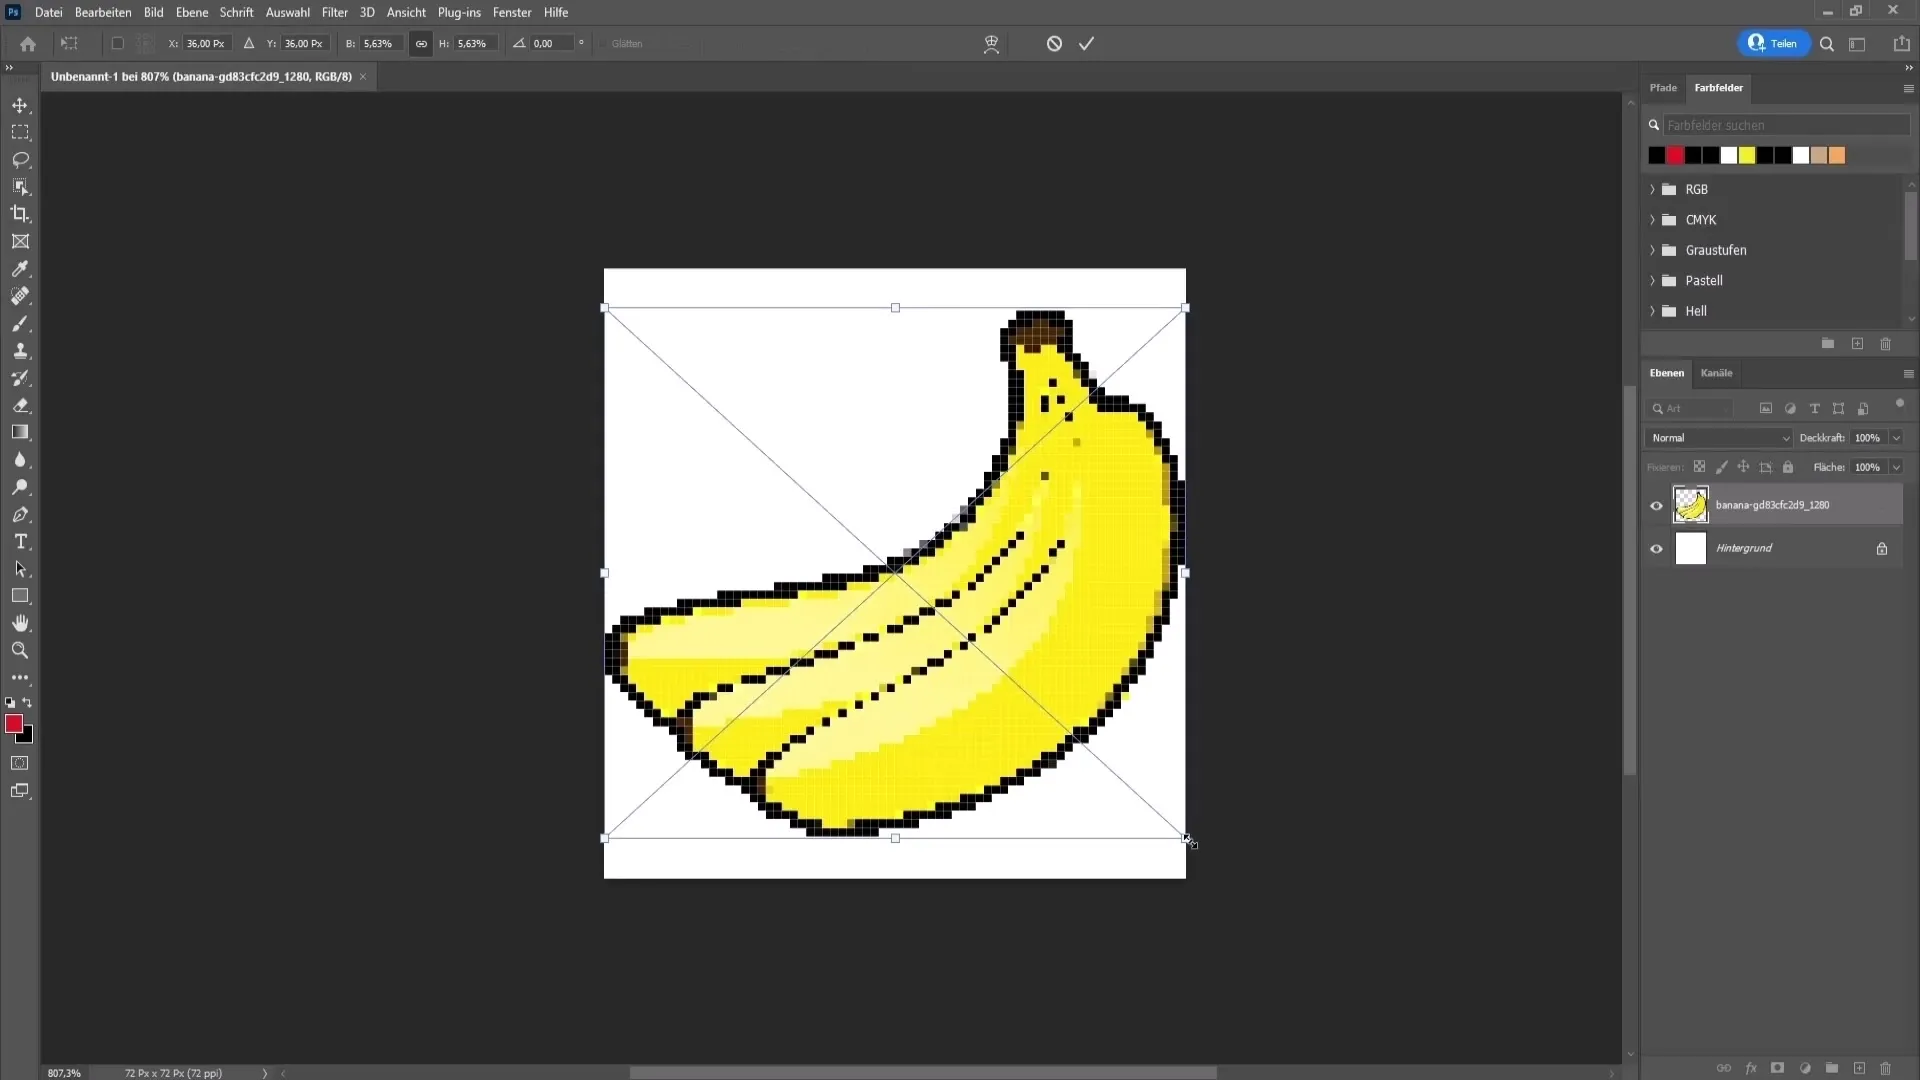
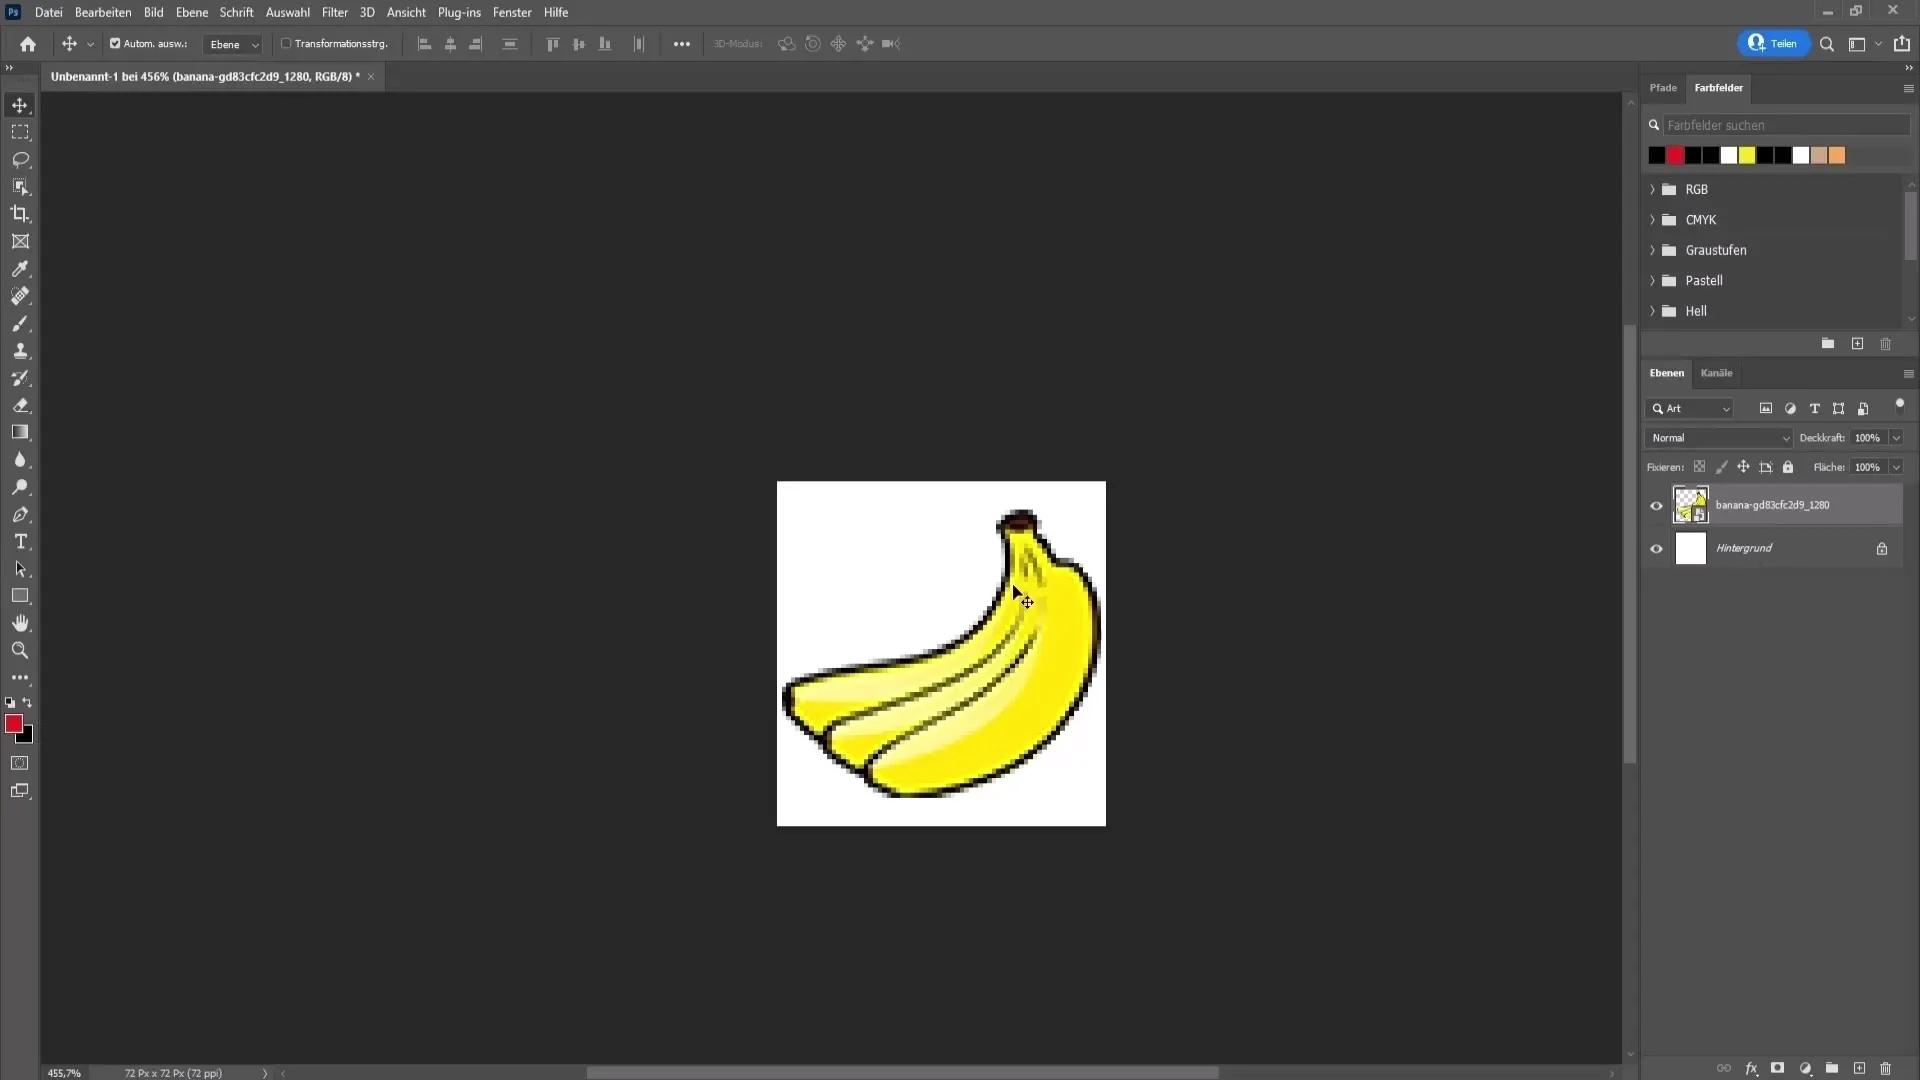
Now open your downloads and drag the downloaded vector graphic into your Photoshop document. Resize it using the transformation area; scale the graphic to fit well into your document.
Step 6: Delete Background Layer
Now you should remove the background of the graphic to make your badge transparent. Click on the background layer and press the Delete key to remove it.
Step 7: Adjust Colors
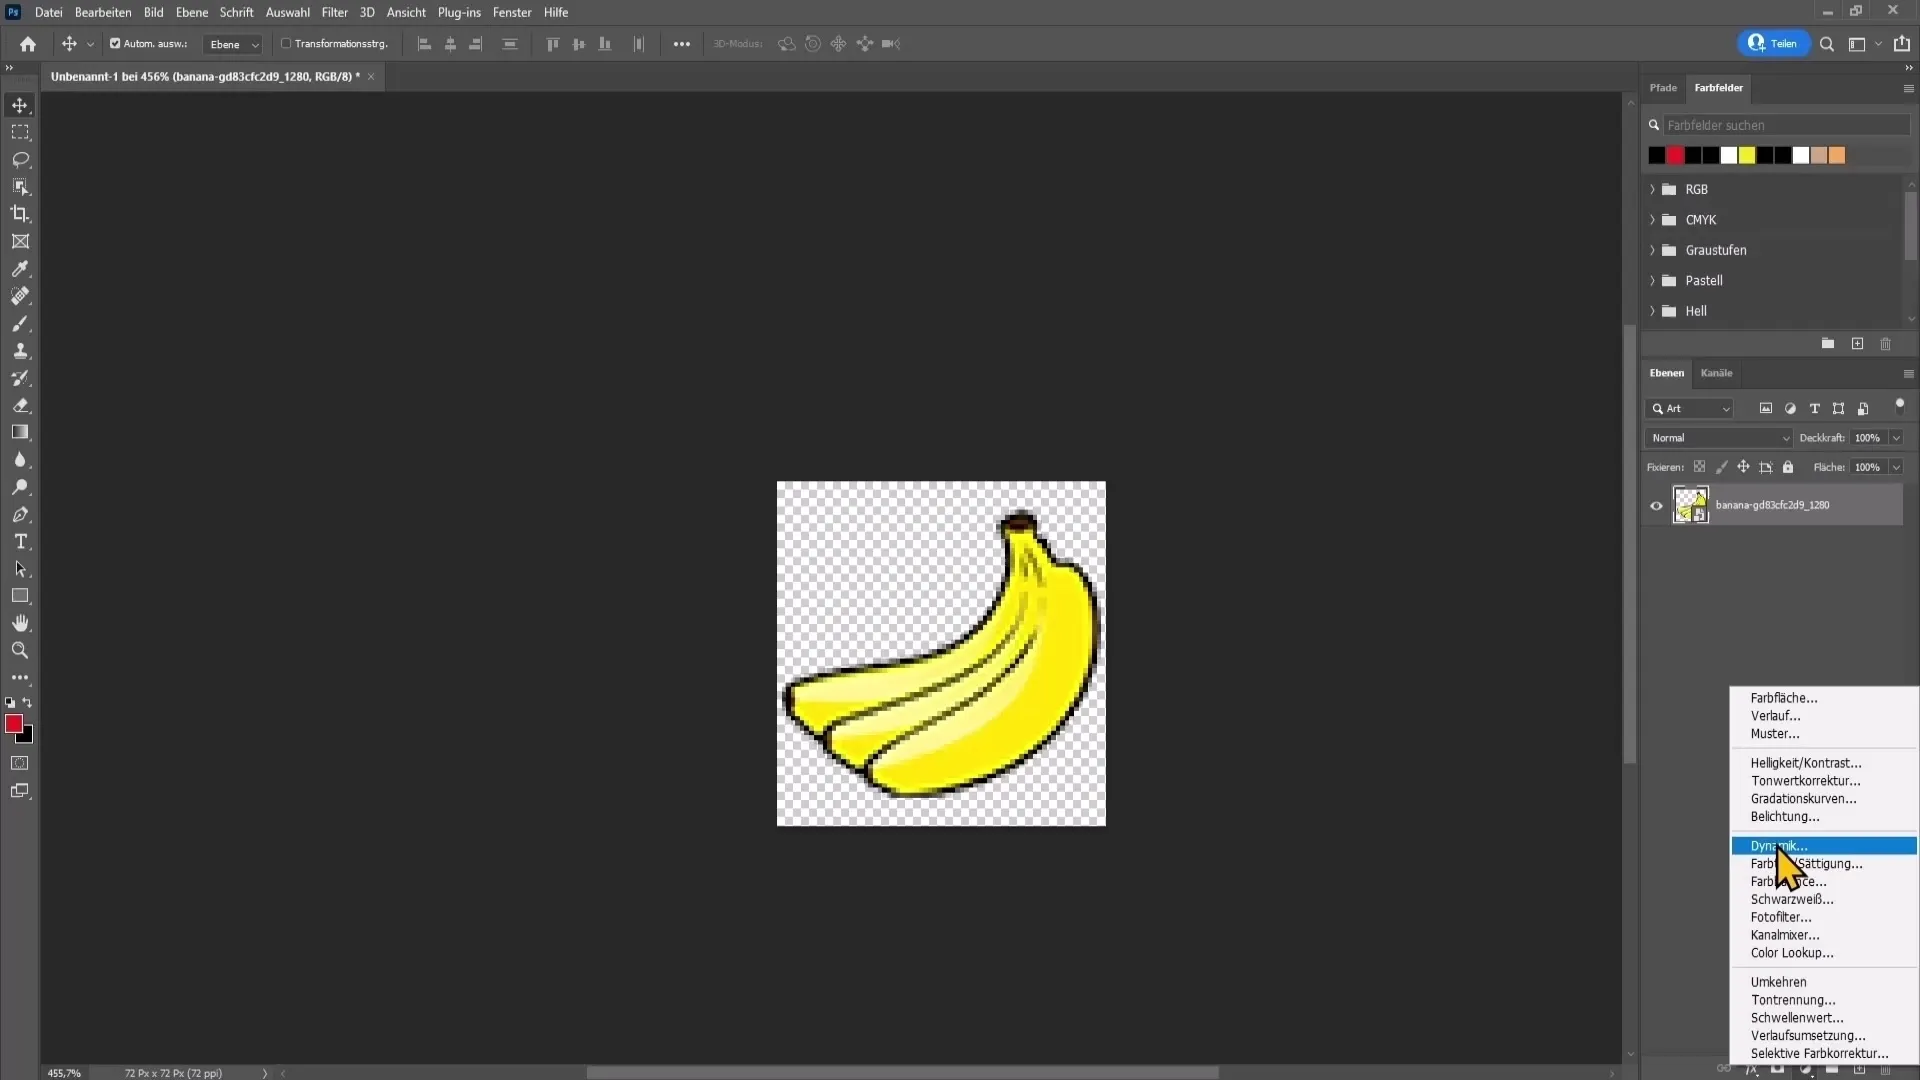
To create different colors for your badge, use the Hue/Saturation adjustment. You can find the corresponding icon at the bottom right of the Layers palette. Select the yellows to change the color of your banana. This way, you can quickly try different color tones.
Step 8: Duplicate Badges
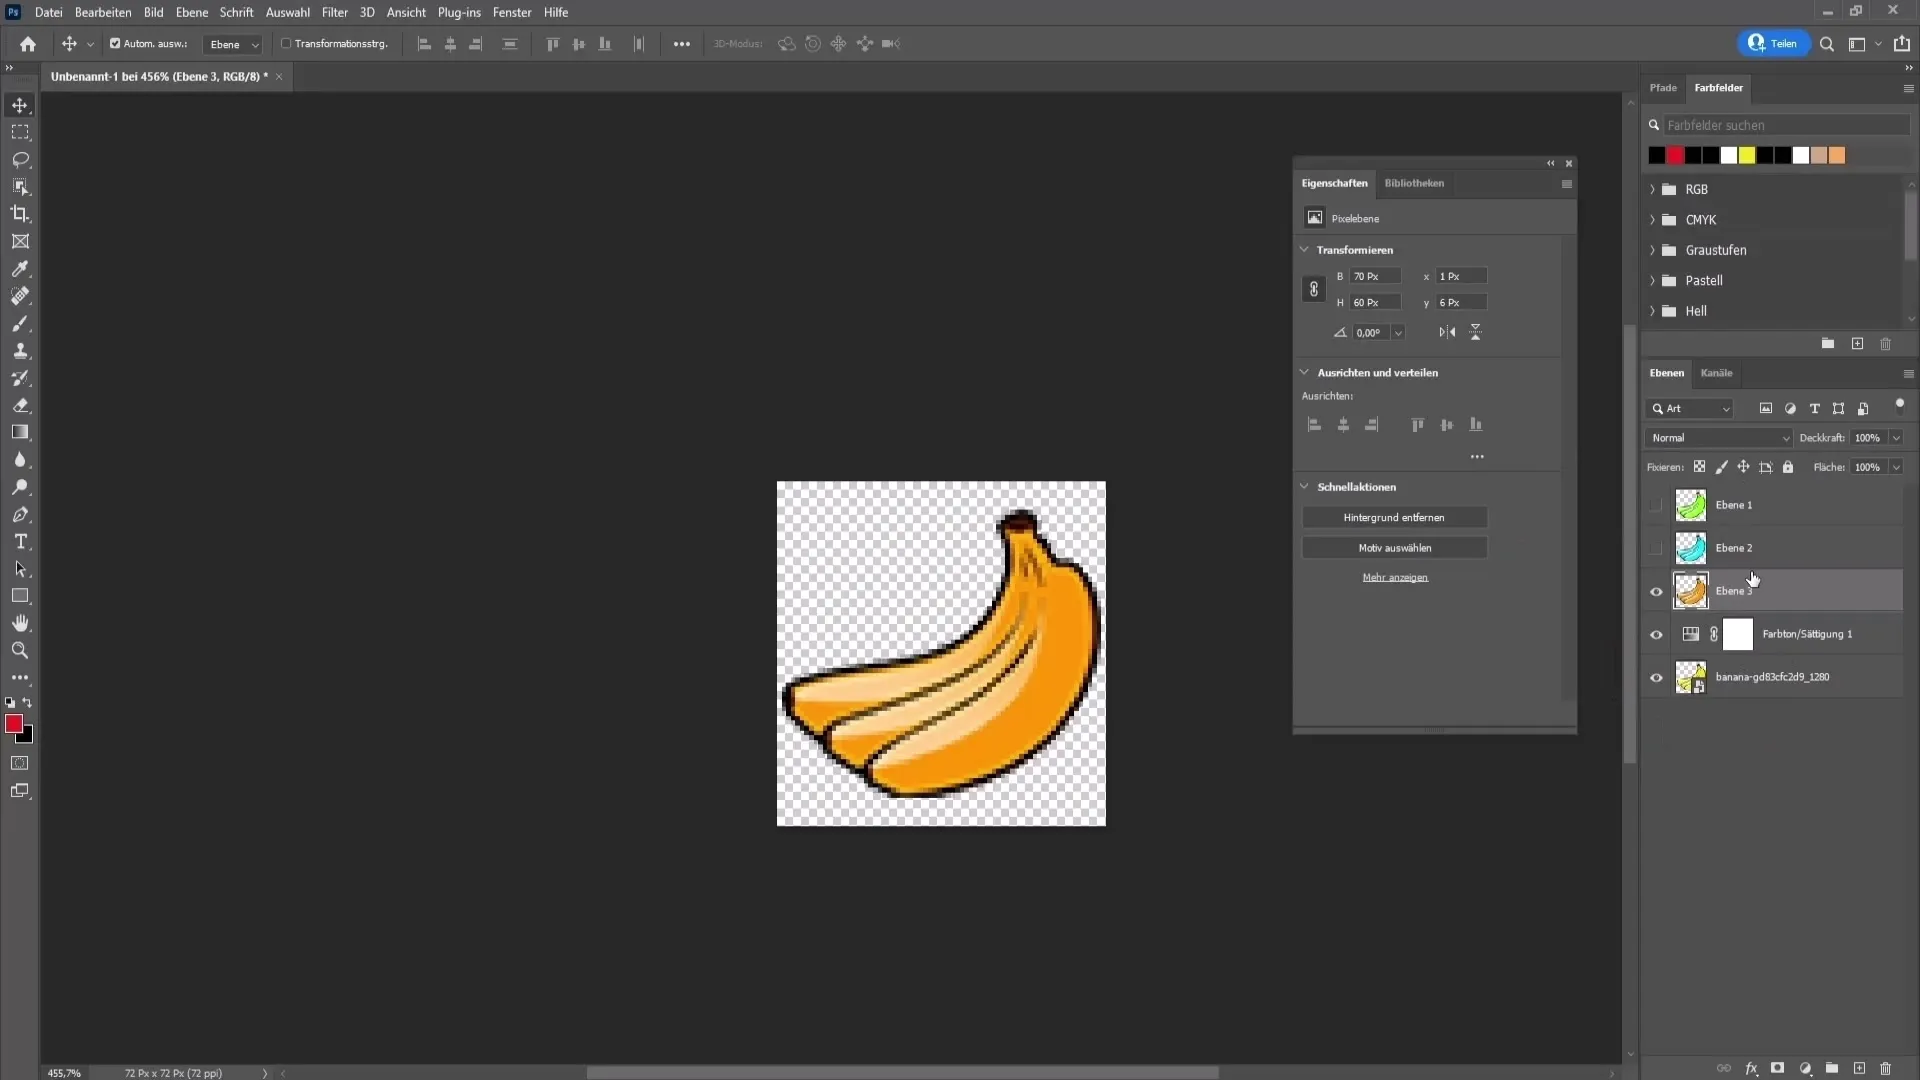
You can repeat the process to create multiple colored badges. Duplicate the layer, select the hues, and adjust them. You can repeat this as many times as needed until you have all the desired colors generated.
Step 9: Create Emotes
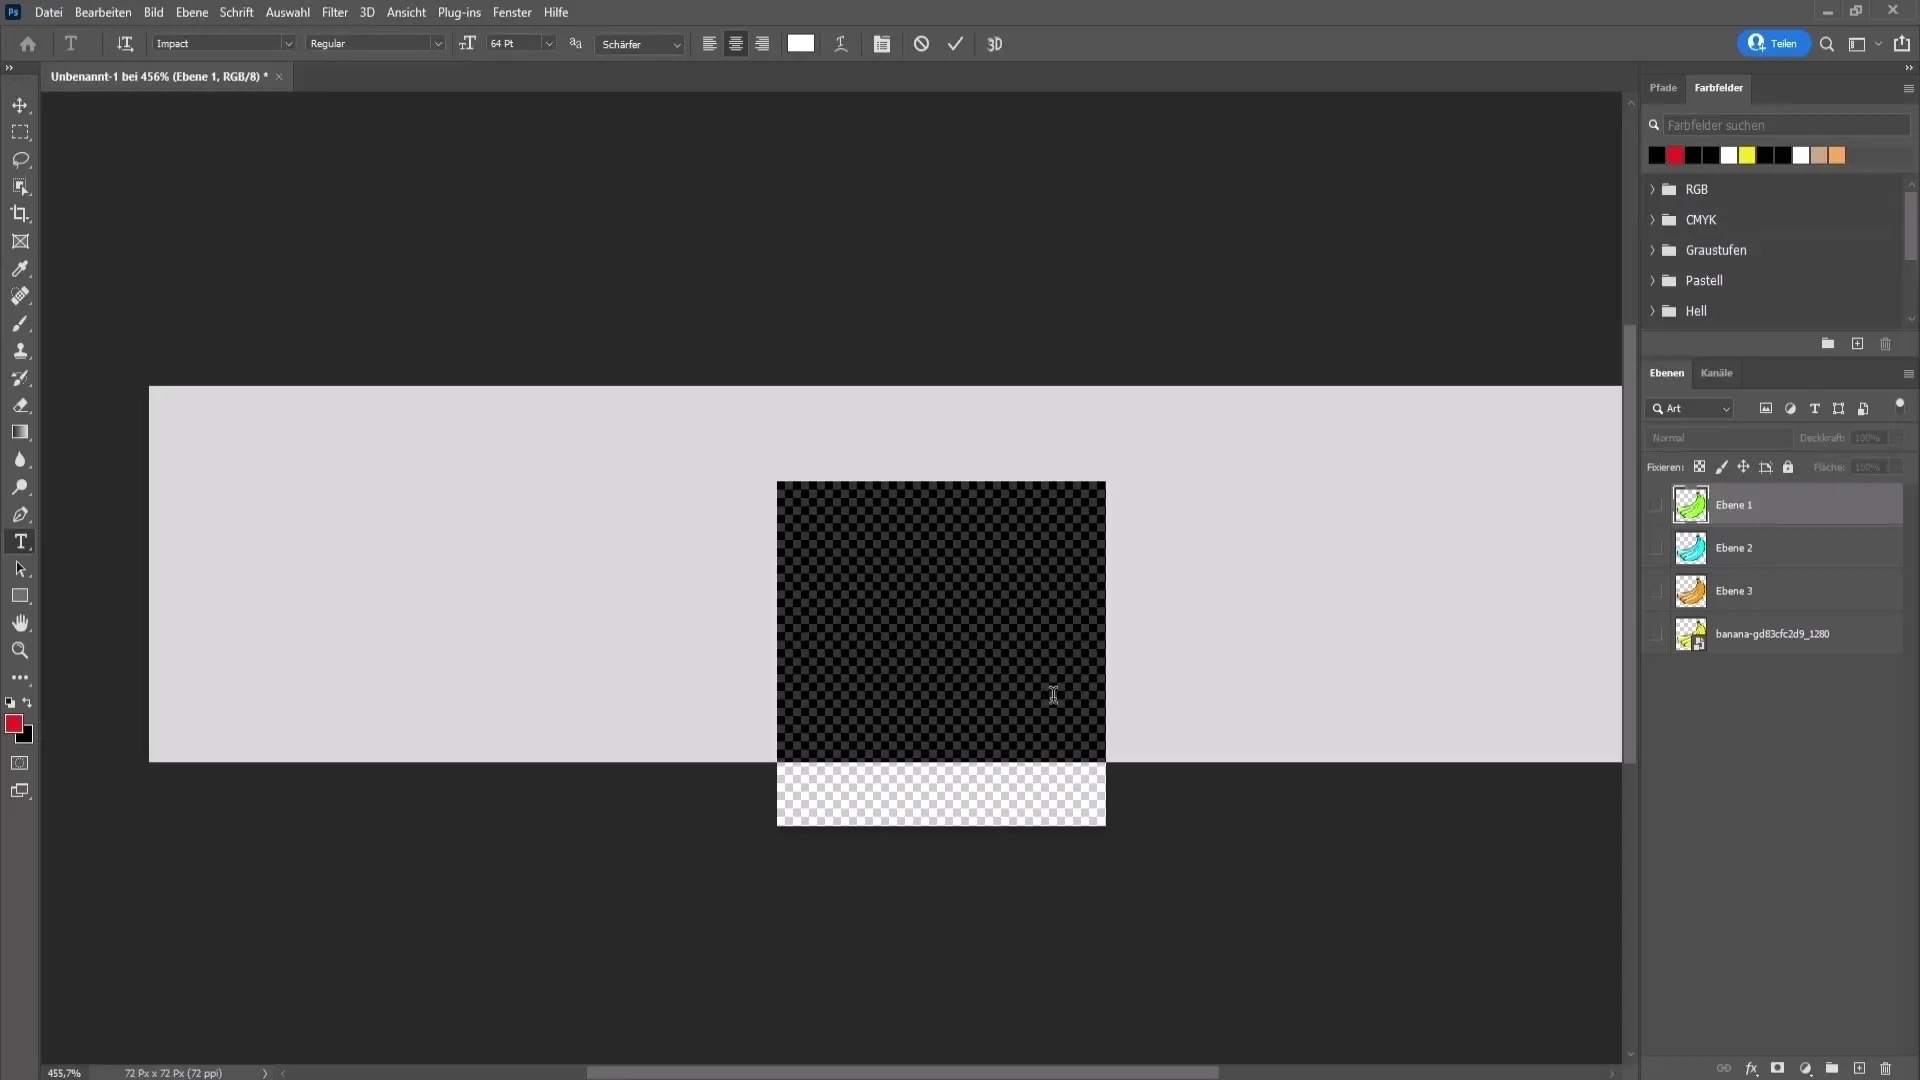
Now let's focus on creating emotes. You can design these in the same way as badges, or you can opt for text-based emotes. Ensure your texts are easily readable by using a thick font like "Impact".
Step 10: Add Text
Choose the font in the text tools and write your desired word. Keep the text length to a maximum of five letters and the number of lines to no more than four lines to ensure readability.
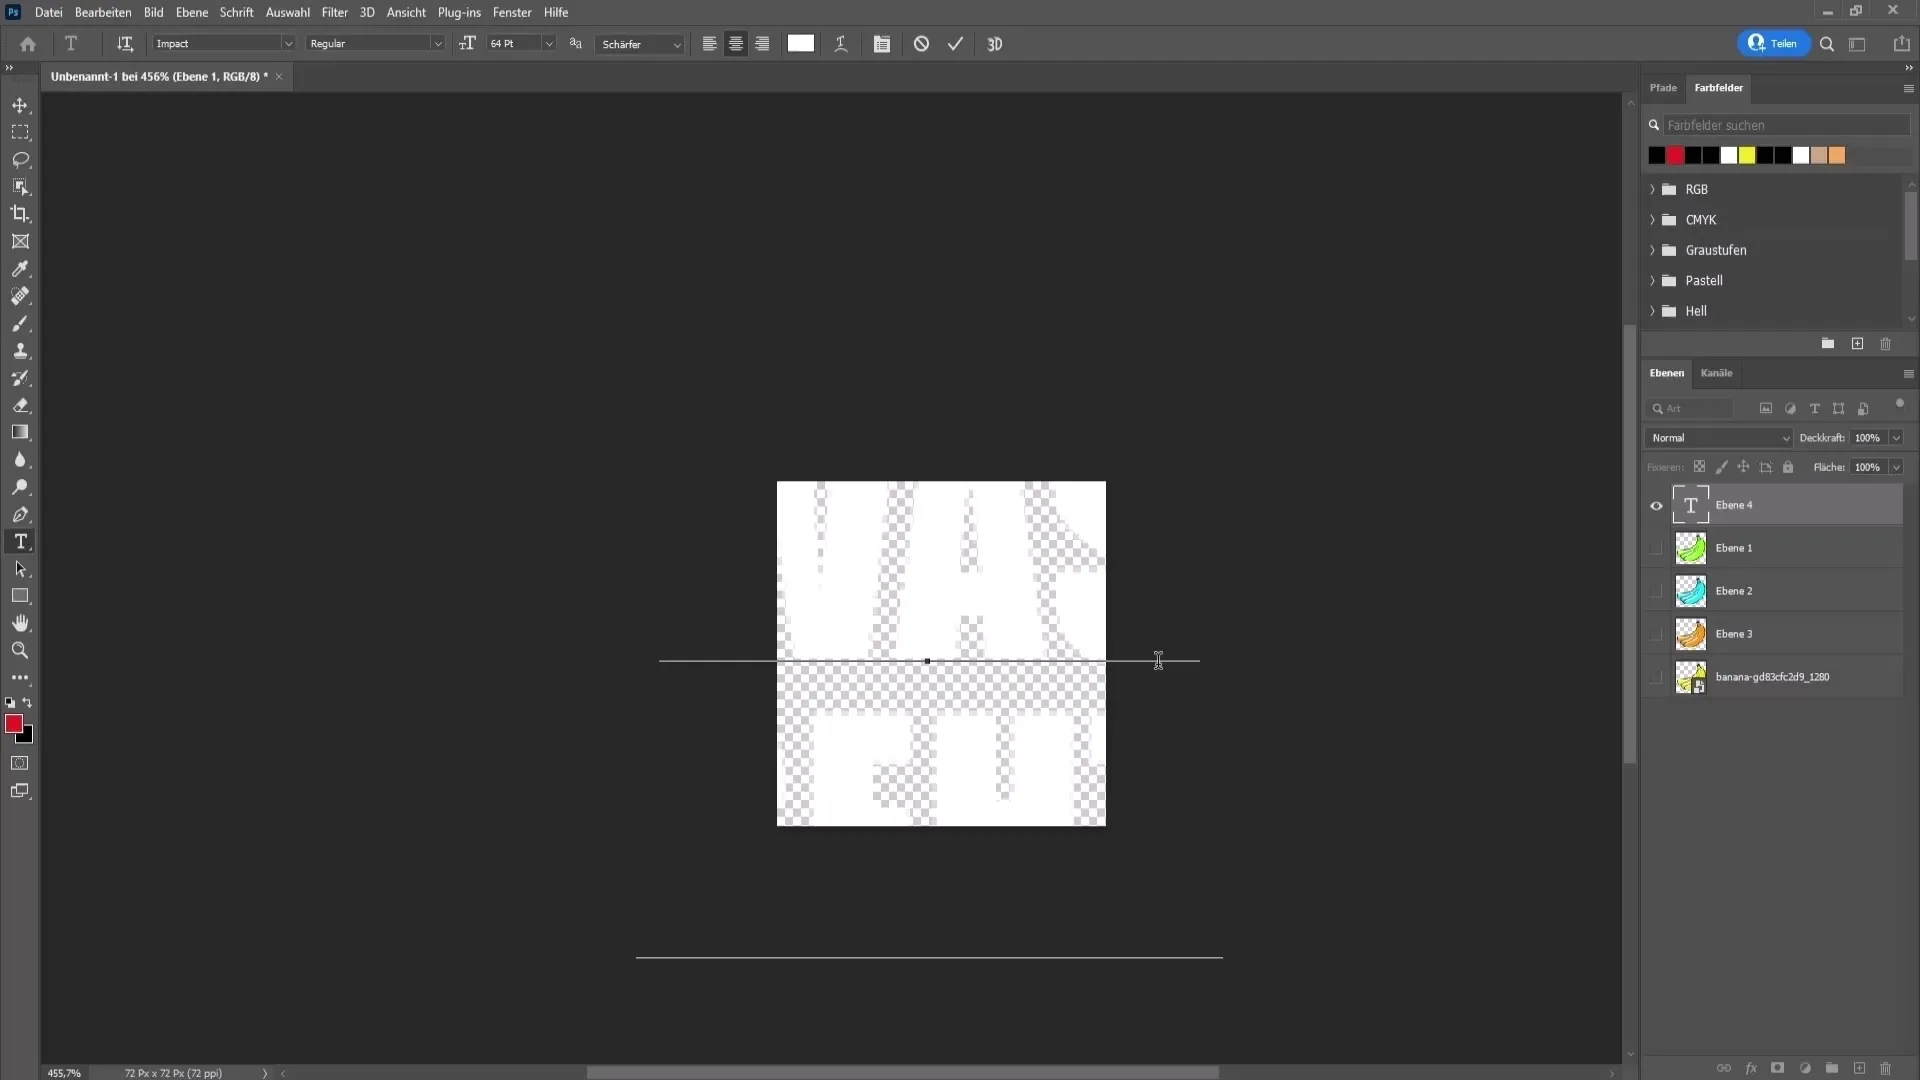
Step 11: Design Text
To give your text more style, go to "Window" and then to "Styles". You can try out different style templates to improve the appearance of your text. Also, add a black outline to make your emote stand out from the background.
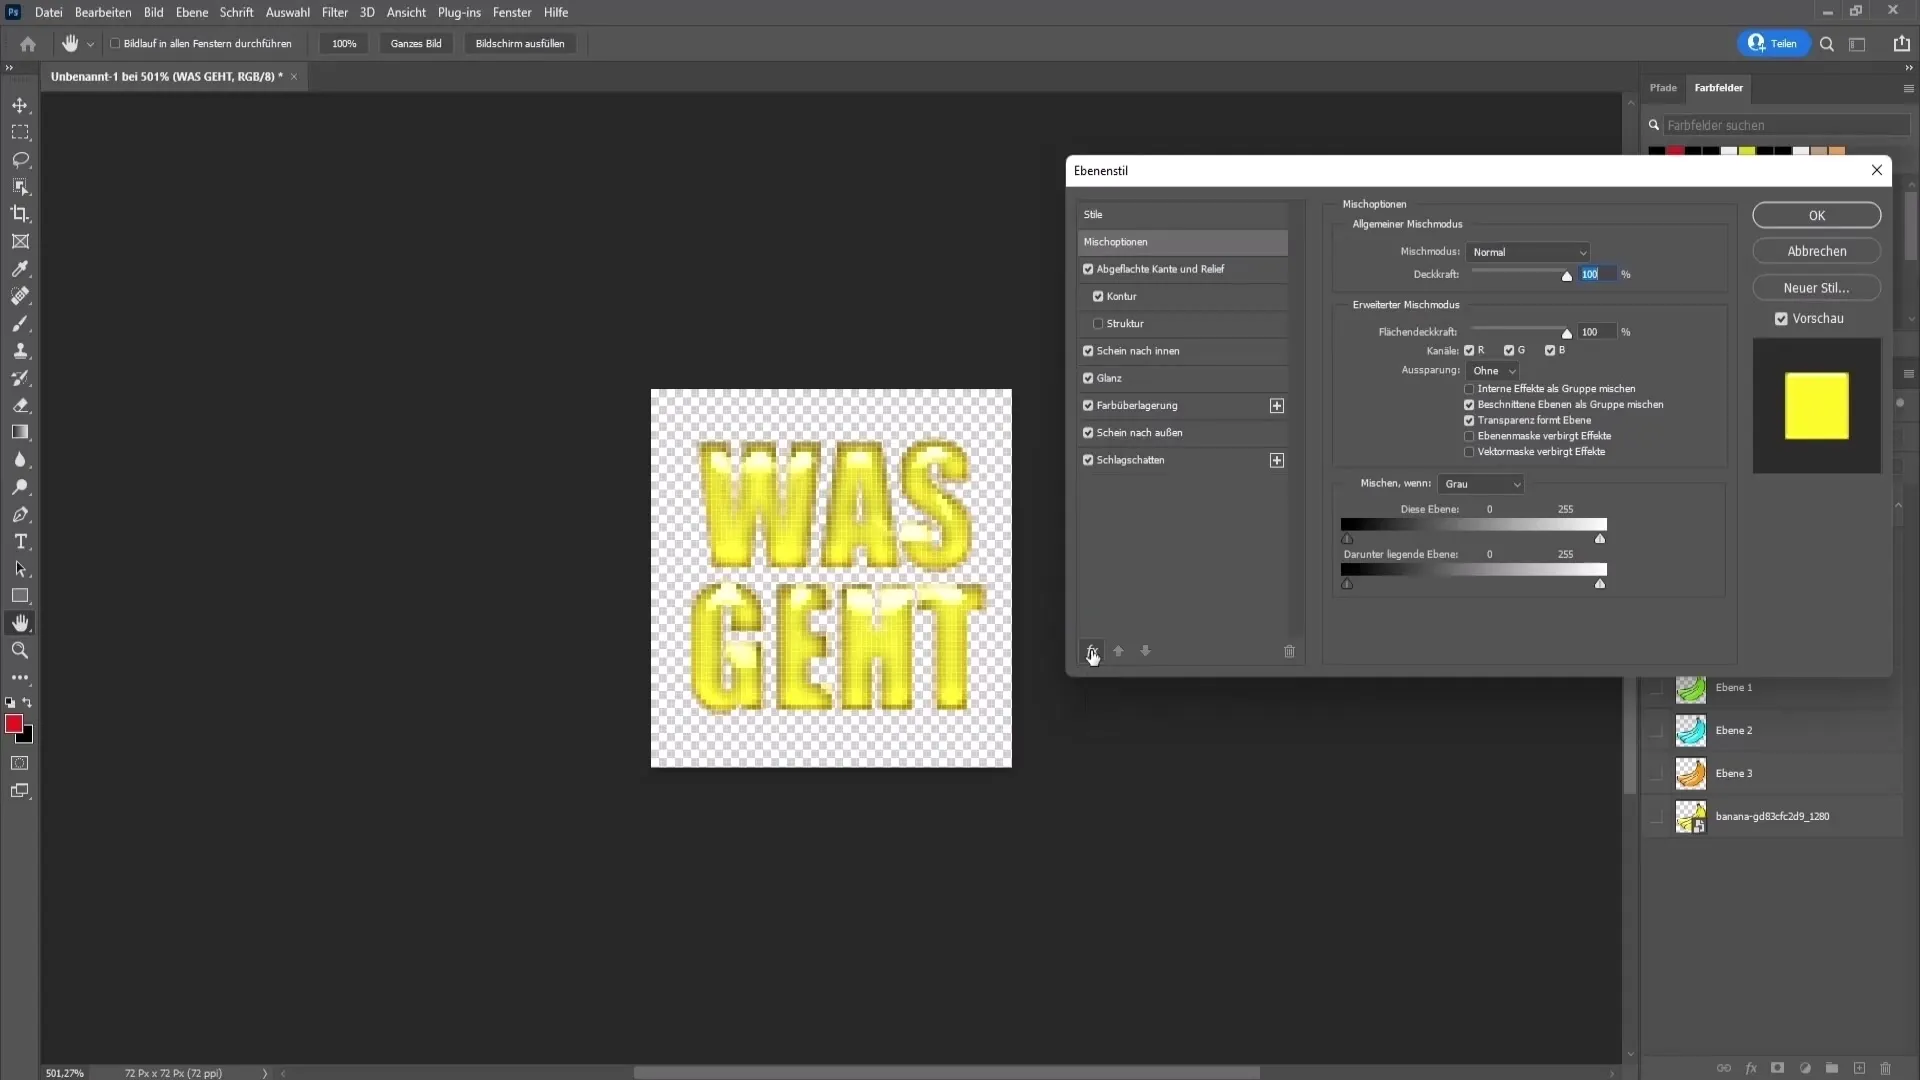
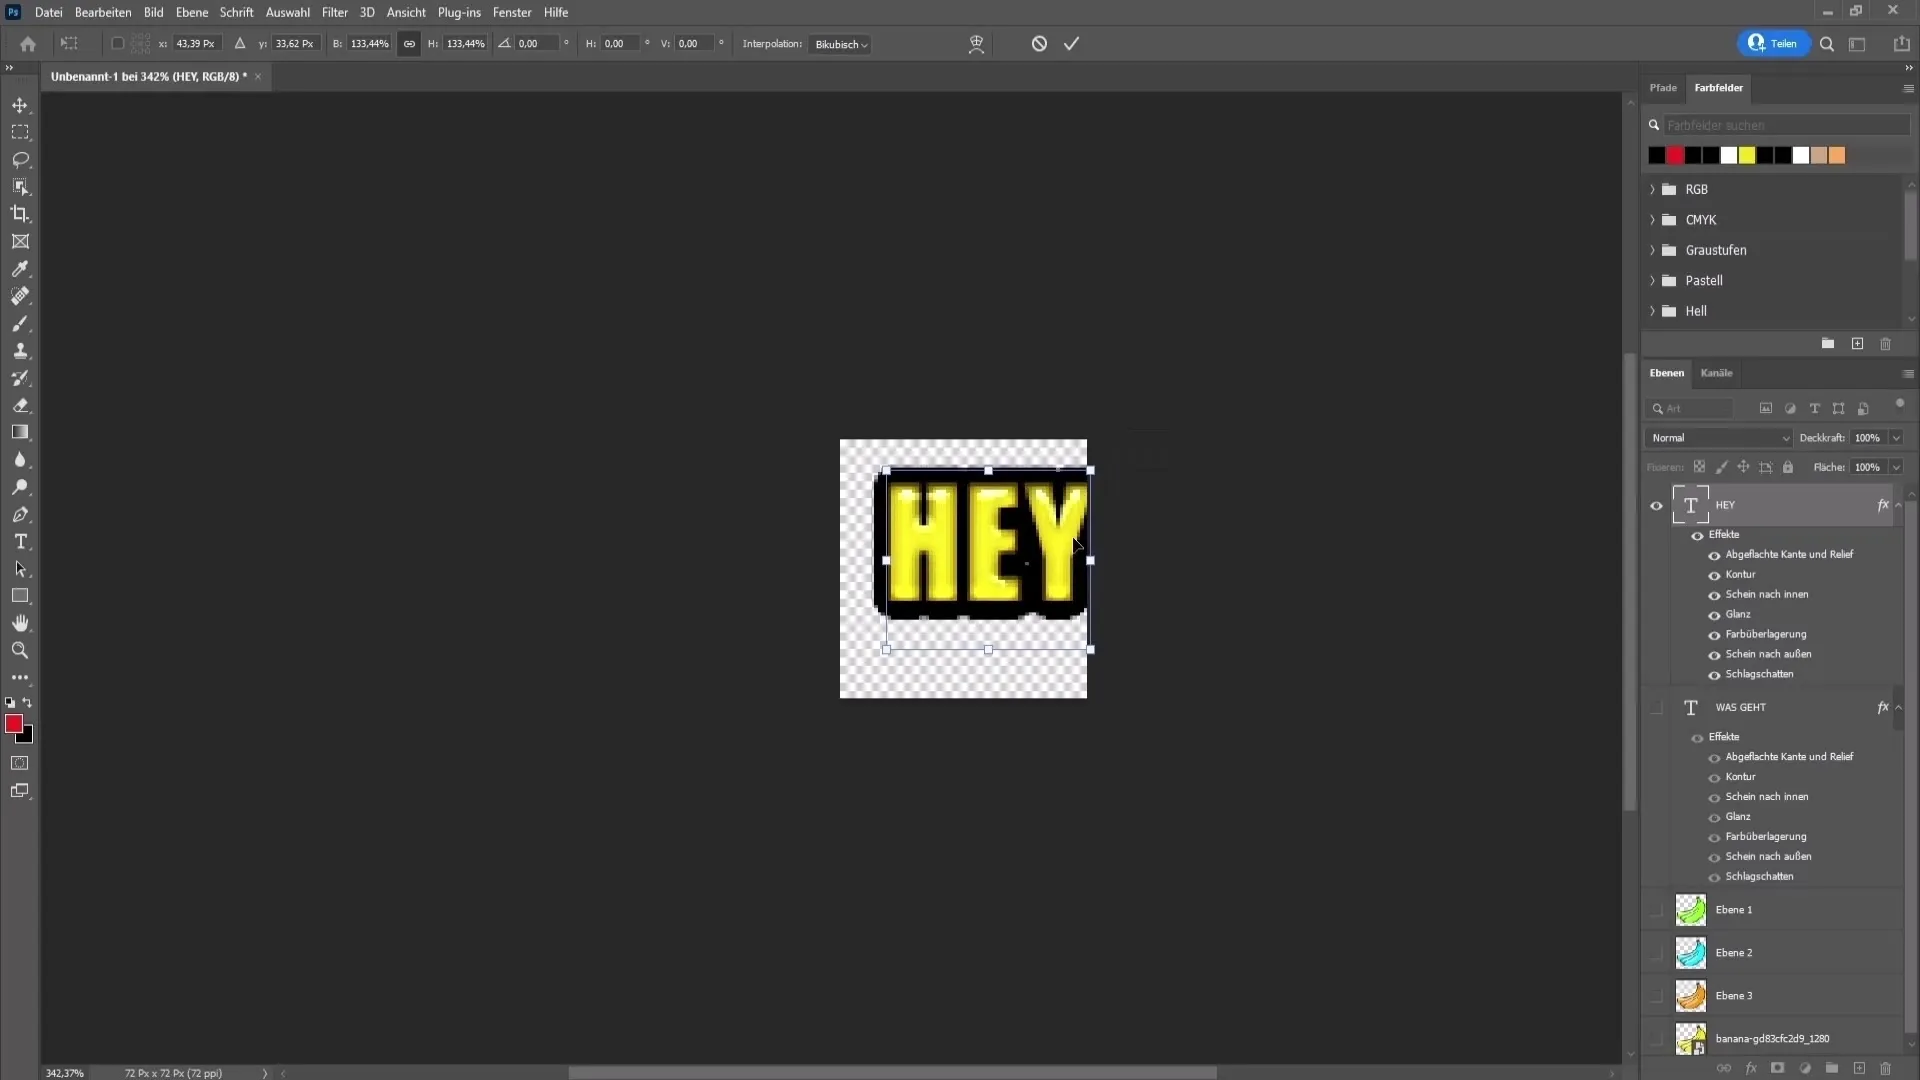
Step 12: Customize and Use Emote
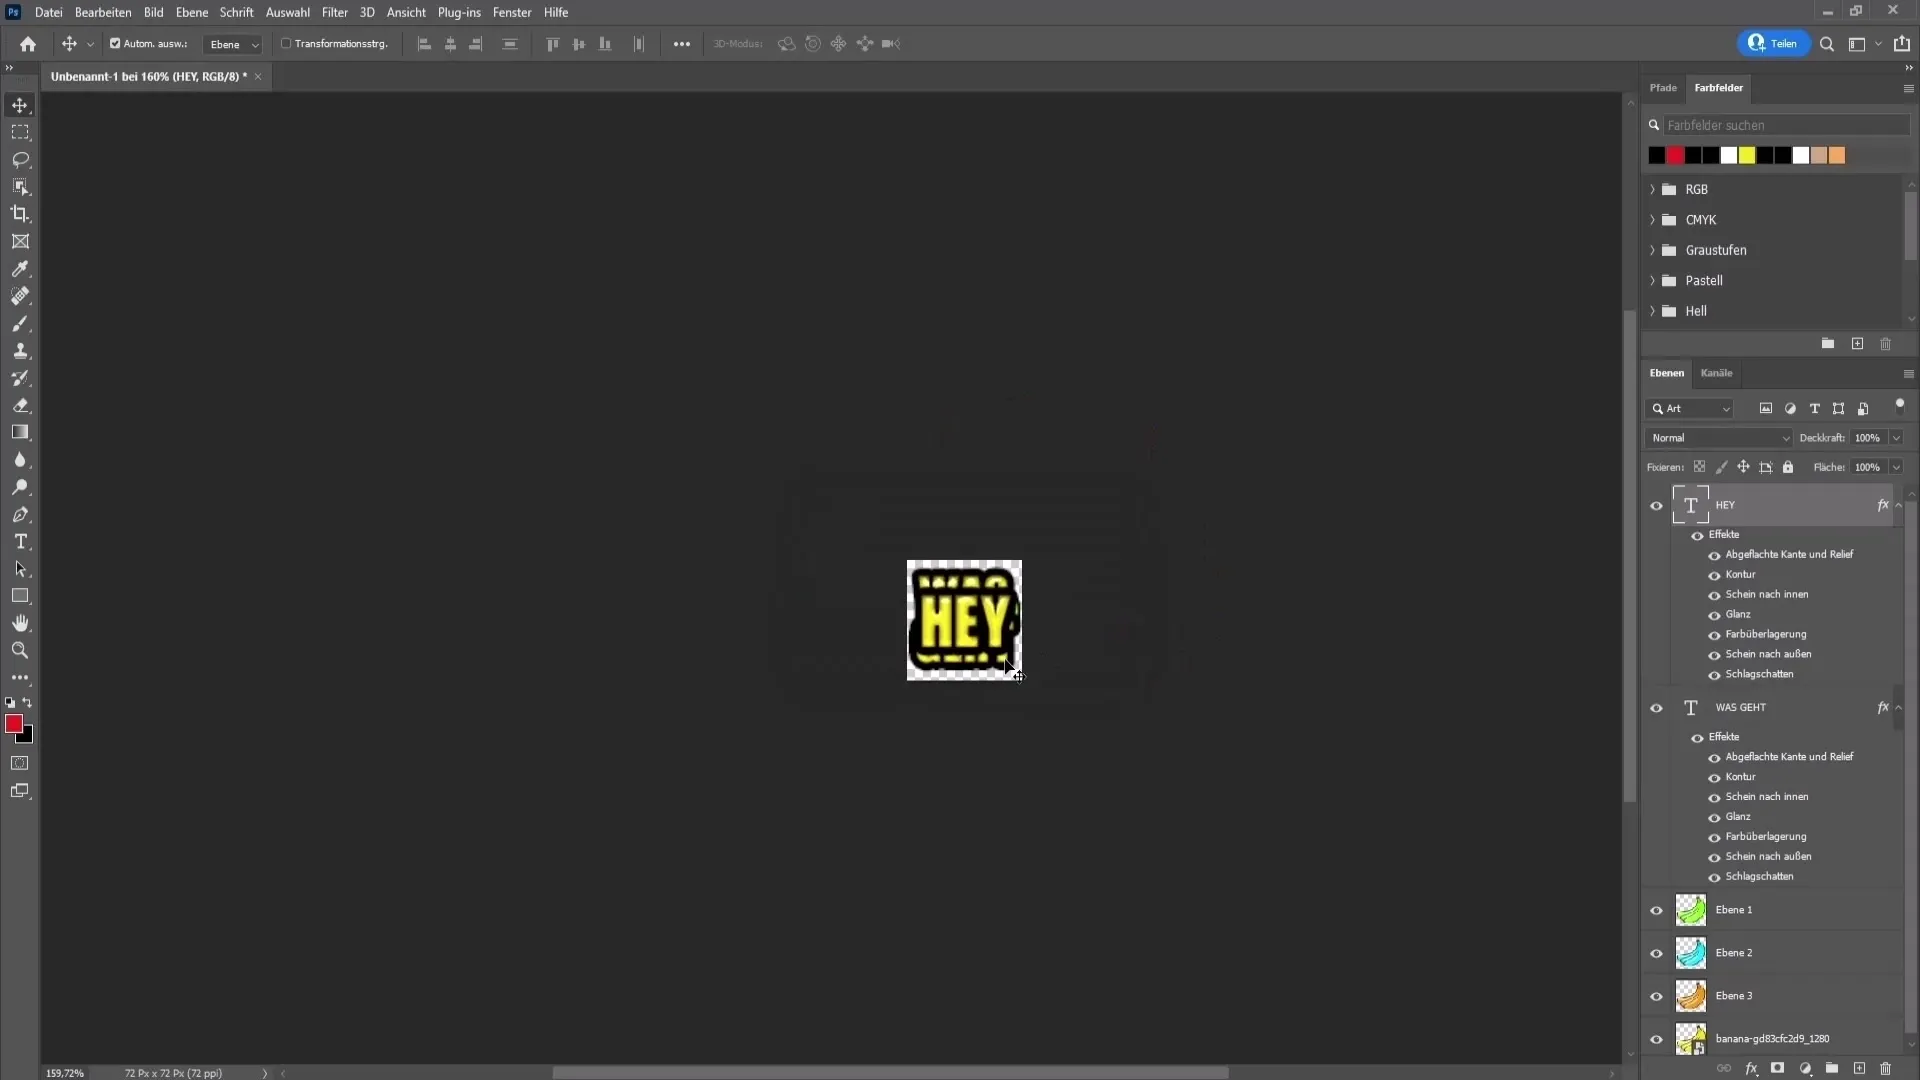
Place the emote centrally in the document and adjust the size to fit well into your overall image. You can repeat the same process with different texts to create more emotes.
Step 13: Exporting the Designs
After creating all badges and emotes, the final step is exporting. Go to "File" at the top left, then to "Export" and select "Layers to Files". Check the box for "Visible Layers Only" and choose the PNG file format to ensure a transparent background.
Summary
In this tutorial, you have learned how to create your own emojis and logos for your YouTube channel membership using Photoshop. From creating a new document to finding and customizing vector graphics to exporting your designs - you are now well-prepared to customize your channel uniquely!
Frequently Asked Questions
How large should the emojis and logos be for the YouTube channel?The ideal size is 72x72 pixels.
Where can I find suitable vector graphics?A good place to start is the website "pixabay.com".
Why is a black outline important?It helps to stand out from different backgrounds and ensures better visibility.
Which fonts are recommended for text emotes?Thick fonts like "Impact" are ideal.
How do I export the designs in Photoshop?Go to "File" > "Export" > "Layers to Files" and make sure to choose PNG.
