You want to give your YouTube livestream a professional look? A Starting-Soon and Be-Right-Back overlay is an excellent way to engage your viewers and inform them about upcoming breaks or preparations. In this guide, I will show you step by step how to create these overlays using Photoshop and capture them in OBS Studio or Streamlabs OBS.
Key Takeaways
- Creating a Starting-Soon and Be-Right-Back overlay is simple and requires no special skills.
- The customization options in Photoshop allow you to create creative designs.
- Inserting your designs into OBS Studio is straightforward and intuitive.
Step-by-Step Guide
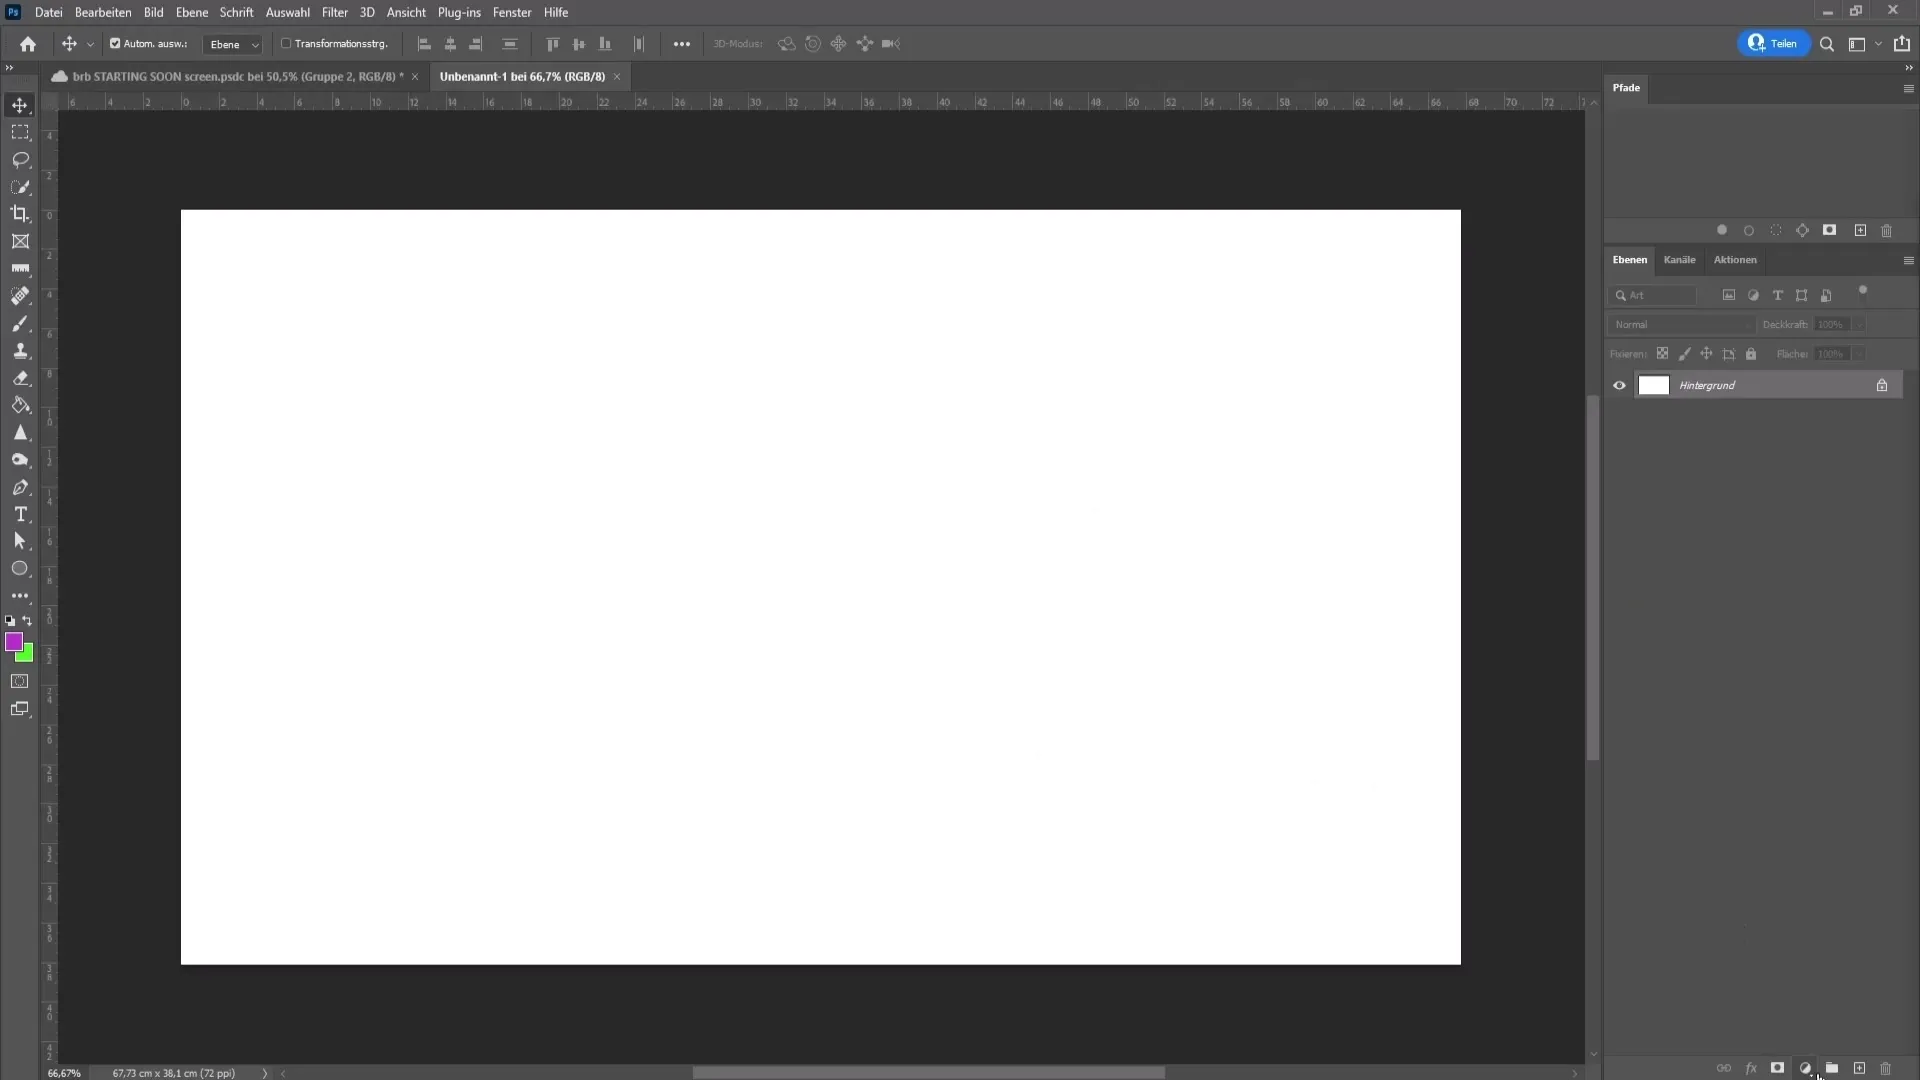
First, you need to open Photoshop and create a new document. Go to "File" in the top left corner and select "New." For your overlay, set a width of 1920 pixels and a height of 1080 pixels. The resolution remains at 72 dpi. Then click "Create" to start your new project.
Next, we want to set a background color. Click on the correction tool in the bottom right and select the color field. Choose a strong dark gray as the background color and click "OK." You can then delete the background layer by right-clicking on it and pressing the delete key.
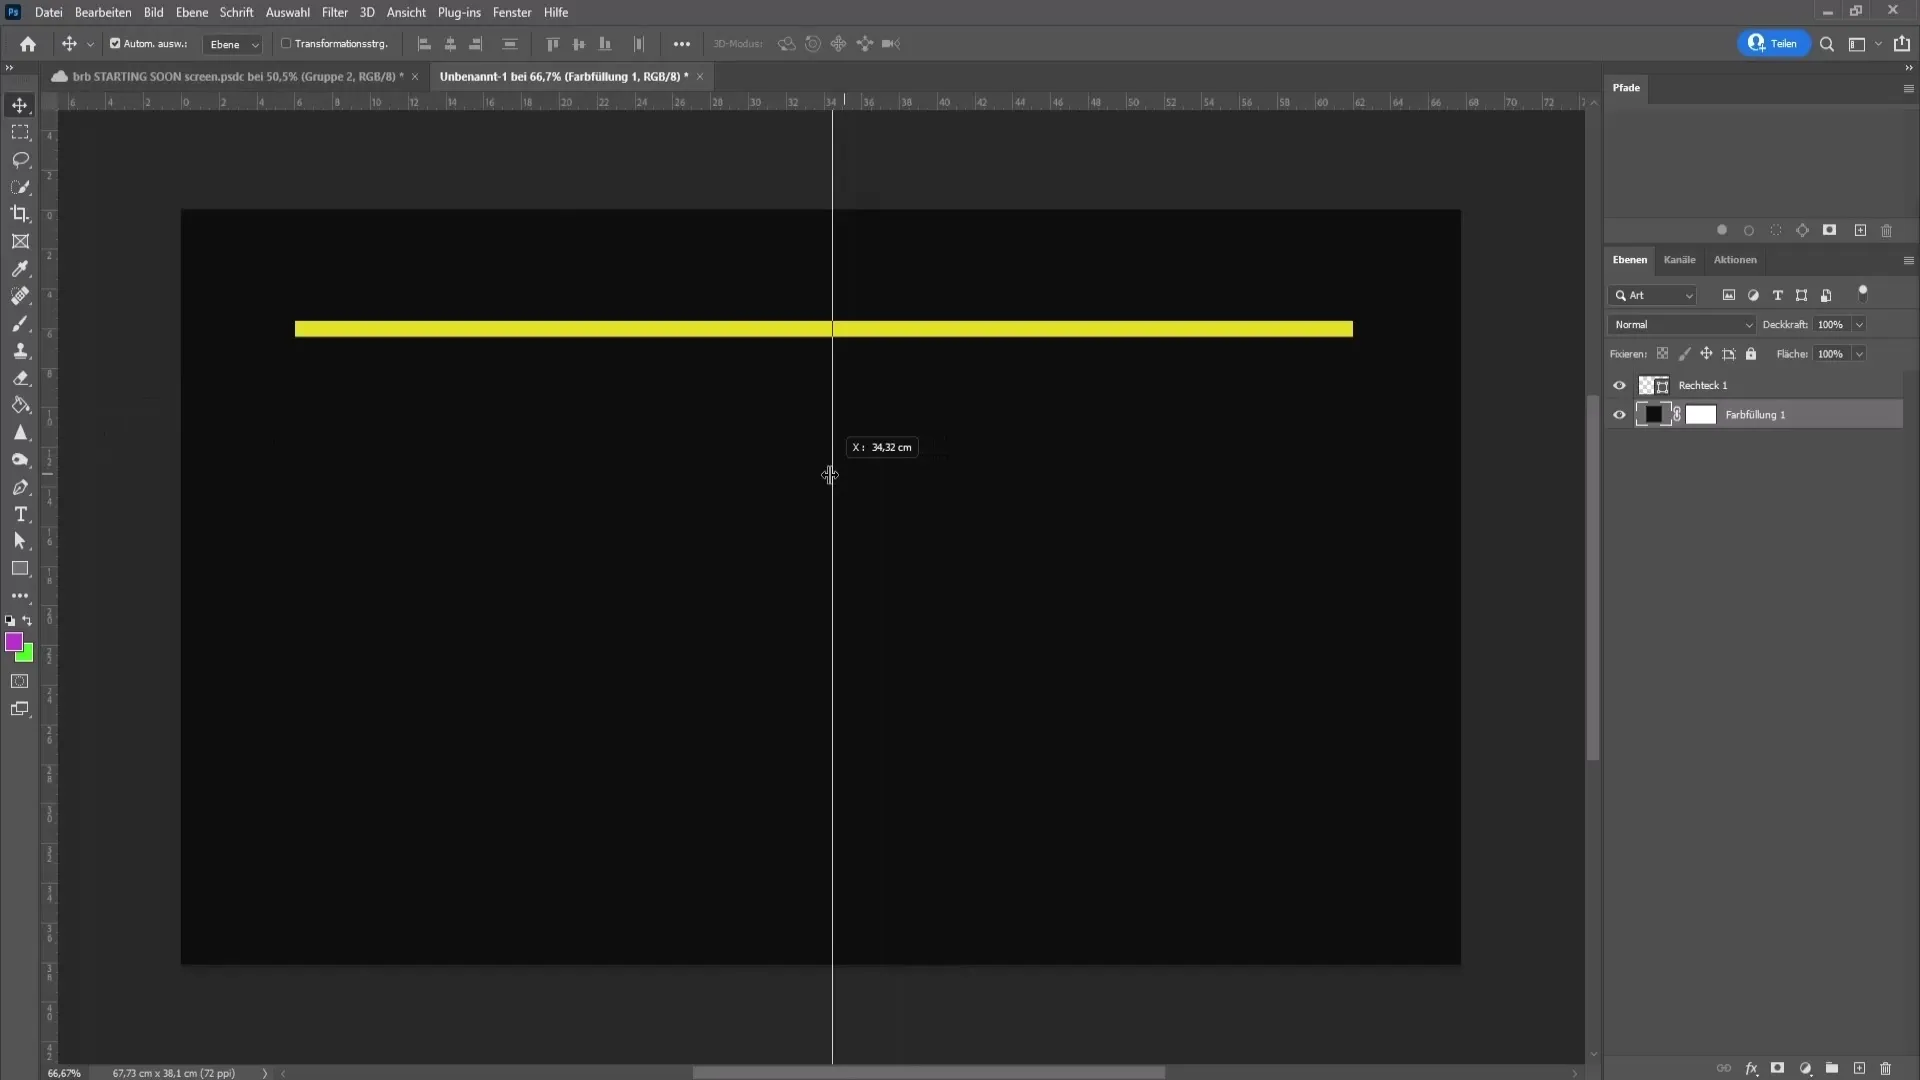
Now it's time to add the lines for your overlay. Select the rectangle tool from the left toolbar. Set the fill color to yellow for clear visibility. Make sure the stroke is turned off. Draw a line at the top and one at the bottom of your design. Hold down the spacebar to move the line as needed until it matches your vision.
To align the lines in the center, draw a guide from the left side of the ruler by pressing Ctrl and R to ensure the ruler is visible. These guides will help you center your lines precisely. Once you achieve that, you can copy the lines by pressing Ctrl + J and dragging this copy slightly downwards.
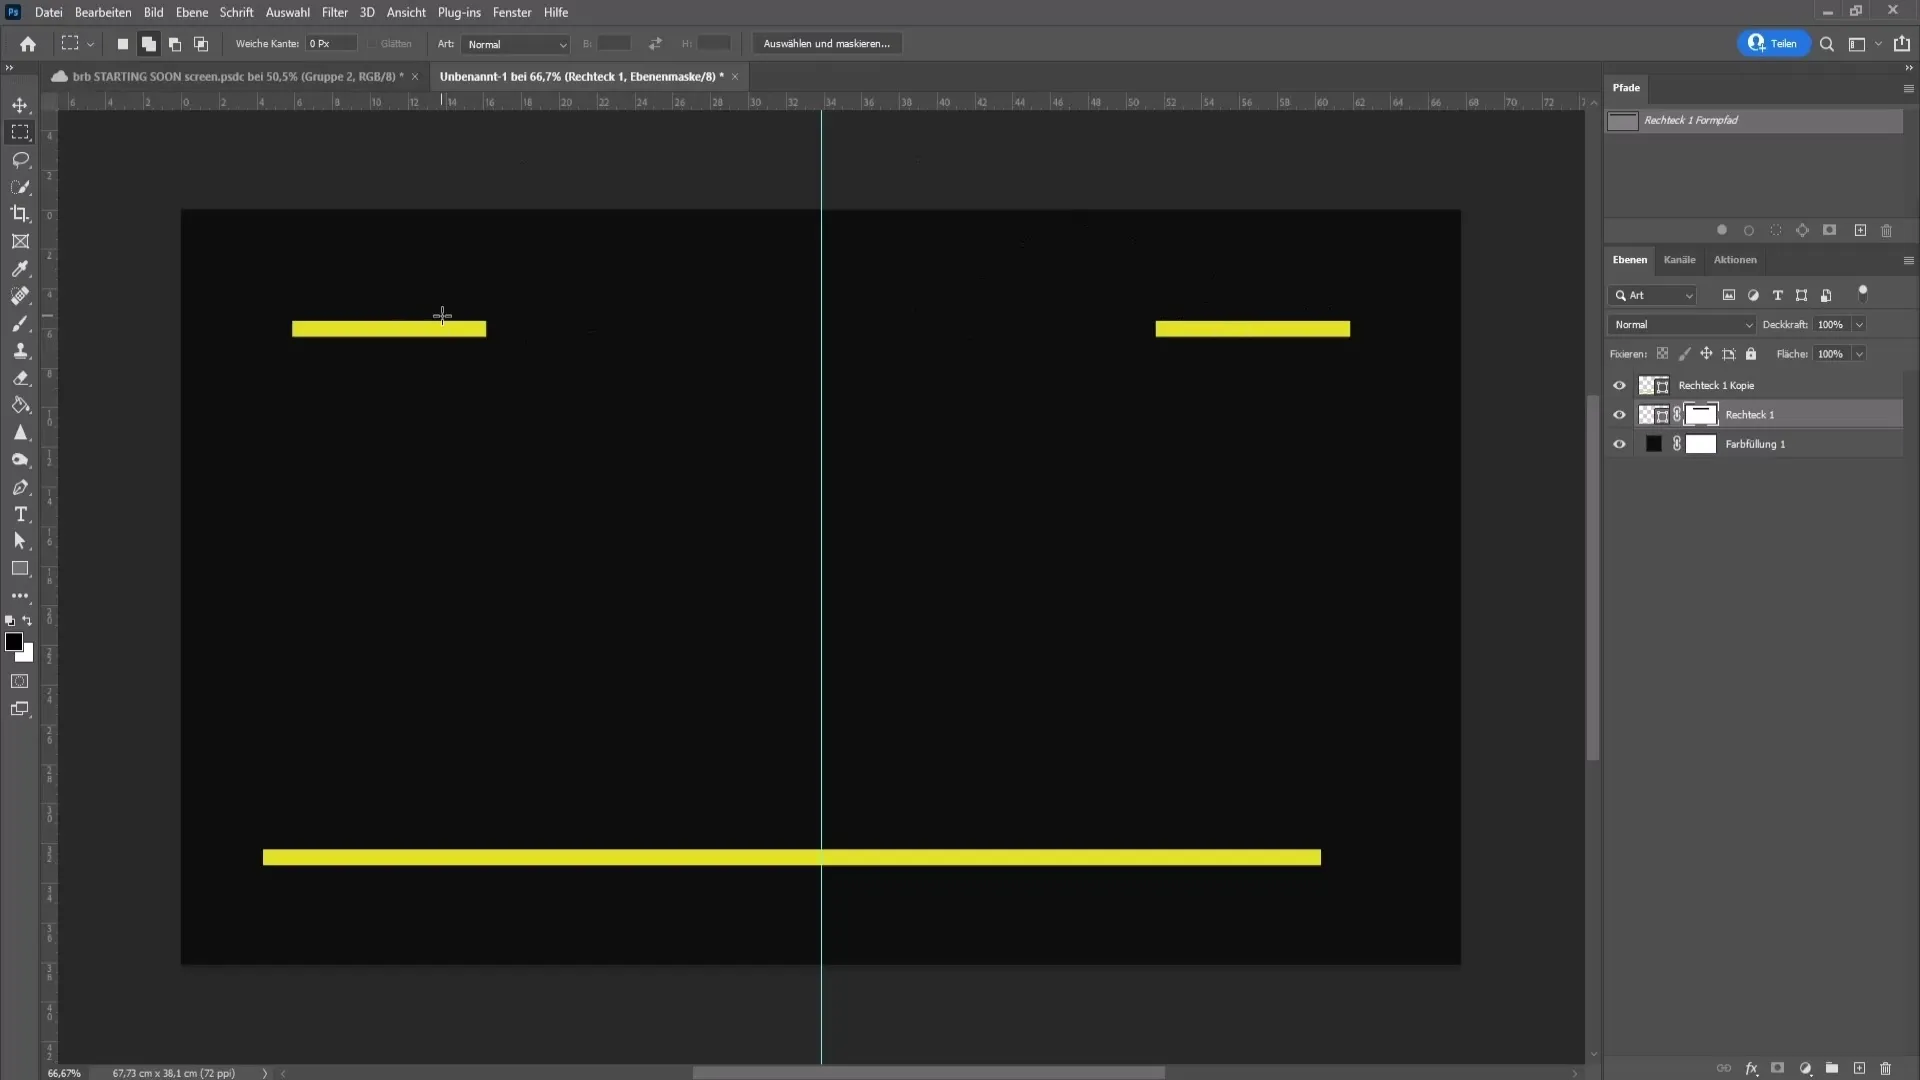
To cut out the top line, select the rectangular marquee tool on the top left. Make sure the feather is at 0 pixels. Choose the top line and drag a selection that matches the guide at the top. Press Alt and click on the layer mask icon to remove the excess parts.
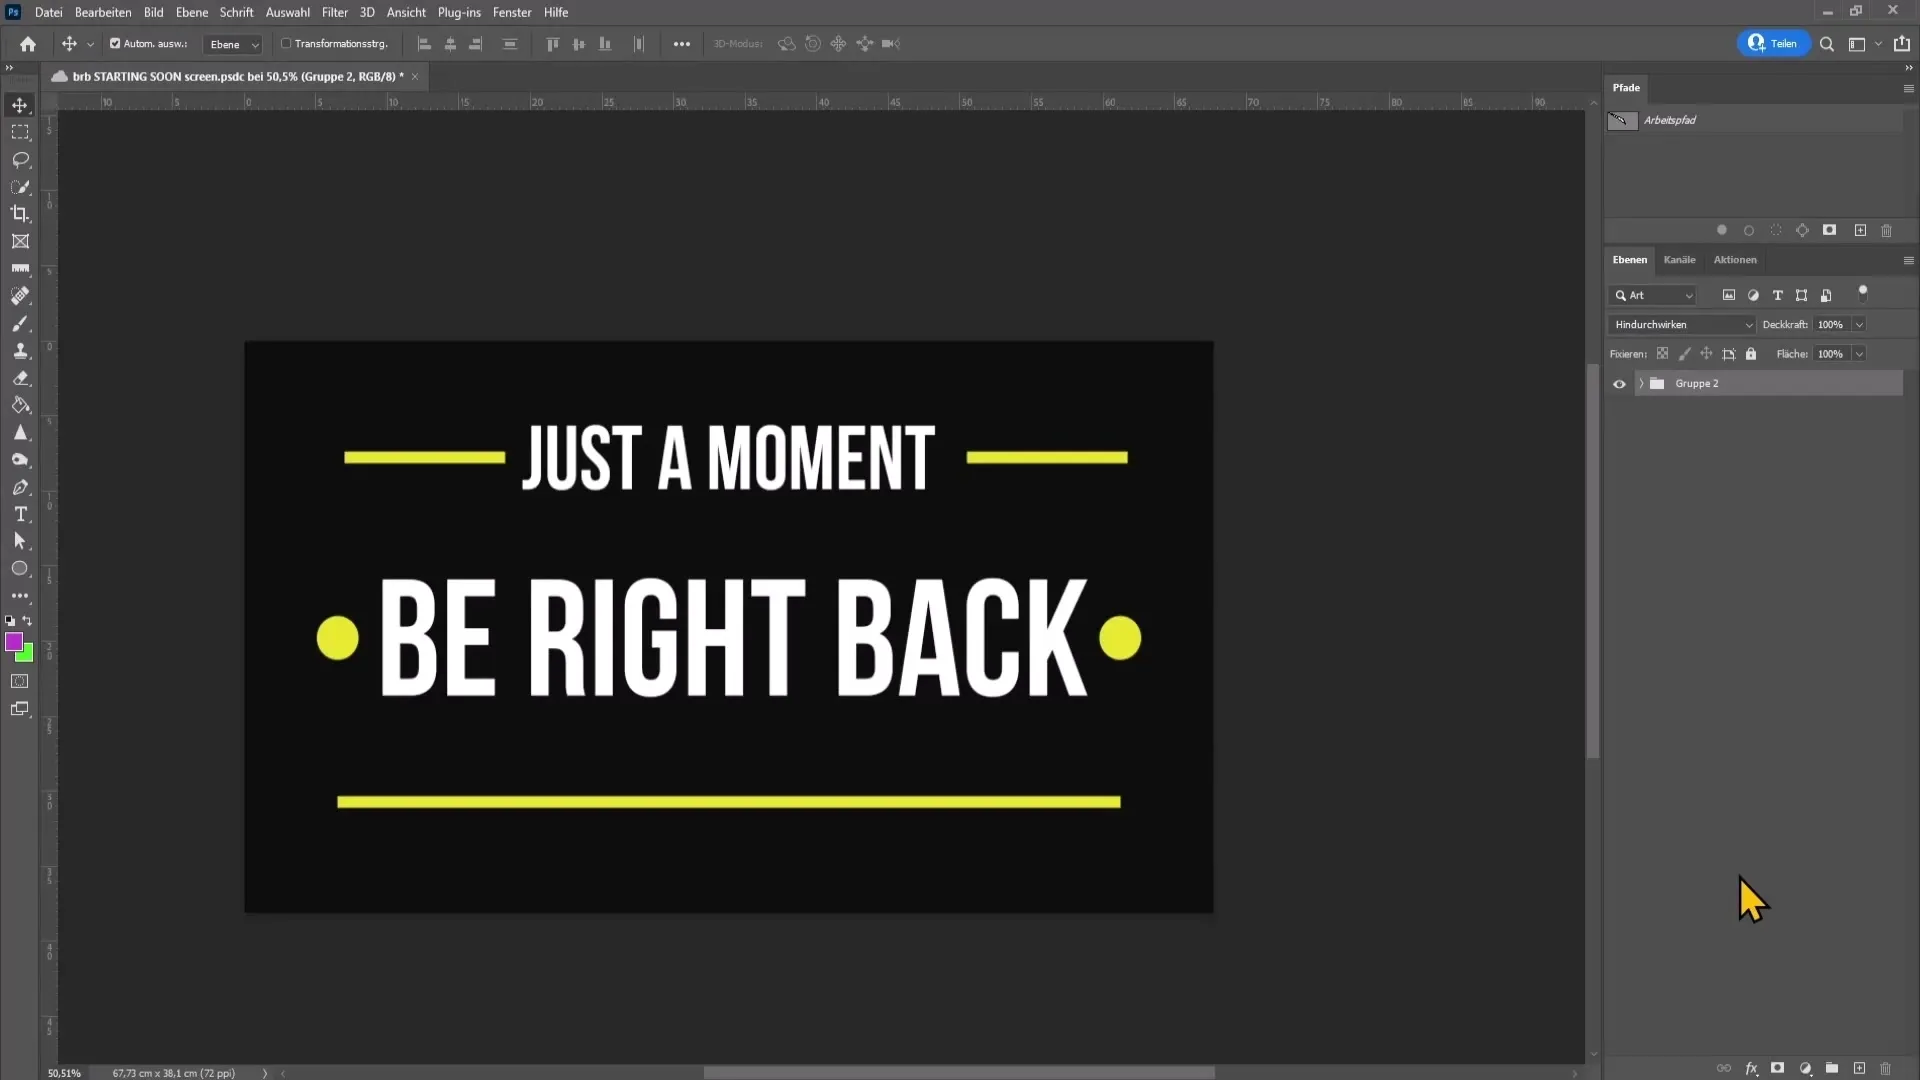
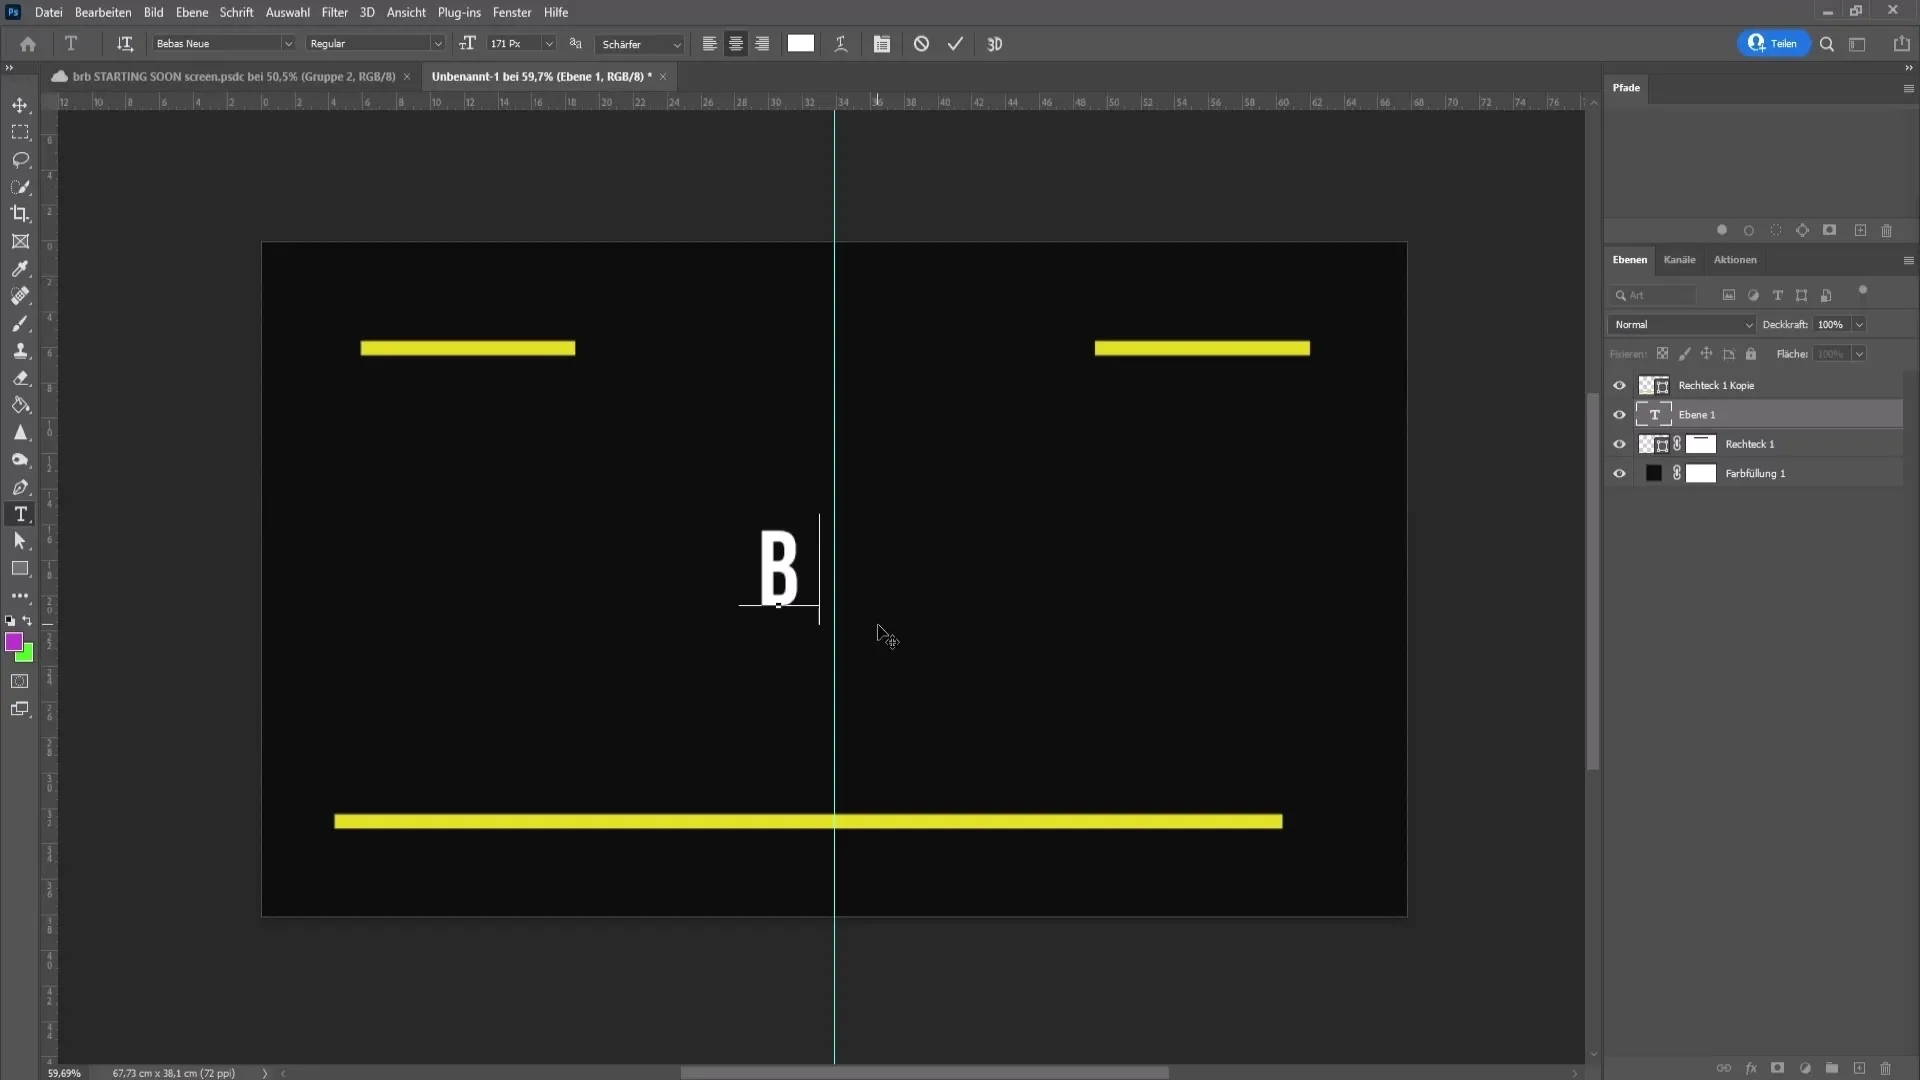
Now you need to add text to your overlay. Choose the text tool from the toolbar and click in the center of your design to input your text. For example, type "Be right back." If you are unsatisfied with the font, you can change the font in the toolbar above. Ensure the font is easily readable. Drag the text to the desired position.
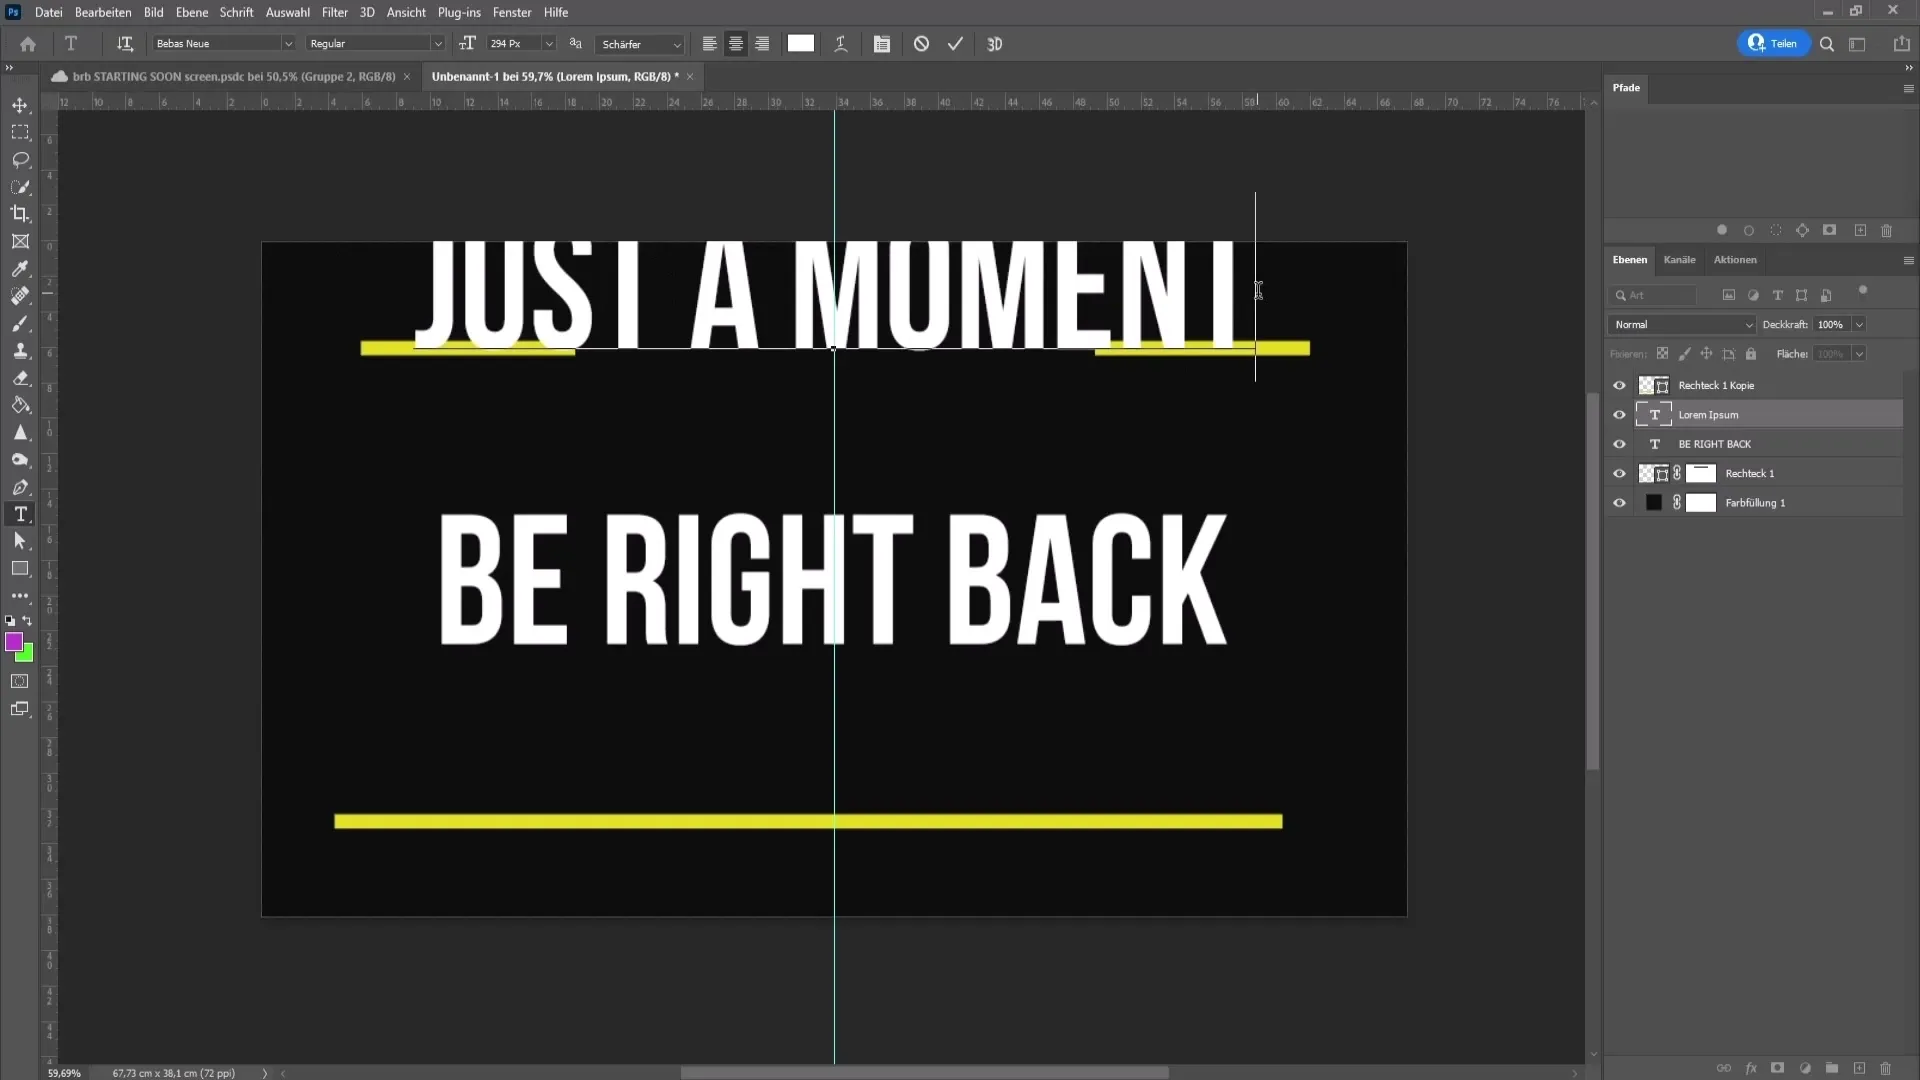
The same applies for the second text. Click again on the text tool and enter "Just a moment." Reduce the size of this text and place it in the upper half of your design. Ensure that the alignment of your texts matches the lines to create a harmonious overall look.
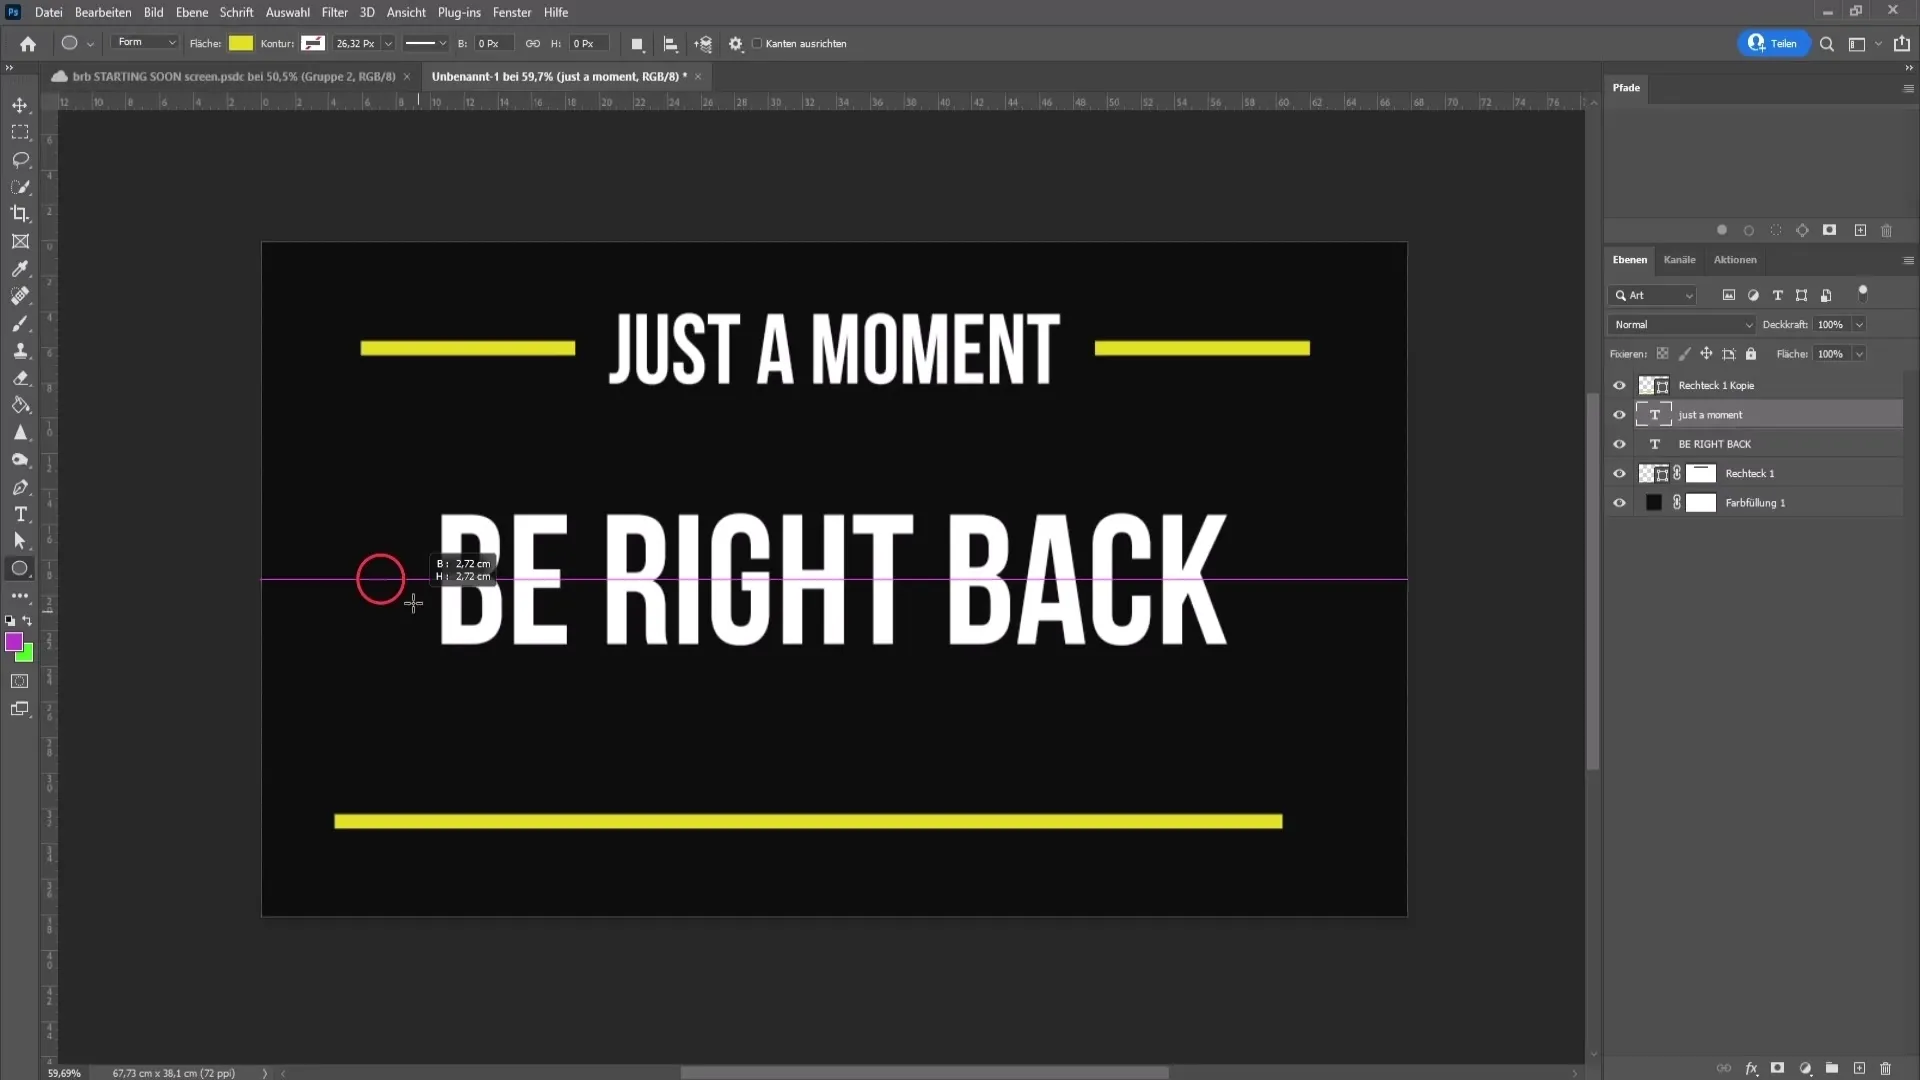
Now we add the decorative elements. Select the ellipse tool and draw two equal-sized circles while holding the Shift key. You can position them on the left and right of the text to give your overlay more dynamism. Copy one circle by pressing Ctrl + J and drag it to the opposite side.
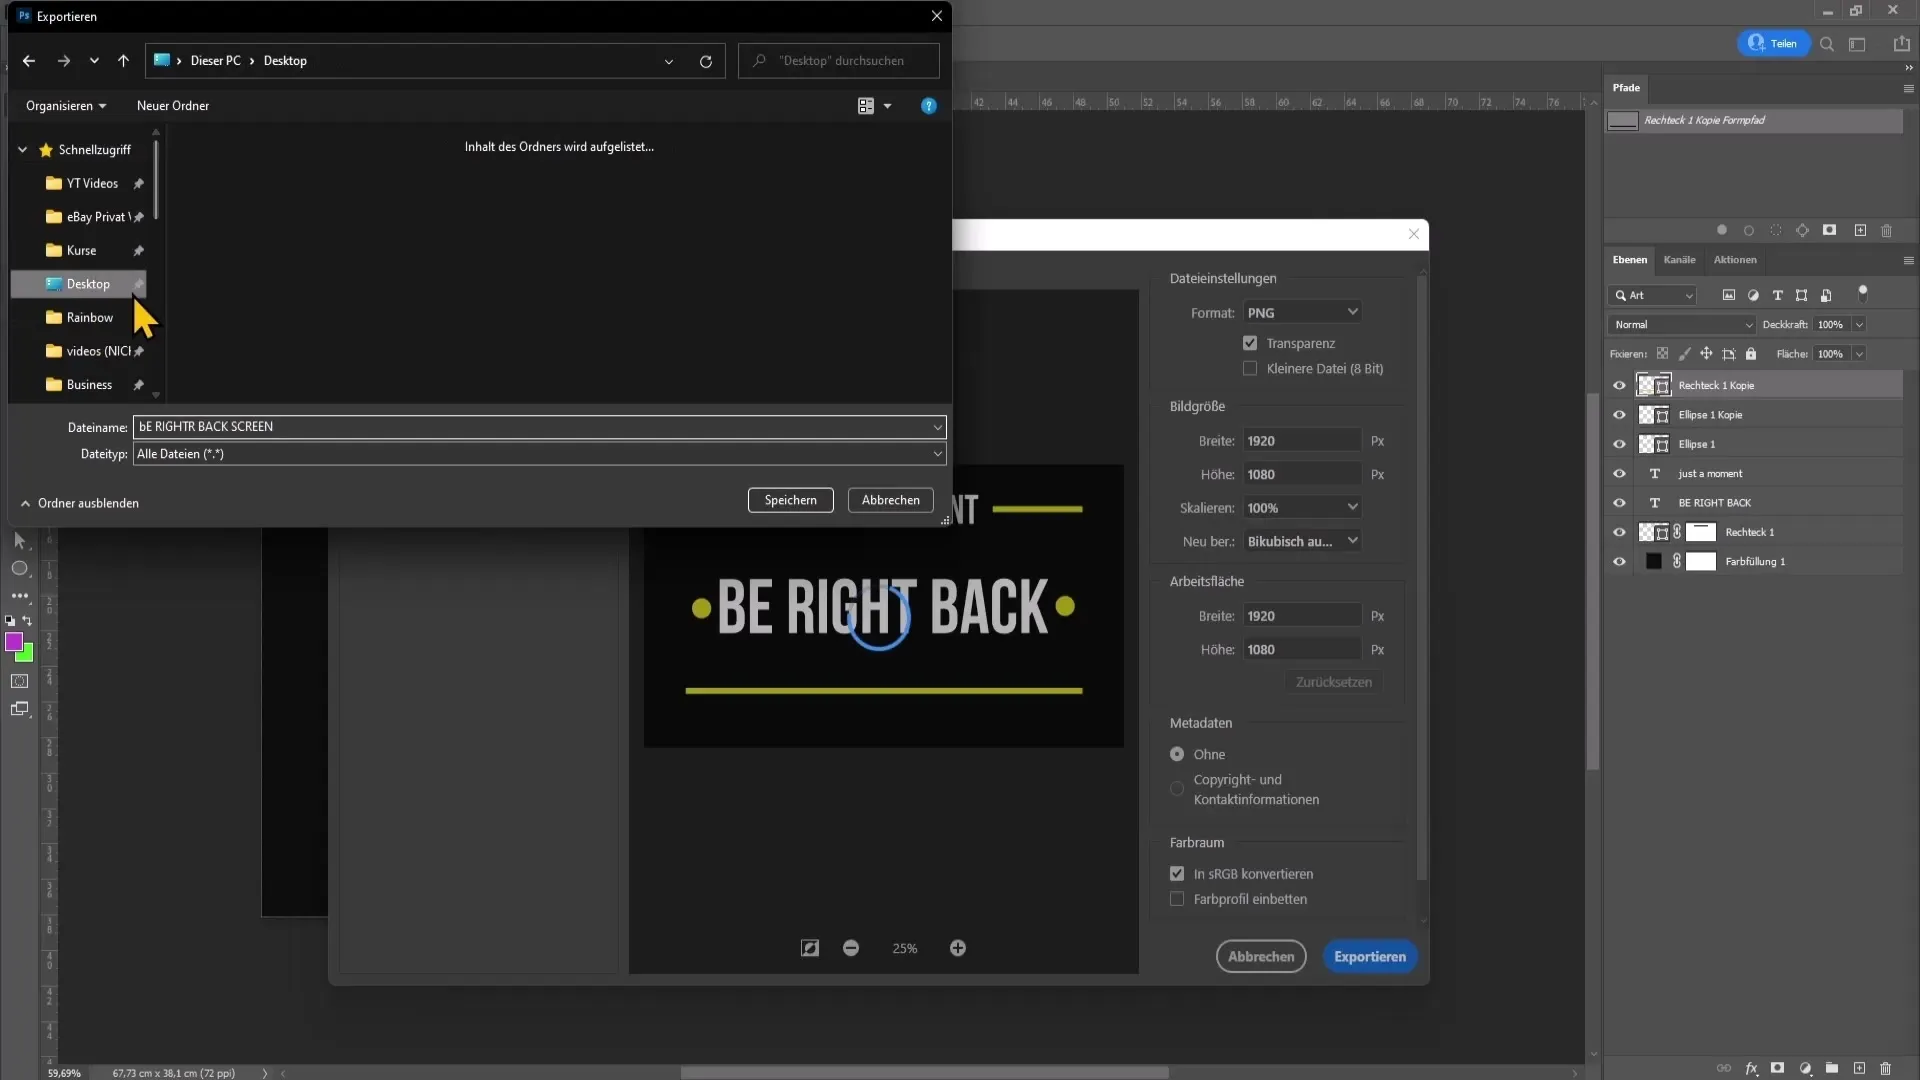
Once you are satisfied with the design, save your work. Go to "File" and select "Export," then "Export As." Choose the PNG format and save the image to your desktop by giving it a suitable name, such as "Be right back Screen."
To create your Starting-Soon overlay, go back to your original project and change the text to "Starting Soon". Also change the top text layer to "Stream starting soon". Save this overlay as a PNG.
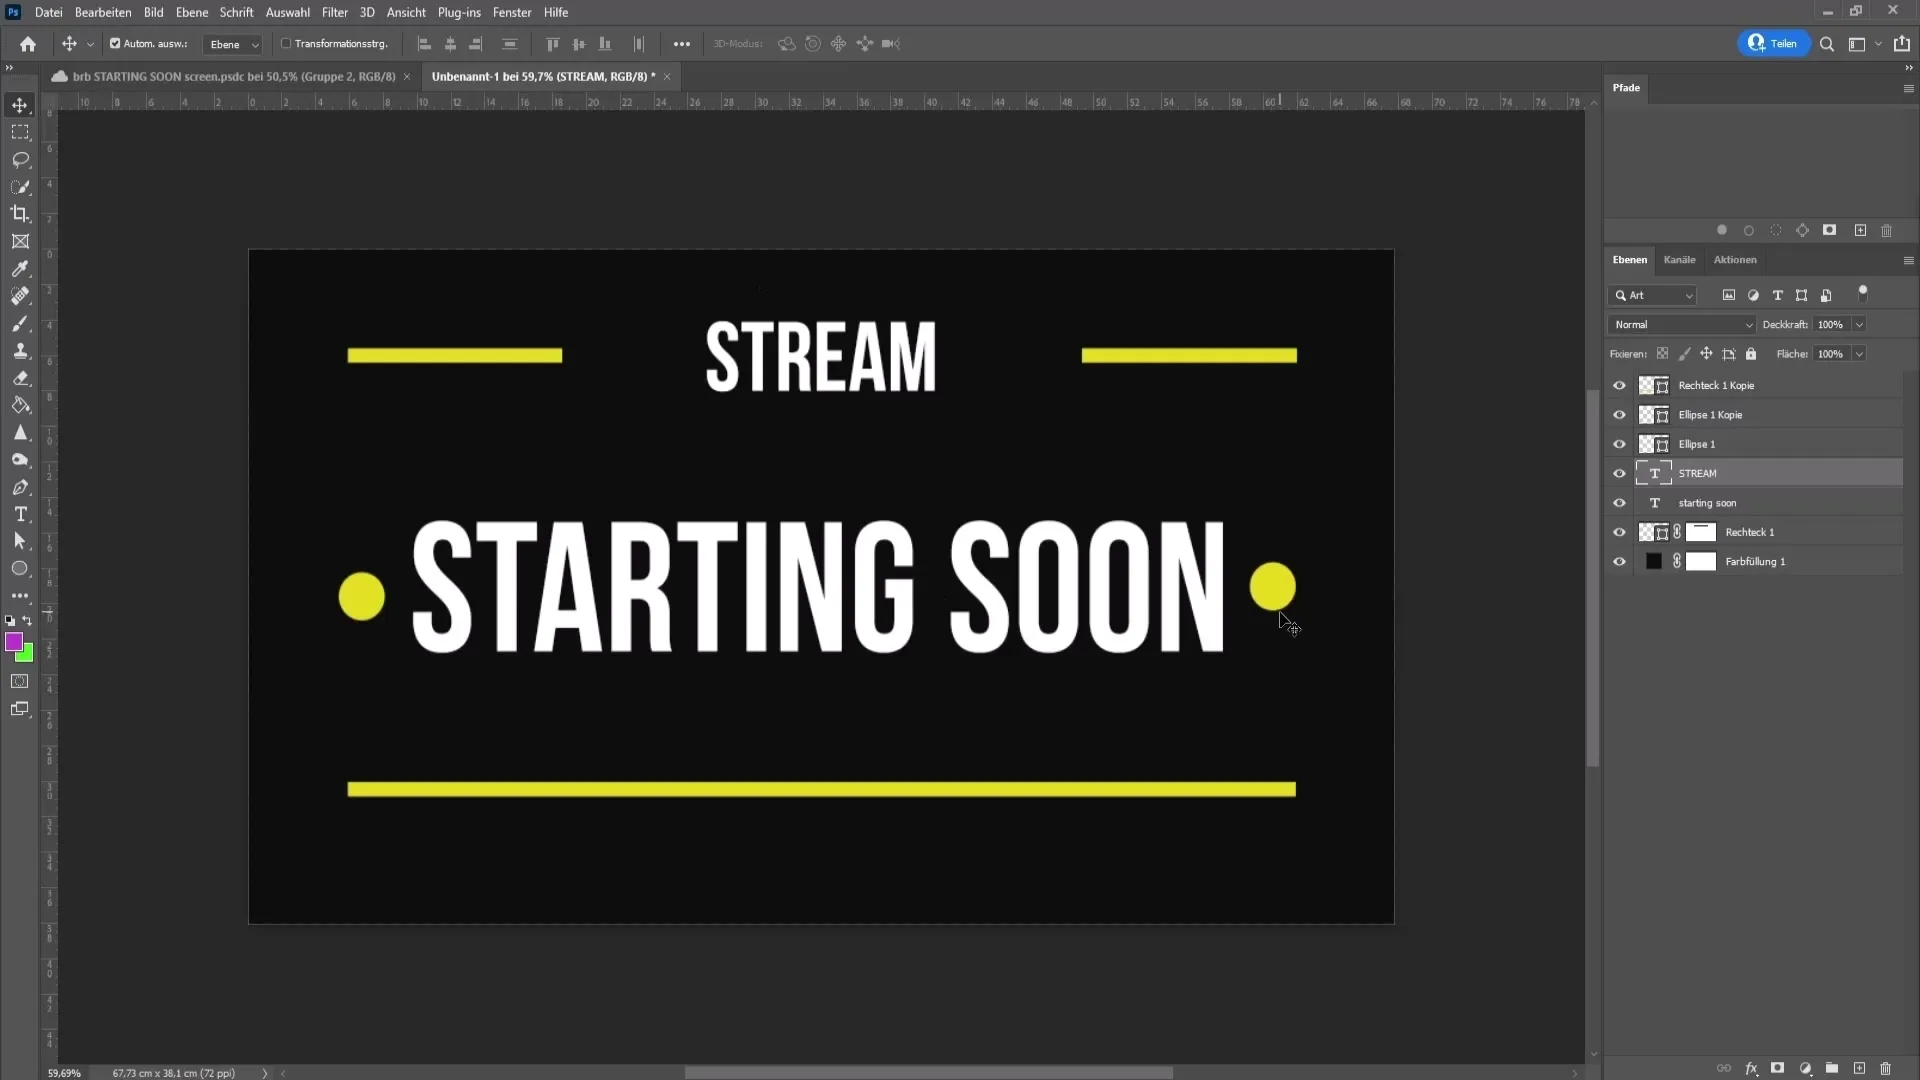
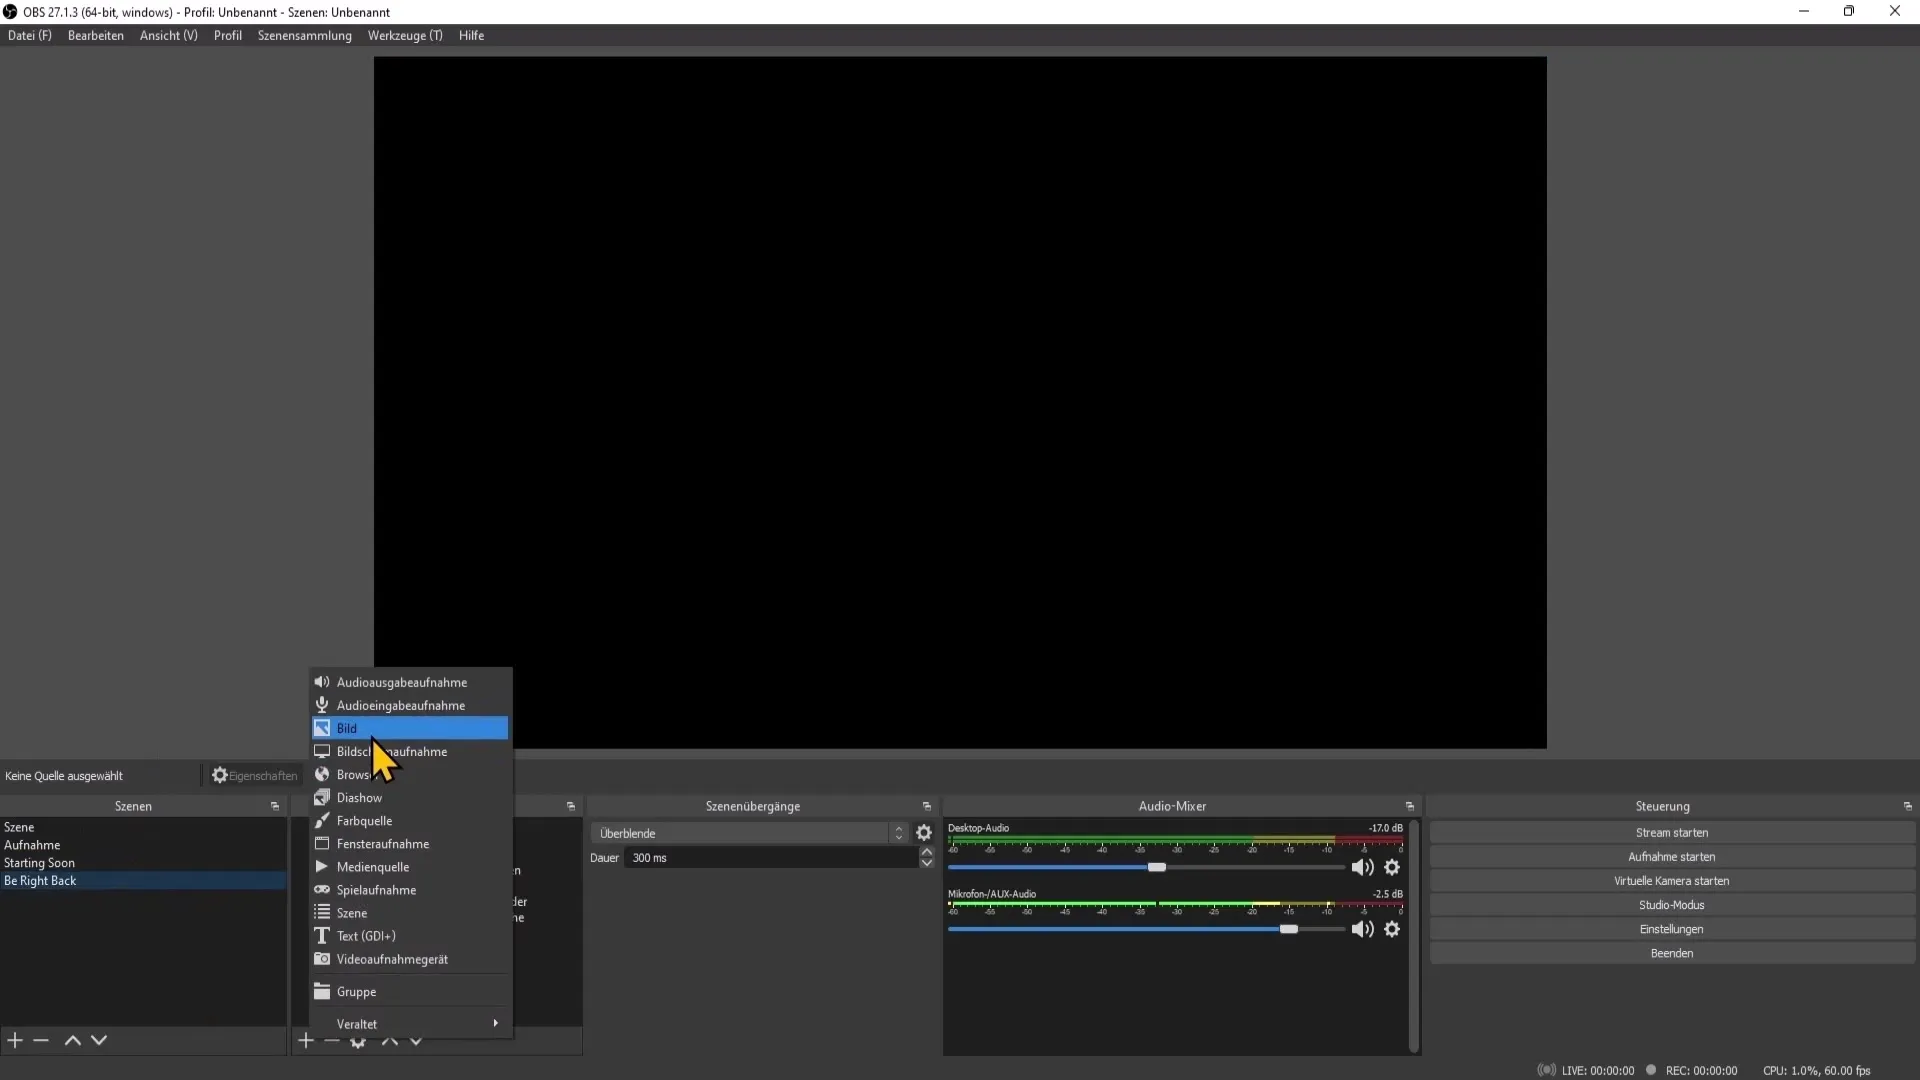
Now comes the crucial part: inserting the overlays into OBS Studio. Start OBS Studio and create a new scene for your "Starting Soon" overlay. Click on the plus sign in the bottom left, select "Image" and add your saved Starting-Soon image.
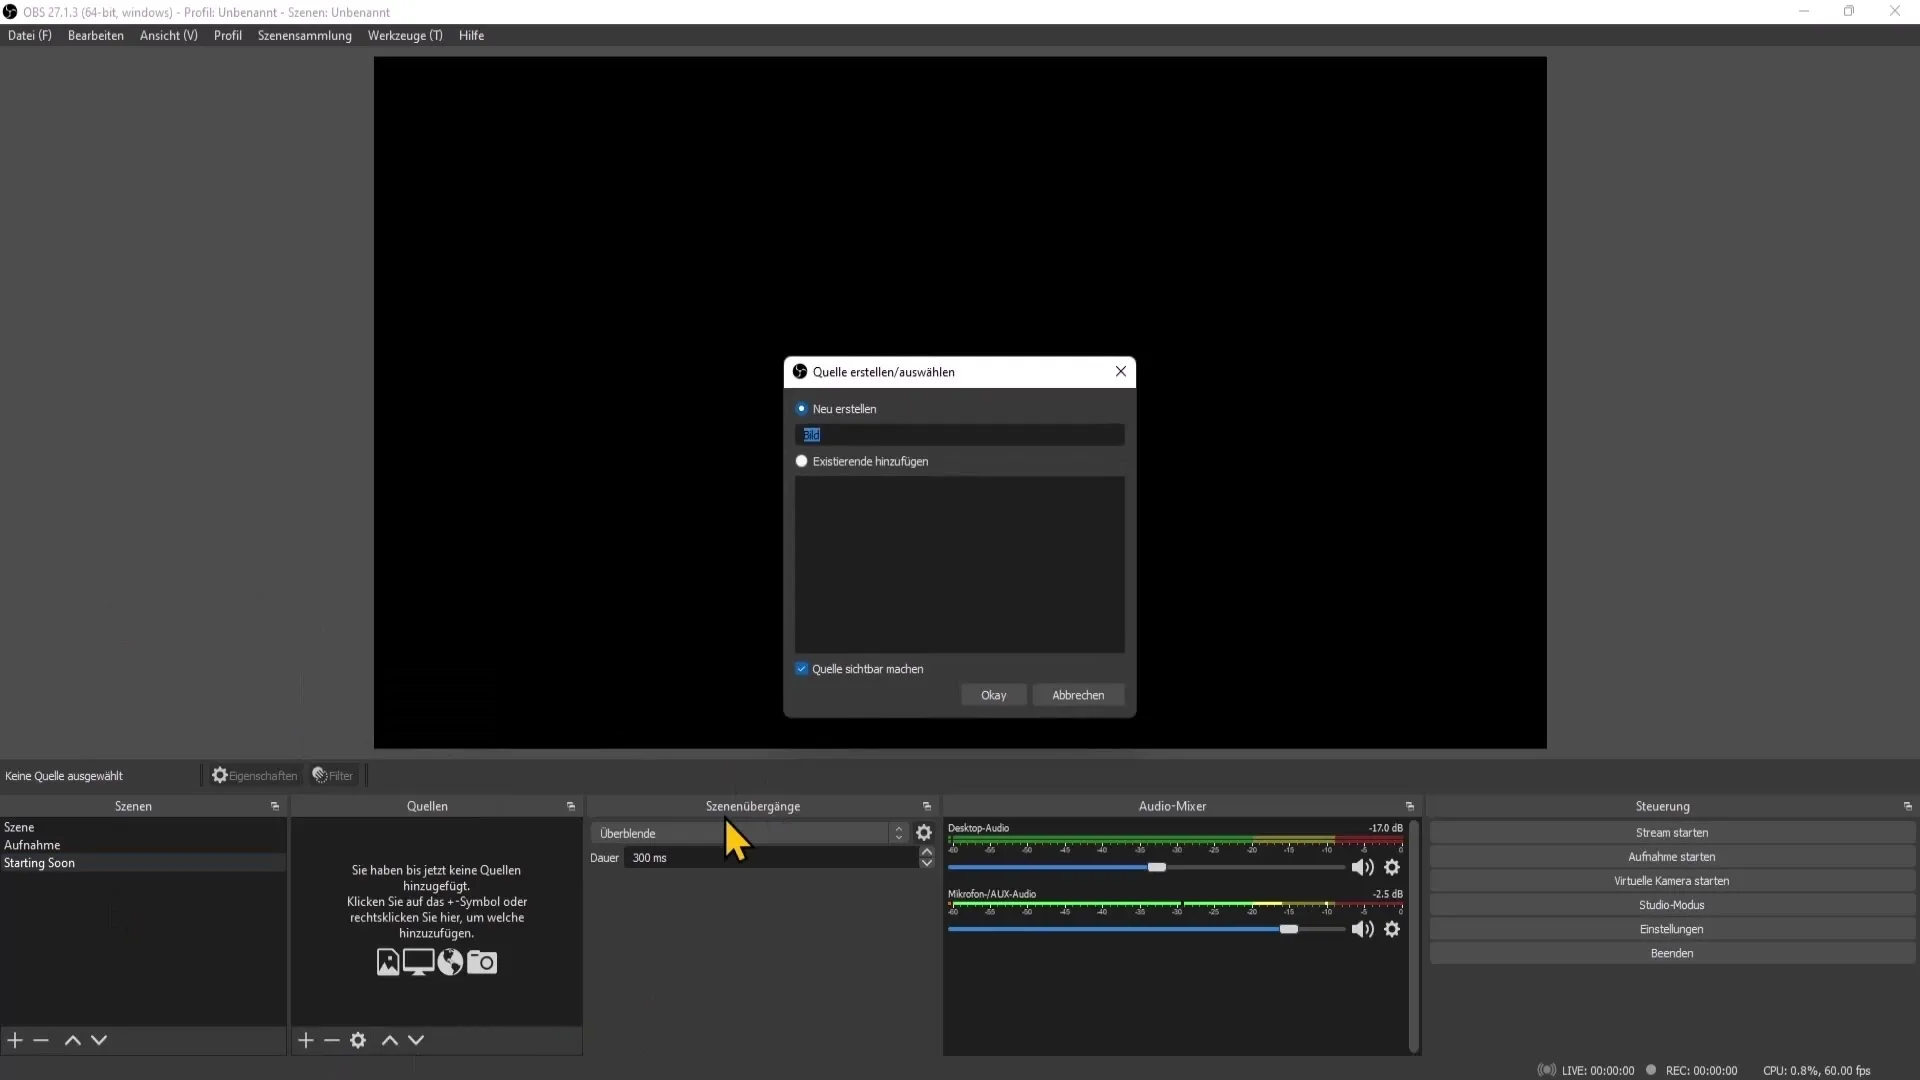
Repeat this step for the Be-Right-Back overlay. Create a new scene and add the PNG image that you previously saved. This way, you have successfully integrated your overlays into OBS Studio.
Summary
Creating professional overlays for your YouTube livestream is an easy process with Photoshop. You have learned how to design, save, and embed your overlay in OBS Studio. By following these steps, you will be able to make your streams visually appealing and better inform your viewers.
Frequently Asked Questions
How can I change the colors of my lines?You can easily select and adjust the colors of the lines in the top menu bar's selection area.
Where can I get free fonts for my overlay?A good place to find free fonts is the website dafont.com.
How do I export my designs to a different format?In Photoshop, you can go to "File", then "Export" and choose "Export As" to select a different format.
