A well-designed Stream-Overlay is crucial to make a professional impression on your viewers. With Photoshop, you can create a customized overlay that fits your style perfectly. In this guide, I will walk you through the process step by step to show you how to design an effective overlay for your YouTube or Twitch streams.
Main Takeaways:
- Working with basic Photoshop tools for overlay design.
- Creating and customizing overlay elements independently.
- Exporting the overlay elements for use in streaming software such as OBS.
Step-by-Step Guide
Create a New Document
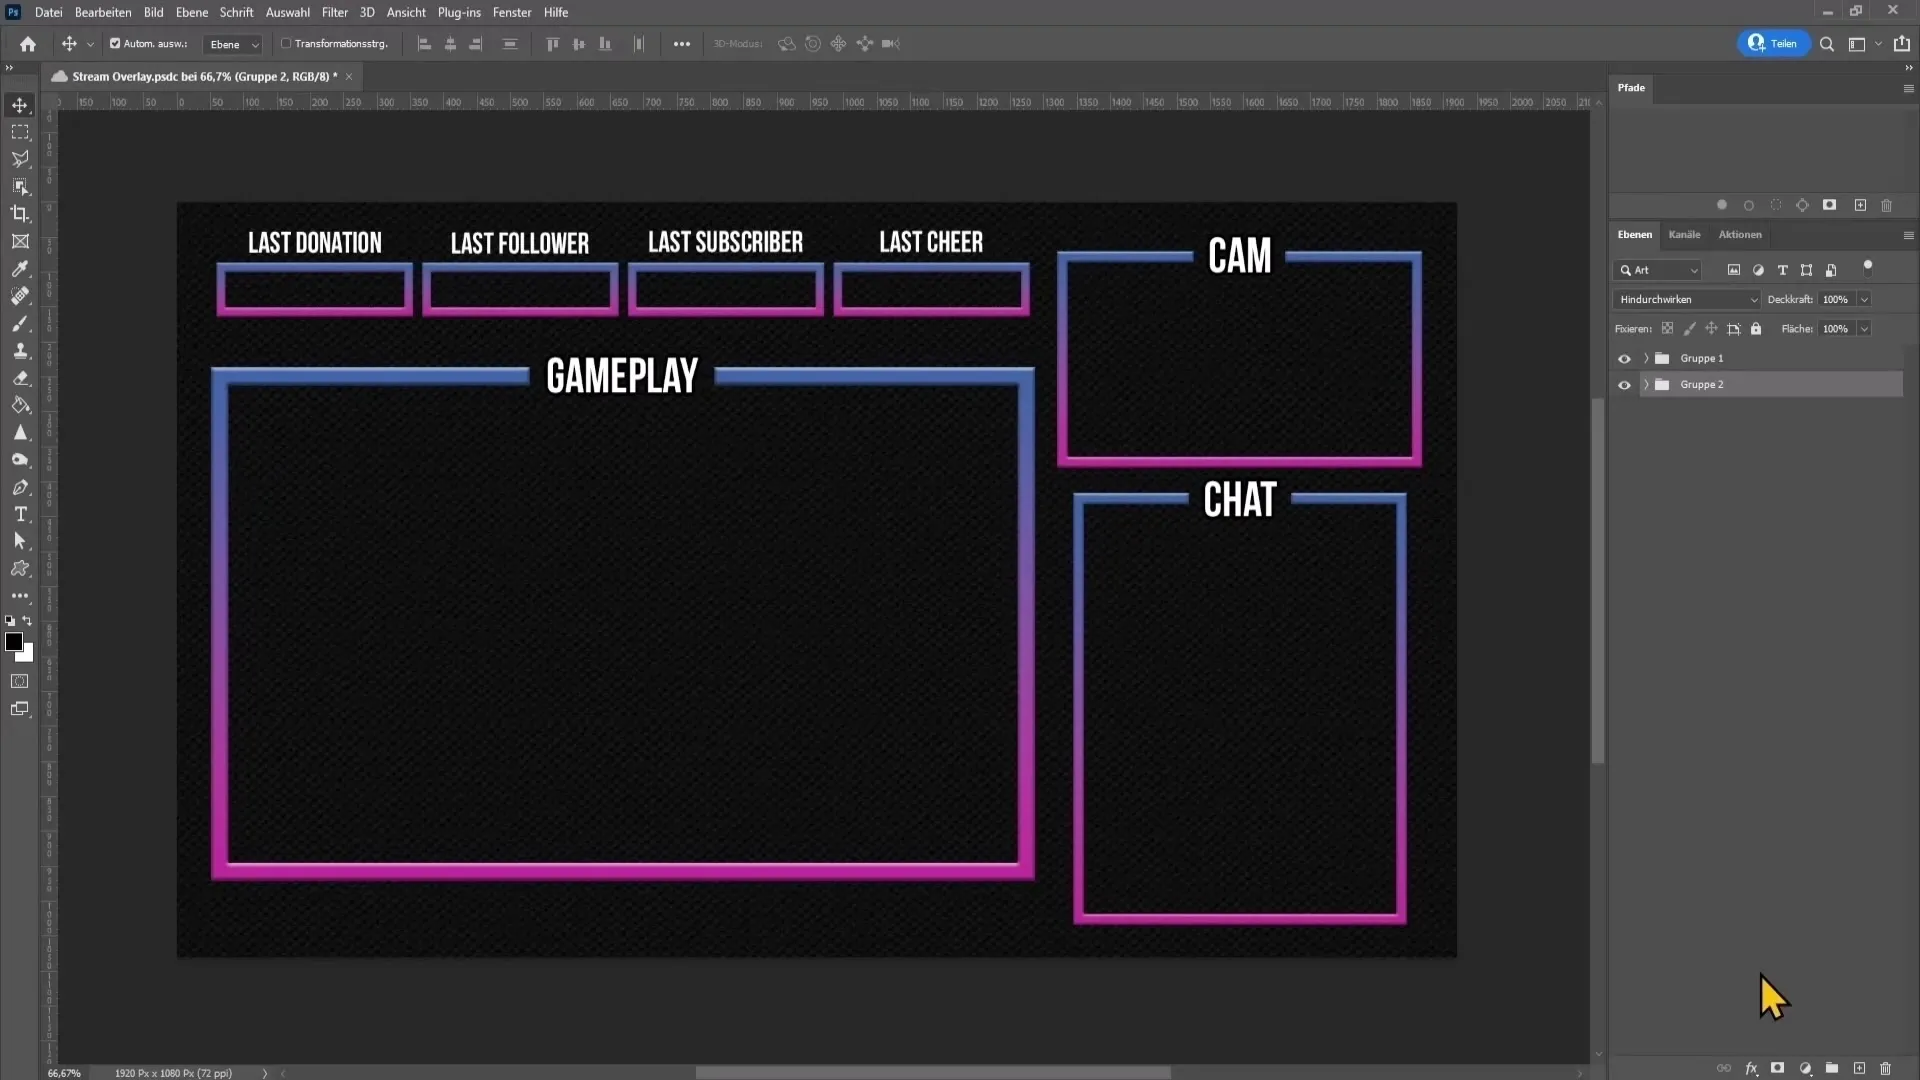
To get started, open Photoshop and create a new document. Go to File > New. Set the width to 1920 pixels, height to 1080 pixels, and leave the resolution at 72 dpi since you will only be using the overlay digitally. Keep the other settings unchanged and click "Create".
Set Background Color
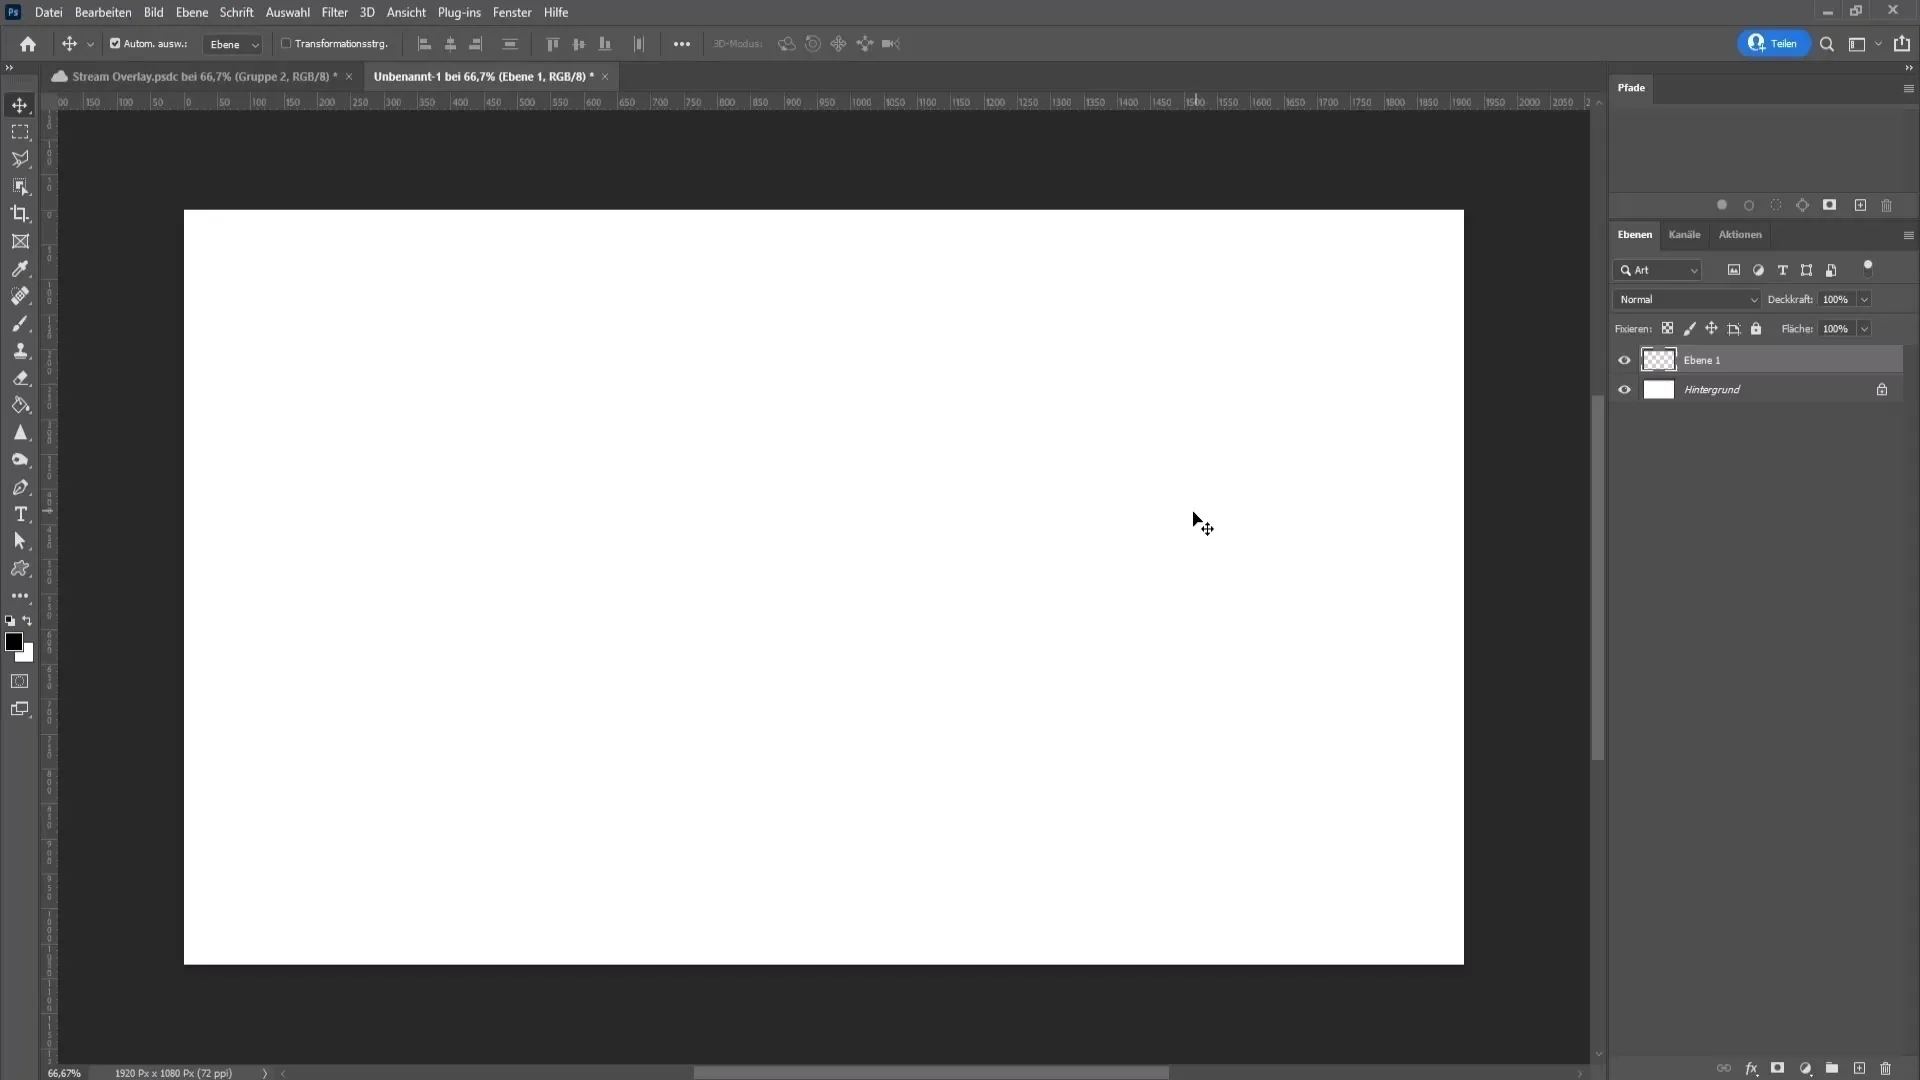
Now it's time to design the background. Create a new blank layer by clicking on the corresponding symbol at the bottom right. Press D to set the foreground color to black. Fill this layer with black by holding down the Alt key and pressing the Delete key. Then delete the background layer by right-clicking on it and selecting Delete.
Add Pattern Overlay
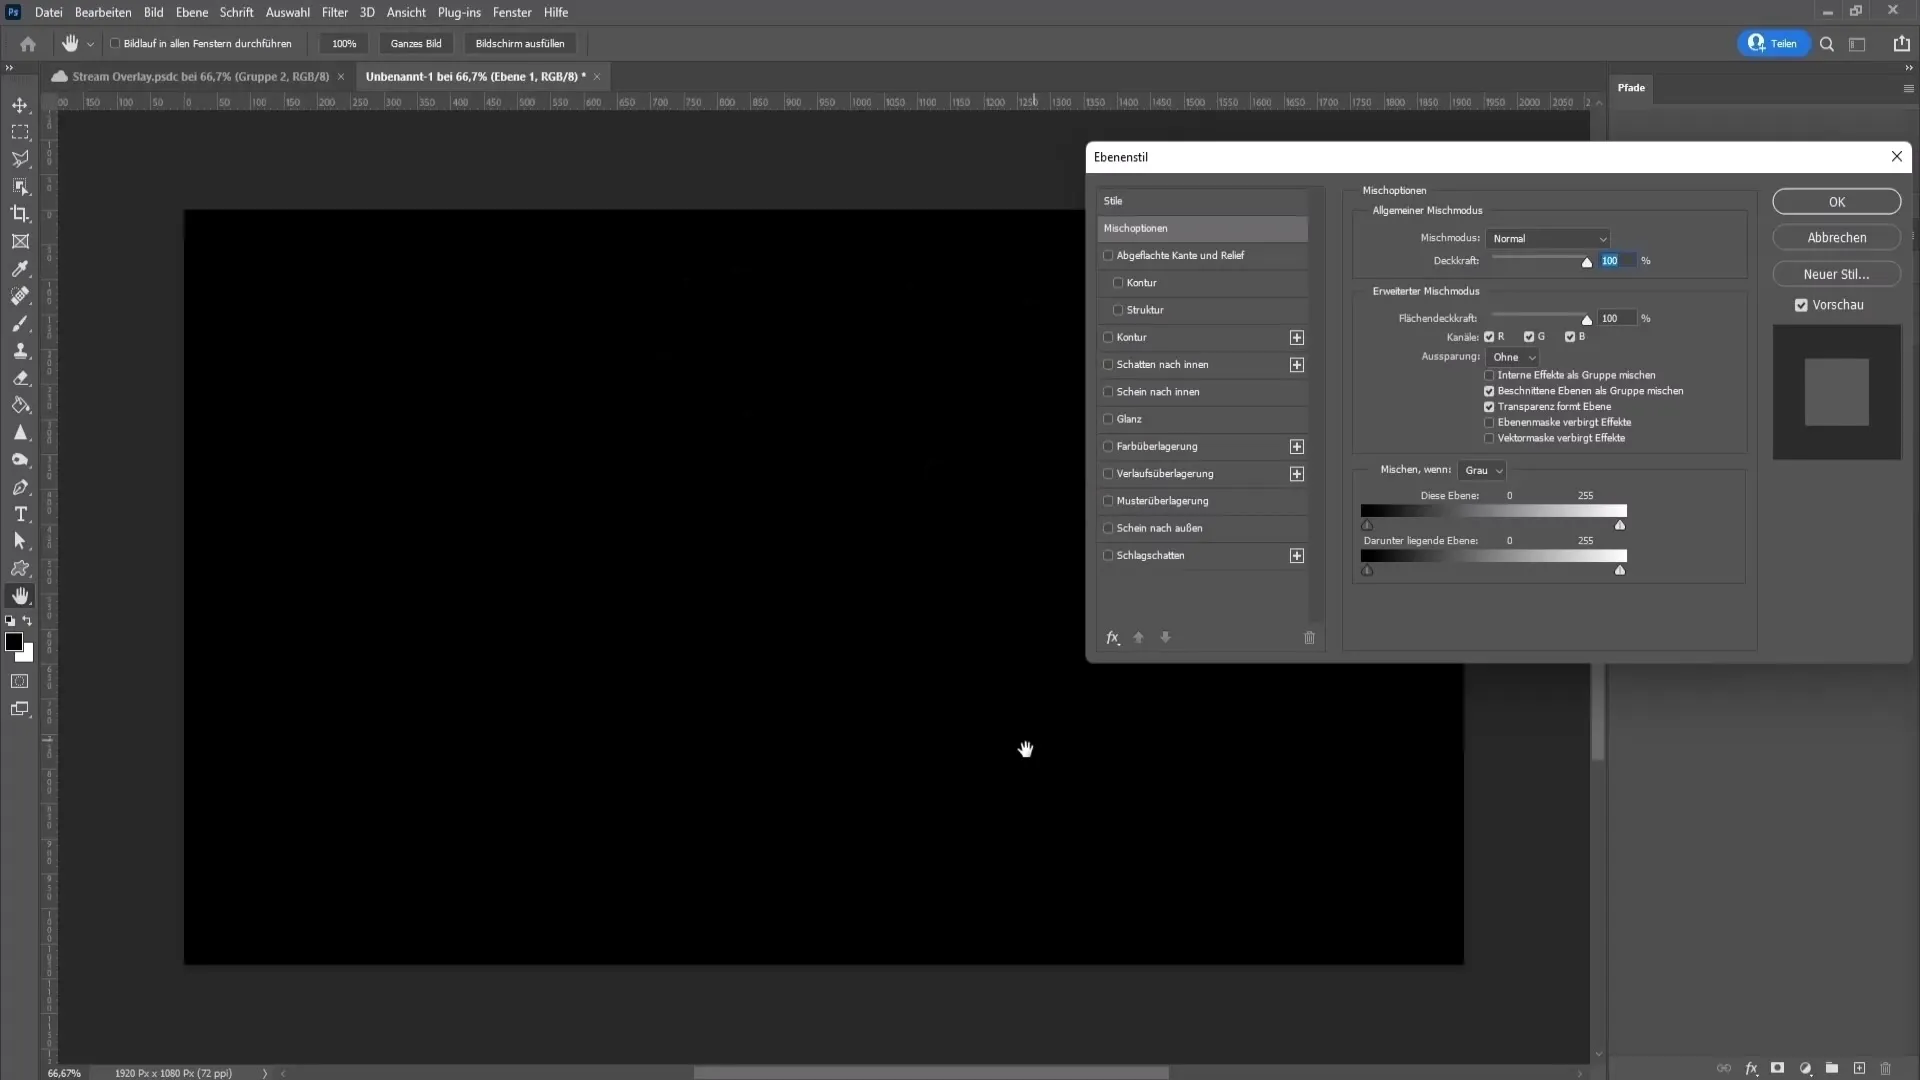
To give more depth to the background, add a pattern overlay. Go to the fill options of the black layer (Right-click -> Fill options) and enable the pattern overlay. The blending mode should be set to Normal, and you can reduce the opacity to about 13%. Choose a suitable pattern from the list – for my purposes, I will keep it as it is. Click "OK" to apply the settings.
Create Rectangles for Overlay Elements
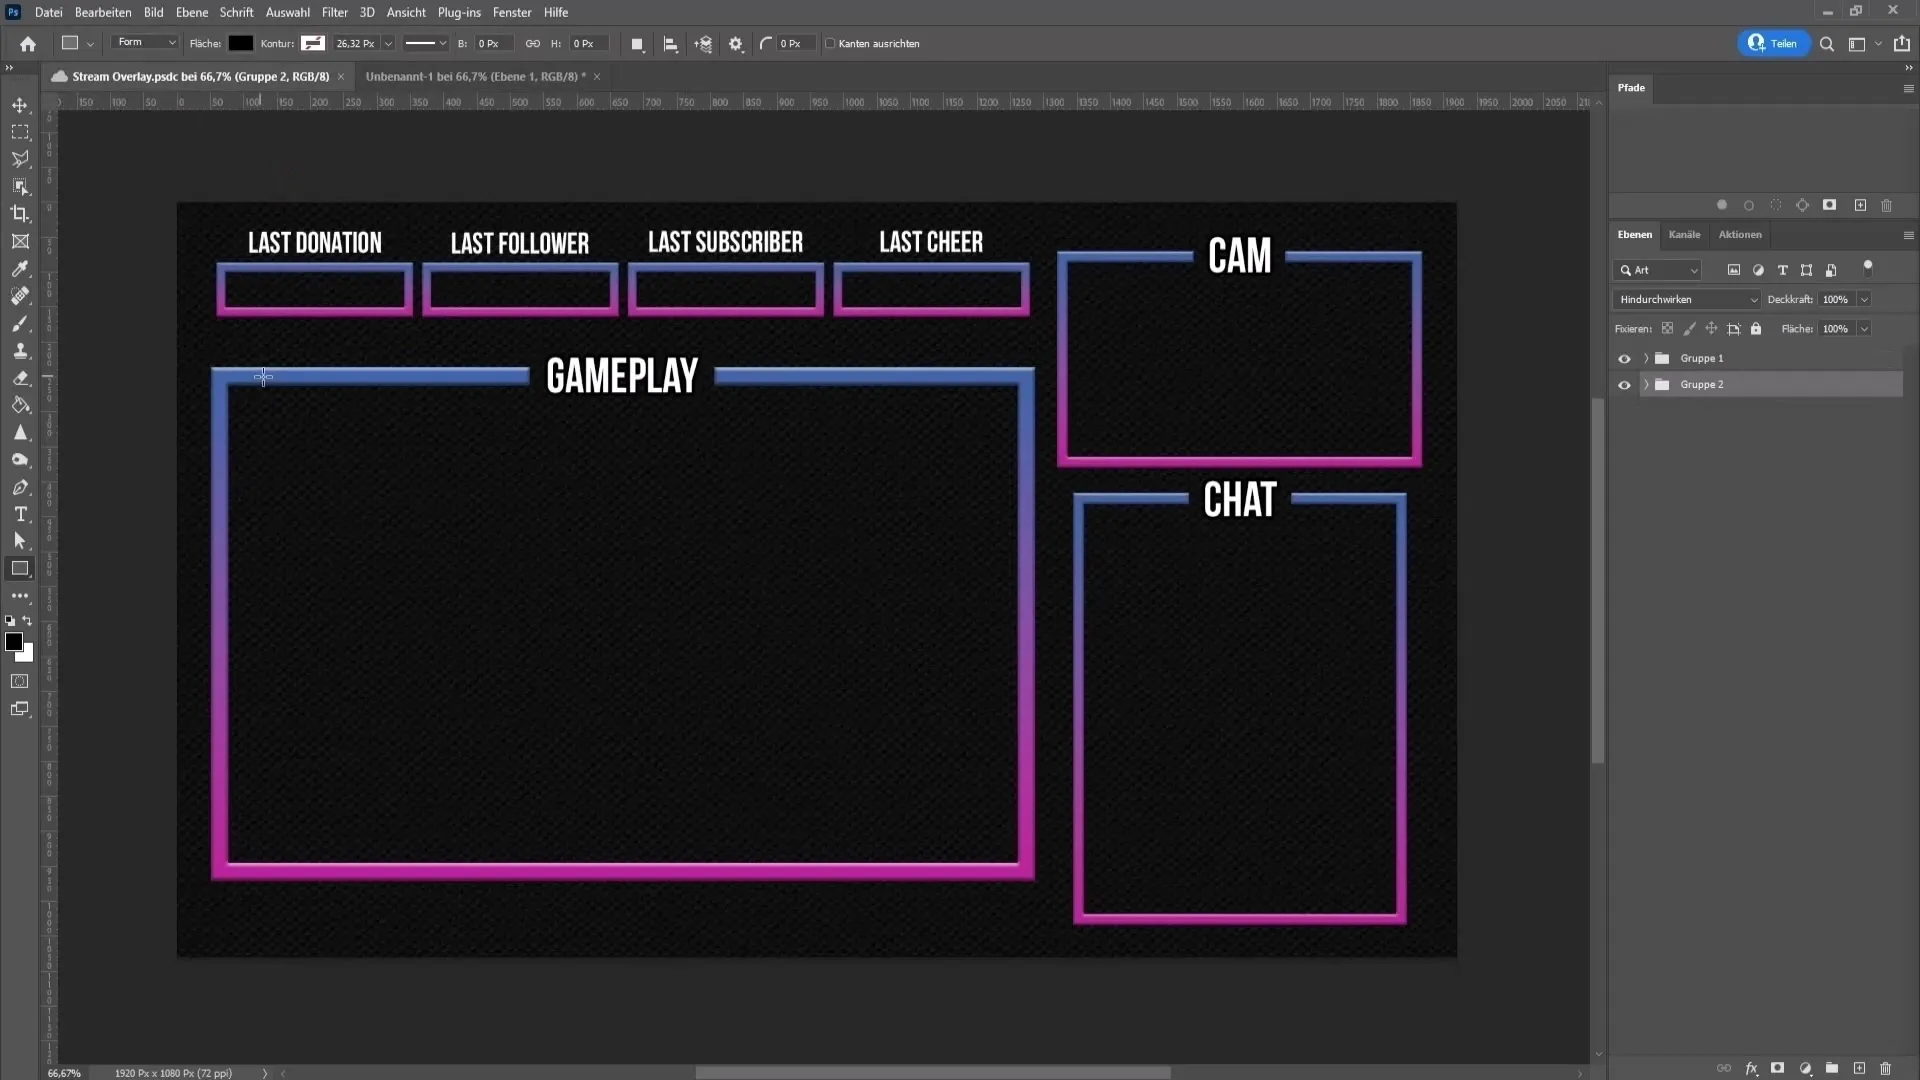
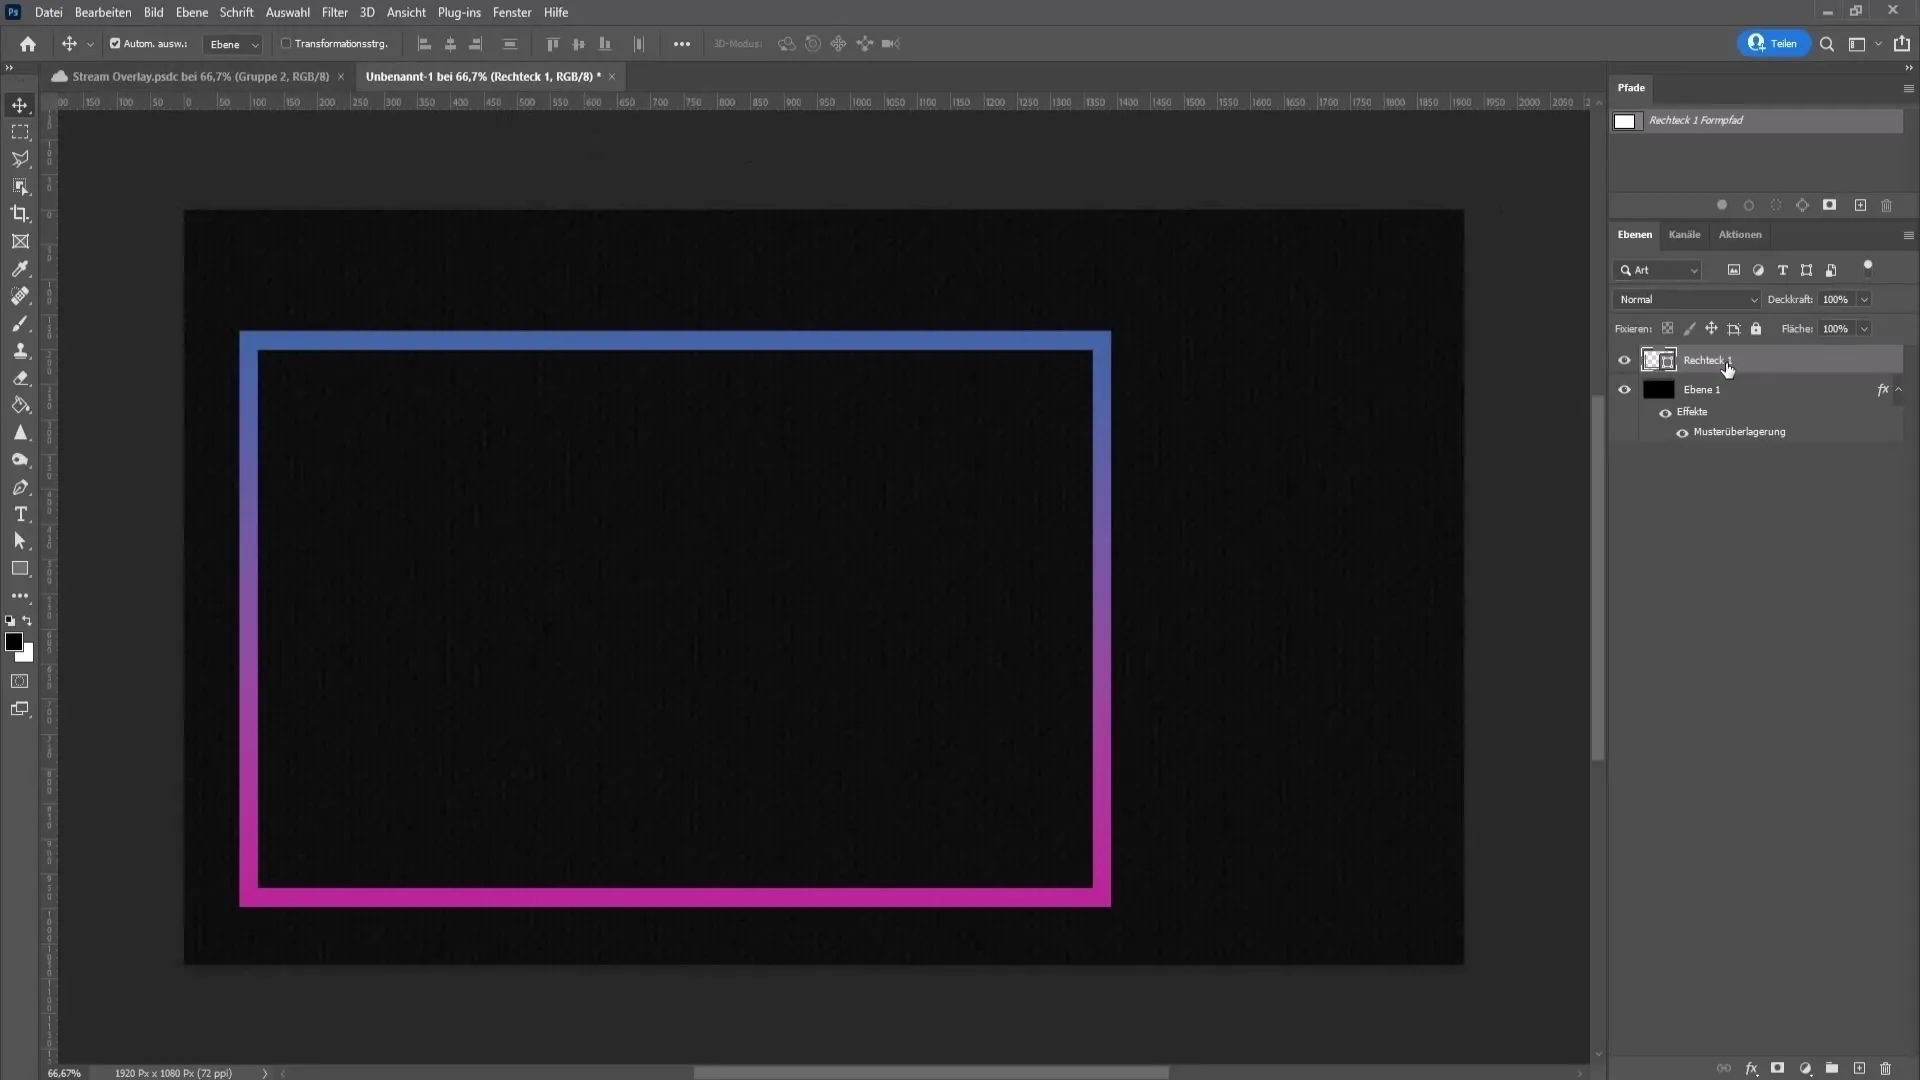
Now we will create the boxes for the overlay. Select the rectangle tool, draw a rectangle of the desired size. You can customize the fill color as you like; I recommend starting with an outline. Click on the color box in the fill options and choose a gradient you want to use. Adjust the size and outline to your liking.
Duplicate and Label Rectangles
To duplicate the rectangles, first select the currently created rectangle and press the Ctrl and J keys simultaneously to create a copy. Rename the rectangle by double-clicking on the text below it and adjusting it to your needs. For example, name it Gameplay. Use the Ctrl + T combination to transform it and adjust the size accordingly. Move it to a suitable place to make room for other elements.
Integrate Chat Window
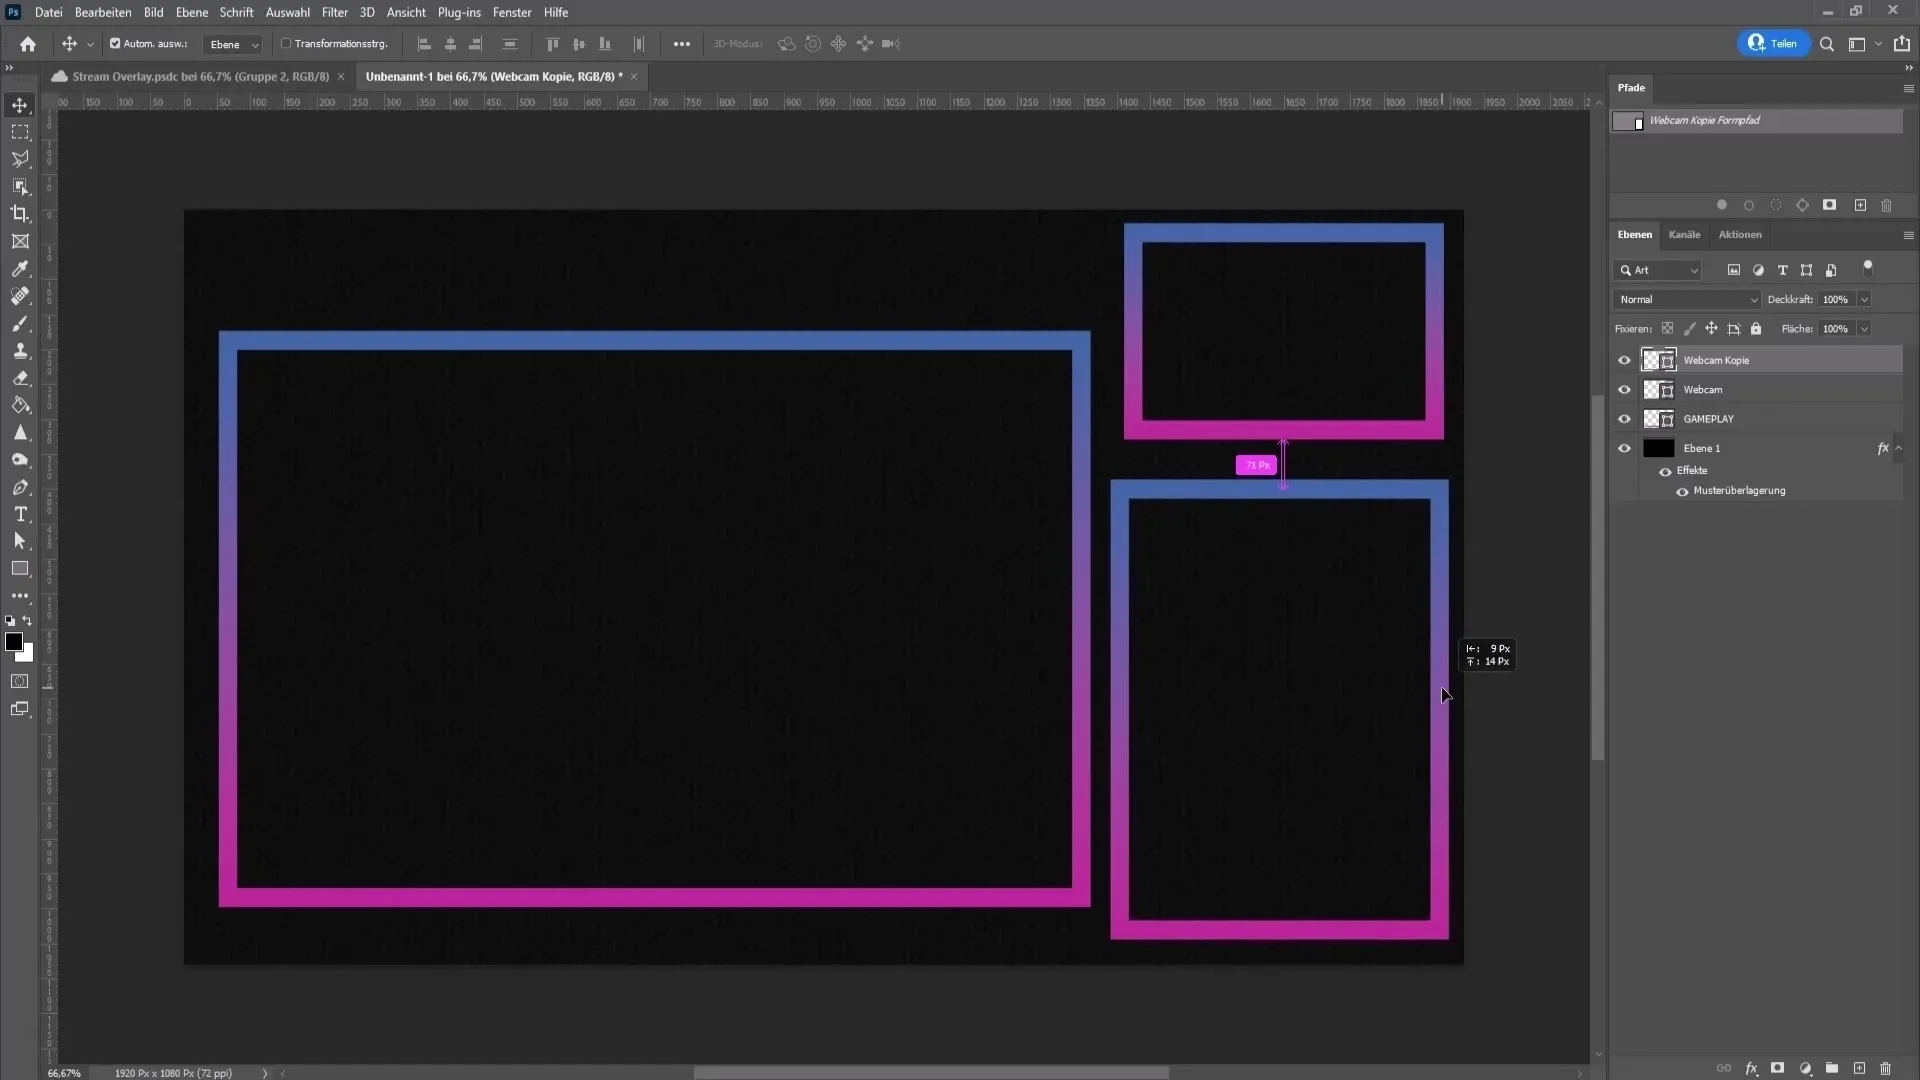
For the chat window, create a copy of one of the rectangles again, drag it down, and drag the corners to expand it in width. Also, rename this rectangle by calling it Chat. Place it appropriately so that it is well positioned.
Add Additional Elements
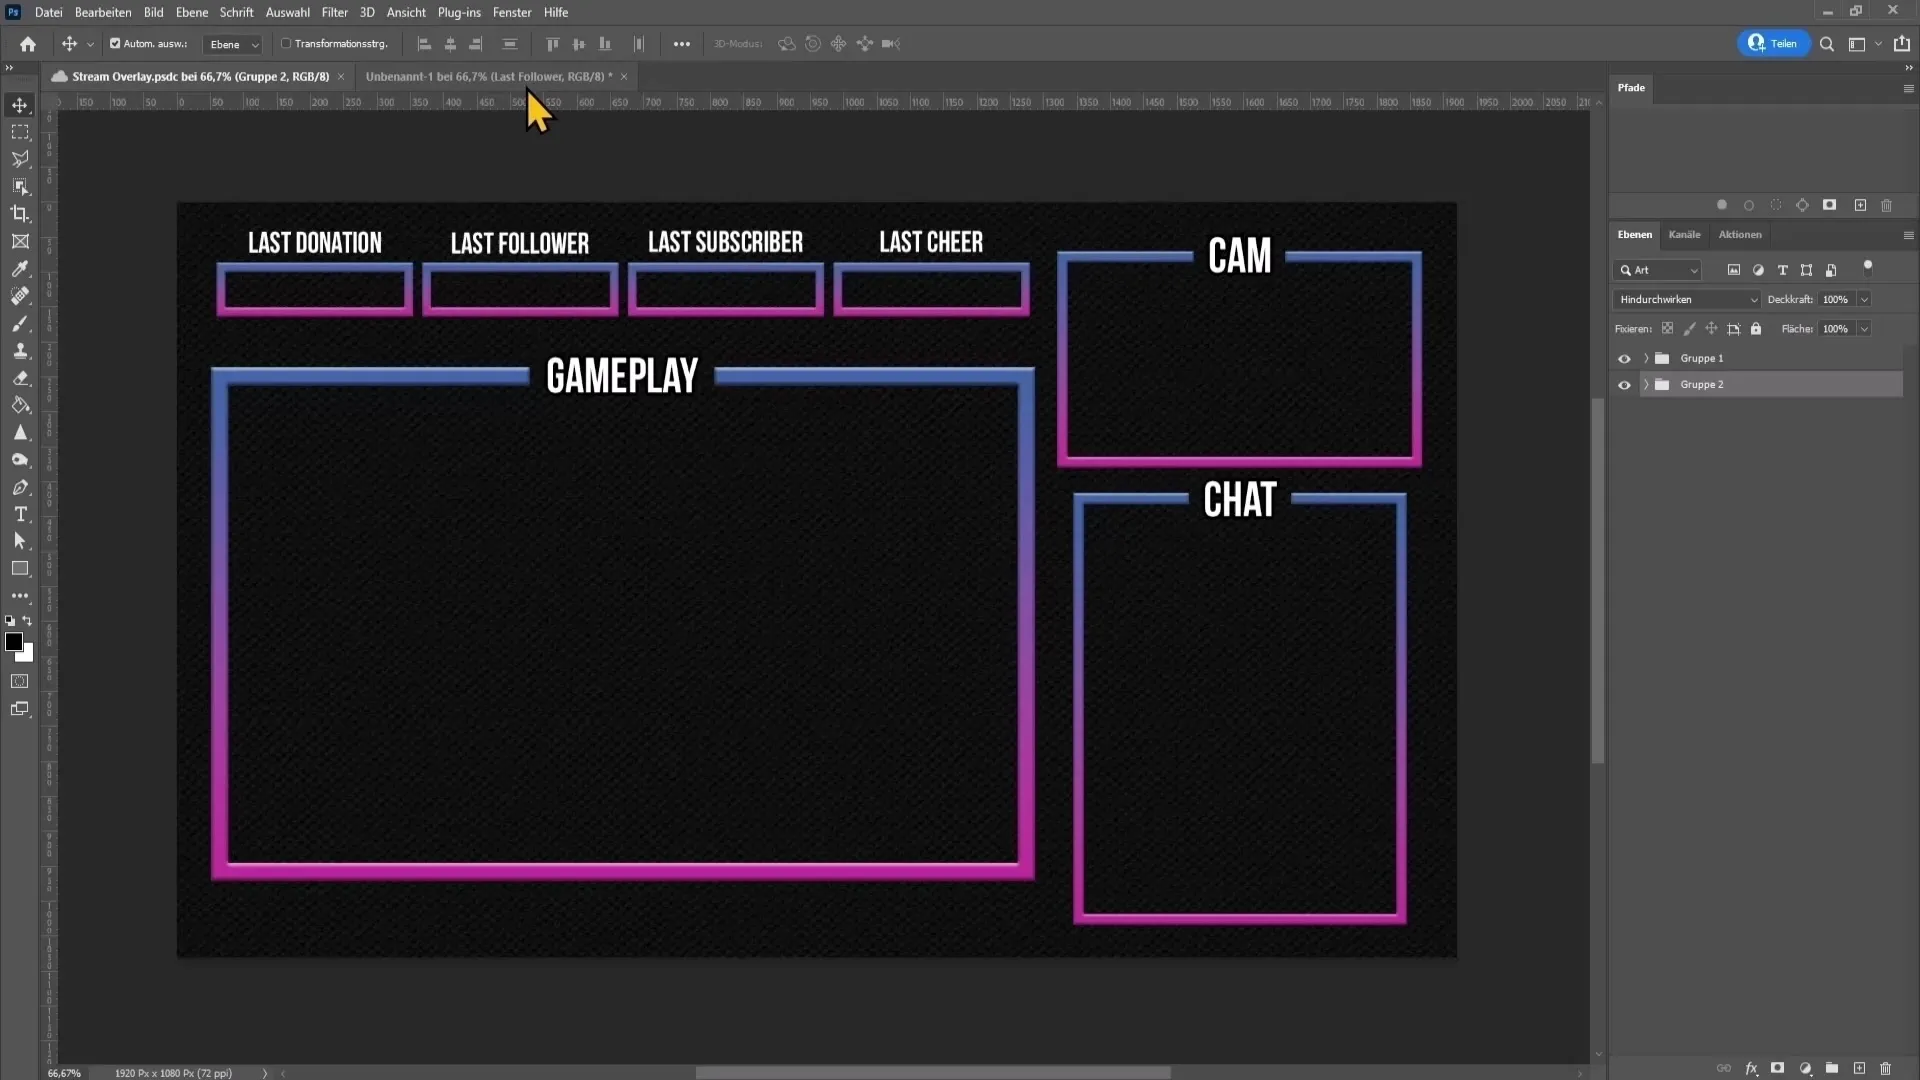
Add more boxes for recent donations, followers, etc., by repeating the same process. Remember to label the boxes accordingly and arrange them. I recommend using at least three boxes to provide enough space for information.
Add 3D Effects
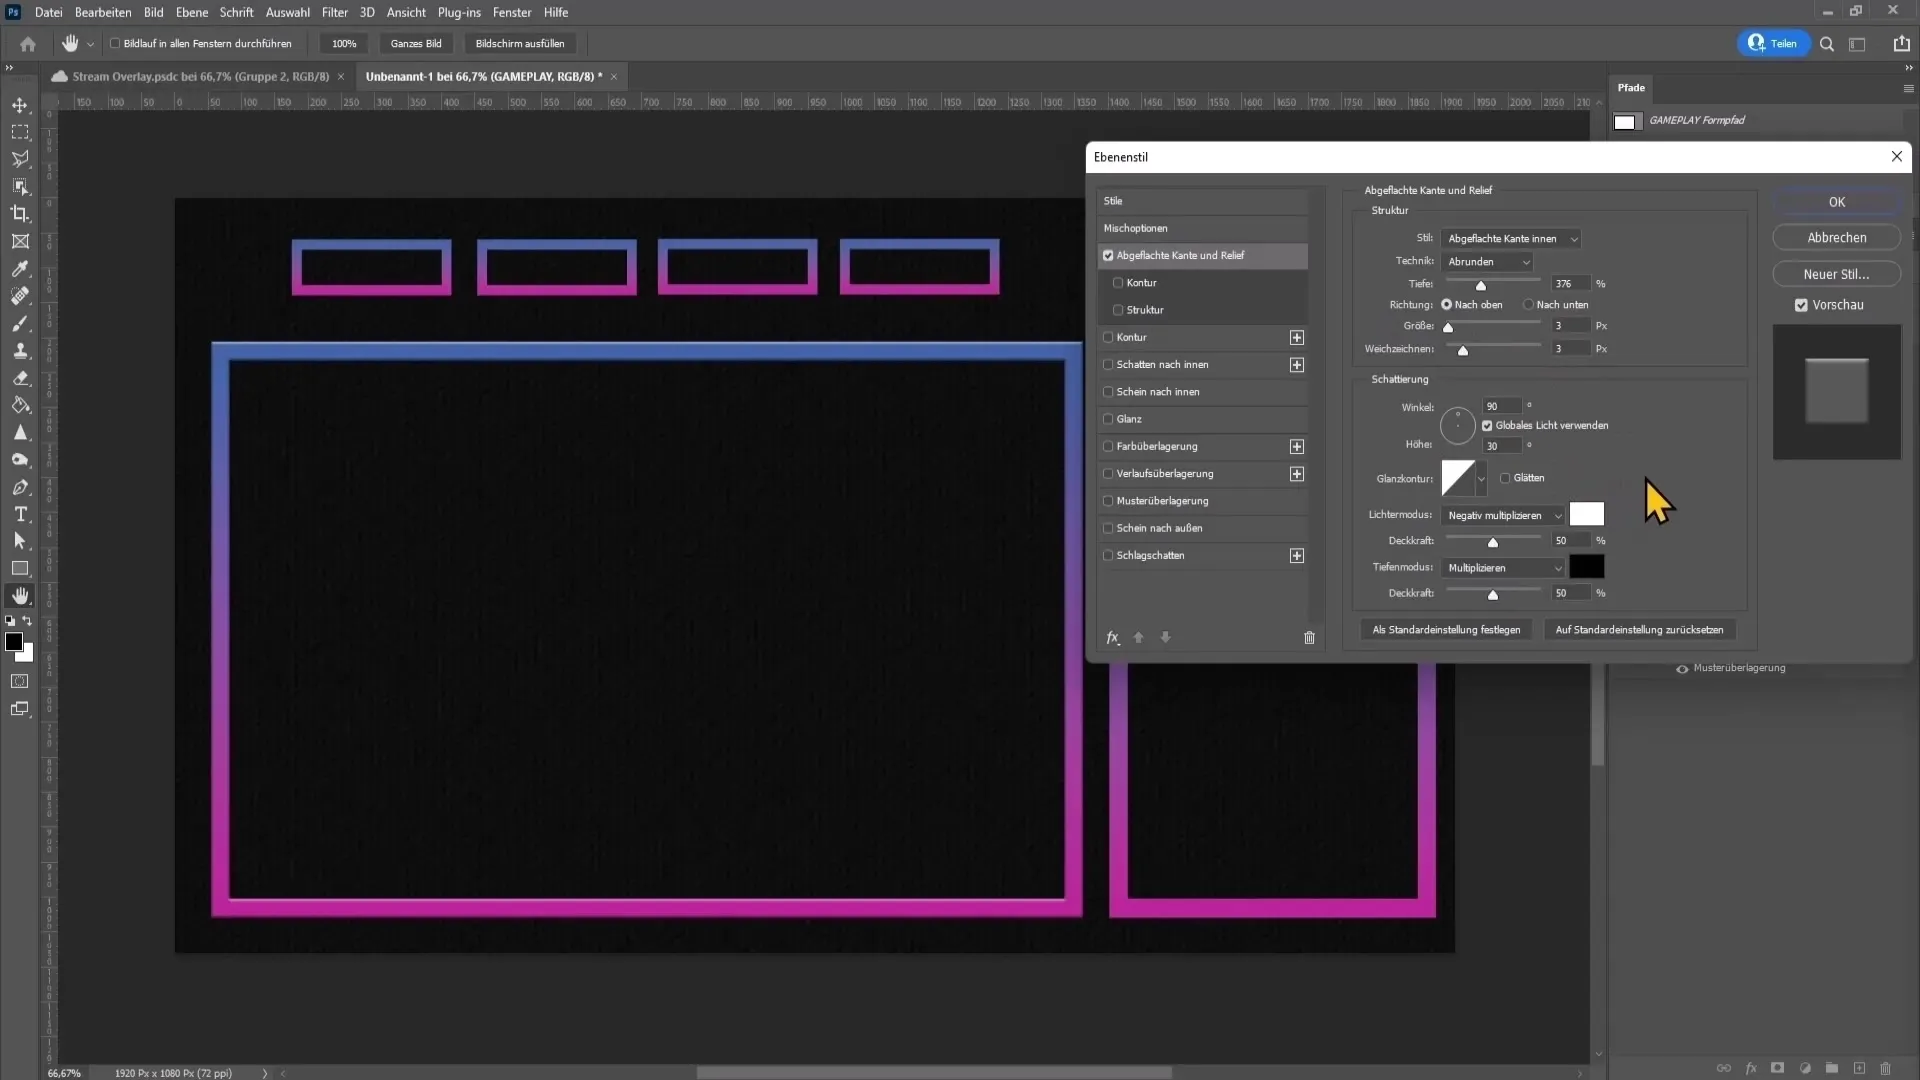
To give your boxes an appealing 3D effect, go back to the fill options and experiment with the settings for flat edge and relief. Apply the settings or adjust them to your liking.
Add Text
Now it's time to add text to each overlay element. Select the text tool, click on your overlay, and write the corresponding text, such as Gameplay, Chat, etc. Make sure to adjust the font size and style to get easily readable but non-distracting texts.
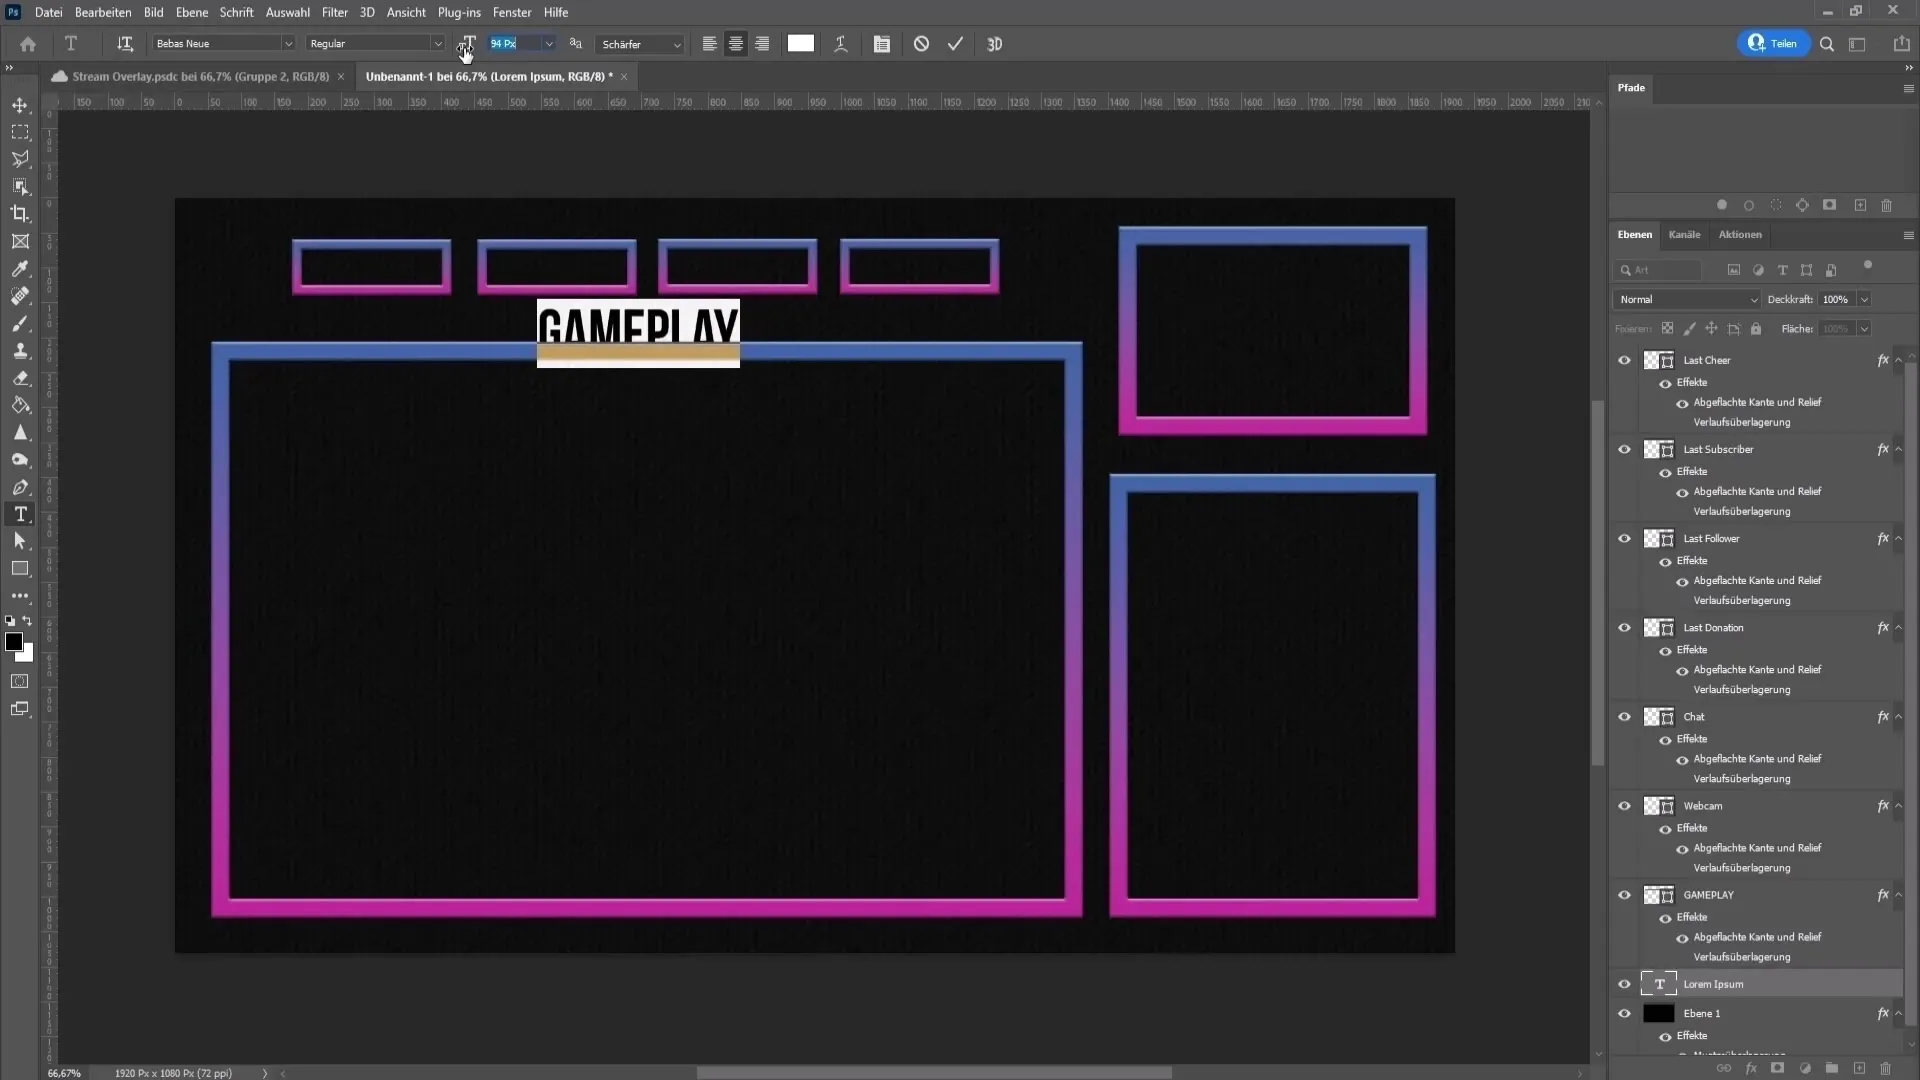
All Layers Grouped
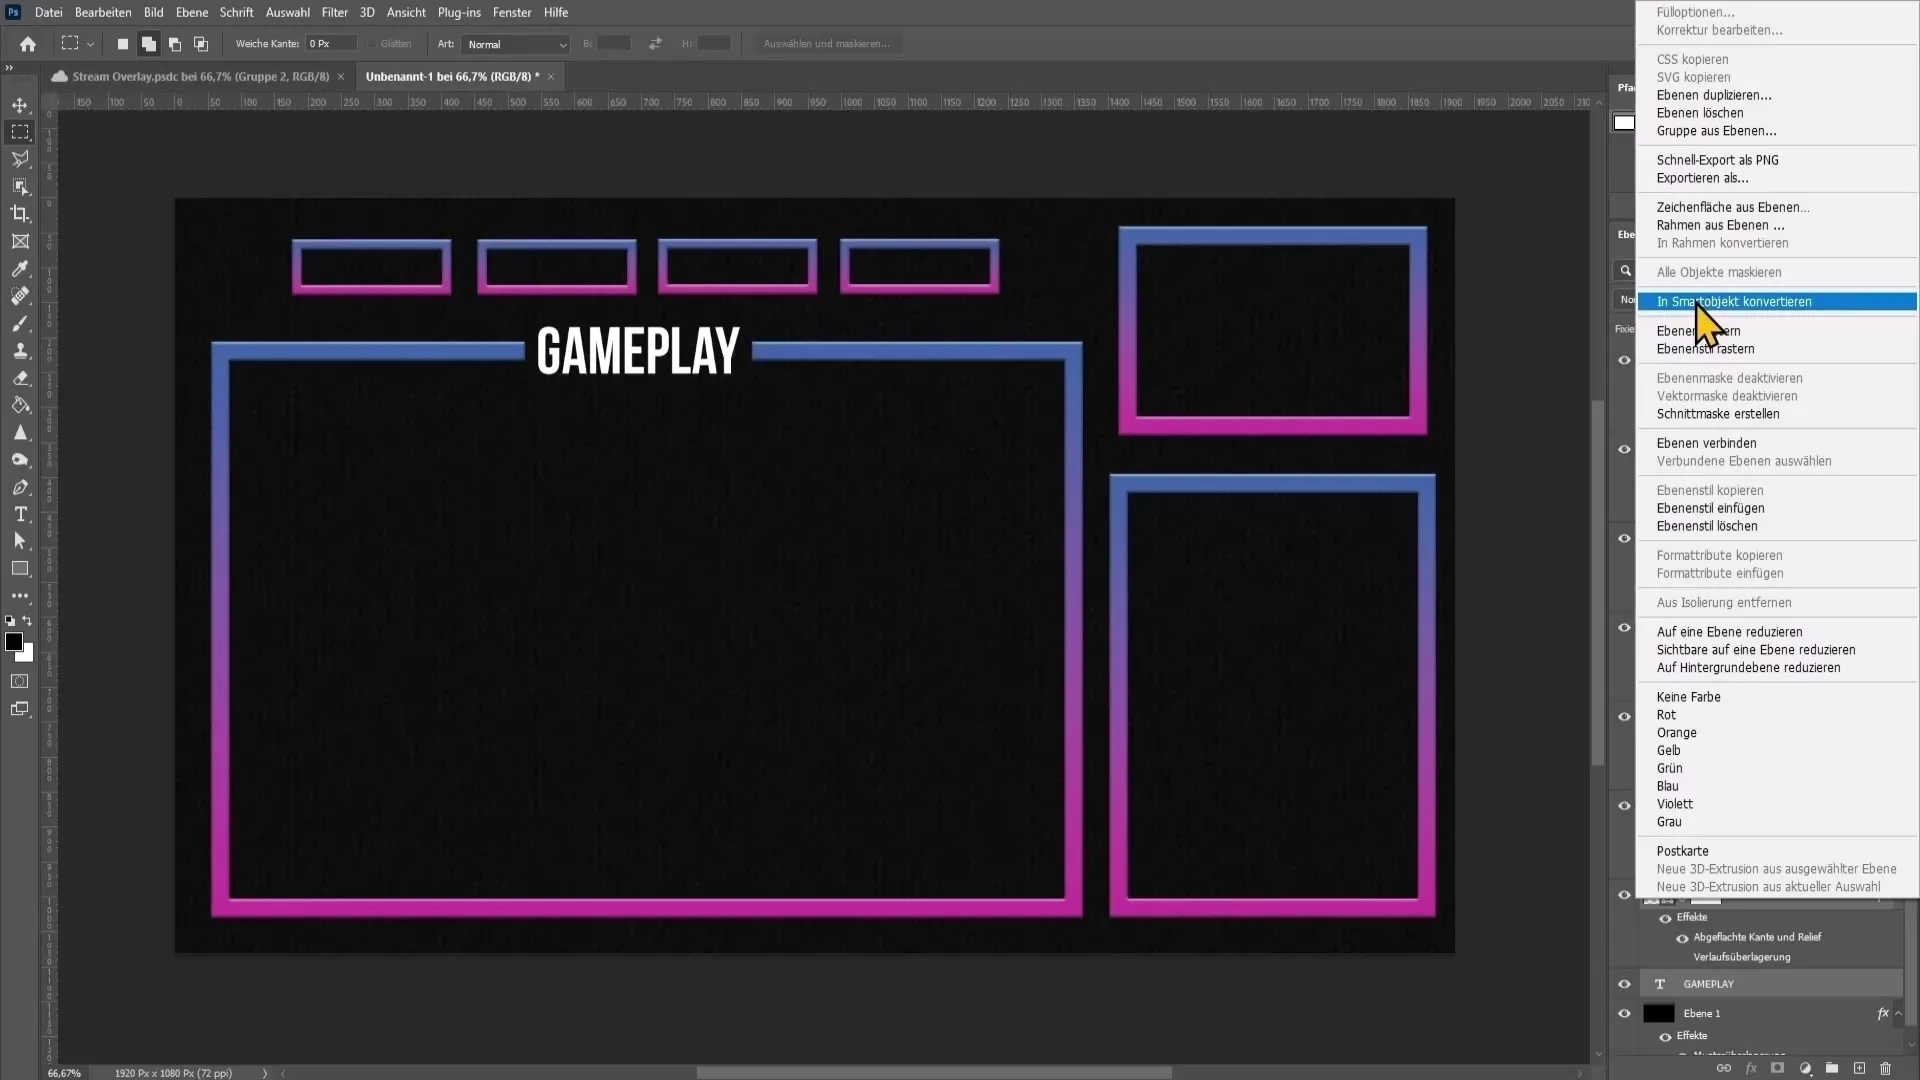
Once you have created all elements, it is advisable to convert them into smart objects (right-click on the layers -> Convert to Smart Object). This will make it easier for you to edit them later on.
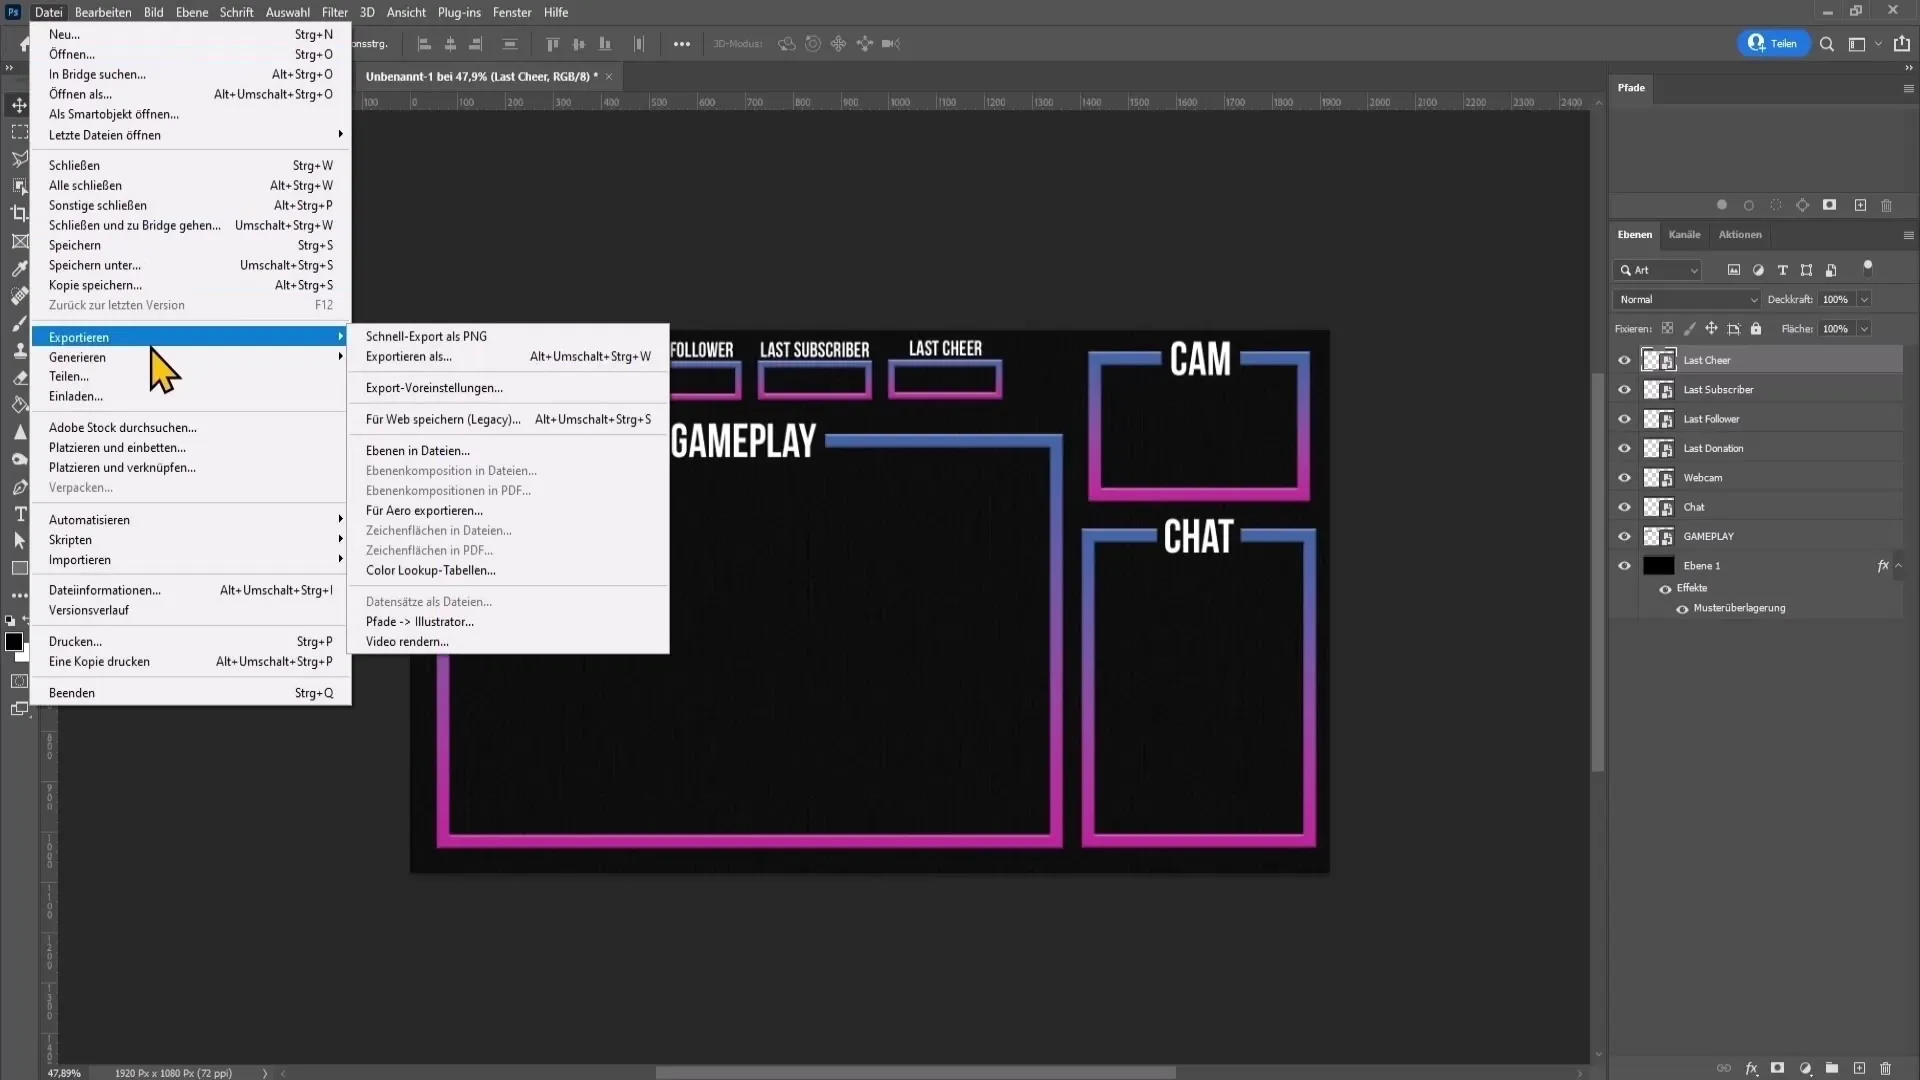
Exporting Overlay Elements
Now you can export all elements so that they can be used in OBS or other streaming software. Go to File > Export > Select Layers to Files. Choose a destination folder and make sure to select PNG 24 as the file type to have a transparent background.
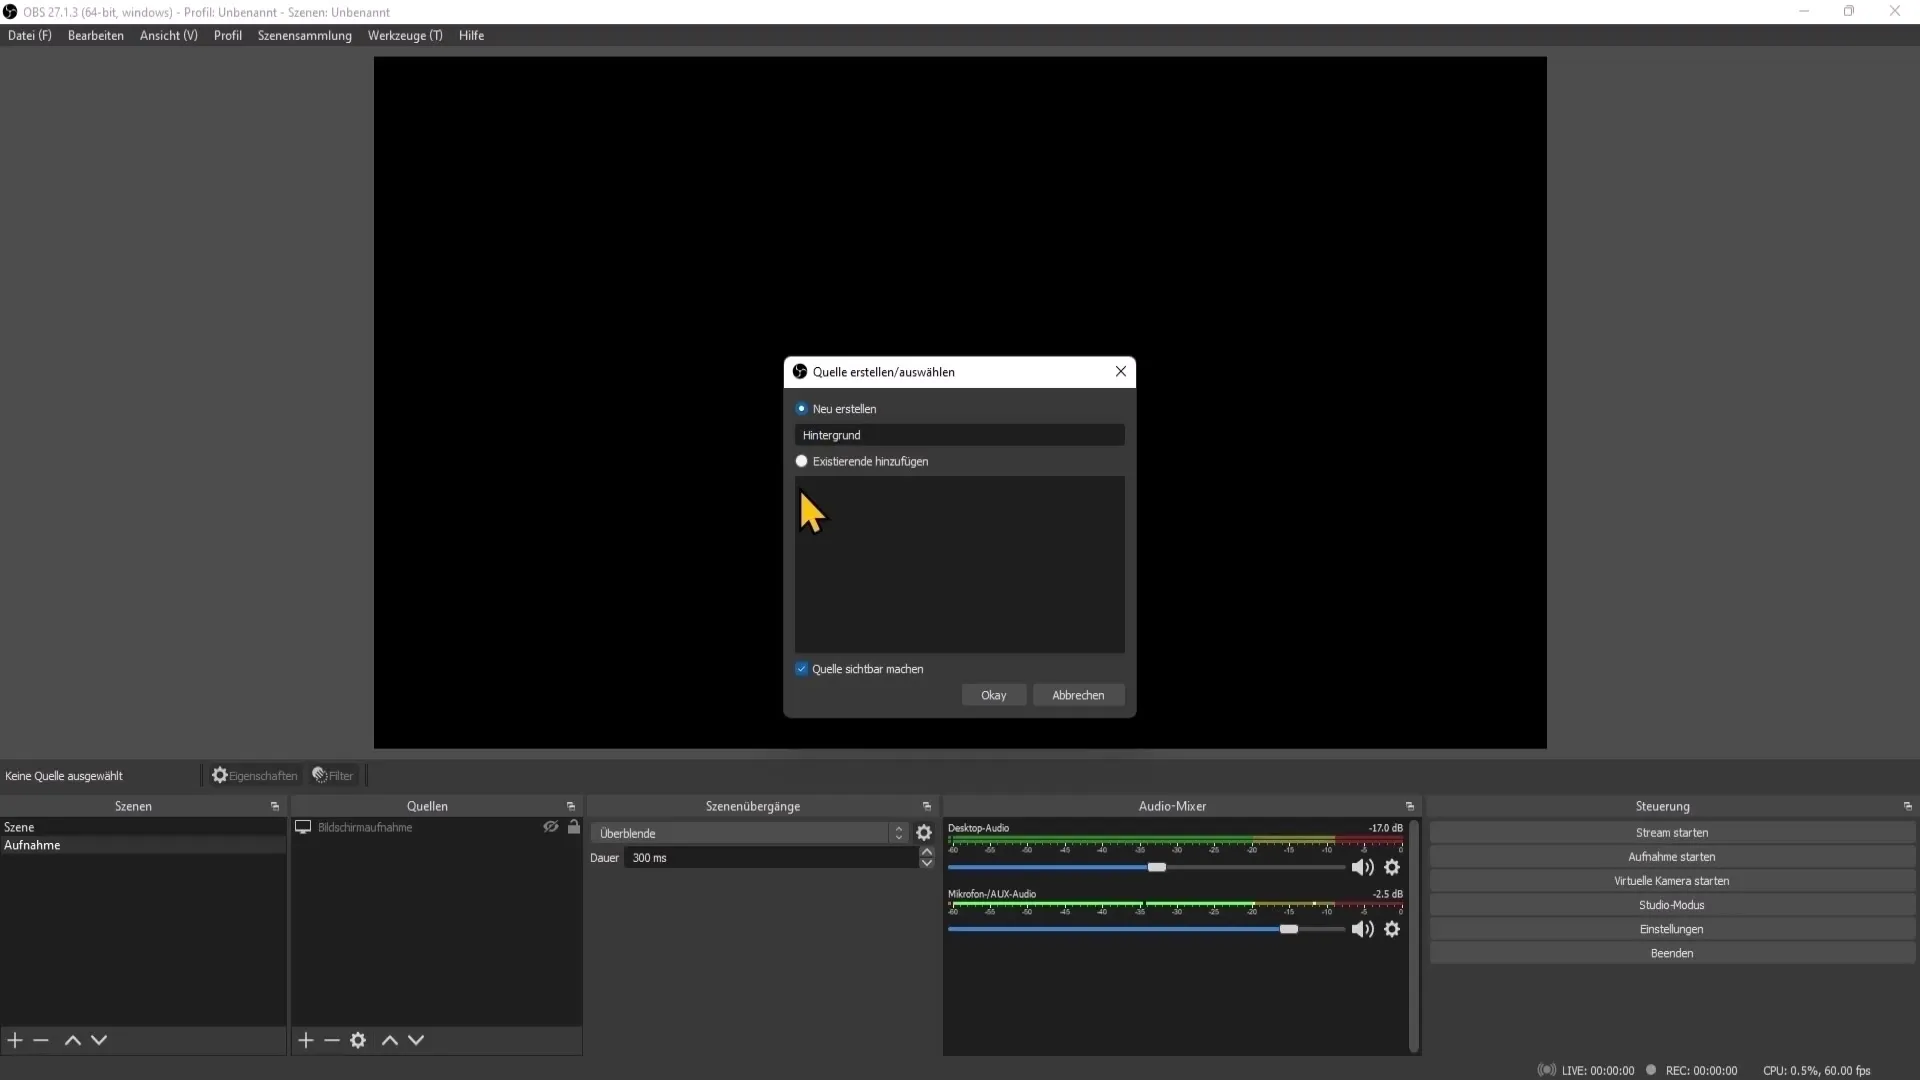
Insert Overlay in OBS
To use your overlay in OBS Studio, go to your scene, click on the plus sign in the sources list, select Image, and add all exported overlay elements one by one. Make sure to place them in the correct order to display them correctly.
Summary
This guide has shown you how to create a professional stream overlay in Photoshop. You should now be able to design your elements, export them, and use them in your streaming software.
Frequently Asked Questions
What should be the resolution for a stream overlay?The optimal resolution is 1920 x 1080 pixels.
Which color formats are best for transparent backgrounds?The PNG format is best suited as it supports transparency.
Can I adjust the overlay later on?Yes, if you save your overlay elements as smart objects, you can adjust them anytime.
How can I add my overlay to OBS?In OBS, click on the plus sign in the sources and add the exported images.
Is it important to consider the order of sources in OBS?Yes, the order is crucial to ensure that your overlay is displayed correctly.


