You want to give your YouTube livestream a personal touch? A custom webcam frame can not only strengthen your brand but also visually engage your audience. In this tutorial, I'll show you step by step how to create an appealing webcam frame with Adobe Photoshop that highlights your videos and adds a touch of professionalism.
Key Takeaways
- You learn how to create a new document with the correct dimensions.
- You create a sketch of your frame and then transfer it to Photoshop.
- You'll learn how to choose and apply colors to create an appealing frame.
- Finally, you add your frame to OBS Studio.
Step-by-Step Guide
Create a New Document
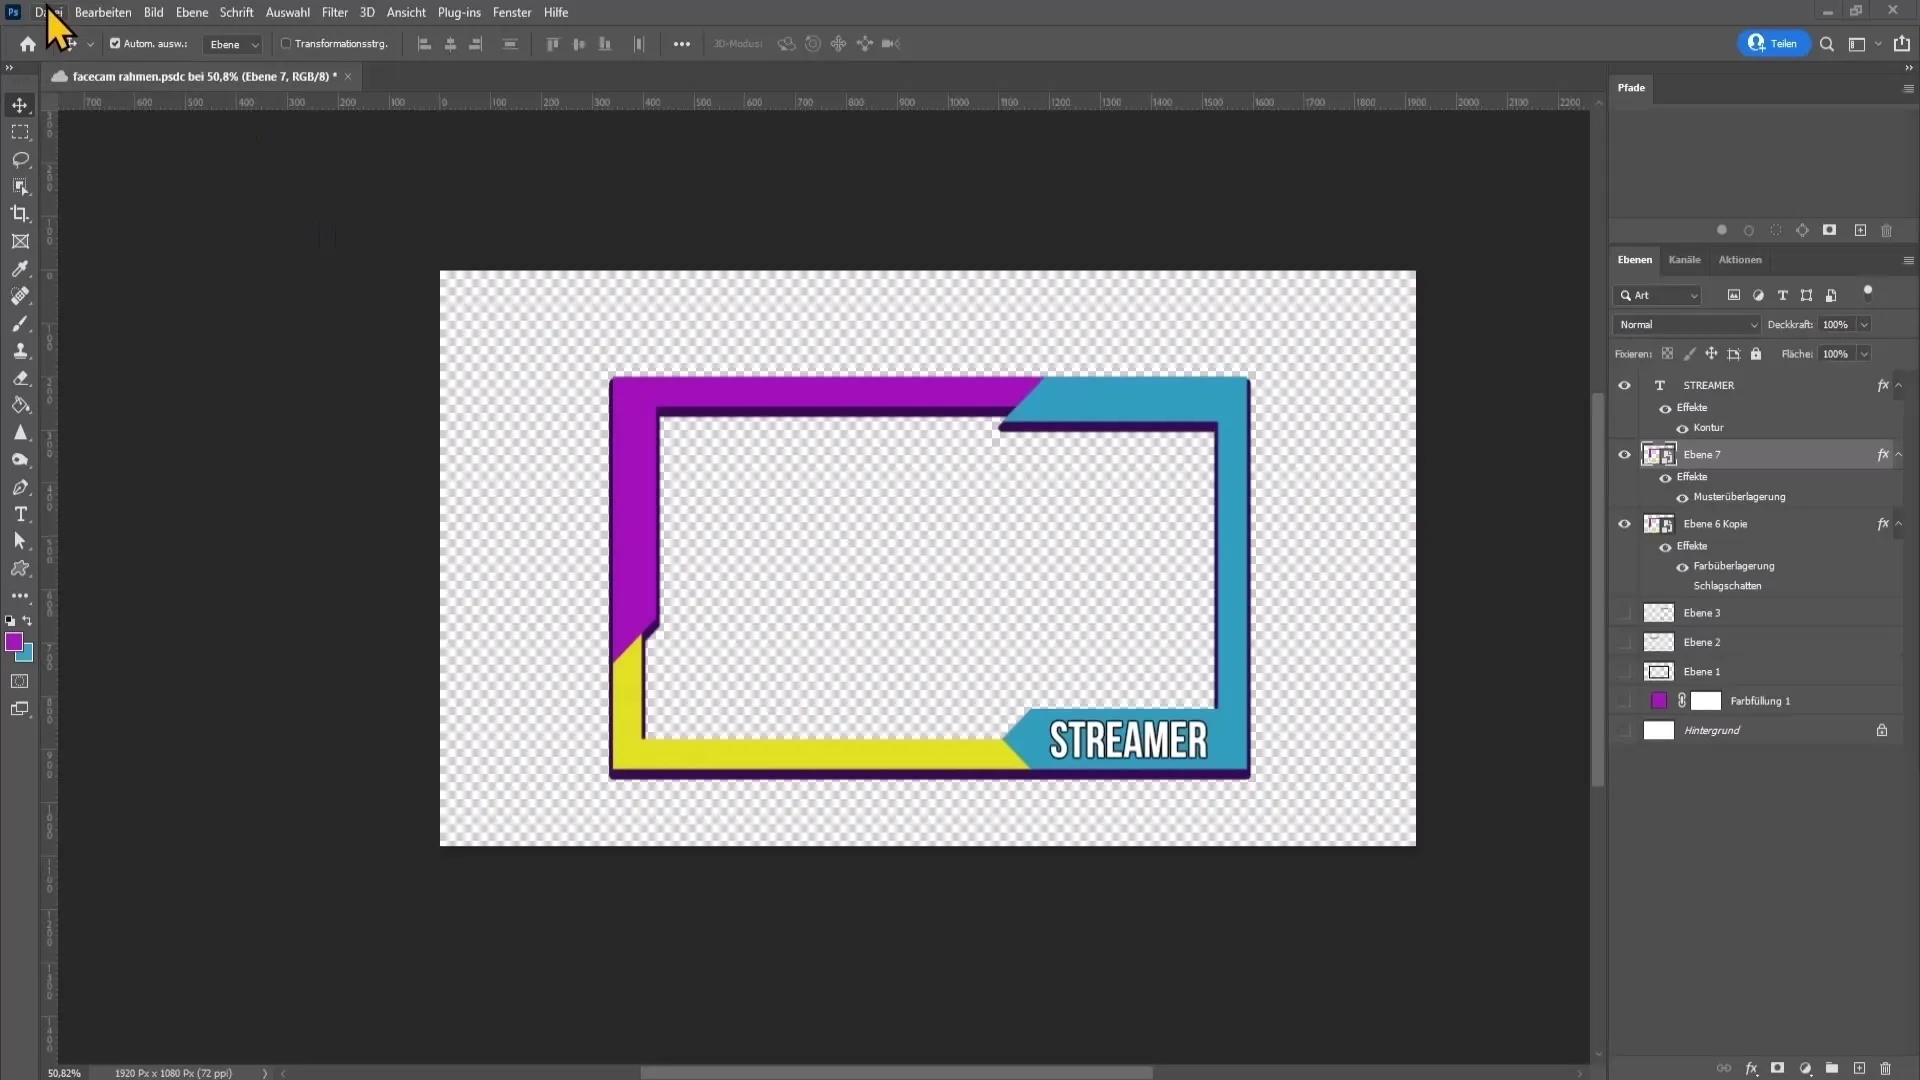
First, you need to create a new document in Photoshop. Click on "File" in the top left corner and select "New". Set the width to 1920 pixels and height to 1080 pixels, while keeping the resolution at 72 dpi. These settings are ideal for digital applications. Once you've entered everything, click "Create".
Create a Blank Layer
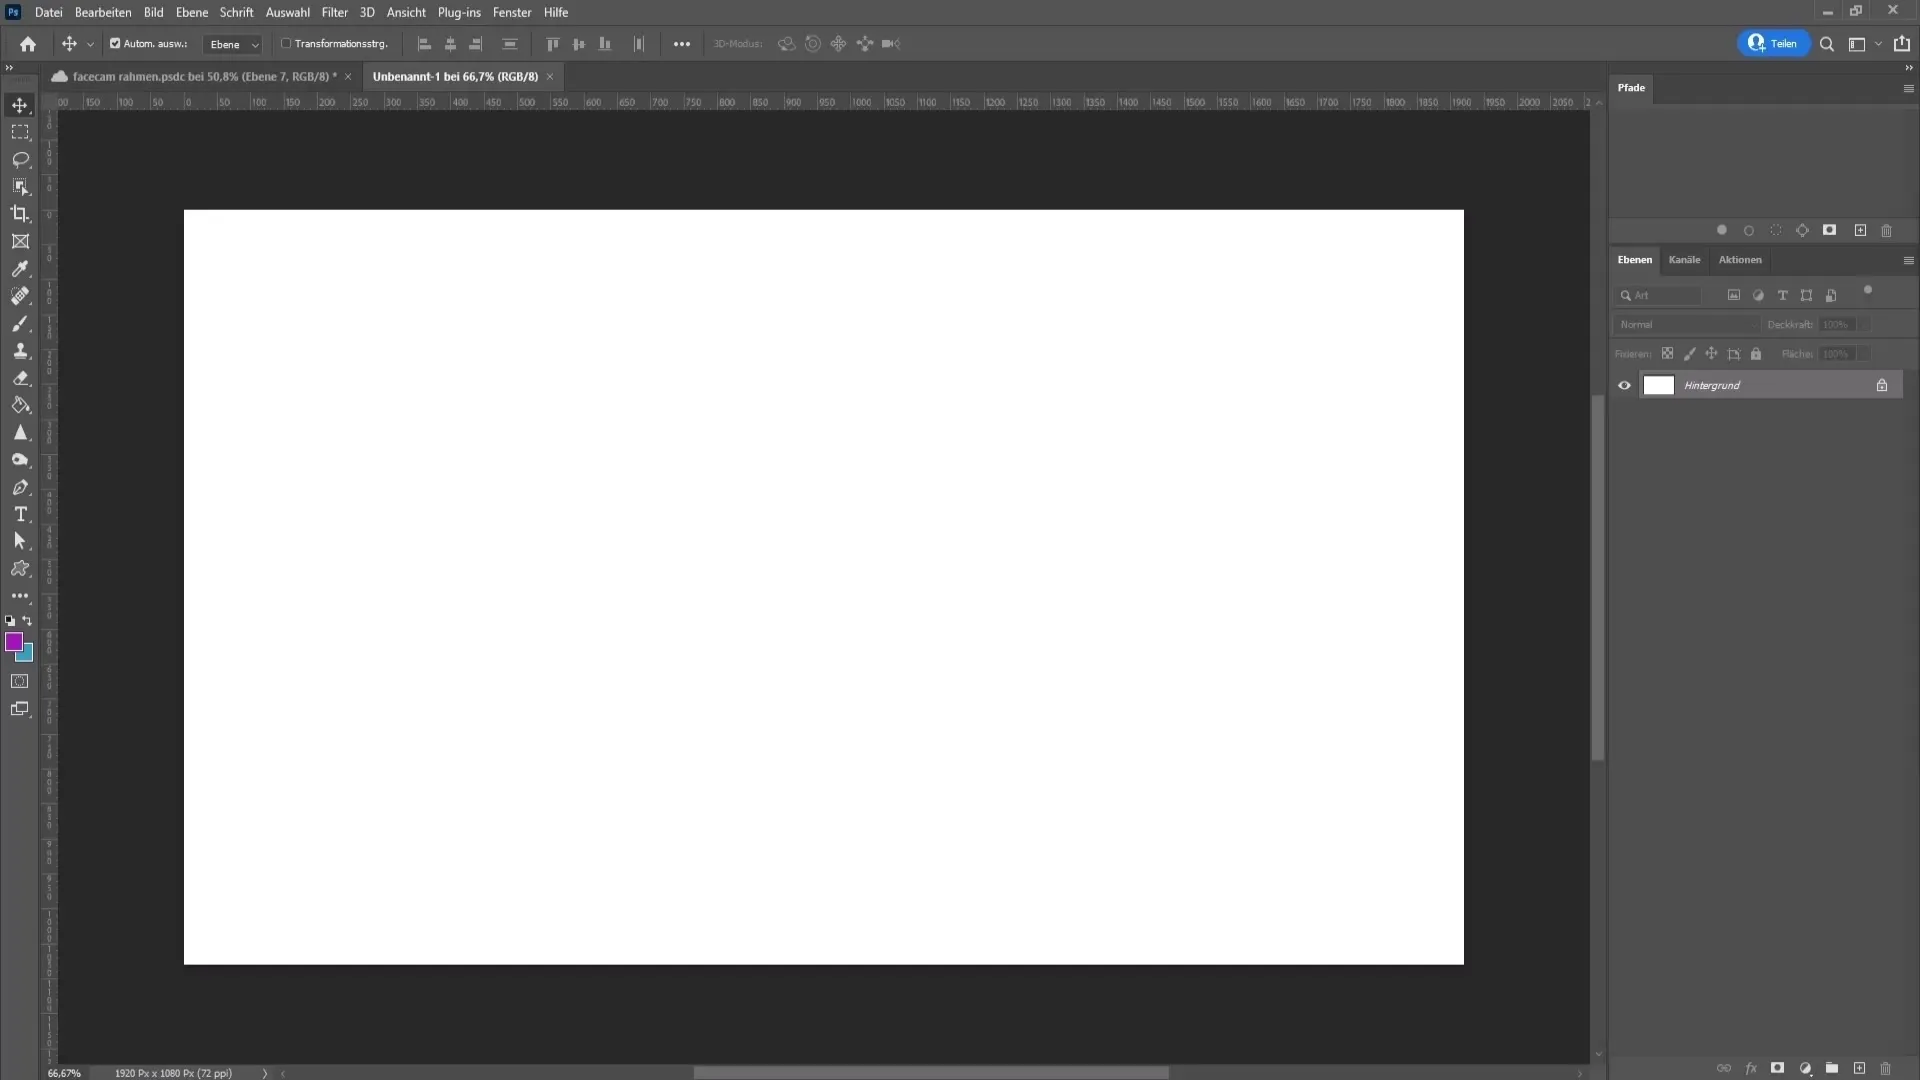
Now you should create a blank layer to start designing. Select the background layer and press the "Delete" key to remove it. Press "D" to get a black foreground color and then show the grid by going to "View" for guidance in your design. Click on "View" and choose "Grid".
Adjust Grid Settings
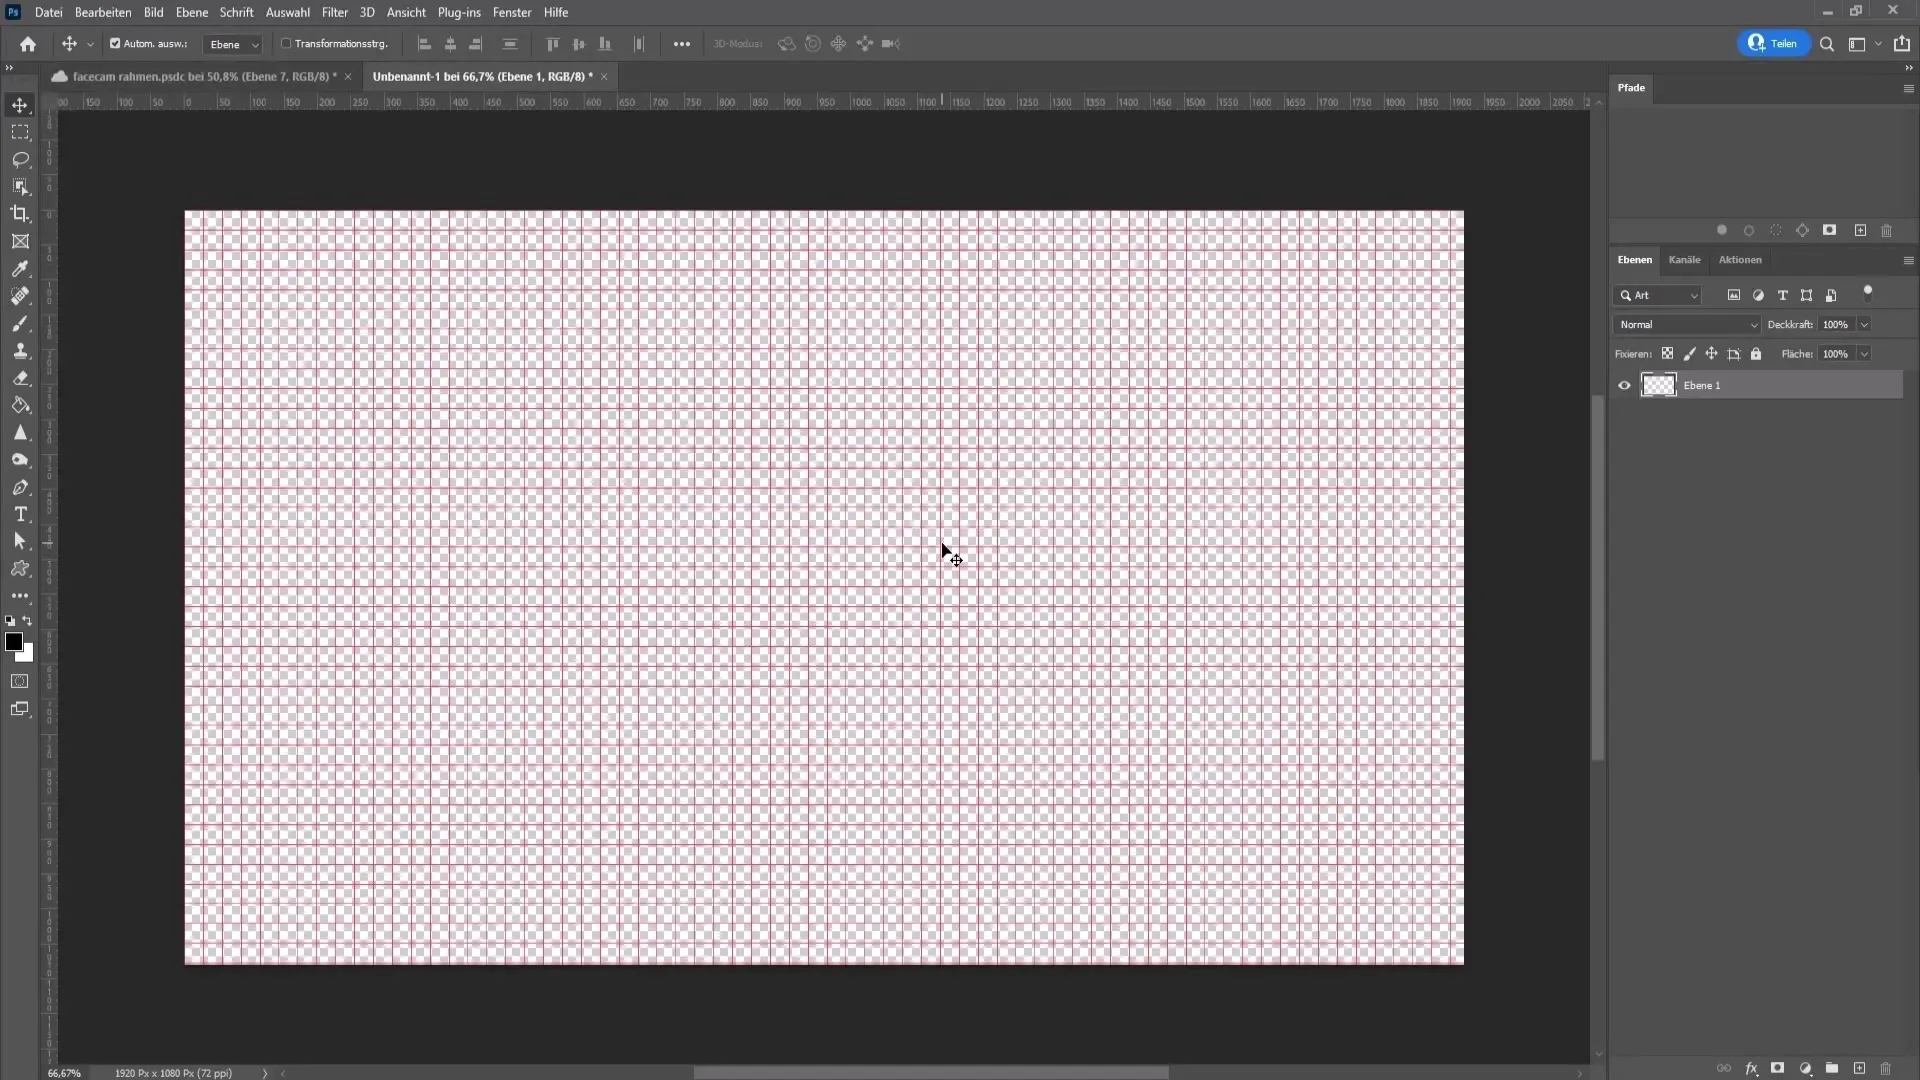
Before you proceed, it's important to adjust the grid settings. Go to "Edit", then "Preferences" and select "Guides, Grid and Slices". Make sure the gridline spacing is every 1 cm and subdivision is also set to 1. Choose a distinctive color to make the grid clearly visible, such as light red.
Use the Rectangular Marquee Tool
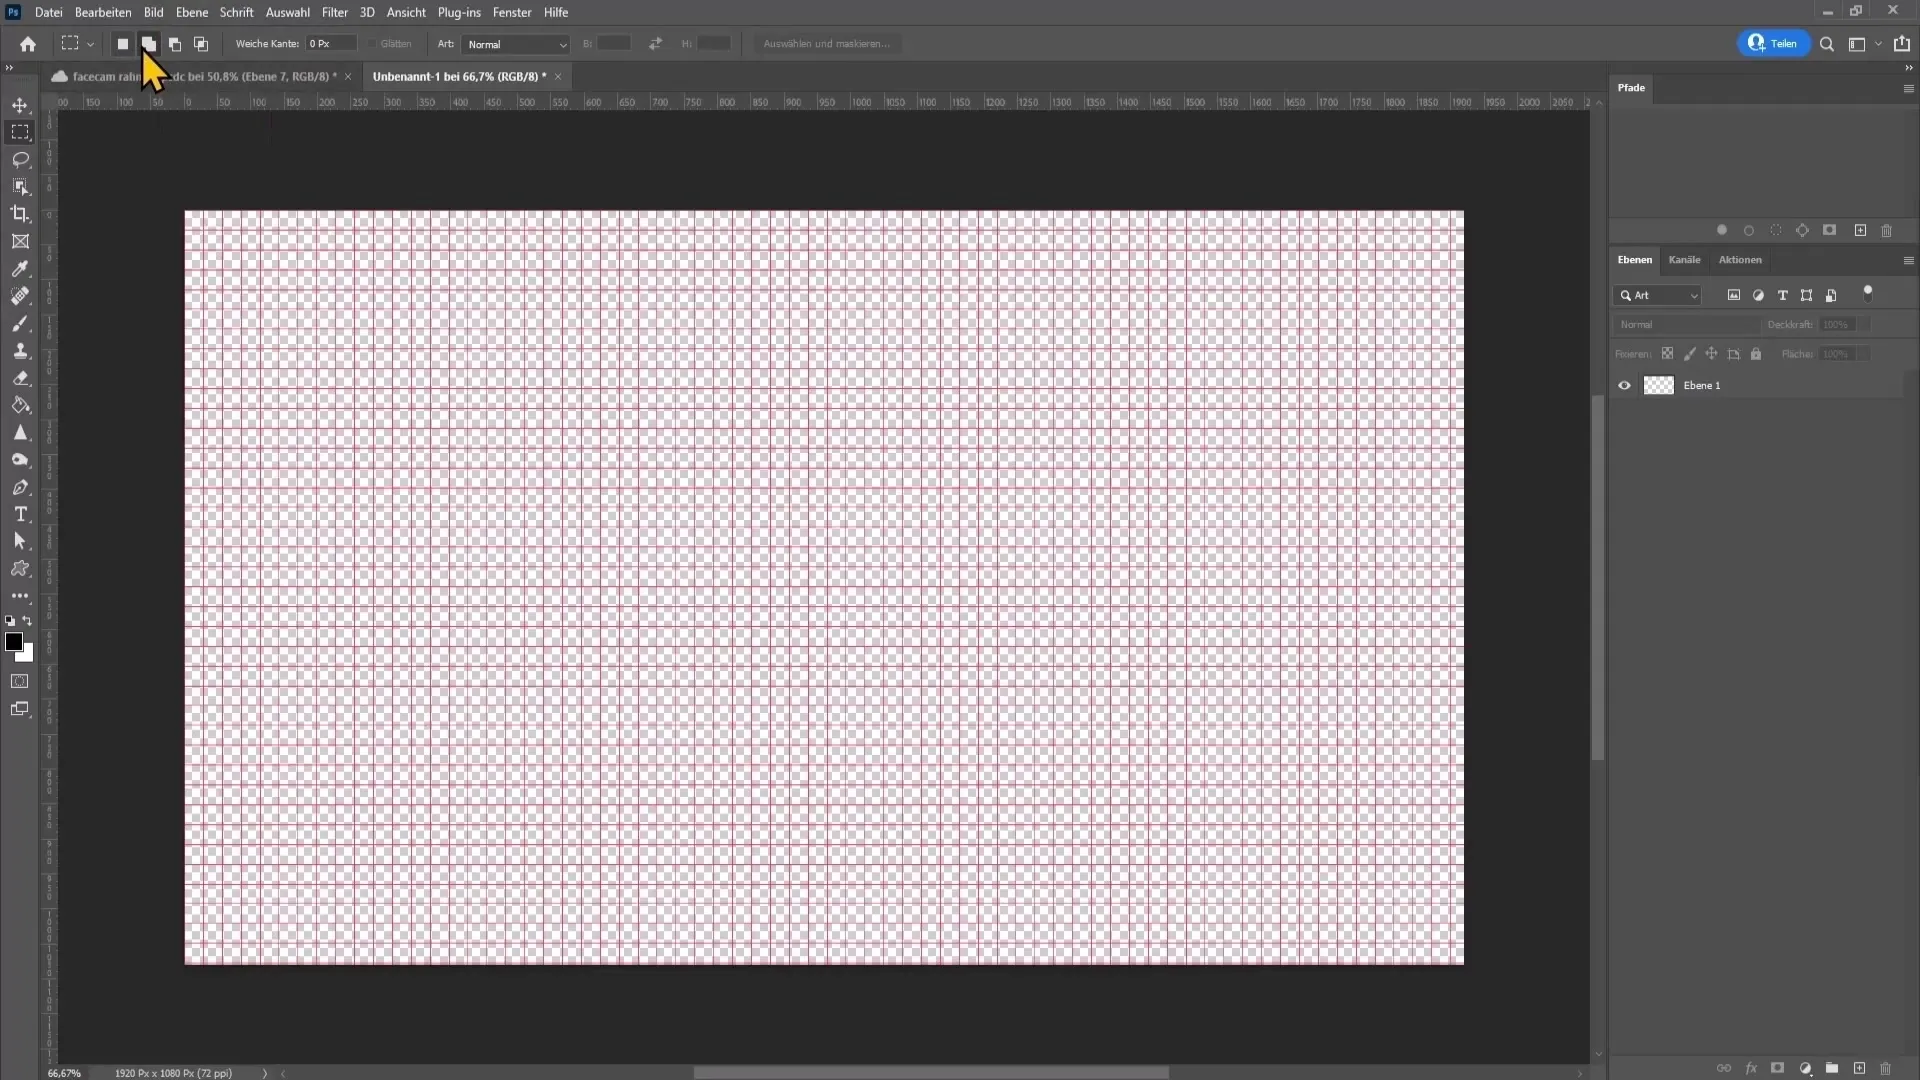
Now it gets interesting: Select the rectangular marquee tool and make sure the feather setting remains at 0 pixels. This allows you to draw multiple selections consecutively, which will help you in frame design. Zoom in and ensure your selection aligns with the grid.
Sketching the Frame
Start by creating the top bar of your webcam frame. Draw a selection that is two boxes wide, extending downwards. Do the same for the left side, keeping the same width. Now press "Alt" and "Delete" to fill the selection.
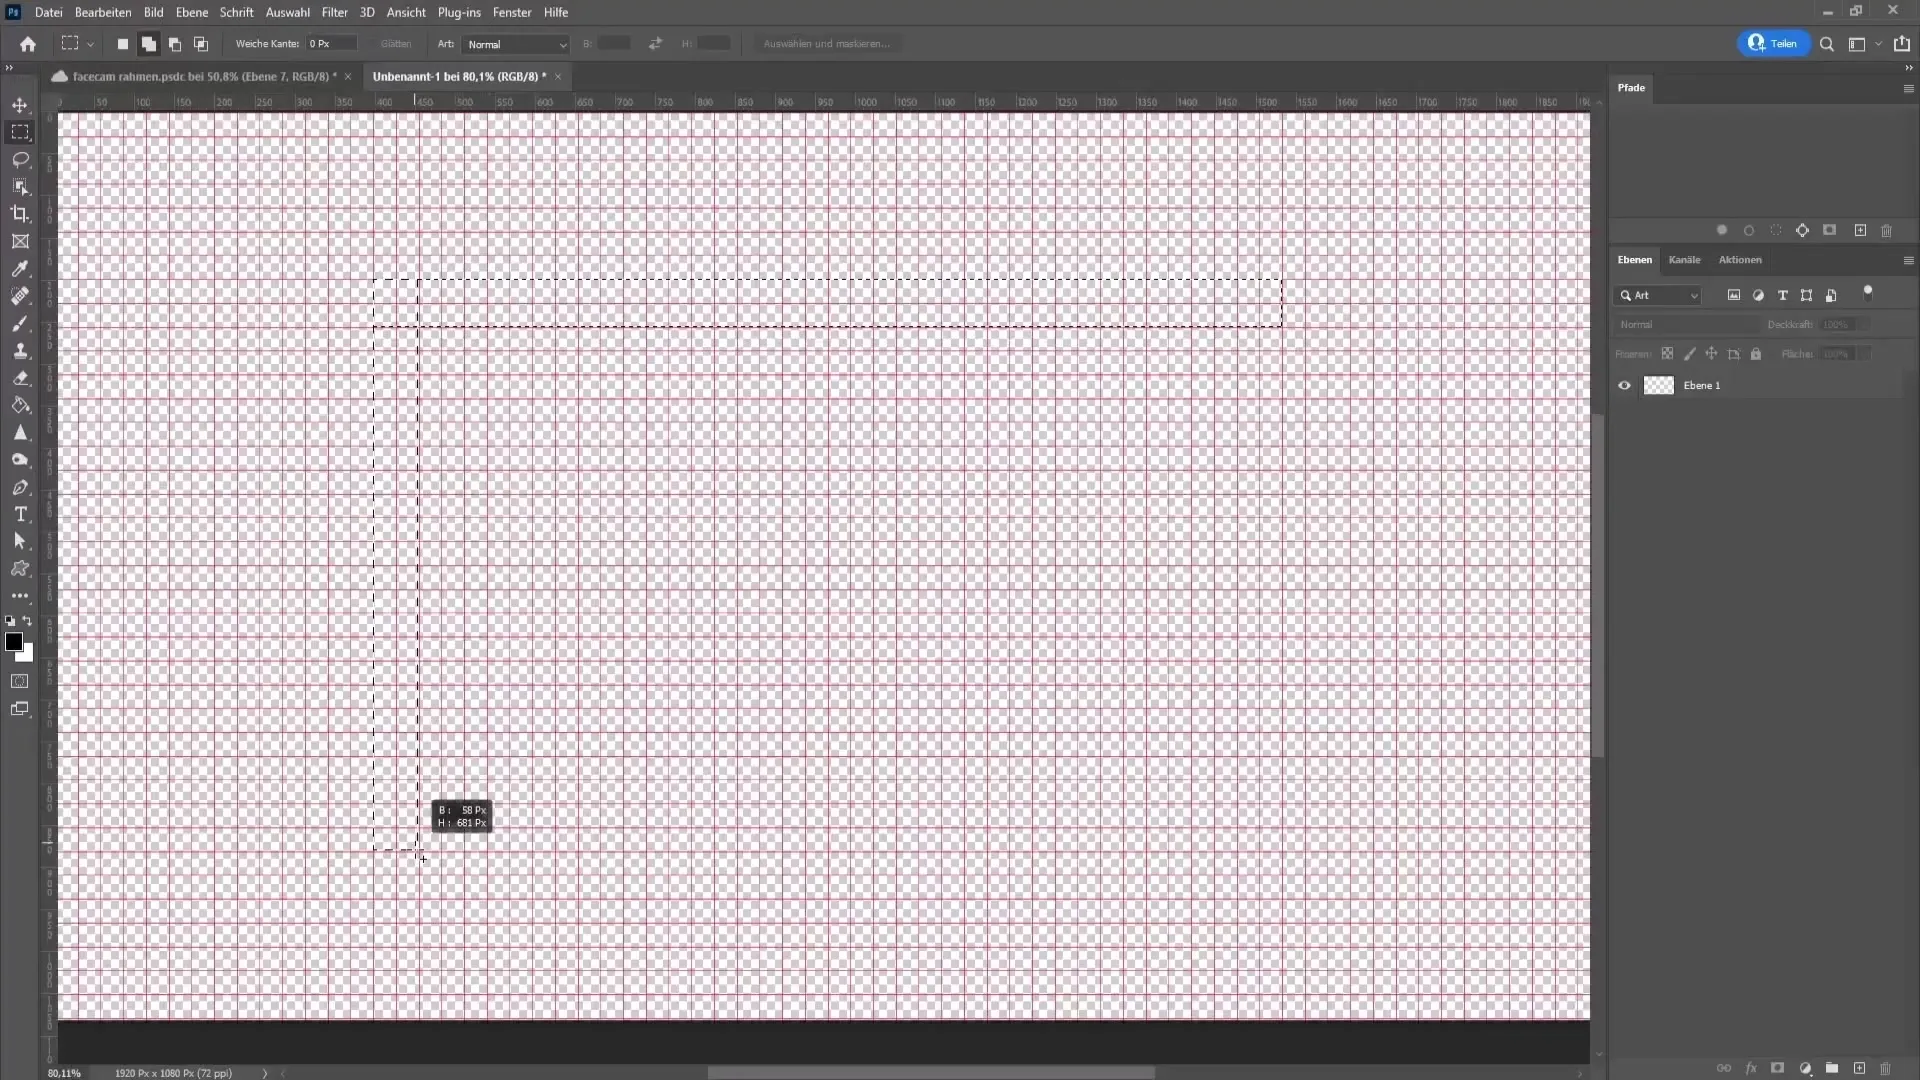
Mirroring the Layer
Press "Ctrl" and "J" to create a copy of the layer. With "Ctrl" and "T", open the transform string. Right-click on the image, choose "Flip Horizontal", then "Flip Vertical". Confirm the changes by pressing Enter.
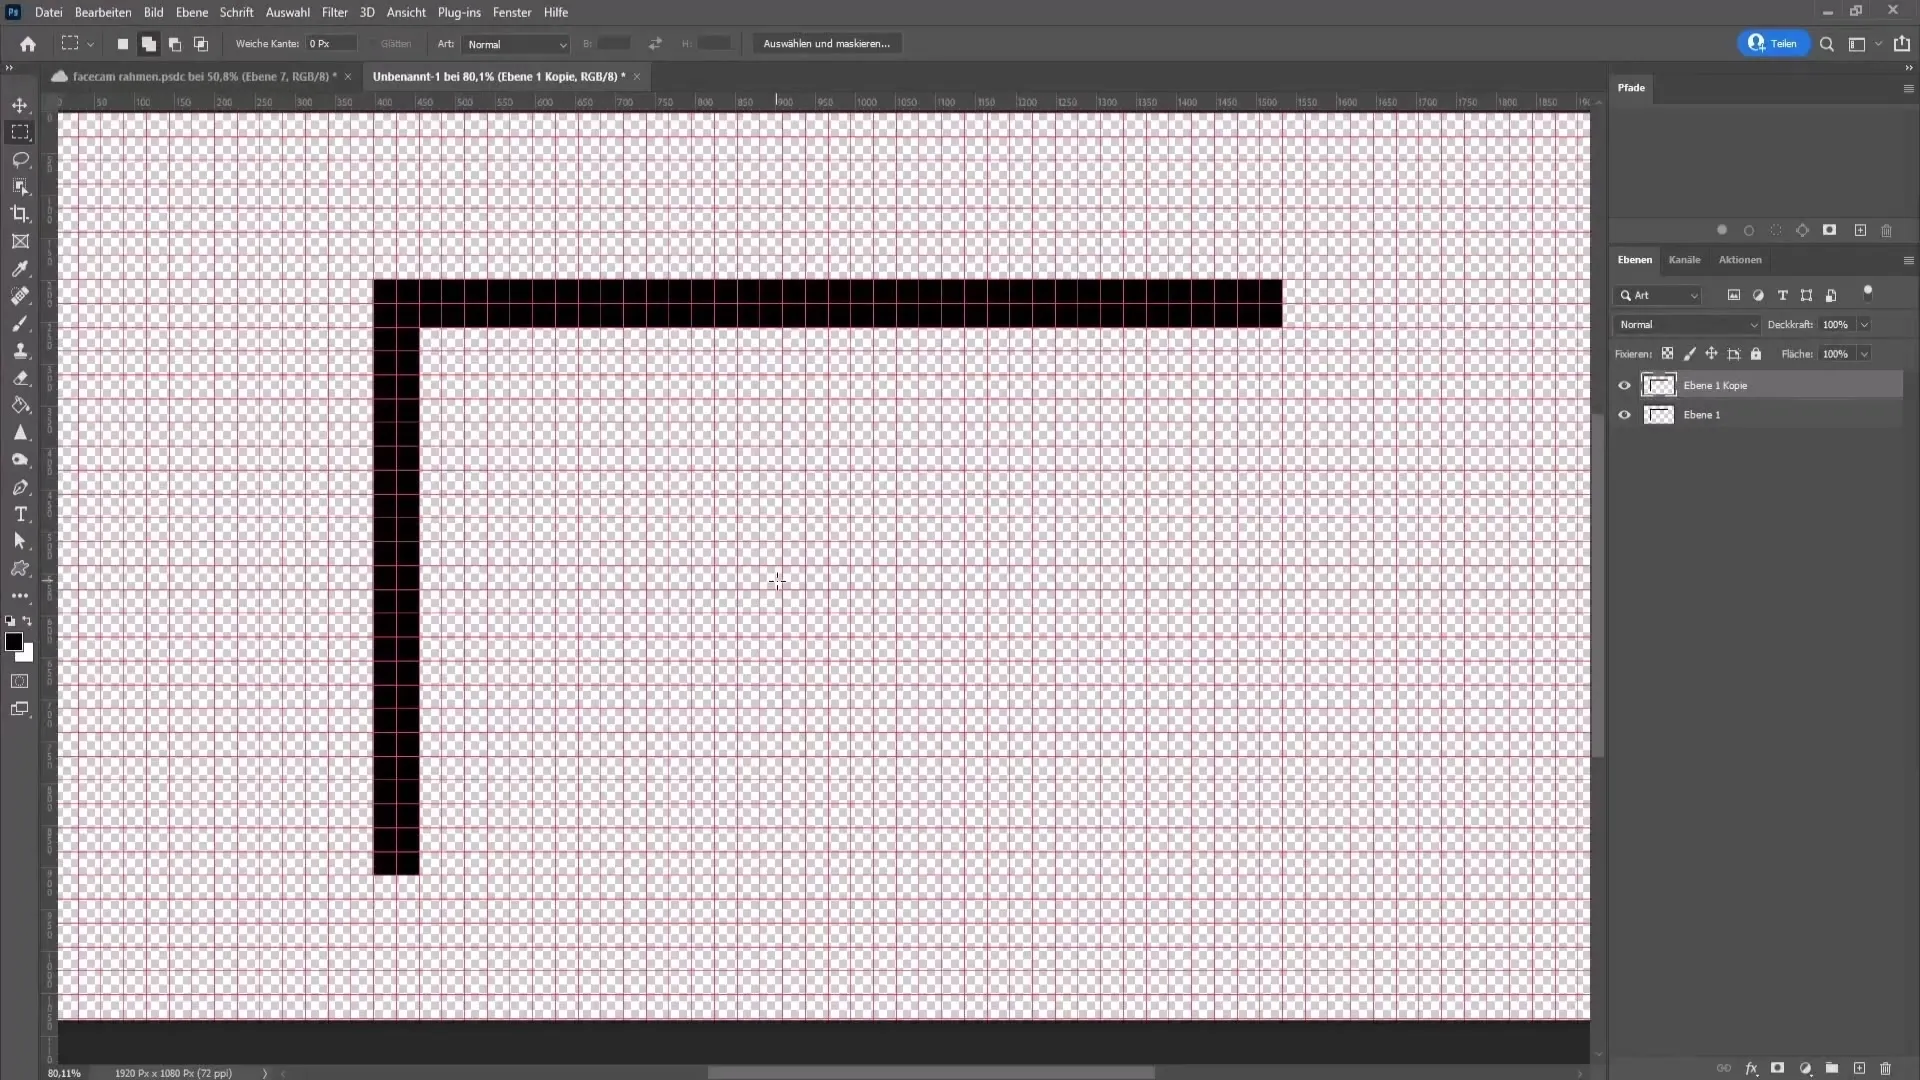
Choosing Colors
Now think about the colors you want to use for your webcam frame. These colors should complement each other— you can find color harmonies online. In this example, we are using Blue, Yellow, and Pink. You can select the colors at the color fields at the bottom left.
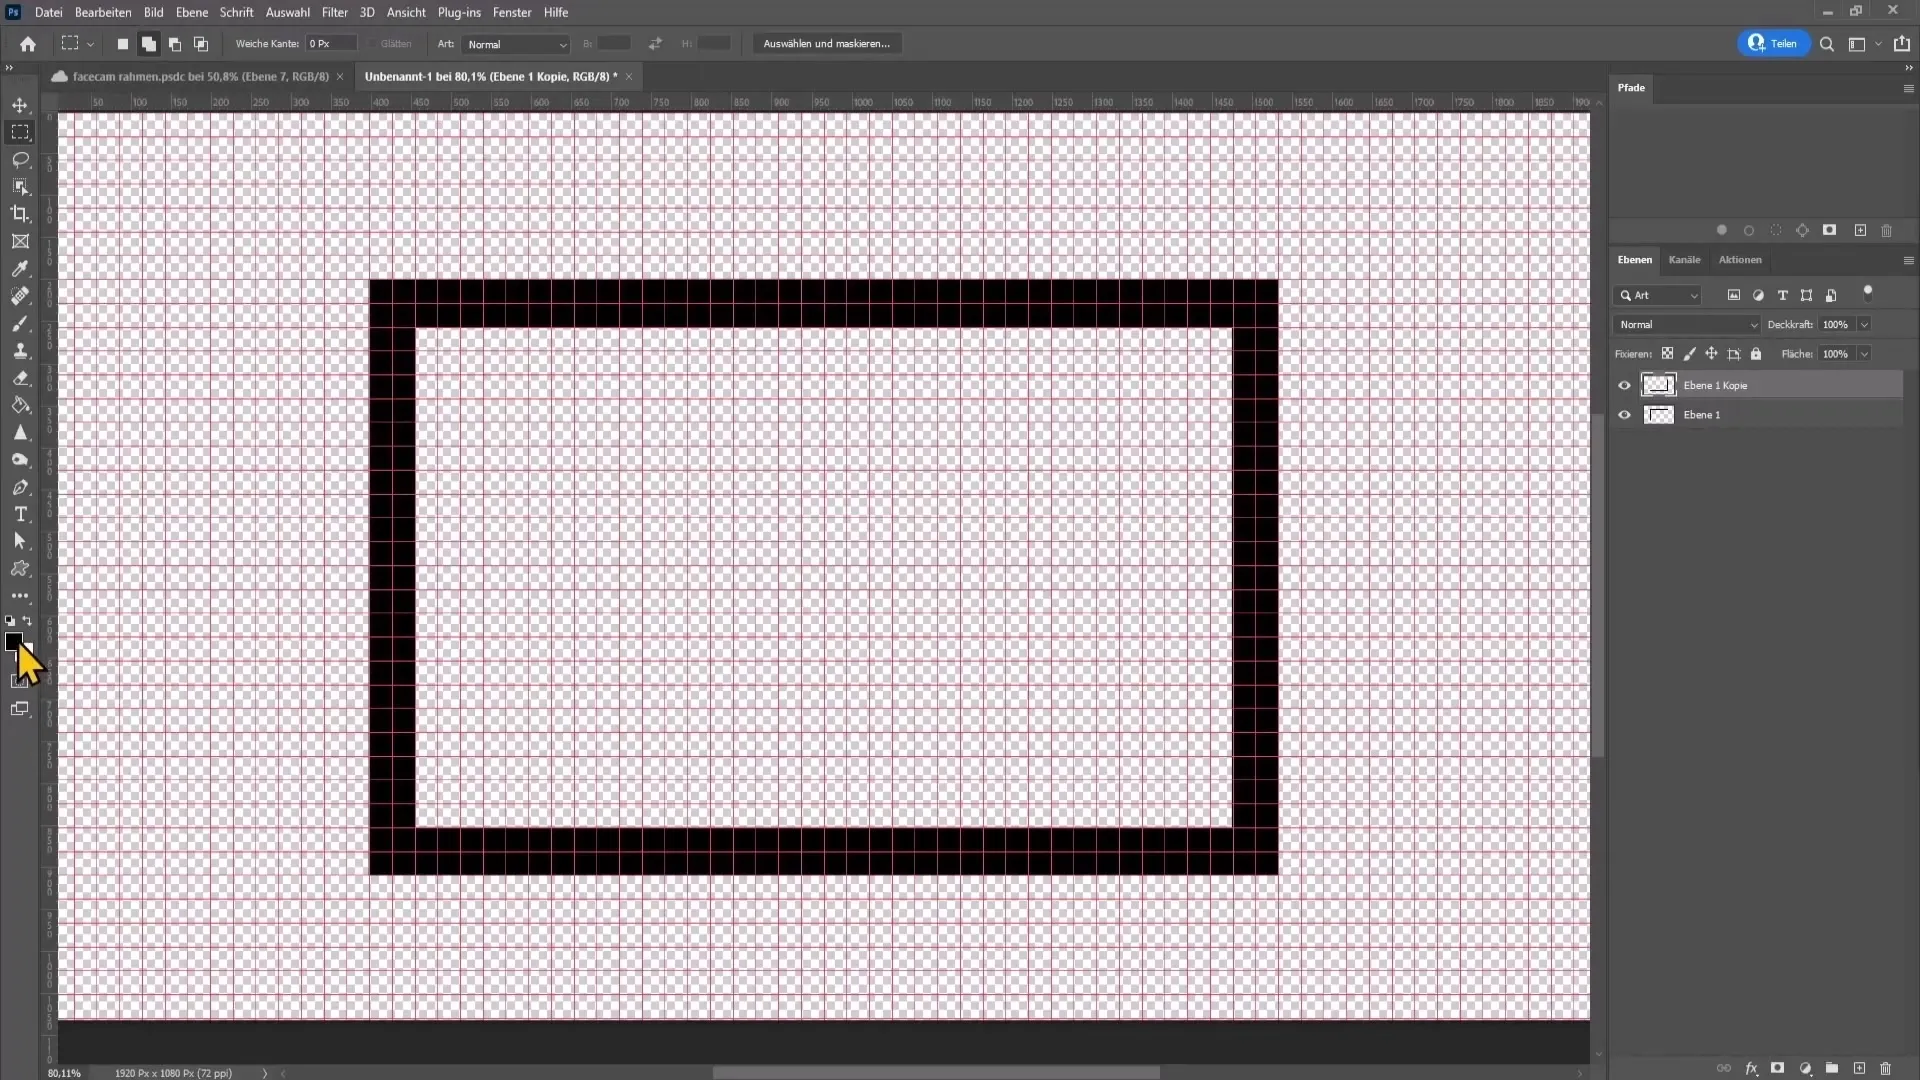
Prepare the Brush Tool
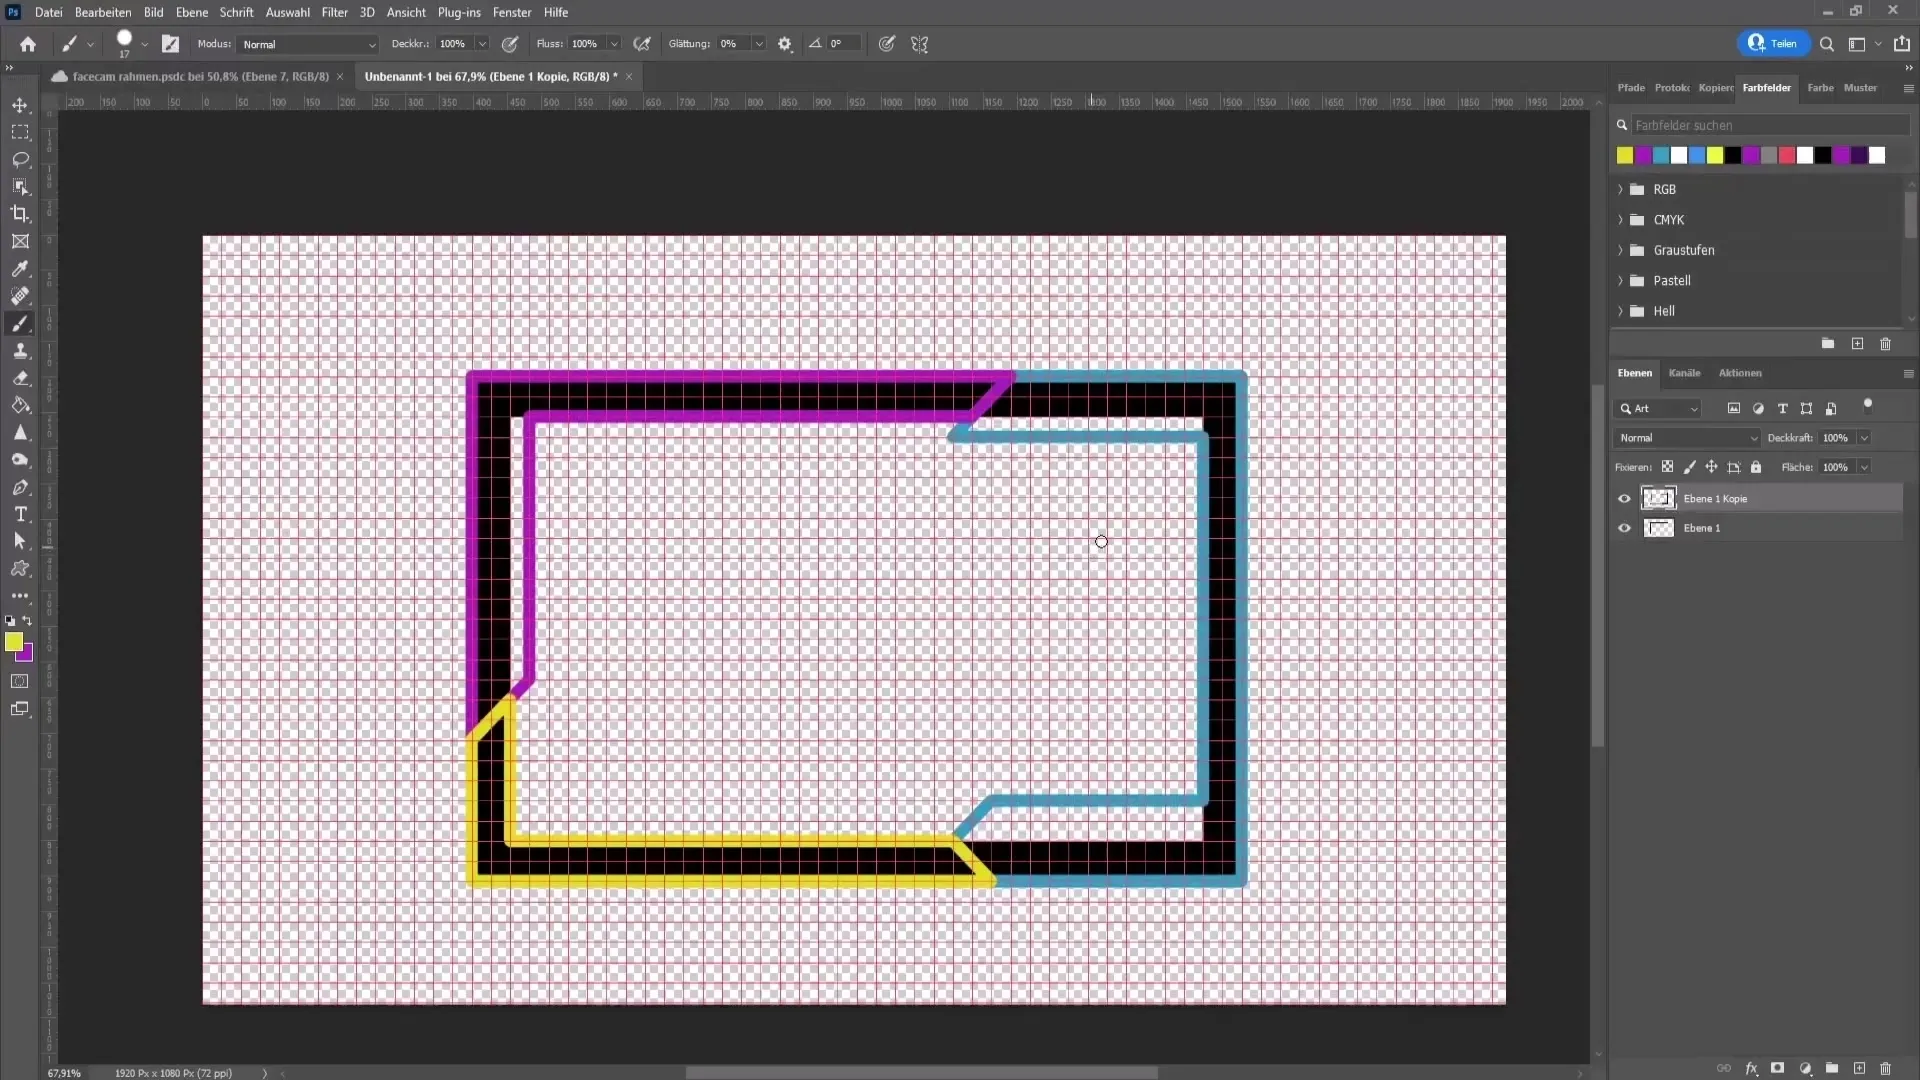
Select the brush tool with a round hard brush. Adjust the size to about 20 pixels while ensuring the hardness stays at 100%. Now, you can start drawing your frame. Plan a structure and draw the corresponding lines easily.
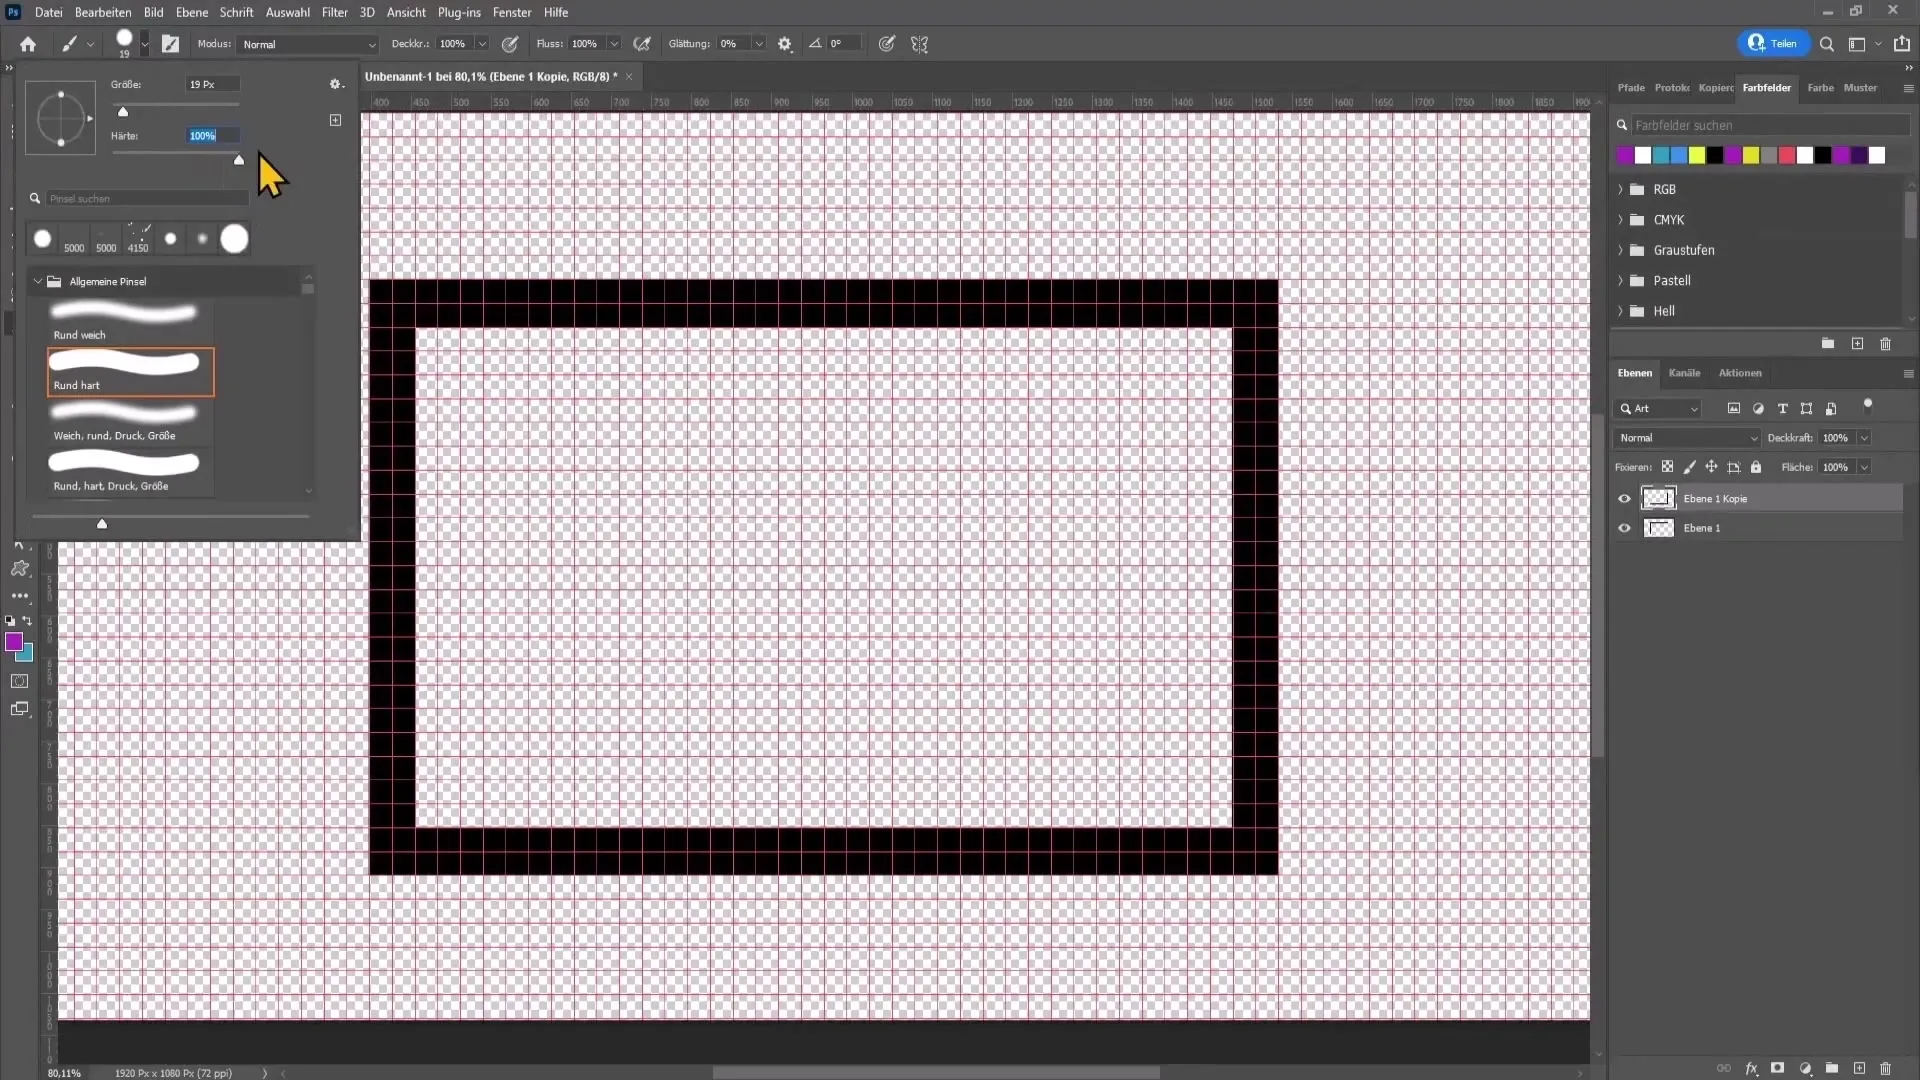
Create Shapes
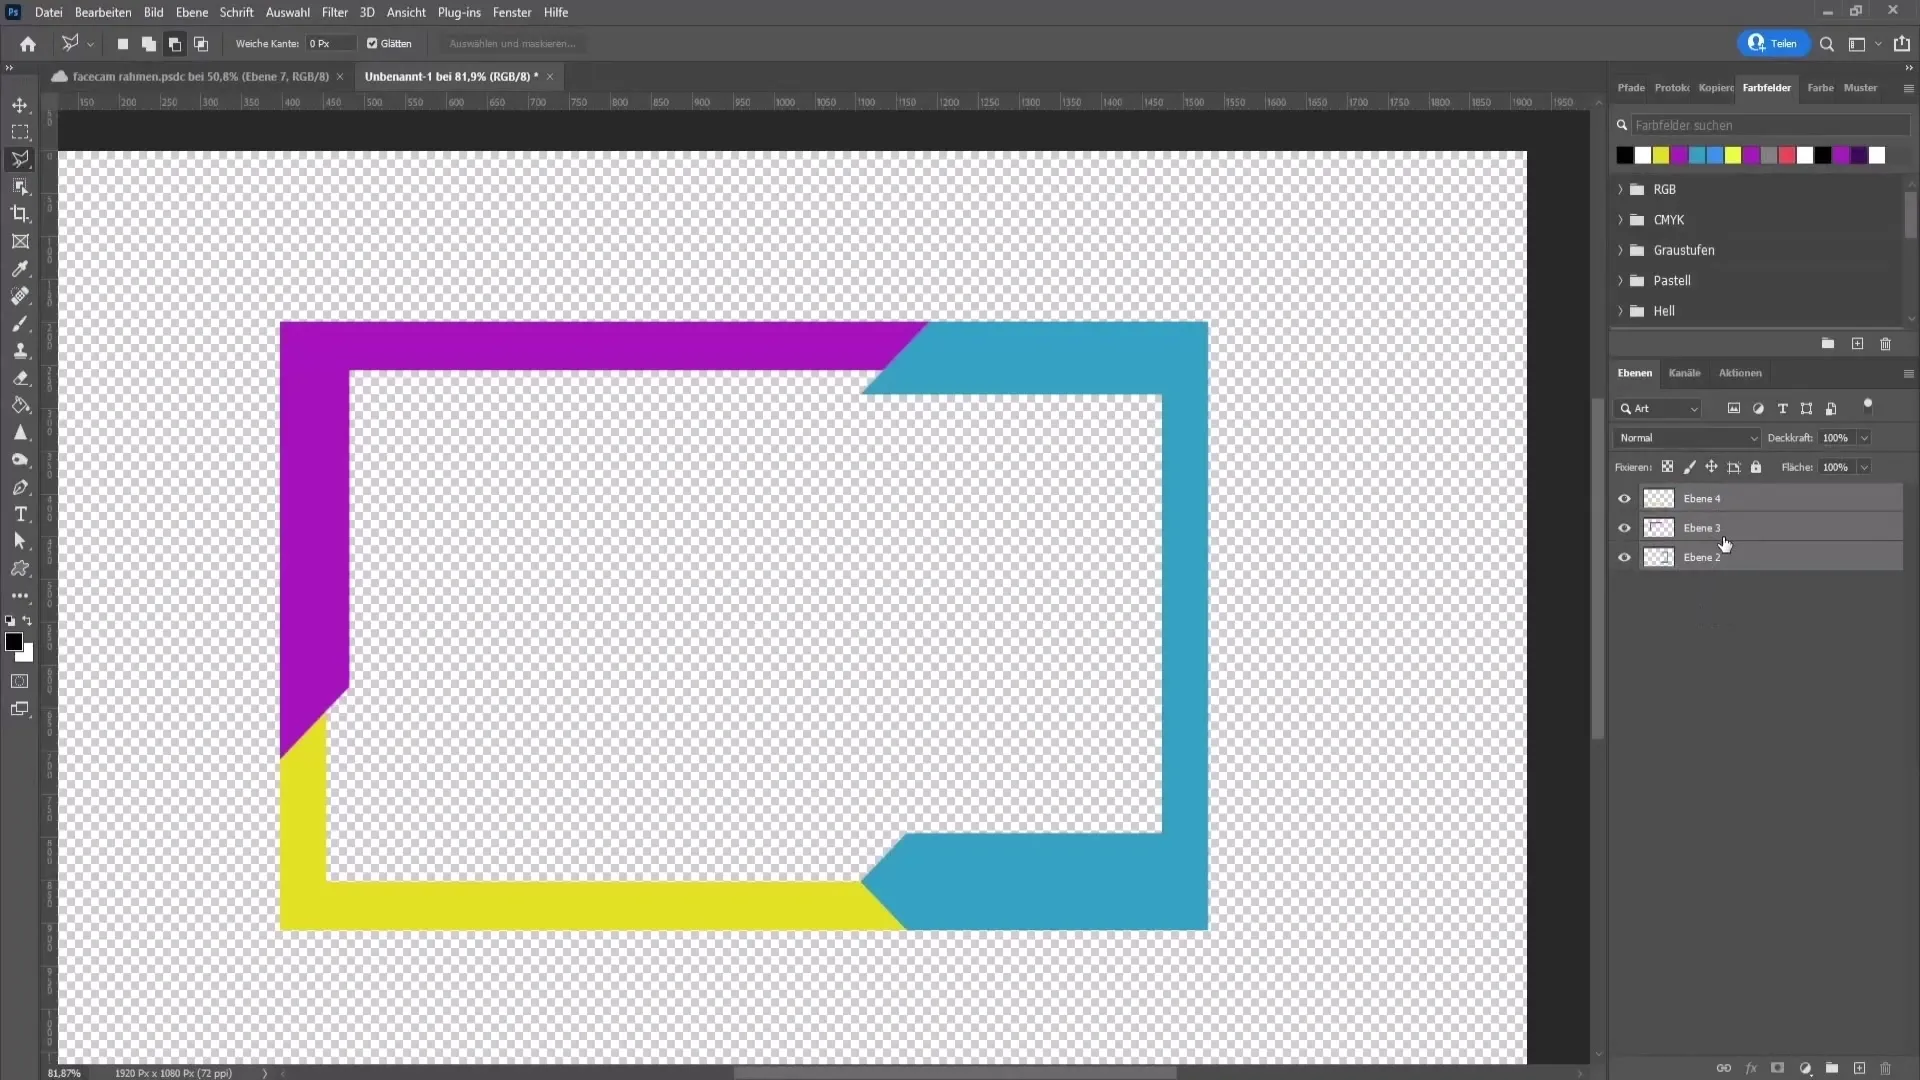
To create the shapes, select the Polygon Lasso tool and trace along your sketch elements. Start with the blue color and draw the lines according to your sketch.
Add Contours
Group all layers by selecting the desired row while holding the "Shift" key, then right-click and choose "Convert to Smart Object." Go to the Fill options and enable the drop shadow. Personalize the color and other settings to give your frame more dimension.
Add Text
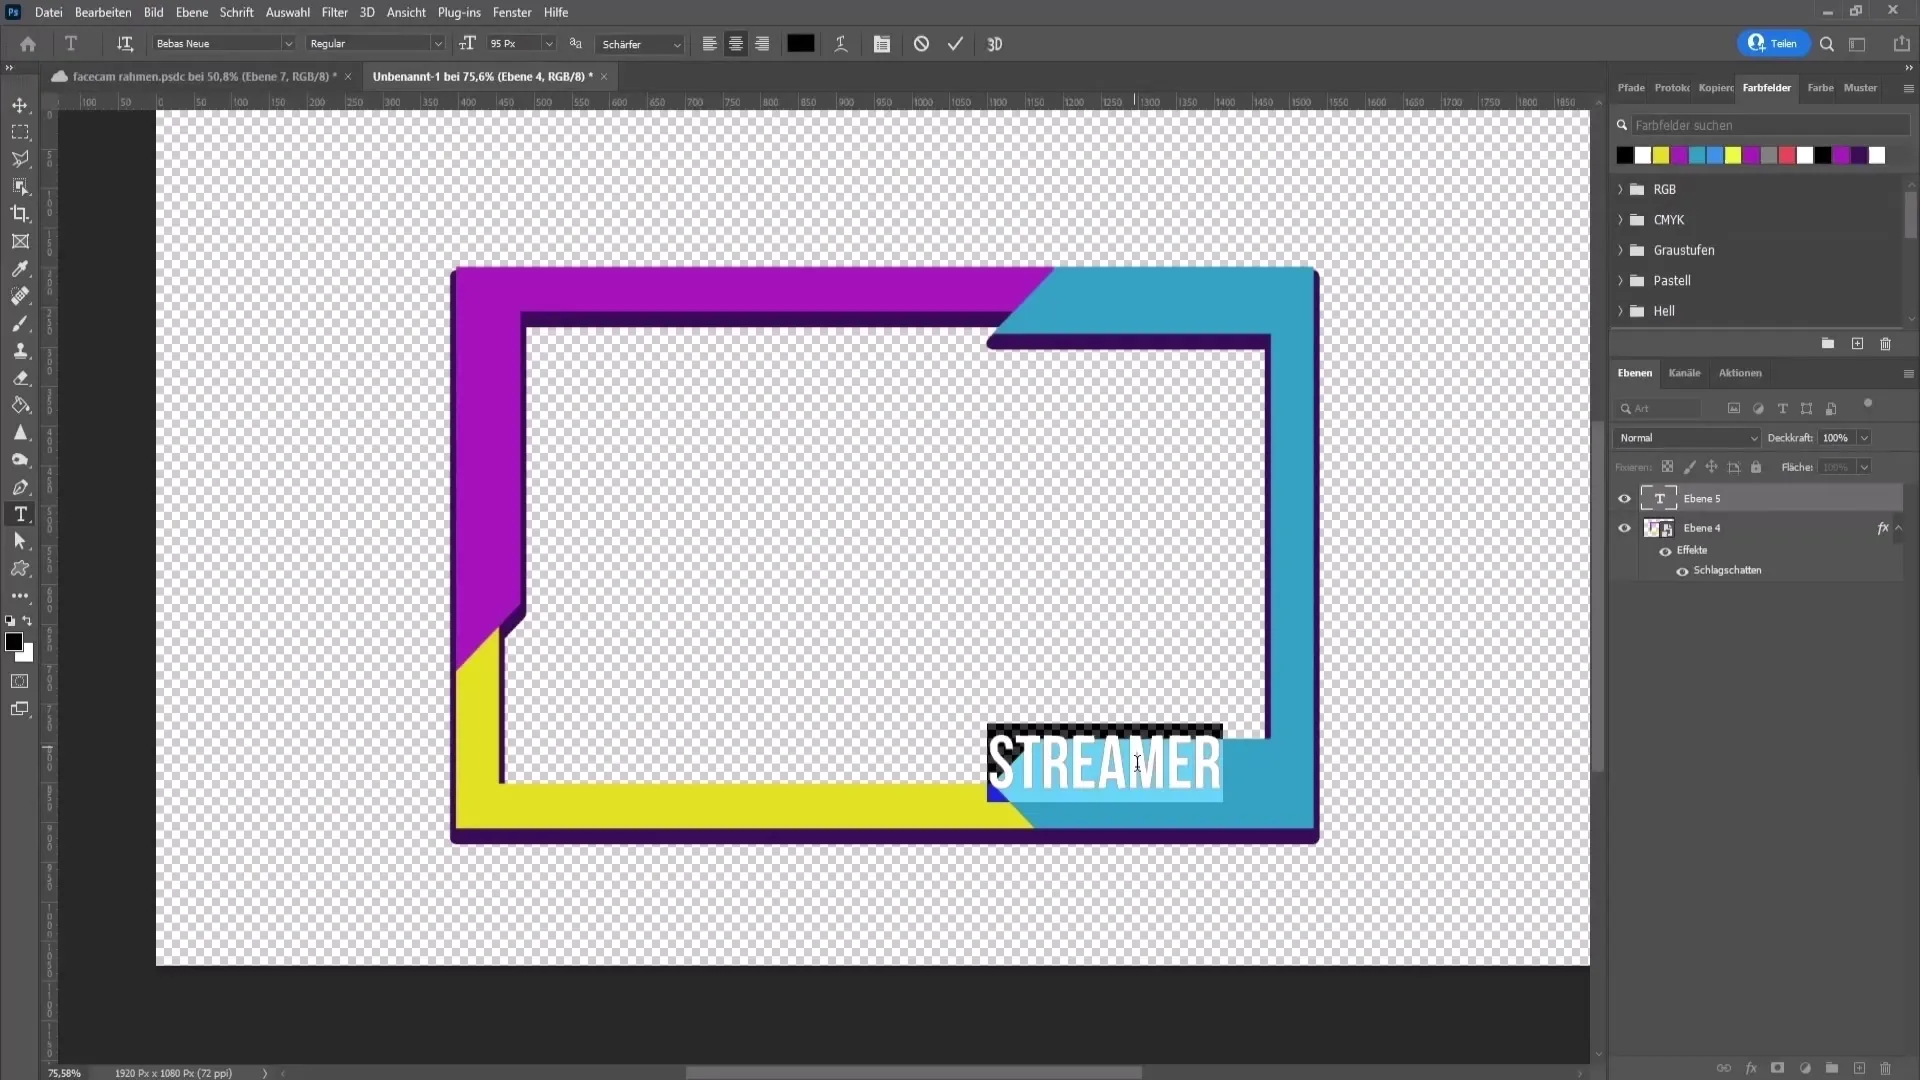
To give your frame a personal touch, you can add your name or other text. Select the text tool, click in the desired area, and enter your text. Experiment with font and size to achieve the best result.
Exporting the Frame
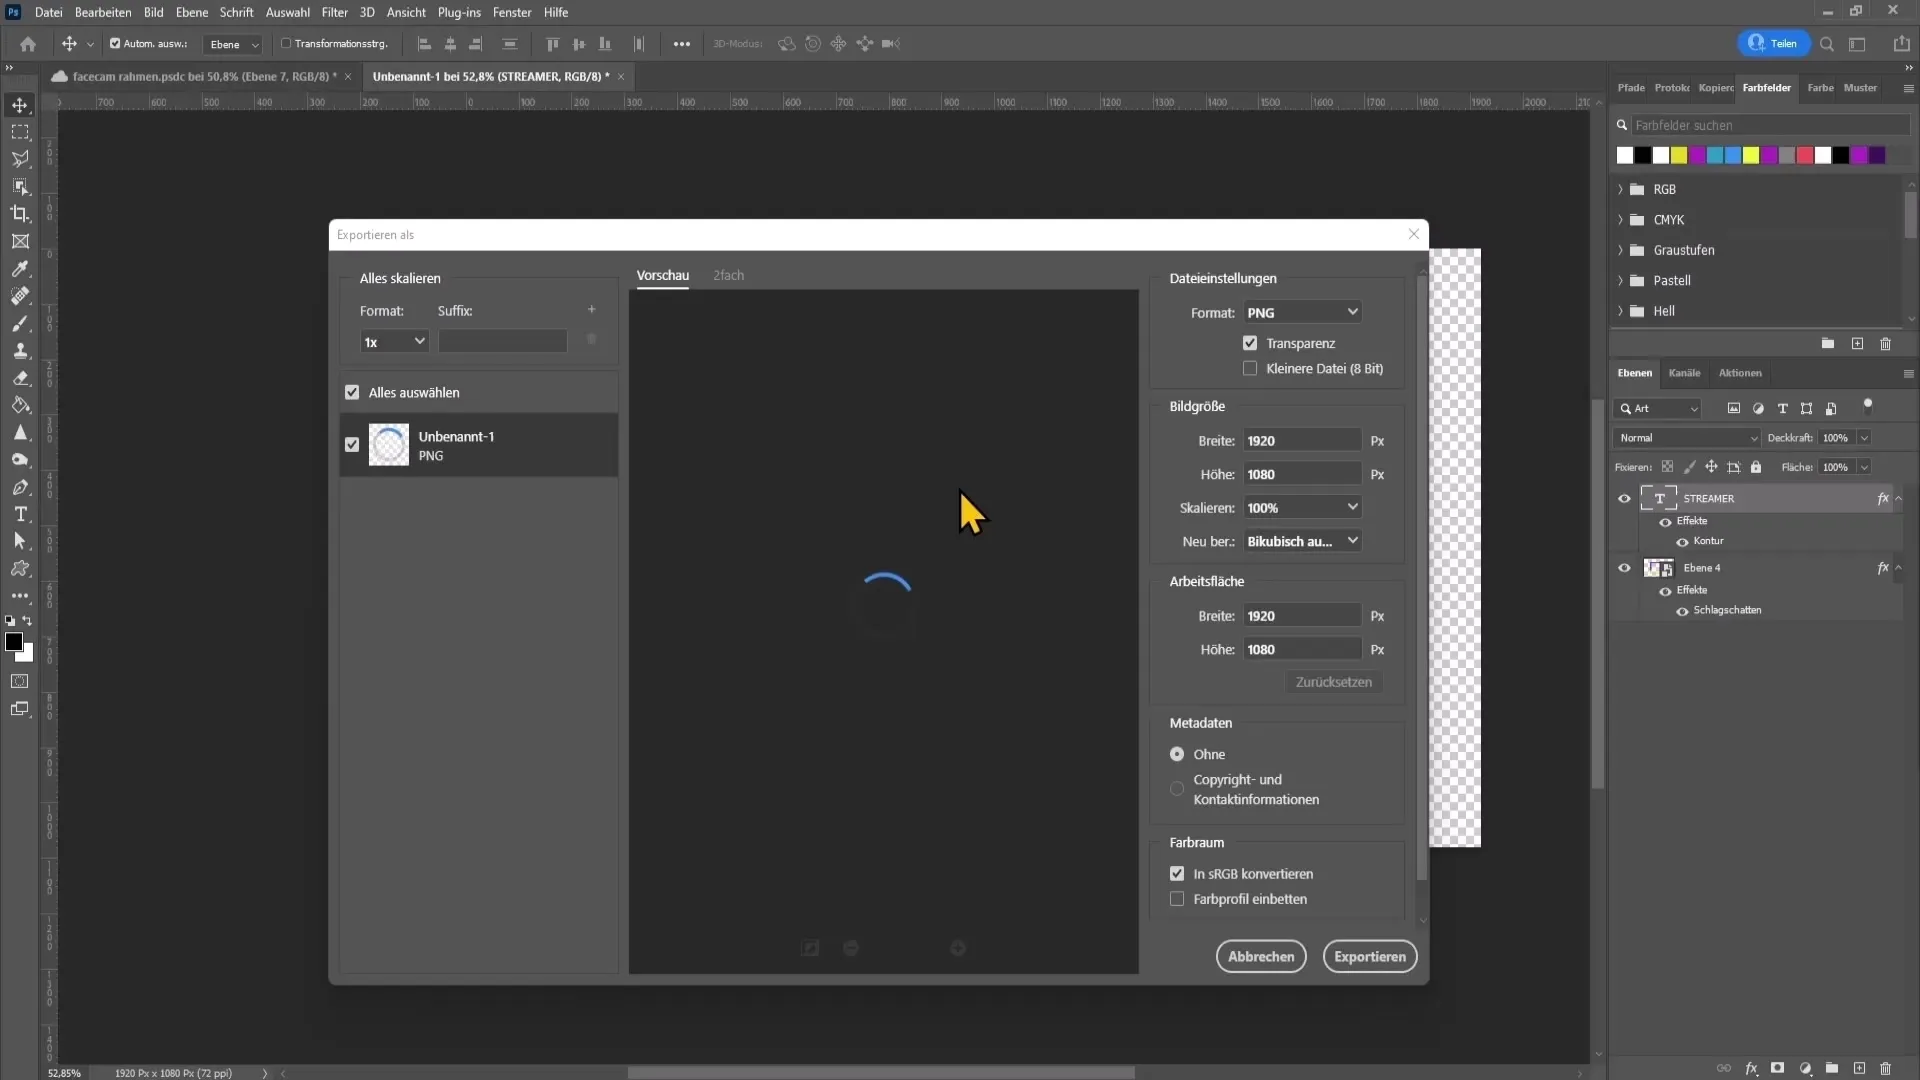
Click on "File," go to "Export," and choose "Export As." Make sure to select the PNG format with a transparent background. Name your frame and choose a storage location.
Adding the Frame in OBS Studio
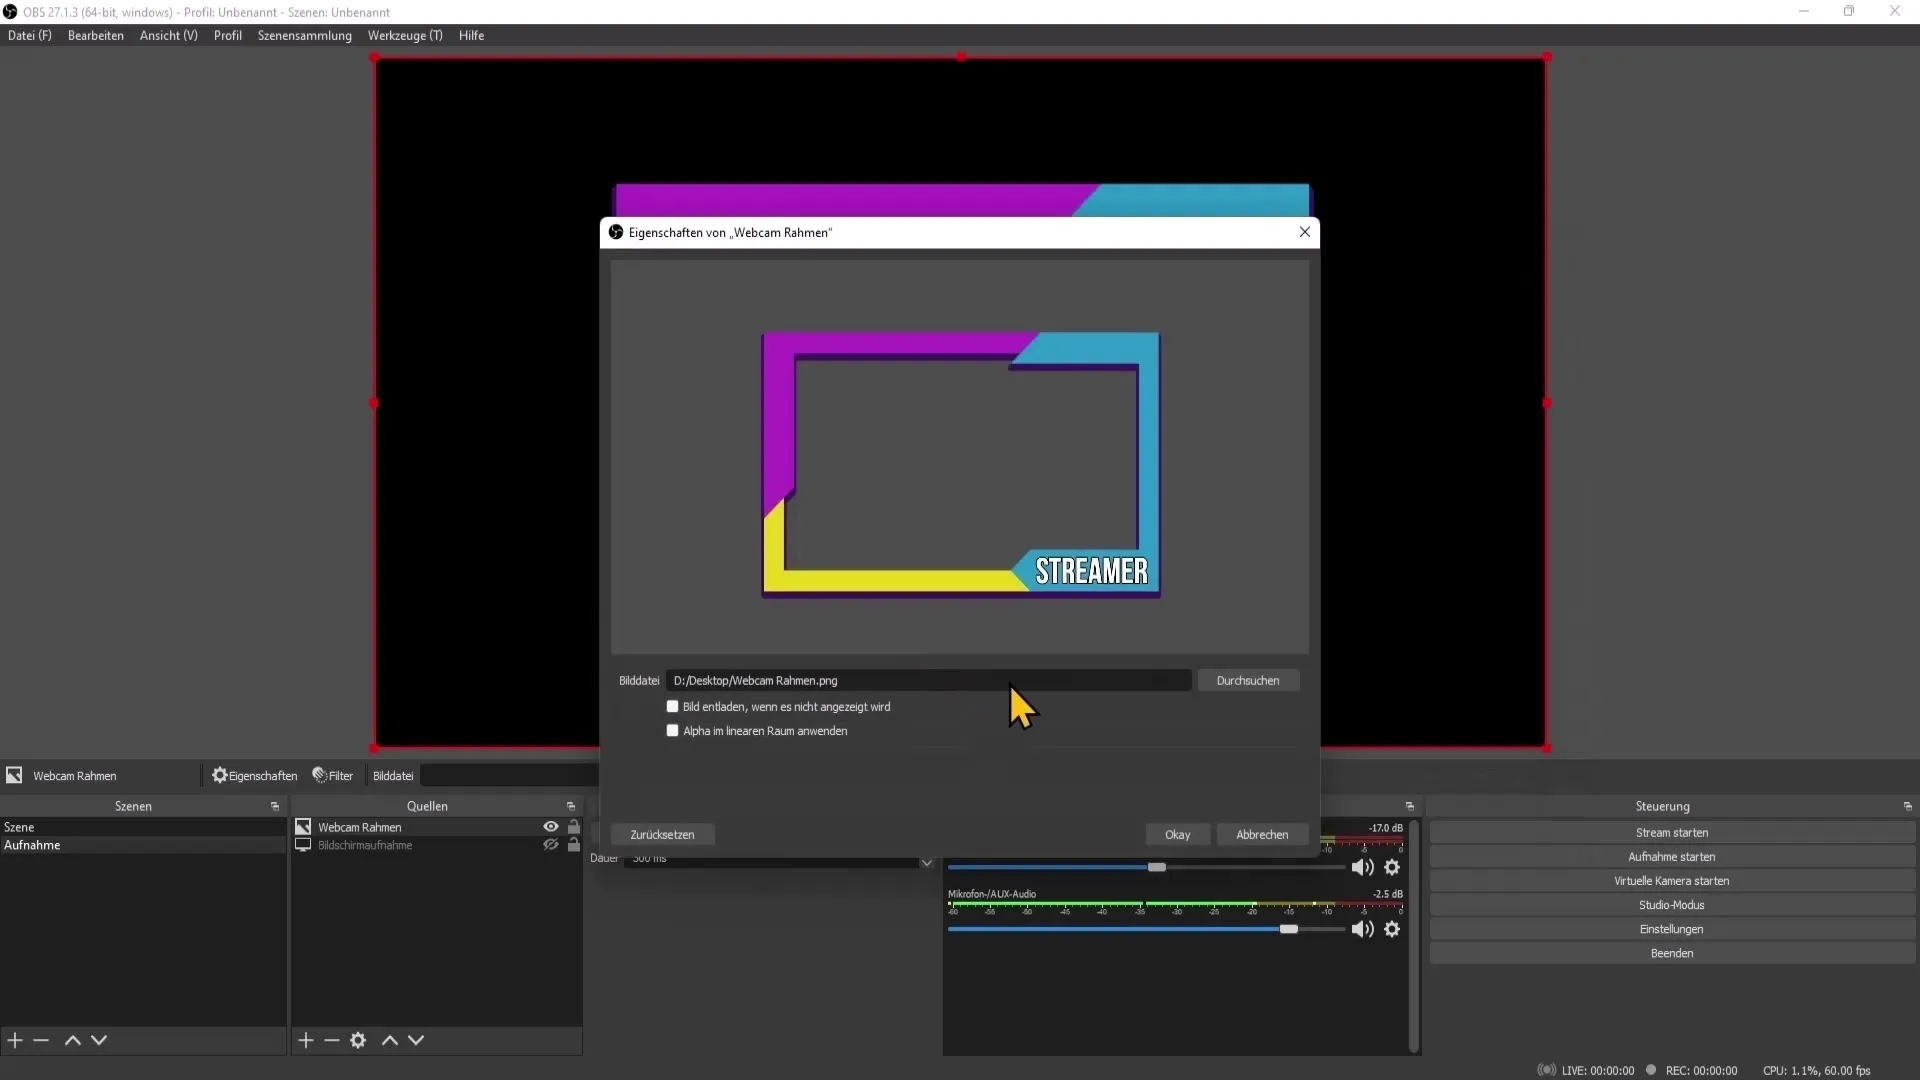
Now that your webcam frame is ready, open OBS Studio. Click on the plus symbol beneath sources, select "Image," and give it a name. Choose the previously exported image and confirm it displays correctly. You can also adjust the image to the desired position.
Summary
With this step-by-step guide, you have created your own webcam frame for your YouTube livestreams. Remember to be creative and regularly update your frame to always stay fresh and appealing.
Frequently Asked Questions
How do I create a new document in Photoshop?Click on "File" and choose "New." Set the width and height accordingly.
What colors are suitable for my webcam frame?Choose colors that harmonize well together. Online, you can find various color palettes.
How do I import the frame into OBS Studio?Add an image source in OBS and select the exported image.
How can I adjust the frame?Use the transformation tools in OBS to change the size and position of the frame.
What file formats can I choose for my frame?The PNG format is ideal as it supports a transparent background.


