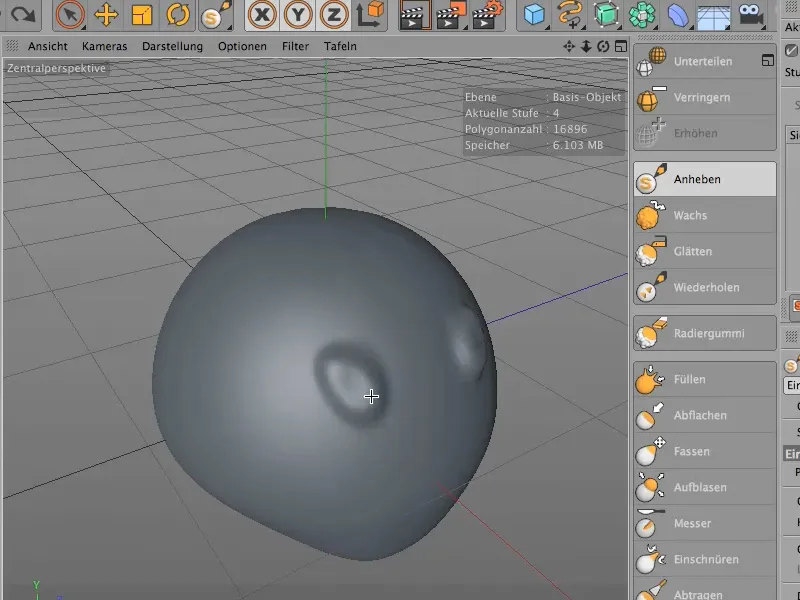
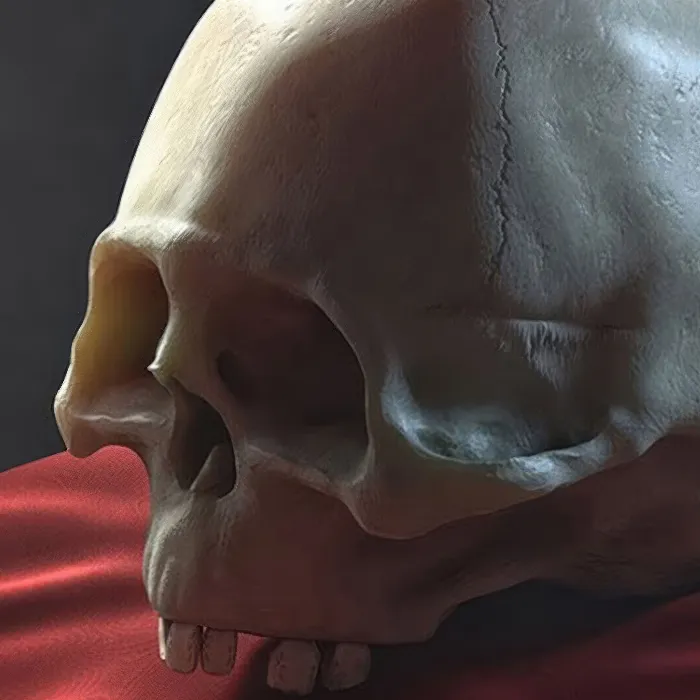
First of all, I would recommend that you adjust your tools for further editing beforehand. This will allow you to work with the default settings without any further concerns. This primarily refers to symmetry, of course, because everything you adjust on the right should also be reflected on the left and vice versa.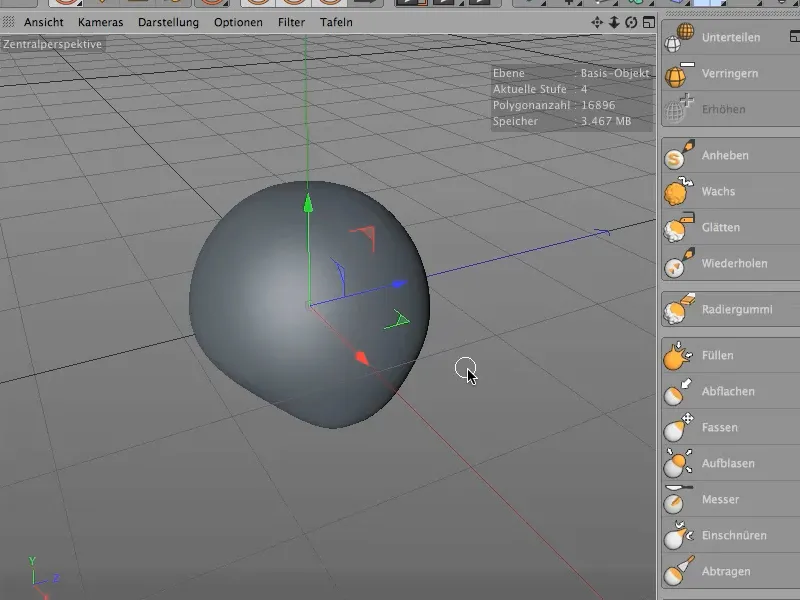
In order to maintain symmetry at all times, it is necessary to create a mirror image on the X and Y axes.
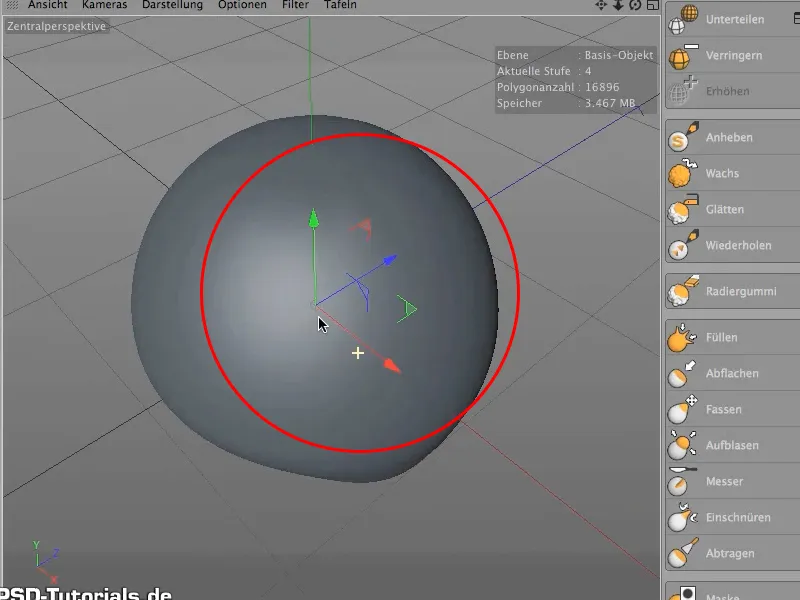
To do this, we select the first tool, then Settings and link the size, hardness and, very importantly, the symmetry, as this should apply to all tools.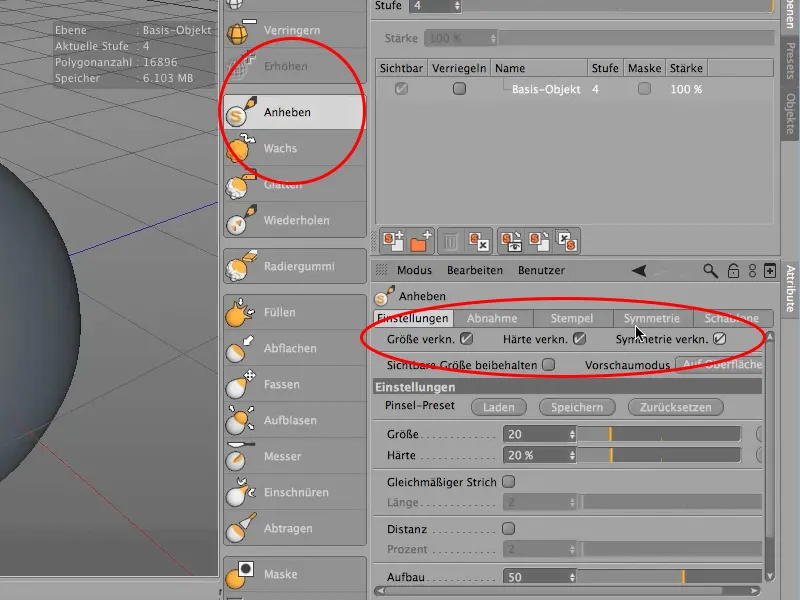
Then we switch to the Symmetry tab and check whether "local" is selected. This means that all changes relate to the object and not to the world grid. To ensure that the changes affect both sides of the object, we also select the Z axis. If you test now, it should change on both sides of the skull..webp?tutkfid=74477)
Let's go back to the tool settings. Here we now set a size of 20 and a hardness (see 1) of 50. Experience has shown that a hardness of 50% is suitable.
We then select the Fx switch (see 2) for the hardness in order to set the pen pressure back a little, but in any case to set the pen pressure to the hardness or the effective force. The options window opens (effector settings, see 3). Here we now set the pen pressure at point 1 (see 4) to the values shown in the image.
And now let's set up another point. To do this, simply click on the curve and set the values shown in the image.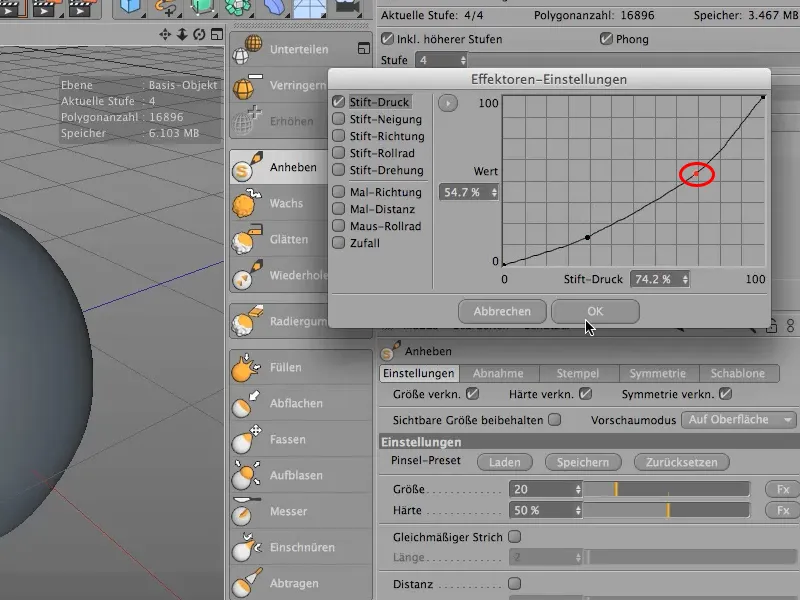
The tools are now set and can be used.