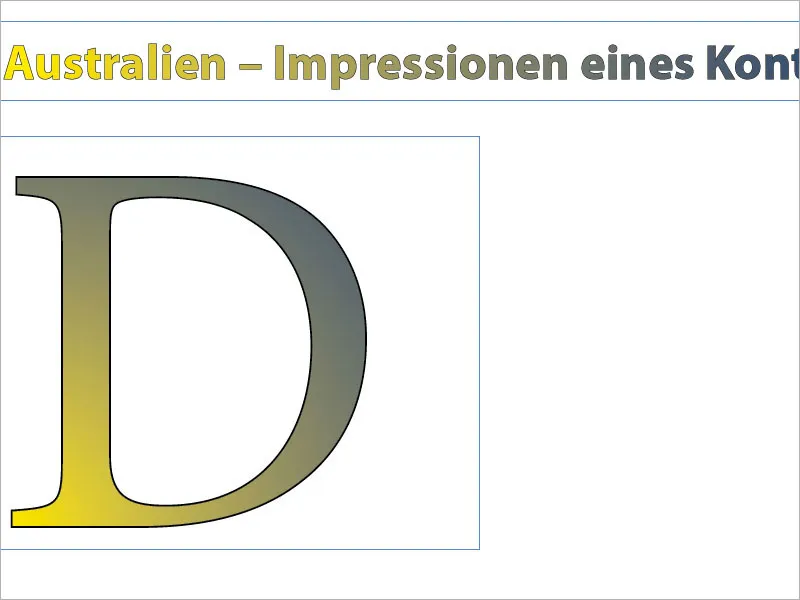
With the Gradient Tool in Adobe InDesign, you can create, edit, and apply gradients to text, shapes, or images. This versatile tool allows you to design seamless transitions between colors and give depth and dynamism to your designs. In this guide, I will show you step by step how to use the Gradient Tool to achieve impressive effects. Let's get started and enhance your layouts with creative gradients!
With the Gradient Tool (Shortcut G), you can set the start and end points of a gradient for the stroke or the fill of a selected object.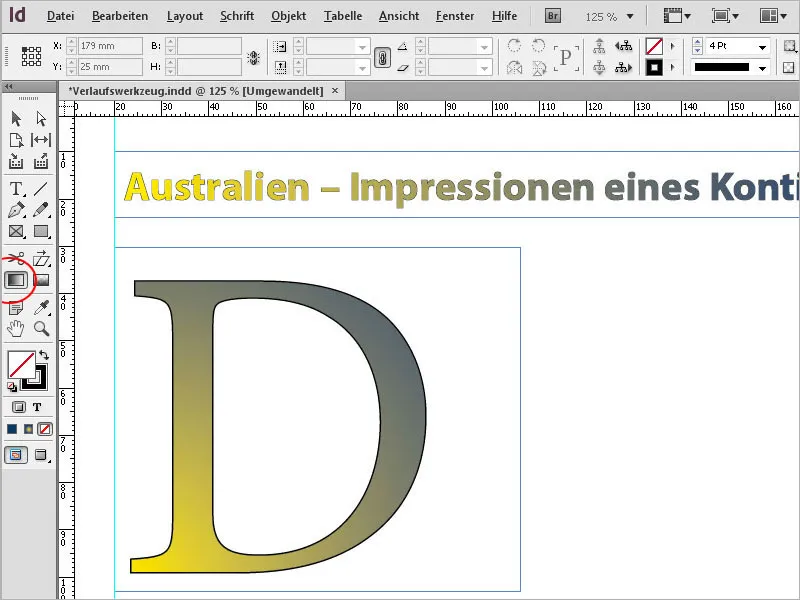
First, you need to select the object that you want to apply a gradient to.
From the perspective of the Gradient Tool, the object consists of a stroke with a certain thickness and a fill (even if it initially is just an empty frame). Next, check in the Tool Palette whether the fill or the stroke is selected (you can toggle between them with the shortcut X).
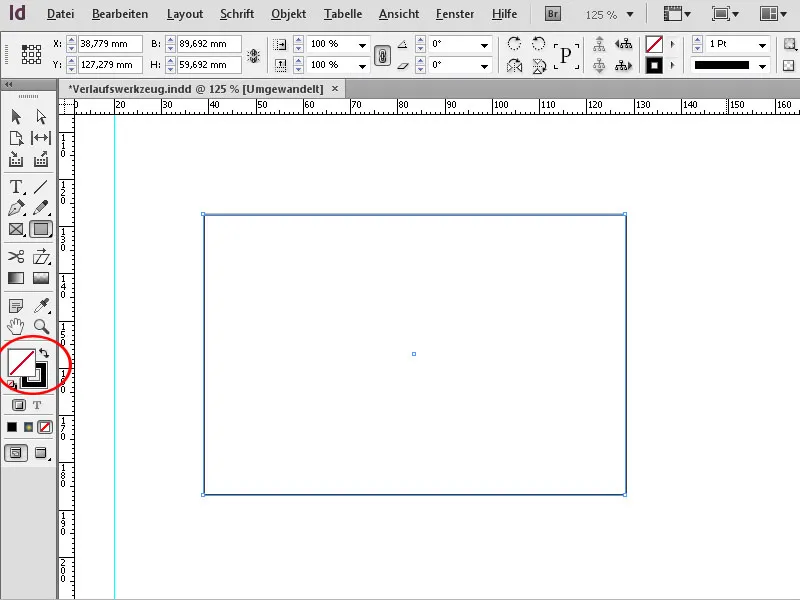
Now select the Gradient Tool and drag it over the object while holding down the mouse button. The gradient marks its lightest point at the starting point and its darkest point at the endpoint.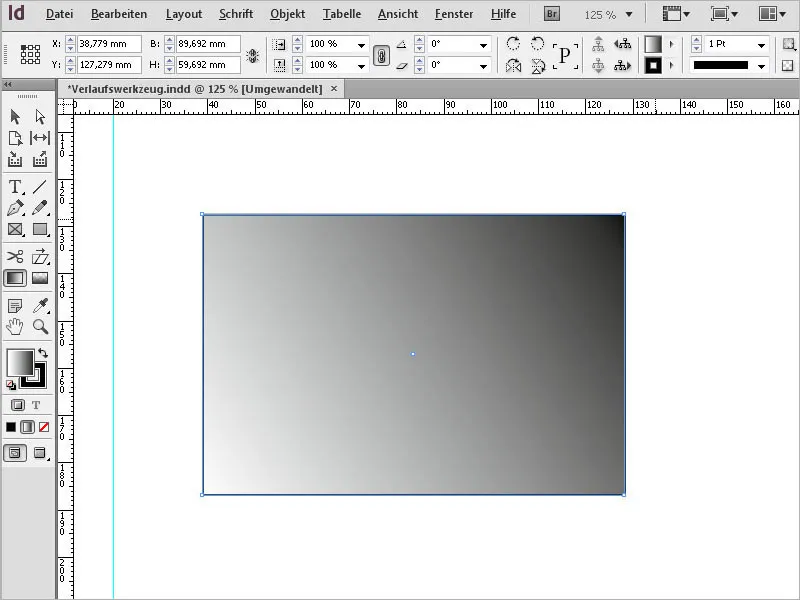
You can drag the gradient horizontally, vertically, or diagonally. If you also hold down the Shift key, the gradient will be aligned exactly at a 45° angle – either precisely horizontal, vertical, or diagonal in relation to rectangular objects.
Initially, black is set as the default color, so the gradient moves between a light and a dark gray, or more precisely between white and black. To assign a different color to the gradient, you now need to open the Color Palette (F5) and select New Gradient Field from the palette menu.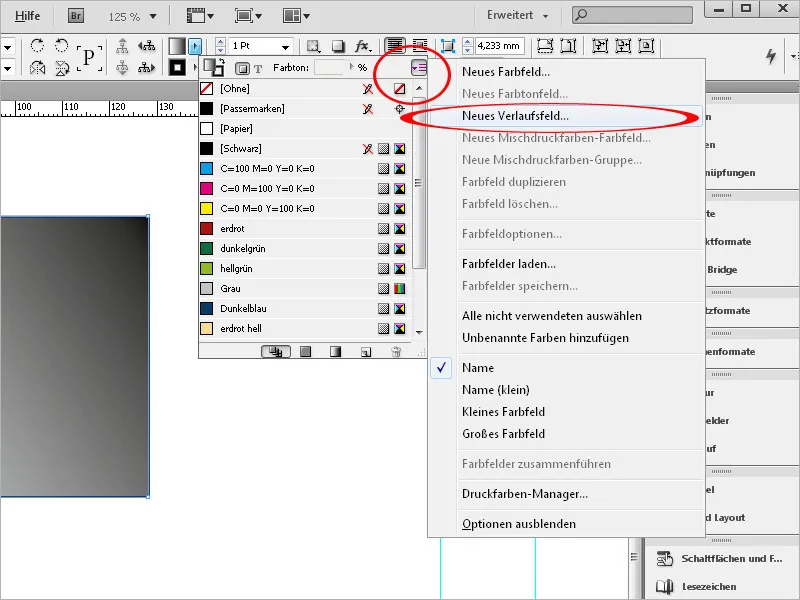
Now give this field a meaningful name.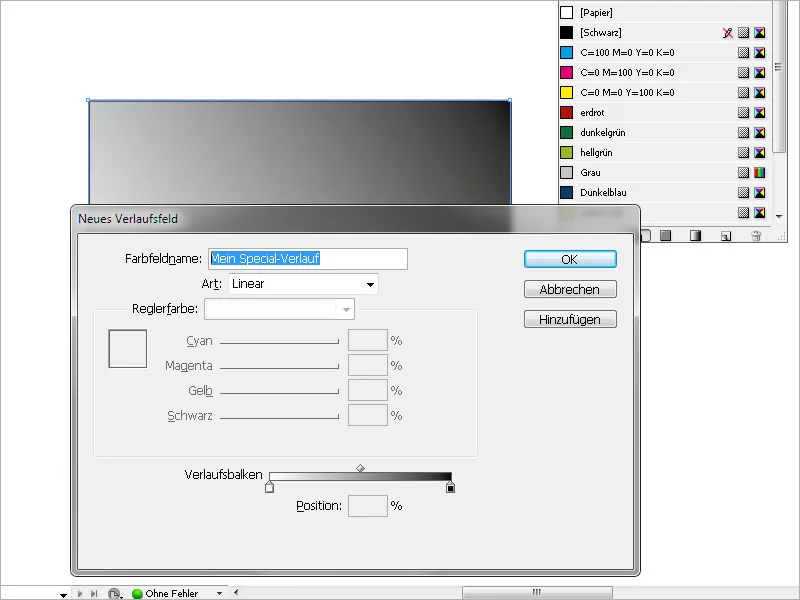
Next, you can set whether the gradient should be linear or radial in the Type field. The following fields can be adjusted only after clicking on the sliders of the Gradient Bar.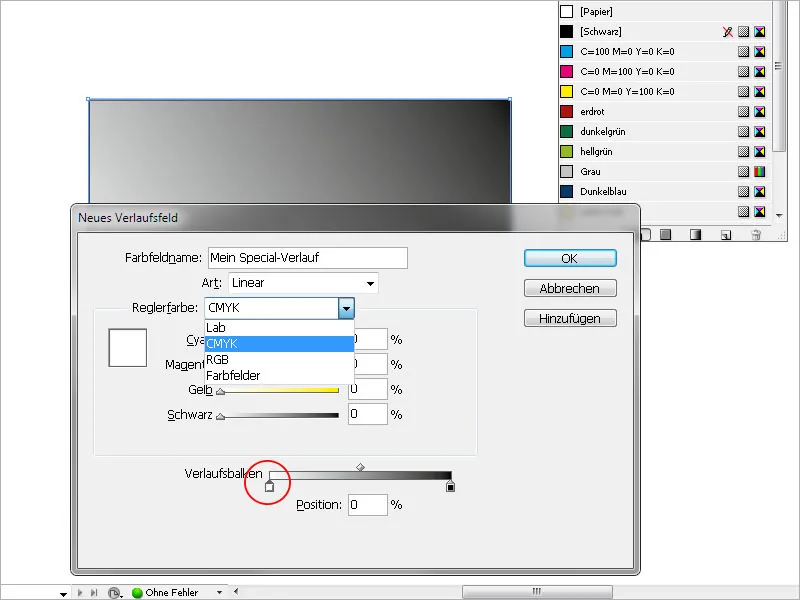
Now you can set the color scheme for the slider color, whether RGB or CMYK, or access color fields that have already been created.
By clicking on the left slider of the Gradient Bar, you mark the starting point of the gradient and then assign the desired color to it via the options above. In other words, you replace the previous default white color for the starting point of the gradient with the newly chosen one.
Similarly, the default black color for the endpoint of the gradient must be replaced with your desired color. In a simple gradient from light to dark of a certain color, the starting color is white and only the endpoint is assigned the desired hue.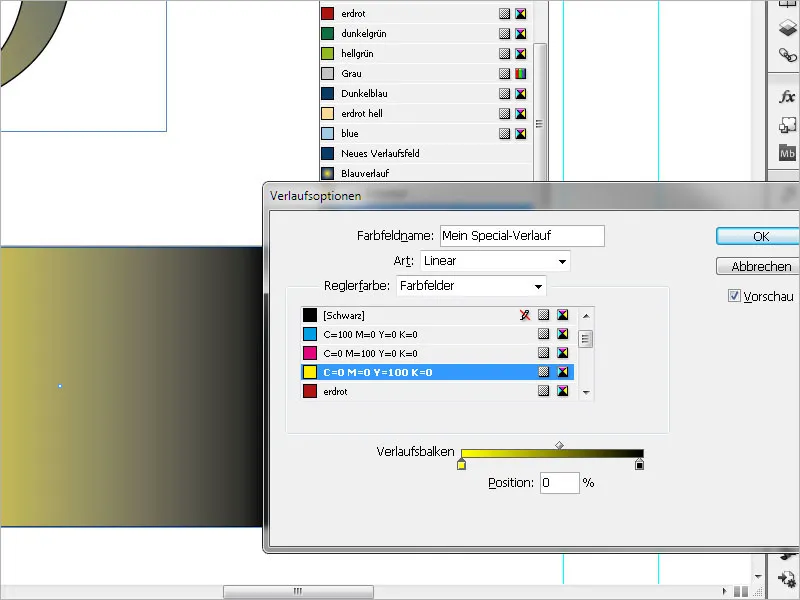
With the left slider of the Gradient Bar, you can determine when the gradient should start - if you set a value higher than 0, the area to the left of the slider will homogeneously take on the starting color; with the right slider, you define the endpoint of the gradient; a value lower than 100% will contain the gradient within the object's contour. The area to the right of the slider will also take on the color up to the contour, which was set for the endpoint. The gradient will thus be compressed in this way.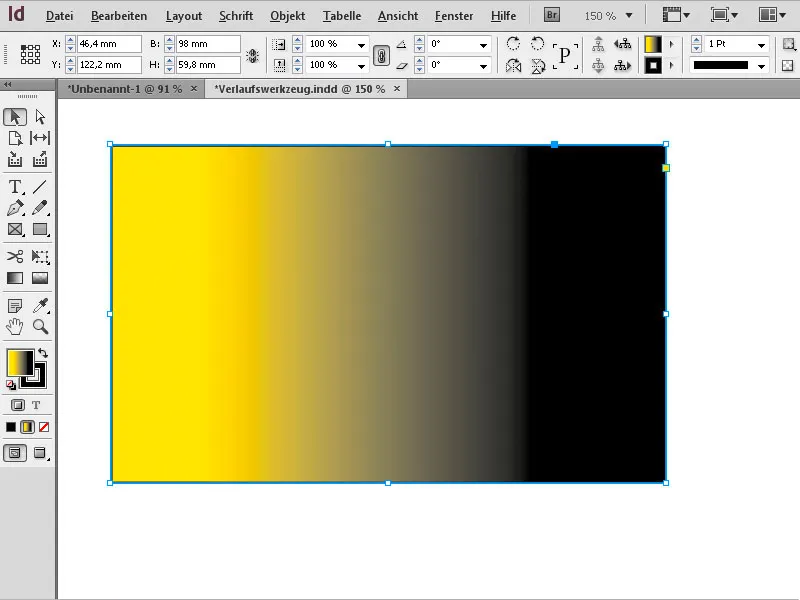
Clicking OK will apply the settings to the object.
To later make changes regarding the type (linear or radial), the angle the linear gradient should have, or the start and end of the gradient, select the respective object and then open the Window>Color menu for the gradient palette.
Here you can make changes to the gradient itself, for example, reverse it with a click.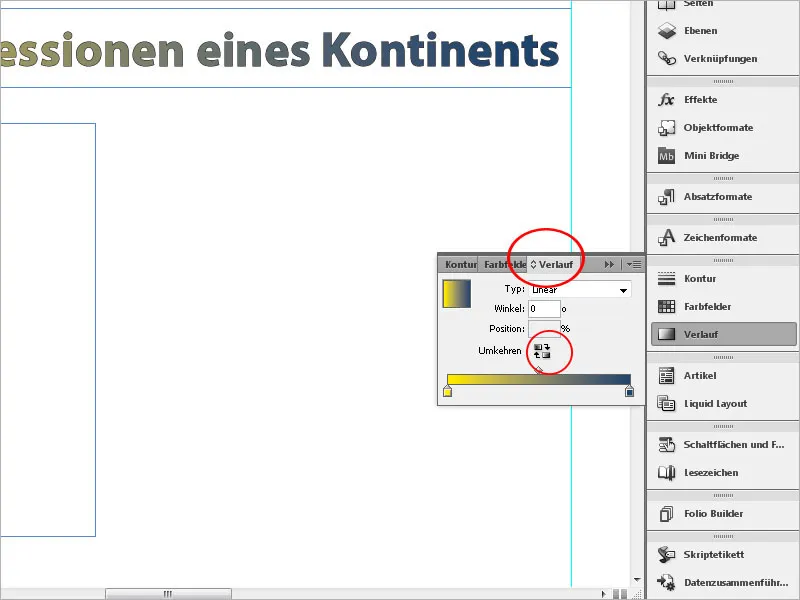
If you want to change the color of the gradient, open the palette with the Color Fields (F5) and double-click on the gradient field you just created.
Here, after selecting the reference point, you can adjust the set color. Gradients can also be applied to text, for example, to emphasize an initial or a heading impressively.
To do this, select the text and assign the desired size and font style. Then, in the Tool Palette, select the area that should receive the gradient, whether a fill or a stroke, and then click on the previously created gradient field in the palette with the Color Fields (F5).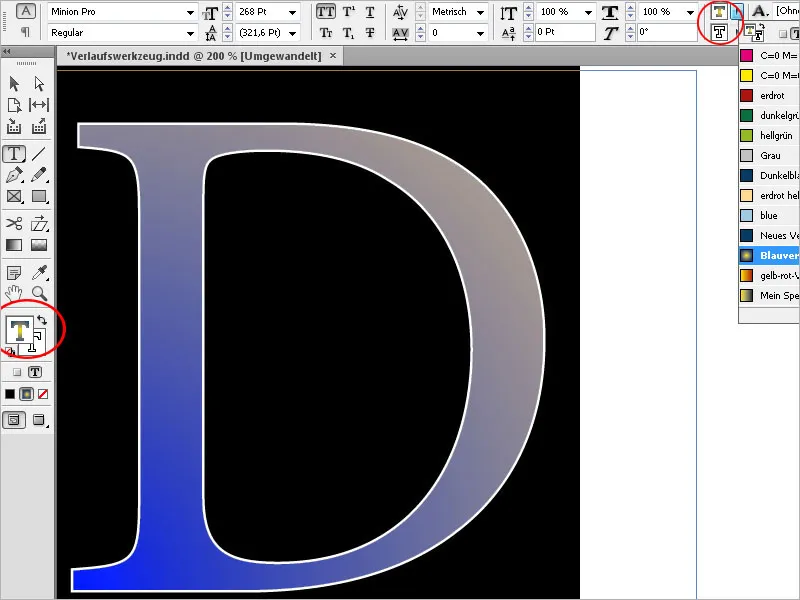
Now the text is assigned the gradient.