You want to enhance your YouTube channel with an attractive banner? A well-designed banner is crucial to capture viewers' attention and give your channel a professional touch. In this guide, you will learn step by step how to create your own YouTube banner with Photoshop.
Key Insights
- You need a template and various design elements.
- Pay attention to the correct placement of content within your banner.
- Use colors and fonts that match your channel's theme to create a cohesive overall image.
Step-by-Step Guide
To create your YouTube banner, follow these steps:
1. Download Resources
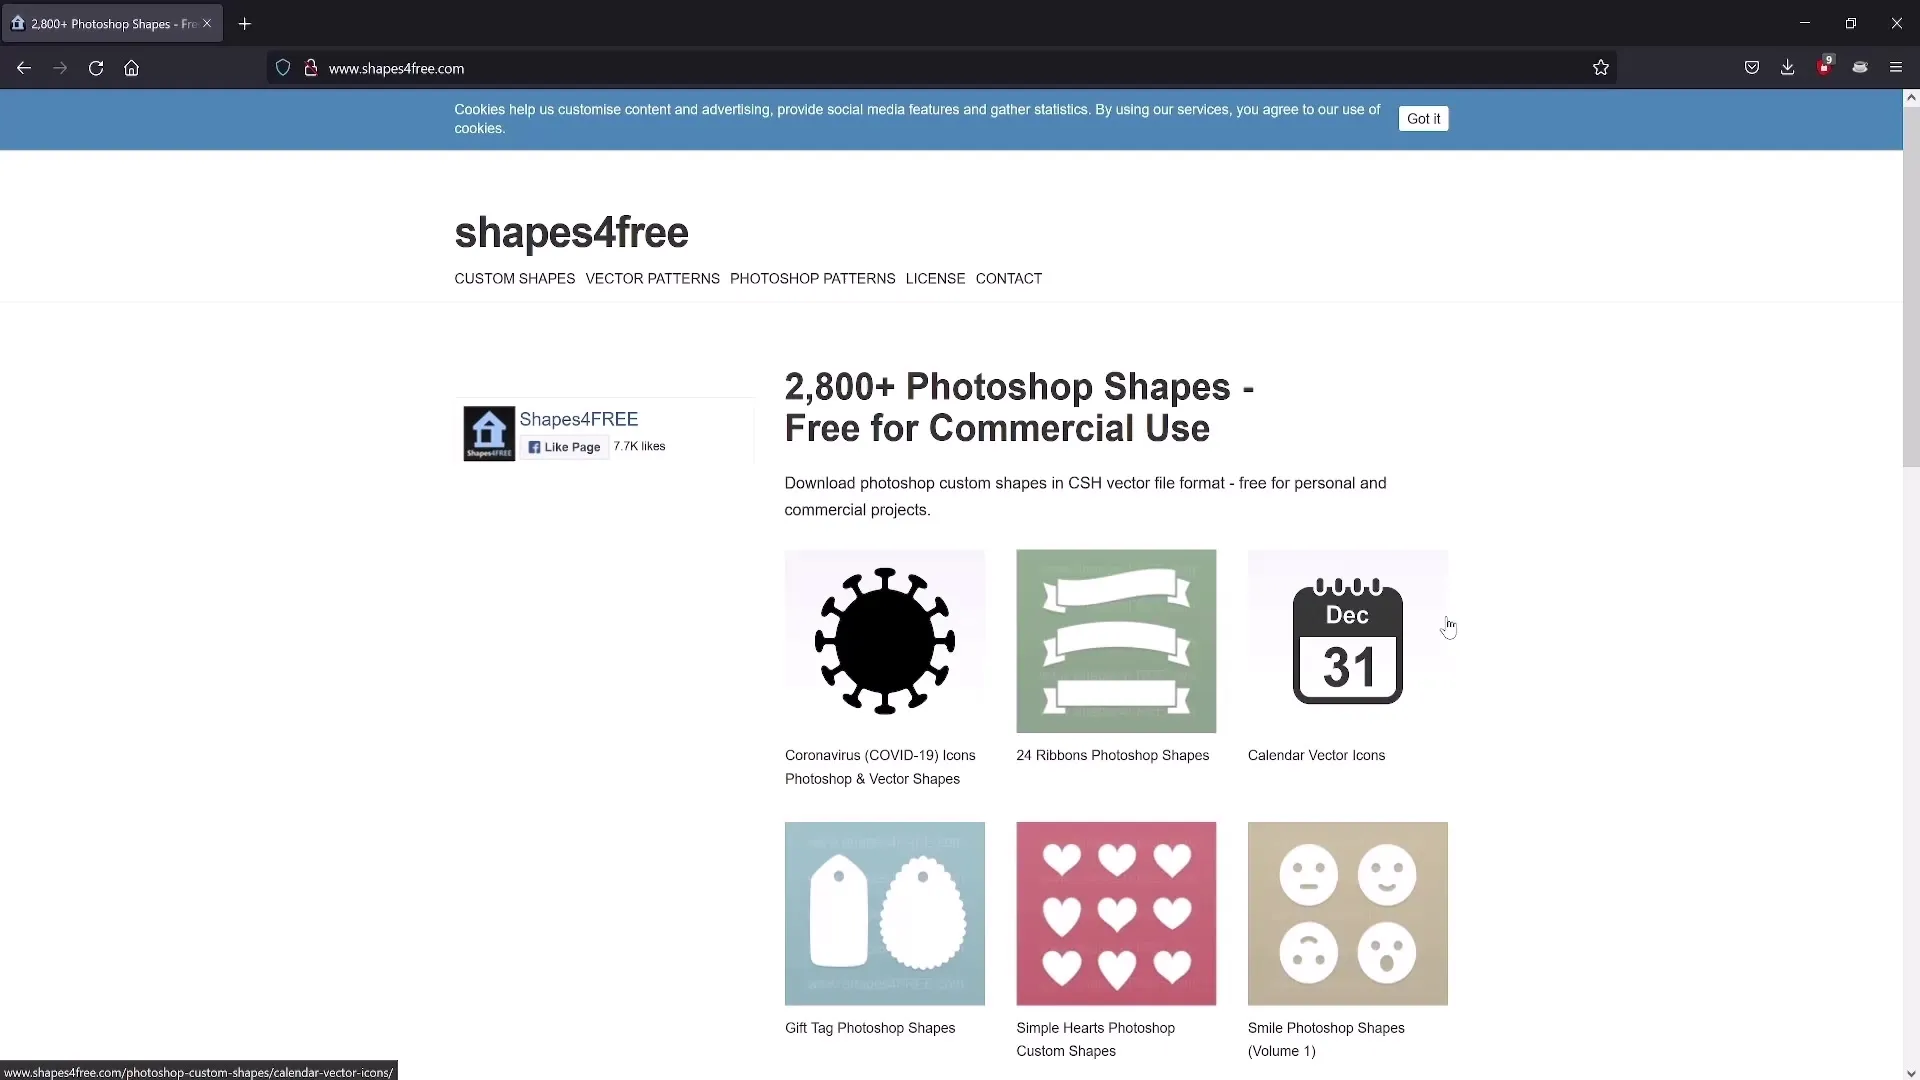
Before you begin, make sure you have all the necessary resources ready. You can download free formats and templates from various websites. One useful source is Pixabay. These templates make working with Photoshop easier as they already provide the correct dimensions for a YouTube banner.
2. Open Photoshop Template
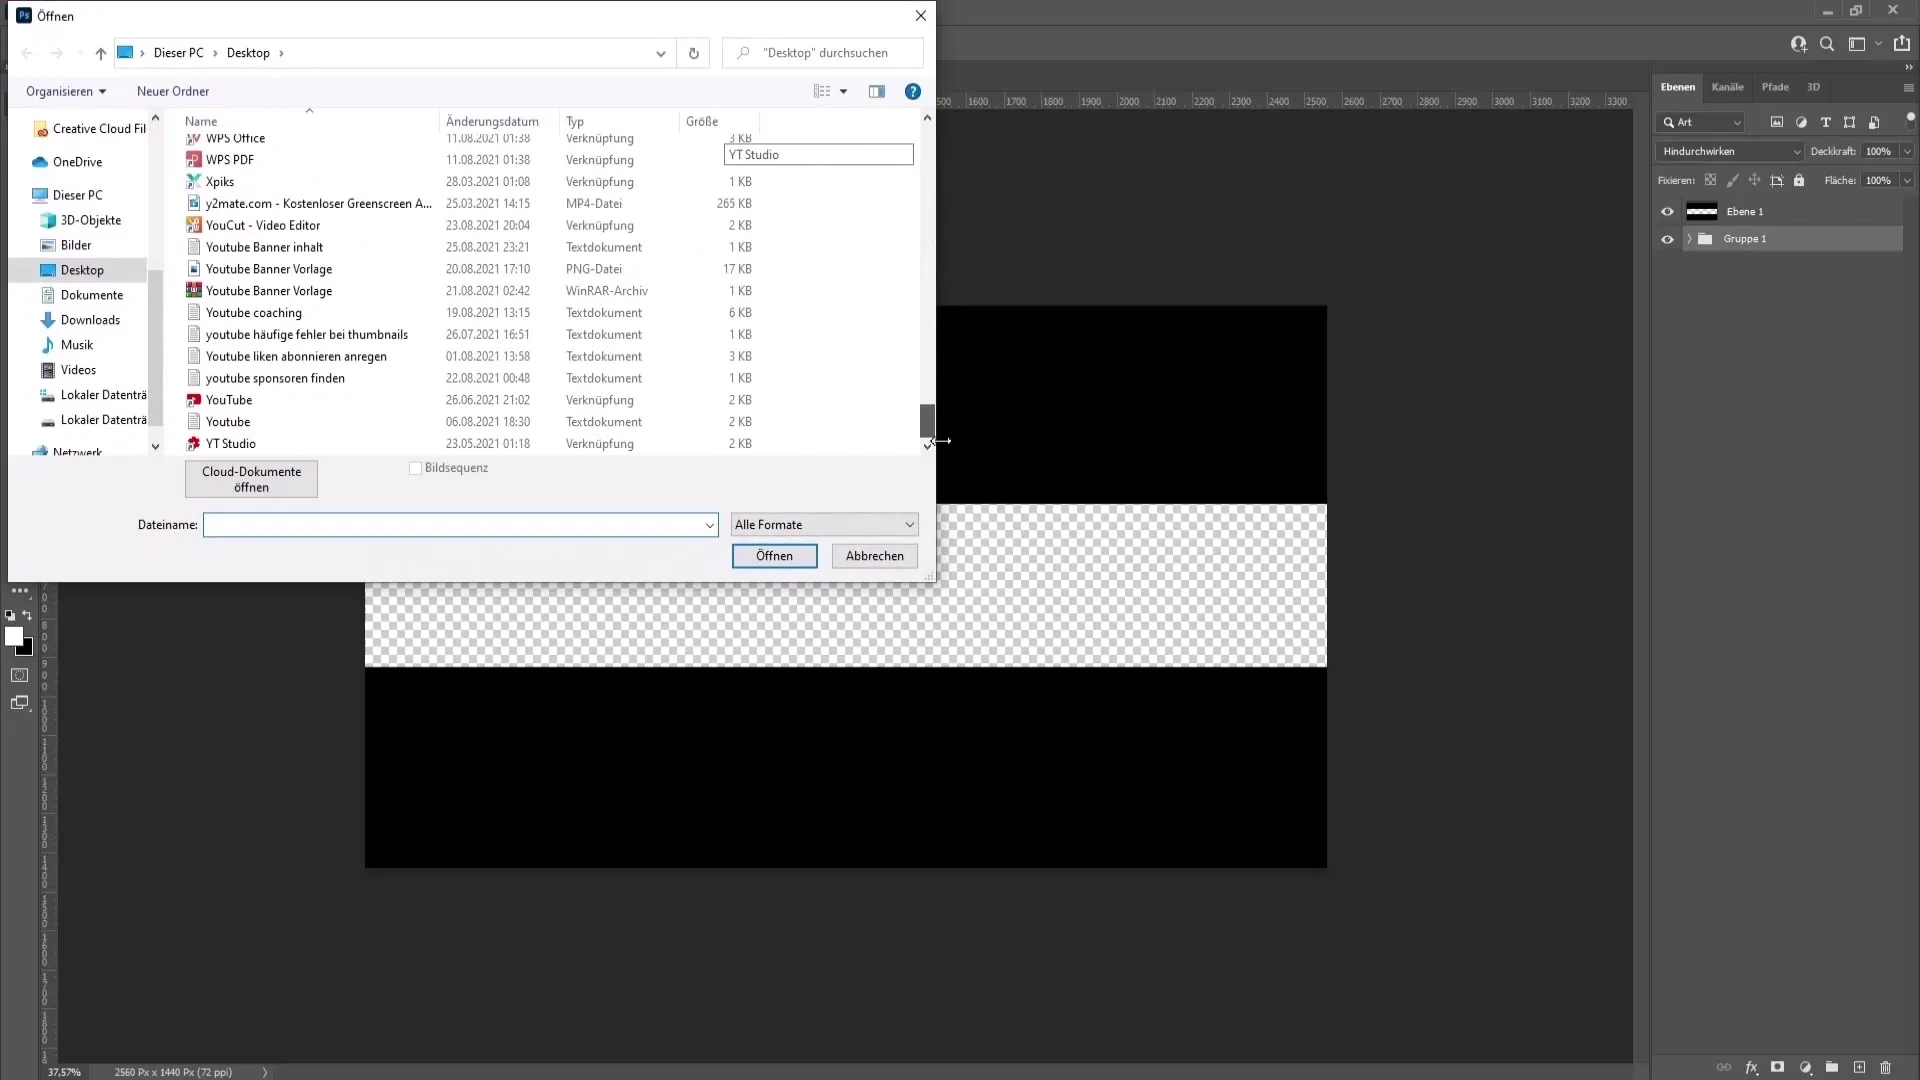
Launch Photoshop and load the downloaded template. Go to "File," then "Open," and select the appropriate file. This ensures you are working with the correct dimensions.
3. Insert Elements
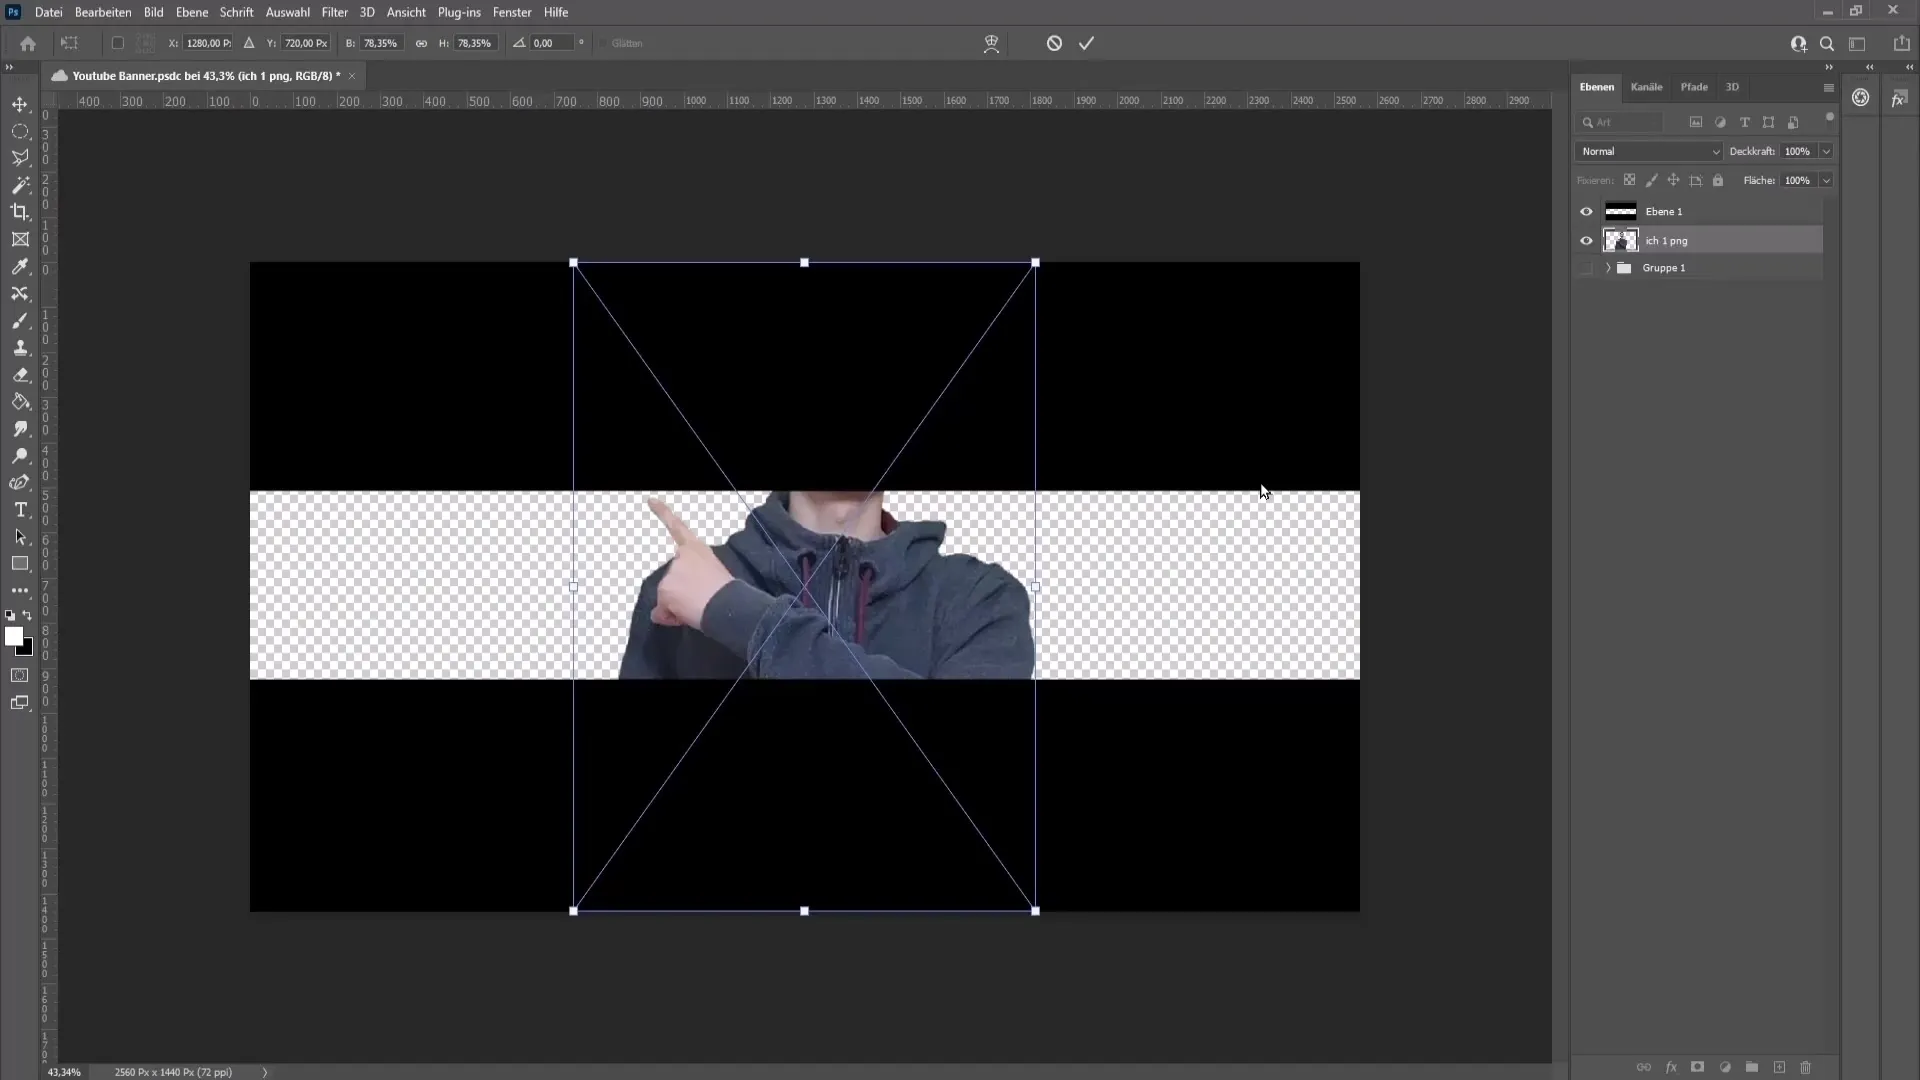
In the next step, insert the design elements into your created banner. Start with the main logo or image you want to use. Drag-and-drop this element onto the workspace and confirm the placement.
4. Add Texture
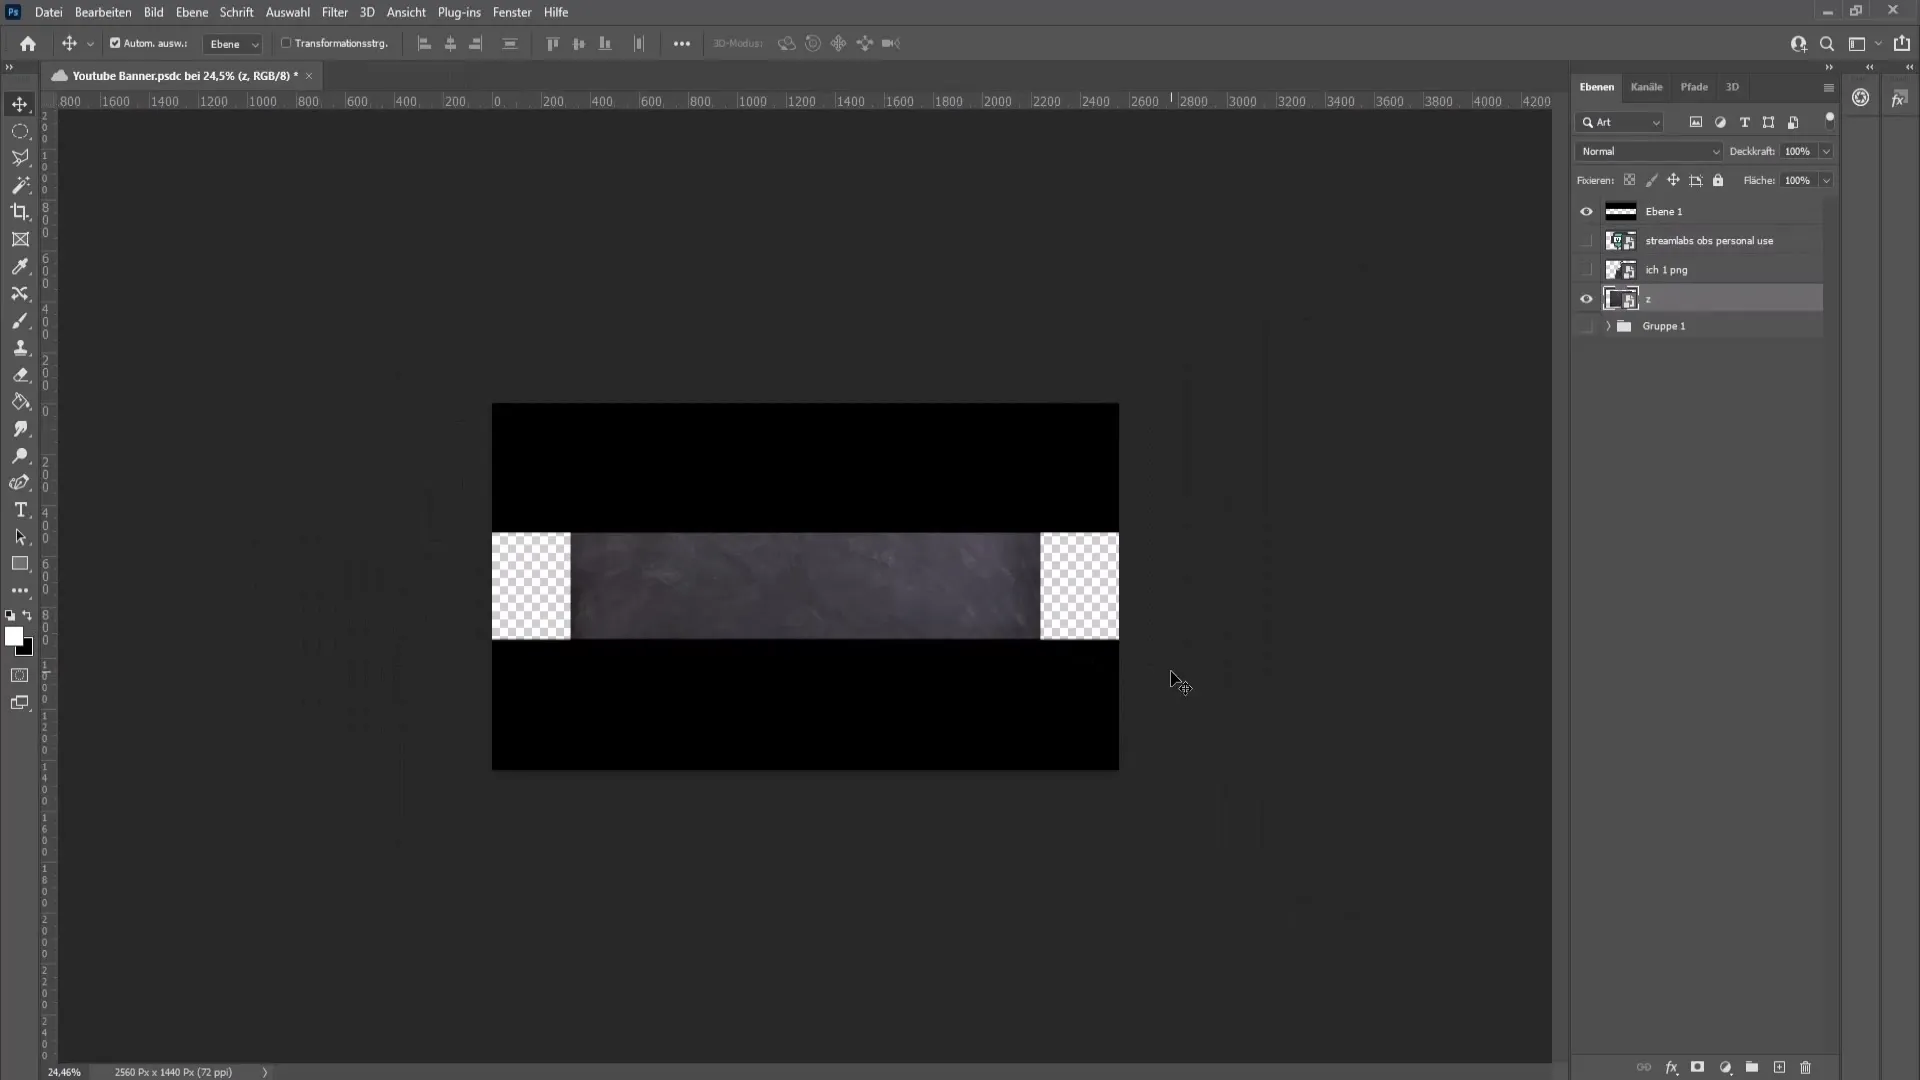
To give the banner more depth, add an appealing texture. Use the transform function to adjust the texture accordingly. Press "Ctrl + T" (or "Cmd + T" on Mac), hold down the Shift key, and scale the texture as needed.
5. Apply Filters
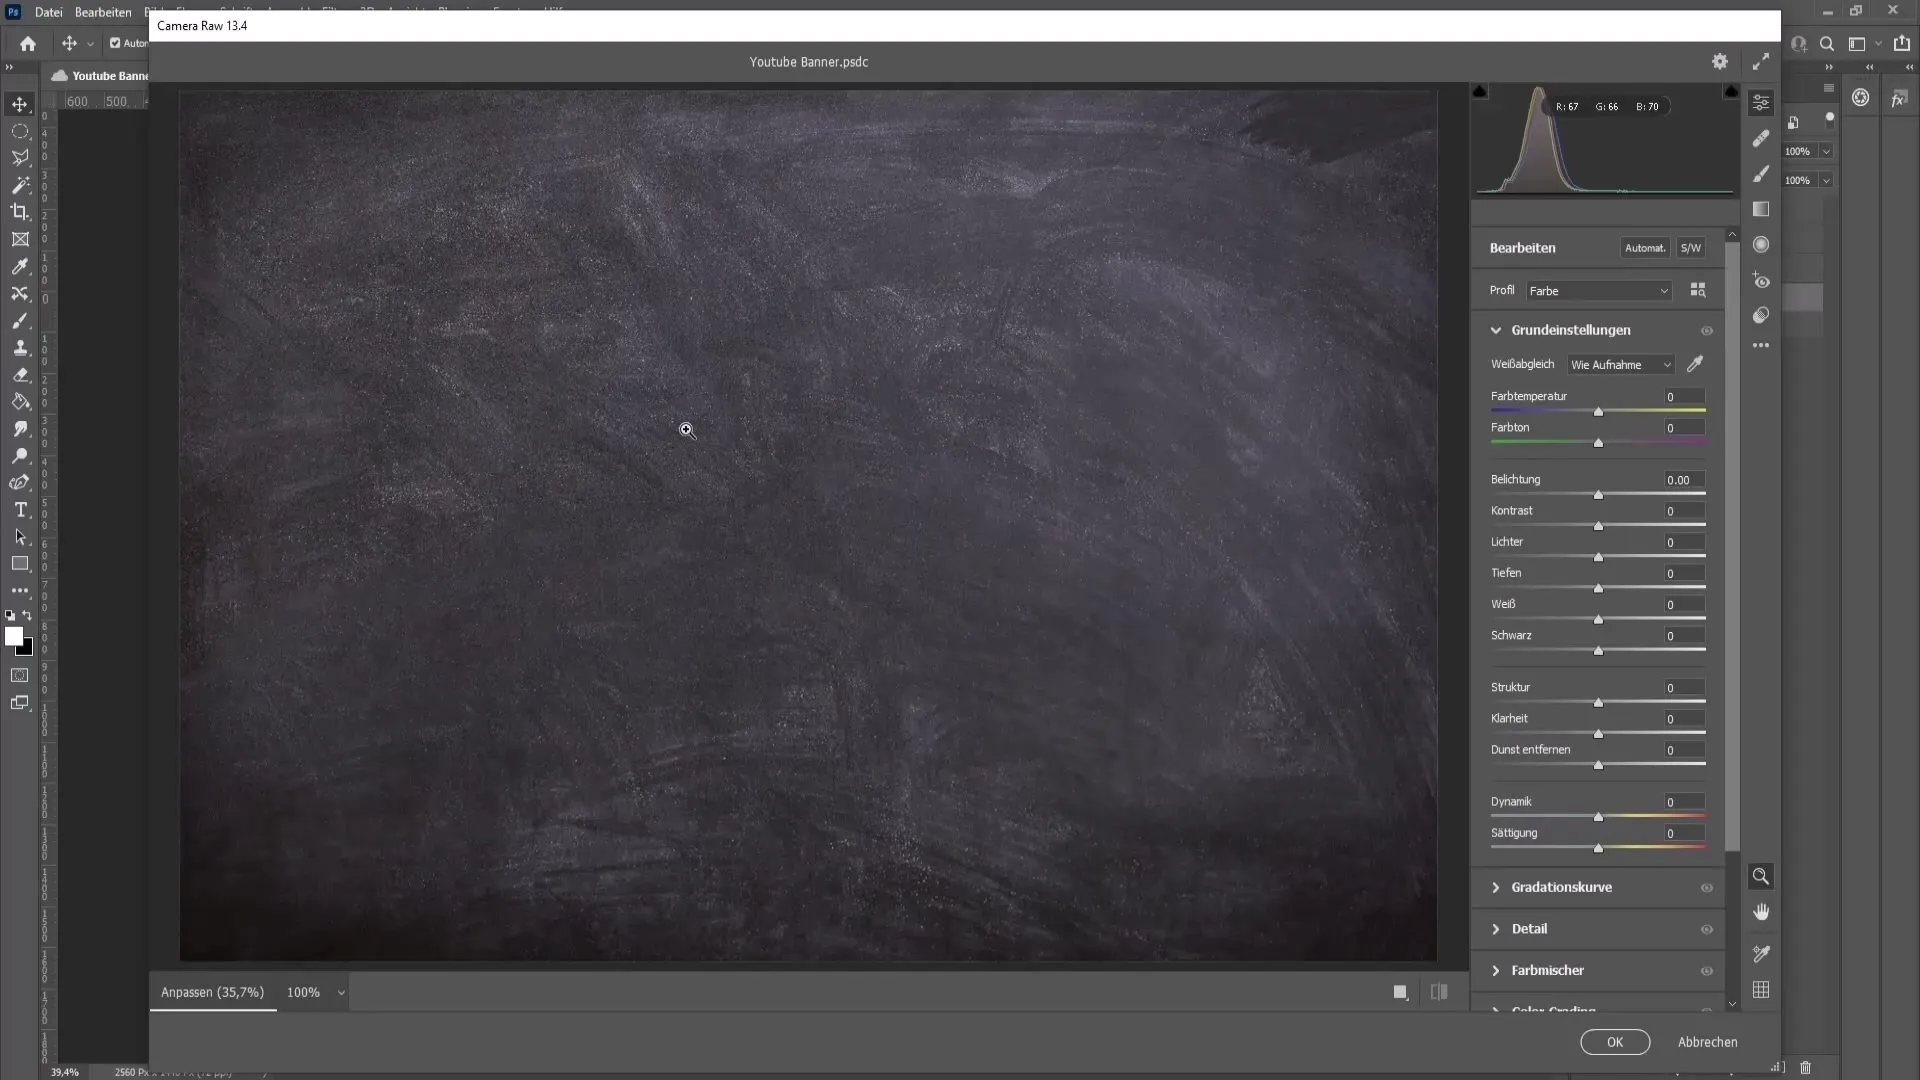
To improve the visibility of your texture, go to "Filter" and select the "Camera RAW Filter." Here, you can make various adjustments for structure and clarity to enhance the overall image.
6. Adjust Colors
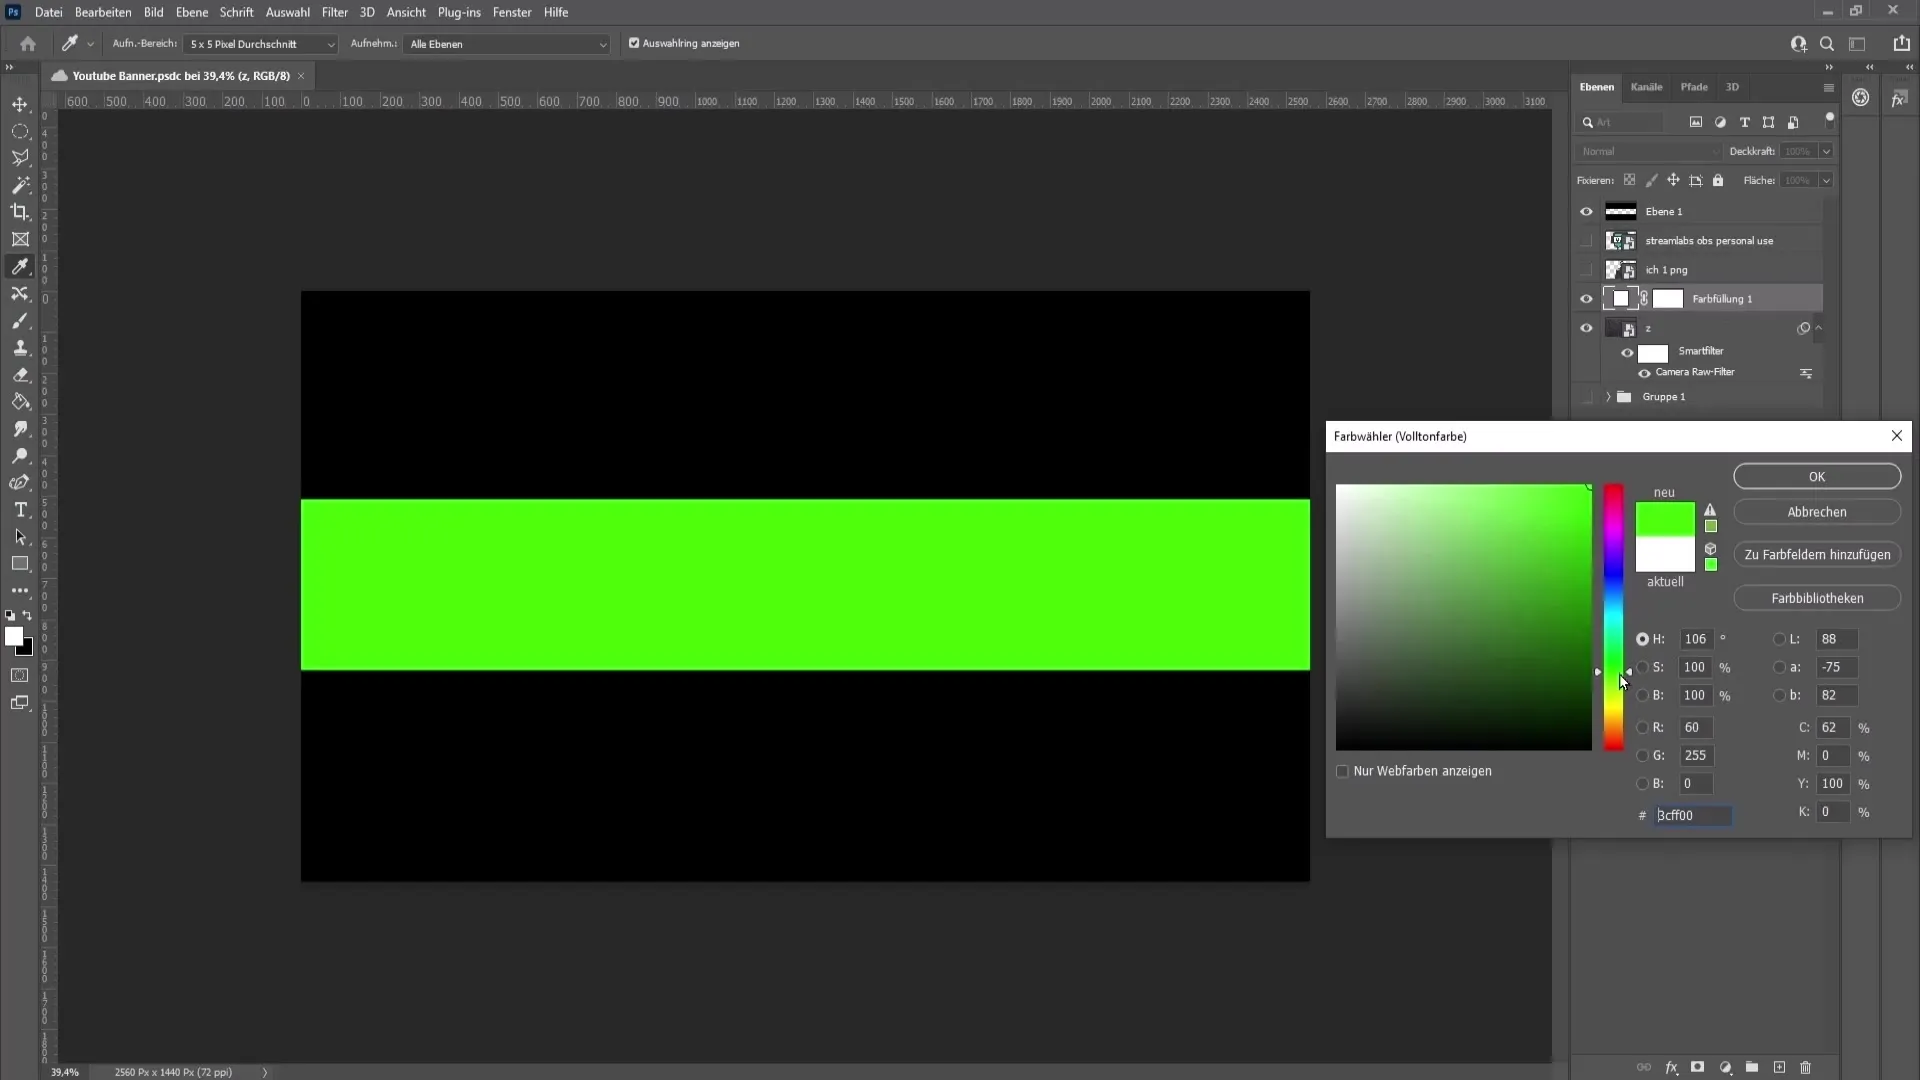
Choose a color that matches your channel's theme. Go to "Solid Color" and select the desired color. The blending mode should be set to "Overlay" to achieve the desired effect.
7. Create Darker Areas
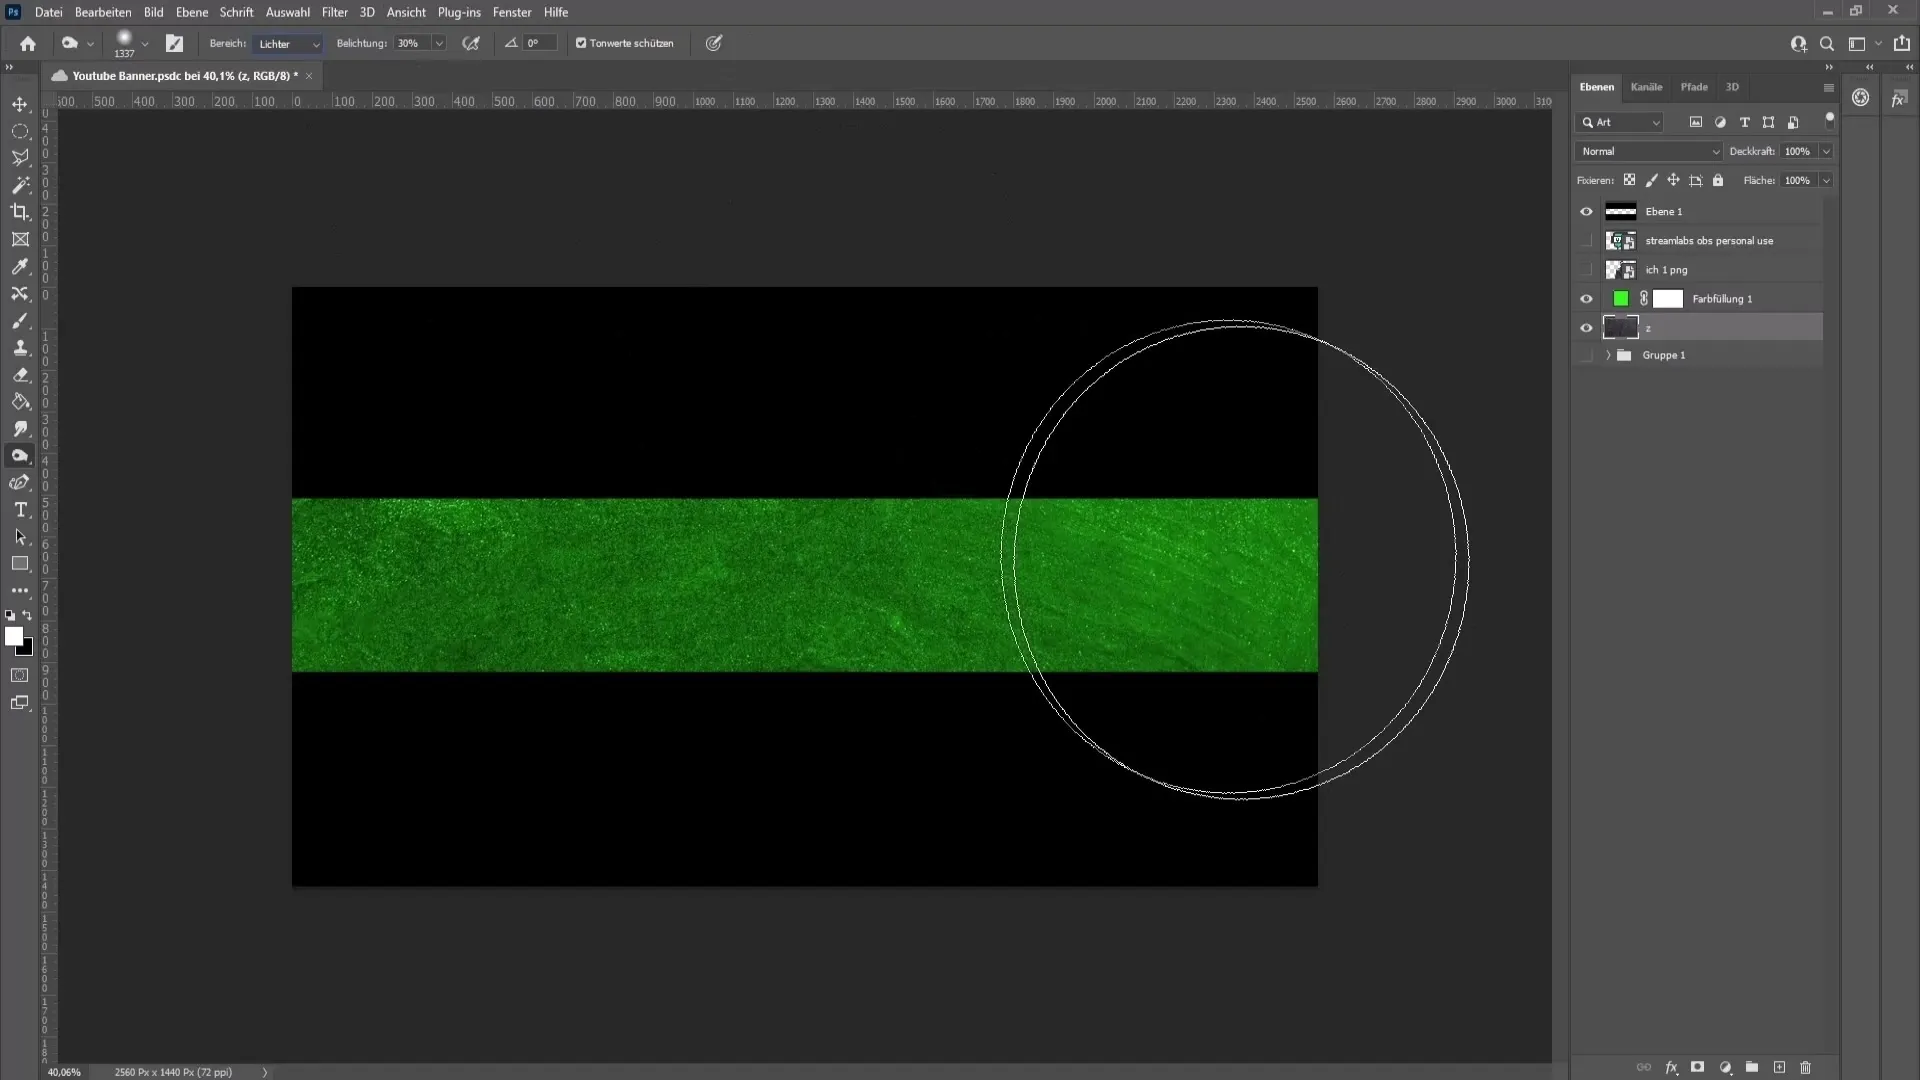
To add more contrast to the banner, use the Burn tool to darken brighter areas. This will emphasize the most important elements of your banner.
8. Add Text
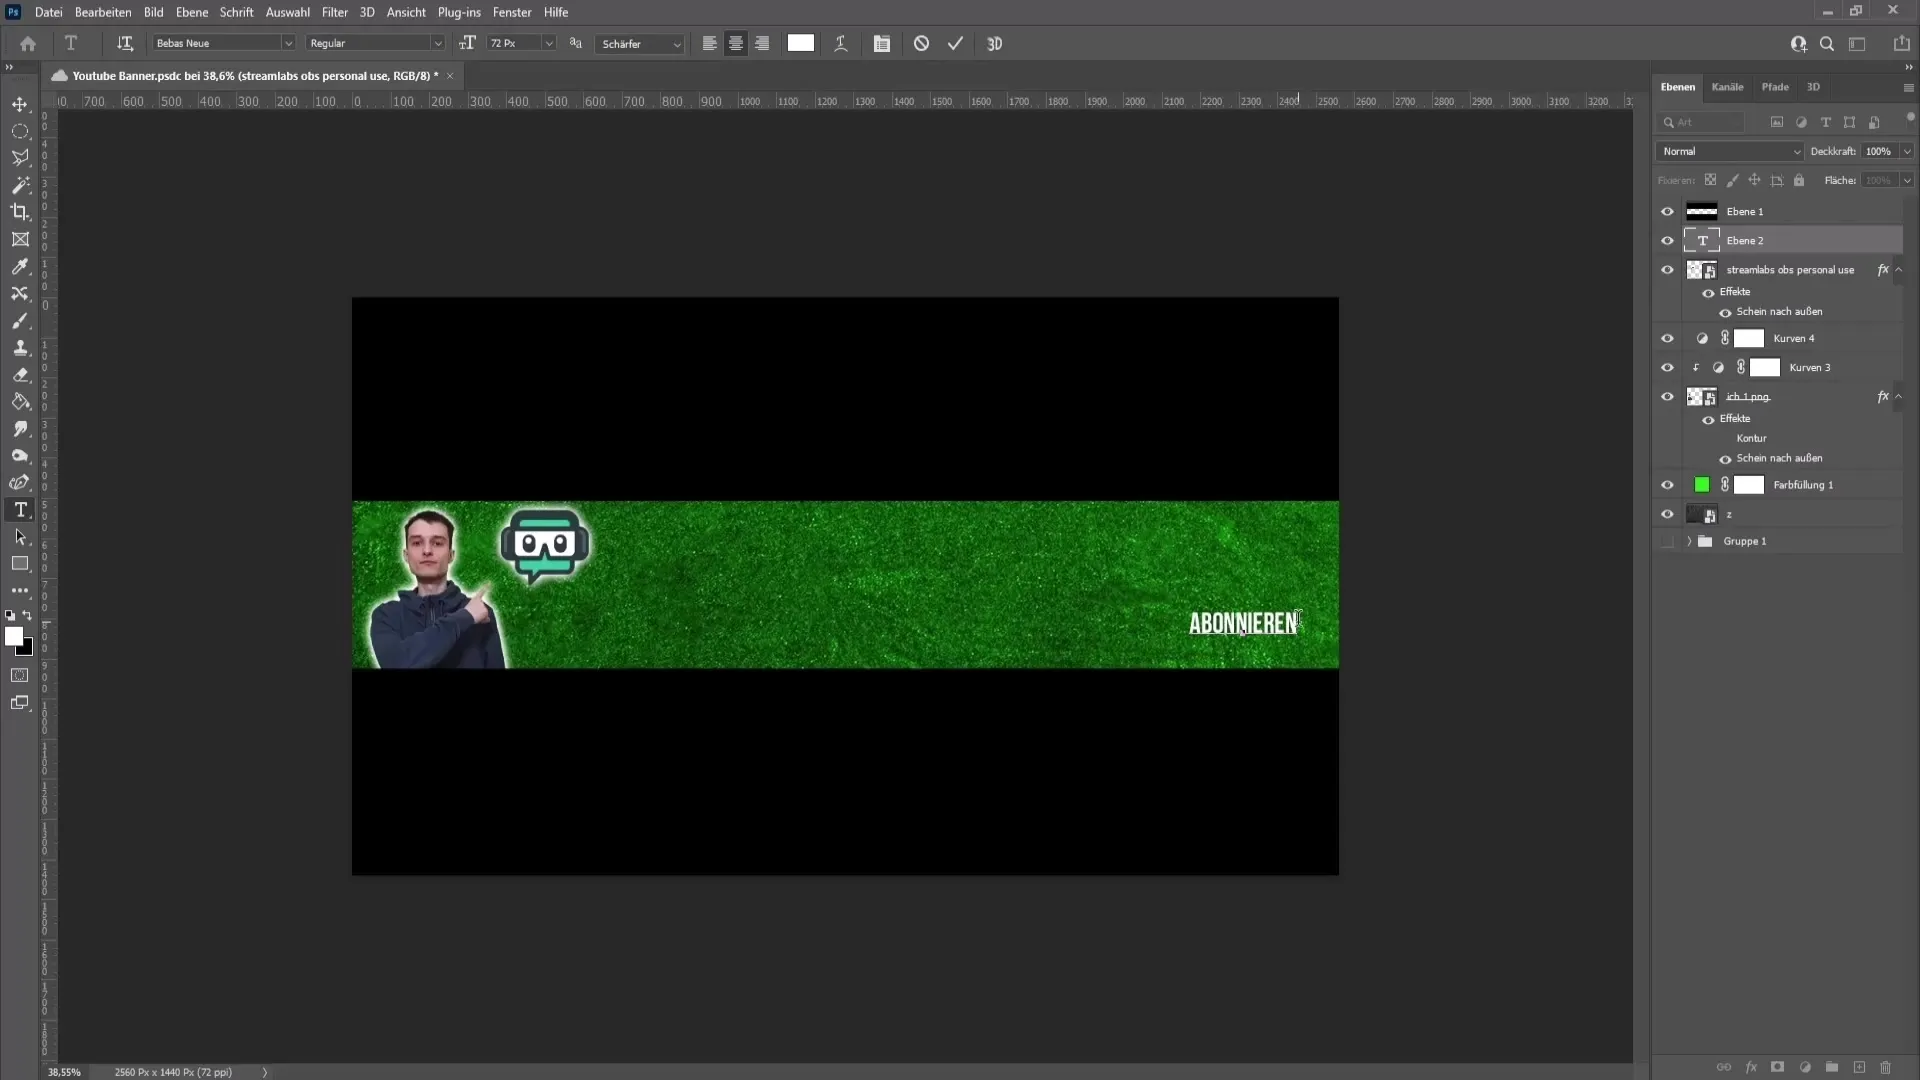
Use the text tool to add important information such as your channel name, upload times, or social media links. Choose an easily readable font and ensure the text is well-placed.
9. Make Final Adjustments
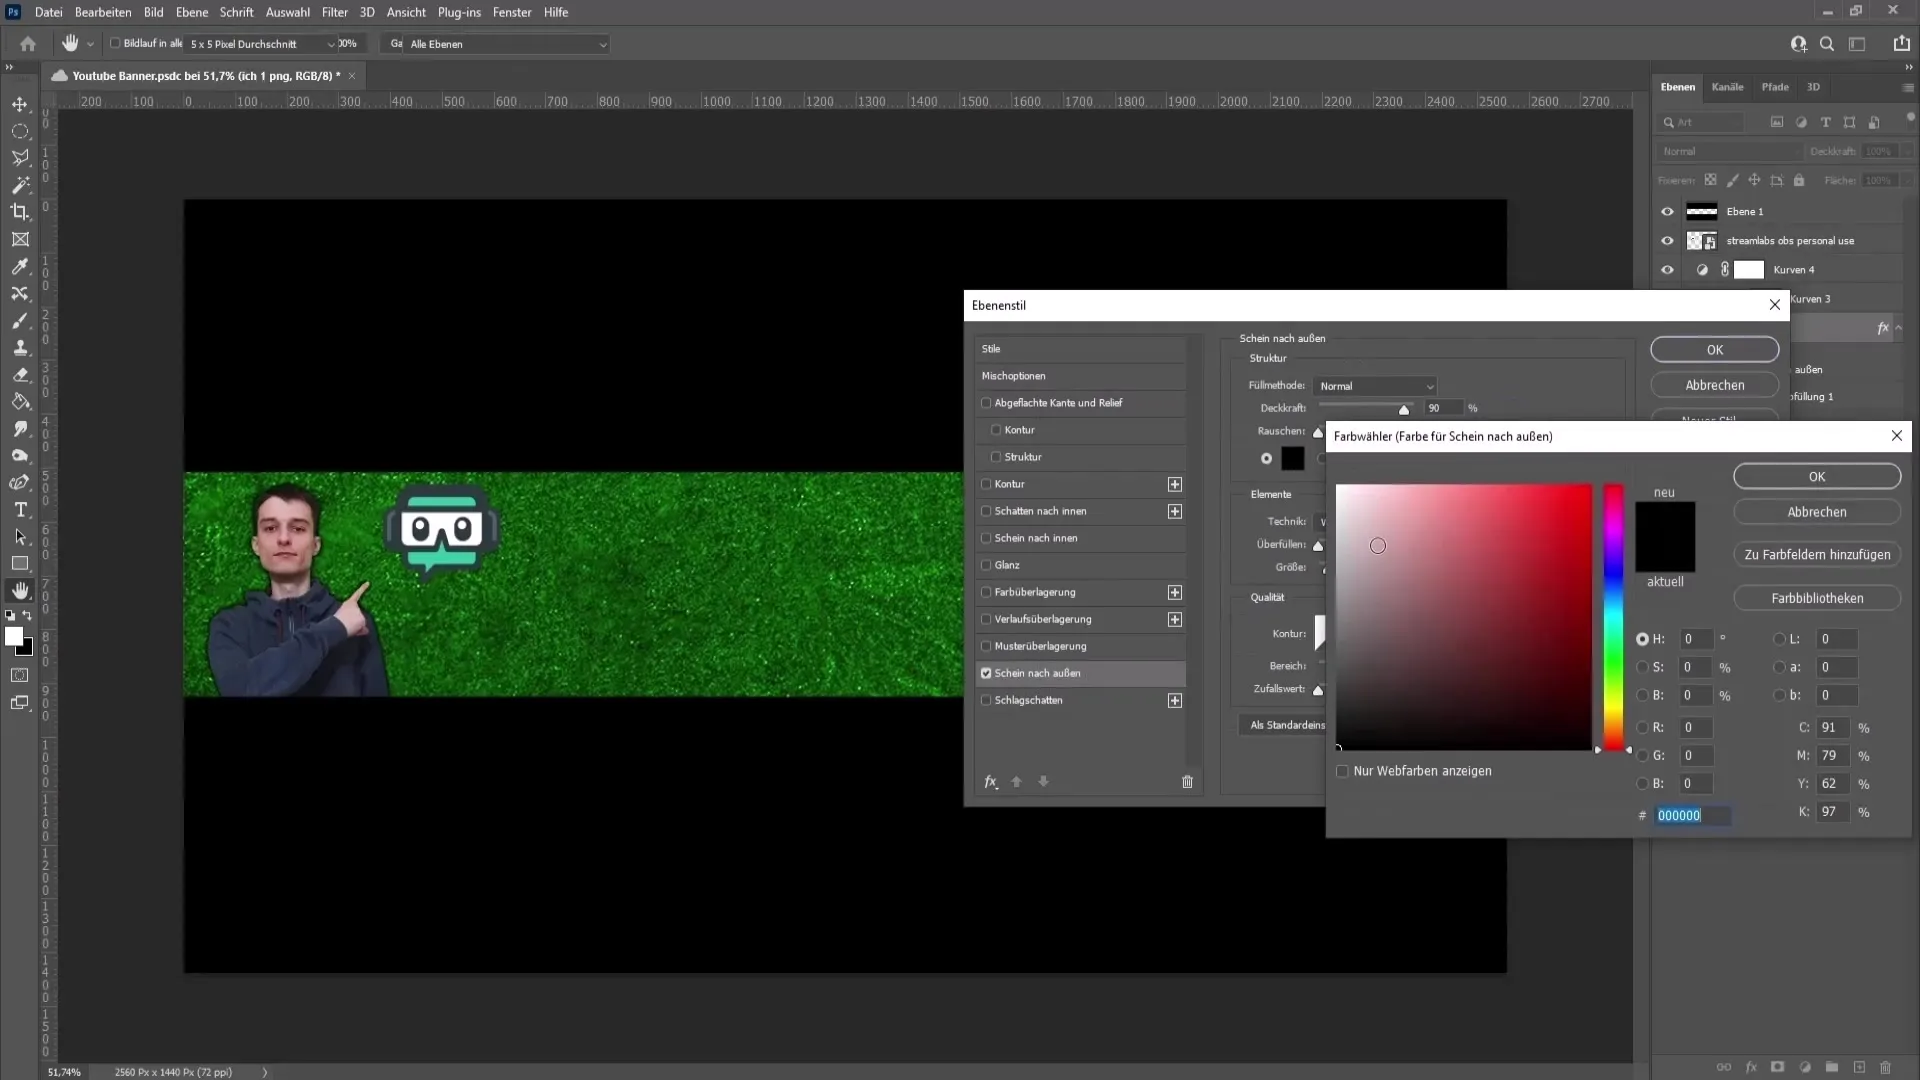
Use the correction tools in Photoshop to optimize your image. Work with "Curves" and "Outer Glow" to achieve the desired effect.
10. Save Banner
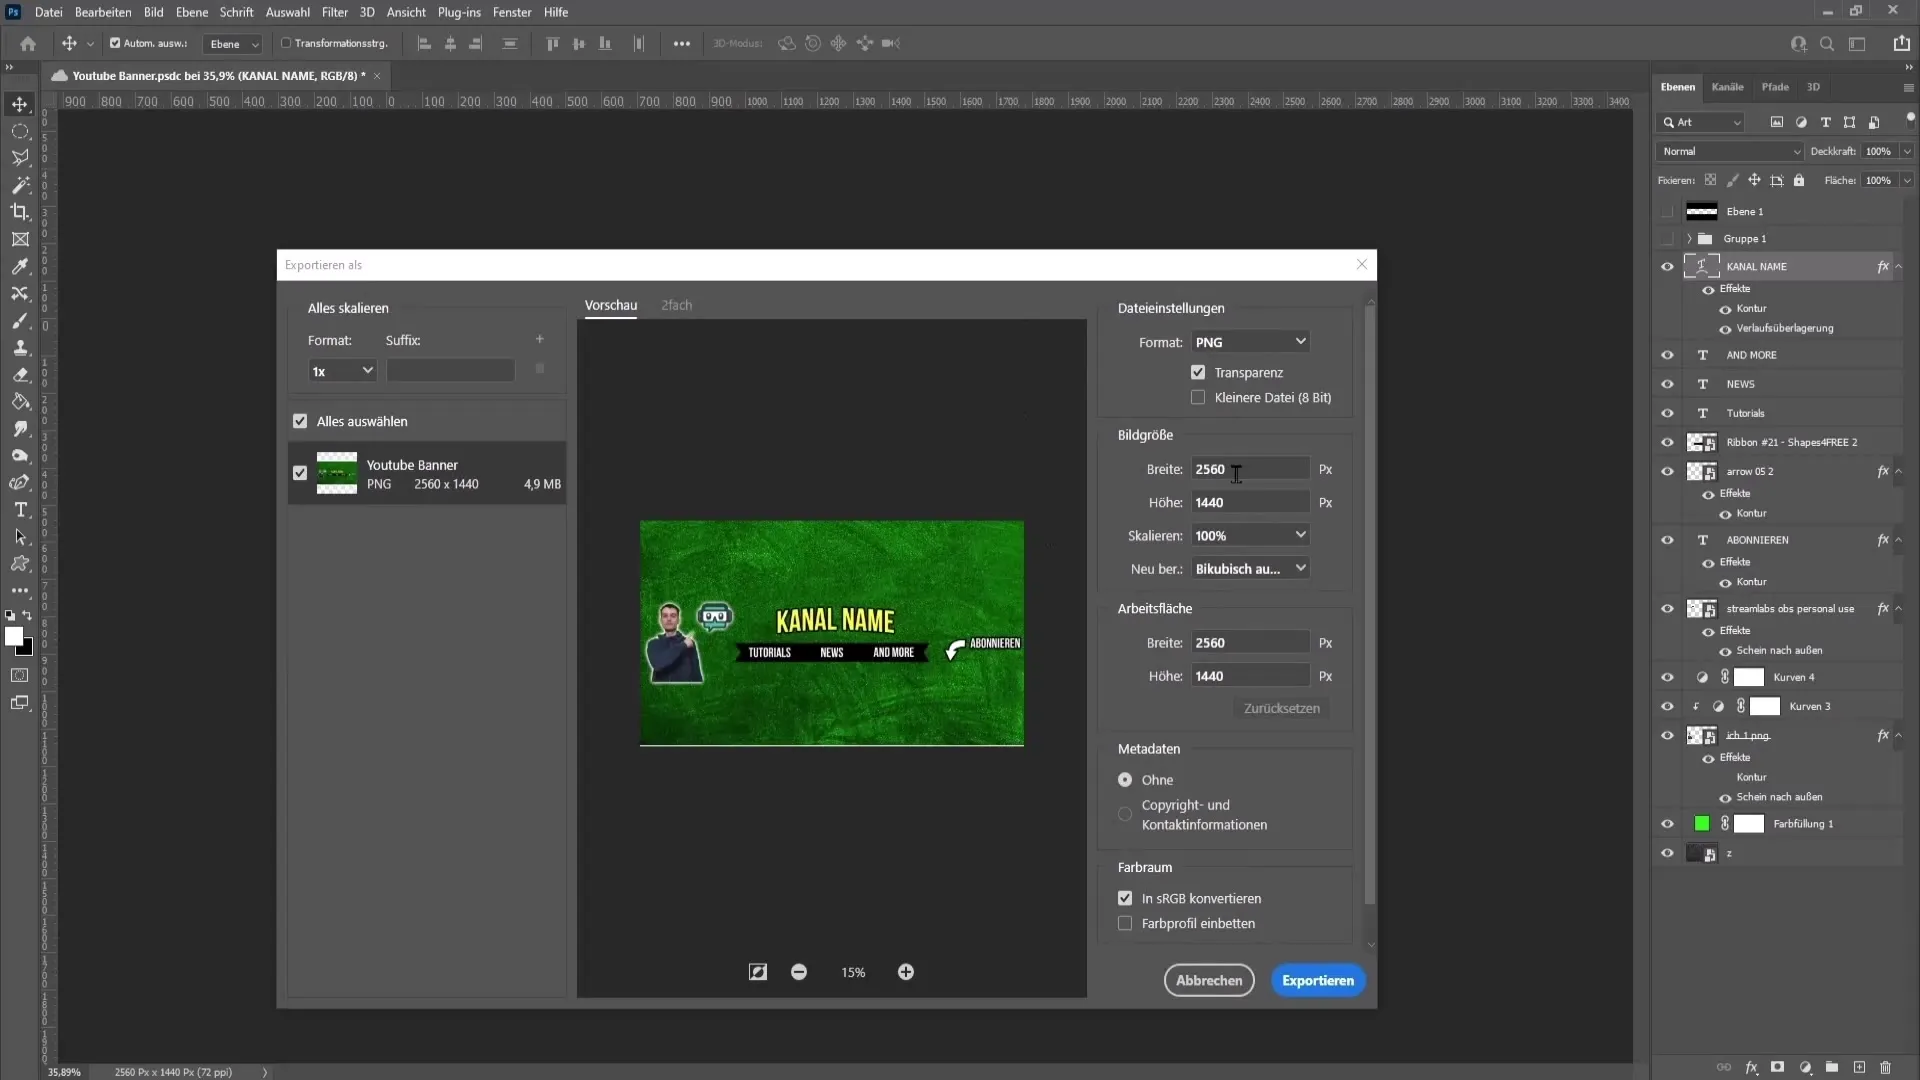
When saving, exclude the template and export your design as a PNG file. Make sure the dimensions are correct to ensure the best display on YouTube.
11. Upload Banner
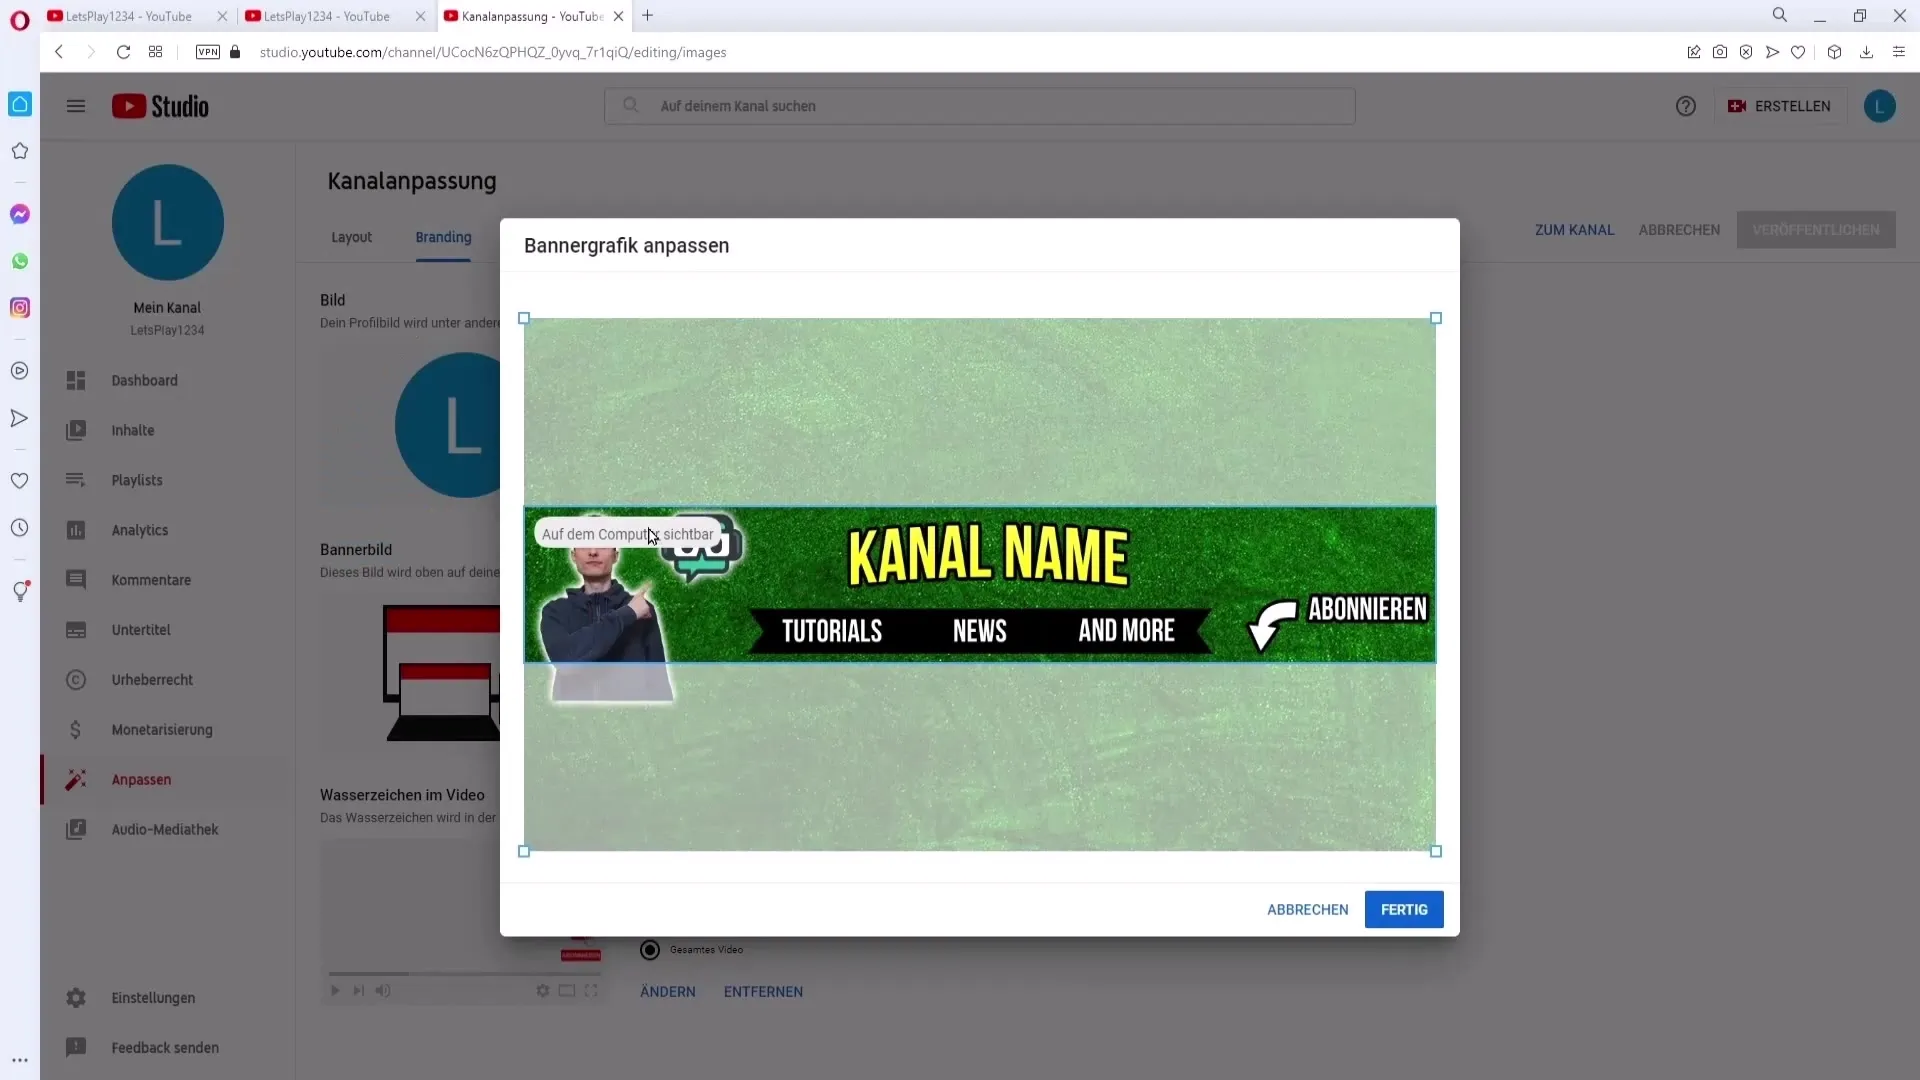
Go to your YouTube channel, click on "Customize channel," and select the "Branding" section. Here you can upload your banner. Make sure it looks good on all devices before clicking "Publish."
Summary
With this step-by-step guide, you are well-equipped to create a custom and appealing YouTube banner with Photoshop. By using suitable colors, fonts, and design elements, you enhance the attractiveness of your channel and attract viewers.
Frequently Asked Questions
How do I upload an image in Photoshop?You can add an image by drag-and-drop or through "File" > "Open."
What should be the dimensions of a YouTube banner?The ideal banner size for YouTube is 2560 x 1440 pixels.
Can I change the texture in Photoshop?Yes, you can adjust the texture anytime by selecting the corresponding layer and transforming it.
