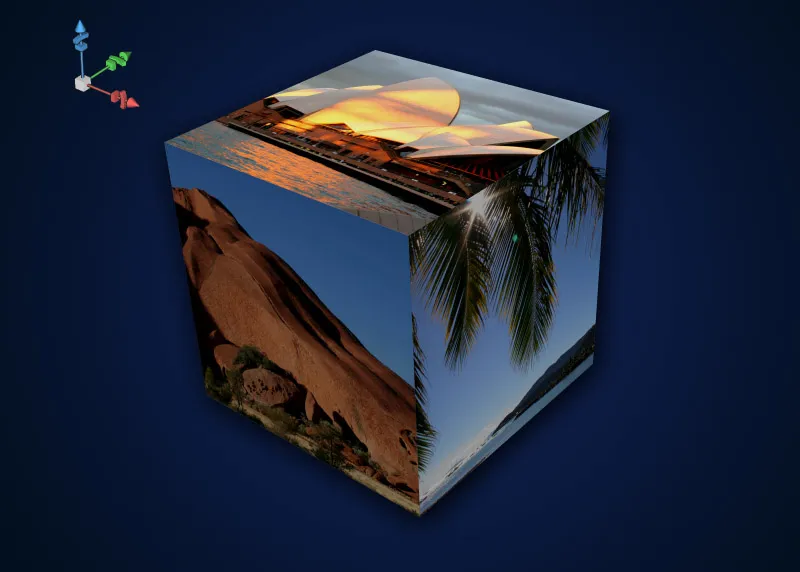
Preliminary remark: I was inspired to create a photo cube when I saw a tutorial in a Photoshop magazine that showed the creation of the photo cube in 17 steps, estimated to take 45 minutes. I thought to myself: Why is the author making it so complicated? And in the end, it turned out to be a rather static affair. The cube I will create in this tutorial is dynamic and can be viewed from all sides - and that in a fraction of the time it takes to create. So, let's get started.
Step 1: Create the Background
An image that should already depict one side of the photo cube is open. My theme is Australia. The background layer is converted to a normal layer with a double click. I create a new layer below the photo layer.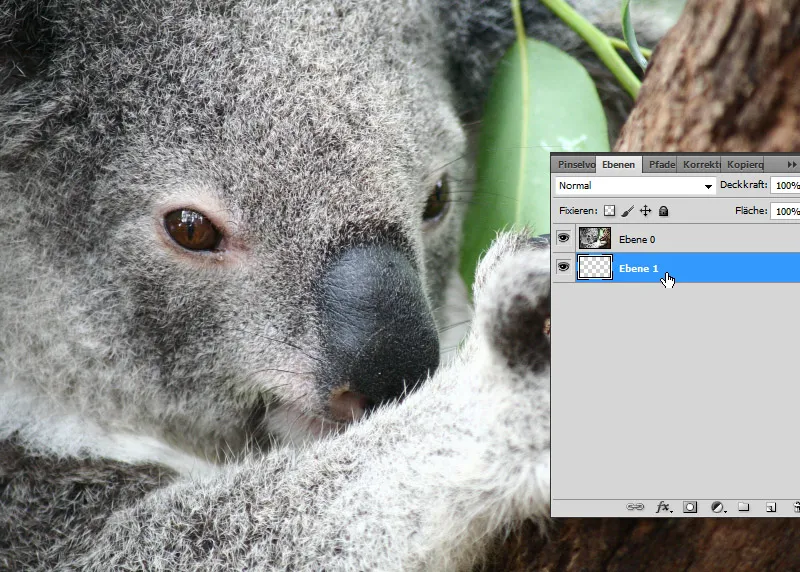
I use the newly created layer for my new background. I create a gradient from medium blue to dark blue and apply it as a radial gradient.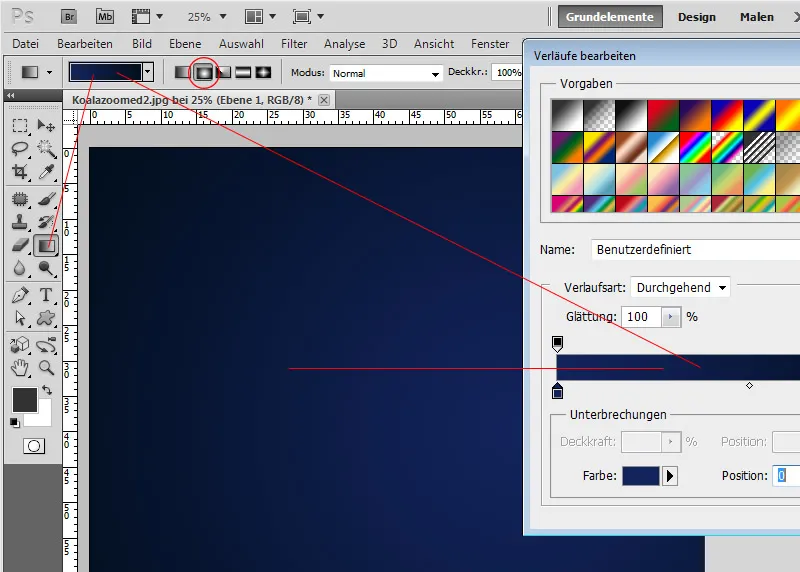
Step 2: Create 3D Shape
I activate my photo layer. Then I open the 3D panel. There I select the cube with the 3D shape from preset checkbox activated, and create the cube from my photo layer.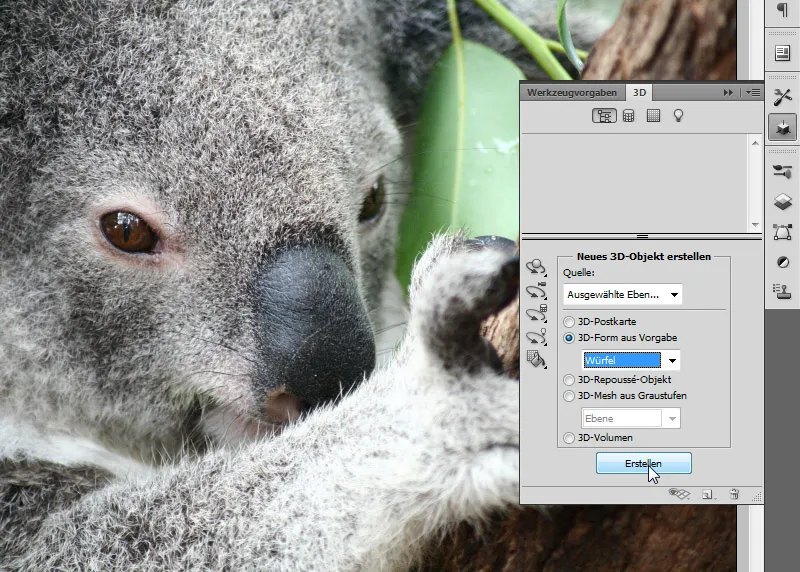
Step 3: Assign Side Images
One side already has my photo on it. In the Layers panel, I see the six sides of the cube. One is named after my photo layer. The others are named "Material_left," "Material_top," etc., and have colored textures applied to them.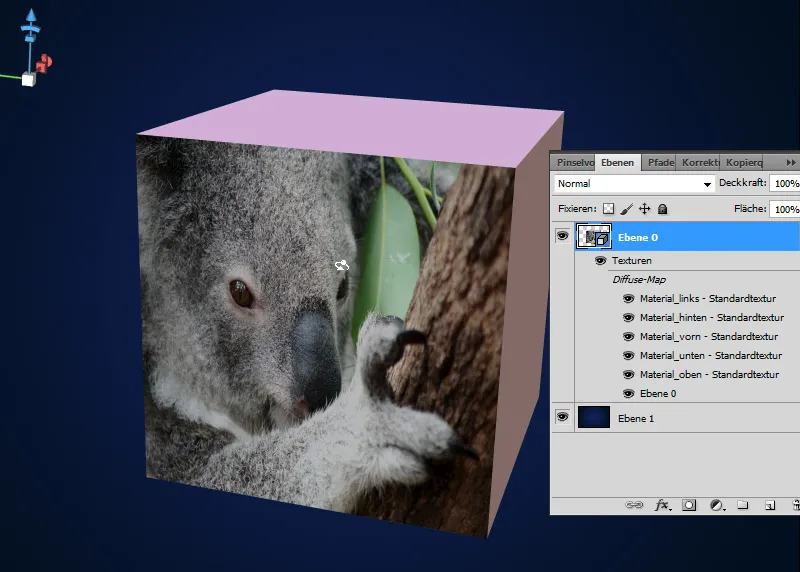
I simply double-click on the first material texture, which currently only displays a color. A PSB file opens. PSB files may already be familiar to some when using Smart Objects. Here I can easily place my next image - directly over the color texture. Important: Save after that!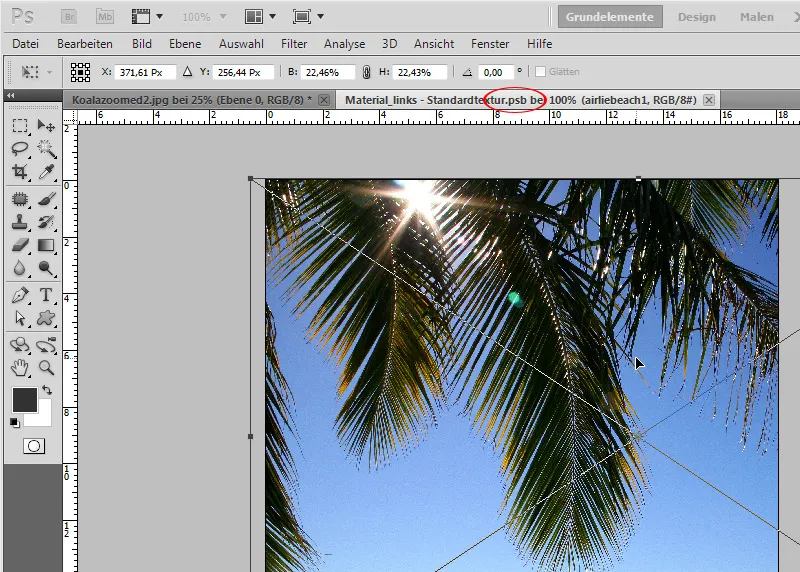
The once colored cube side has now been replaced with my image.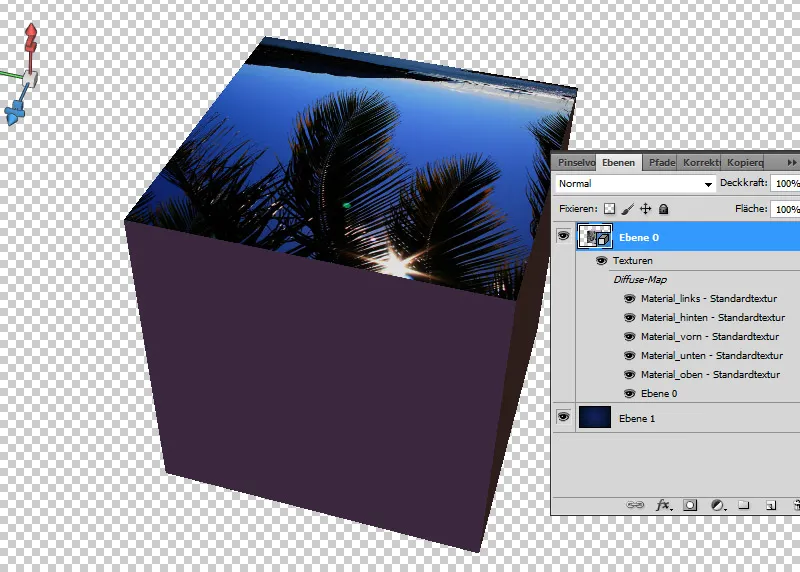
I now repeat this step with all sides or with three sides that should be visible later on. Already during assignment, I can make sure that I do not place the images upside down in case the cube is rotated.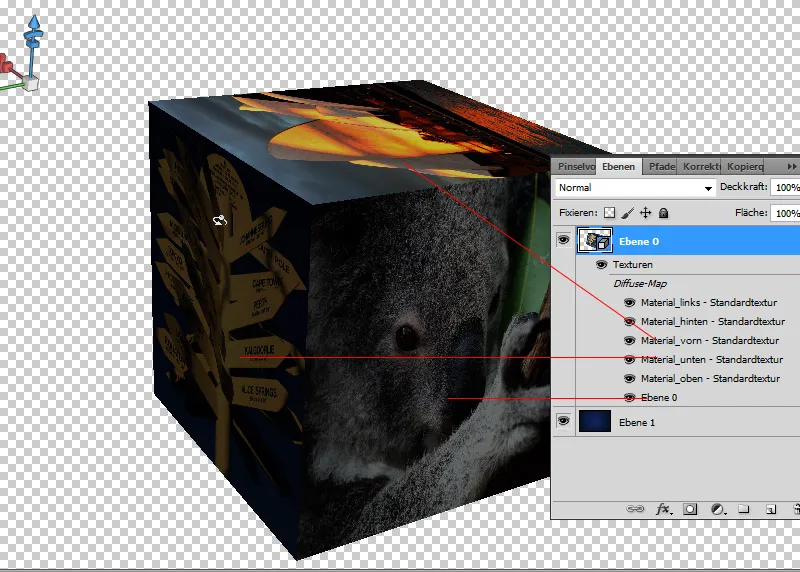
Step 4: Align the Photo Cube
The key to this technique is that I did not create a static 2D photo cube but a dynamic 3D photo cube. And now I can rotate it as I like. I simply activate the Object Rotate Tool (K) and off I go. I can use the other 3D object tools to tilt, scale, move, etc., my photo cube.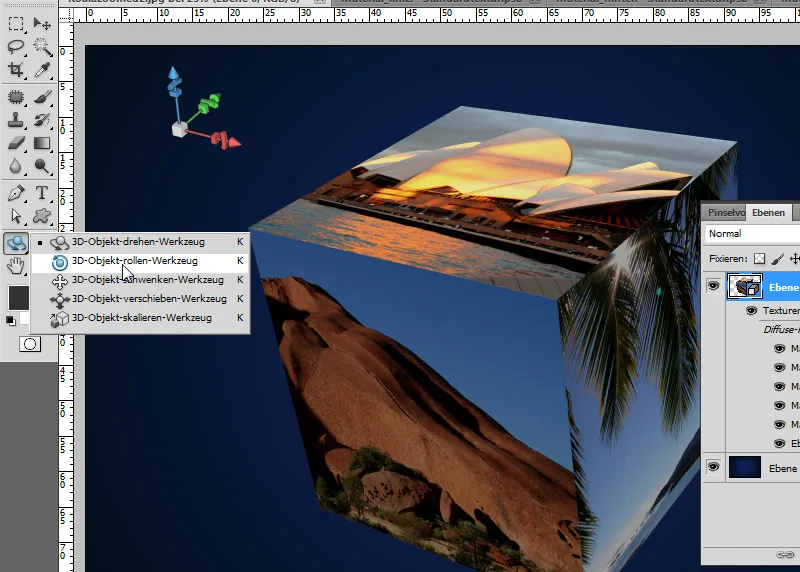
Step 5: Drop Shadow
By double-clicking on the 3D layer, I open the Layer Styles. There I set a larger drop shadow so that the photo cube stands out a bit from the background.
Following settings:
• Opacity: 100 percent
• Angle: 120 degrees
• Distance: 25 pixels
• Size: 115 pixels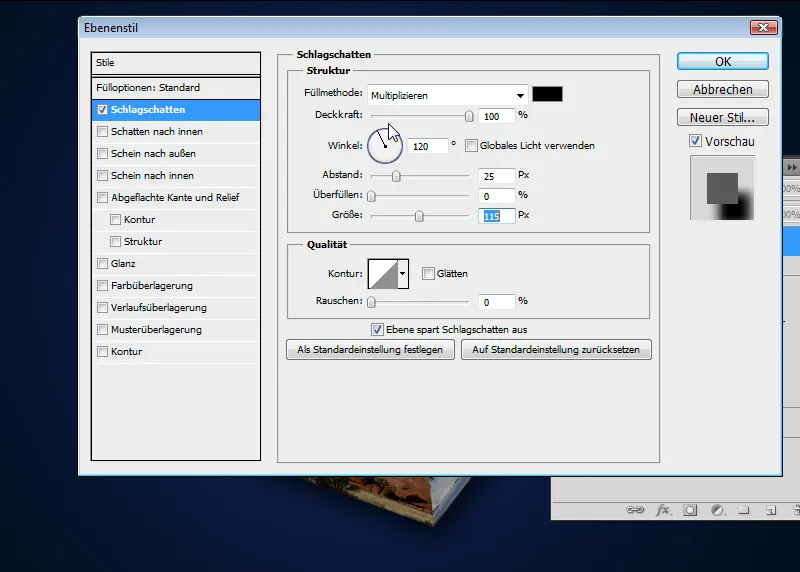
Step 6: Staircase Effects on the Edges
Note: At high resolutions, the edges of the cube are already quite clean. At low image resolutions, I need to render to ensure a coherent result. In the Render Settings under the Scene tab, I choose the Raytracing option. Already with Raytracing - Draft, convincing results can be achieved.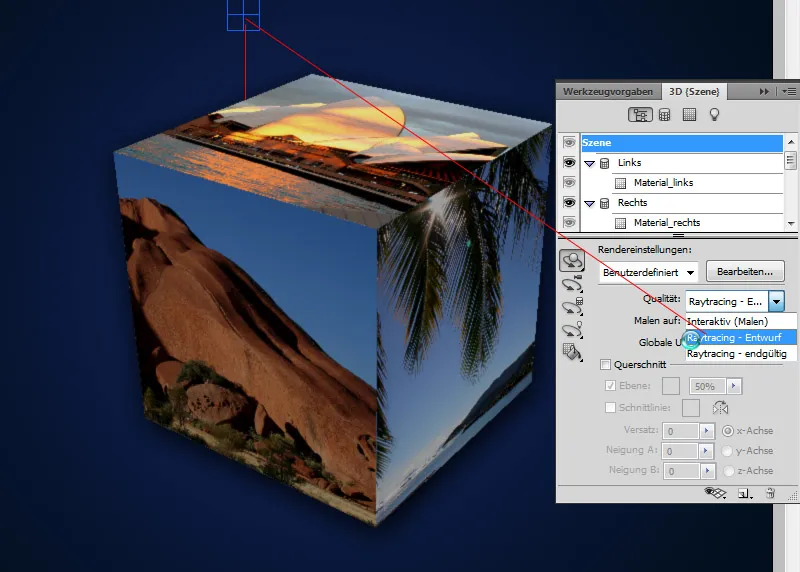
My photo cube is now complete and can be used beautifully for greeting cards, flyers, photo calendars, or photobooks.