You have decided to delve into the world of streaming and video recording? Excellent choice! With OBS Studio (Open Broadcaster Software), you have a powerful and free tool at your disposal to create professionally looking recordings and streams. In this guide, I will walk you through the entire installation process of OBS Studio and explain the basics you need to get started right away.
Key Takeaways
- OBS Studio is a free program for video recording and broadcasting.
- You can easily download and install the software.
- The user interface offers many features to customize your scenes and sources.
- Important settings need to be adjusted for optimal results.
Step-by-Step Guide
Step 1: Download OBS Studio
To install OBS Studio, you need to visit the program's official website first. You can easily find it through a search engine. Make sure to select the version for your operating system. In this tutorial, I will assume Windows. Once you have opened the site, look for the download link.
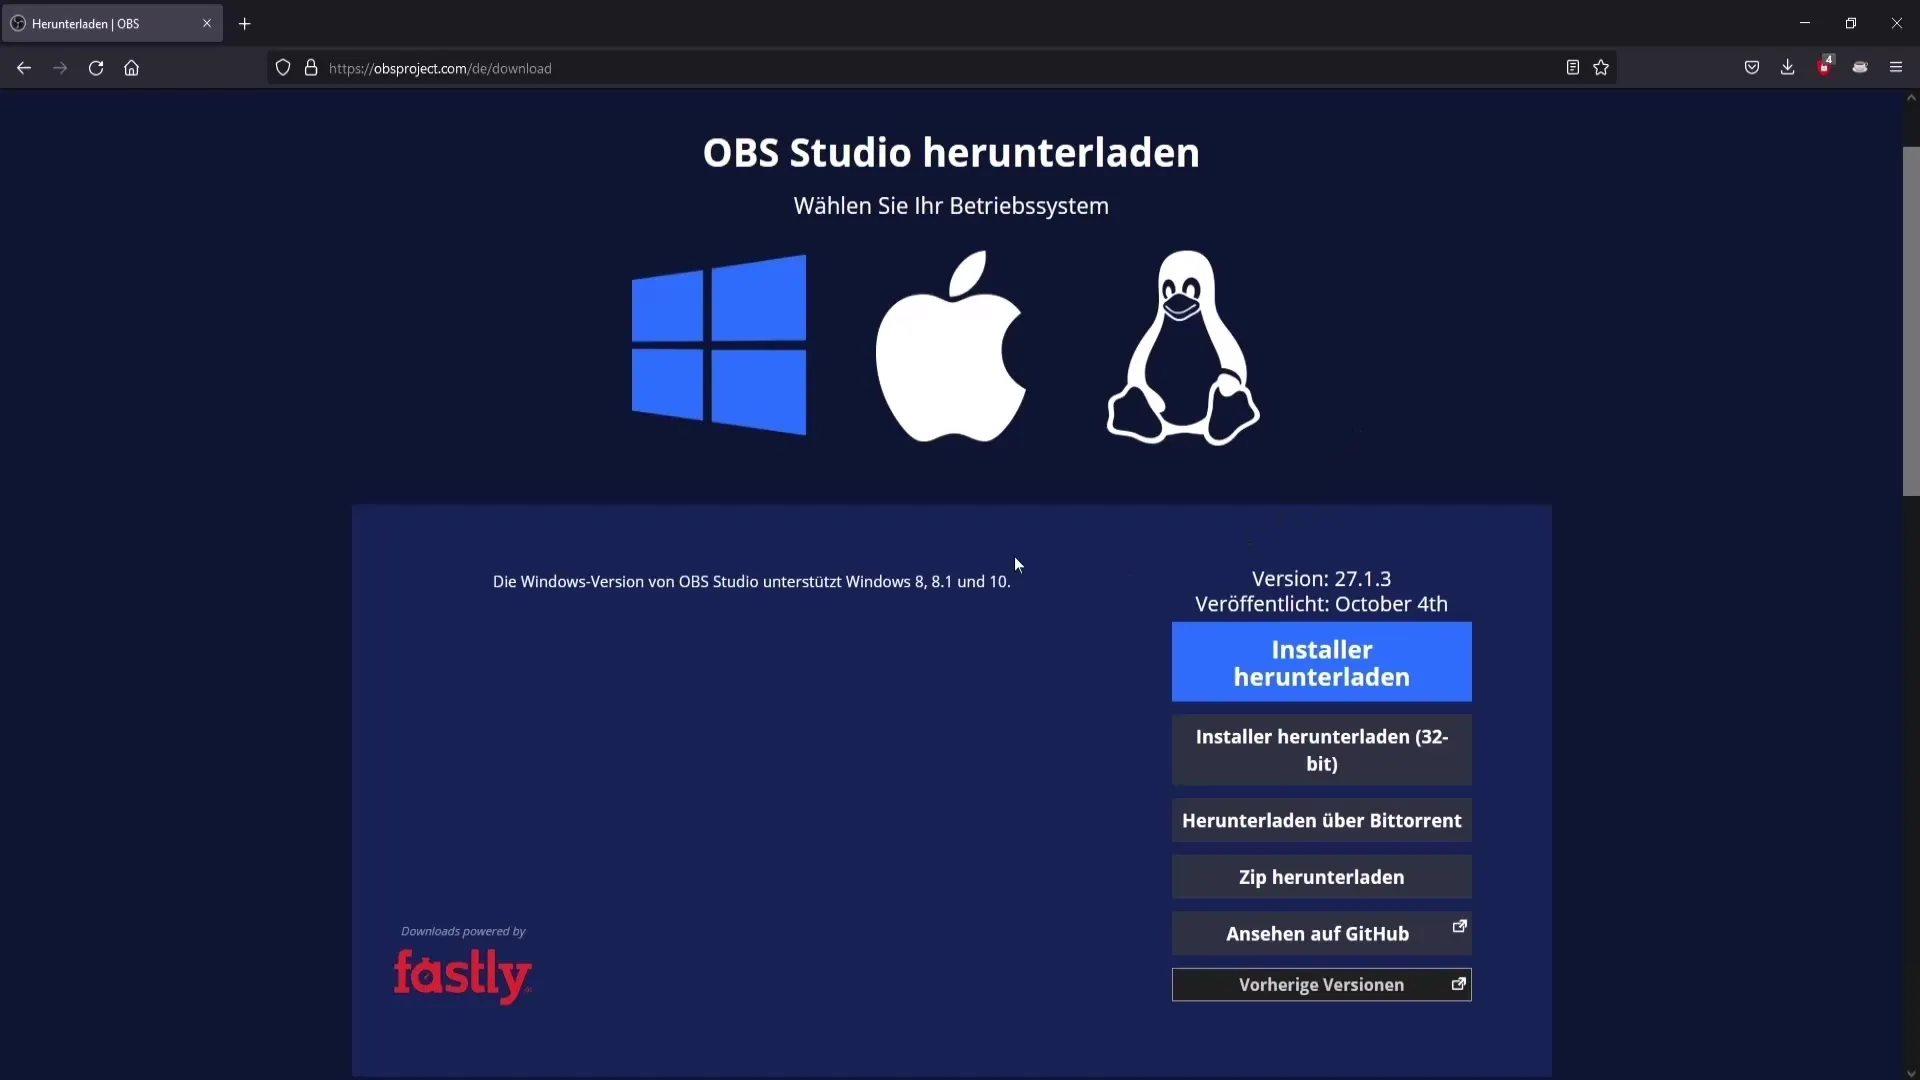
Click on the download button to start the installation process. The program will be saved as an installation file on your computer. Go to the location of the file and click on it to start the installation.
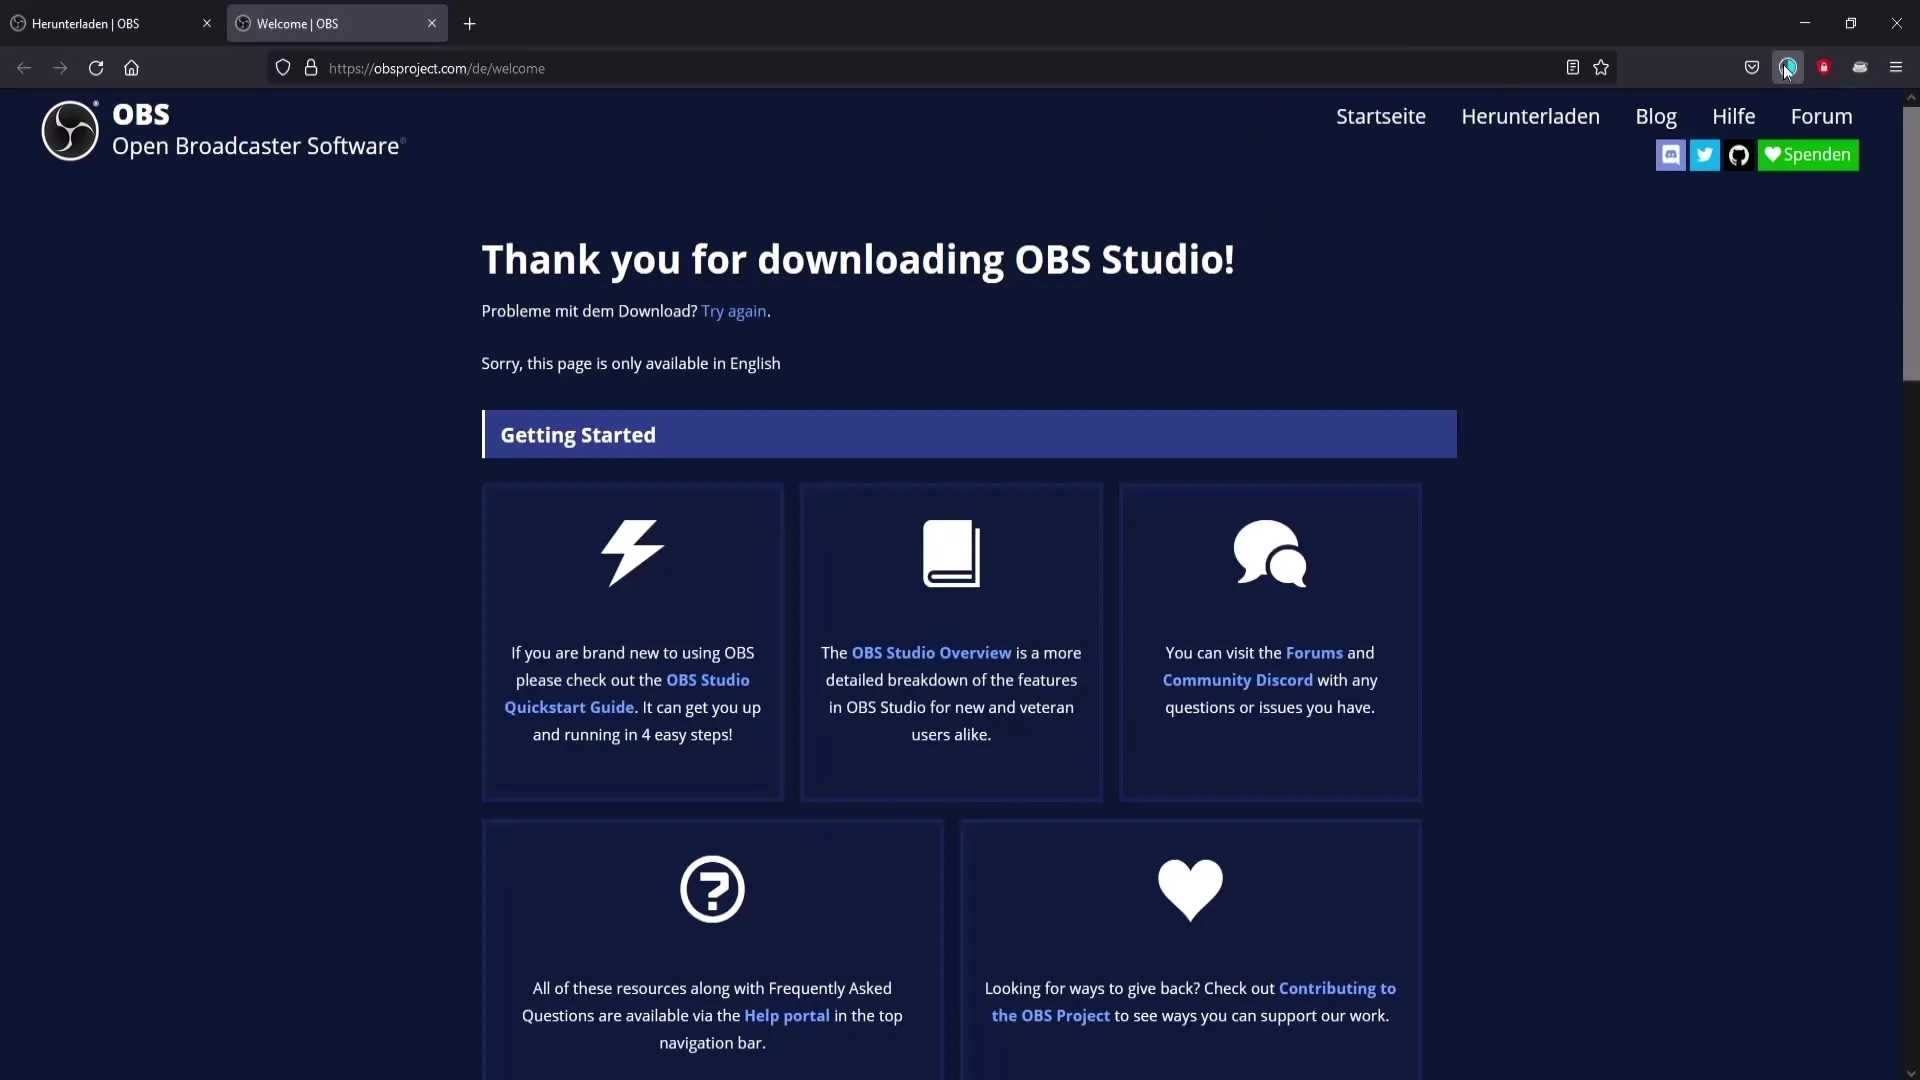
Step 2: Install OBS Studio
Once you have run the installation file, an installation wizard will open. Here, you simply need to agree to the process by clicking "Yes." Then click on "Next" until the installation is complete. This should not take long and mainly depends on your internet speed.
Click on "Finish" to successfully complete the installation.
Step 3: Launch Program and Initial Settings
After installation, OBS Studio will open automatically. You will be asked whether you want to optimize the program for streaming or for video recording. You can be relaxed with this choice — it is always possible to change the settings later on.
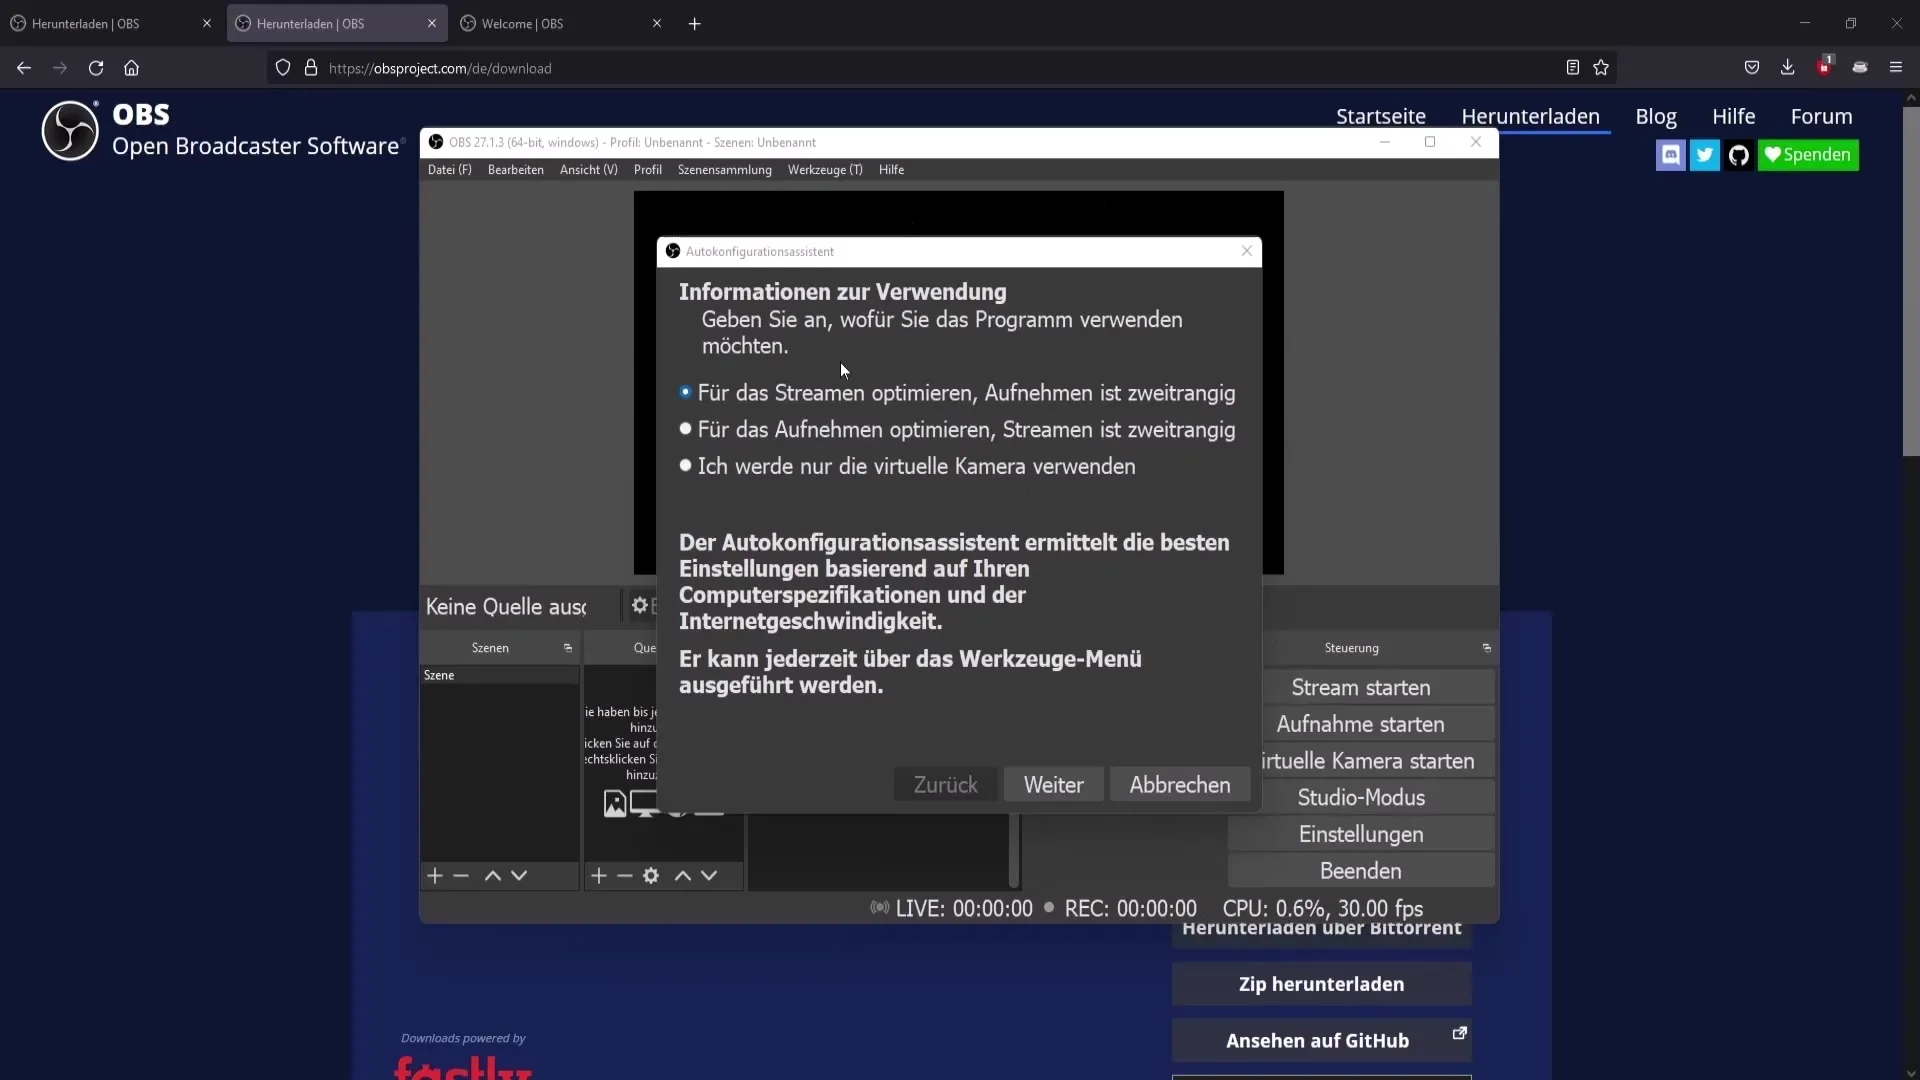
I recommend optimizing it for recording if that is your main focus.
Step 4: Set Resolution and FPS
Next, you will be asked for your screen resolution and FPS (Frames per Second). Right-click on your desktop and open the display settings to determine the correct resolution. Choose the appropriate resolution and a FPS of 60 if you plan to record dynamic content like games. For slower content, 30 FPS may be sufficient.
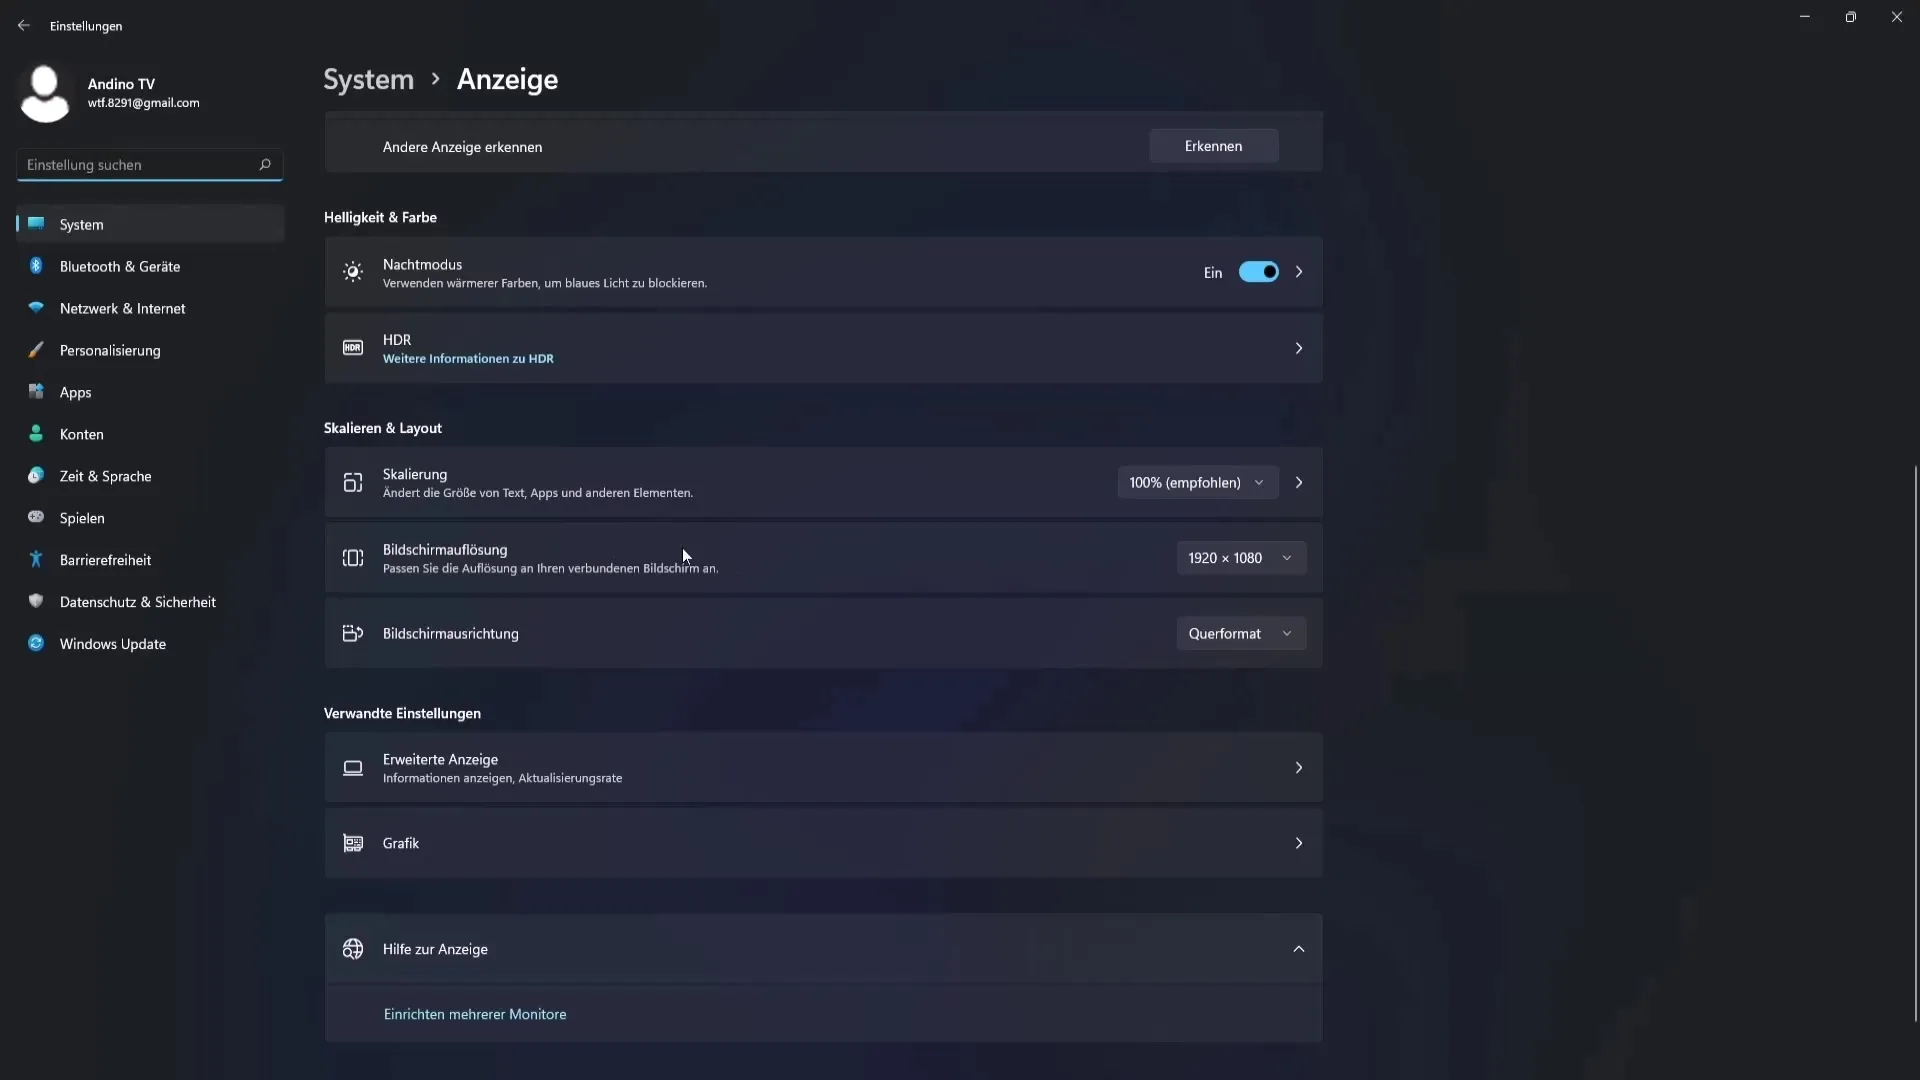
Once you have made these settings, click on "Next" and then on "Apply Settings".
Step 5: Understanding the User Interface
OBS Studio has a user-friendly interface. The preview of your screen is central, while small windows for scenes and sources are located on the left and right sides. Here you can integrate elements like screen recordings or webcam.
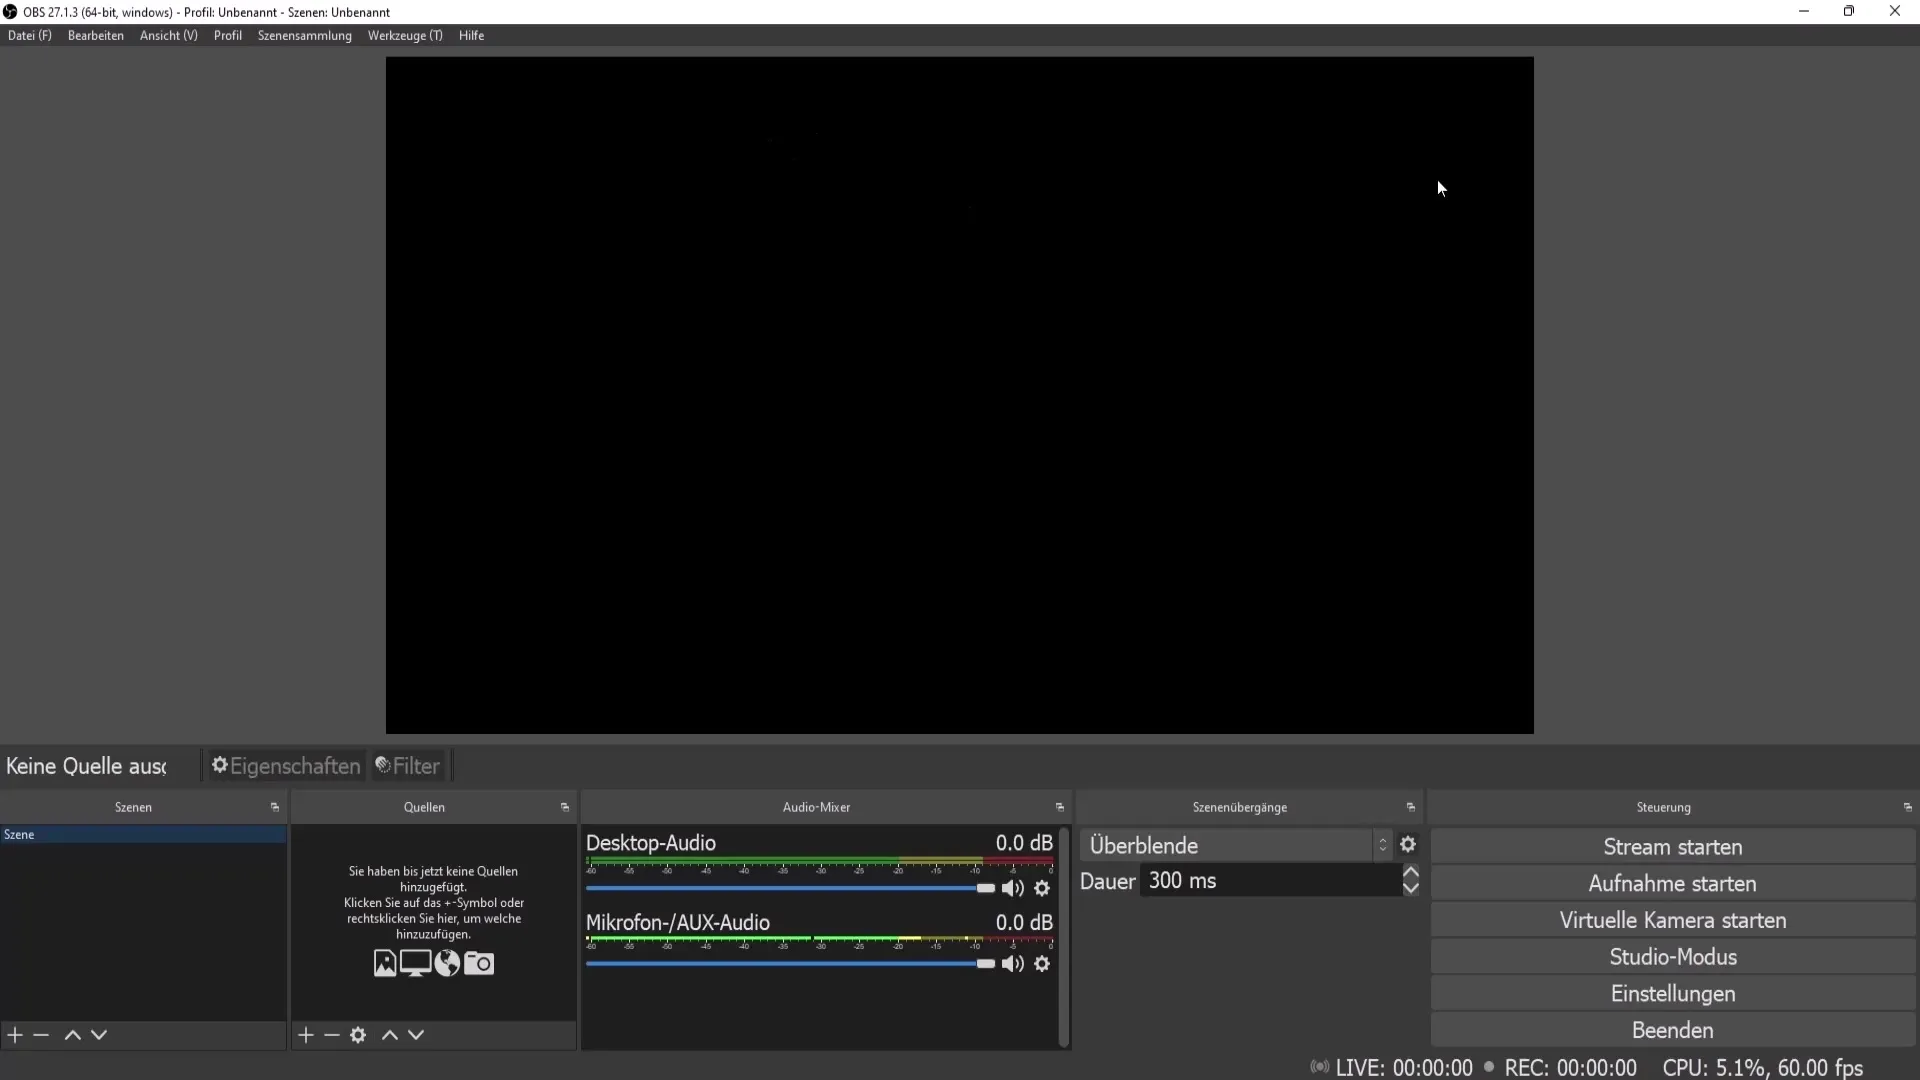
To demonstrate this, create a new scene. Click on the plus sign in the scenes window and name your scene, for example, "Recording". Once you have done that, click OK.
Step 6: Adding Sources
Now it's time to add sources to your scene. In the sources window, also click on the plus sign and select "Screen Recording". This allows you to record your virtual workspace. Also, give a meaningful name here to keep track of your sources.
Then click OK, and your screen recording is added.
Step 7: Adding More Sources and Their Arrangement
Not only screen recordings are available. You can also add webcam videos, images, or texts. Each element is displayed in multiple layers, meaning you can influence their visibility — similar to image editing programs.
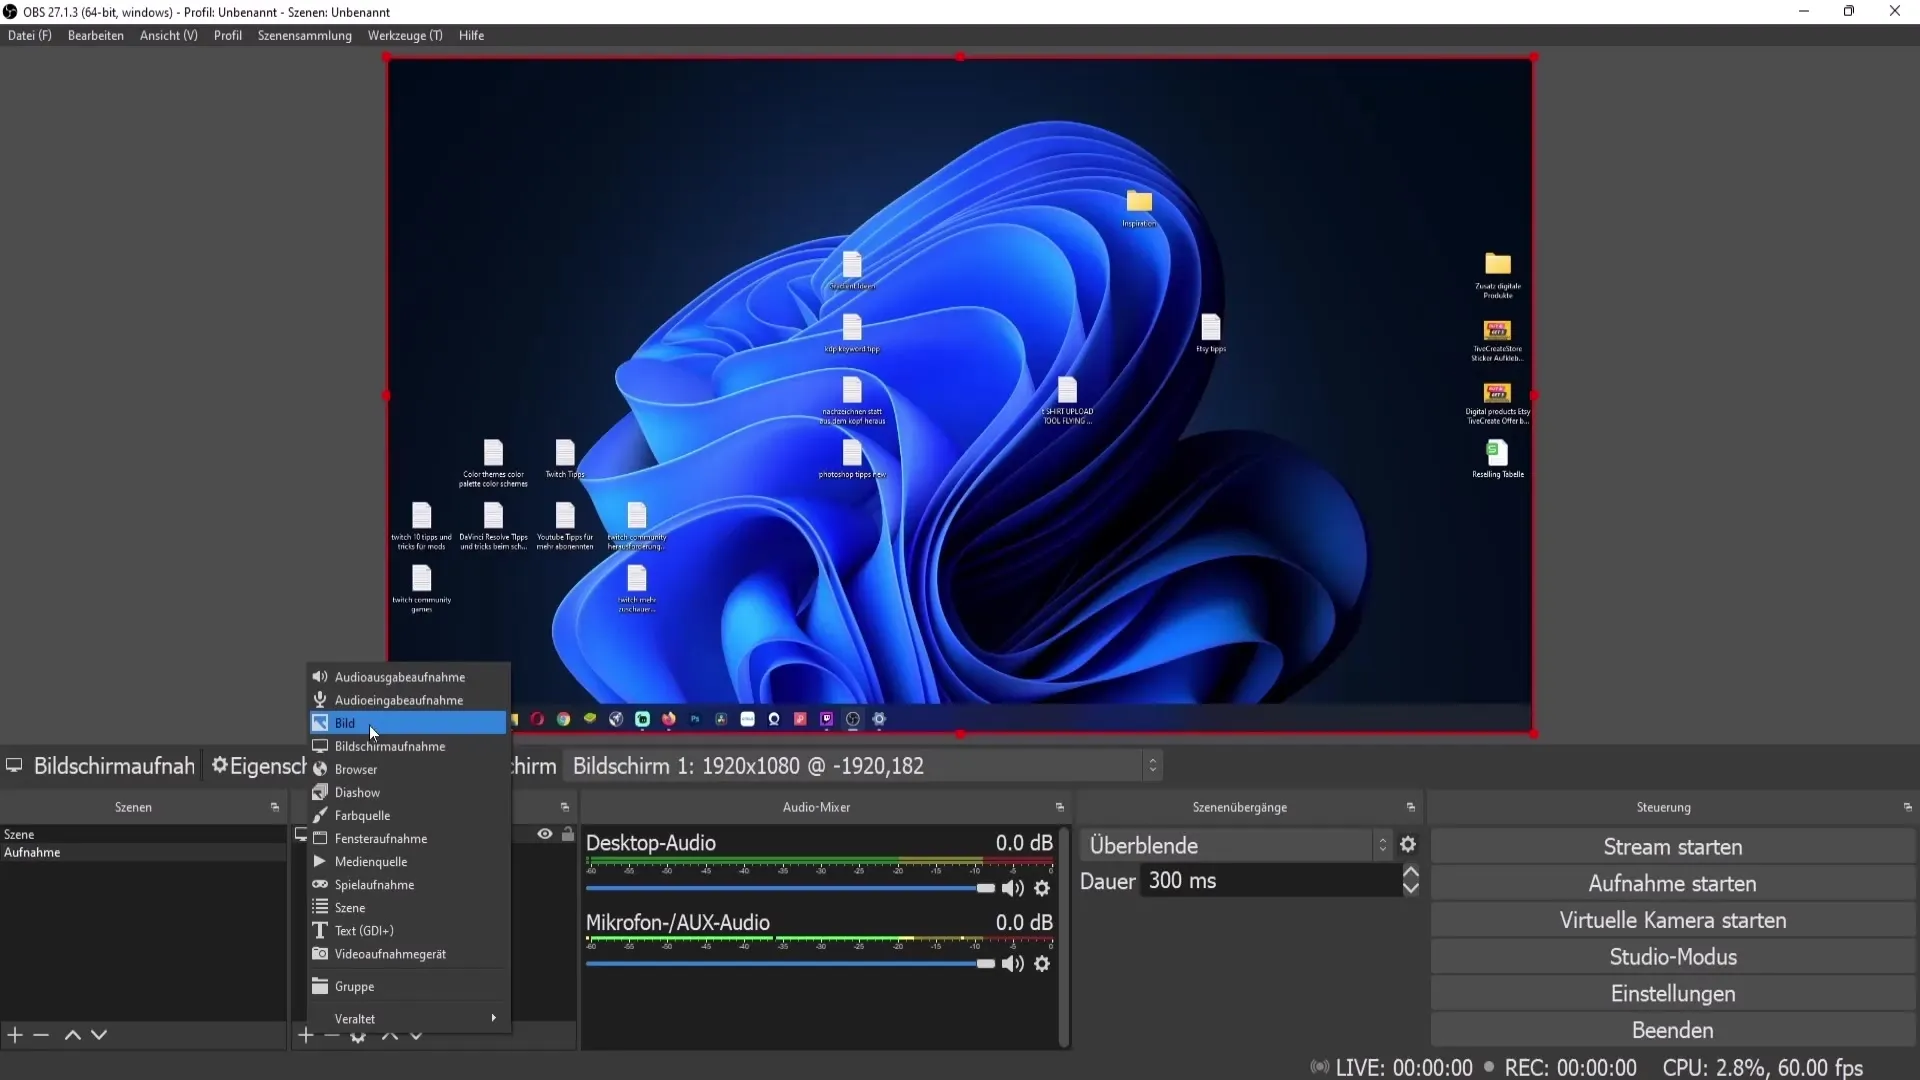
To add a webcam, select the plus sign again and choose "Video Capture Device". Name it and click OK.
Step 8: Adjust Audio Settings
The audio mixer is essential for your recordings. Here you can adjust the microphone and desktop audio sources. Make sure your microphone is not muted and the volume levels are best in the middle yellow area. Feel free to experiment with the volume to find the perfect balance.

Step 9: Set up Scene Transitions
When switching between different scenes, you can add transitions. You can find these in the corresponding section. Use simple fade effects, for example, to make a professional impression.
Step 10: Important Settings
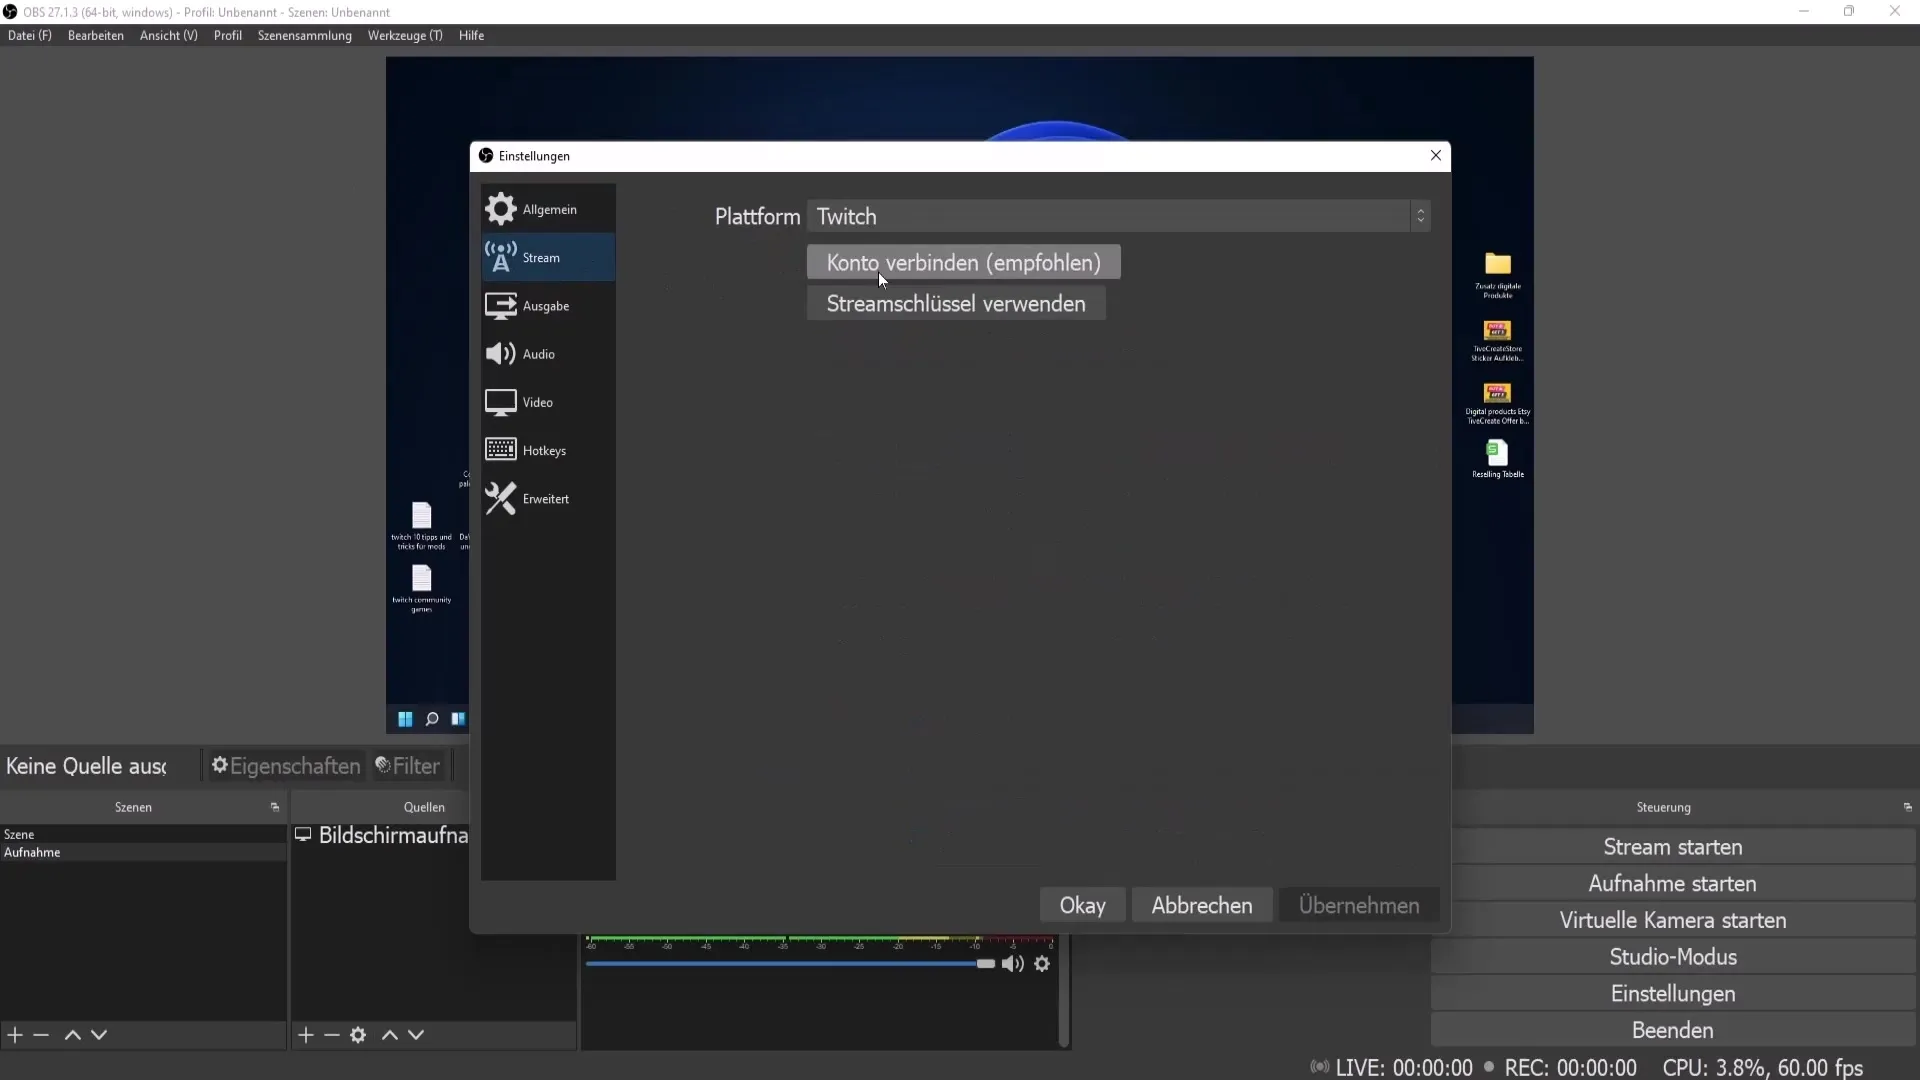
Go to the settings to make important adjustments. Here you can set the output modes for streaming and recordings, refine the audio settings, and determine the video quality. The advanced mode offers you more customization options, especially for live streaming.
Step 11: Set up Hotkeys (optional)
If you wish, you can set hotkeys for specific functions. It is convenient to have key combinations for starting and stopping recordings or streams. However, make sure not to choose keys that you use frequently in everyday life, as this can lead to unwanted interruptions.
Summary
This guide has shown you how to download OBS Studio, install it, and make basic settings. With this software, you are now ready to record and stream your own videos. Use the features of OBS Studio to be creative and design your content.
