Cutting videos can be a challenging but also very creative task. DaVinci Resolve offers numerous tools and functions that allow you to edit and customize your videos with precision. This guide will show you step by step how to work efficiently and effectively with DaVinci Resolve to cut your videos and give them the finishing touches.
Key Takeaways
- Importing media is the first step. Use Powerbins for a more efficient workflow.
- Use shortcuts and audio signals to speed up your editing process.
- After video editing, testing your work is an important step to identify potential errors early on.
- Using tools like the Compressor and De-Esser improves the audio quality of your videos.
- Exporting is the final step, which can be much easier with the right selection of format.
Step-by-Step Guide
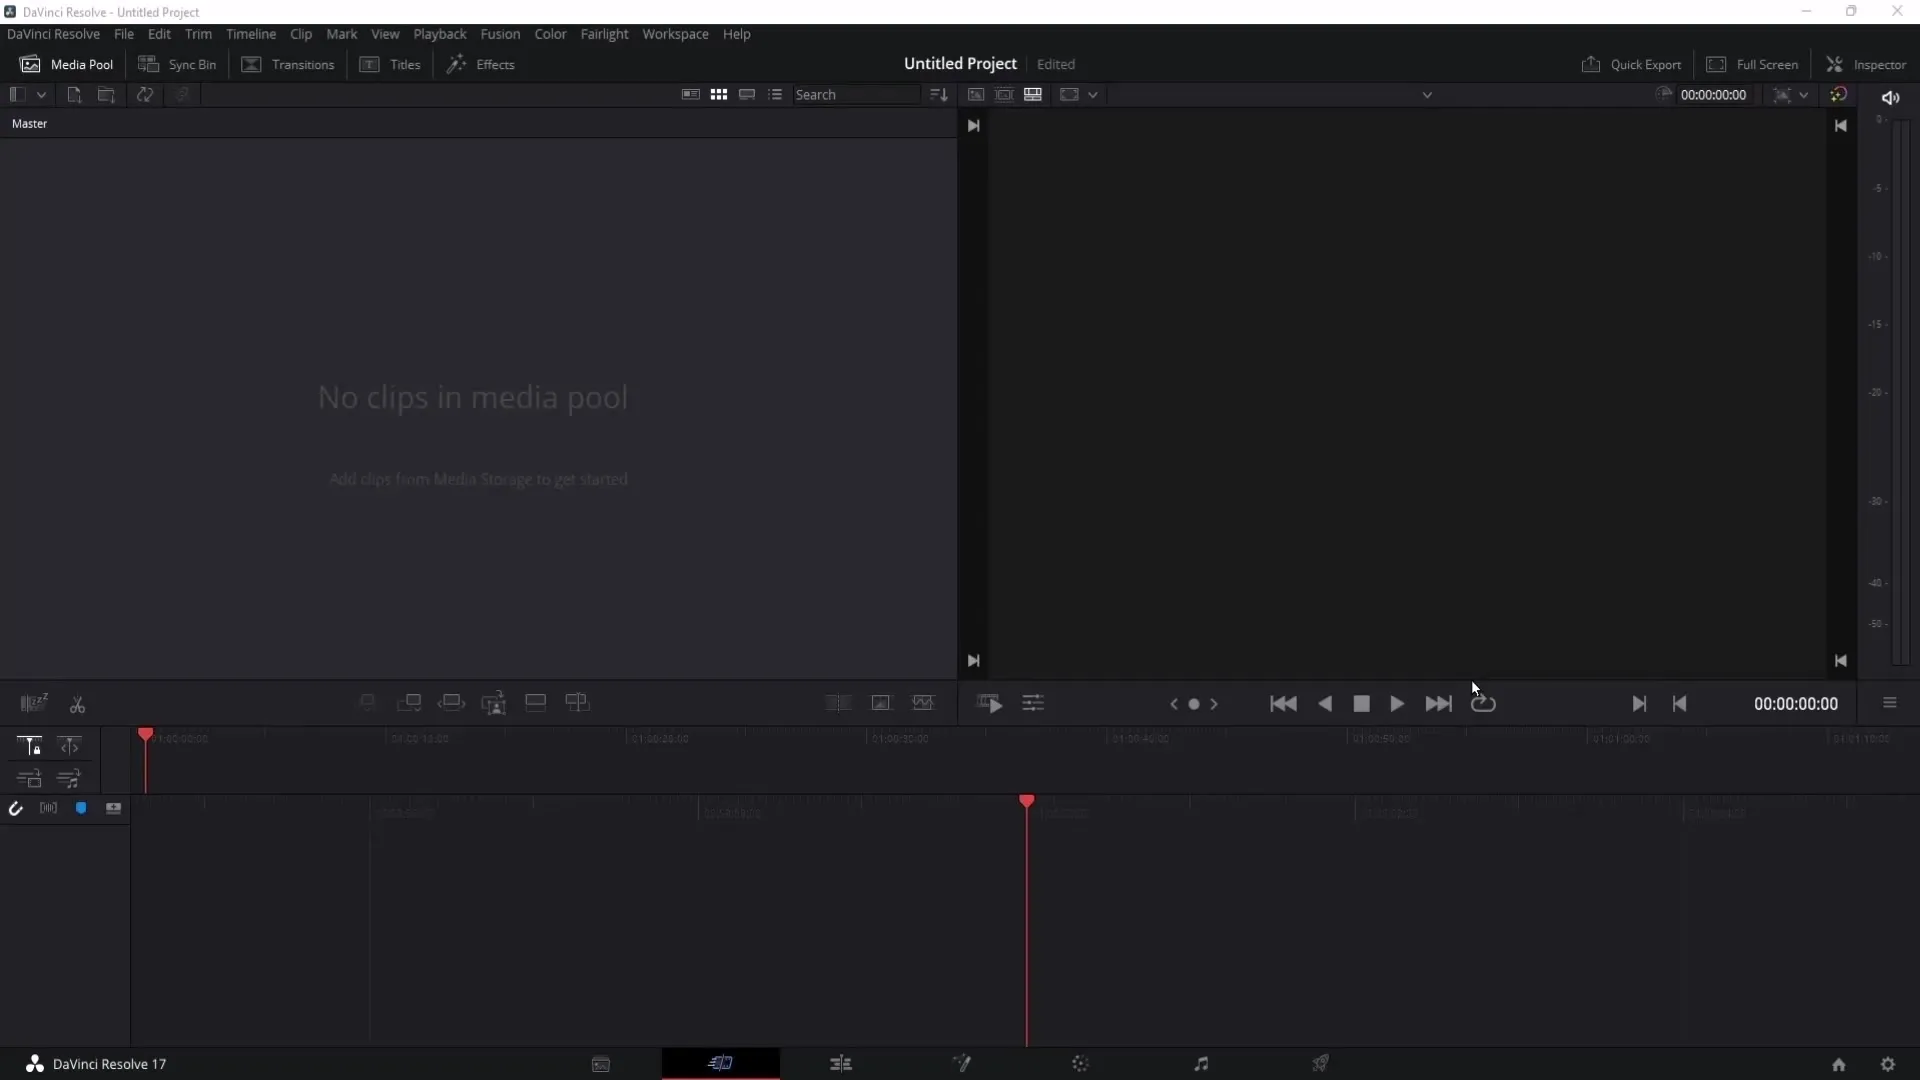
1. Importing Videos and Dragging Them Into the Timeline
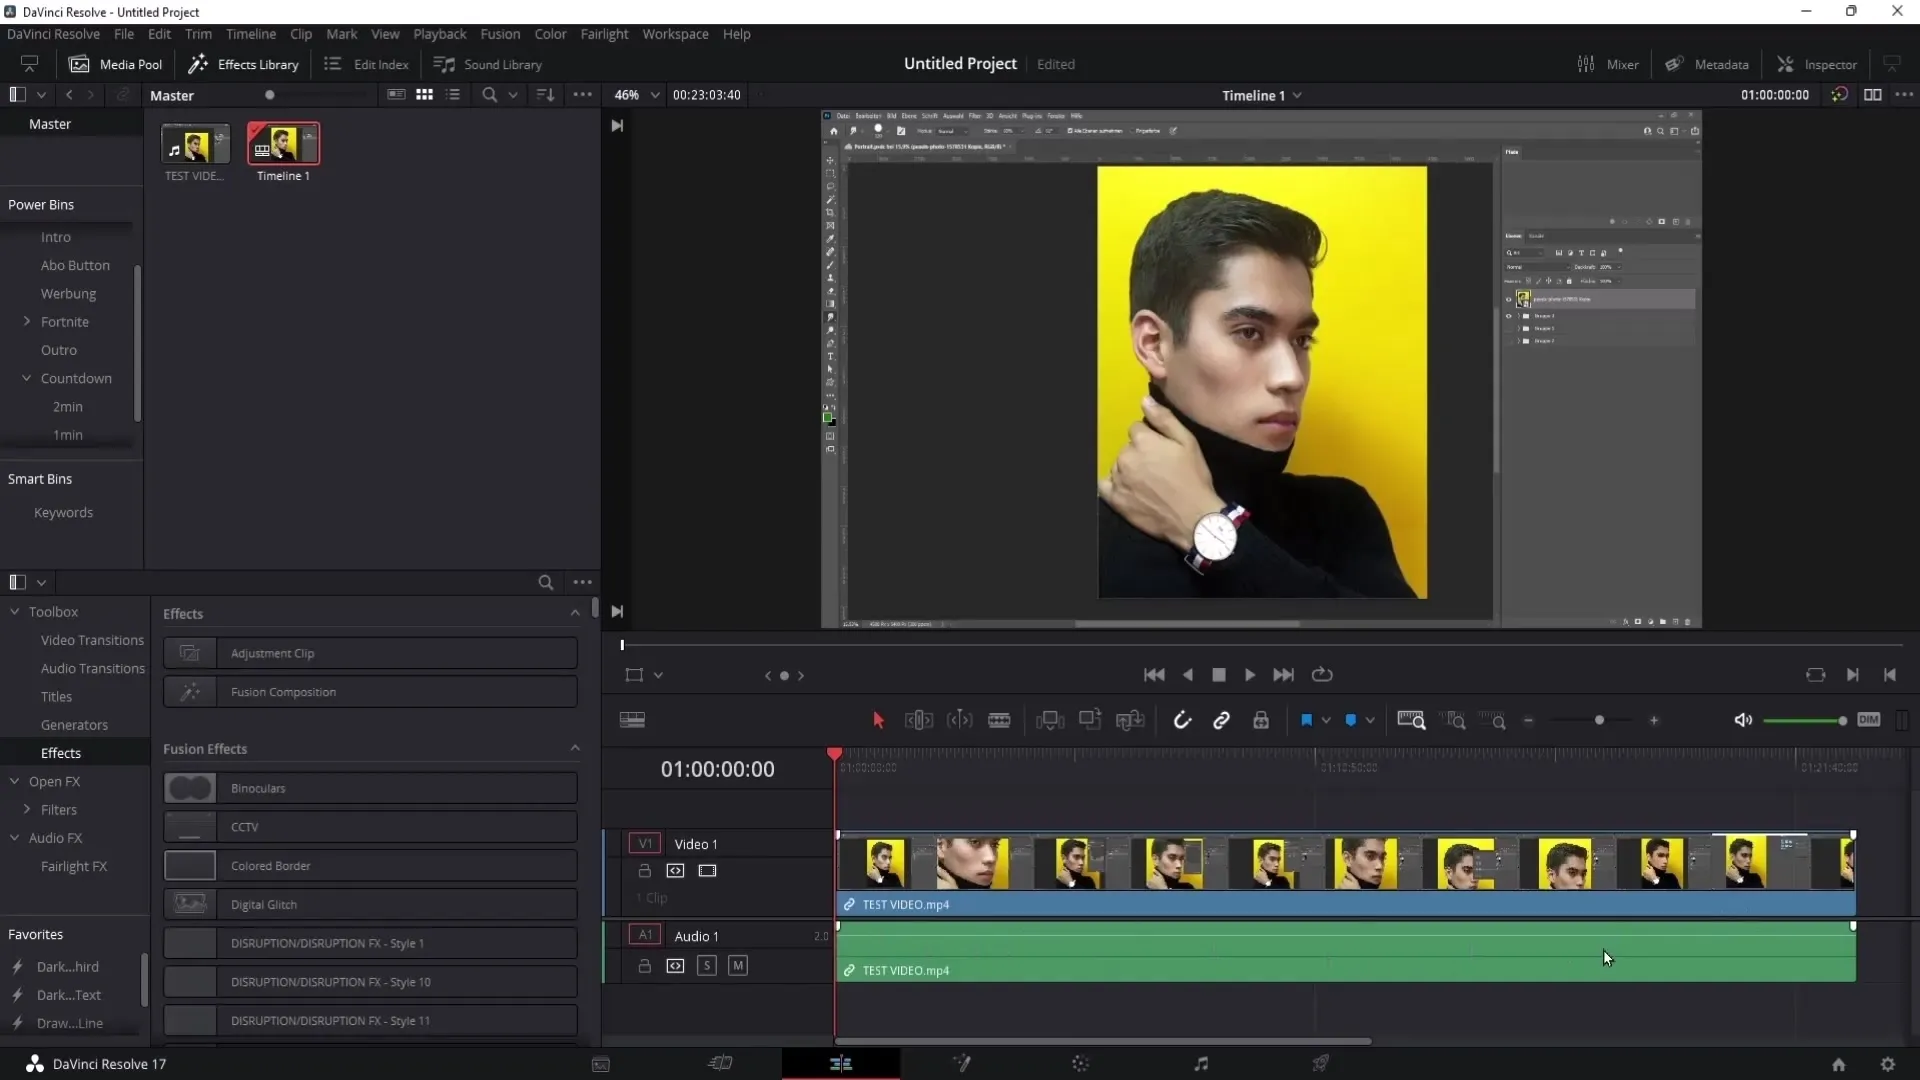
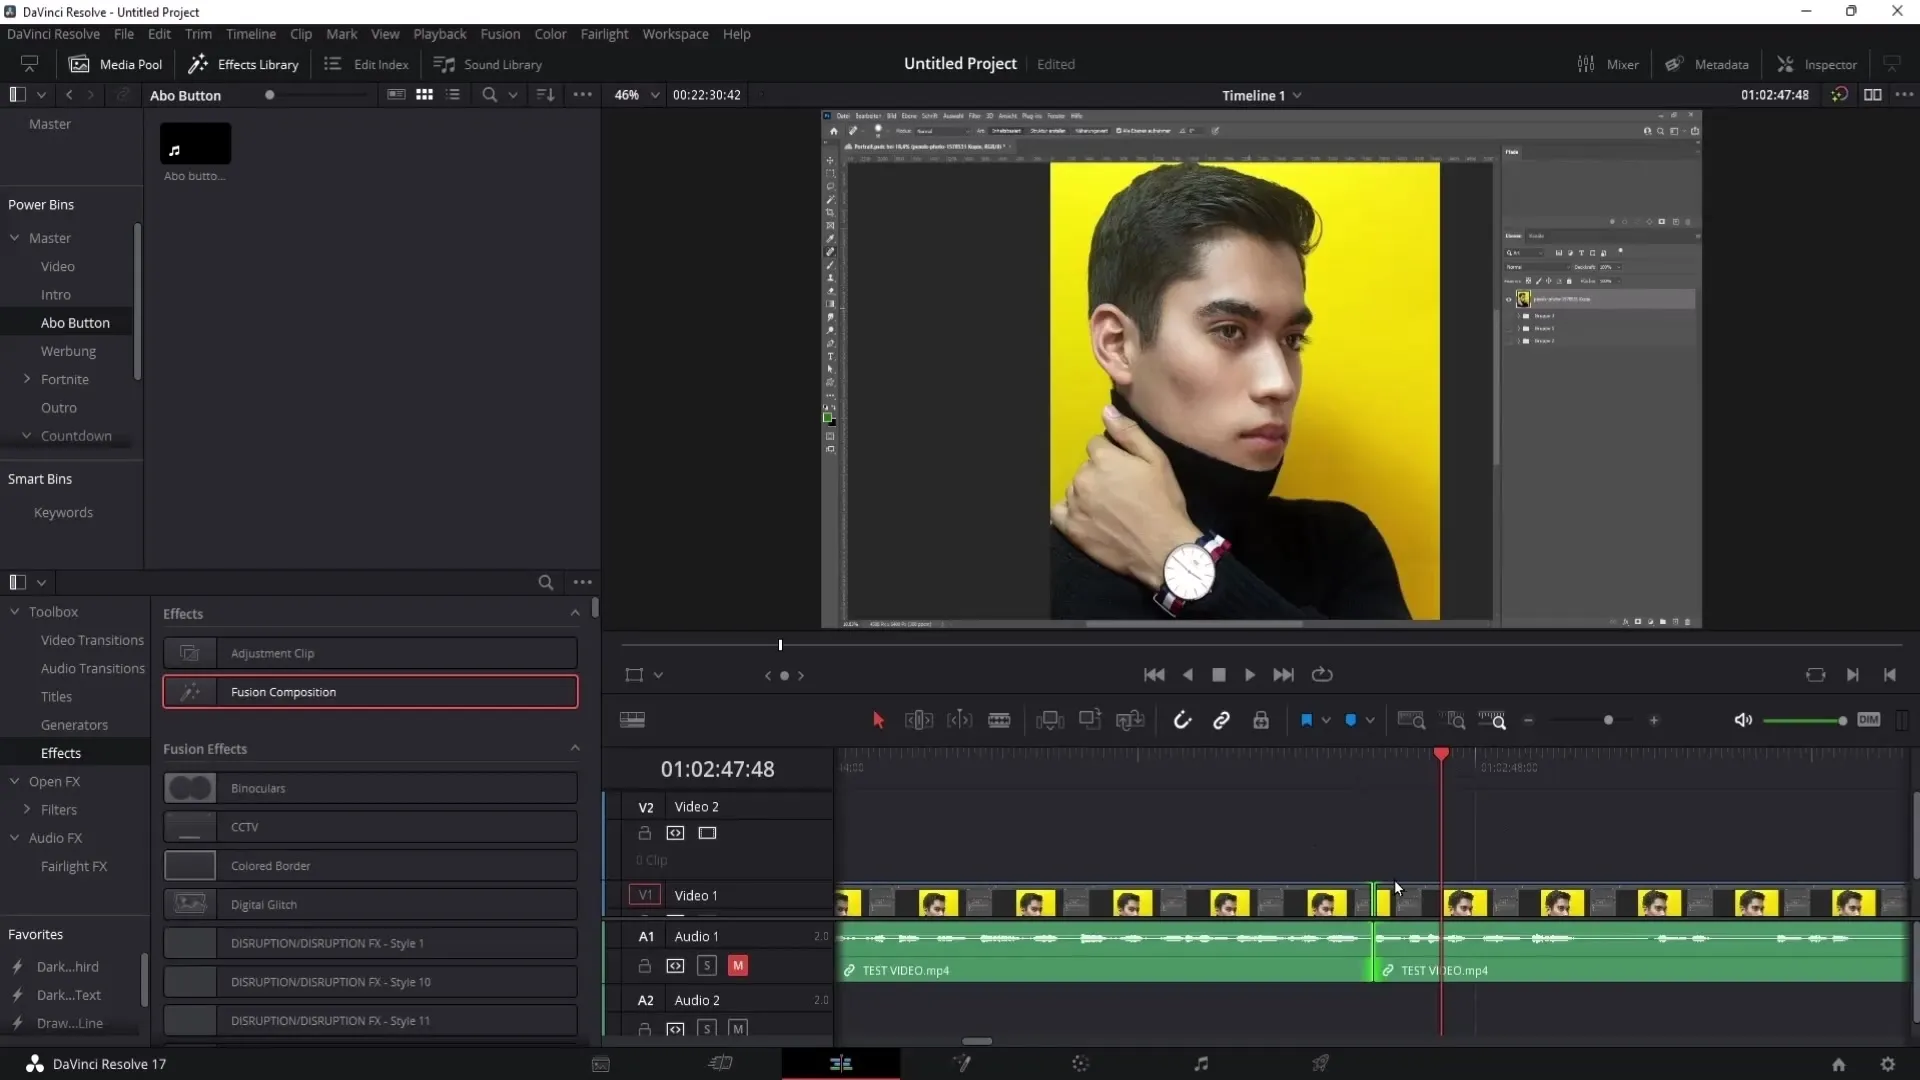
After starting DaVinci Resolve, the first step is to import the video. Right-click in the Media Pool and choose "Import Media." Here you can search for the file you want to cut. In this example, I choose a test video. After selecting the video, drag it into the timeline by holding down the left mouse button.
You may need to wait for the audio track of the video to appear. Note that this may take some time for longer videos. The audio spikes you will see shortly are helpful for cutting.
2. Working with Powerbins
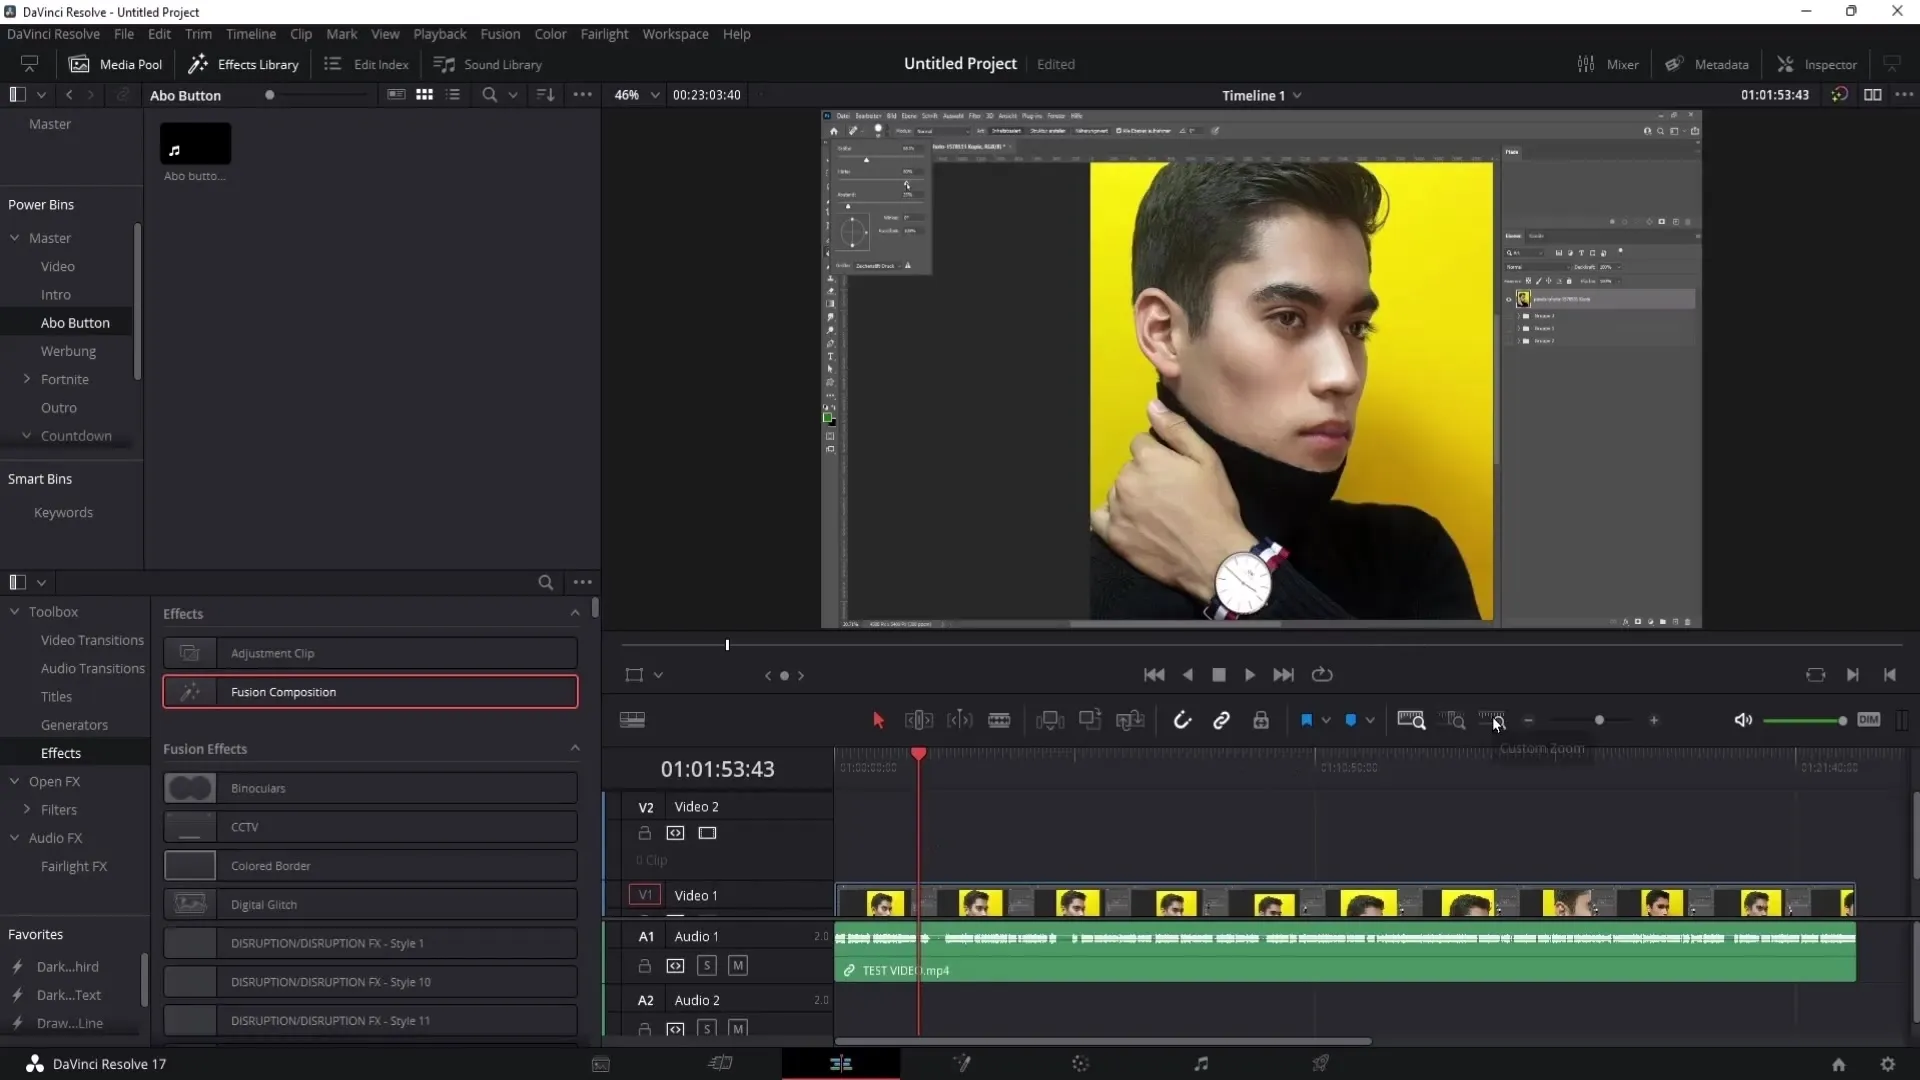
A useful tip to make cutting more flexible is to use Powerbins. You can find these on the left under the "Master" tab. Here you can save regularly needed elements such as intro clips or sound effects. This way, you don't have to import the media again every time but can quickly drag them from the Powerbins into your project.
3. Audio Analysis for Precise Cutting
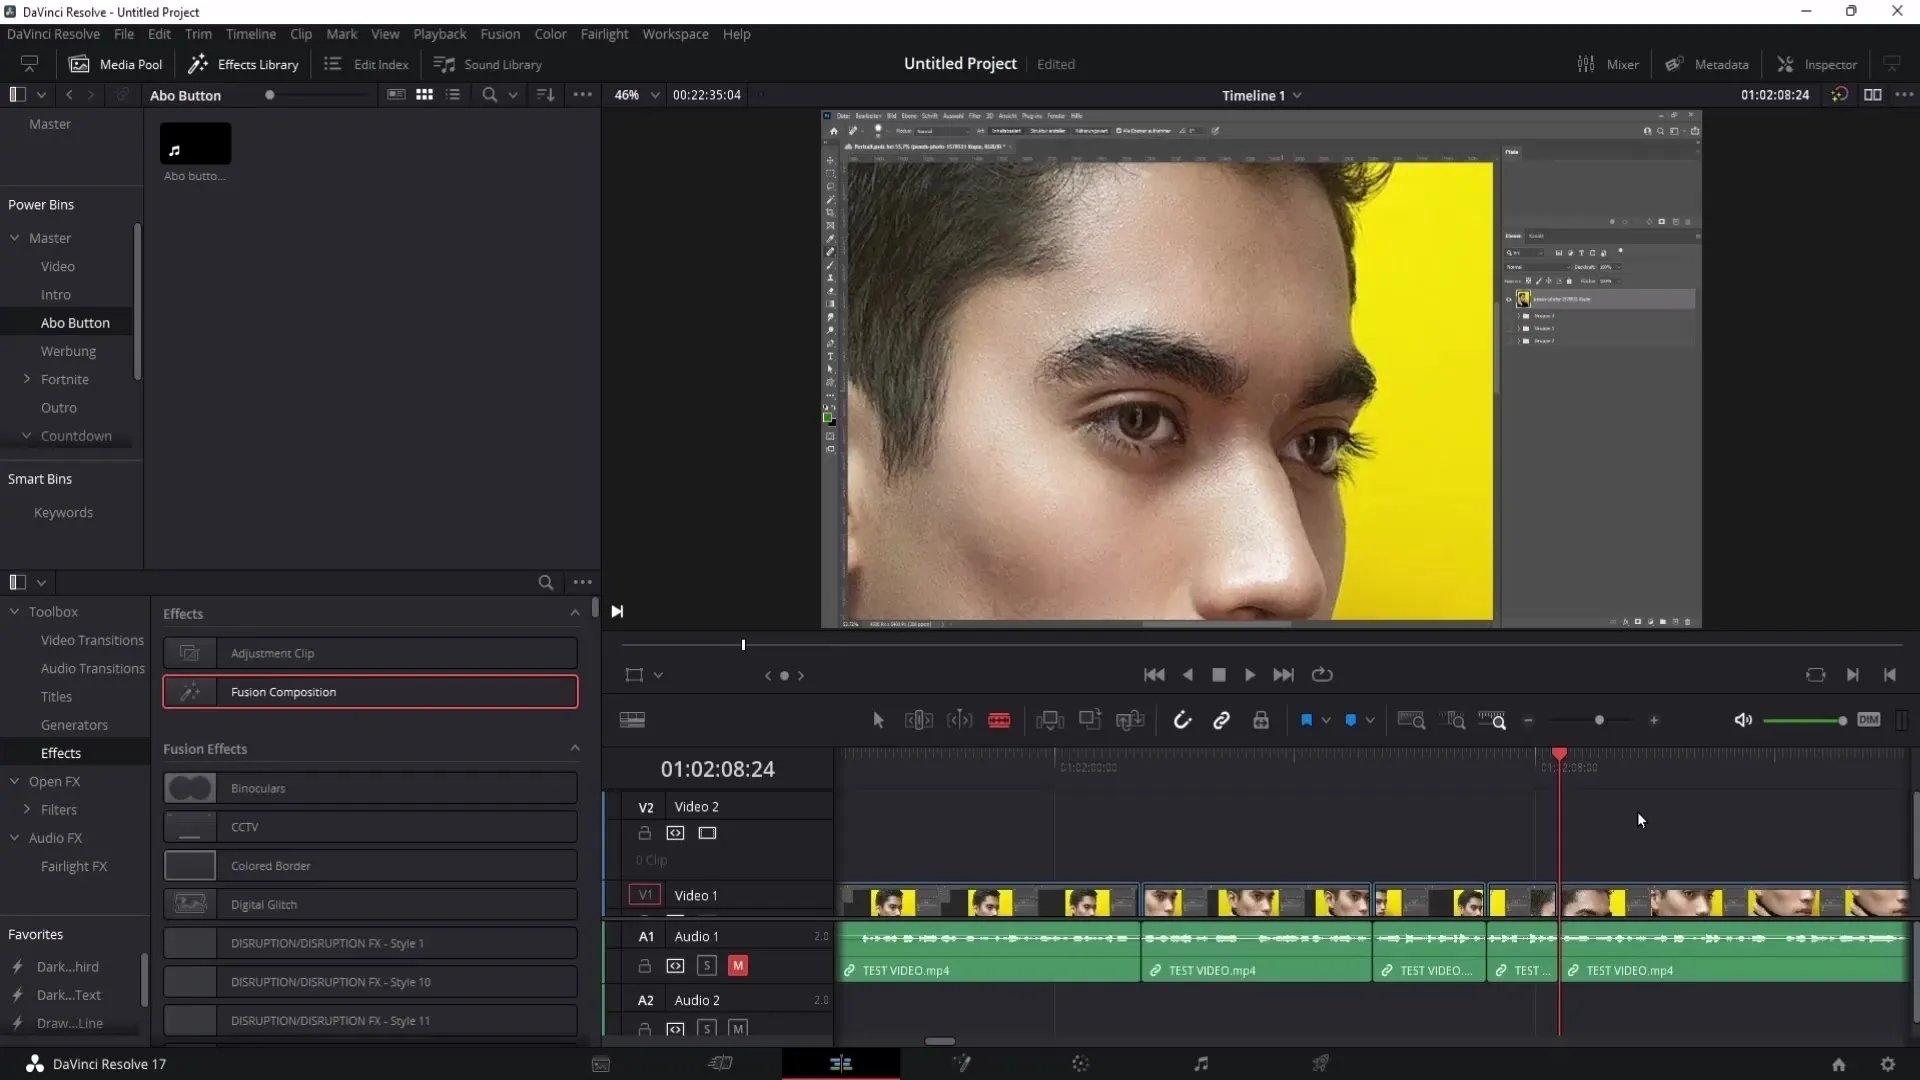
The audio spikes are crucial for setting your cut points precisely. Listen to the audio track and pay attention to where you have misspeaks or parts you want to shorten. Use shortcuts to set cuts faster. It is much more efficient to set the cut points with keys rather than using the razor tool.
4. Cutting Videos at Double Speed
To save time, you can play the video at double speed. Simply press the "L" key twice to activate this. This allows you to quickly go through the material and stop quickly in case of errors. It is an efficient method to identify mistakes quickly and optimize the cut.
5. Checking and Adjusting Cuts
After setting the cuts, play the video at normal speed to ensure smooth transitions. Make sure that no parts of the original recording that should not remain in the video are still audible. This final check can often help identify errors that you may have overlooked during cutting.
6. Adjusting Audio with the Compressor
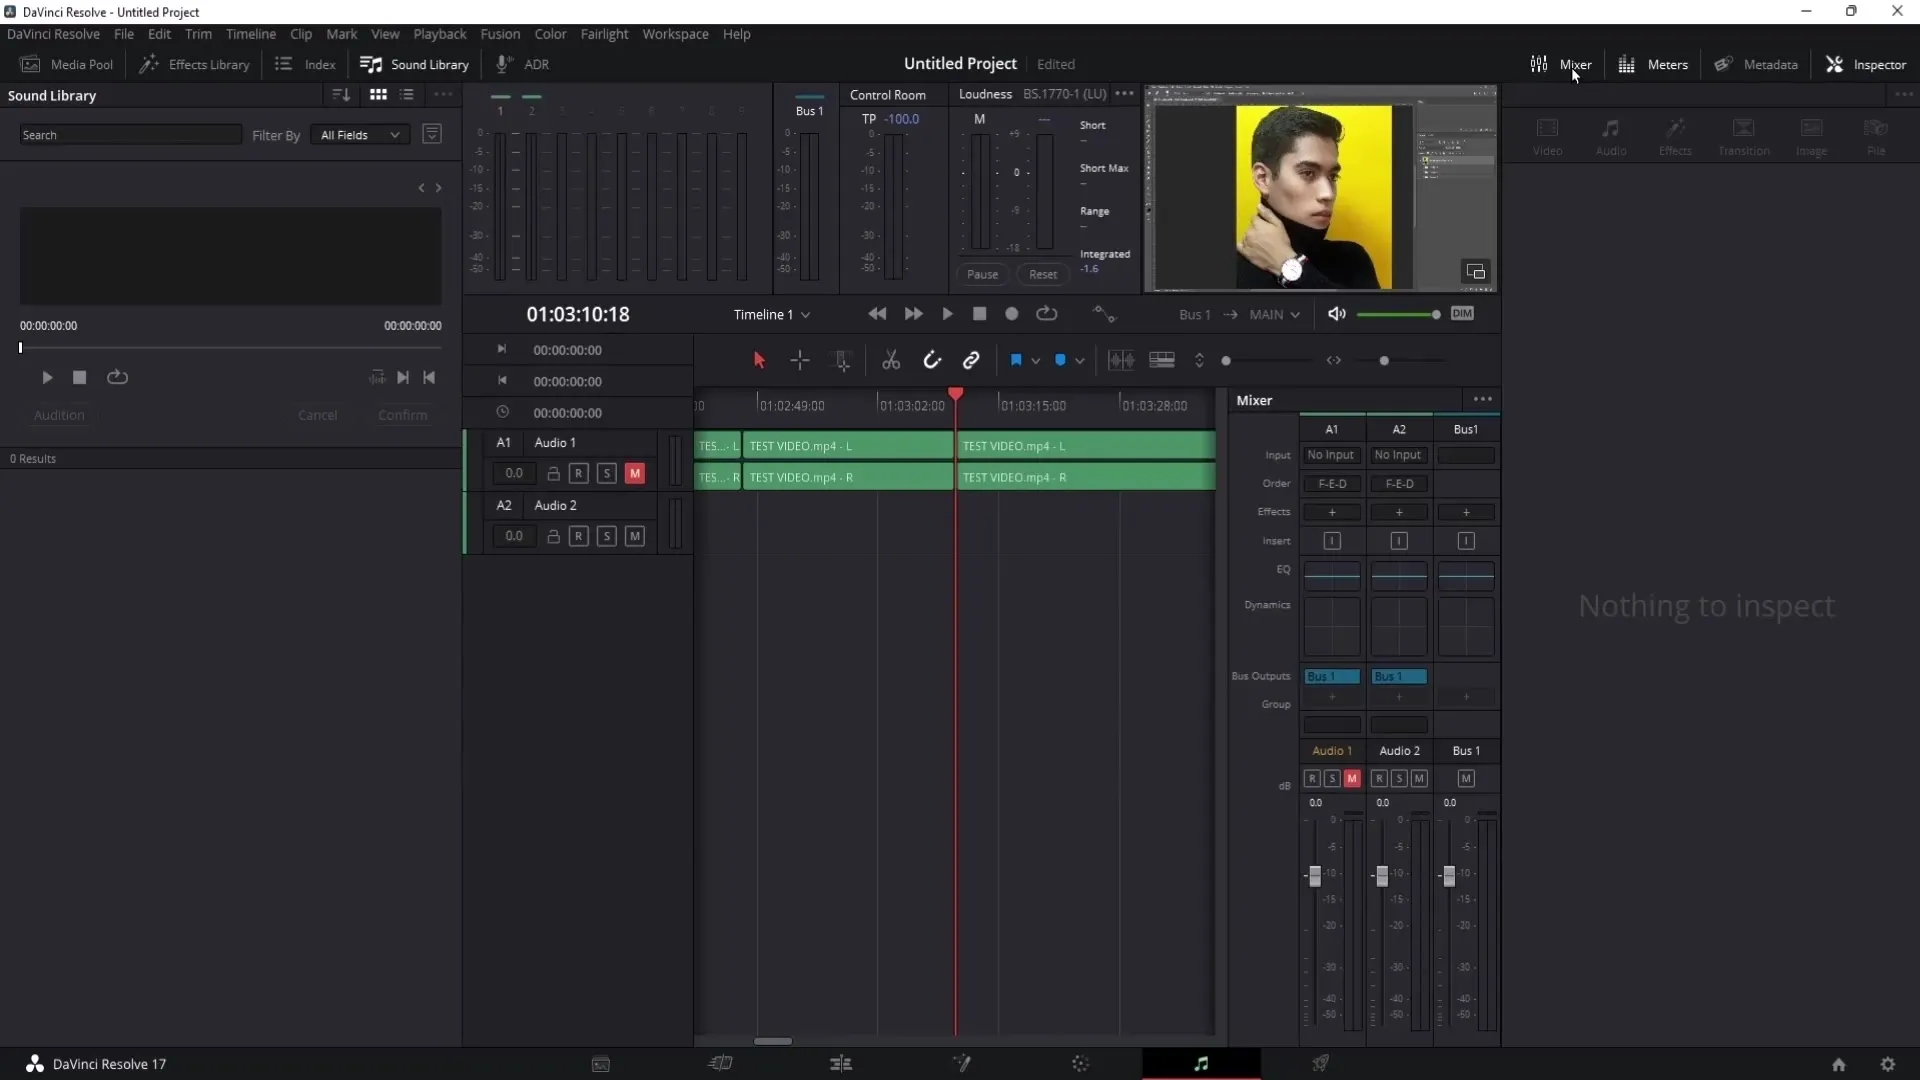
Once you are satisfied with the video editing, go to the Fairlight section. Here you can open the mixer and activate the compressor. This helps you balance out extreme volume fluctuations. Set the values to -7.0 as with the audio limiter to ensure an even volume. It is important that both loud and quiet sounds are clearly audible.
7. Improving Audio Quality with the De-Esser
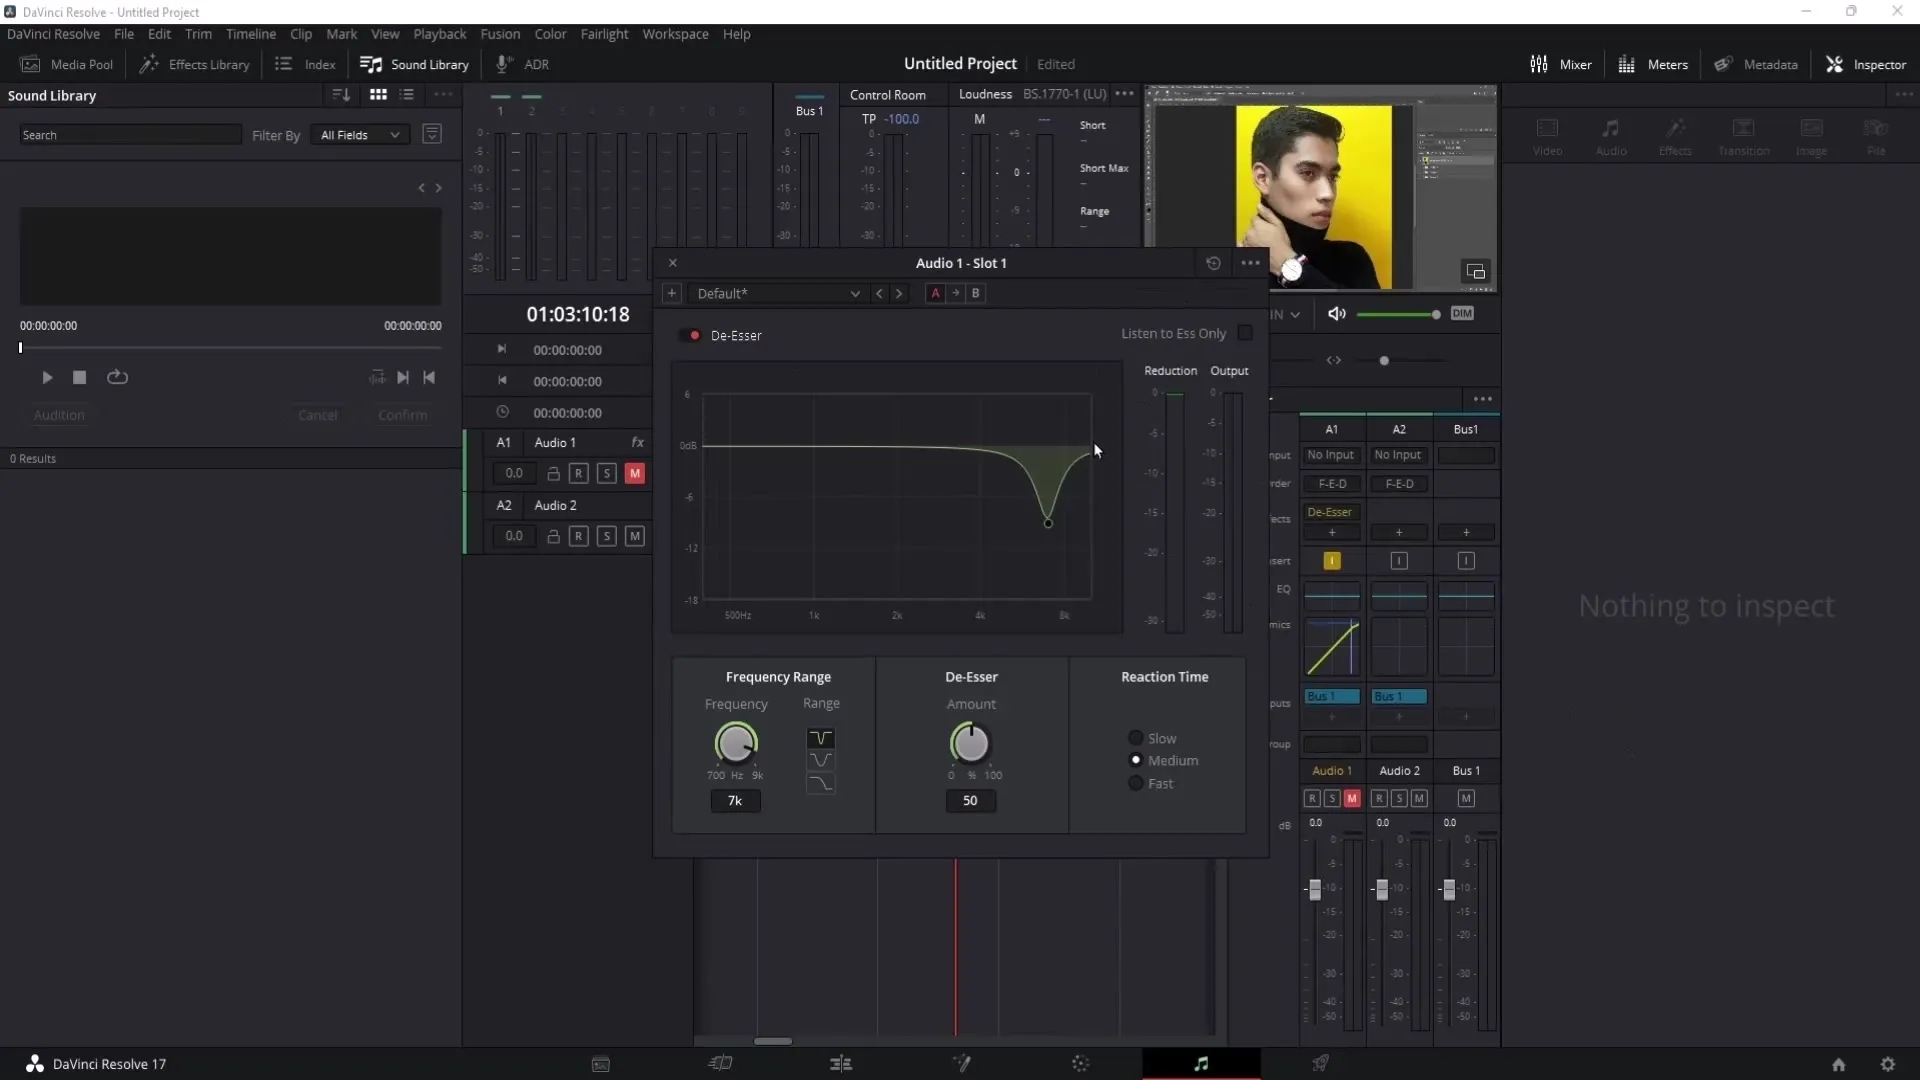
If you struggle with "S" sounds, a de-esser can help reduce these unwanted tones. Click on "Effects", select the De-Esser, and adjust the settings to match your voice. Be careful not to overdo it, as too low frequencies can affect the sound of your video. Listen to the changes regularly during editing.
8. Color Grading
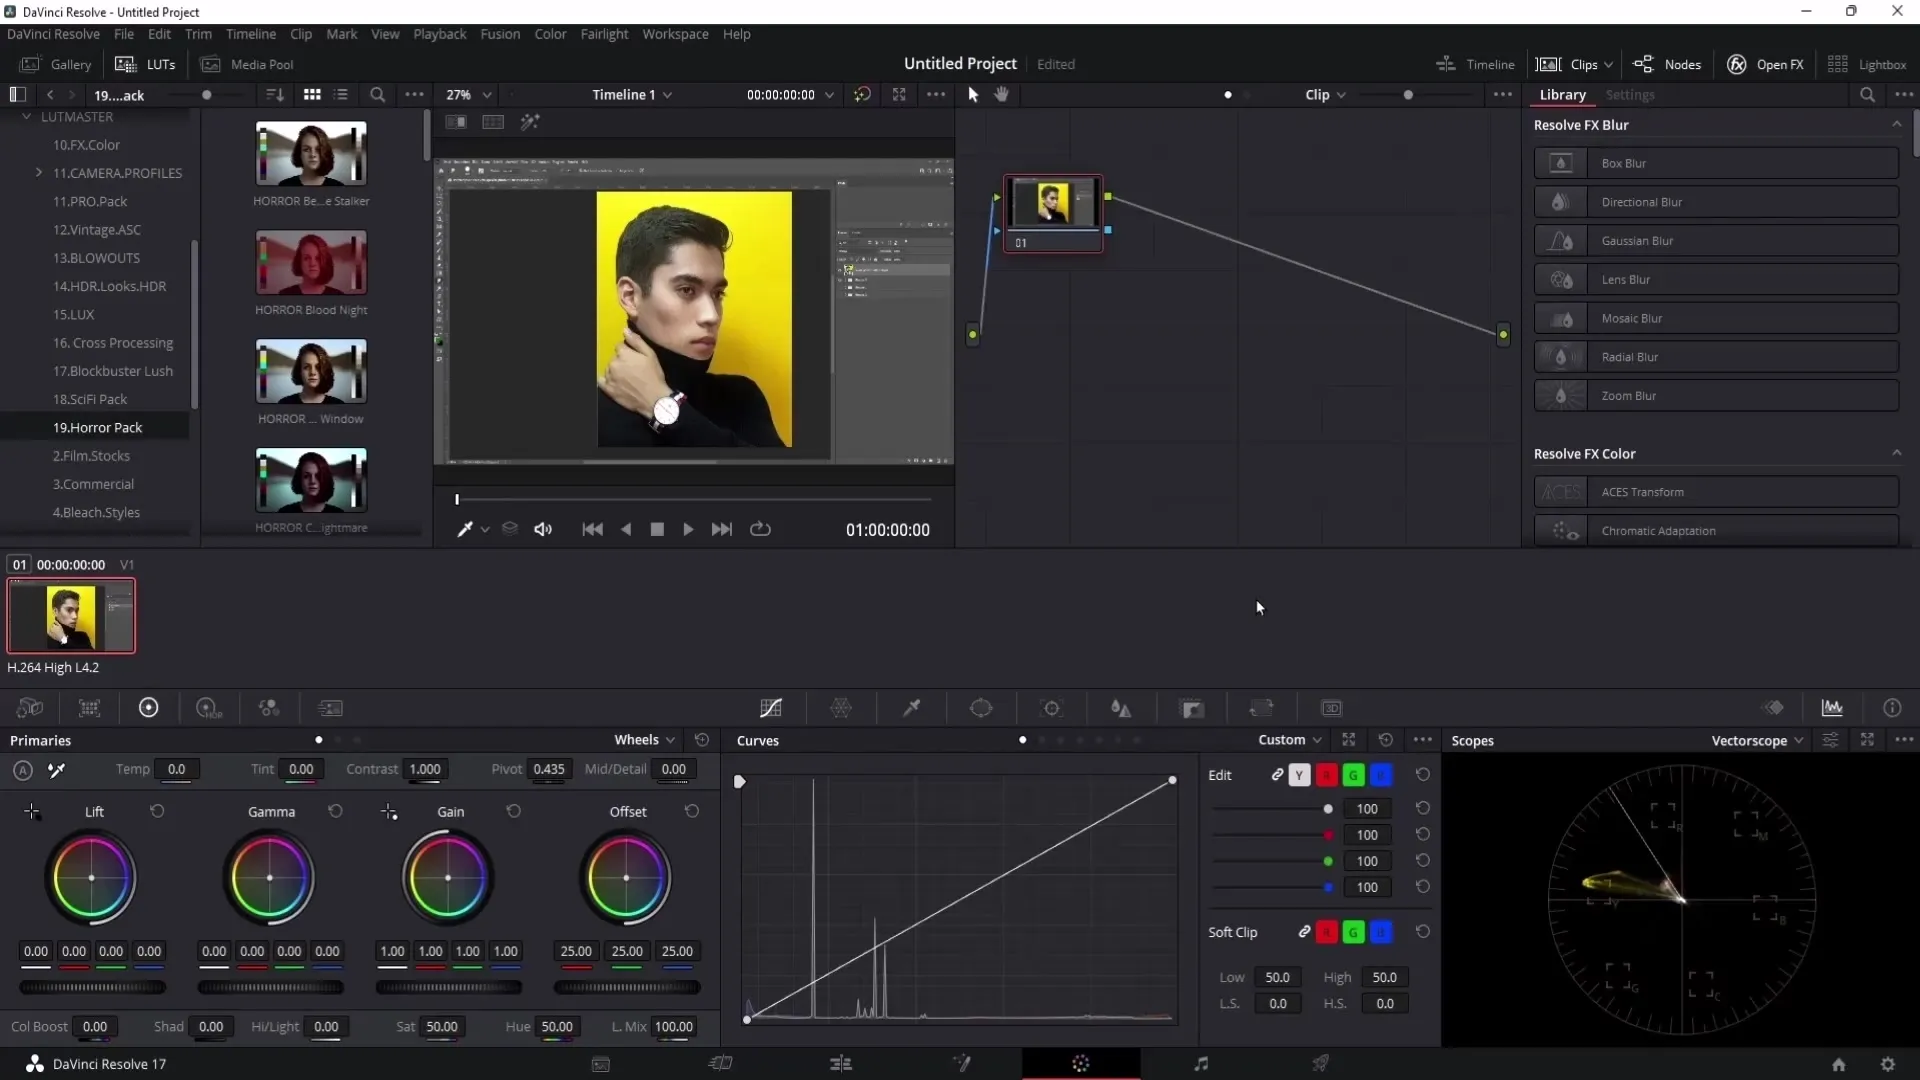
The next step is color grading. You can adjust the colors and look of your project. This is particularly important if you have variations in lighting in outdoor shots. Choose the color correction area to optimize the shades, saturations, and contrasts of your video. This could greatly enhance the visual impression of your videos.
9. Exporting the Video
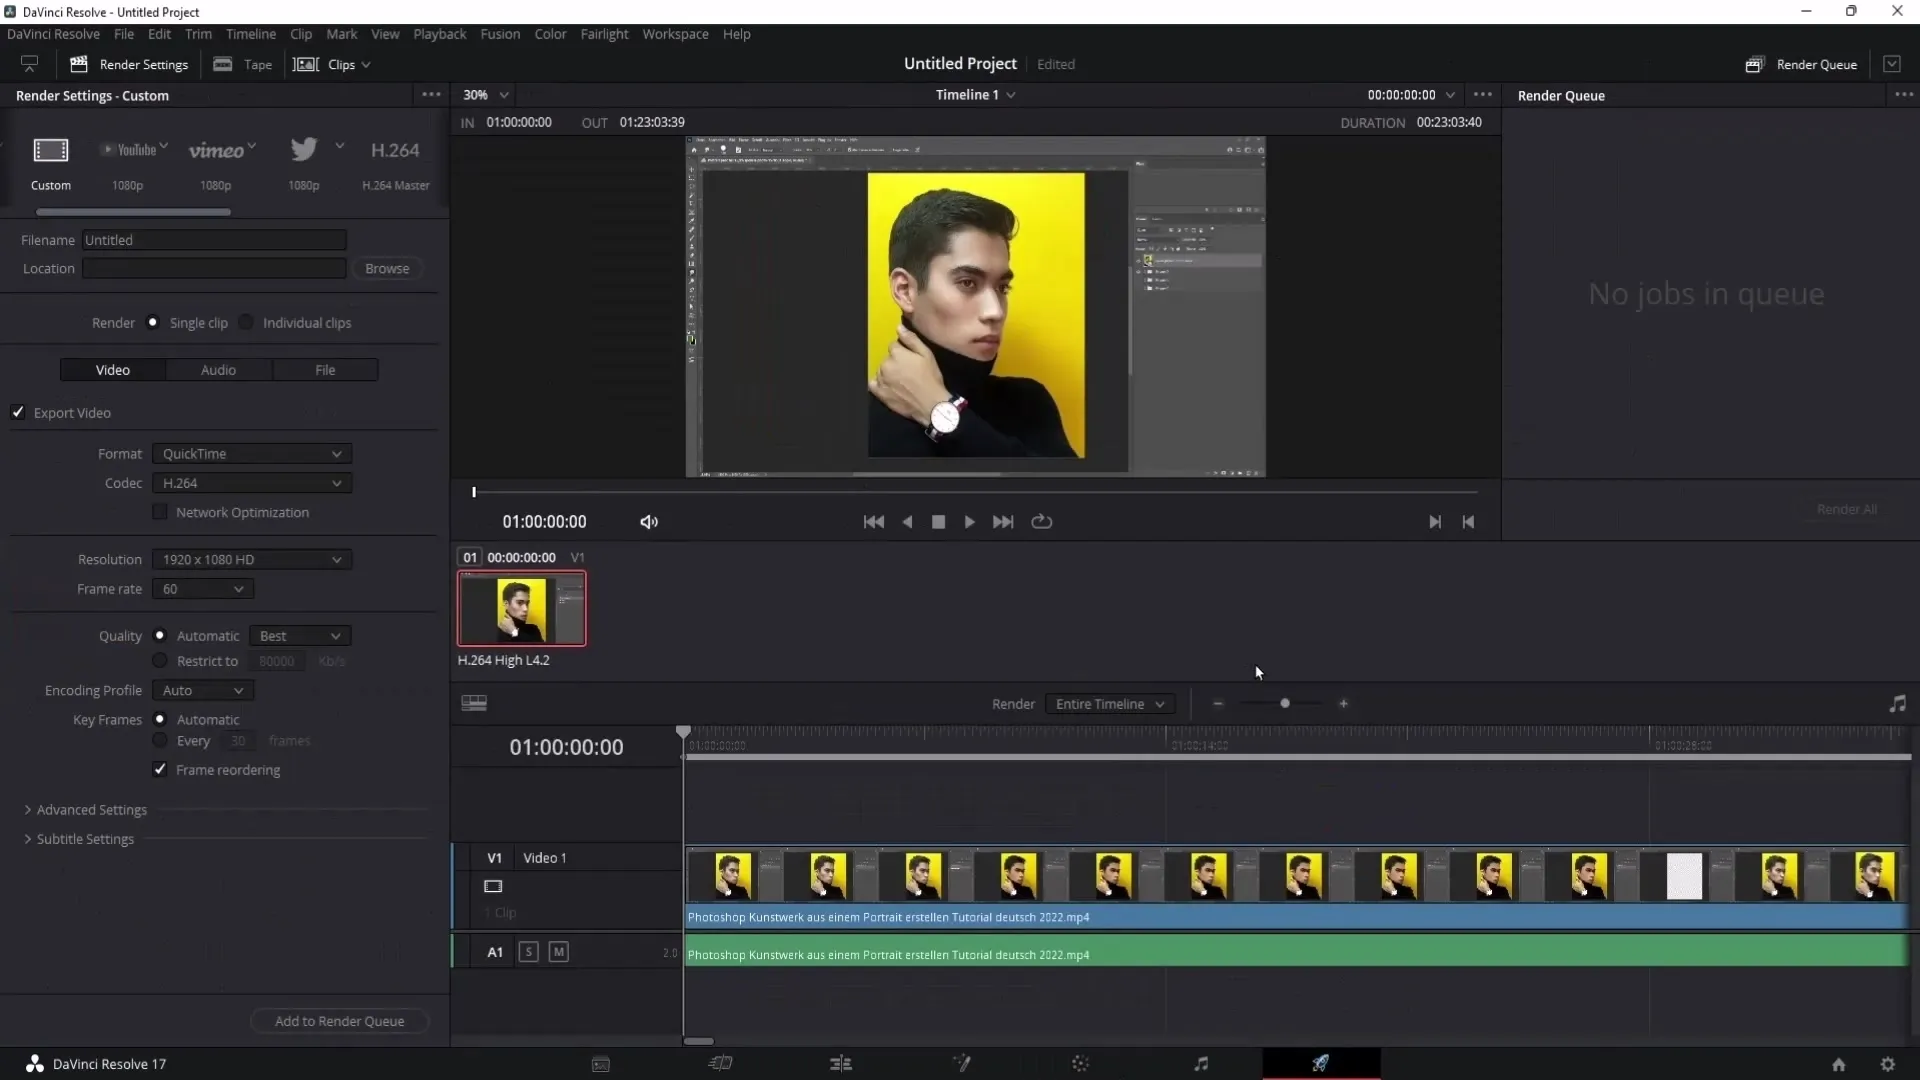
The final step is exporting your video. Click on the rocket icon in the lower menu to go to the Delivery area. Make sure both video and audio exports are enabled so that all parts of your project are exported. I recommend using the QuickTime (MOV) format before possibly converting it to MP4. This ensures higher quality during editing and minimizes the risk of audio errors.
Summary
Editing videos with DaVinci Resolve involves some basic steps, from importing the materials to using the right tools for cutting and optimizing audio and visual aspects. With the steps mentioned above, you are well-equipped to efficiently edit and export your videos.
Frequently Asked Questions
How do I import videos into DaVinci Resolve?Right-click in the Media Pool and select "Import Media".
What are Powerbins and how do they help me?Powerbins are a place to store regularly needed clips and sounds, which makes work more efficient.
How can I improve the audio quality of my videos?Use the Compressor and De-Esser in the Fairlight section to balance volume fluctuations and reduce "S" sounds.
How do I export my video from DaVinci Resolve?Go to the Delivery area, enable video and audio, and choose the QuickTime format for export.
What format should I use for export?I recommend using QuickTime (MOV) to ensure the best possible quality.


