You are at the beginning of your journey with React and want to understand how components are properly created and how data can be passed between them using Props? In this tutorial, we discuss creating a counter component within a React application and learn how to customize this component using Props. It is an exciting challenge that will strengthen your skills in working with React.
Key takeaways
- Props allow the transfer of data to child components in React.
- Components can be designed in an isolated and reusable manner.
- Initialization of state can be done via Props.
- Dynamic Props can be used to control the behavior and state of components.
Step-by-Step Guide
Step 1: Creating the Counter Component
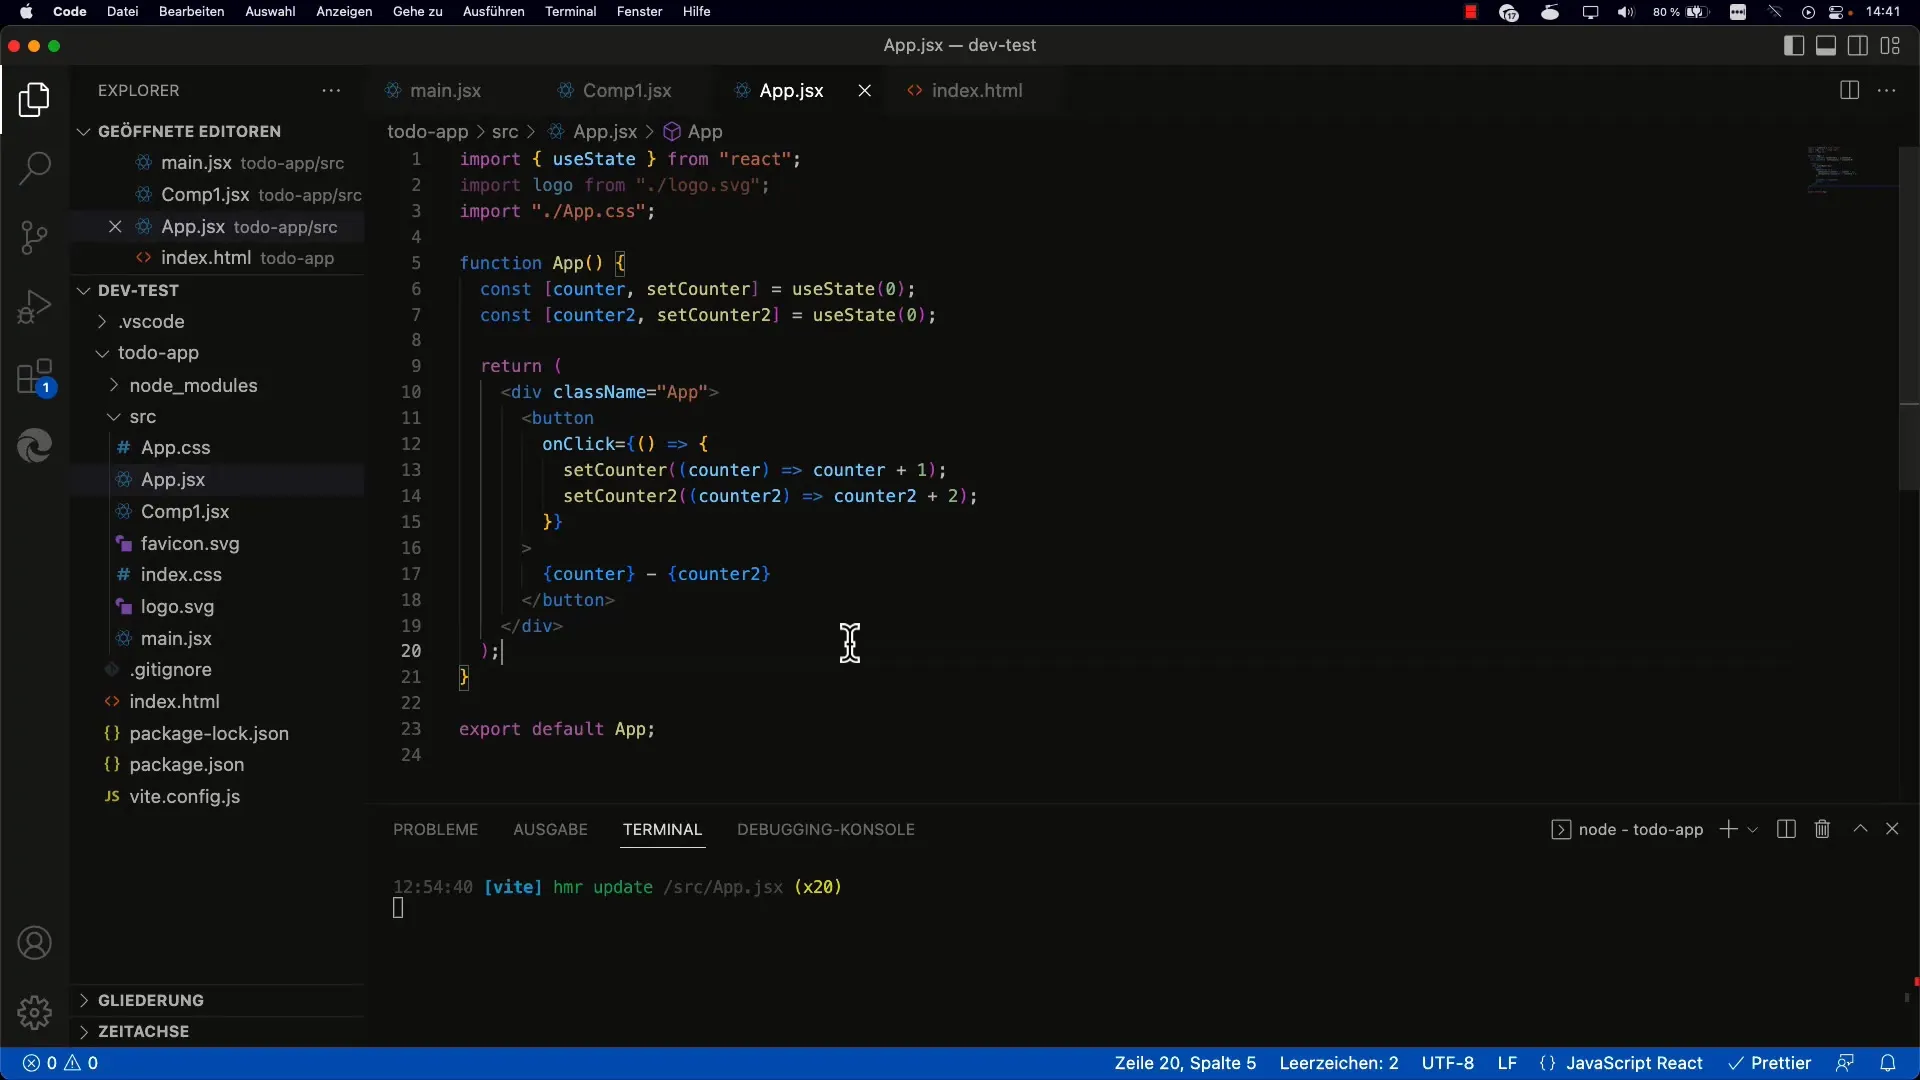
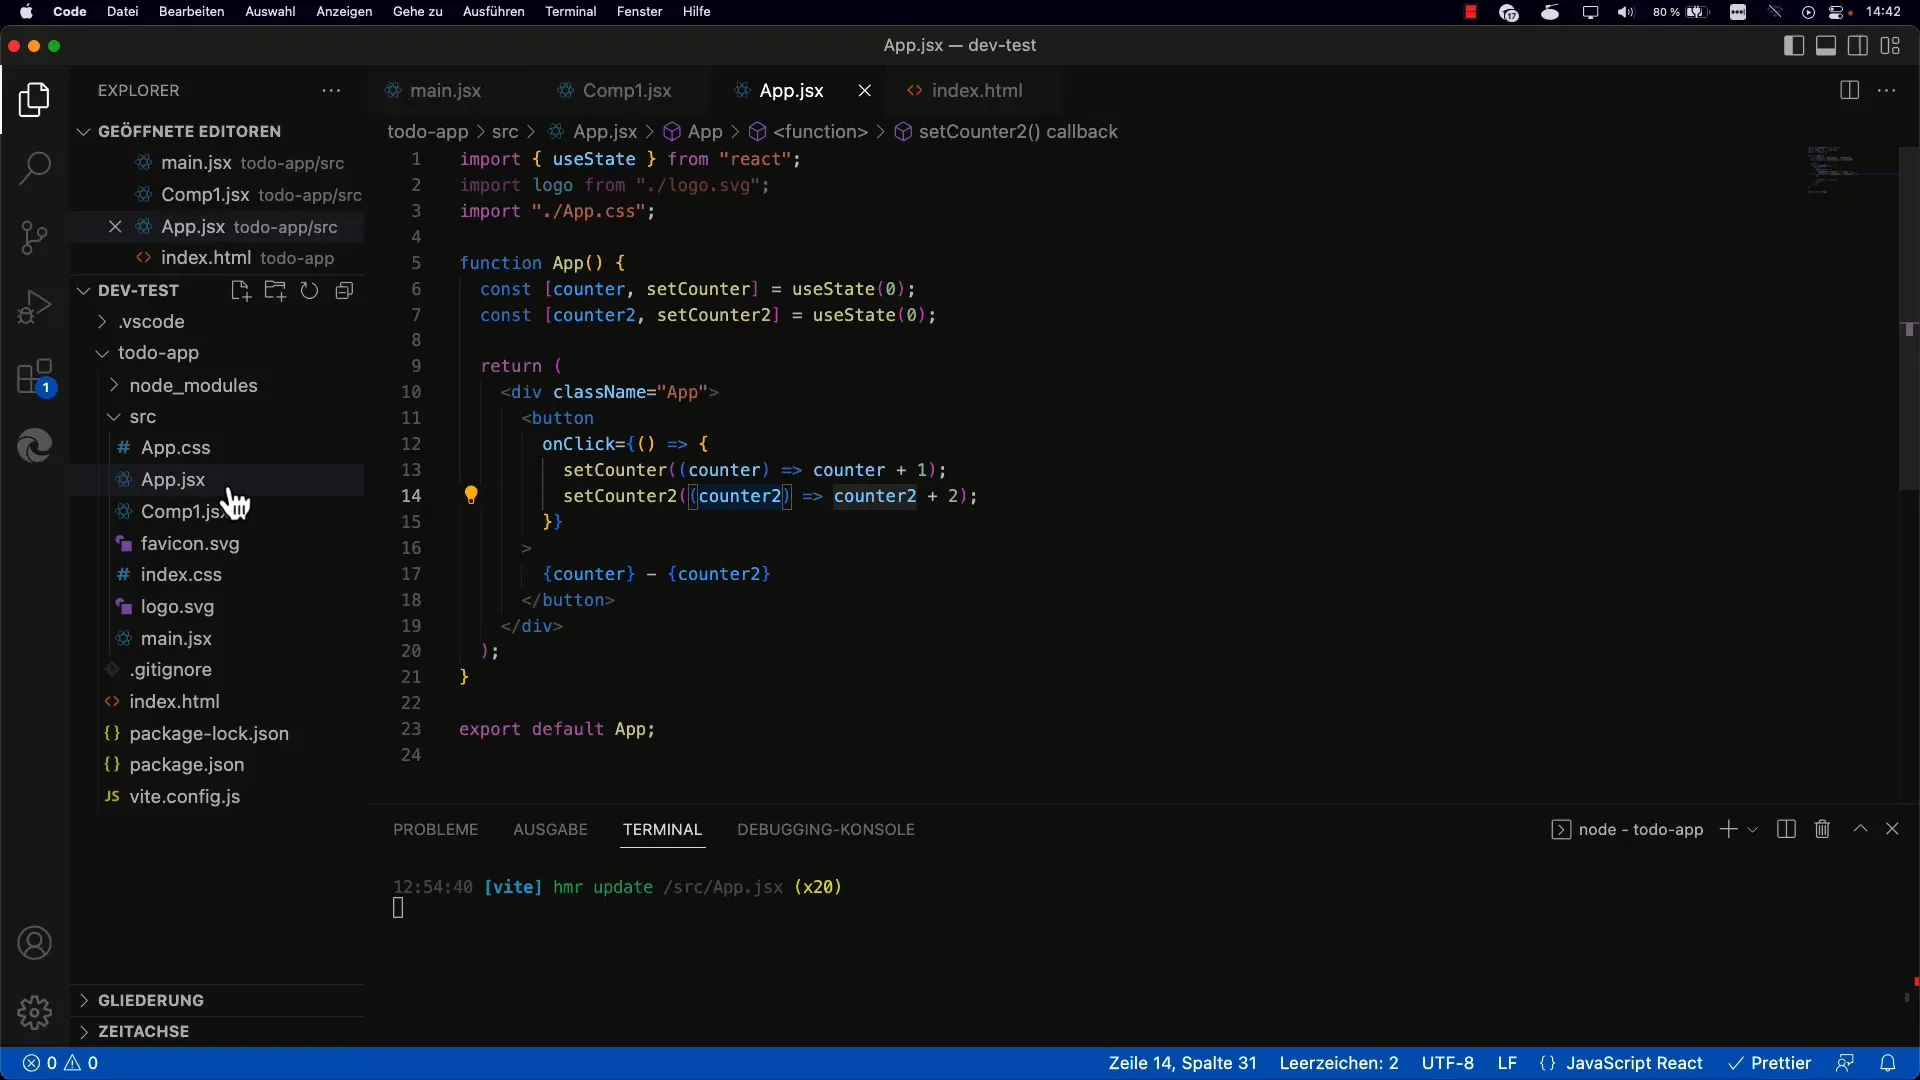
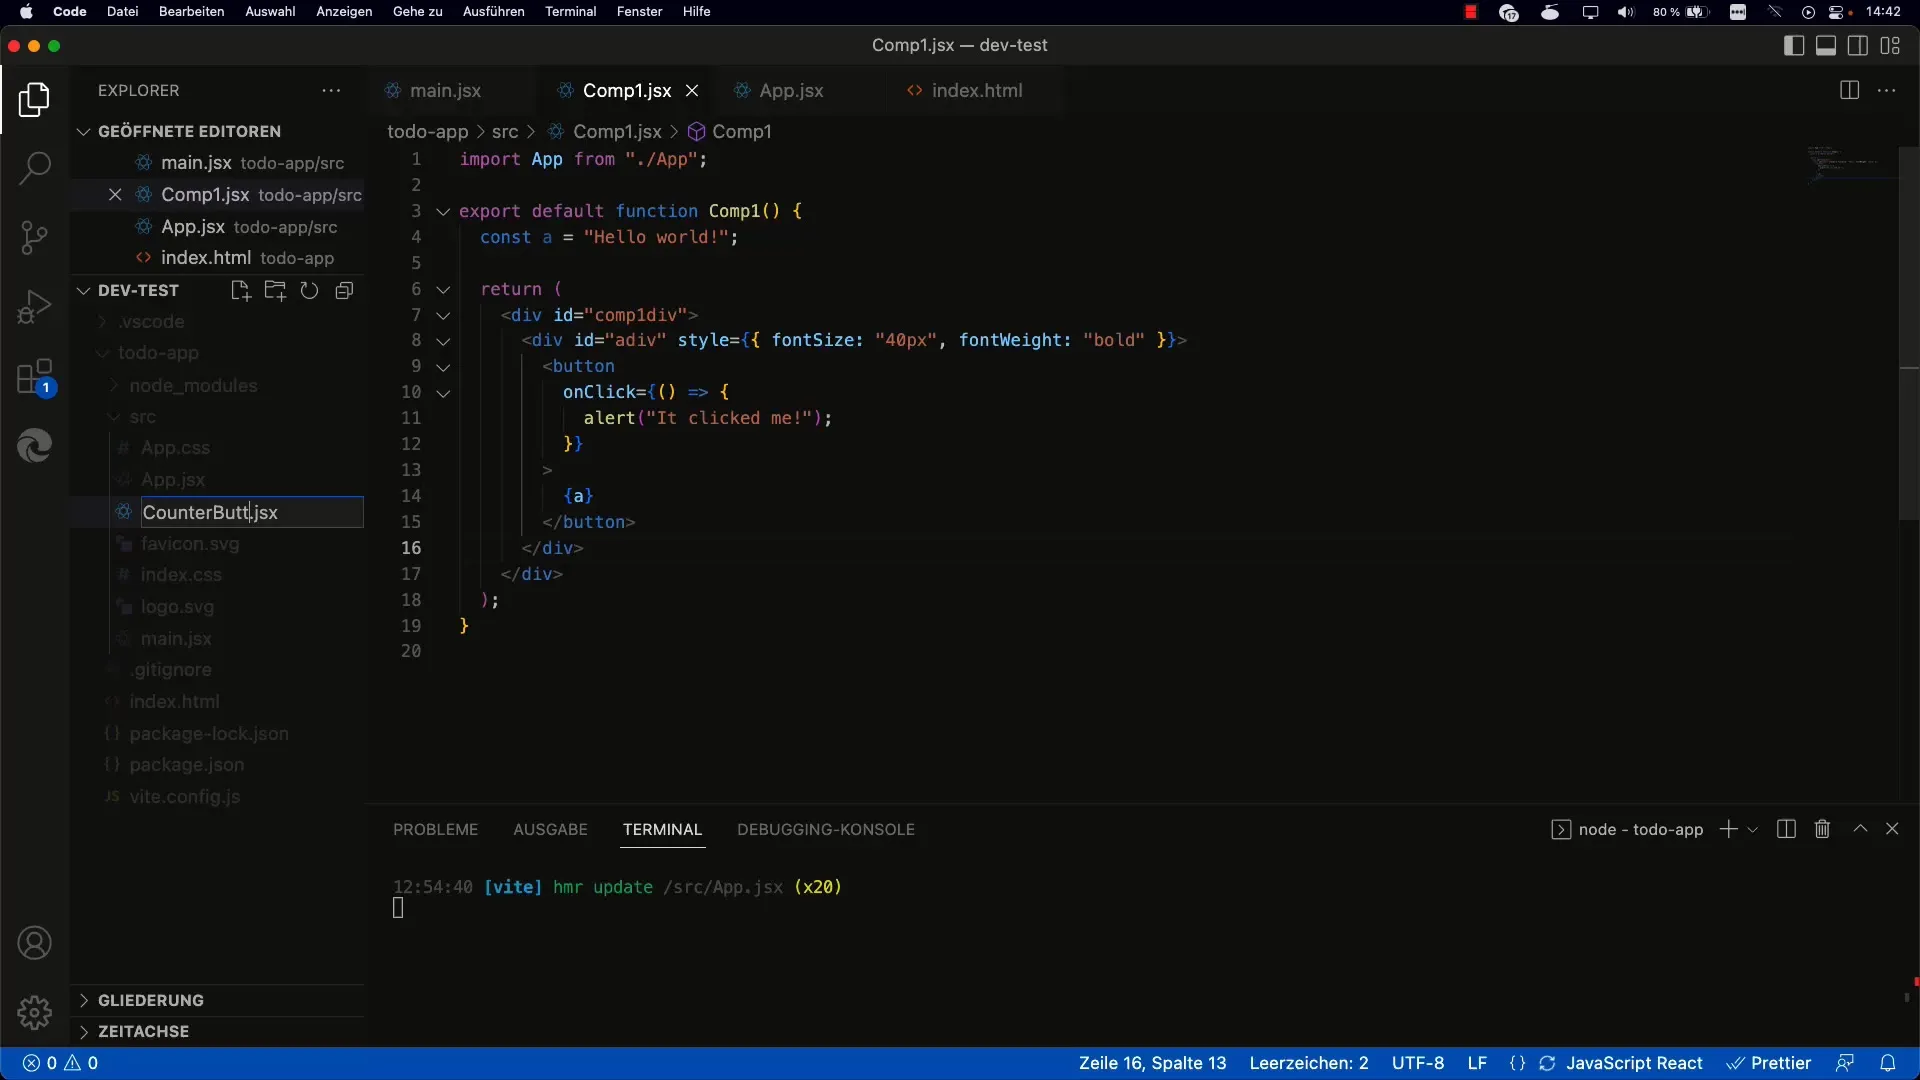
First, you start by isolating the existing counter implementation in your project. You want to turn your counting button into its own component. Create a new file named CountButton.jsx and begin copying the main code of your counter logic into it.

Make sure to export the main function of CountButton. In the App component, you now import CountButton.
With this step, you get a separate component that takes care of counting functions, making your code structure clearer.
Step 2: Implementing the Counter State
Within the CountButton component, you now need to create the state that stores the current count. You will use the useState Hook for this purpose.
Make sure you import useState and initialize the state with null or a specific value. Your button will now follow this logic and update the state when clicked.
Step 3: Troubleshooting
You may encounter an error when first testing your button, such as "state is not defined." This means you forgot to import the necessary state. Check your imports and restart.
After fixing, your button should count up correctly and display the counter state.
Step 4: Customizing the Component with Props
You want each counting button to work with different initial values and increments. To achieve this, you pass a Prop named initialValue and perhaps another increment when creating the CountButton component.
These Props can then be set as attributes when using the counting button, allowing you to create one instance with an initial value of 0 and a second one with 1000.
Step 5: Handling Multiple Props
In the CountButton component, you now need to use the passed Props to determine the initial value and increment. Set the useState initialization with the value of props.initialValue.

Ensure you implement increment in the button correctly, so the counter increases by the value assigned to it through the Prop.
Step 6: Test the Changes
After these adjustments, test your buttons to see if they all count independently. Each button should have its own state based on the passed Props.

To ensure everything works, reload the page multiple times and check if the counters return to their initial values.
Step 7: Dynamic Props (in future tutorials)
Keep in mind that Props assigned when creating the component are static. In a later session, you will learn how to dynamically change Props to create a more interactive user experience.
By doing this, you have not only learned how to use Props in a React application but also how to create a customizable counter component.
Summary
In this tutorial, you have learned how to create a standalone counter component and initialize it with props. You have learned how to use state and props together to adjust and enhance the functionality of React components. This knowledge is fundamental to understanding React components and their interaction.
Frequently Asked Questions
How does the useState Hook work in React?The useState Hook allows you to create and manage state within a functional component.
What are Props in React?Props are properties that you pass to child components to control the display or behavior of the component.
Can I change props after they have been set?Props are immutable in React, but they can be dynamically managed by creating a new component or other mechanisms.
How can I create multiple buttons with different prop values?You can create multiple CountButton instances and pass different prop values to each button to use different initial values and increments.


