Play with the controls of your videos and experience how you can effectively change the playback position. In this tutorial, you will learn how to control the position of a video using the currentTime parameter in React. The focus is on implementing a range slider that allows you to navigate between different points in a video through a simple user interface. Let's get started right away!
Key Takeaways
- The currentTime parameter of a video element controls the playback position.
- A range slider can be used to create a visual and interactive control of the video position.
- To have precise control over the position, you should use the percentage between the current playback state and the video duration.
- Events like onTimeUpdate are crucial to dynamically update the user interface.
Step-by-Step Guide
Step 1: Setting Up the Range Slider
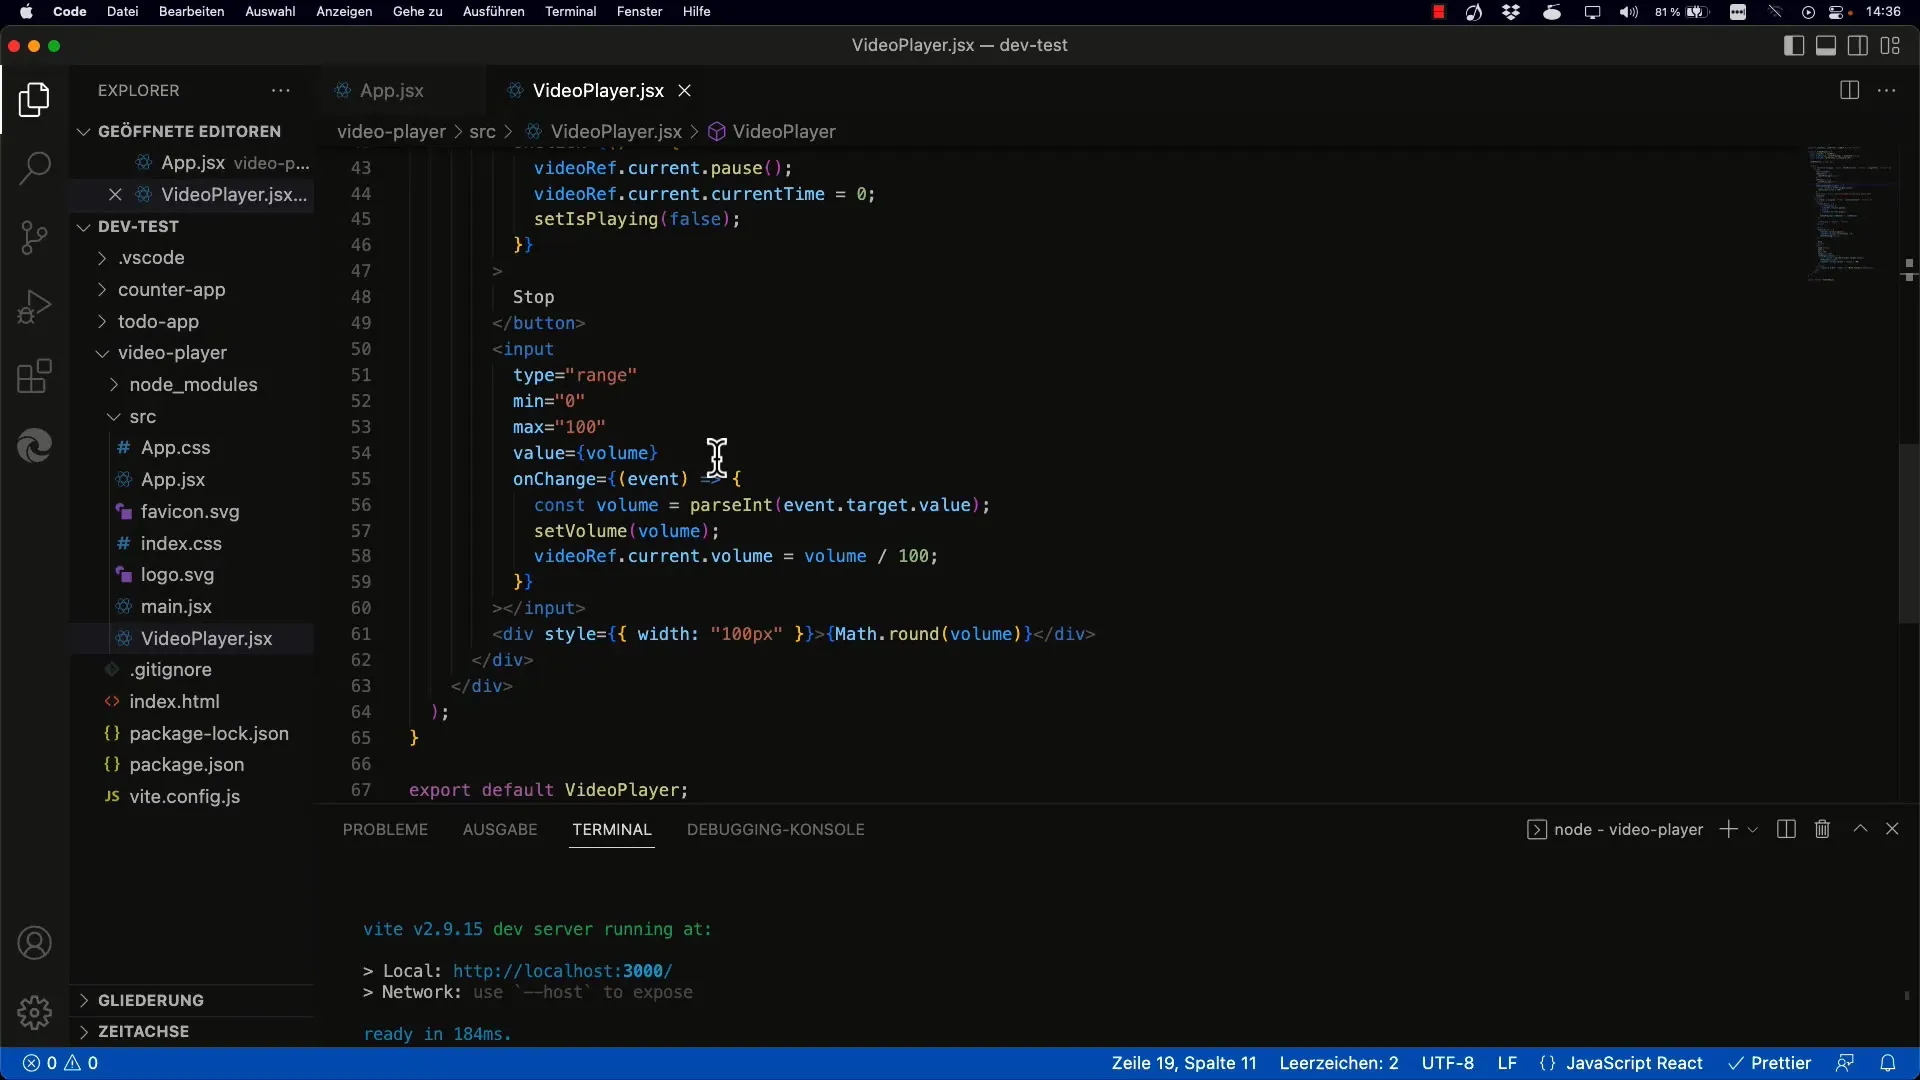
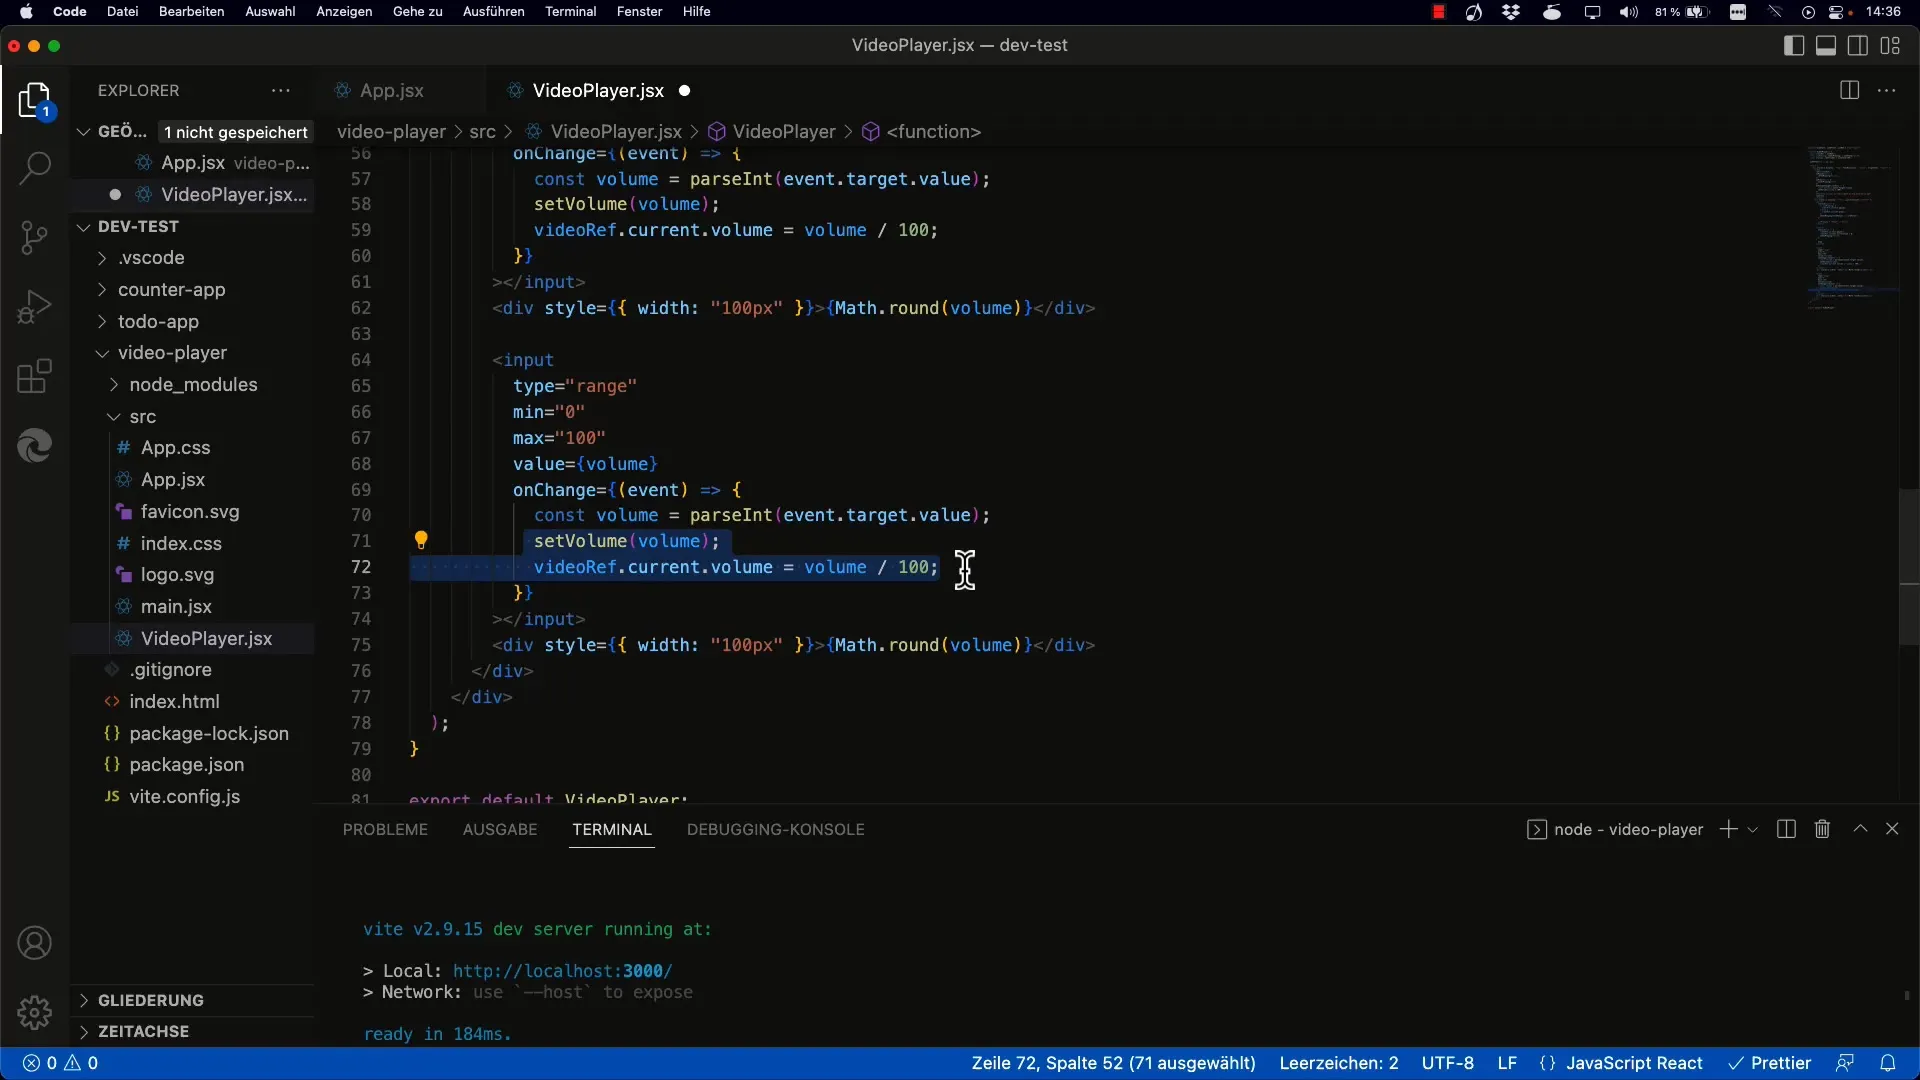
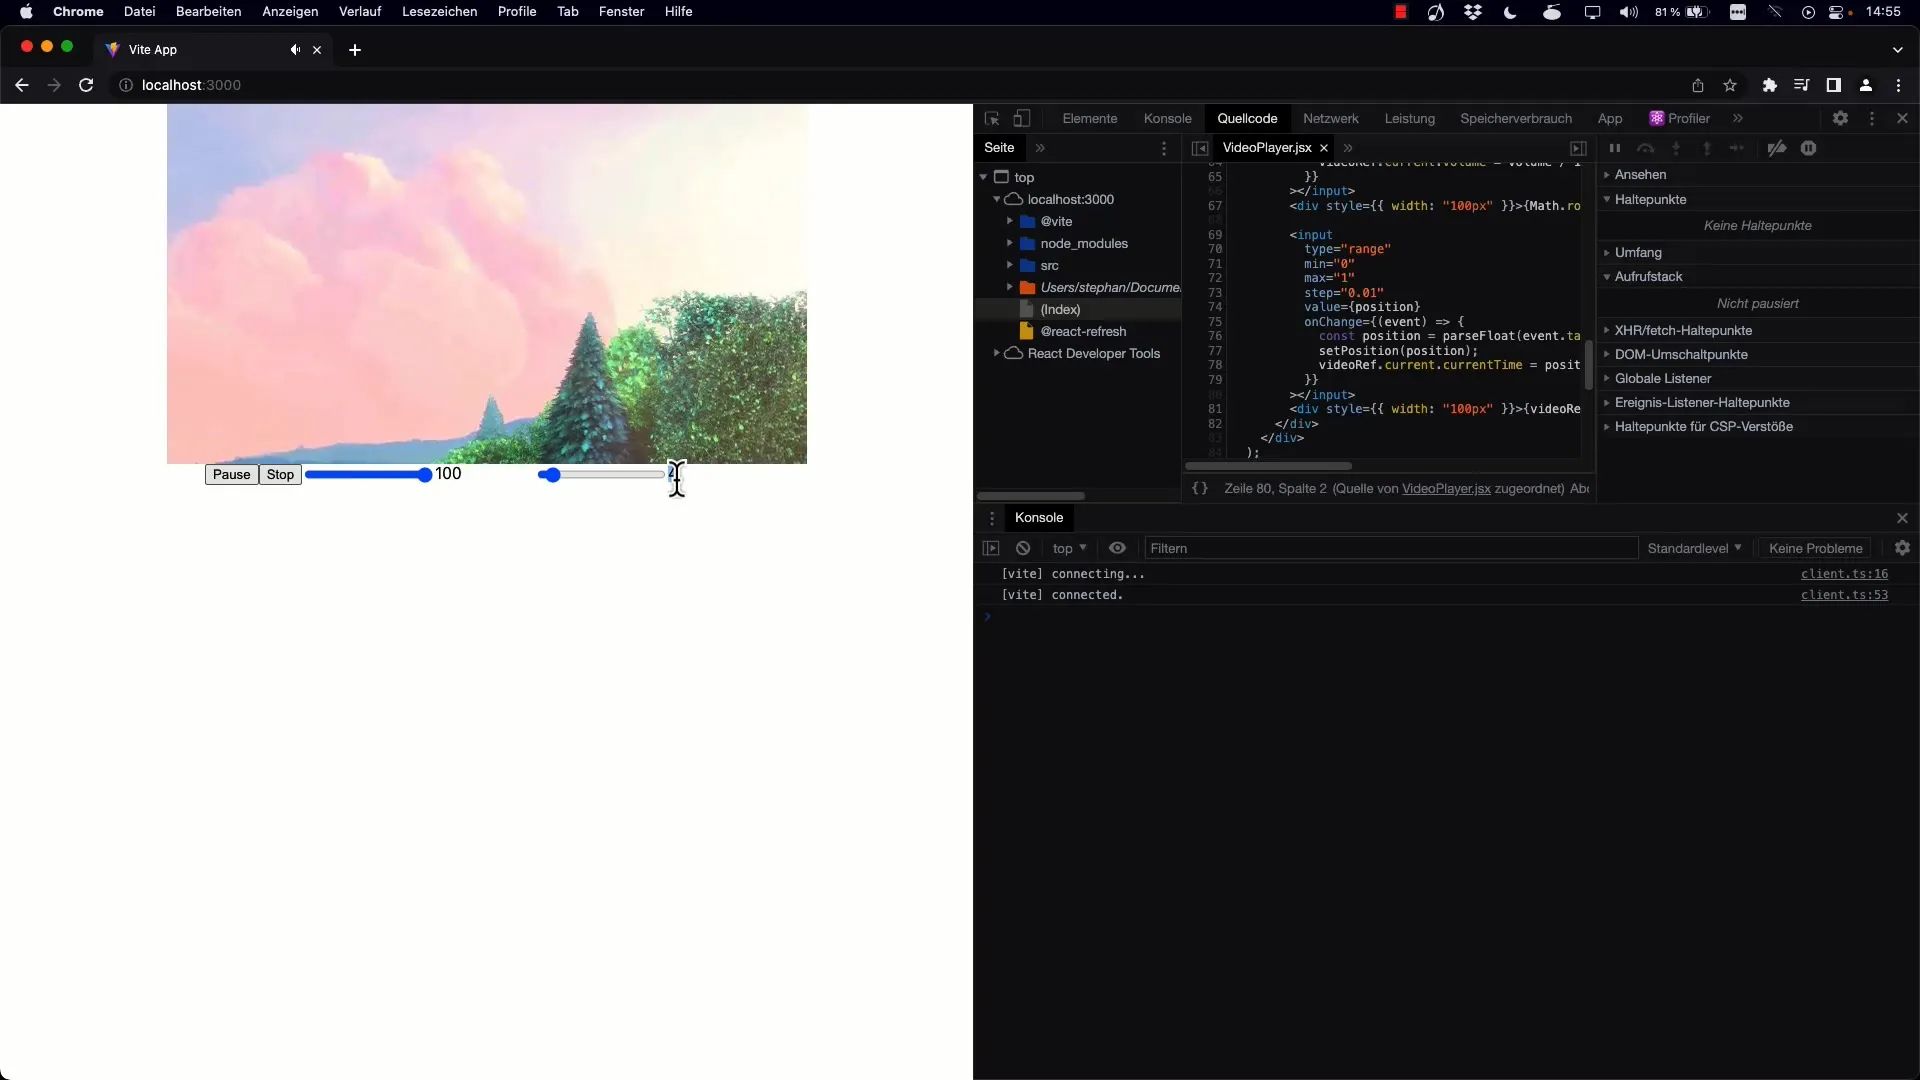
Start by implementing a range slider. This slider will allow you to control the position of the video. Copy the basic structure of your slider and adjust the min and max attributes to display the values according to the video length.
Step 2: Define currentTime
The currentTime attribute stores the current playback position of the video in seconds. This is key to controlling where you are in the video. Set the initialization so that the playback position is set to the beginning of the video.
Step 3: Create a State for the Position
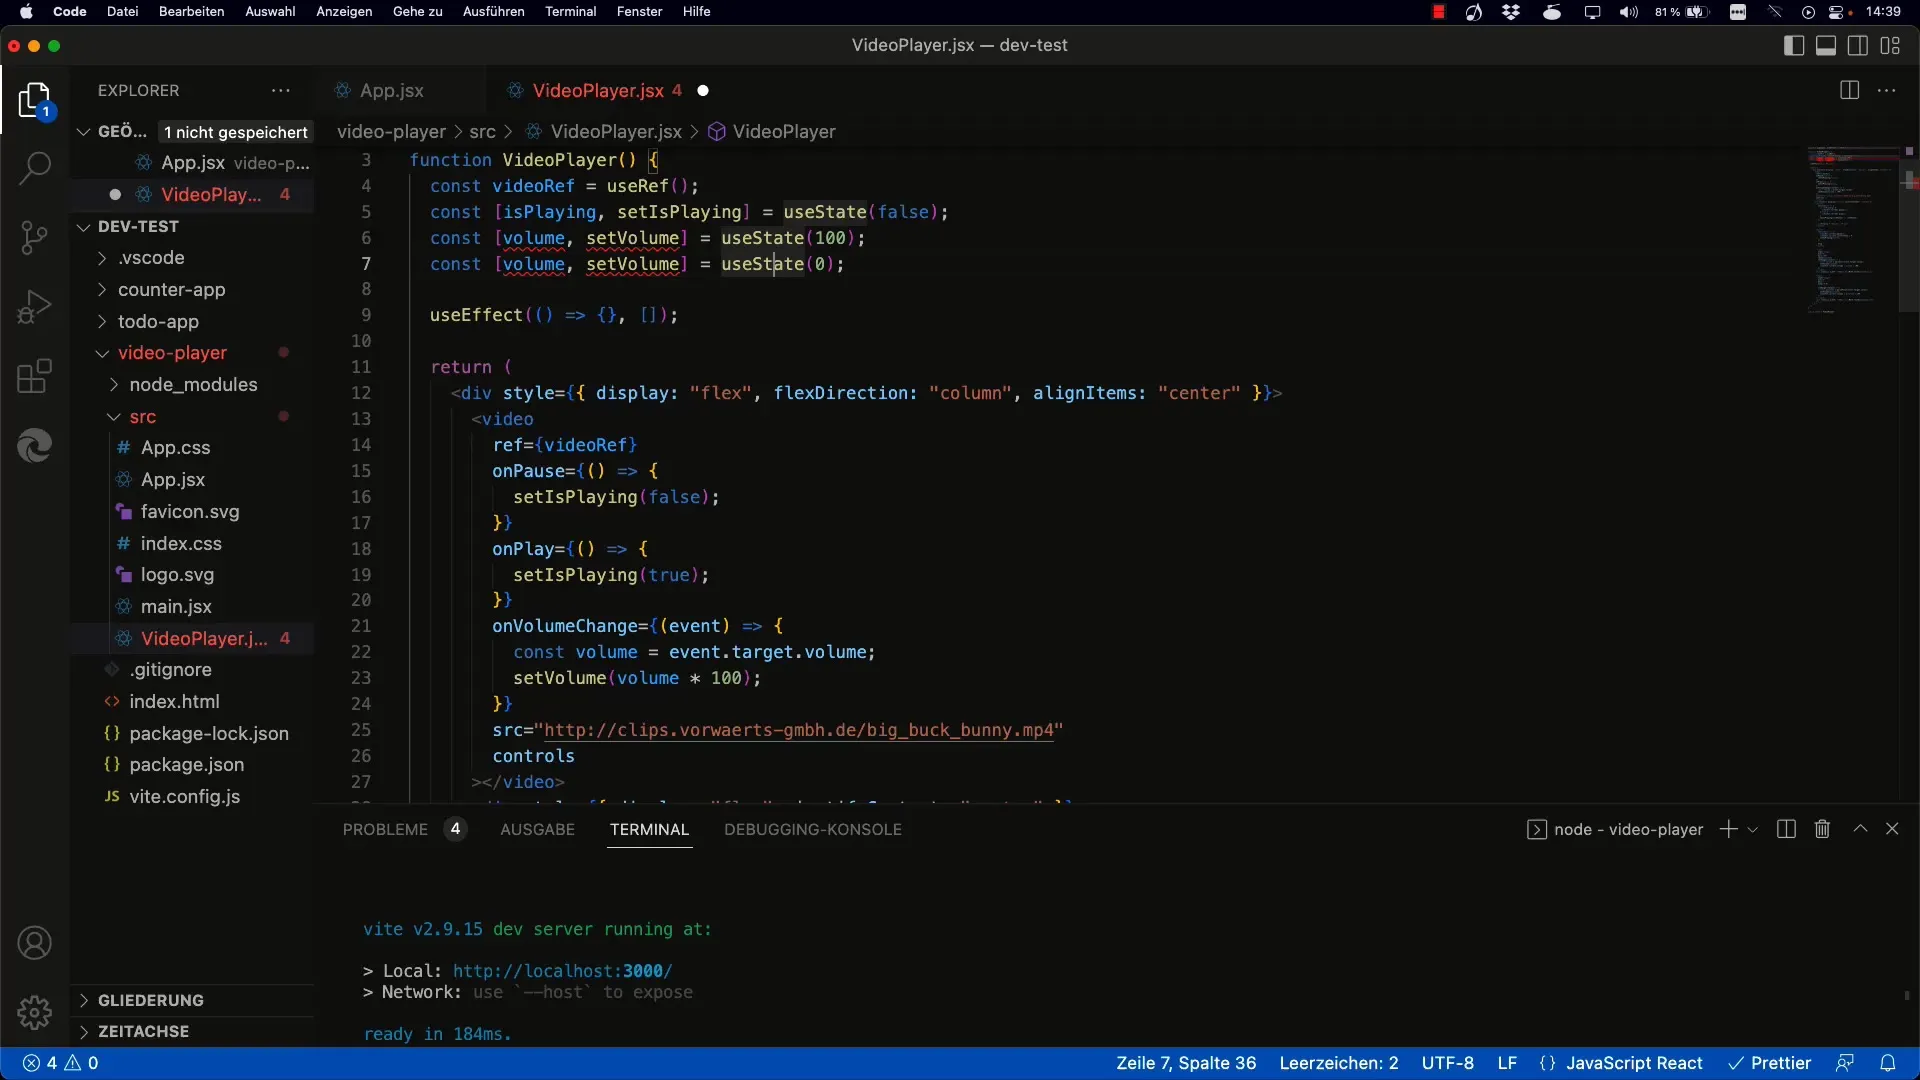
You need to create a new state for the position of the video. In our case, you can simply name it position, with an initial value of 0. This represents the beginning of the video, so 0% playback.
Step 4: Update the Slider Position
With the new state, it is important to actually update the slider value, depending on the position in the video. Set the value of the slider so that it remains in sync with the current position.
Step 5: Implement the Duration
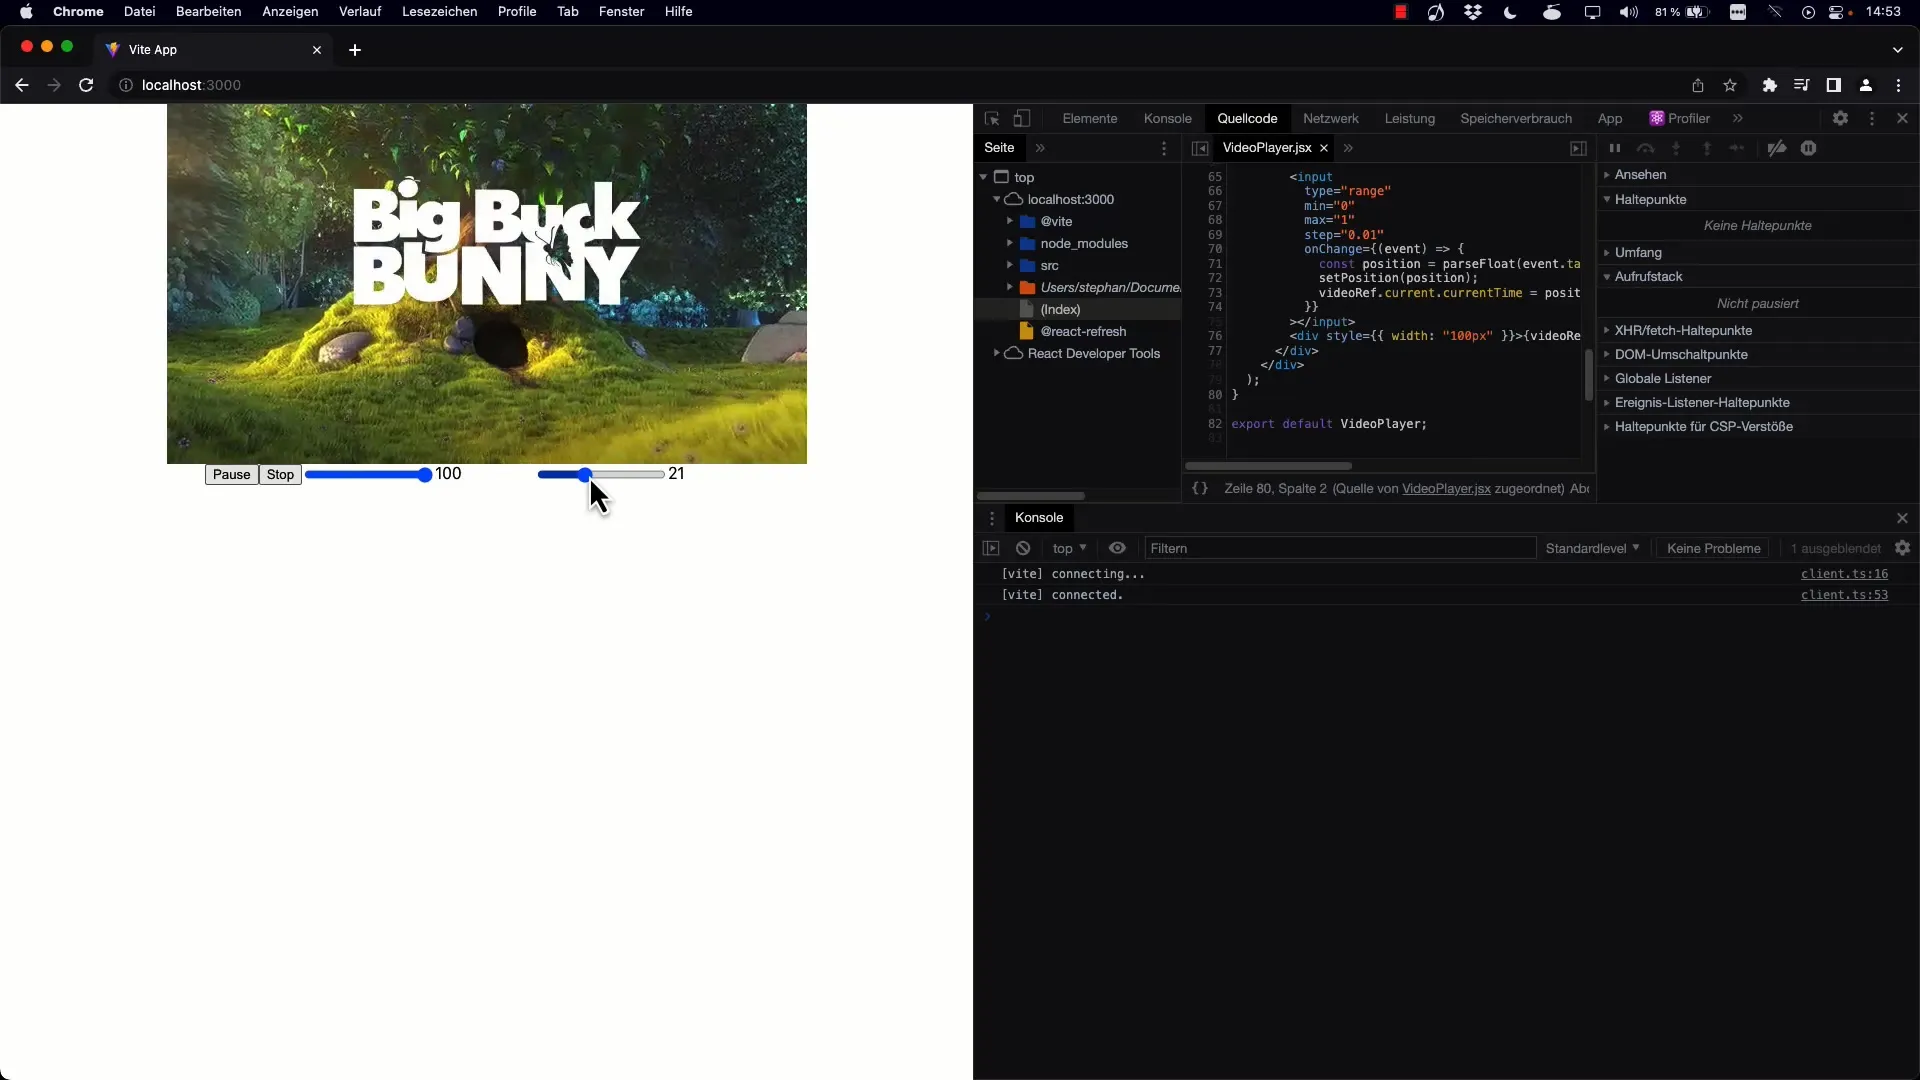
To know how much percentage of the video has been played, you need to capture the total duration of the video. You can achieve this using the duration attribute of the video element. Multiply the currently set position by the total duration of the video.
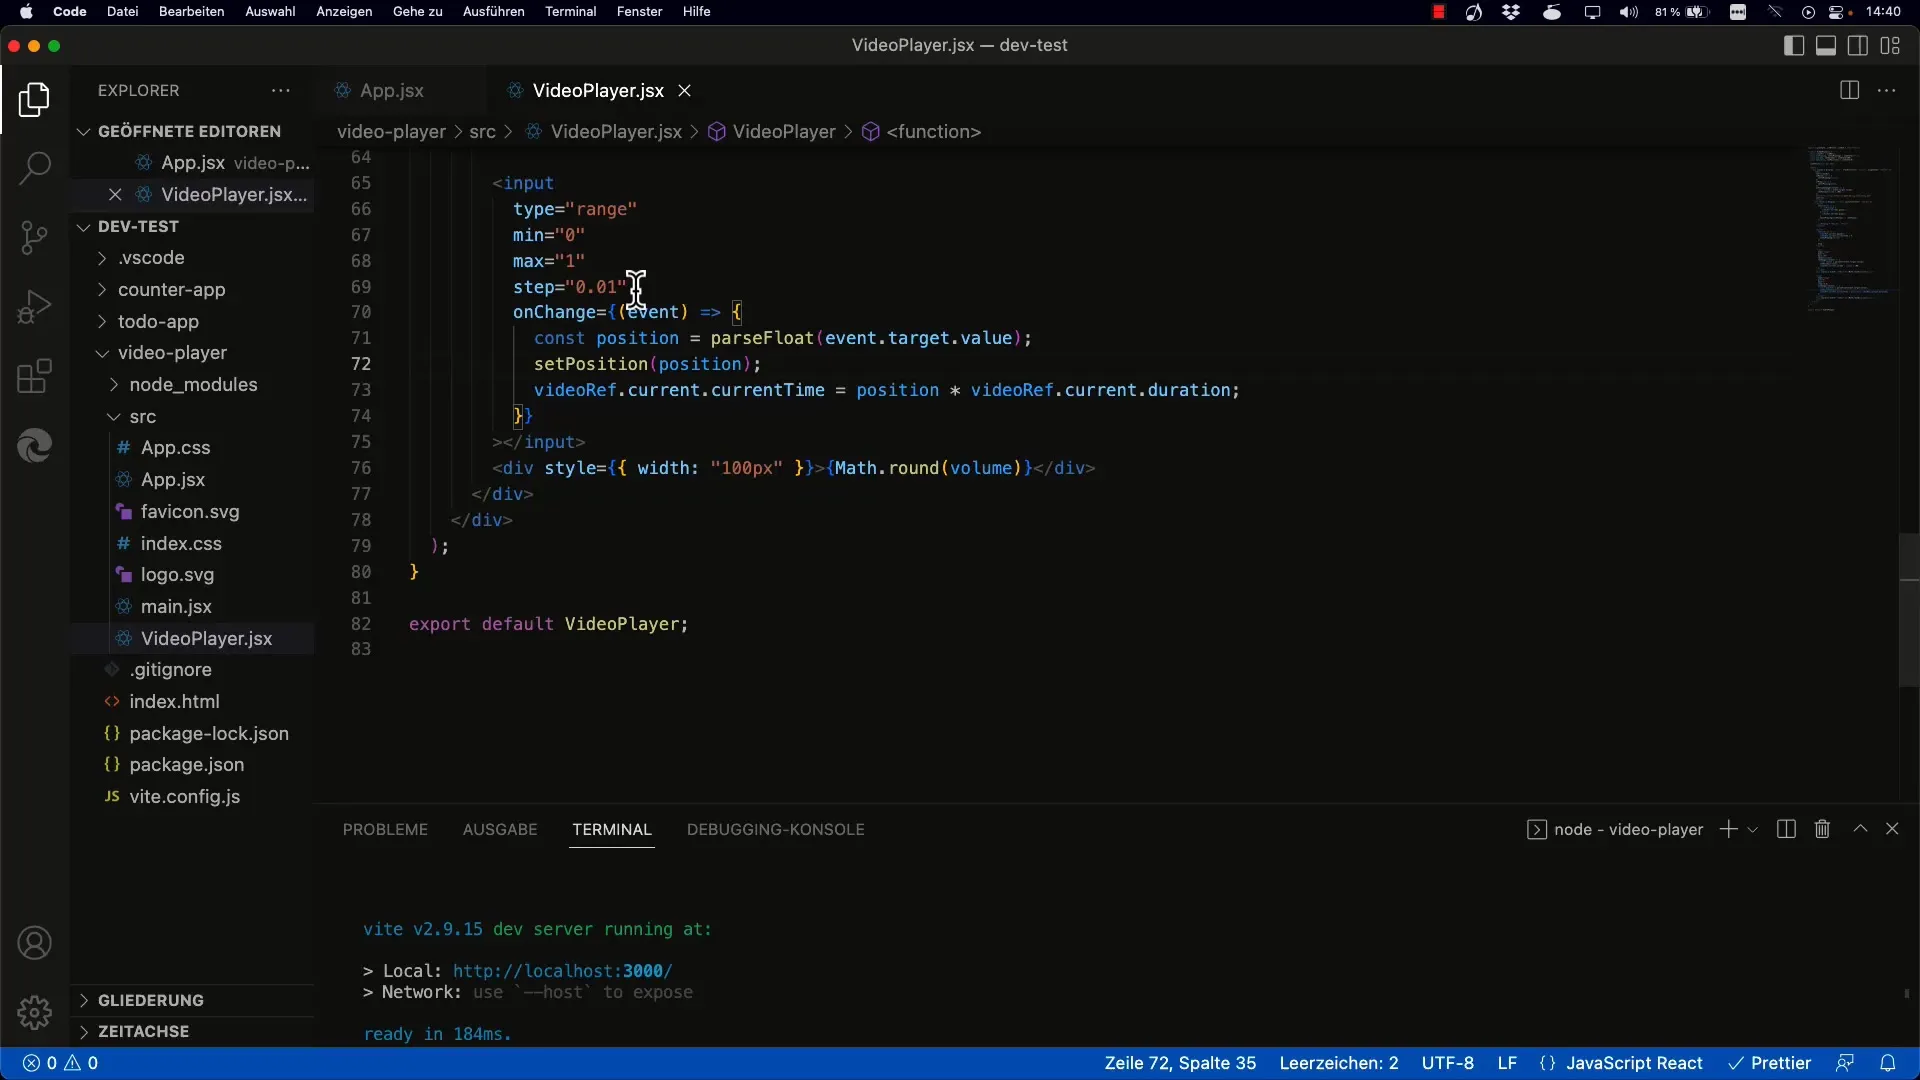
Step 6: Add Event Listener for Time Update
To ensure that the slider position is also updated when the video is playing, you need to attach an event listener for onTimeUpdate to the video element. This listener will query the current time in each time interval and update the slider accordingly.
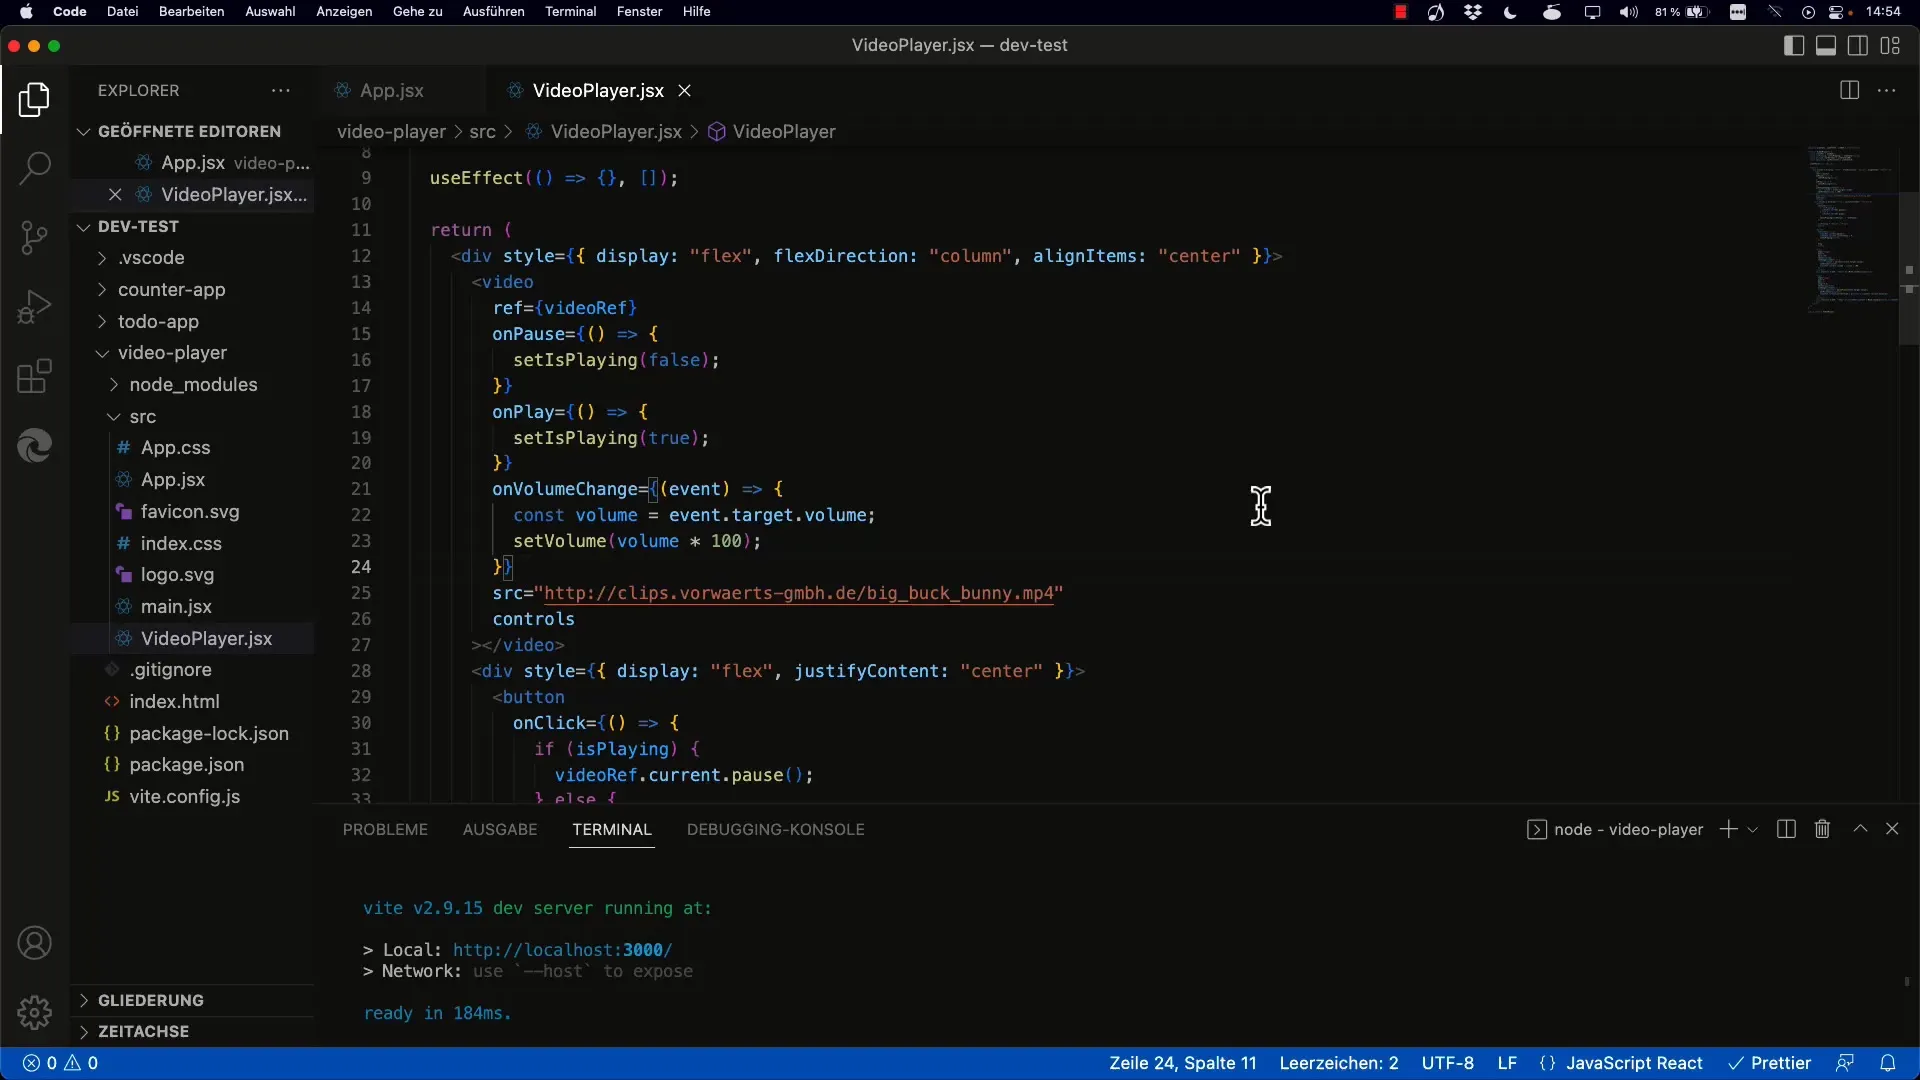
Step 7: Error Handling for Undefined Values
It is important to ensure that the currentTime value is defined and the video's duration is available before proceeding with the calculation. Add logic to handle the possible initial states of the video.
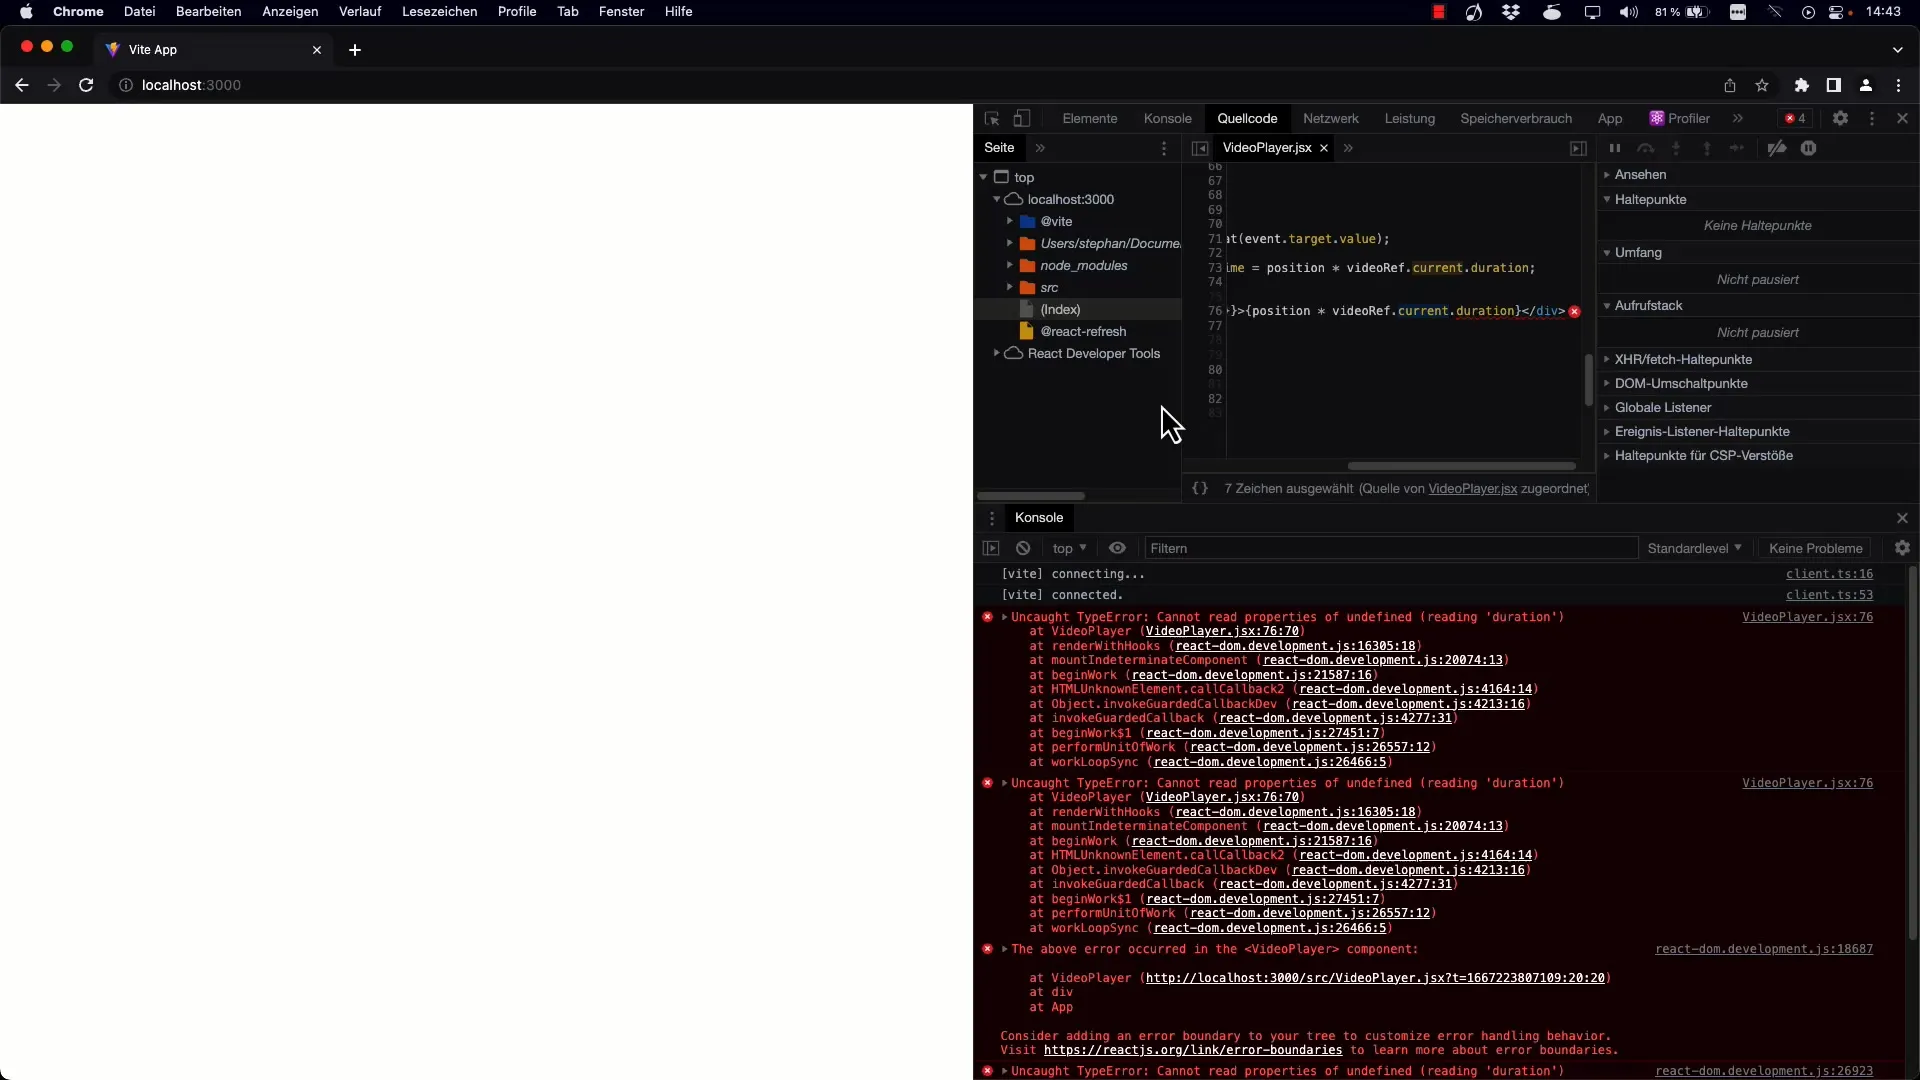
Step 8: Round and Format the Time
It is optimal to round the displayed time to the nearest second. This enhancement ensures that the user interface remains clean and user-friendly. Use the Math.round() function to format the values accordingly.
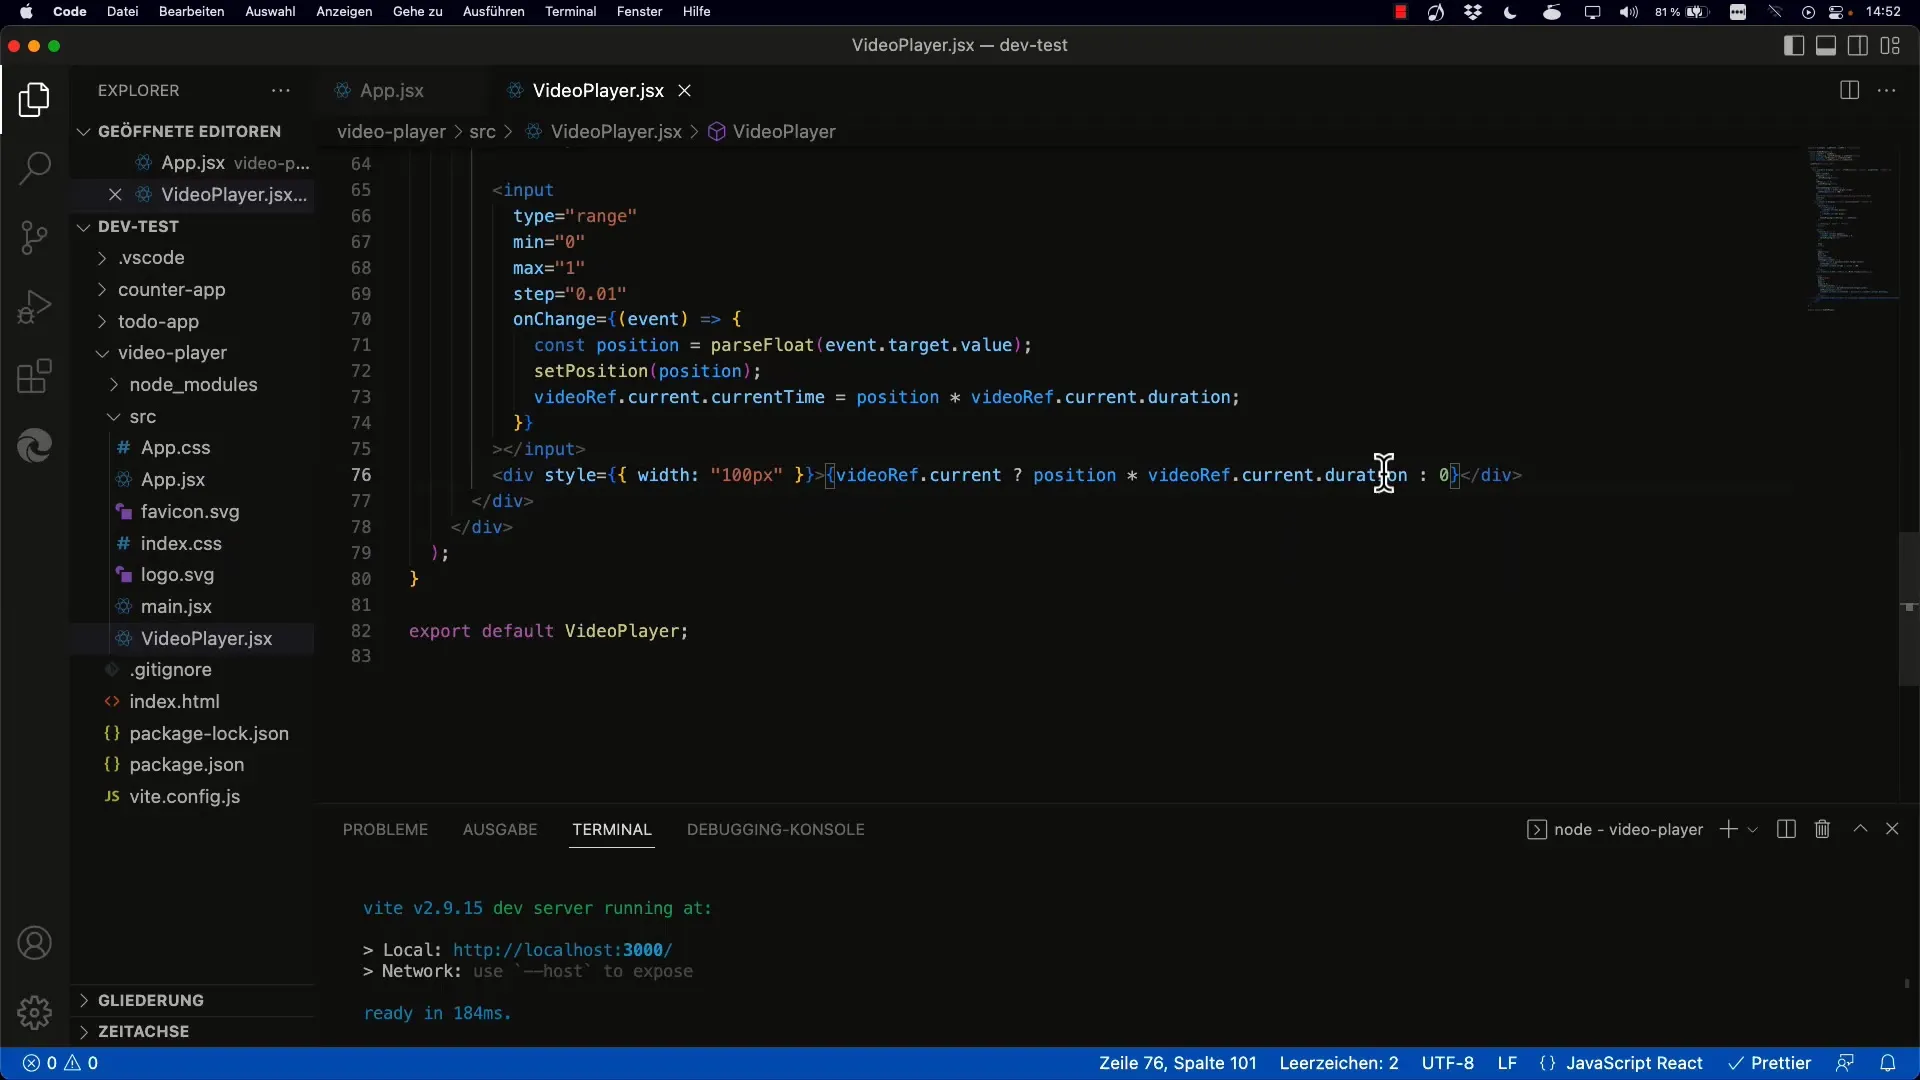
Step 9: Live Testing the Functionality
After you have completed all these steps, reload the project and test the slider. Make sure that the position of the video can be adjusted in both directions, and check if the time updates correctly.
Summary
You have now learned how to control the playback of a video in React by implementing an effective Range Slider that dynamically updates the currentTime property. This way, you can conveniently navigate between different points in the video.
Frequently Asked Questions
What is the difference between currentTime and duration?currentTime indicates the current playback position, while duration describes the total length of the video.
How do I update the position of the slider during playback?Add an event listener for onTimeUpdate to the video element, which queries the current time and updates the slider status.
How can I ensure that my slider works correctly?Make sure you have implemented the state management logic correctly in React. Check if currentTime and duration are correctly defined.
Can I also use the slider for audio?Yes, the principle remains the same. You can apply the same techniques to audio elements since they possess similar attributes.


