The Feather Edge Tool in Adobe InDesign allows you to create objects or images with smooth transitions. This effect is perfect for subtly integrating elements into the background or harmoniously connecting them with other layout components. In this guide, I will show you step by step how to use the tool to create smooth and professional transitions in your designs. Let's get started and give your layout a creative finish!
With the Feather Edge Tool (Shortcut Shift+G), you achieve a blurring of objects from opaque to transparent.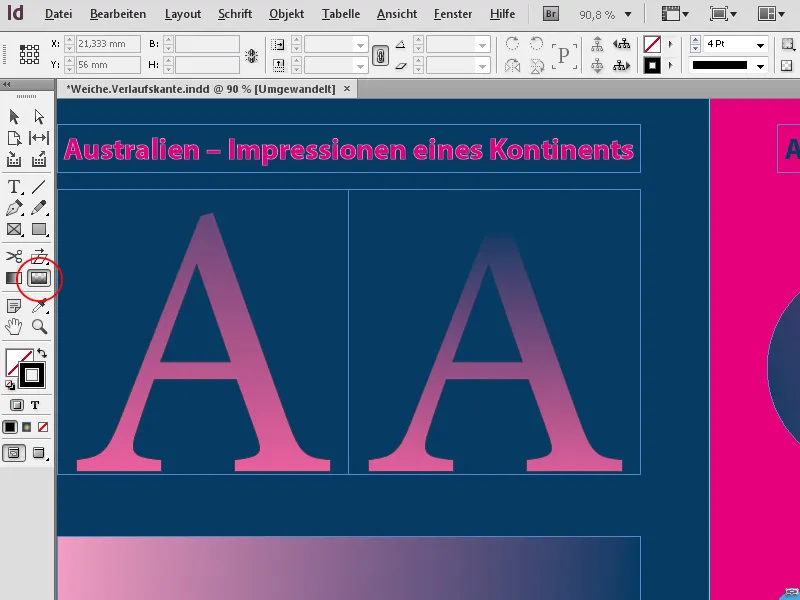
Start by selecting an object with the Selection Tool that you want to have a transition from opaque to transparent. Then click on the Feather Edge Tool in the Tools Panel (or use the shortcut Shift+G) and drag over the object while holding down the mouse button. At the starting point, it is still opaque and becomes increasingly transparent towards the end point of the mouse movement.
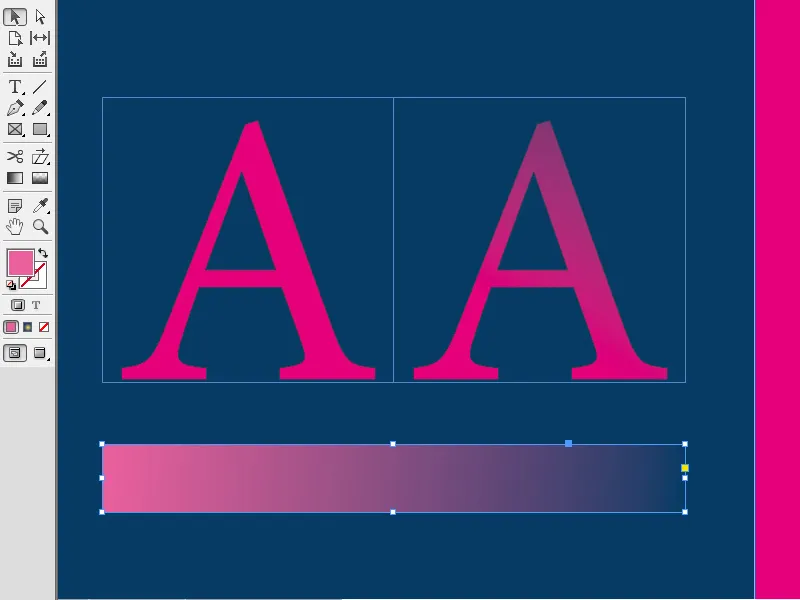
You can drag the transparency gradient horizontally, vertically, or diagonally. If you also hold down the Shift key, the gradient will be precisely oriented at angles of 45° – either exactly horizontal, vertical, or diagonal in relation to rectangular objects.
From the end point onwards, the gradient and hence the object are completely transparent. If you still want to see some of the object, you can simply drag the tool beyond the object and place the end point beyond it.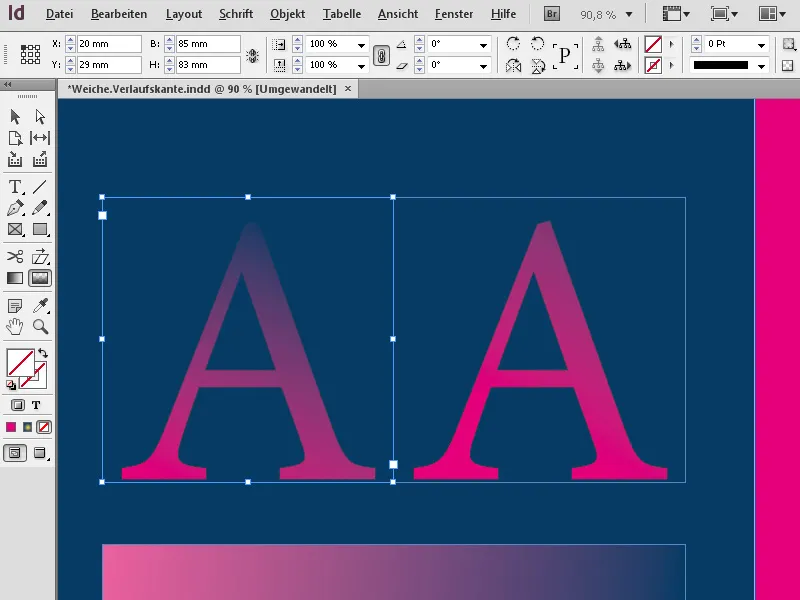
This effect can be applied to both text frames and graphic frames…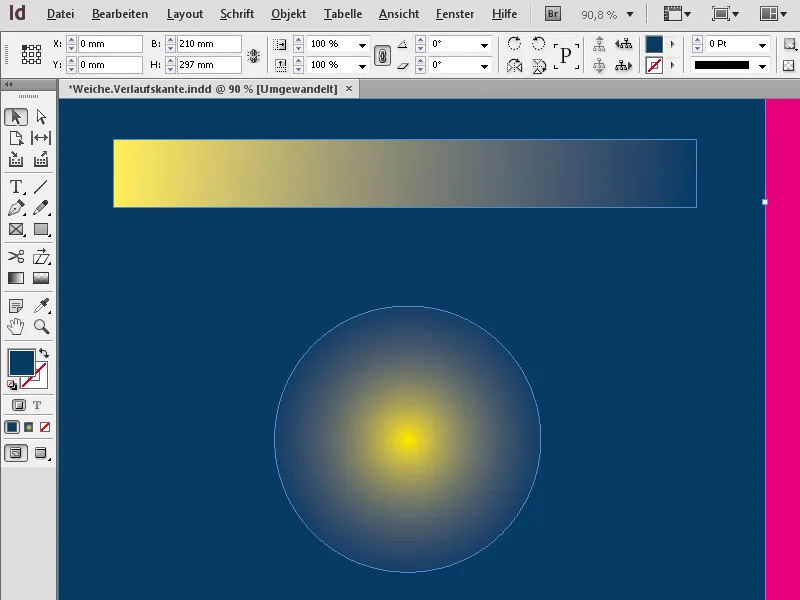
… as well as to images.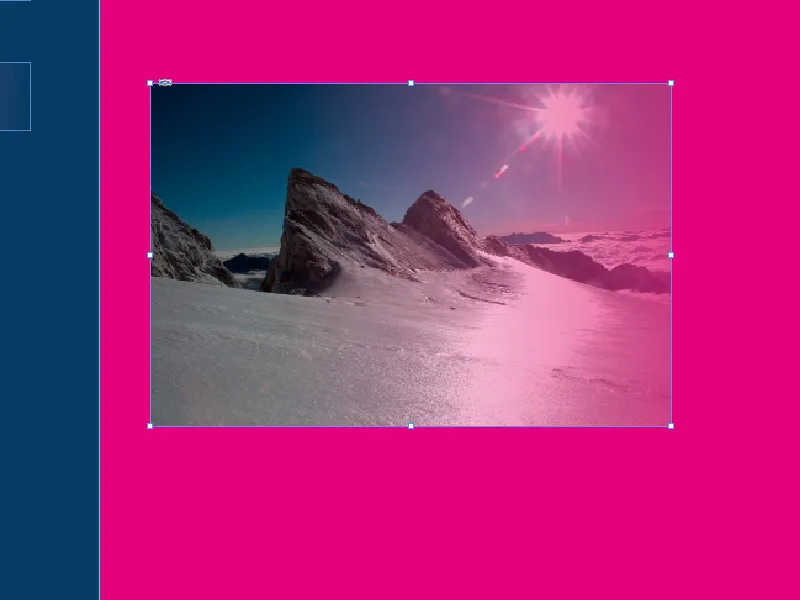
You can also select multiple objects (while holding down the Shift key) and add a transparency gradient to them by dragging the tool across them. This way, the objects receive a uniform increasing or decreasing transparency.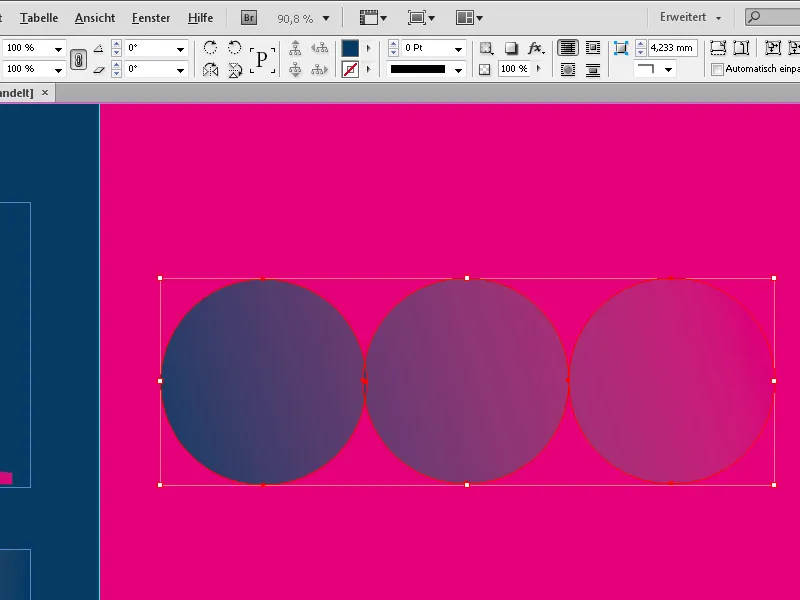
The Feather Edge Tool is ideal for intuitive handling. To control details more precisely, you can use the Effects palette (Menu Window>Effects or the fx button in the Control Panel), or you can right-click on the object and choose Effects>Feather Edge from the context menu.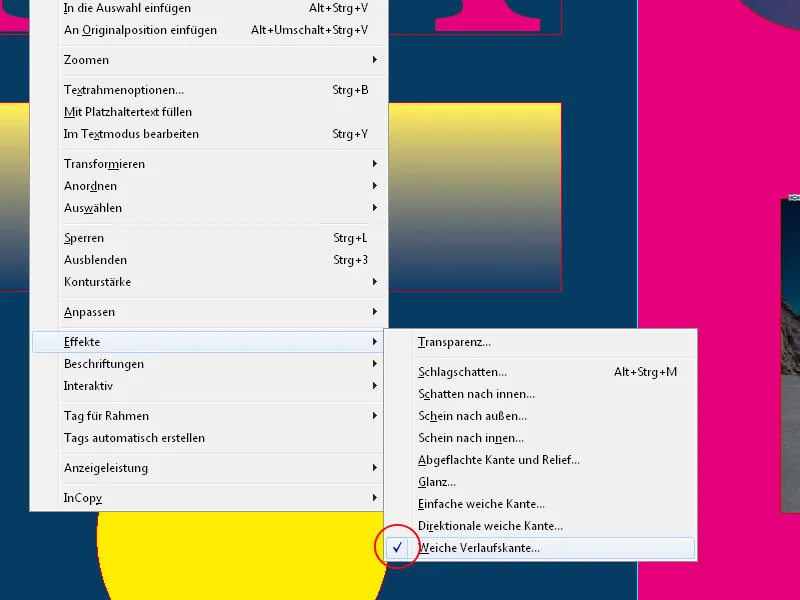
In the Effects palette, the selected object is marked – the fx denotes that an effect has been applied.
To adjust it more precisely, double-click on it to open the window for adjusting all effects.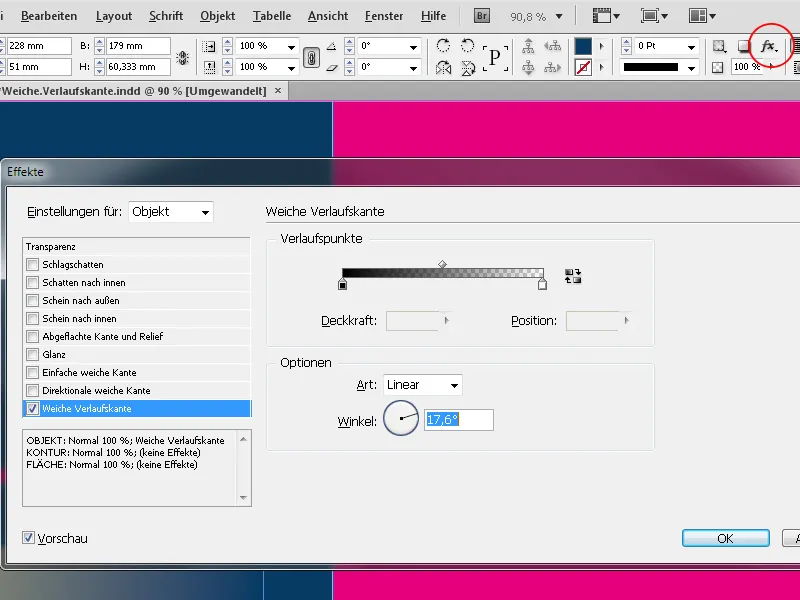
The tab for the Feather Edge is already selected, and you can see the settings you have made intuitively so far. These can now be adjusted as needed, for example, by reversing the direction of the gradient with a click.
After clicking on one of the sliders in the Gradient Stops area, you can also set precise values for the opacity and the start of the transparency gradient.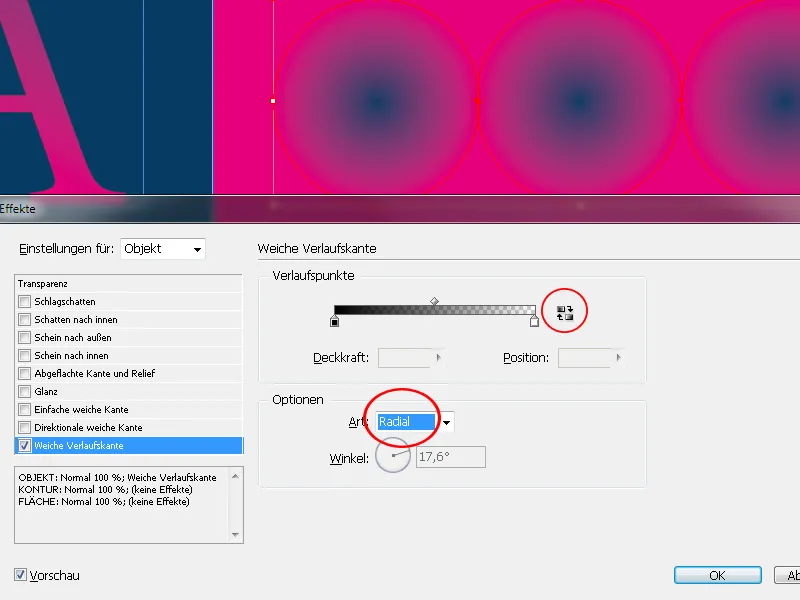
Under Options, you can also set the gradient mode (Linear or Radial) as well as the angle that a linear gradient should take. If you drag the angle clockwise with the mouse button pressed and the preview is enabled, you can quickly try out different settings and see the results immediately.
If you decide not to apply the effect, simply uncheck the box before Feather Edge.


