Although architectural grass is primarily predestined for the quickest possible greening of lawns, we can also use it to create individual carpets, for example.
It is generally a good idea to assign a matching color texture to the grass carrier object. This means that we do not have to set the number of blades or fibers required too high in order to achieve a visually dense surface.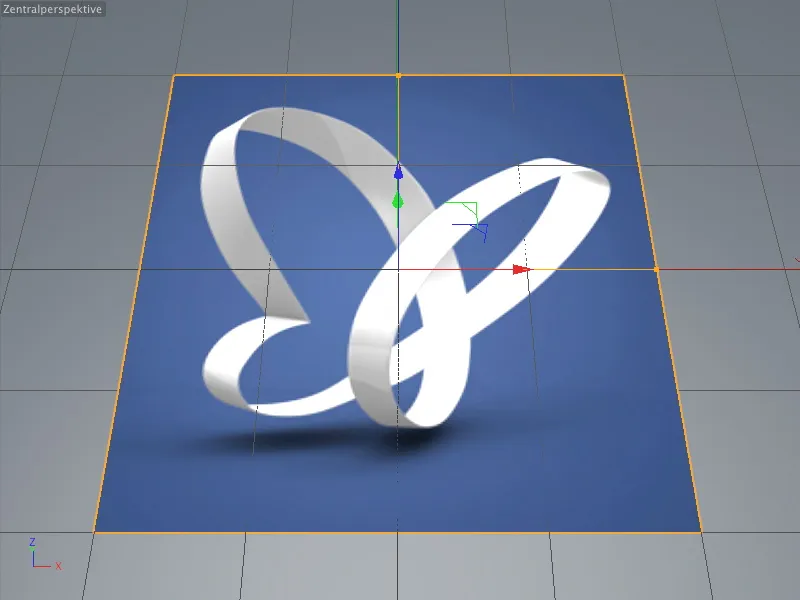
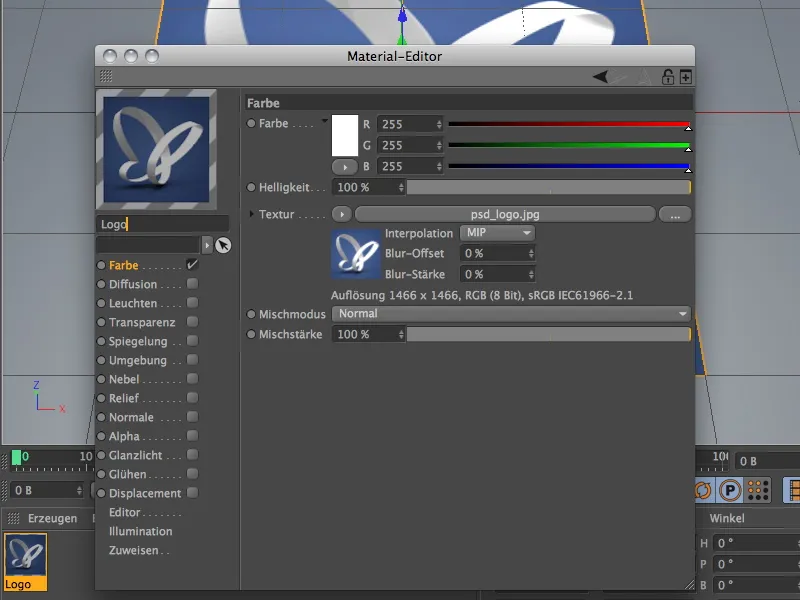
In our first example, in which the familiar PSD butterfly is to be created as a carpet pattern, I have already assigned this texture to the layer. The texture psd_Logo.jpg, which is also part of the working materials for this tutorial, is located in the Texture field of the Color channel.
Creating grass for the carpet
To make an object overgrown with grass, we simply have to select it and apply the Create grass command via the Create>Environment menu. You can also find this command in the palette of environment objects.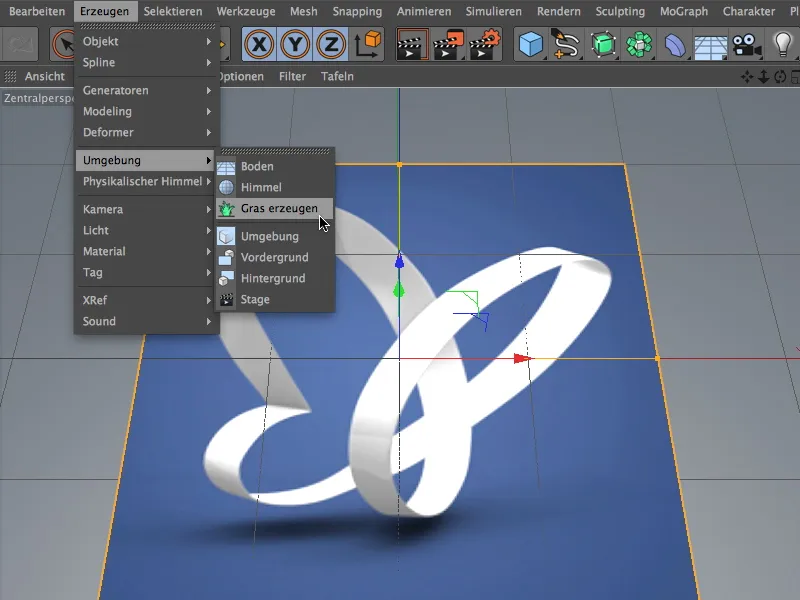
After this step, the layer object has another material tag for the architectural grass in addition to the logo texture. As you can see in the settings dialog of the architectural grass tag, it refers to a material called grass. All other parameters can therefore be found in the associated material, which we can open by double-clicking on the tag.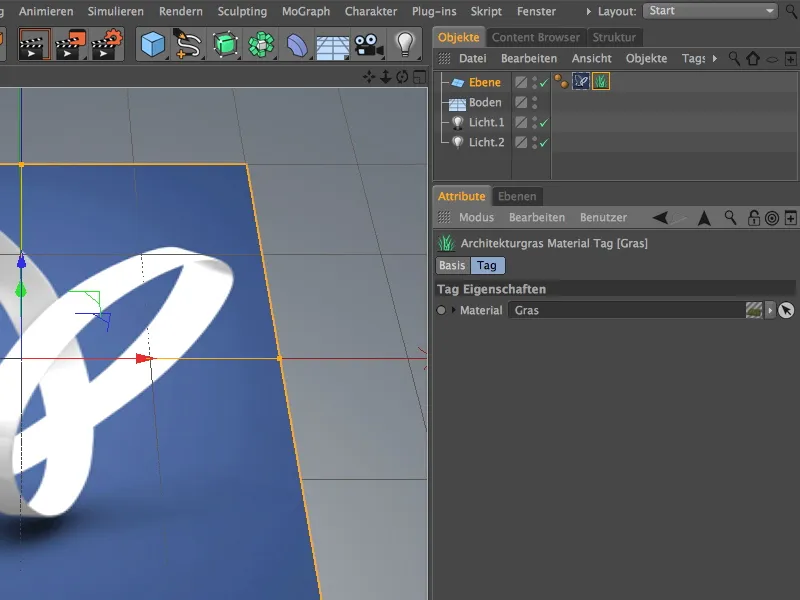
An additional click on the render button also shows us how the standard grass is distributed on the layer.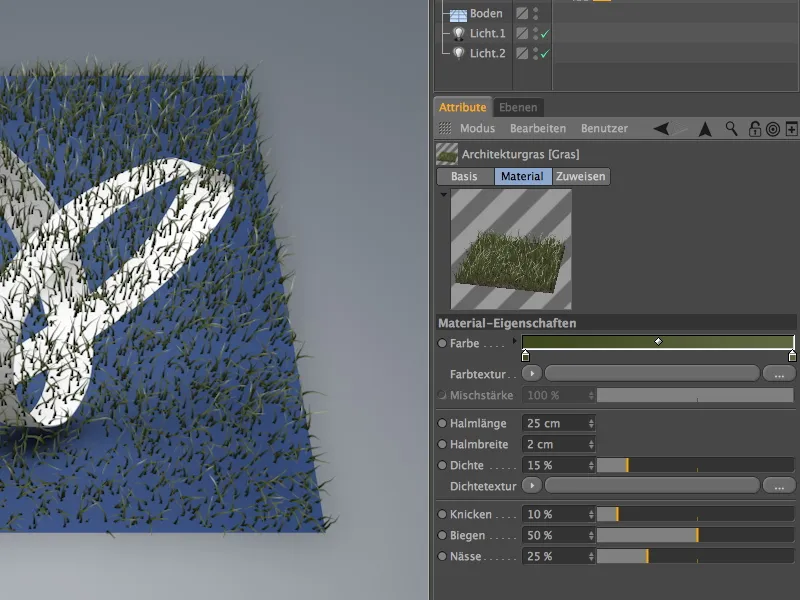
The obvious gaps can be filled very easily by increasing the density, although this also requires a lot more computing power. However, as the current parameters relate more to wild growing grass, we can achieve a little more fullness by reducing the bending and bending of the blades and increasing the blade length. A density of approx. 50% should be sufficient to obtain enough blades for a dense carpet. The material preview already gives us a good indication of this.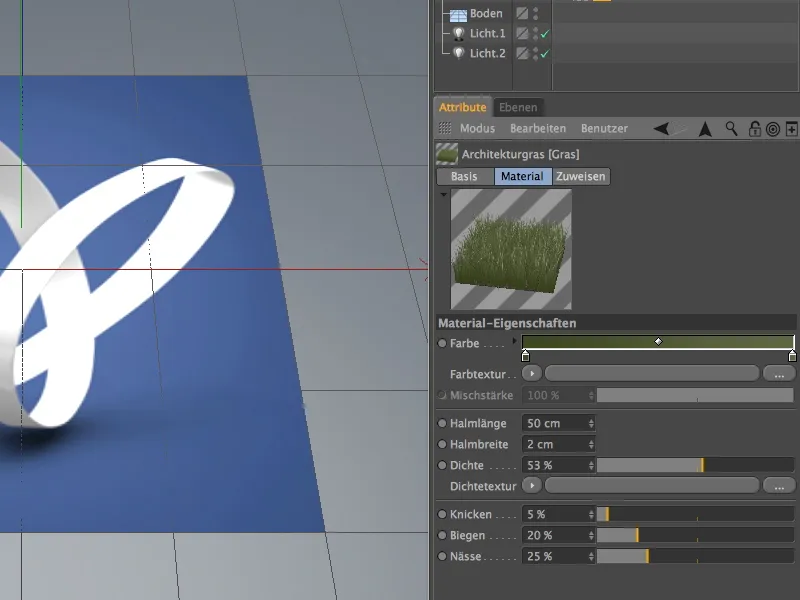
A rendering gives us the right information about the density of the grass surface. At the moment, you can still see the underlying surface texture shimmering through, but this will no longer be noticeable once we have adjusted the blade color.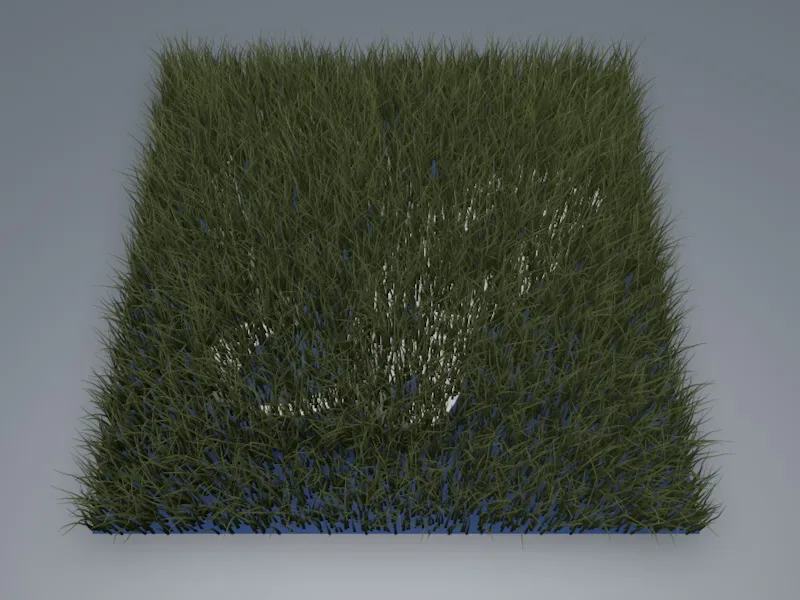
Adjusting the color texture
To assign a color texture with the butterfly motif to the blades of grass, we click on the long button in the Color texture area so that we can select an image file as the texture.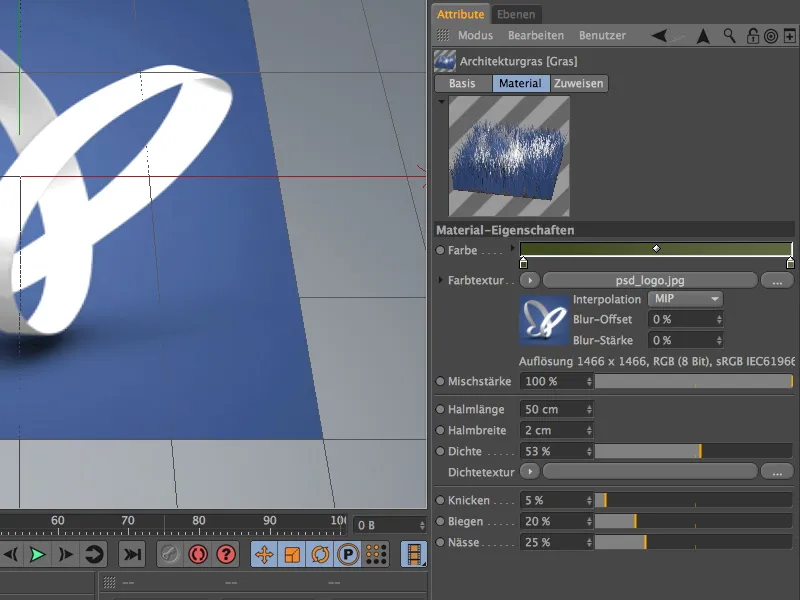
In the selection dialog that pops up, we select the psd_logo.jpg file from the working materials for this tutorial for the butterfly motif.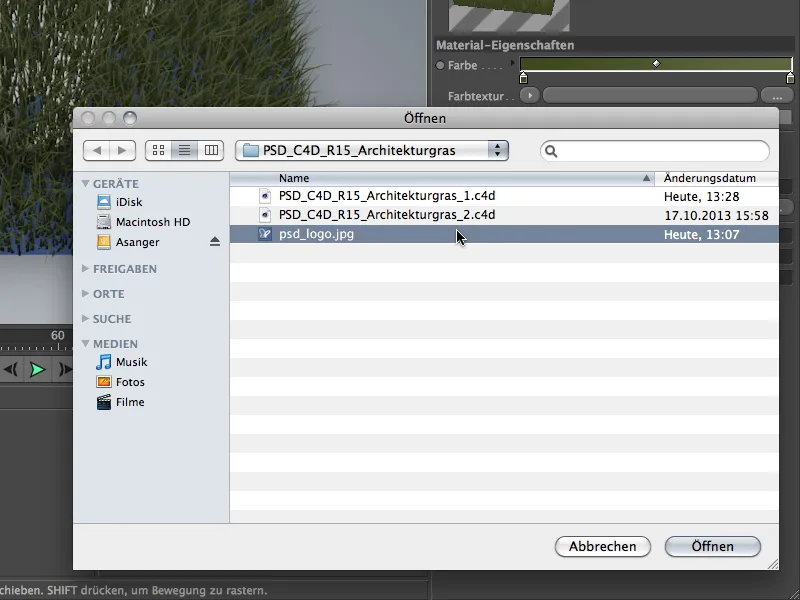
After clicking on the Render button, we have already achieved the first partial result of this tutorial. The fibers of the carpet have been adequately colored and the density of the stalks complements the underlying surface texture very well.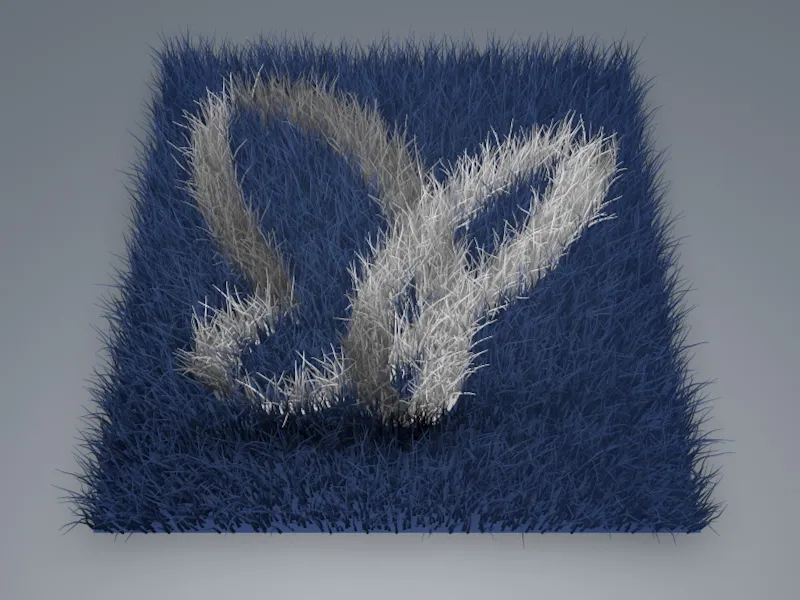
The second example in this tutorial is of course about the intended use of architectural grass. In the package of working files you will find the file "PSD_C4D_R15_Architectural_grass_2_start.c4d" for reworking.
The scene contains a polygonal plane object in a subdivision surface cage, which has been deformed into a small hill with a few simple steps. The plane object already has a brownish patterned material for the ground.
I used a standard preset of the physical sky for the background. At this point, it is primarily about the architectural grass.
The aim of this part of the tutorial is not only to green the hill, but also to create a small path that winds its way through the greenery.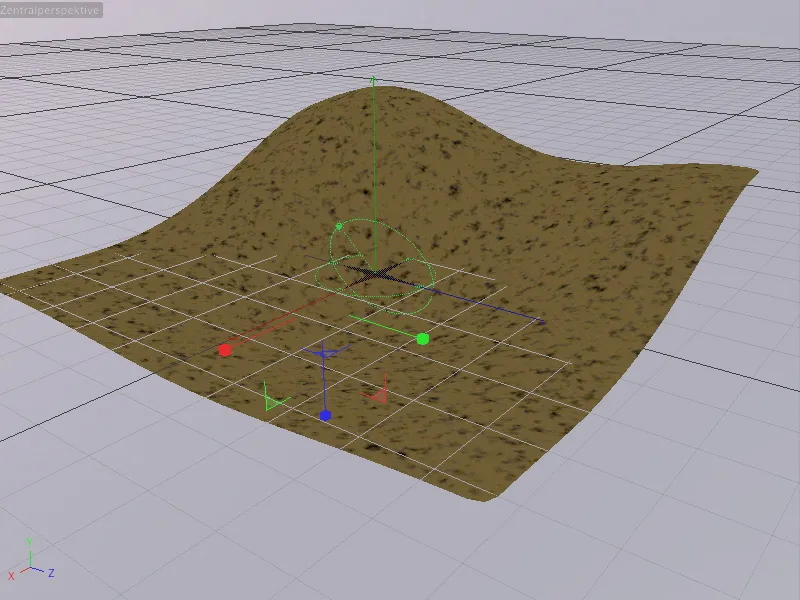
Creating grass for the hill
The first step is the simple creation of grass for the hill. To do this, we select the subdivision Surface cage of the hill and this time assign the architectural grass to it via the palette of environment objects using the Create grass command.
It is important that the architectural grass is not assigned to the subordinate polygon object, but to the version smoothed by Subdivision Surfaces. Otherwise the position of the grass will not be correct.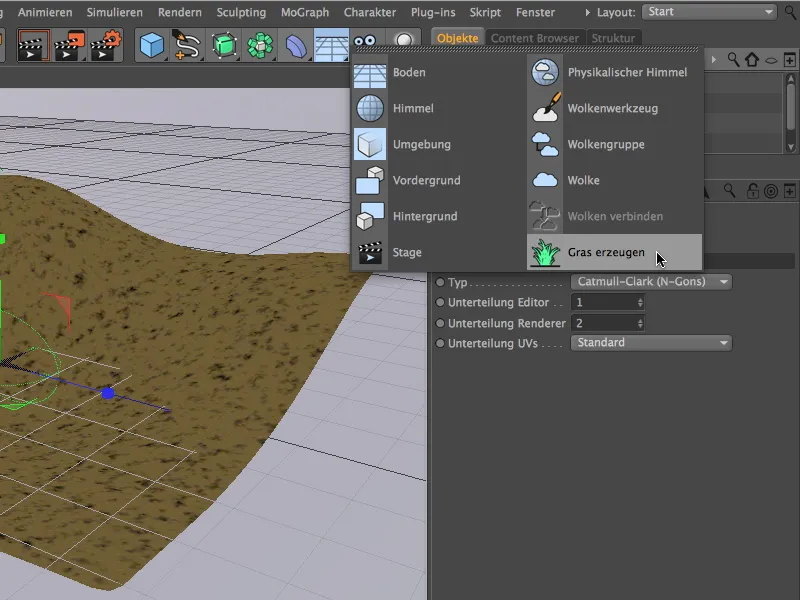
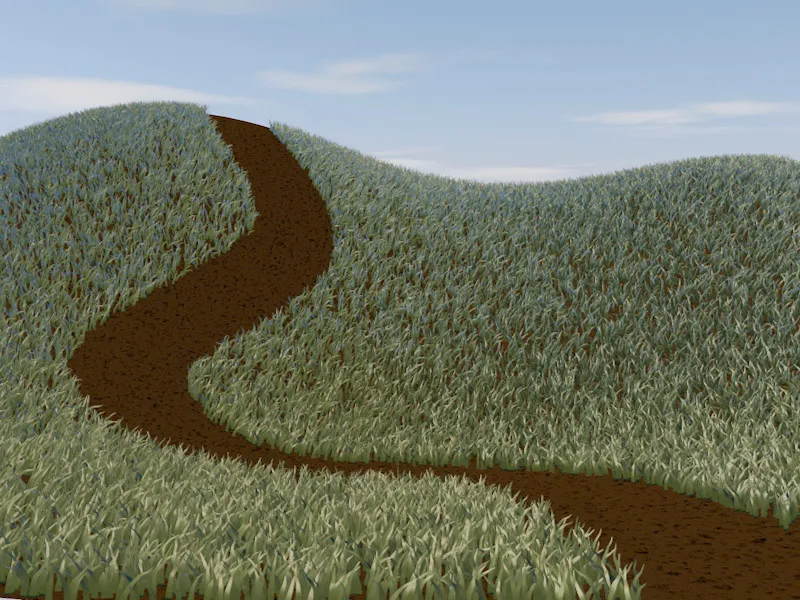
One click on the Render button and we have already created a very realistic hill with minimal effort. Now it's time to make the fine adjustments.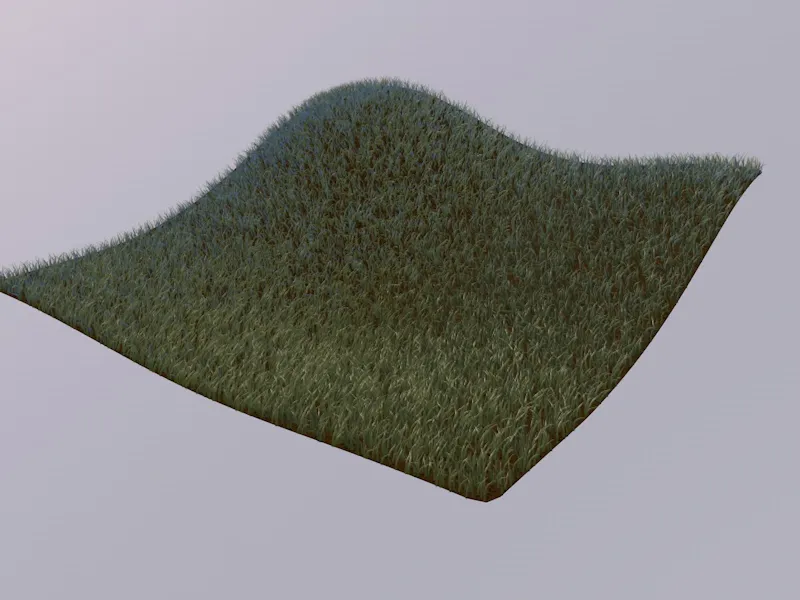
The subdivision surface cage has an architectural grass material tag in which we can fine-tune the parameters for the grass surface. The grass color was fine for me so far, I set the blade length to a realistic 14 cm. A density of approx. 30-35 % ensures sufficiently dense grass growth.
You can set the buckling, bending and wetness settings as you wish. I have used the default settings, which fit quite well, and only reduced the optical wetness a little so that the blades don't shine so much.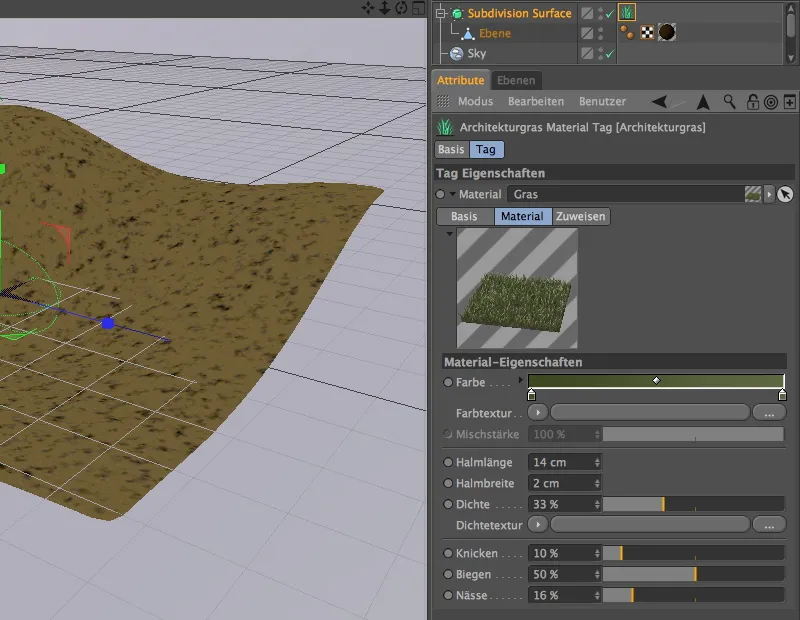
After clicking on the render button, we can see the denser and more finely overgrown grassy hill. In the next step, we want to cut a path through the grassy landscape.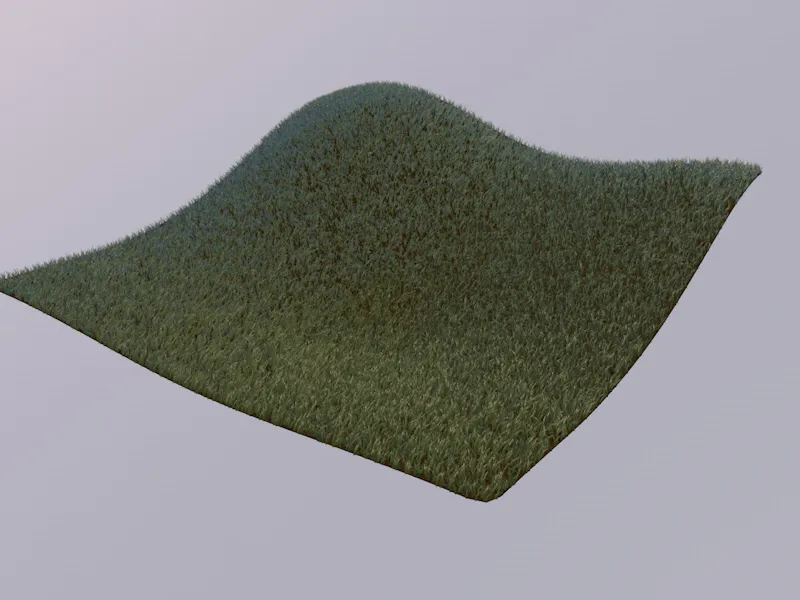
Creating a path using a density texture
We can create the path over the hill very easily using the only parameter of the grass material that has not yet been discussed: the density texture.
To ensure that the path comes close to our ideas, we create the density texture using a spline shader. To do this, we simply draw a curved path in the scene using the freehand tool from the spline tool palette. The top view (F2 key) is of course the best choice here.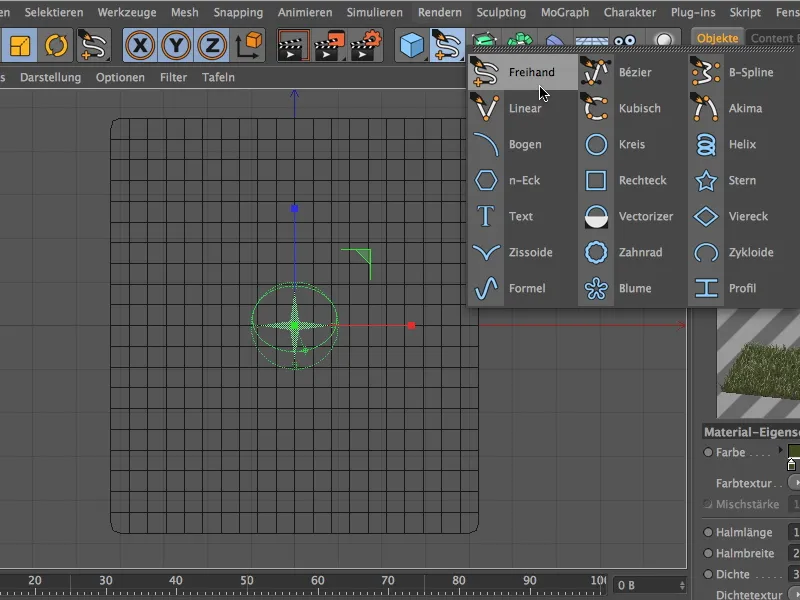
A rough drawing of the path is sufficient, it is only important that there are no excessively crooked bends or corners.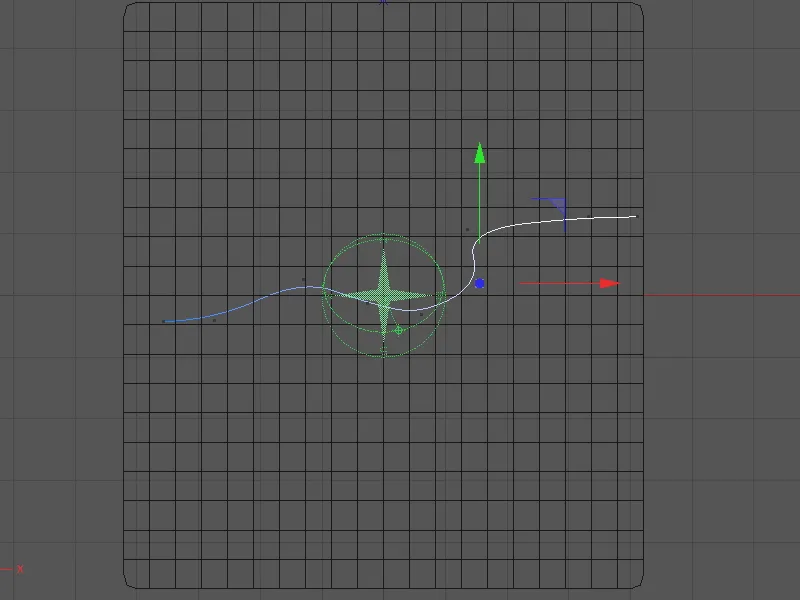
Now we can get back to the architectural grass. In its settings dialog, we click on the arrow menu of the density texture and select the spline shader from the Effects menu.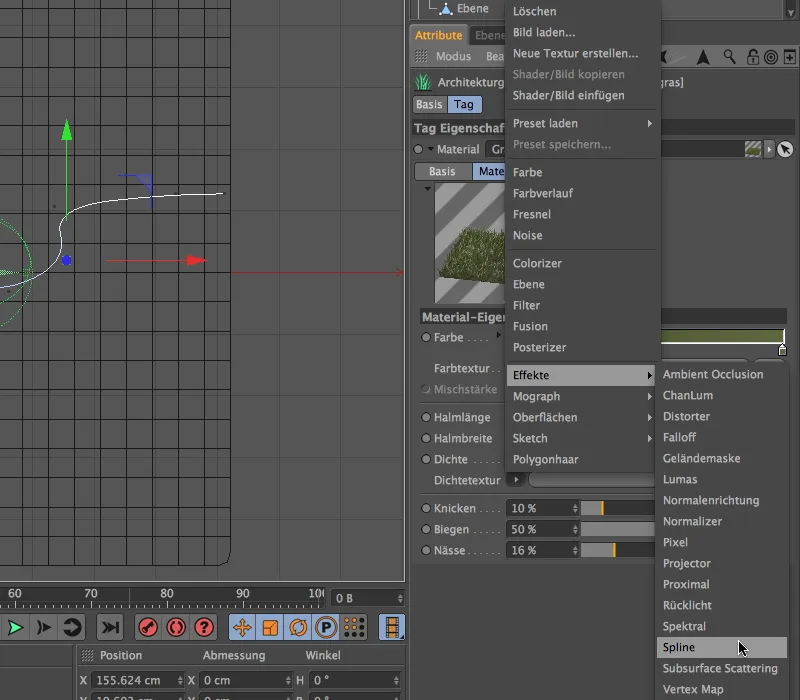
After clicking on the long button of the density texture, in which the spline shader is now located, we get to the settings dialog of the spline shader.
Here we first deactivate the bottom option Text spline so that the top field Spline can be edited at all. We drag and drop the spline object from the Object Manager into this field of the Attribute Manager.
Both the background and the line texture are assigned a color shader via the menu in the arrow button. We set white for the background and black for the line.
Using the X and Y offset and X and Y scaling parameters, we now need to place the spline path in the preview window as accurately as possible. Finally, we set the line width to approx. 85 % to create a properly wide path.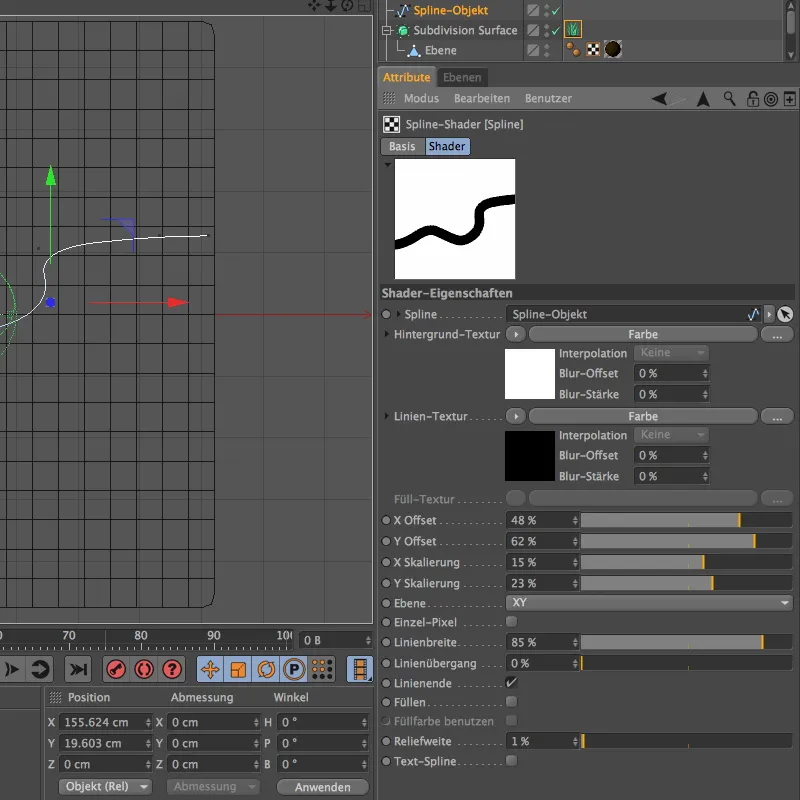
From the view above, a click on the render button already shows us how the spline shader as a density texture cuts a beautiful path through our green-covered hill.
Now we just have to switch to the central perspective using the F1 key and find a suitable point of view for our camera.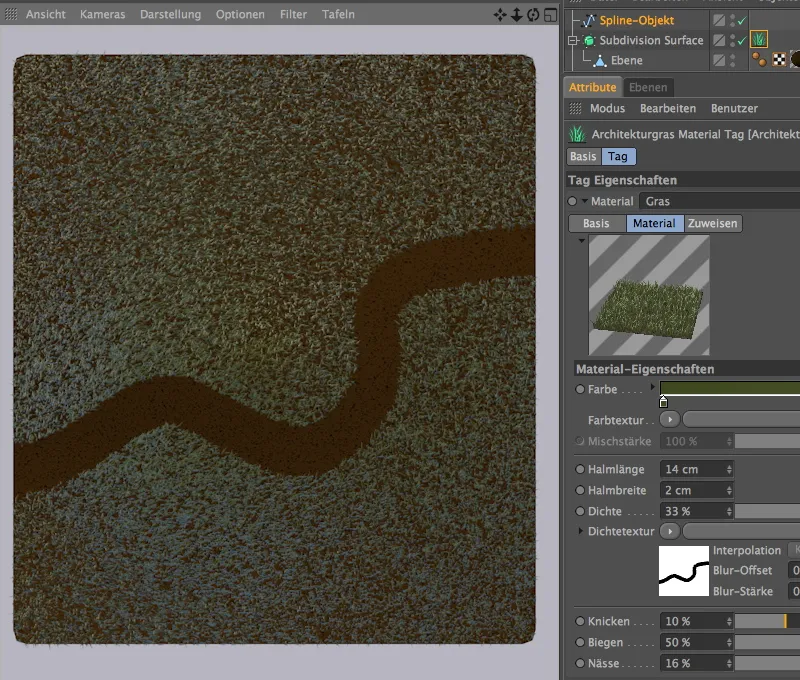
The camera I am using is already included in the supplied working file. You can easily activate it by clicking on the small camera icon in the Object Manager. The icon turns white and switches from the editor camera to your own camera.
One more click on the render button and you have the path over the grassy hill in full view.