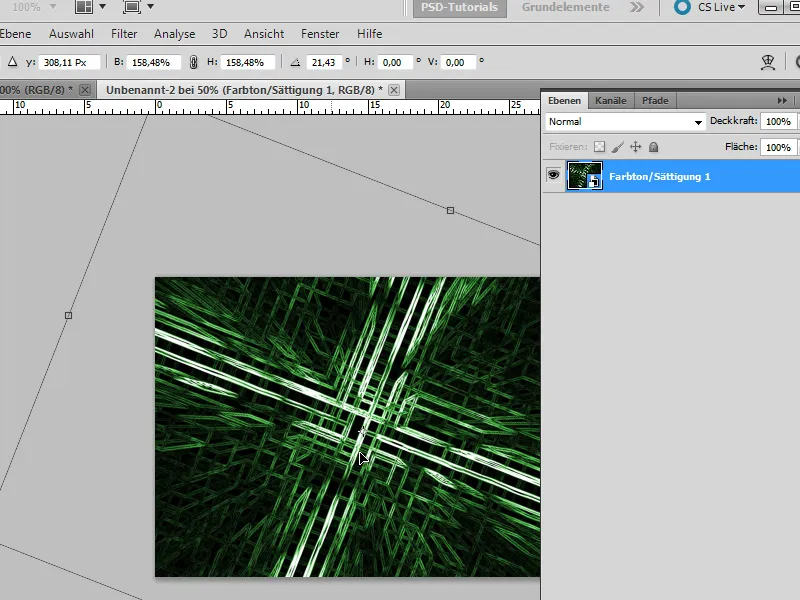
The 3D Speed Effect is ideal for adding dynamism and speed to your designs. Whether for posters, sports graphics, or digital art, this effect conveys movement and energy. With Photoshop, you can create the look both destructively (permanently changing) and non-destructively (flexibly adjustable). In this tutorial, I will show you both approaches step by step so that you can choose the optimal method depending on the project requirements. Let's get started and bring your designs to life!
Step 1:
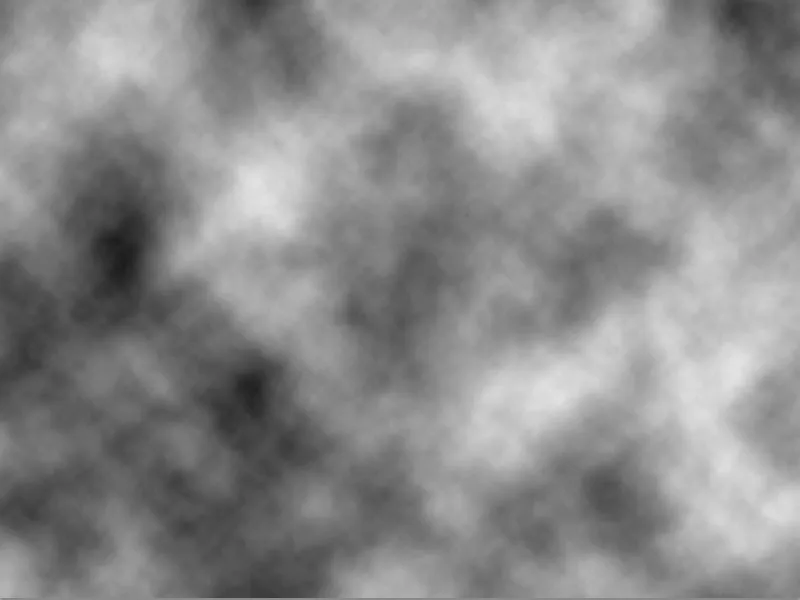
I click on D to activate the default colors (Black/White) and then go to Menu>Filter>Render Filter>Clouds.
Step 2:
Next, I go to Menu>Filter>Pixelate>Mosaic with the following settings: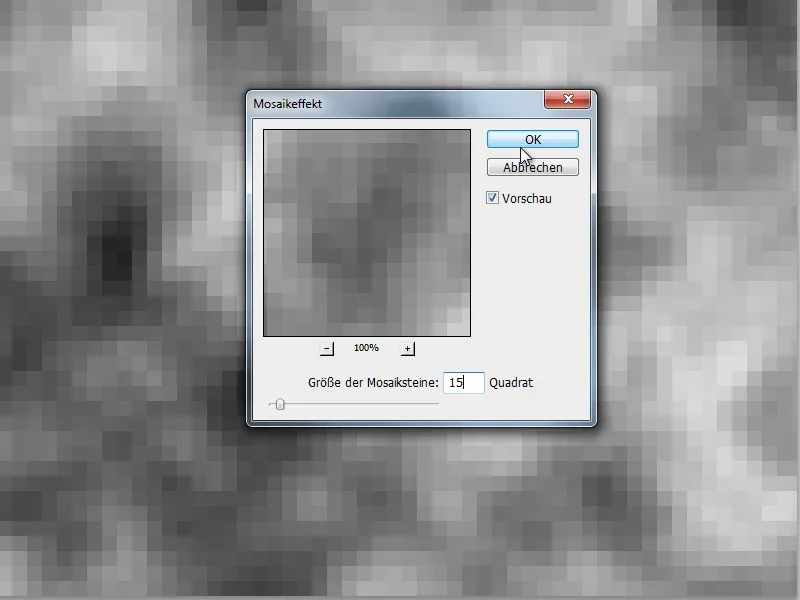
Step 3:
Then I choose Menu>Filter>Stylize>Find Edges.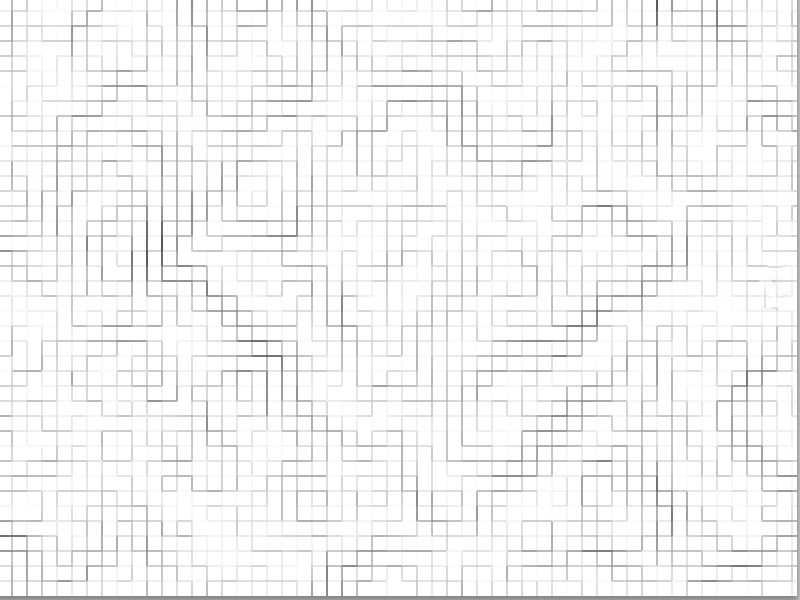
Step 4:
Now I go to the menu Filter>Blur>Radial Blur and set the following options: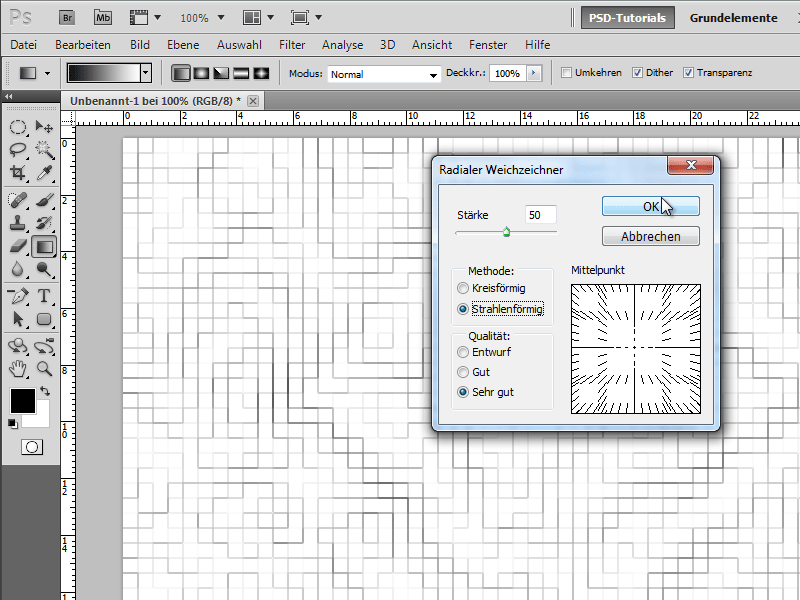
Step 5:
Next, I click on Menu>Filter>Stylize>Find Edges: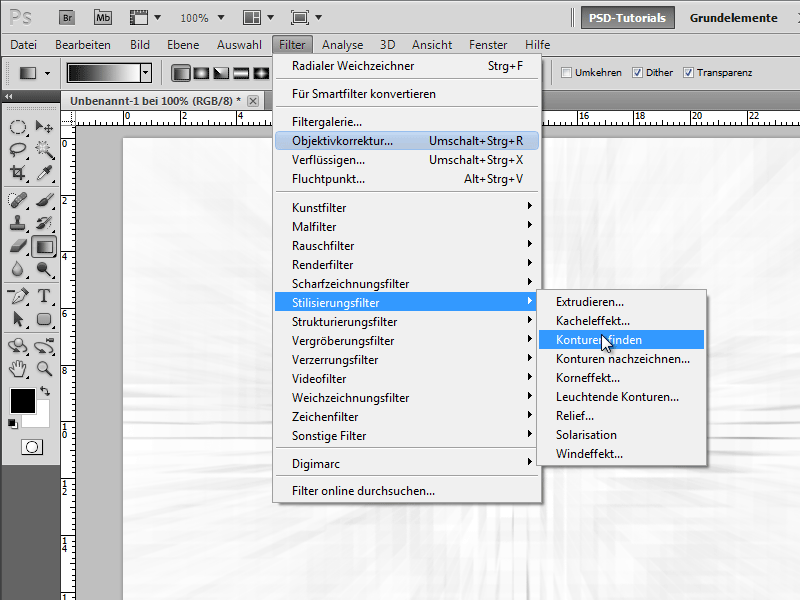
Step 6:
Now all I have to do is to inverse the image with Ctrl+I. Looks pretty cool, right?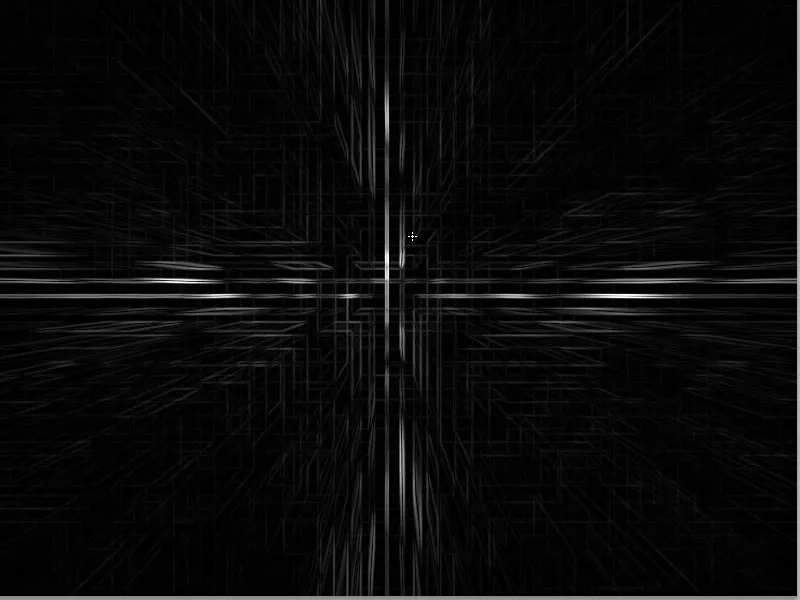
Step 7:
To add some color to the image, I add an adjustment layer Hue/Saturation in the Layers panel. But it can also be done destructively by simply clicking Ctrl+U and then changing the colors in the dialogue box.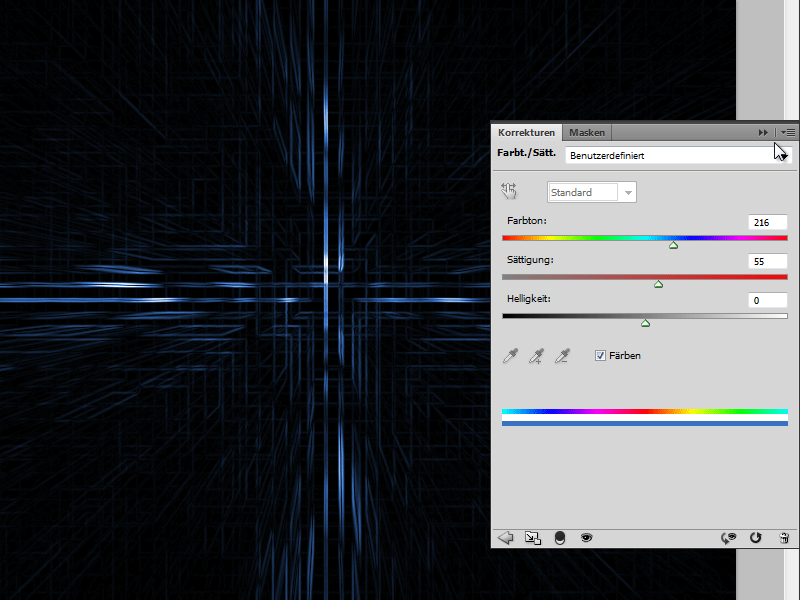
Step 8:
To enhance the effect further, I run Find Edges again and then inverse the image (Ctrl+I).

Step 9:
The effect should appear even more dynamic; to achieve this, I can convert the background layer into a regular layer by double-clicking on it in the Layers panel and then rotate it with Ctrl+T.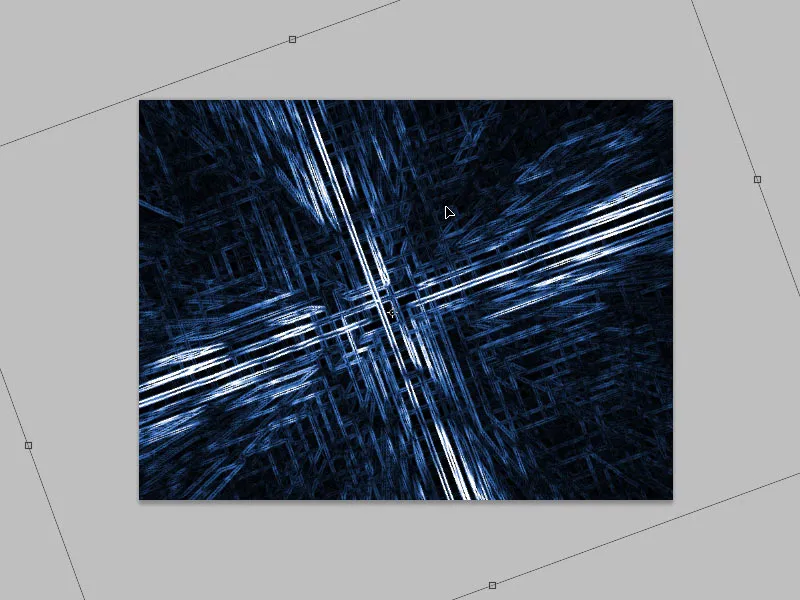
Step 10:
The final result looks quite successful:
Step 11:
In the second part of this tutorial, I want to show how the same effect can also be realized completely non-destructively. To do this, as in Part 1, I create a new document, but this time I convert the background layer into a Smart Object.
Step 12:
Now I perform all steps as listed in the first part. Each effect is added to my Smart Object as a Smart Filter, giving me the ability to change effects from settings at any time, or even remove or hide them, or reduce the Opacity. Finally, I add an adjustment layer Invert.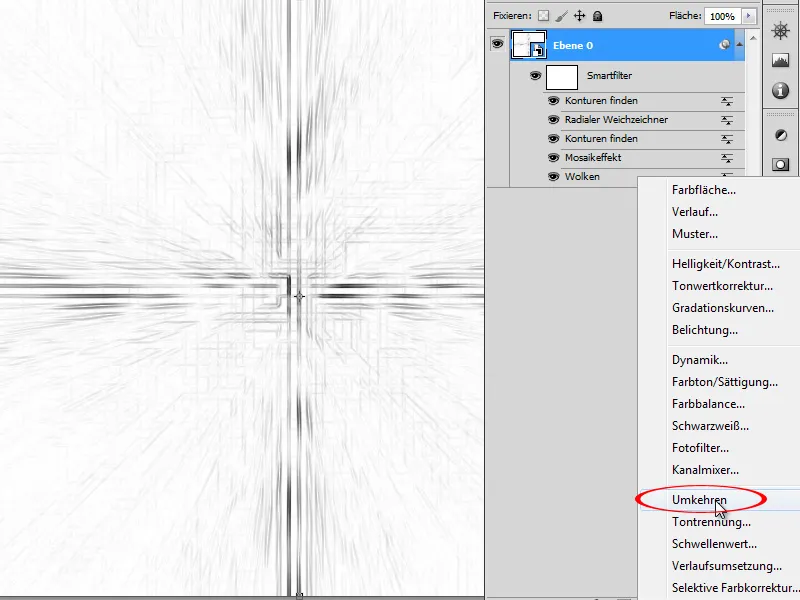
Step 13:
Then I add an adjustment layer Hue/Saturation with a green value (and a checked box for Colorize).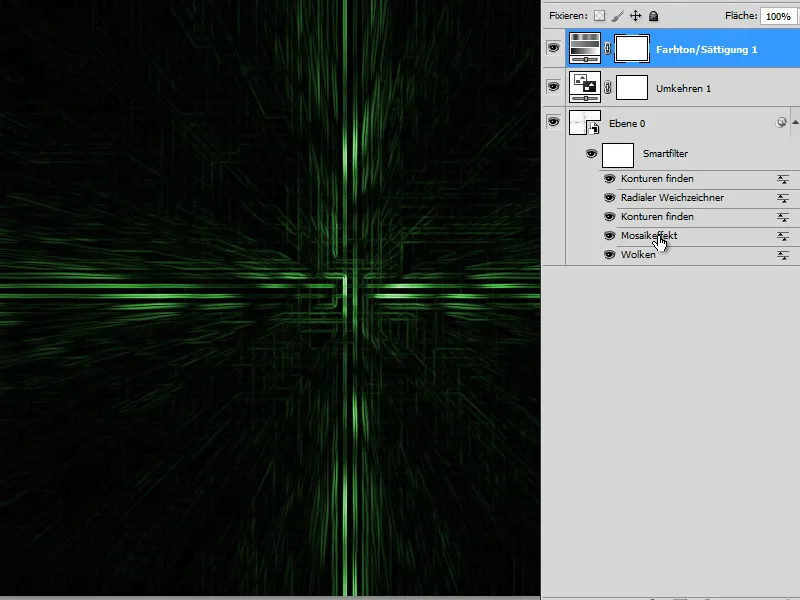
Step 14:
If I now enlarge the value in the Smart Filter Mosaic, the result looks quite different:
Step 15:
Executing Find contours again leads to this result: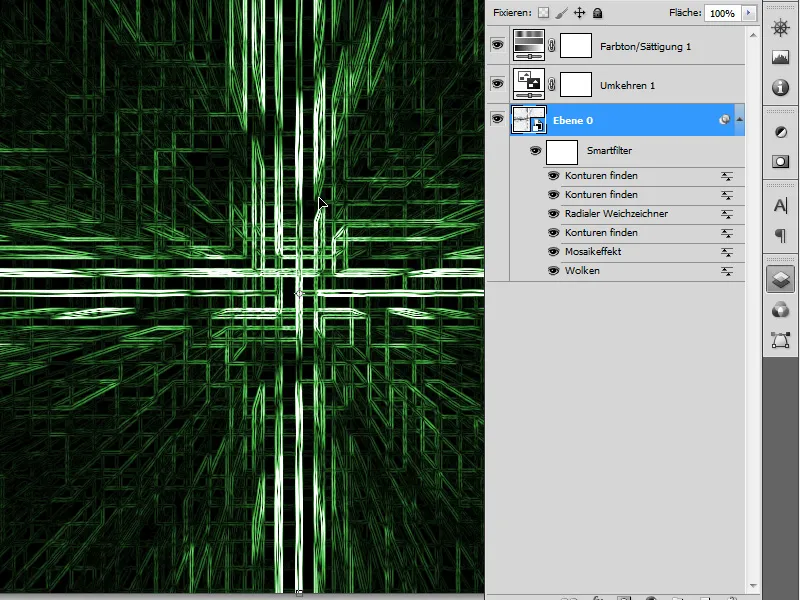
Step 16:
Unfortunately, I cannot rotate the Smart Object with all its filters. Unless I select all layers with the Shift key and convert it into a new Smart Object, I have a Smart Object that contains another Smart Object within itself. Now I can rotate and scale the new Smart Object as I wish.