The possibilities to share and promote content on Facebook are diverse - especially the function of Notes offers you an interesting platform for publishing. In this guide, you will learn how to effortlessly add notes to your Facebook Page and provide important information about your content while reaching a broader audience.
Key Insights
- You can use notes as articles on your Facebook Page to highlight your content.
- Creating a note is a structured process that allows you to combine images, texts, and links.
- Notes are an effective means of disseminating information and promoting interactions.
Step-by-Step Guide
Step 1: Go to your Facebook Page
To start creating a note, you need to navigate to your Facebook Page. Go to the menu and select the page you want to manage. For example, "Leon Schotari".

Step 2: Find the "Notes" Tab
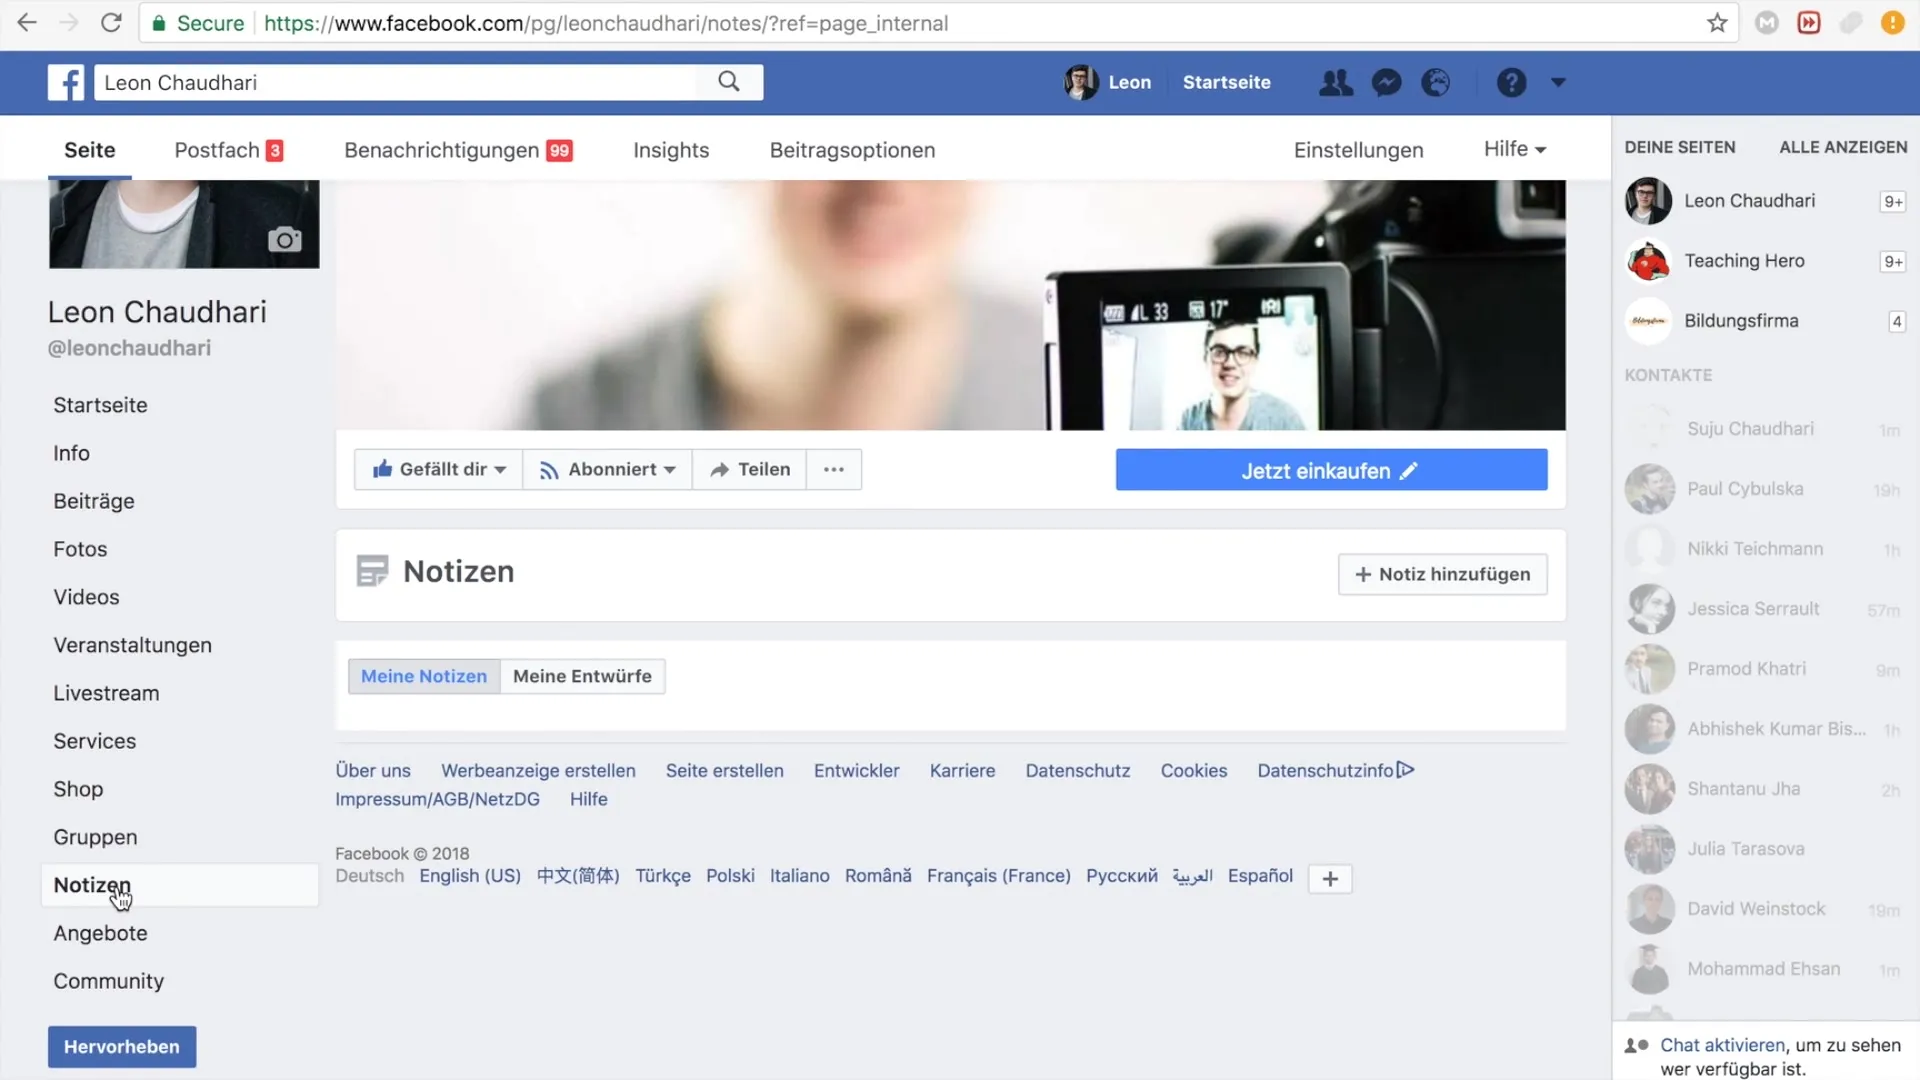
On your Facebook Page, you will find a series of options on the left side. Look for and click on the "Notes" tab. This is the area where you can create new notes.
Step 3: Add a New Note
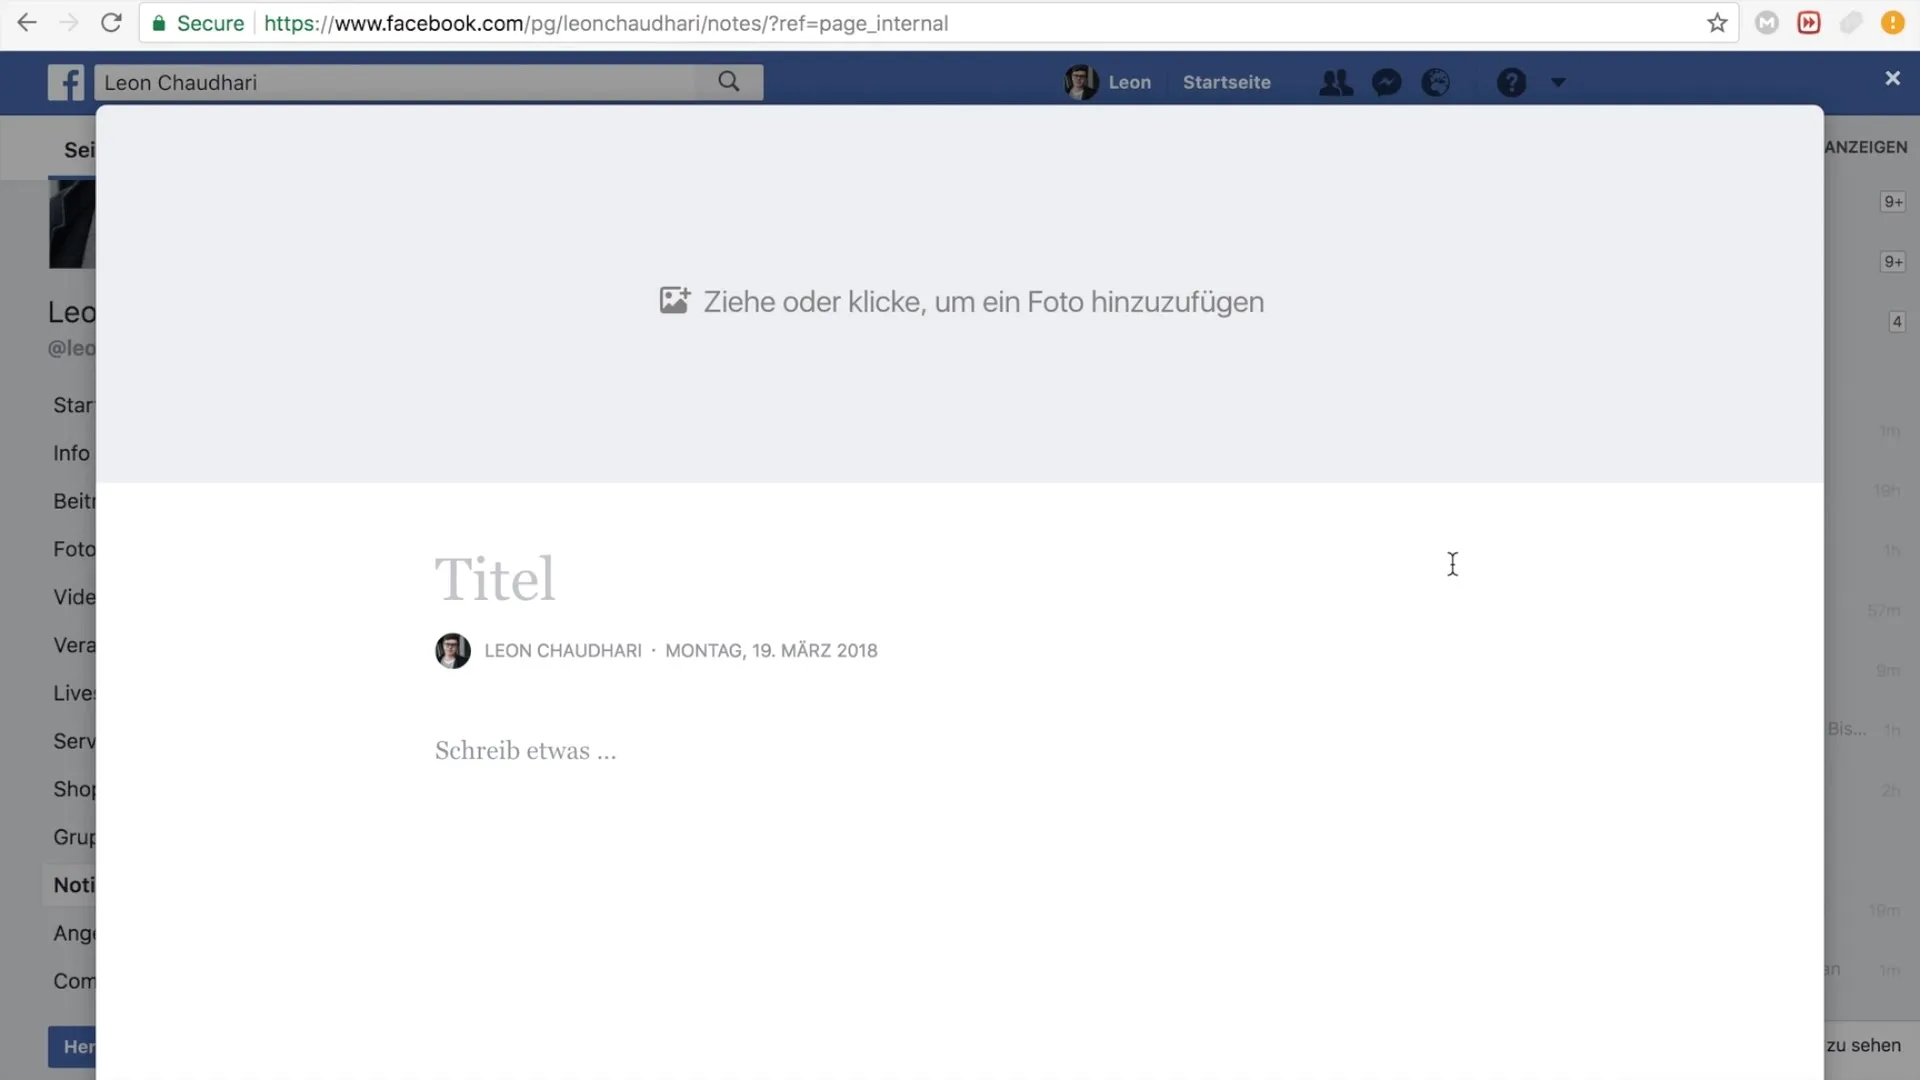
Once you've clicked on "Notes", the area where you can add a title and content to your note will open. Simply click on the "Add Note" button.
Step 4: Upload a Photo
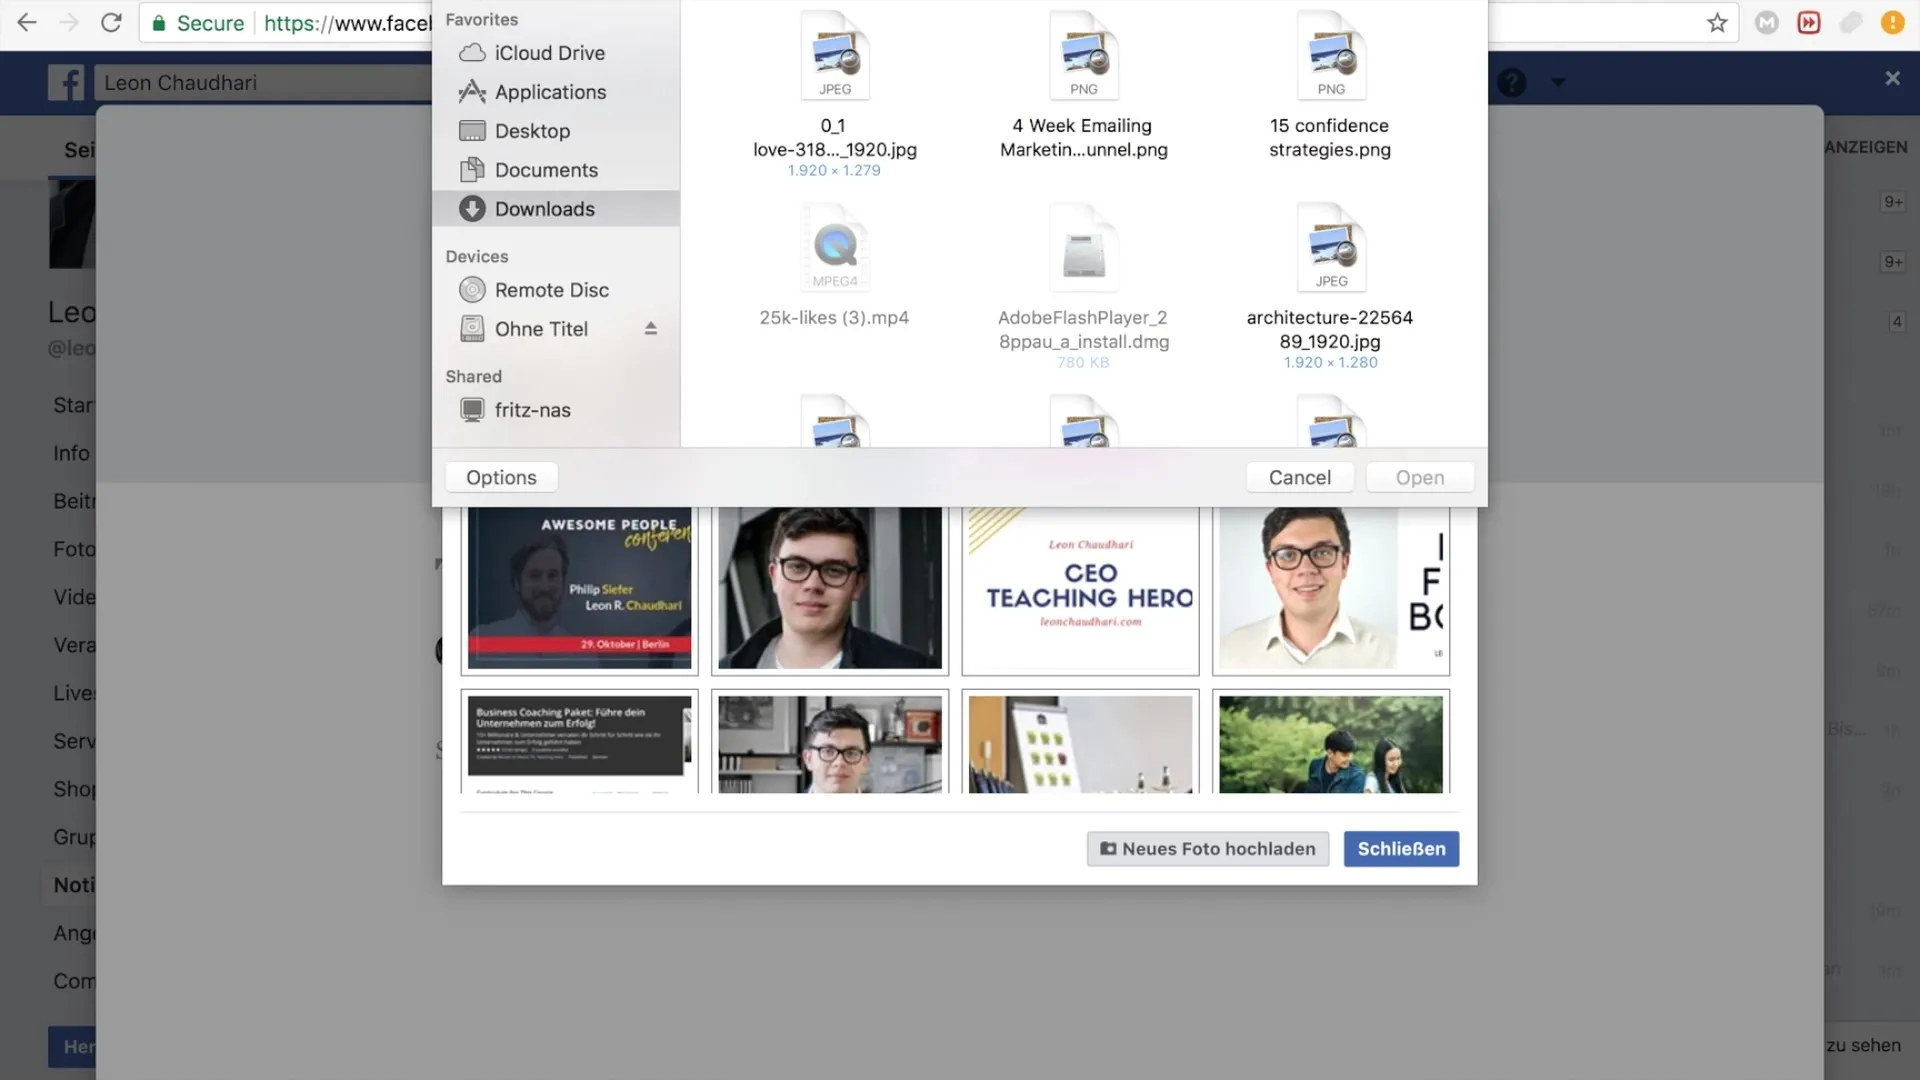
A central part of your note is visual appeal. You can upload an image to make your note more appealing. To do this, click on "Upload new photo" and choose a suitable image related to the theme of your note.
Step 5: Write the Title of your Note
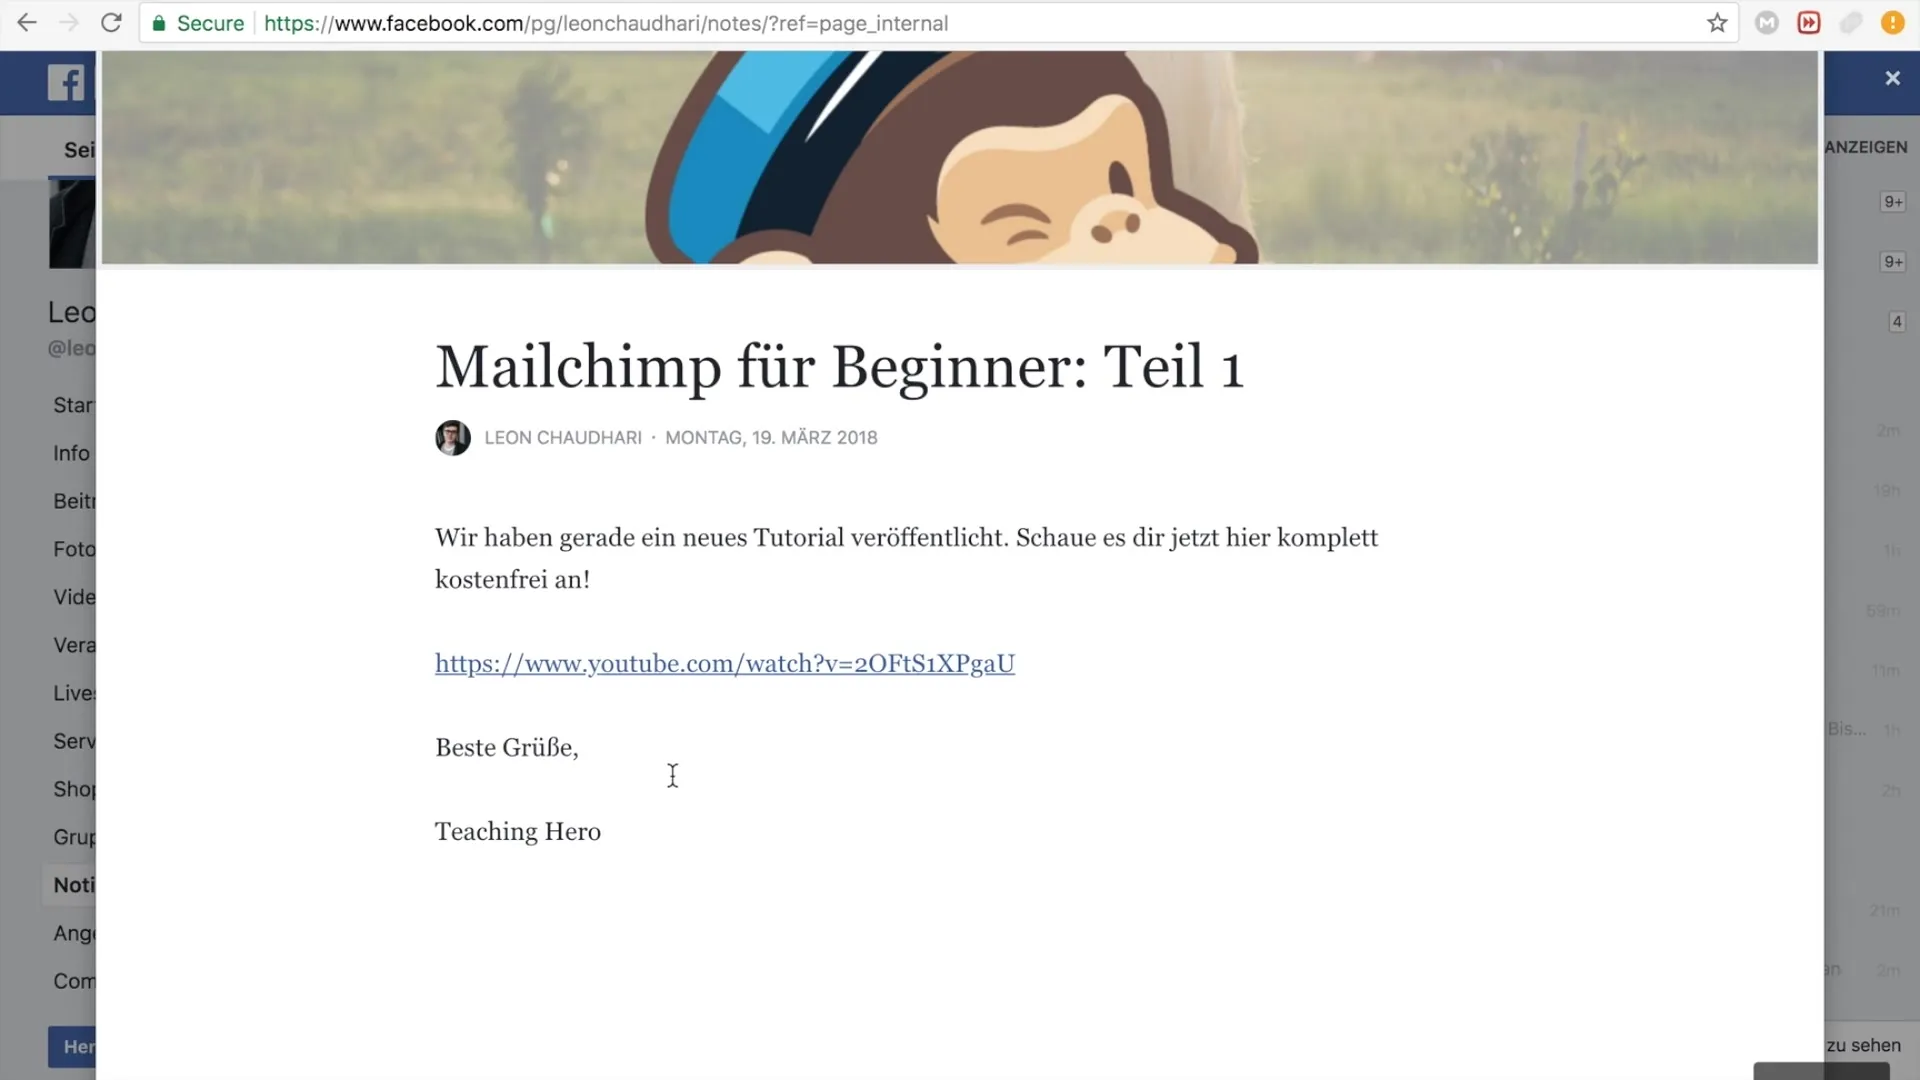
Think of a concise title for your note. For example, you could choose "MailChimp Tutorial Part 1" to immediately let your readers know what it is about.

Step 6: Write the Content
Now it's time to write the text for your note. You can provide a brief introduction to your topic, such as: "We have just released a new tutorial! Check it out for free now." Ensure that your described content is engaging and informative.
Step 7: Add Links to your Content
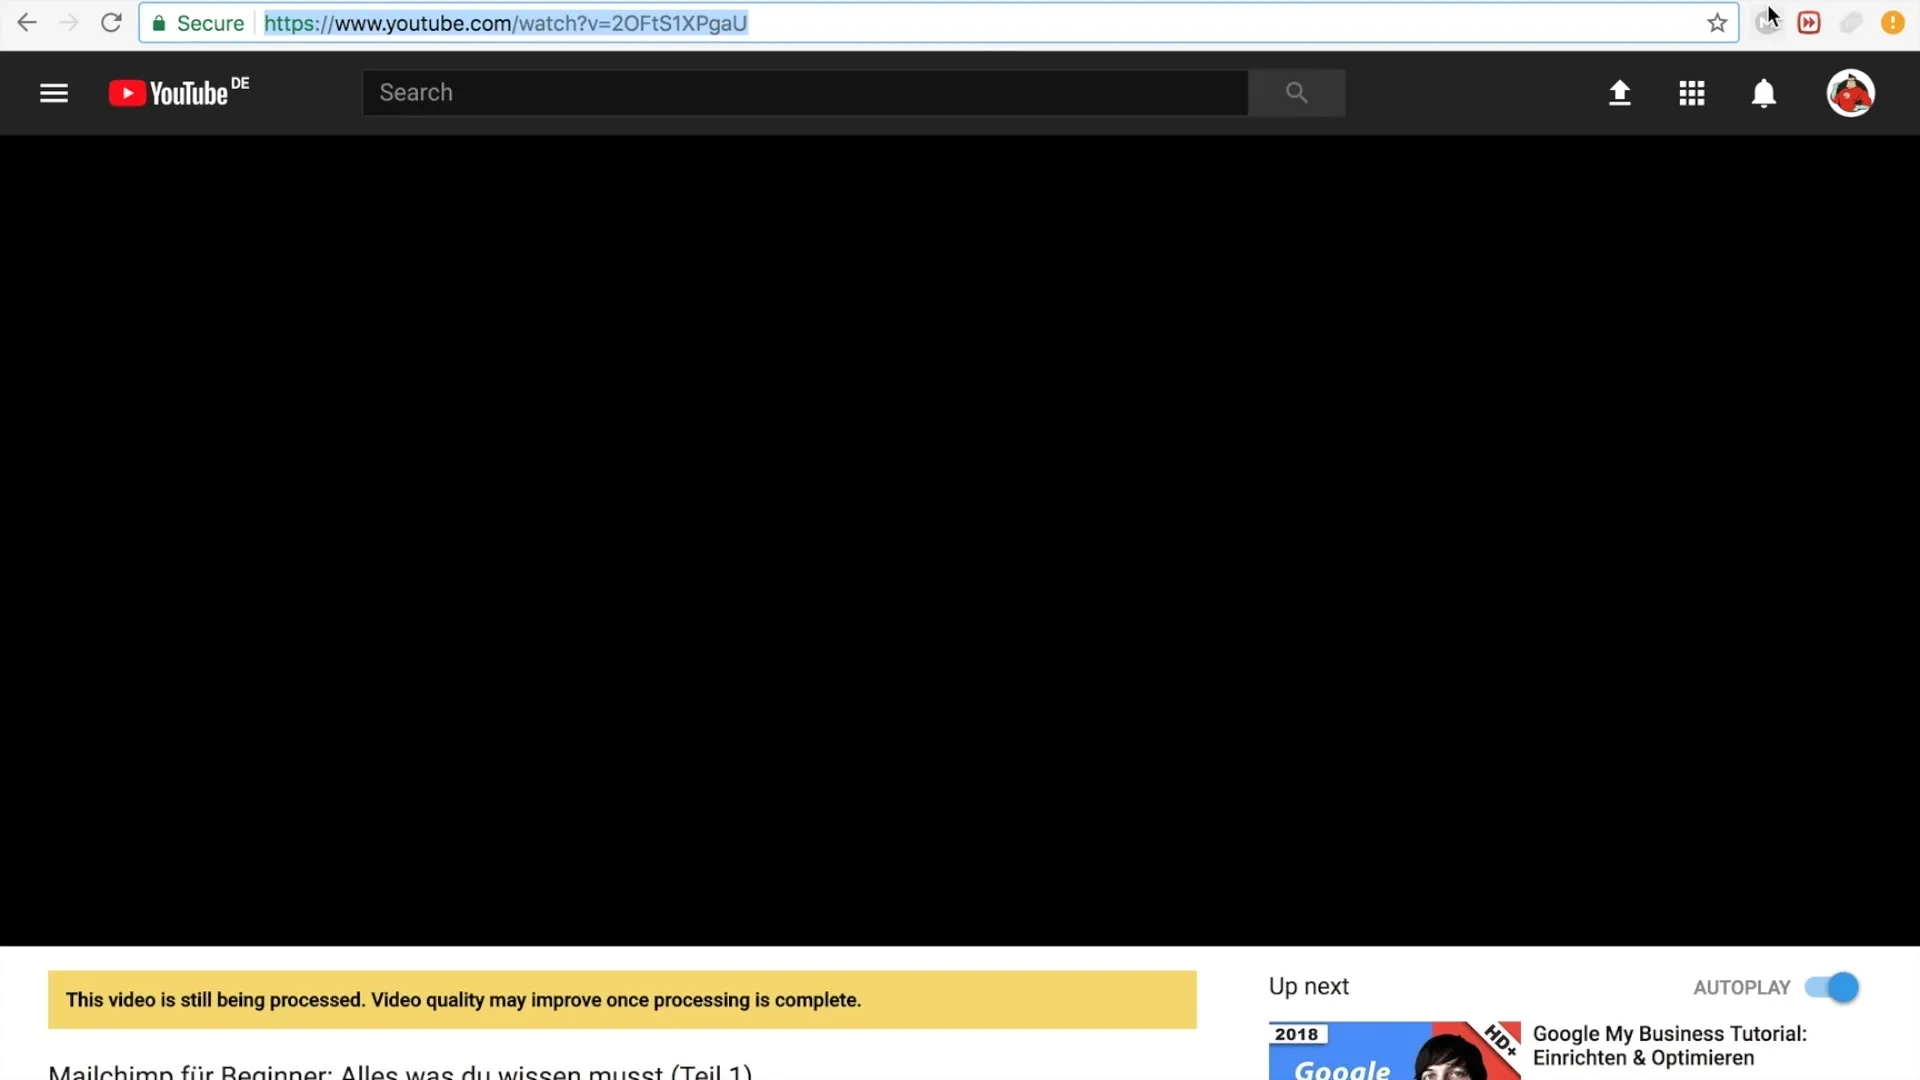
When referencing your Facebook account, it is useful to add relevant links. Copy the link to your YouTube tutorial and paste it into the note to make it easier for readers to access.
Step 8: Sign your Note
You can sign your note with your name or the name of your brand. For example: "Best regards, Leon Schotari" or "The Teaching Hero Team". This will give the note a personal touch.
Step 9: Publish the Note
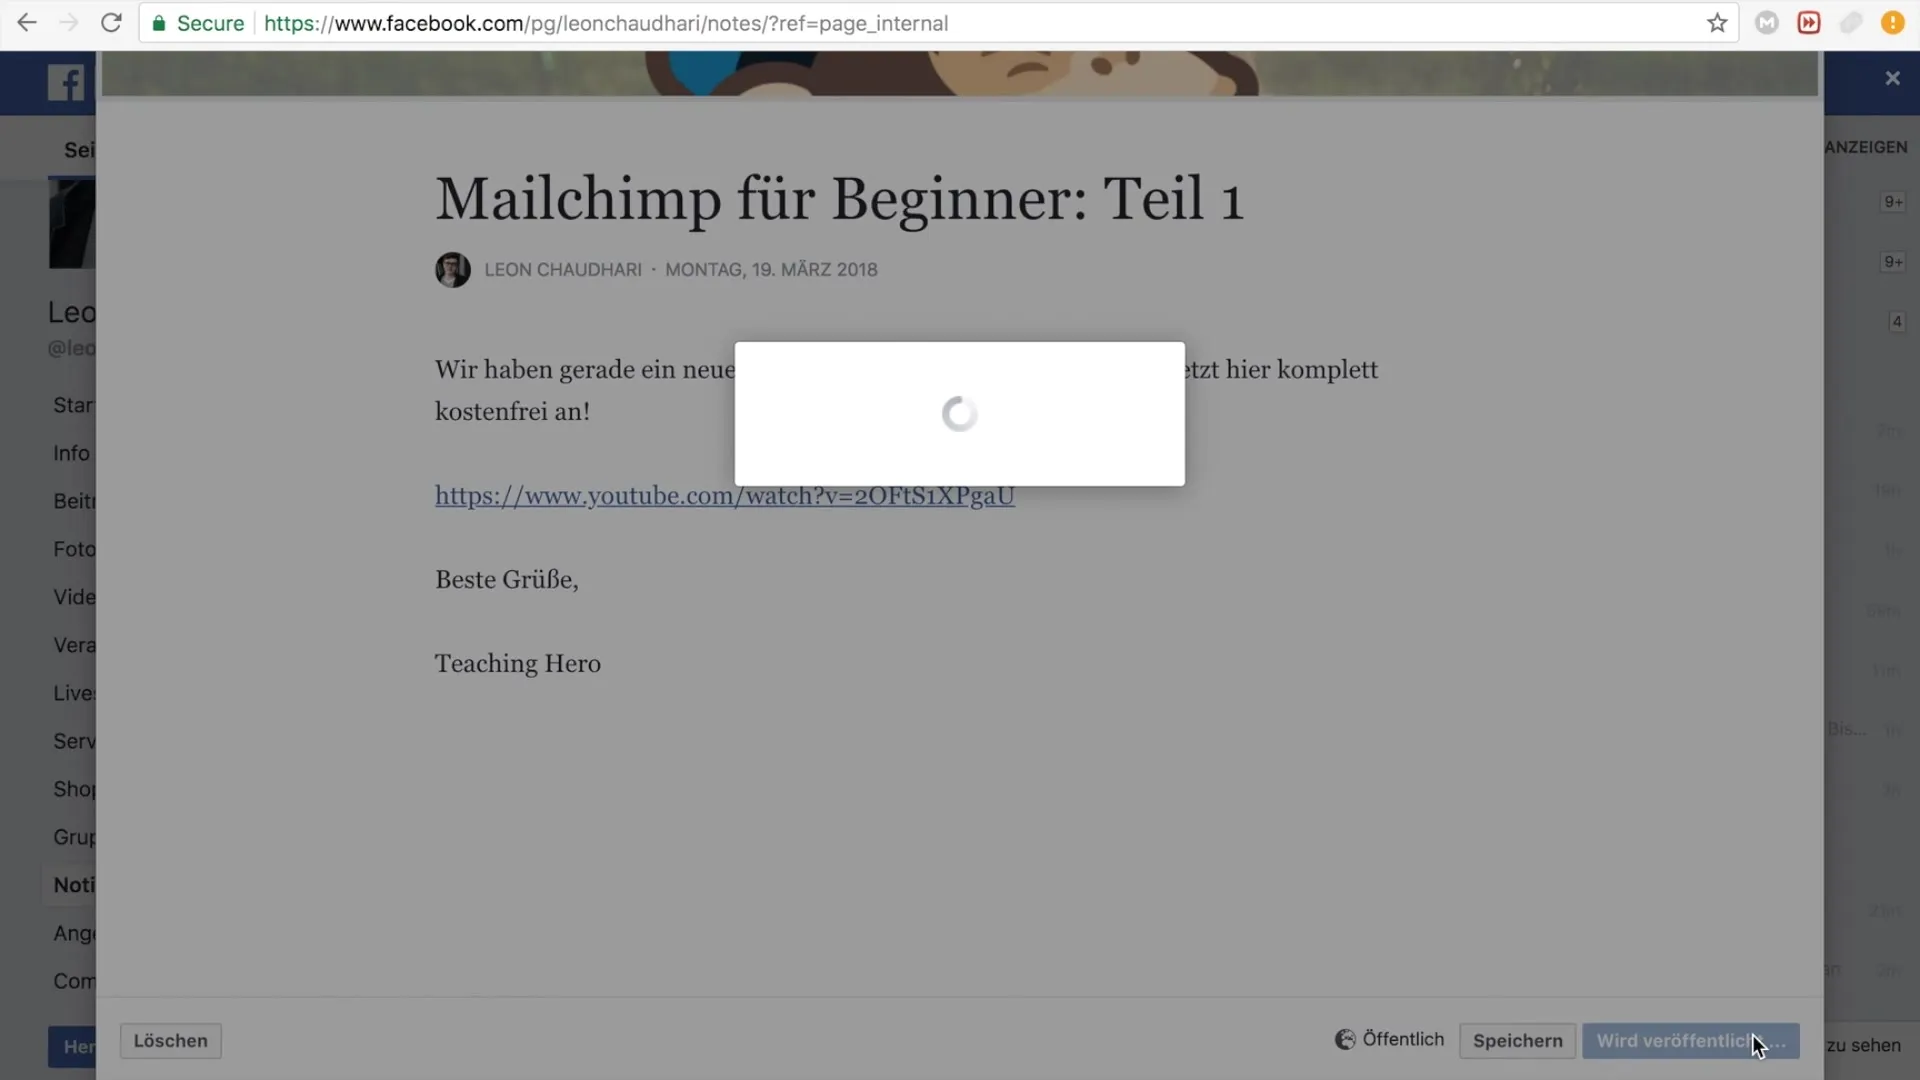
After inserting all content and reviewing the note, click "Publish". Your note will now be visible on your Facebook page and can be accessed by other users.
Step 10: Review your note
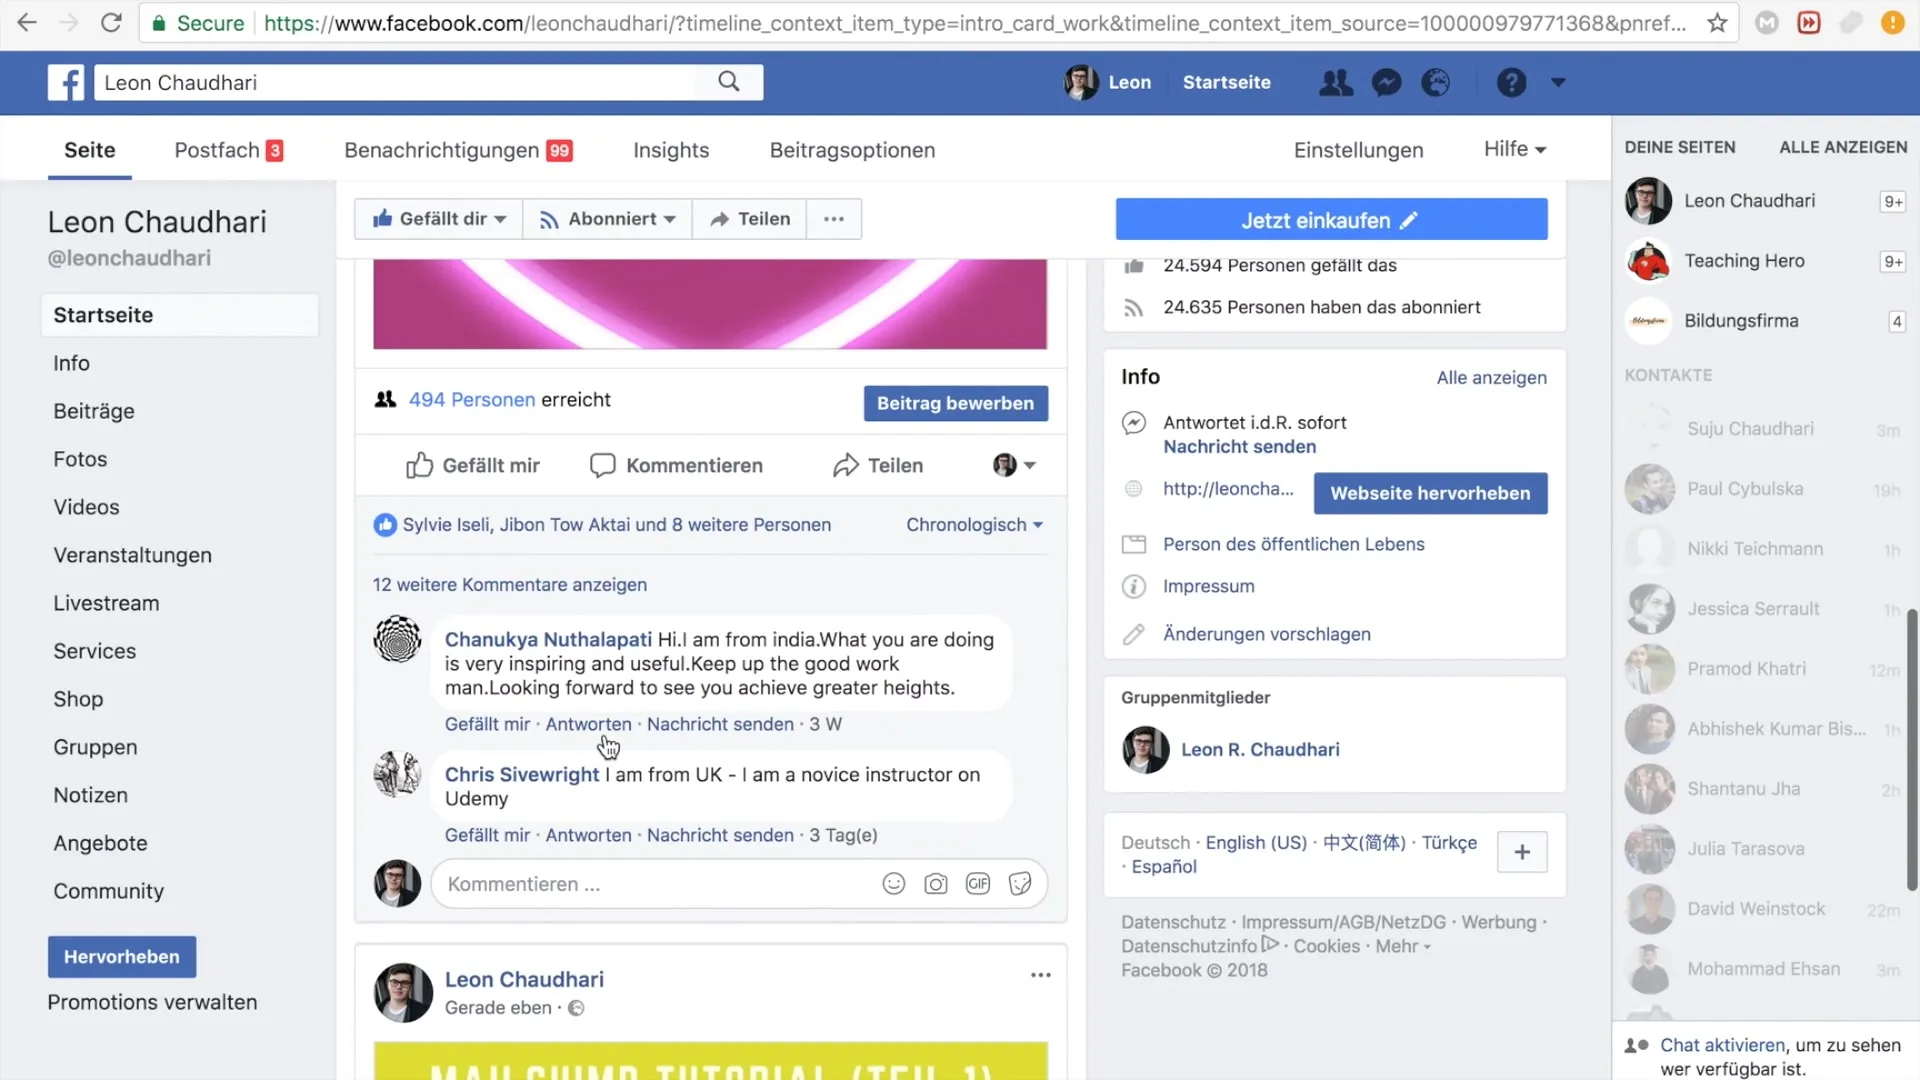
It is worth checking a publication. Go back to your page and make sure the note is displayed correctly and the links work.
Summary
With this guide, you have learned the steps to create notes on your Facebook page and thus present content in an engaging and structured way. By using images, informative texts, and useful links, you can increase engagement with your target audience and effectively share your content.
Frequently Asked Questions
How can I add a note to my Facebook page?You can add a note by clicking on "Notes" in your page's navigation area and then selecting "Add Note".
Can I insert images in my Facebook notes?Yes, you can upload photos when creating a note to increase visual appeal.
Are my notes visible to everyone?Yes, once published, your notes are visible to all users who visit your page.
What can I present in a note?Notes are great for articles, tutorials, tips, or announcements. You can combine links, texts, and images.
Does sharing notes lead users to other pages?Yes, you can add links to other pages or content, such as YouTube videos, in your notes to provide users with additional information.
