In this tutorial, a DVD cover is designed which is already being used as a product cover.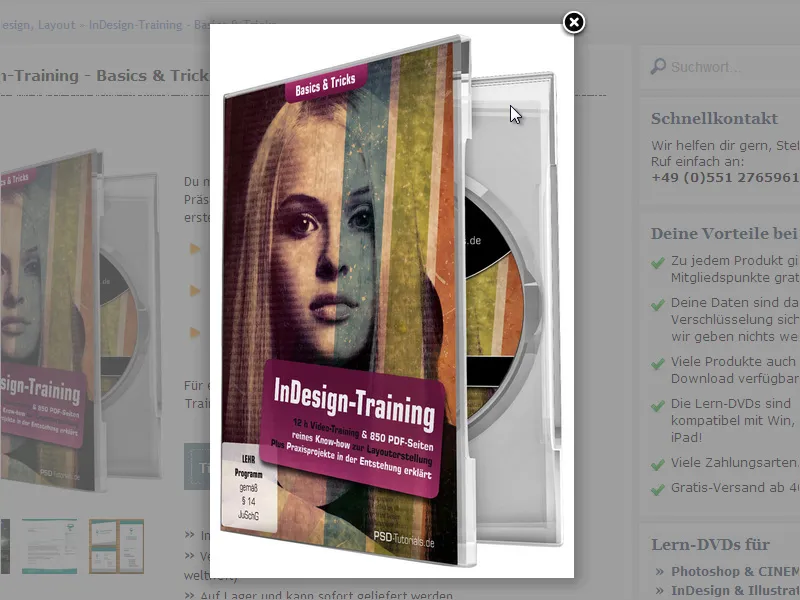
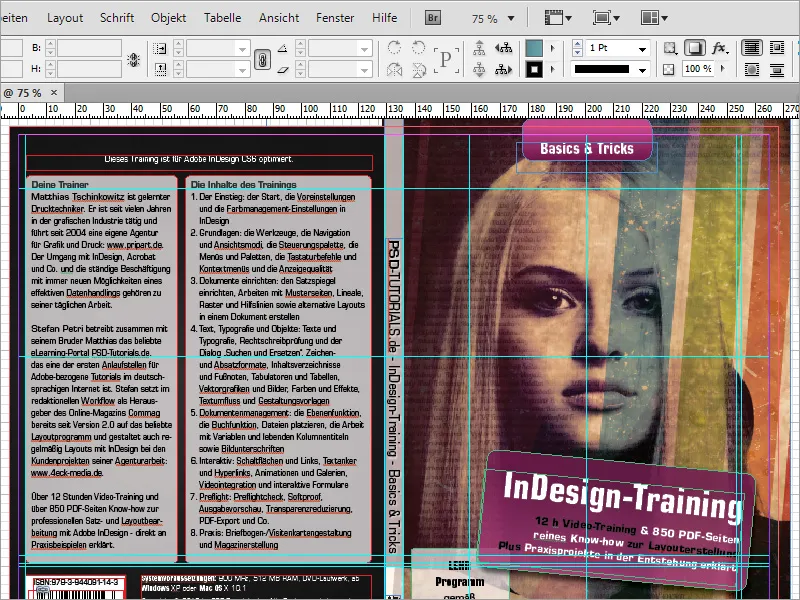
In InDesign, the cover will look like this once it has been completed:
However, you may need to edit the stock photo beforehand. The best way to do this is to use an image editing program such as Adobe Photoshop.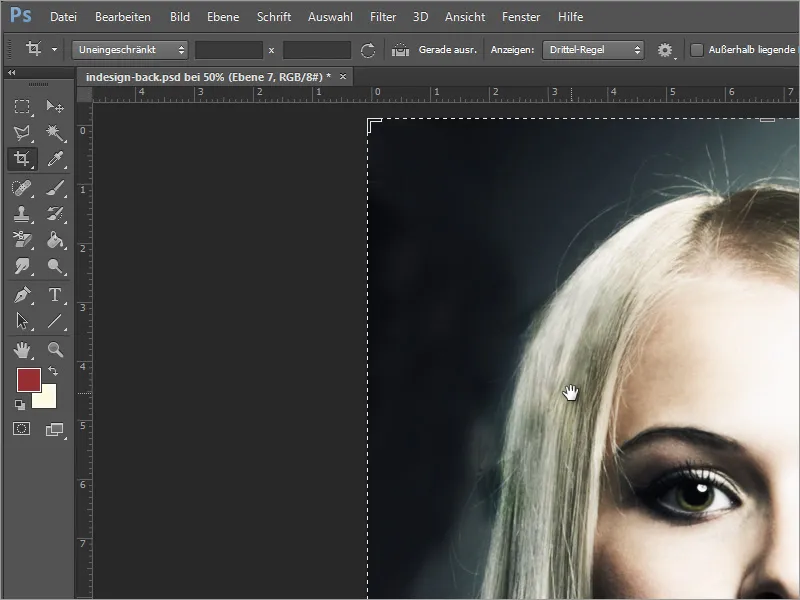
Using our example, I would like to briefly explain what has been changed in this image. The original image was a stock image from the Fotolia image database.
One of the tasks was to remove the superfluous hair. This was done with a brush by roughly painting over the unwanted areas of the image..webp?tutkfid=75577)
Shading was added below the image to create a kind of texture based on text and masking.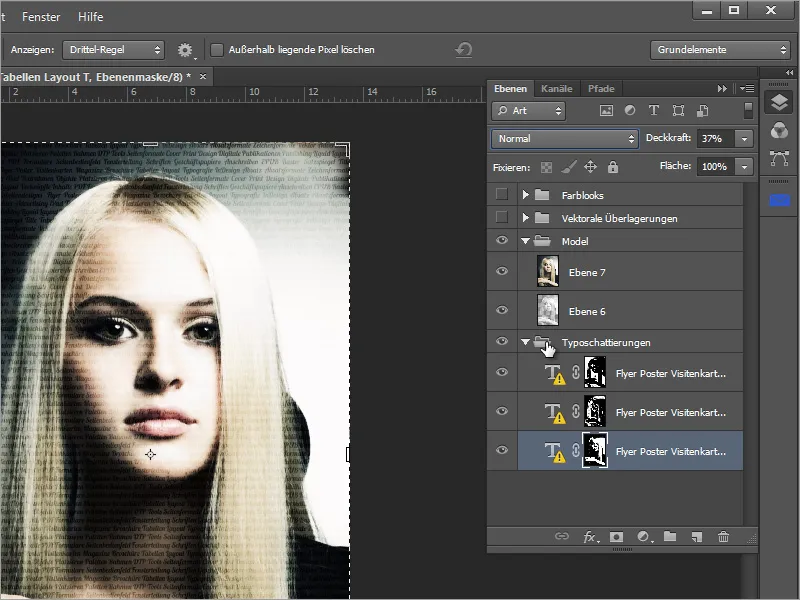
A few colored vector lines were added above the portrait.
These are also based on a purchased image.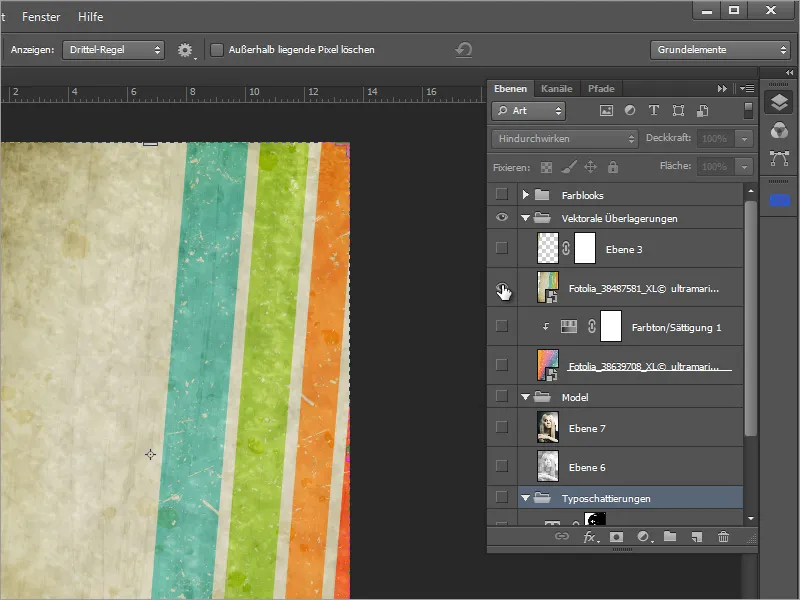
All these layers were combined with each other. Finally, a few correction layers were added to adjust the color look.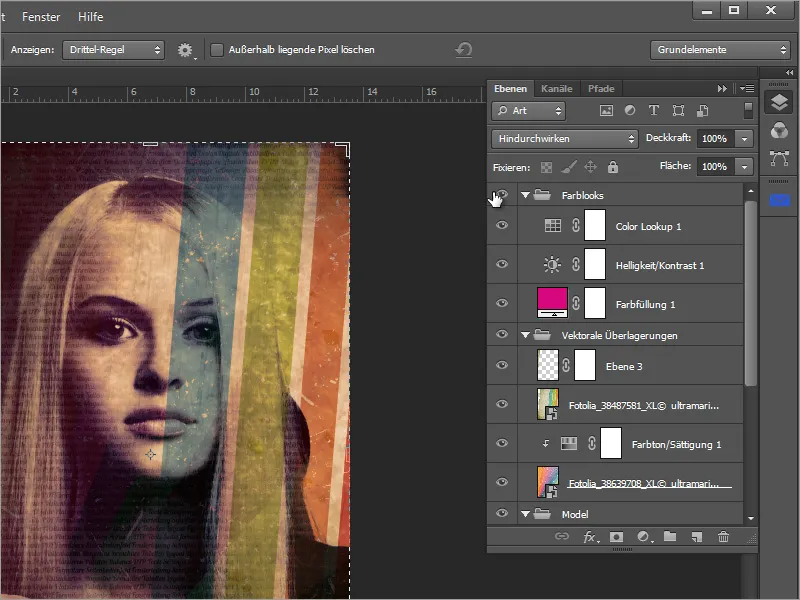
It was important to us that this cover image could be linked to InDesign and the word processor. The text is therefore of particular importance.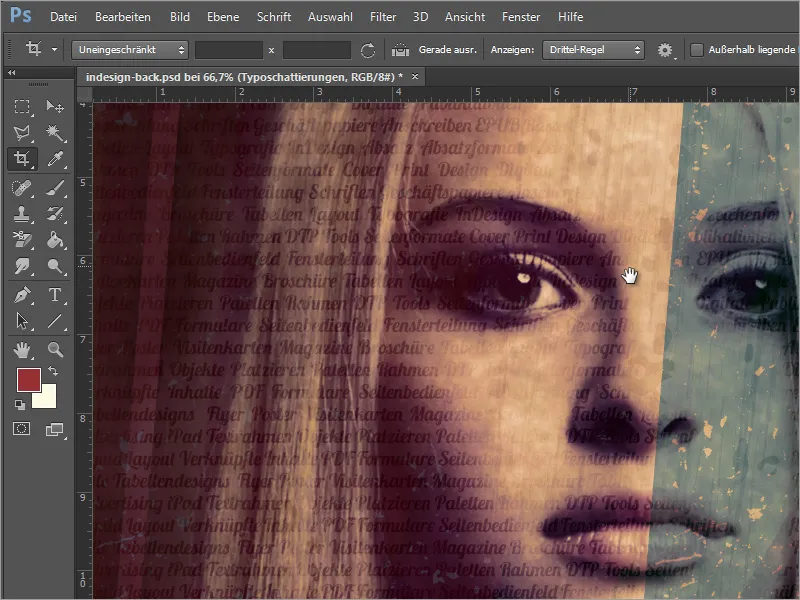
Once the cover photo has been prepared, you can start creating the document in InDesign. Start the program and create a new working document. As the cover is intended for a slim DVD case, you will need an adjusted document format of 265 mm in width and 183 mm in height. The bleed is preset to 3 mm.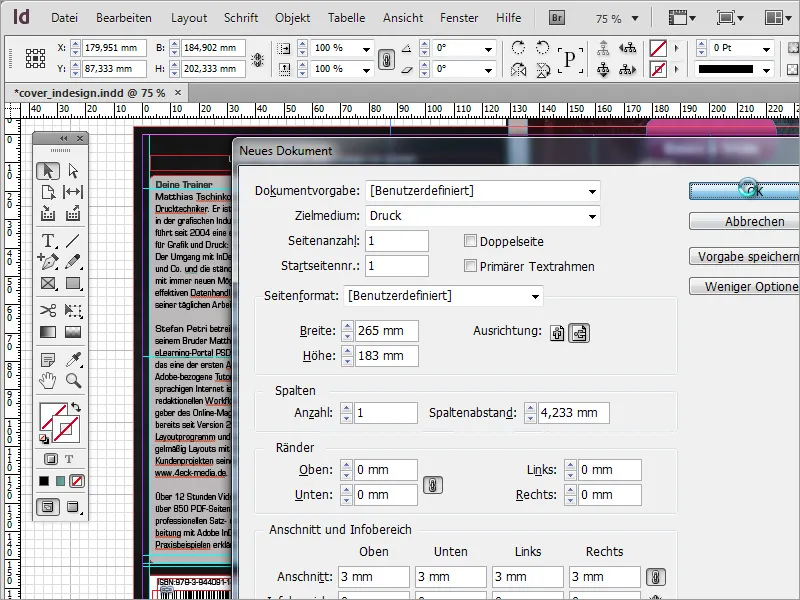
The new document is now created and shows both the working area in a dark line and the bleed.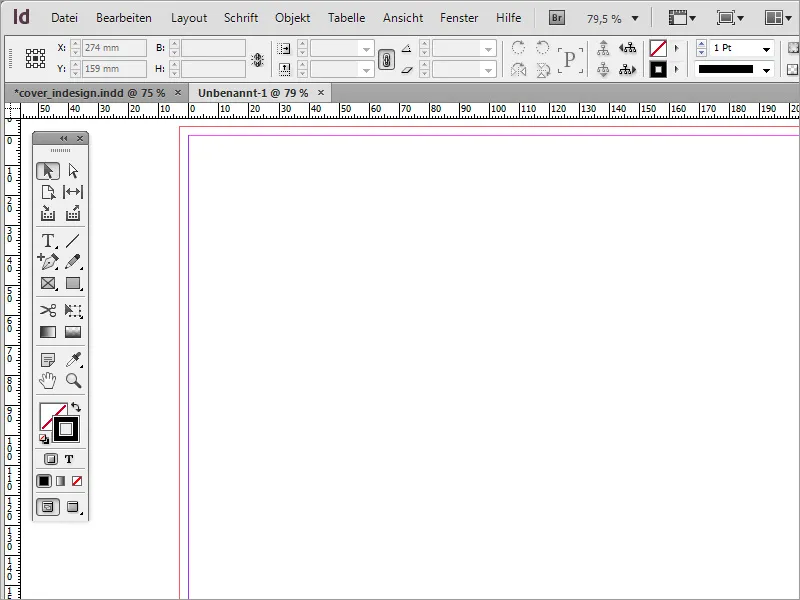
First, however, the decorative elements of the cover, for example the "Basics and Tricks", should be created.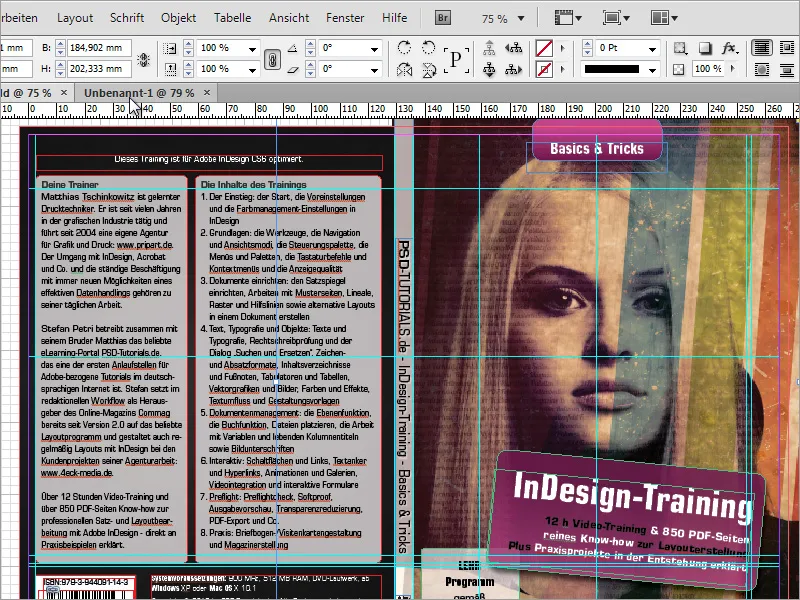
To ensure that these elements are placed correctly, you will need a little visual aid. The gutter in the middle of the DVD should be marked with 2 auxiliary lines (position 129.3 and 135.9 mm on the X-axis). The exact dimensions for the placement must be requested from the print shop in advance. Some inserts can do without and are simply folded over.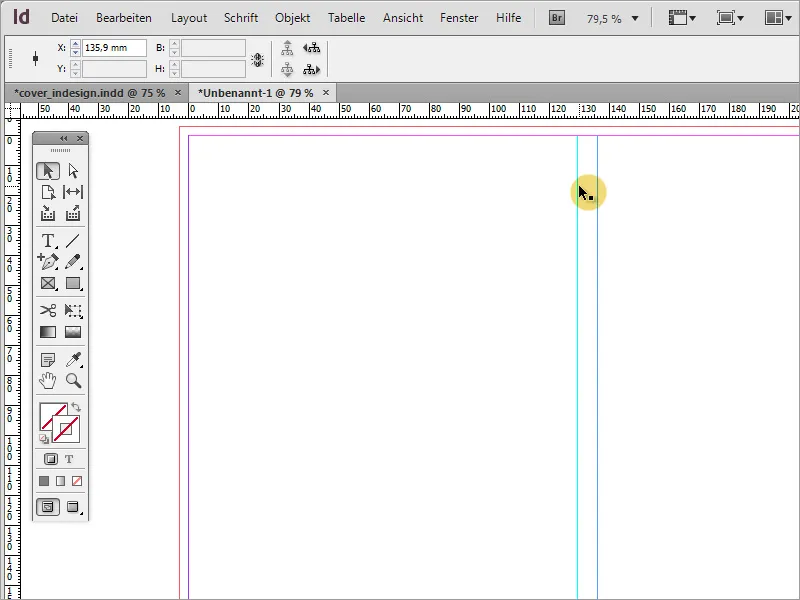
As a further visual aid, you should also add a guide line to the DVD title page, which is placed exactly in the middle. The problem here is how to determine the center of the object. To do this, simply draw an auxiliary object in the form of a rectangle that extends from the edge of the page to the auxiliary line of the DVD spine. Now you can drag another guide line into the document and align it with the center axis of the rectangle.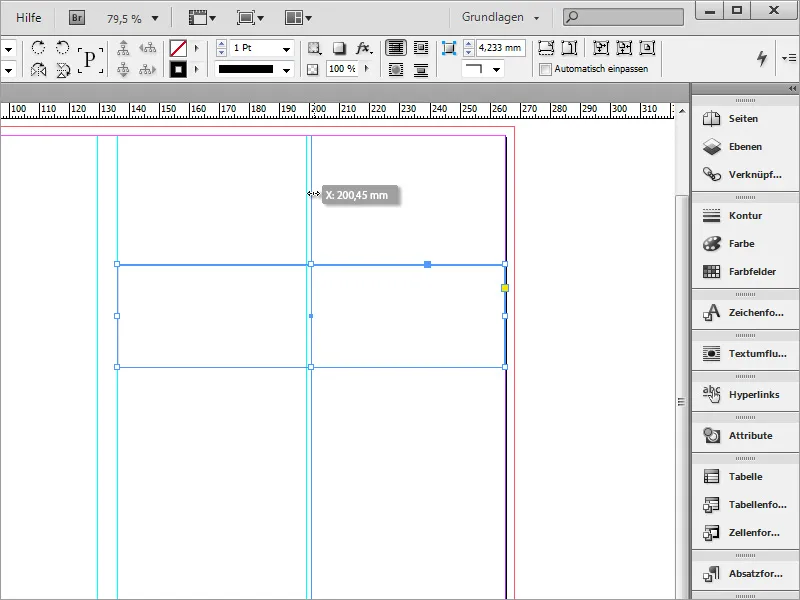
This guide should automatically snap into the center. If this does not happen, the corresponding option in InDesign is still deactivated. You can activate this function at any time using the key combination Ctrl+U or via the View>Grid and Guides>Intelligent Guides menu. Once the guide has been placed, the guide object can be deleted.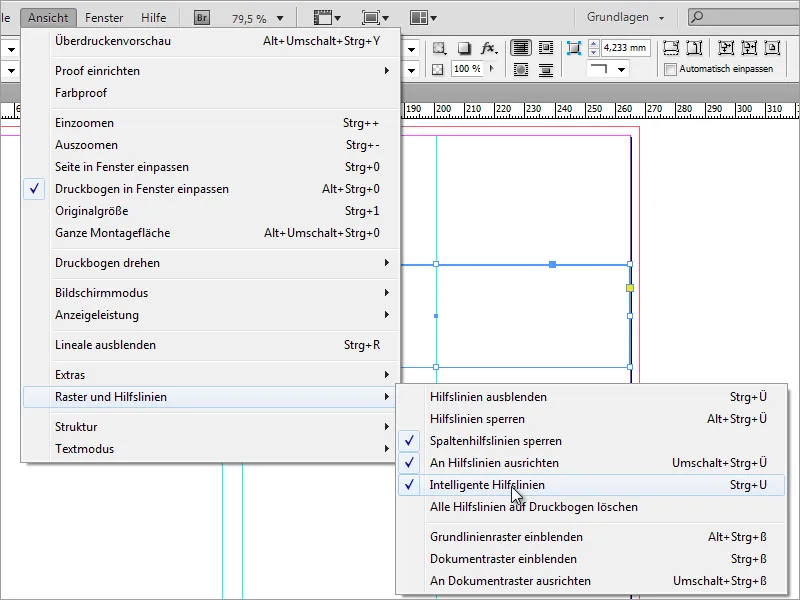
The first eye-catcher is now placed. To do this, use the rectangle tool and hold down the Alt key to draw a rectangle above the DVD cover, starting from the center guide.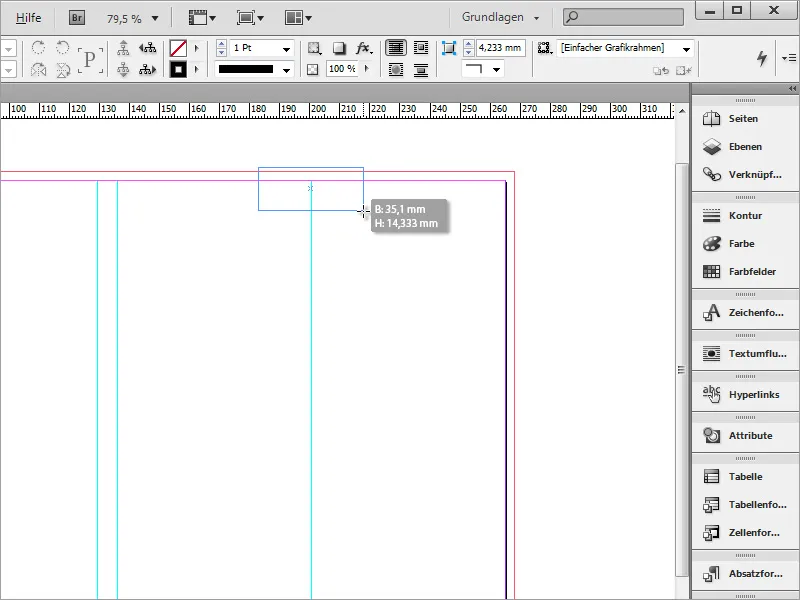
To give the object rounded corners, go to the menu item Object>Corner options. In the dialog box, set a corner radius of approx. 5 mm. Select the Preview radio button to get a preview of the corners. You can select a corner shape for each corner from the drop-down selection field. If the chain symbol in the middle of this dialog box is active, all corners will change equally.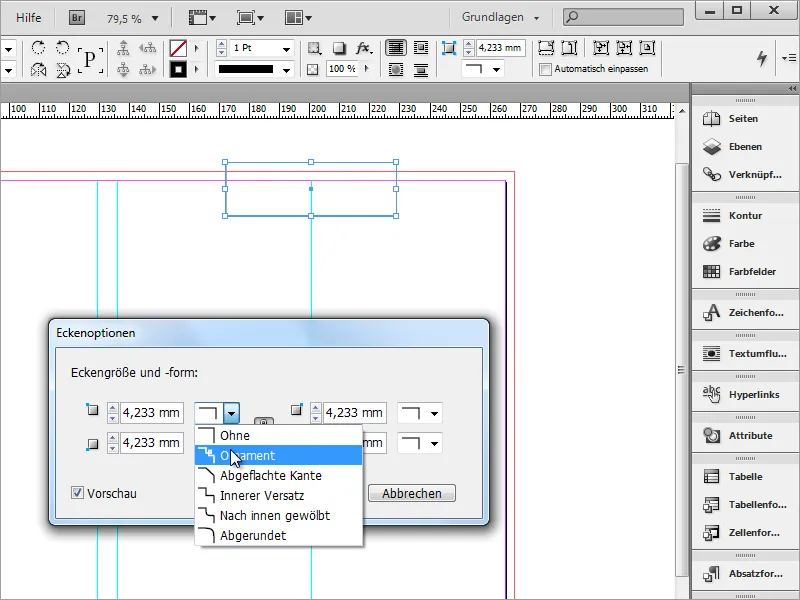
You should now save your document if you have not already done so.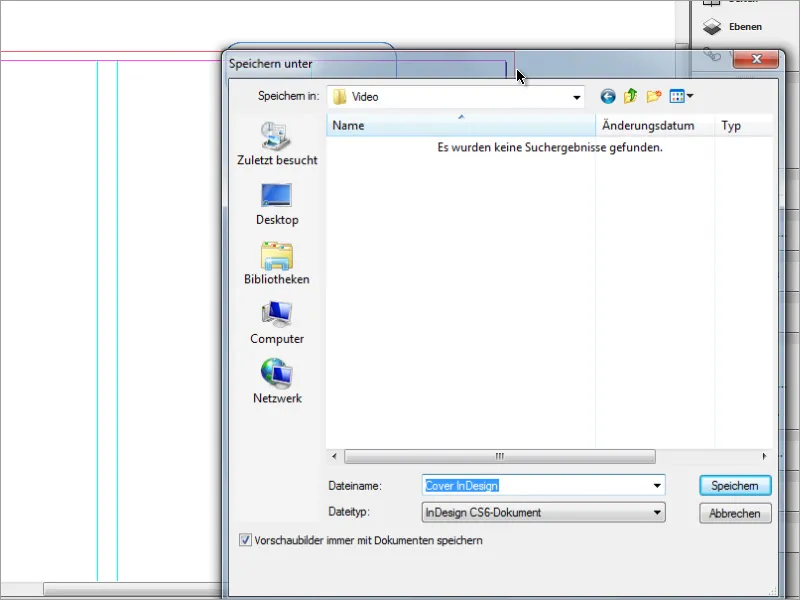
This object should now be given a color gradient. To do this, I first call up the color fields palette and make sure that the required colors have been created. If not, you can easily create and define new colors using the New icon or edit existing colors by double-clicking on them.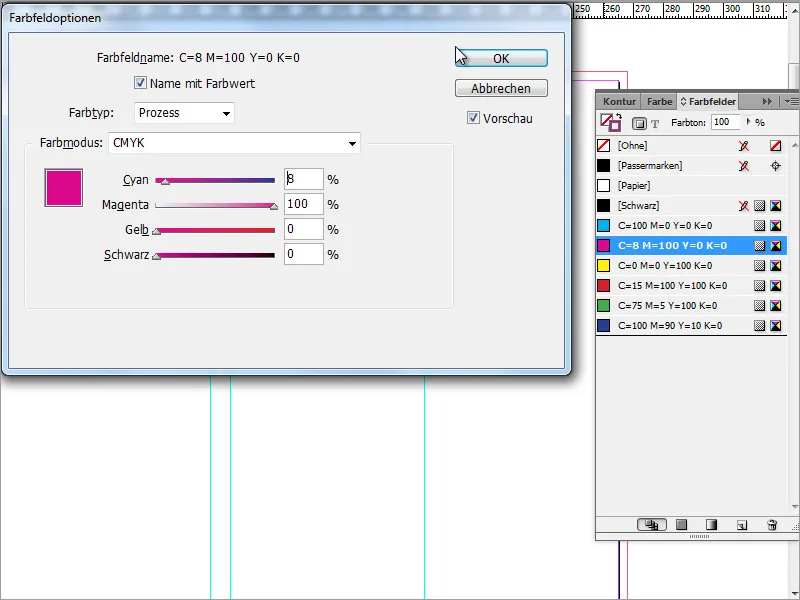
A copy of the color you just created is created. To do this, simply drag the desired color field onto the new icon in the color field palette. You can then edit this color and, for example, make it slightly darker by increasing the amount of black.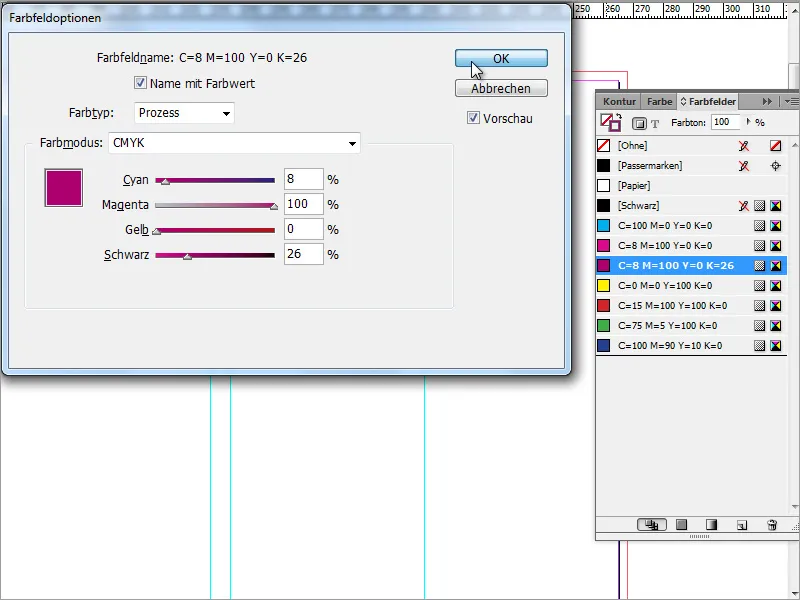
The new gradient must now be created. There is a button with a submenu in the top right-hand corner of the color swatches palette. In this submenu, select the New gradient field entry.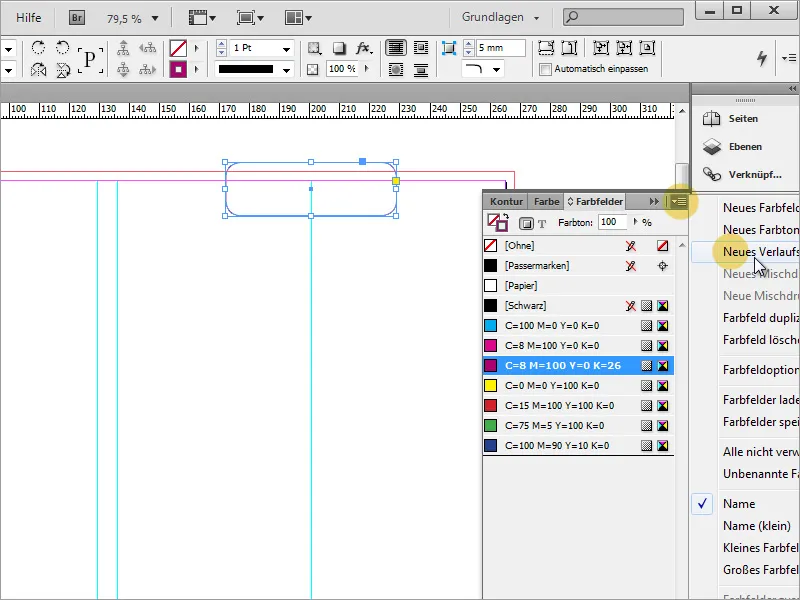
You can create a gradient in the dialog box that then appears. First, you should assign a unique name. Once this is done, simply click on one of the color thumbnails in the gradient bar.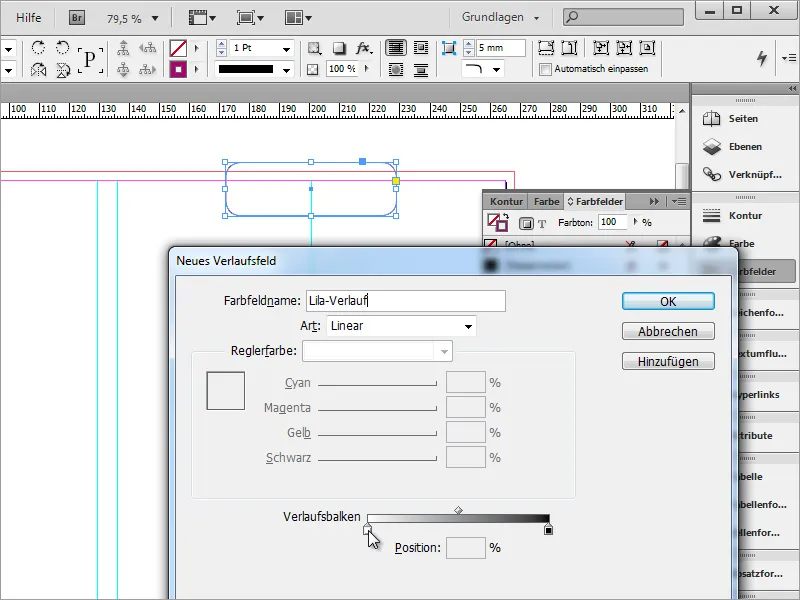
This will activate the Slider color dialog box. Now select the color fields from the drop-down selection field. Define the start of the gradient by selecting a color.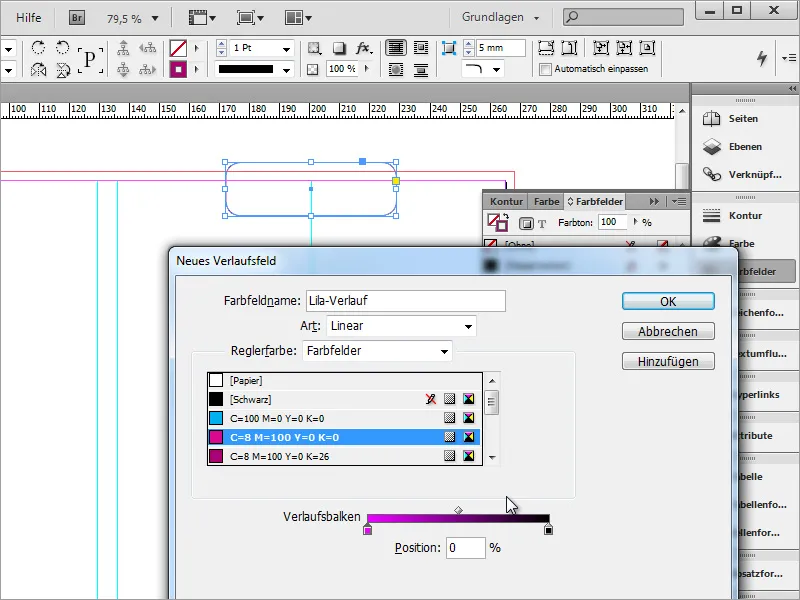
You must now repeat the same for the opposite side of the gradient bar. A color fade - a color gradient - is set between these two colors.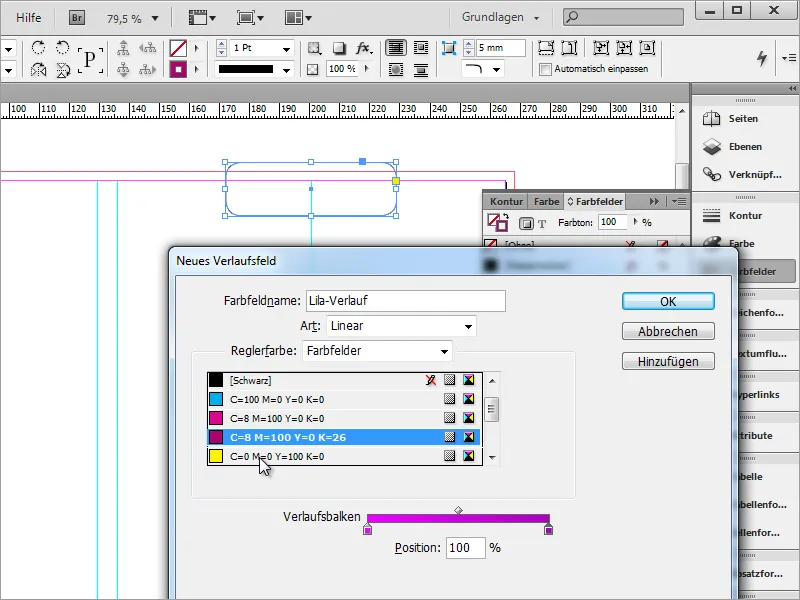
Next, you need to change the coloring option in the color fields palette from contour to area. To do this, click on the small thumbnail in the top left-hand area. As soon as this has been successfully changed, the rounded rectangle will be colored with the new gradient.
The gradient must now be changed in the gradient direction. You can use the gradient color field tool to redefine the gradient direction. Hold down the Shift key and drag from top to bottom to create a straight gradient at a 90-degree angle. In the swatches palette, make sure that the fill color is selected.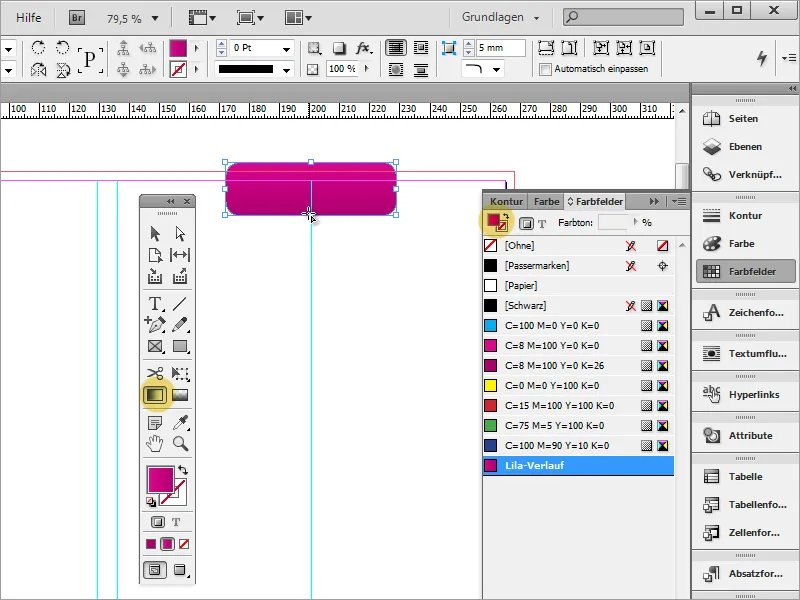
If you now switch the view from draft mode to preview mode, you will see the result a little better, as distracting auxiliary, object and document boundary lines are hidden.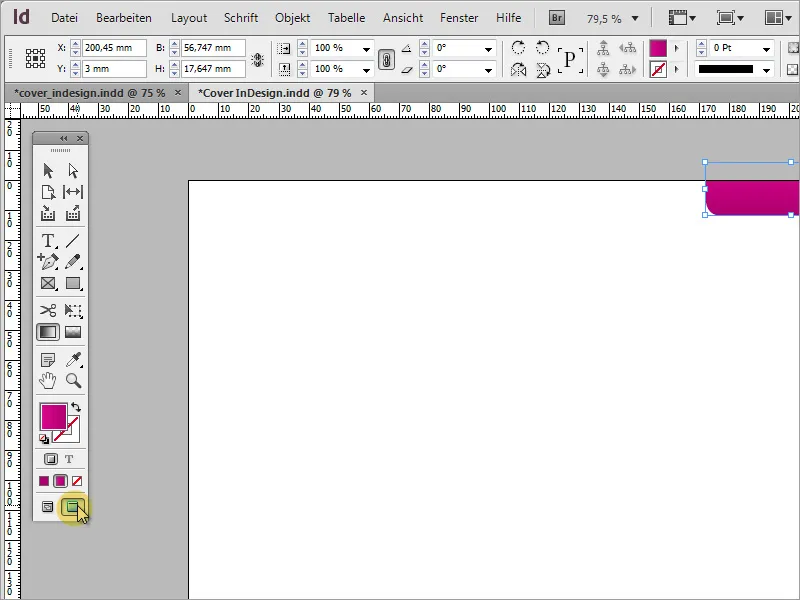
The upper corners of the object are too close to the printable area. Now there are several solutions to this problem. The first is to stretch the object upwards.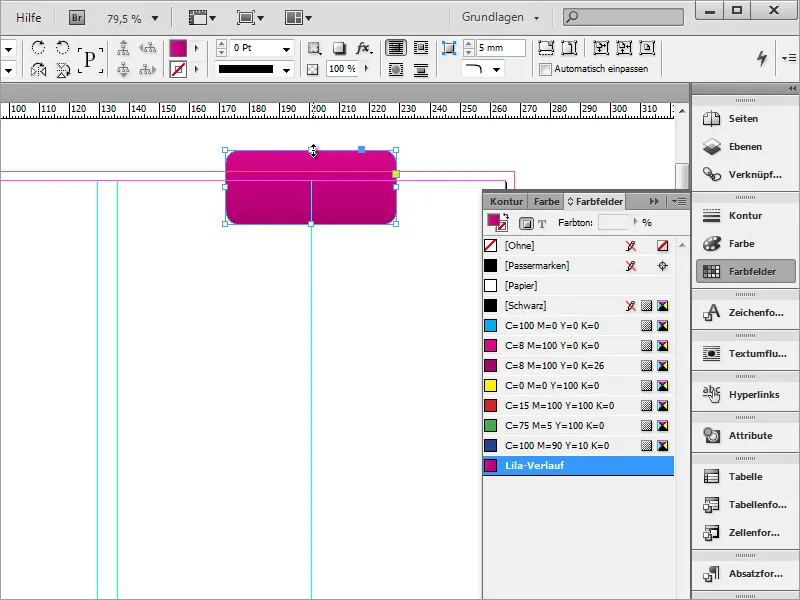
Alternatively, you can also change the top corners from rounded to square or the value 0 under Objects>Corner options. To do this, you only need to remove the chain symbol in the dialog box so that each corner can be set individually and then adjust the corner mode.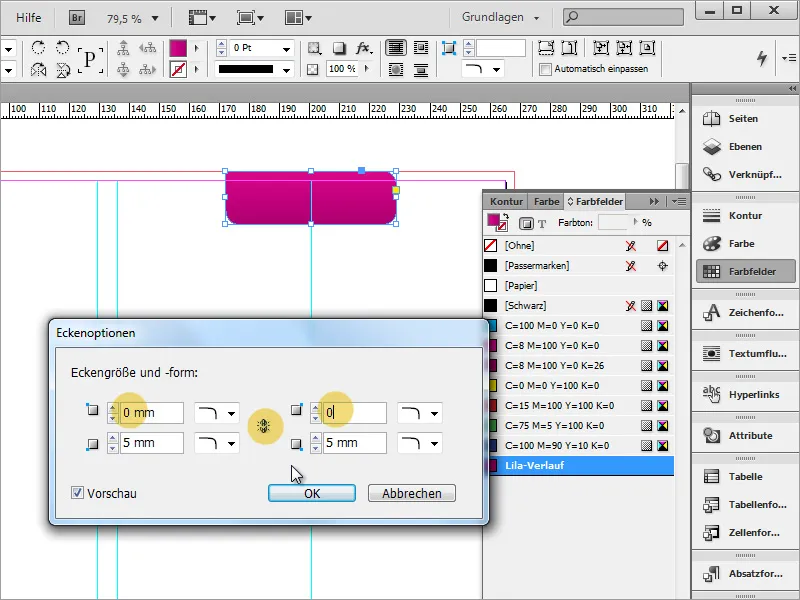
Now that the object has been shaped, you can start creating the text content. To do this, simply click on the rectangle object with the text tool and enter the desired text content.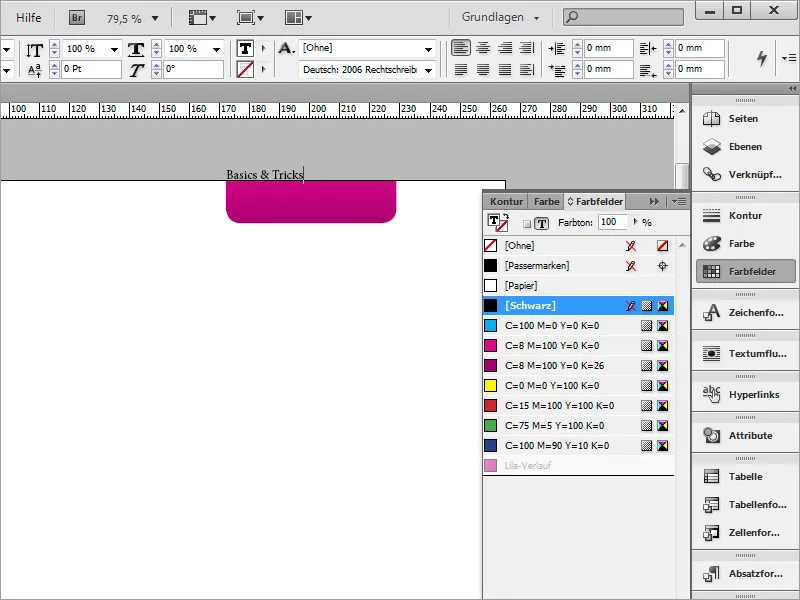
Then format the text in font size and font. For the cover, the Eurostile LT Std font was used in Bold Condensed style and 16 pt font size centered in white.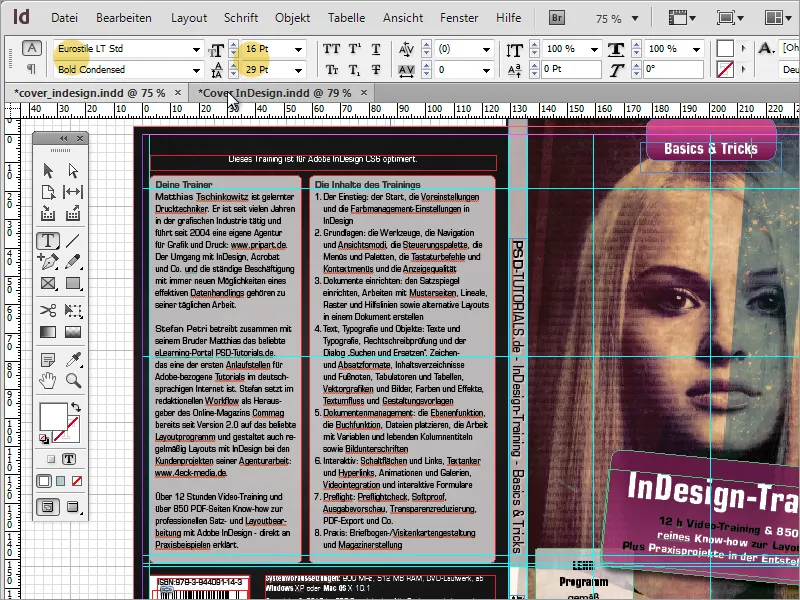
Although the text is nicely formatted, it is still too high up and therefore protrudes out of the printable area. To prevent this from happening, you can first select the text area with the selection tool and use the context menu to select the Text frame options entry.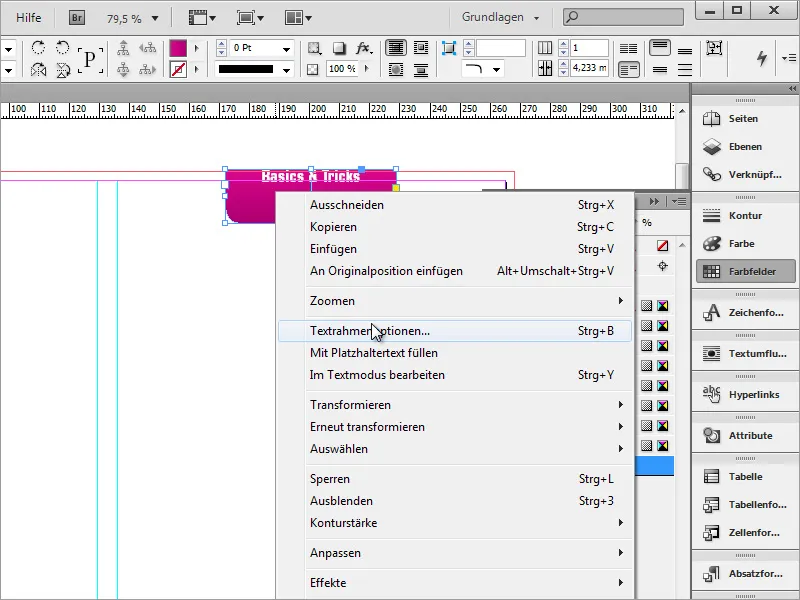
In this dialog box, you can determine the vertical text alignment. Set the option to Centered so that the text slides down.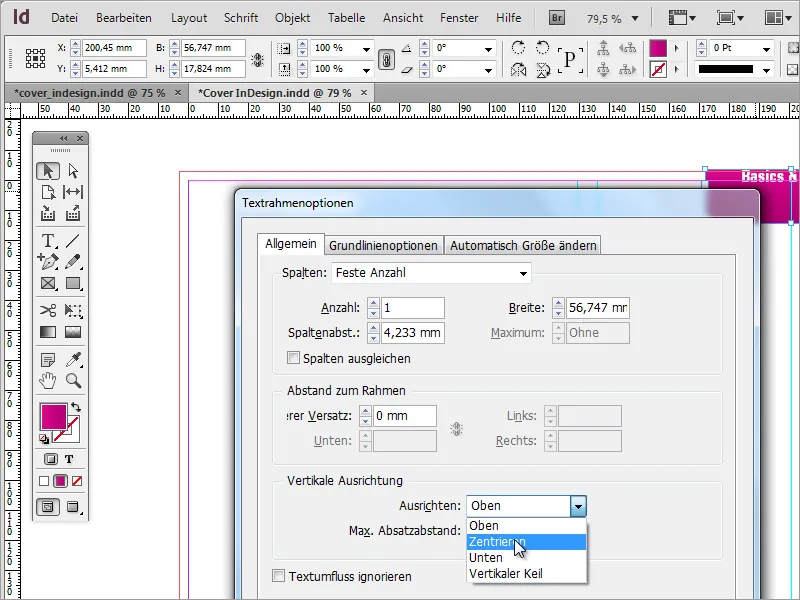
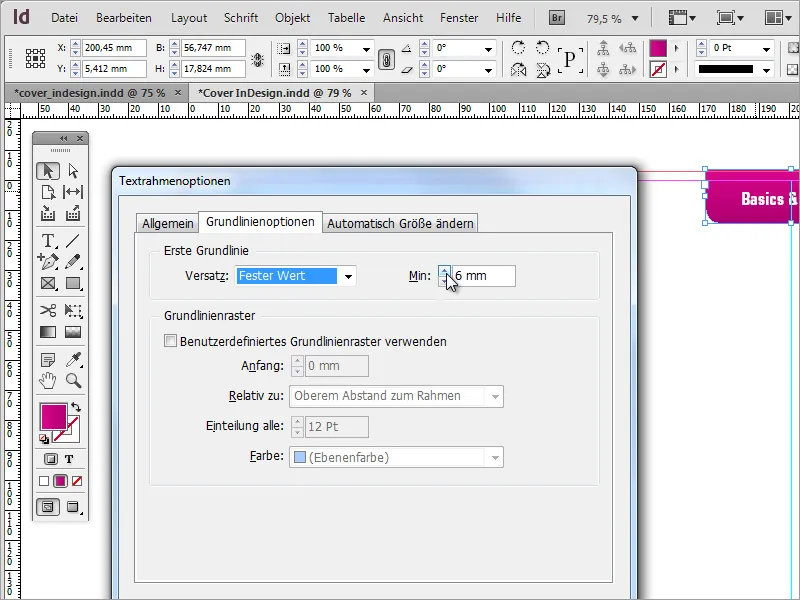
In the Baseline options tab, you can also change the first baseline of the document and set it to a fixed value. As the text normally moves with the baseline, you can fine-tune it again here with a user-defined value.