The first steps in web development with React can be an exciting challenge. You are here because you want to learn how to quickly and efficiently set up your development environment and start your first project. This guide will walk you through the steps needed to create a React app using Vite as a build tool.
Key Takeaways
To set up a React development environment, you will need Visual Studio Code, Node.js, and NPM. With the right commands and tools, you can create your first React app and preview it in the browser in no time.
Step-by-Step Guide
Setting Up the Development Environment
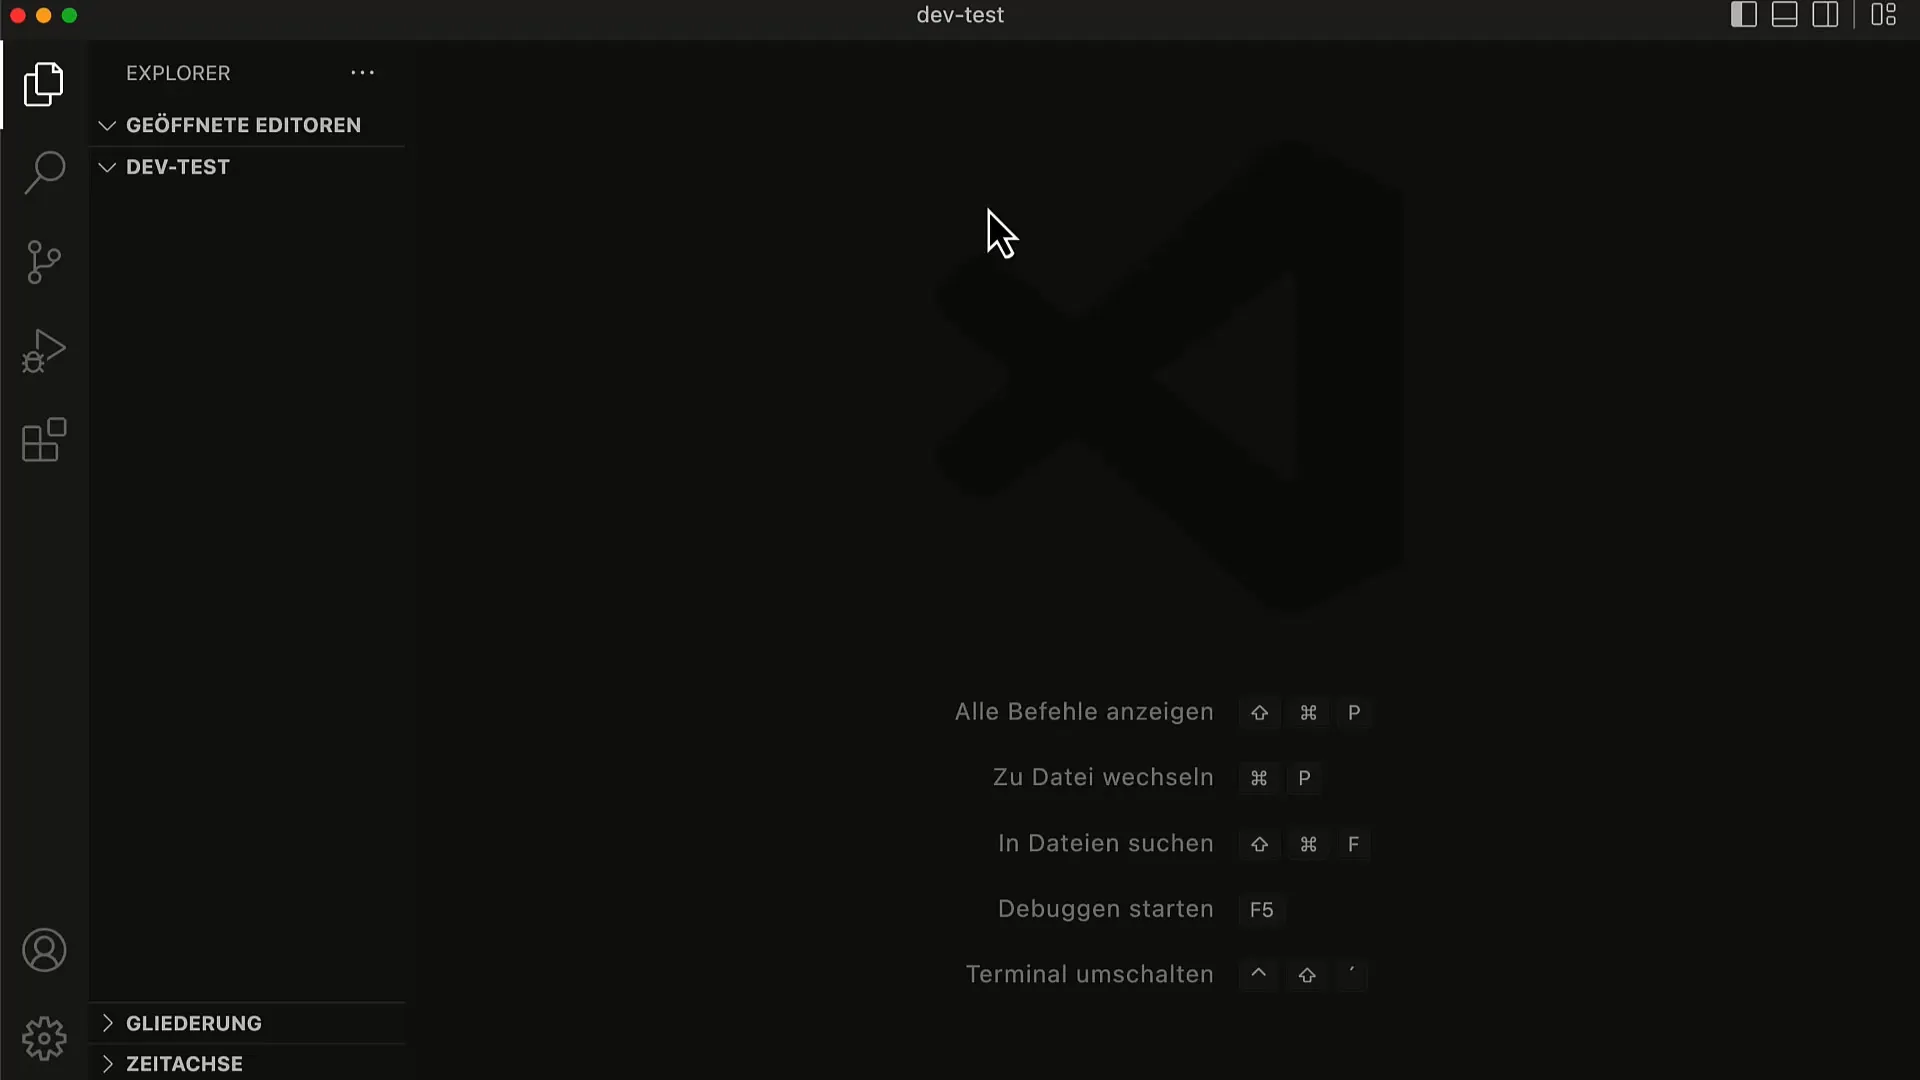
Before you start with the actual development, you need to ensure you have the right tools. First, you should install Visual Studio Code. It is a popular and free development environment by Microsoft, specifically designed for JavaScript development. To download Visual Studio Code, visit the official website and follow the instructions for download and installation.
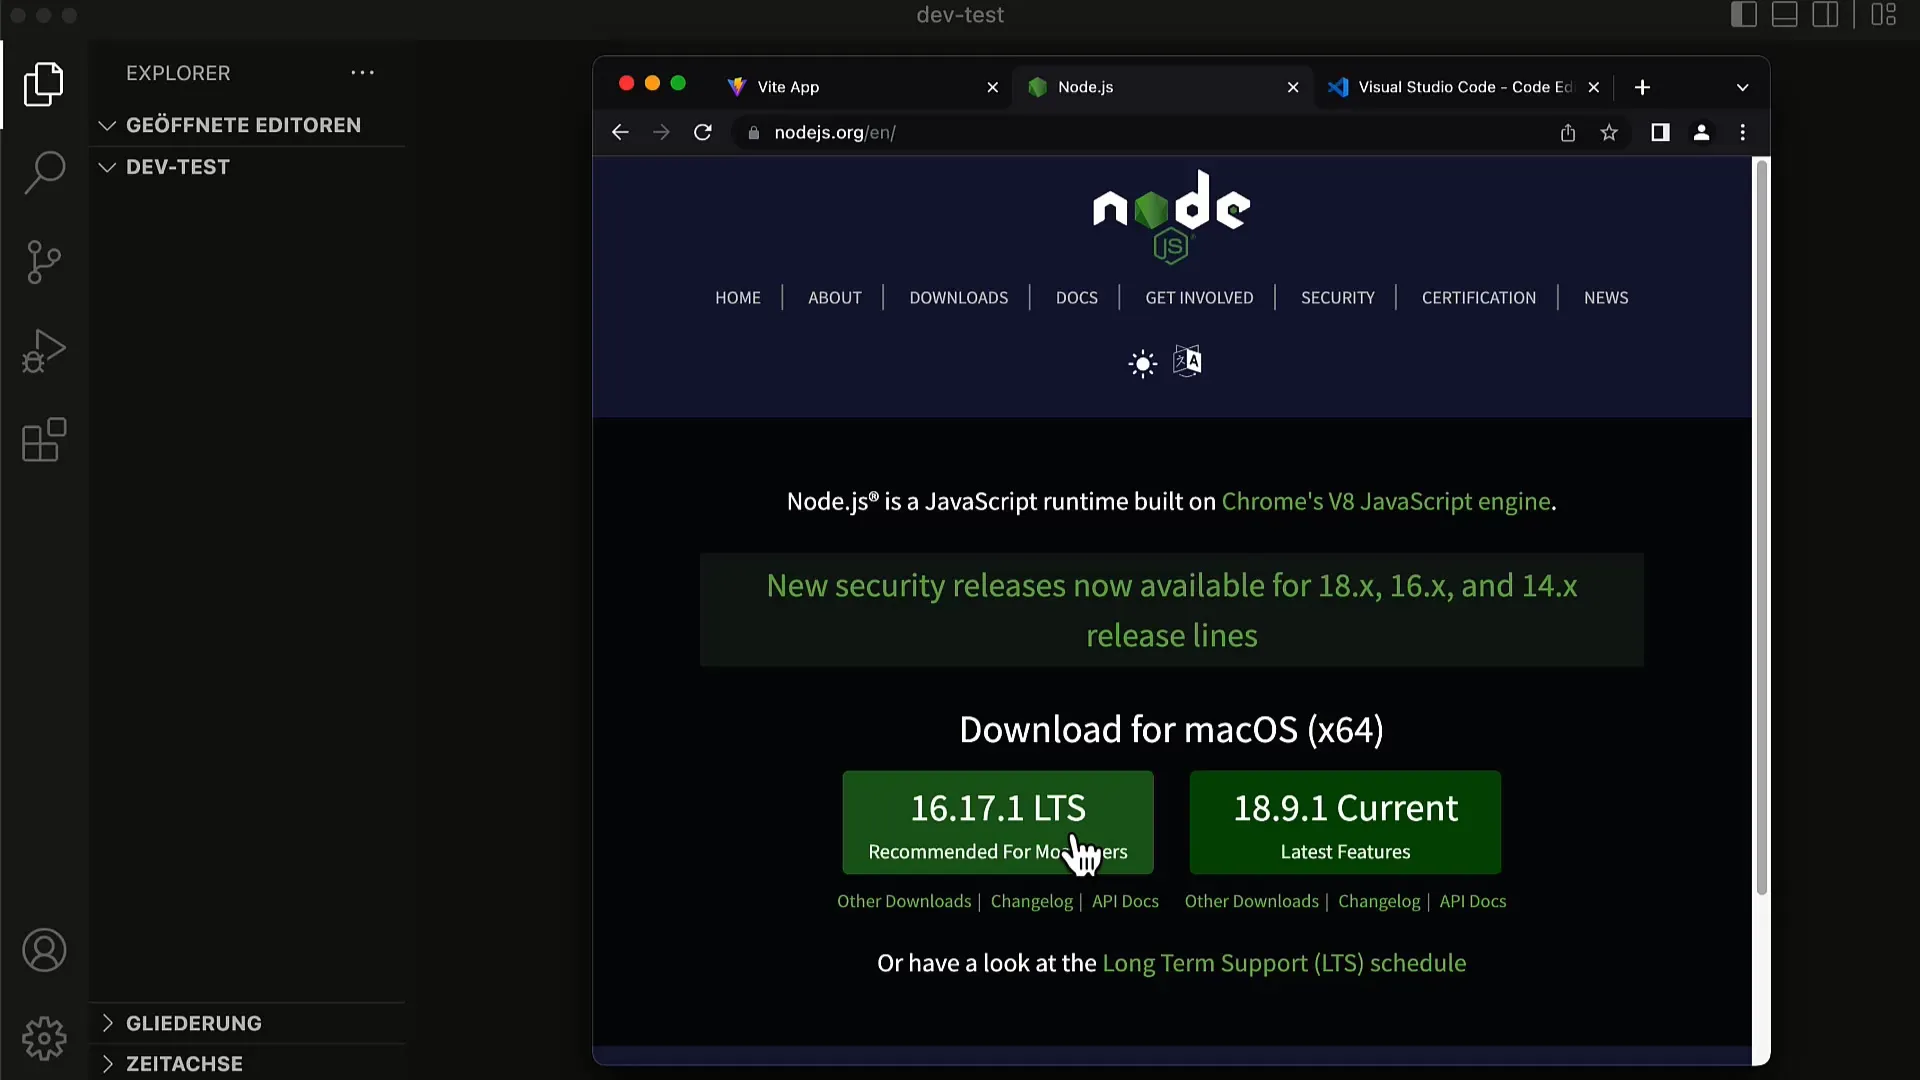
In addition to Visual Studio Code, you will need Node.js, which provides the JavaScript runtime environment, and NPM, the package manager. You can download Node.js from the Node.js website. Click on the download page and select the LTS version (Long-Term Support) to get a stable and proven version.
Installing and Verifying Node.js and NPM
After installing Node.js, you should verify that everything was installed correctly. To do this, open a terminal. You can do this directly in Visual Studio Code by going to "Terminal" and then "New Terminal." Enter the command npm -v in the terminal. If the version number does not appear, you may have an issue with the installation.
You should also ensure that Node.js is functioning properly. You can do this by entering the command node -v in the terminal. Both commands should return the installed version of NPM and Node.js.
Creating the New Project with Vite
The next step is to create a new project. For this, you will use npm create vite, followed by the name of your app. In this example, we are working with a "To-Do App." This will trigger a wizard that offers you various options. You will be asked whether you want to use React or another framework. Choose "React."
You will also be asked if you want to use React with TypeScript. For starters, it is more practical to work without TypeScript, so choose the default option "React."
Changing to the Project Directory
After the project has been successfully created, navigate to the newly created directory of your app. This can be done with the command cd todo-app. Once there, you need to install the required packages. Enter the command npm install in the terminal. This will install all necessary dependencies, including React.
Starting the Development Server
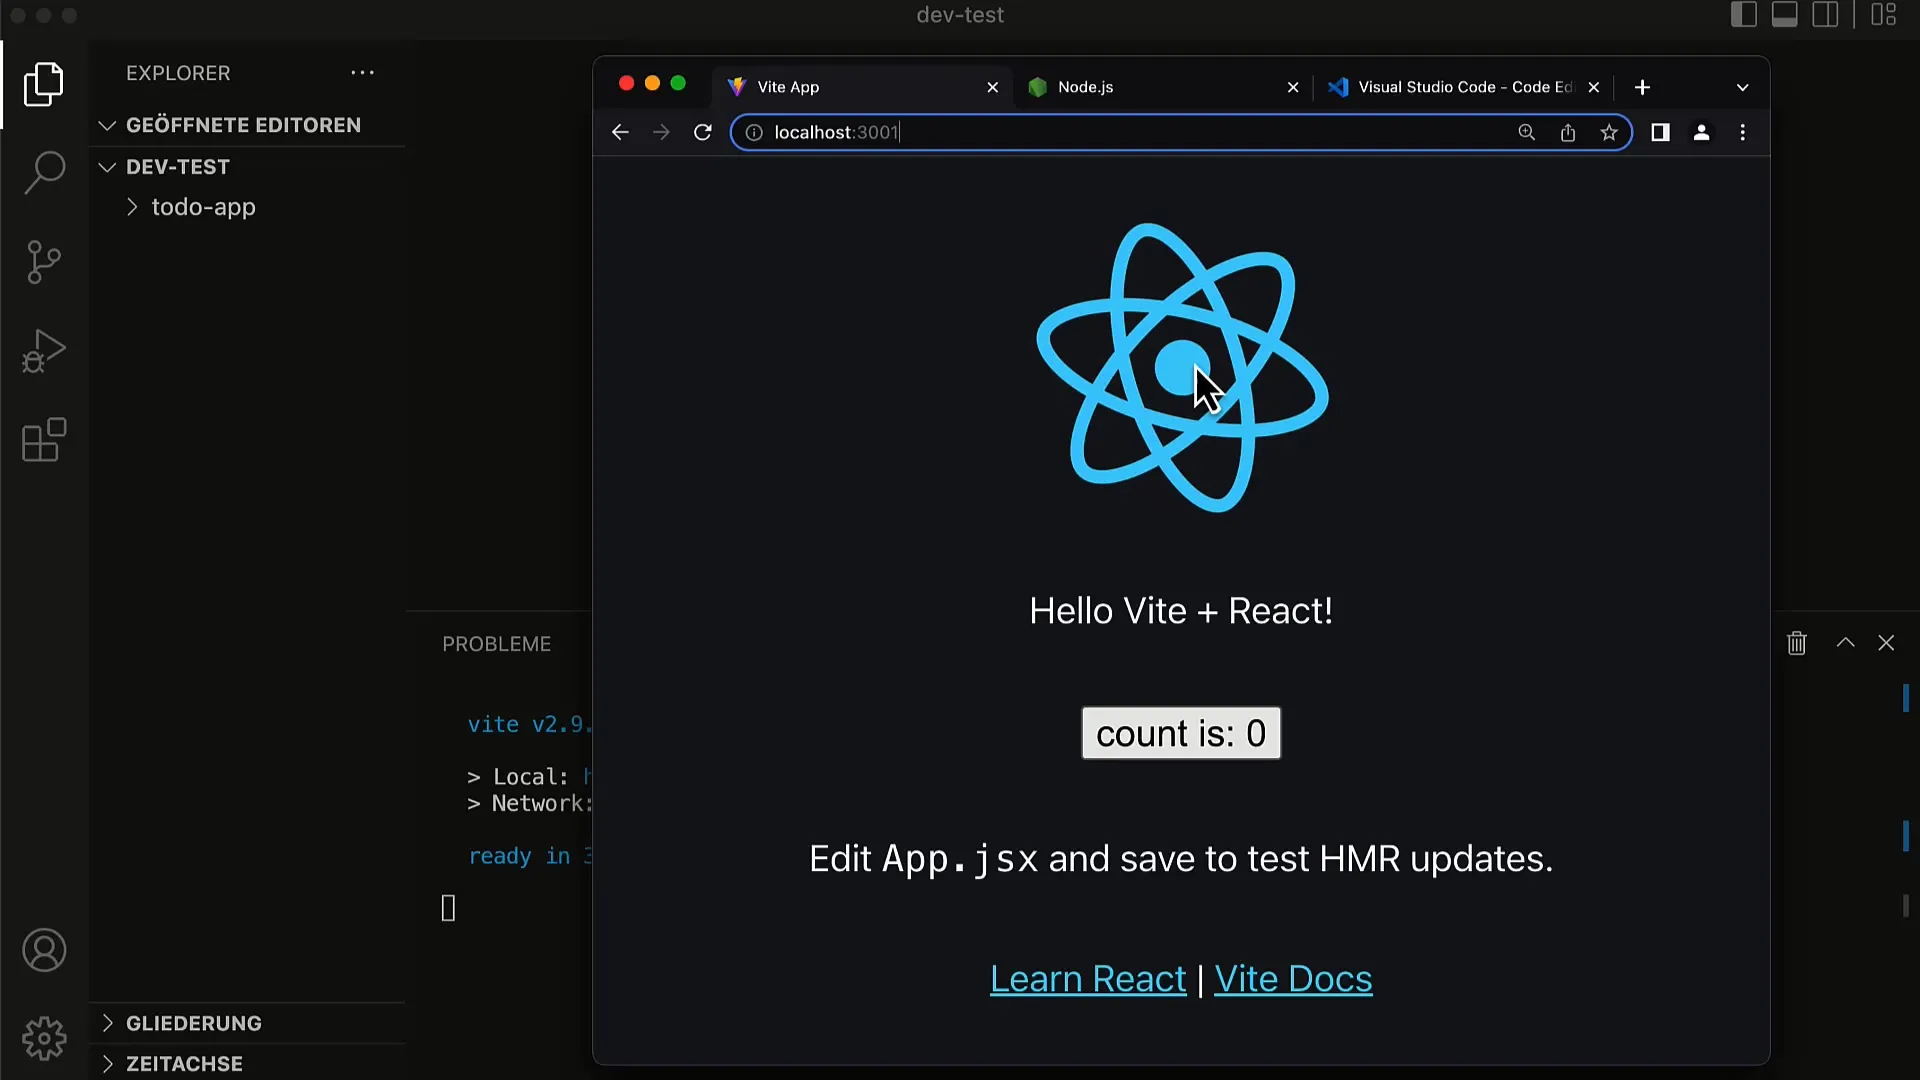
Now comes the exciting part: you can start the development server! Enter the command npm run dev. This will start the Vite development server, and you will receive a URL to access your app in the browser.
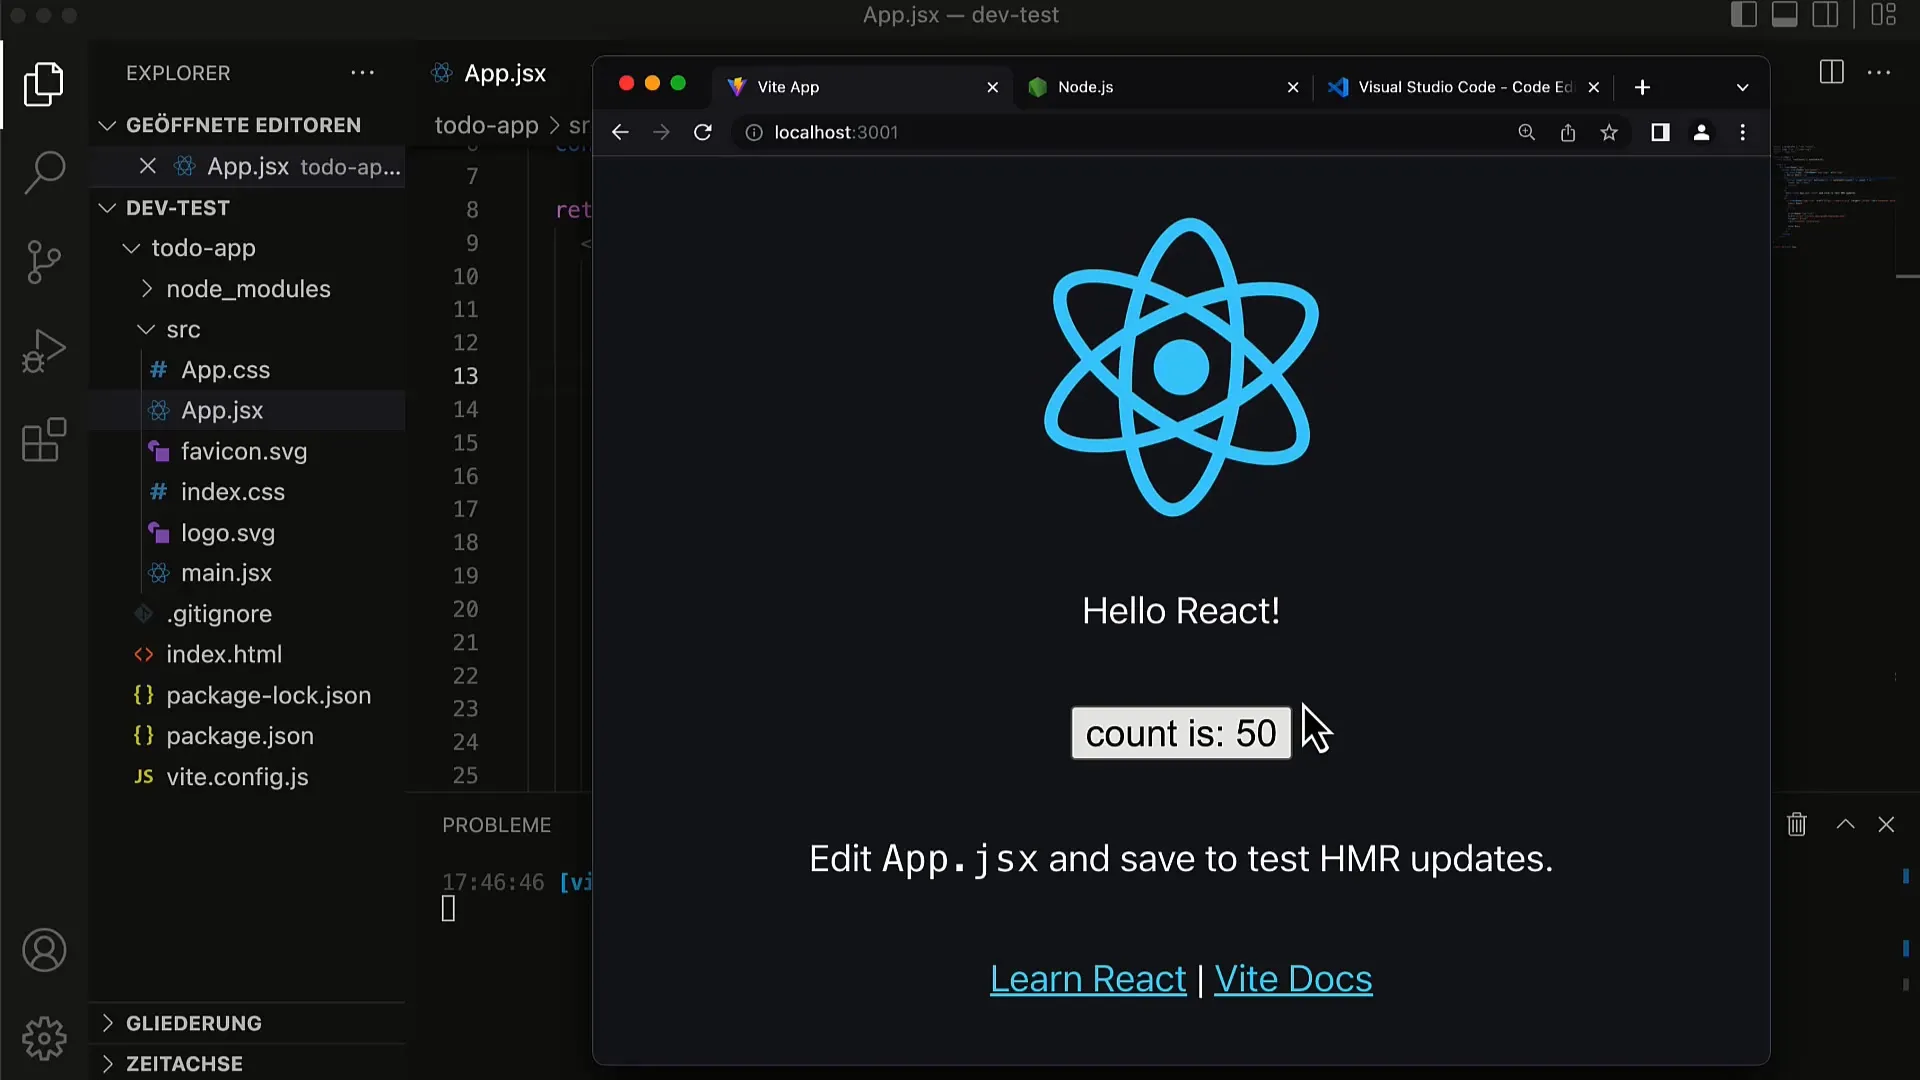
Open a modern web browser and enter the provided address. You should see a simple webpage with a spinning logo, some text, and a button displaying a counter.
Customizing the App
To get a first impression of the functionality, you can make small customizations to your app. Open the file src/main.jsx and change the text in the app component. Save the file and observe how the changes are instantly reflected in the browser, without needing to reload the page. This demonstrates how efficiently Hot Reloading works in Vite – an excellent feature for quick feedback during development.
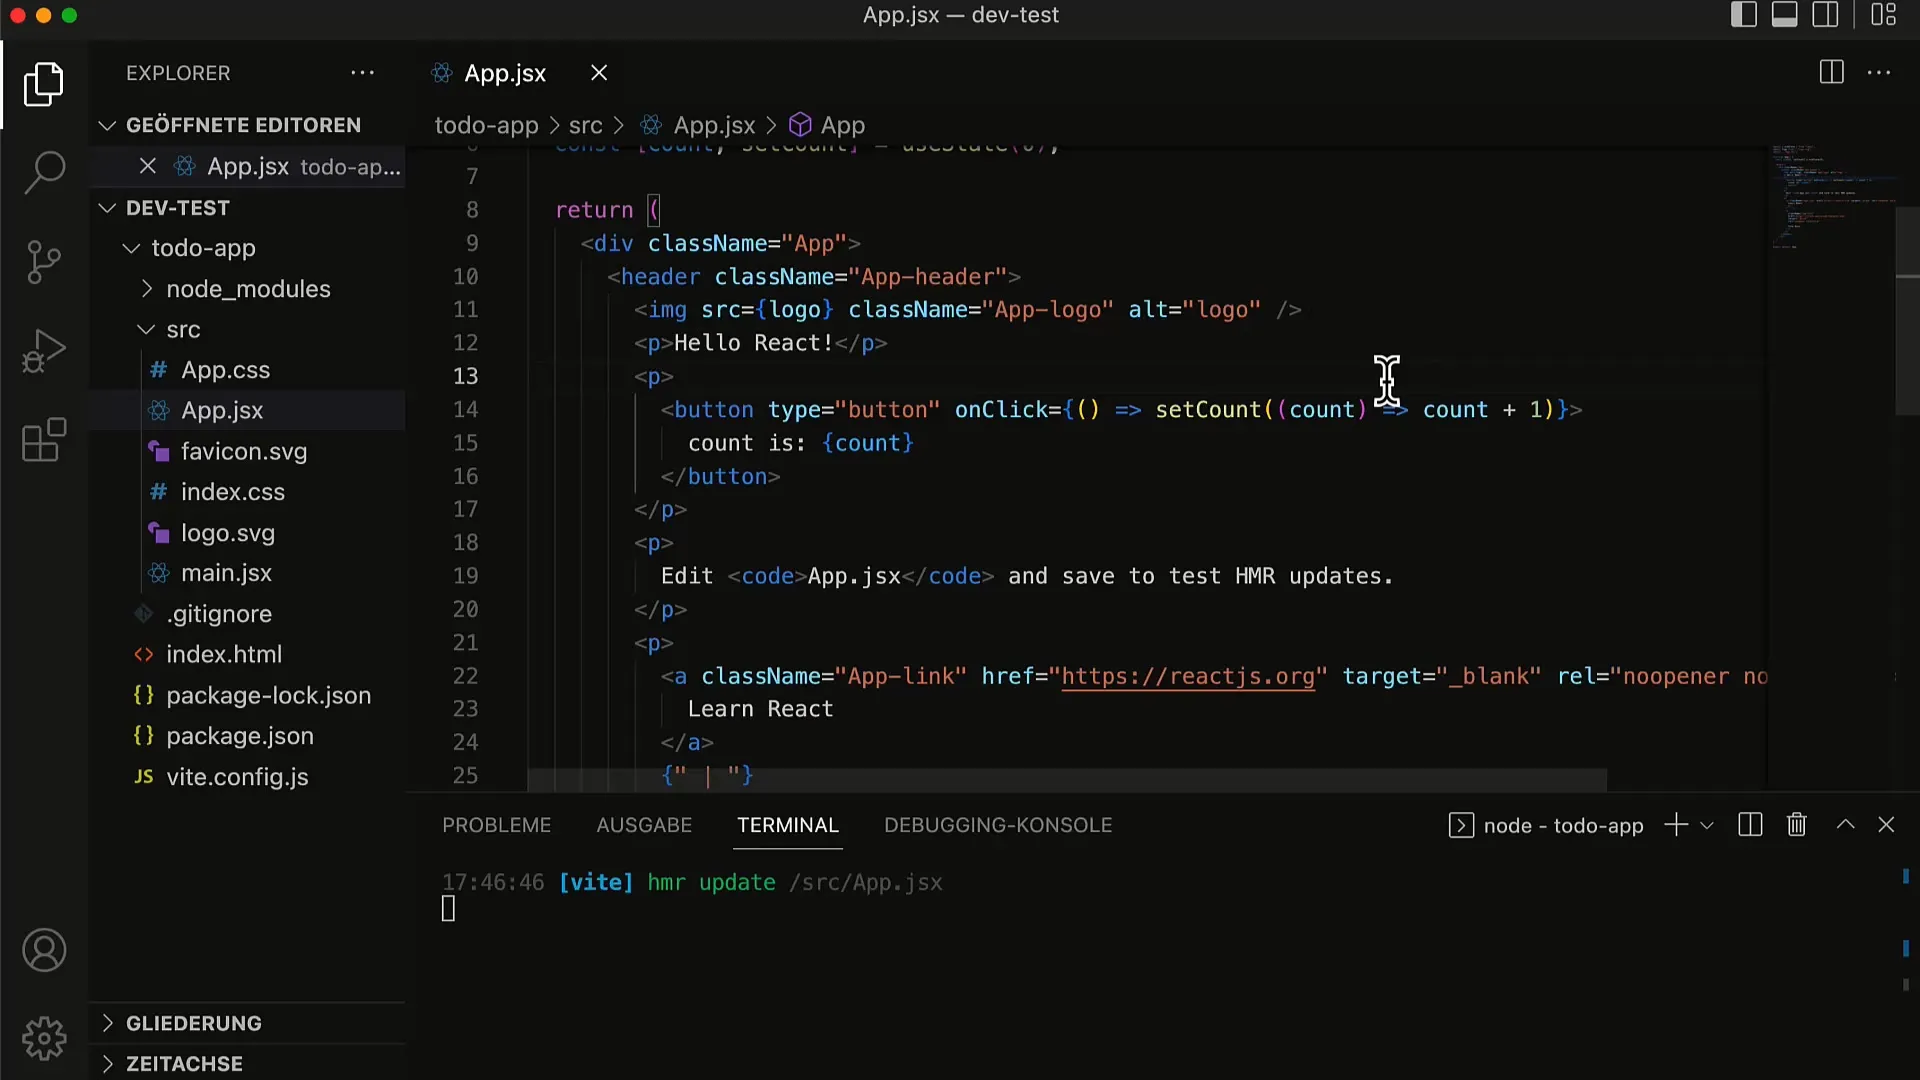
Note that the counter remains intact even when the text is updated. This is one of React's strengths: the state persists even when the user interface is refreshed.
Summary
You have successfully set up your development environment, installed Node.js and NPM, created a new React project, and run it in your browser. The basics of setting up a React app with Vite are laid out, and you can now start with your first application.
Frequently Asked Questions
What is Vite?Vite is a modern build tool for JavaScript that provides fast development servers and optimized bundling.
Which version of Node.js should I install?It is recommended to install the LTS (Long-Term Support) version of Node.js.
Do I need Vite for development with React?Vite is not mandatory, but it offers advantages in terms of speed and efficiency in development.
Does React only support JavaScript?React also supports TypeScript and other JavaScript dialects, but for getting started, JavaScript is sufficient.
Can I use React with other editors?Yes, you can use React with any code editor or IDE, but Visual Studio Code is often recommended.


