Chrome texts give your designs a shiny, futuristic look and create a real wow effect. With Photoshop you can create this metallic style in just a few clicks. In this tutorial, I'll show you three different ways to create impressive chrome texts – from classic reflections to modern color gradients. Perfect for logos, posters, or social media graphics. Let's get started and add a touch of luxury to your text!
Step 1:
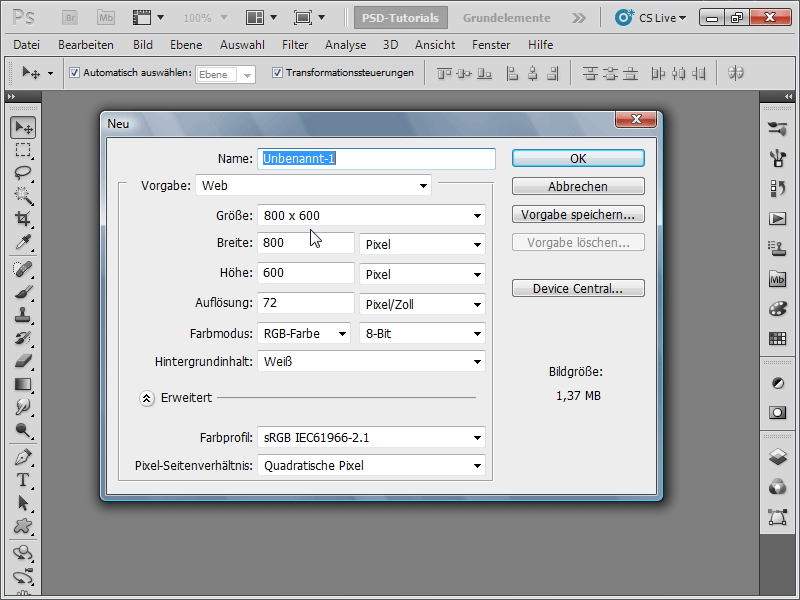
I create a document sized 800 pixels x 600 pixels, with the size being relatively unimportant. The background color should initially be white.
Step 2:
Since the chrome effect should be applied to text, I grab the text tool and insert a word of my choice in a very thick, large font. The color of the text is a dark gray.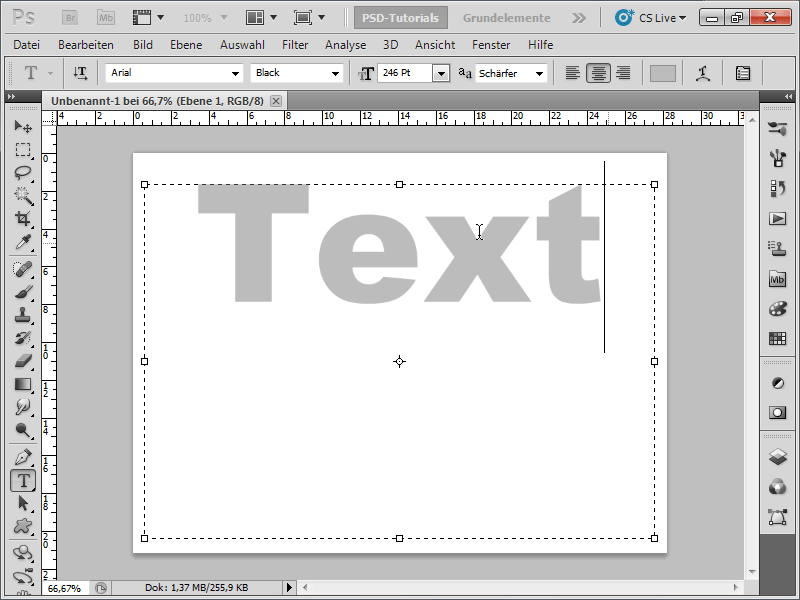
Step 3:
Now, I check my channels, duplicate the blue channel, and invert the new channel using Ctrl+I.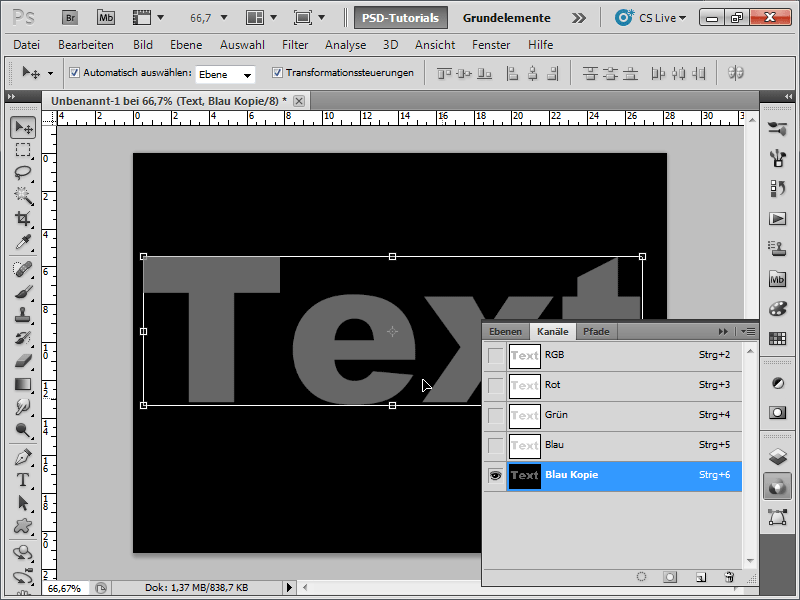
Step 4:
Next, I will blur the channel through Menu>Filter>Blur Filters>Gaussian Blur with a setting of about 10 – 15.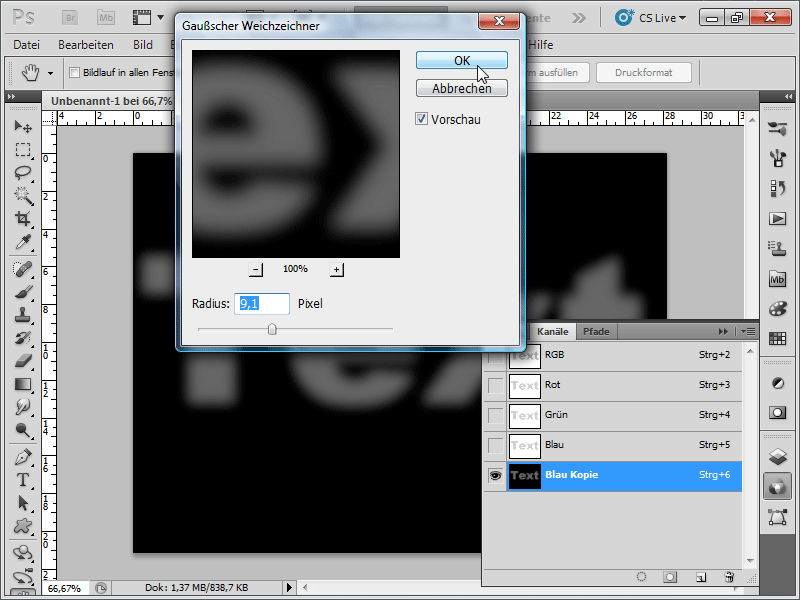
Step 5:
I click on my text layer in the Layers panel and then go to Filter>Render>Lighting Effects in the menu. This will rasterize the text. It is important here that at the very bottom, under Relief Channel, I select my new channel "Blue Copy." At the very bottom, I set the Altitude to High. In the preview window, I can adjust the spotlight upward.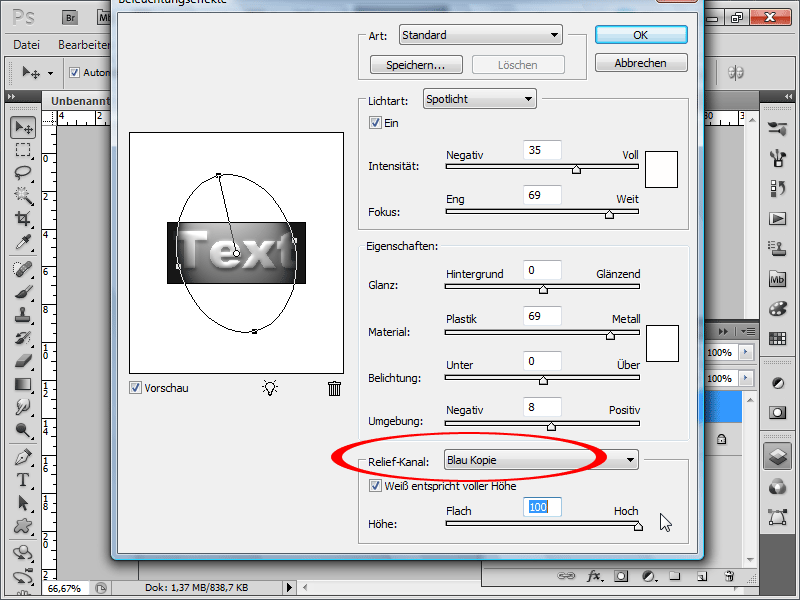
Step 6:
From now on, it gets interesting: I go to Menu>Filter>Artistic Filters>Chrome. Set the Detail option to Maximum and the Smoothness to 6 - 8.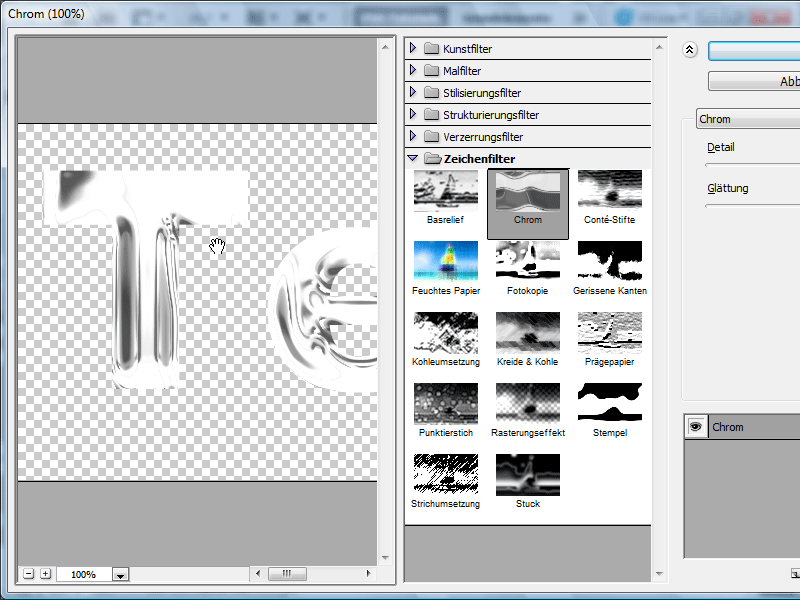
Step 7:
I also have access to, for example, the Curves (Ctrl+M) to enhance the effect.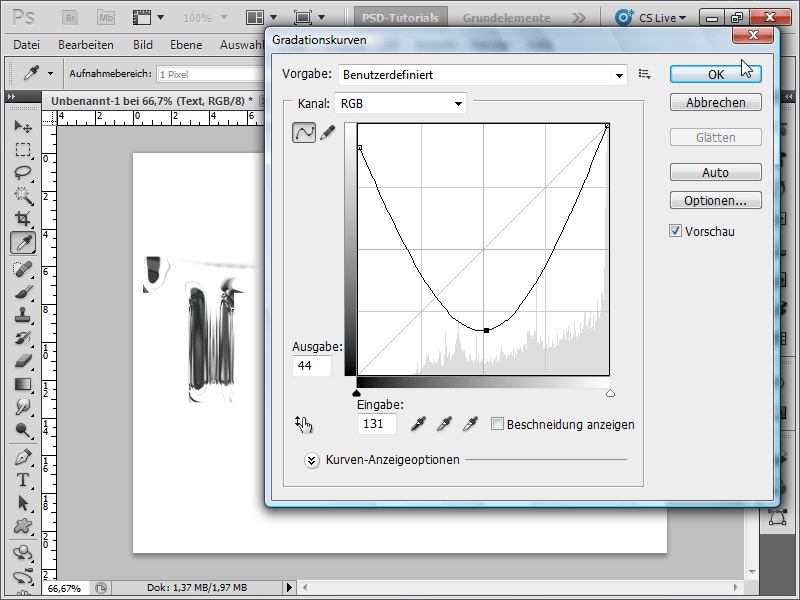
Step 8: If I want to further improve the effect, I can adjust the values in the Levels (Ctrl+L) as follows: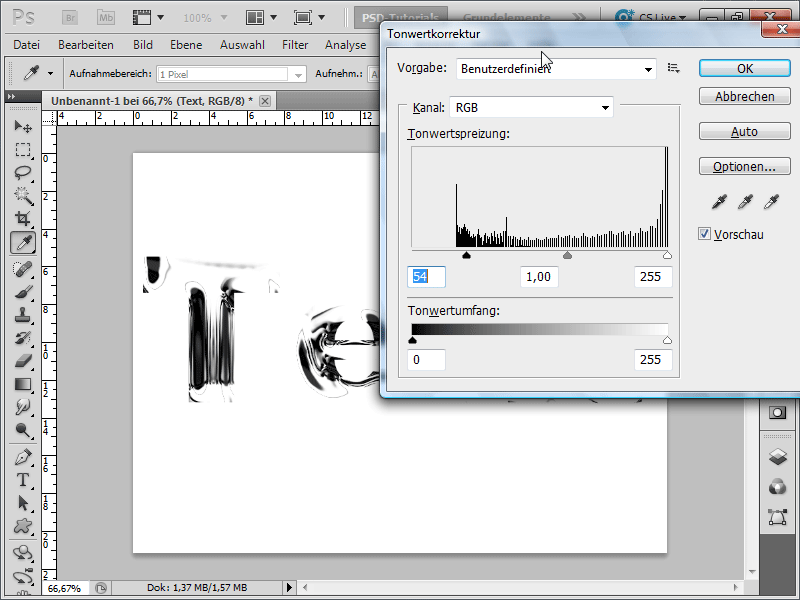
Step 9:
To refine the effect further, I can play around a bit with the Bevel and Emboss. Additionally, I have added a Drop Shadow.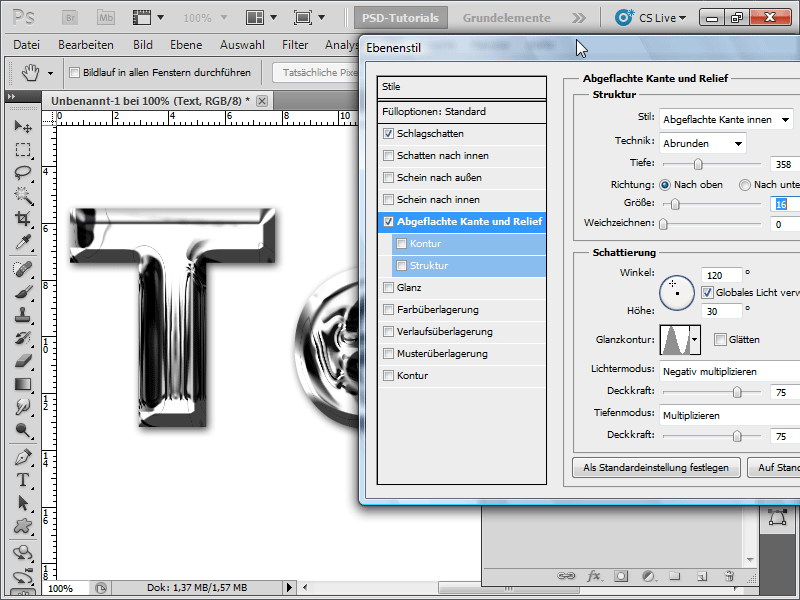
Step 10:
And this is how my finished effect looks now: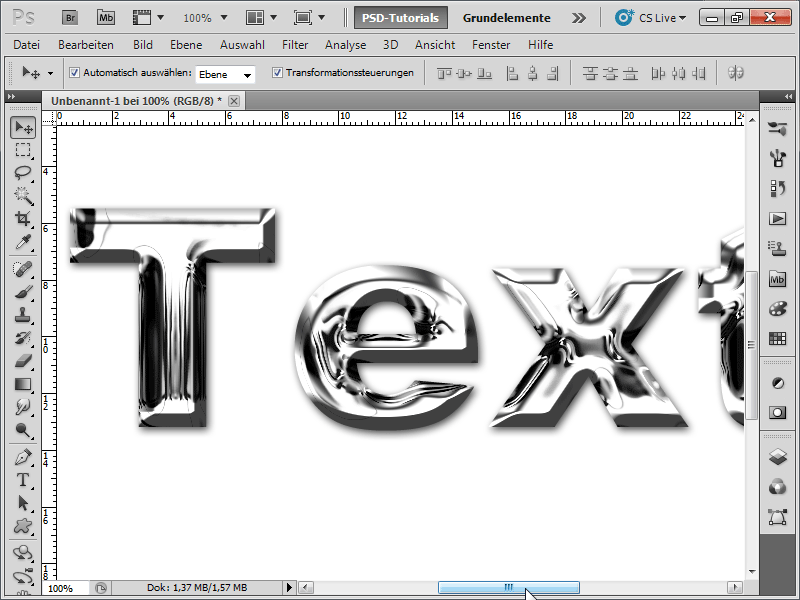
Step 11:
If working with channels is not your thing, you can skip this step. In brief: I create a new document with large gray text. Now, I immediately click on Filter>Render>Lighting Effects in the menu. At the very bottom, with Relief Channel, I click on Text Transparency and adjust the spotlight as in my example: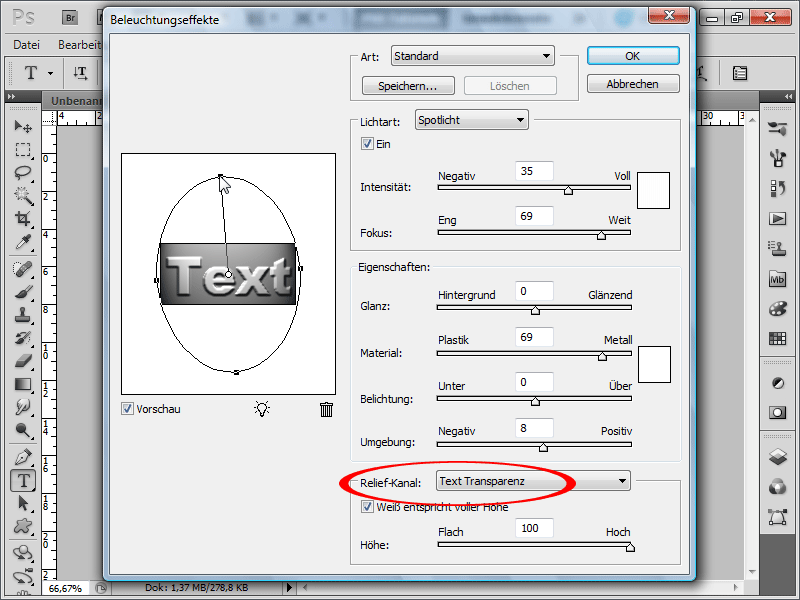
Step 12:
I go to Menu>Filter>Artistic Filters>Chrome. Set the Detail to Maximum and the Smoothness to 6 - 8. The result will then look slightly different from the first example: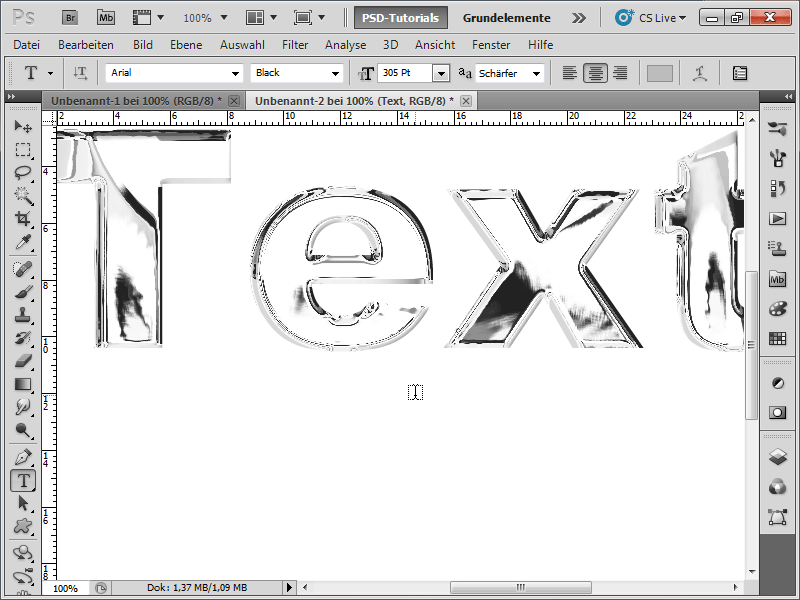
Step 13:
If I now change the Blending Mode to, for example, Divide, my text with an appropriate background will look like glass: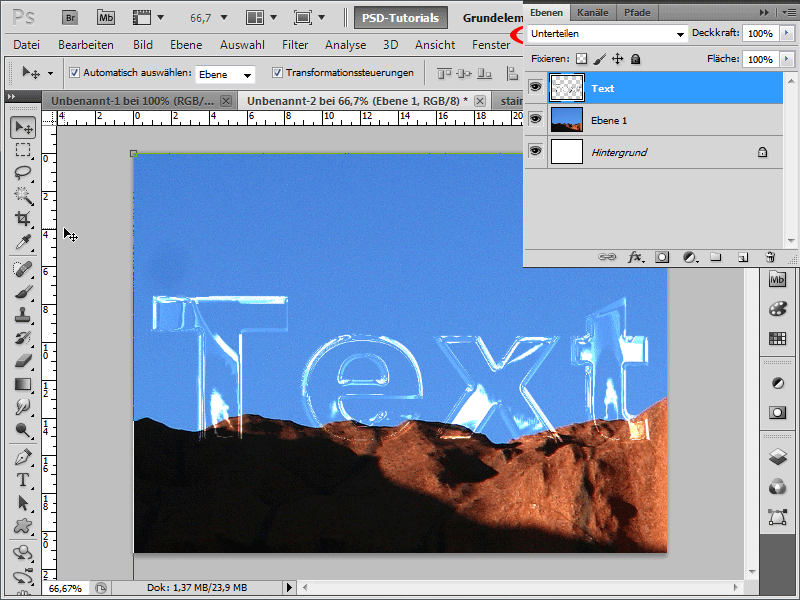
Step 14:
If I want to change the color, I recommend using a layer style Color Overlay with the blending mode Screen.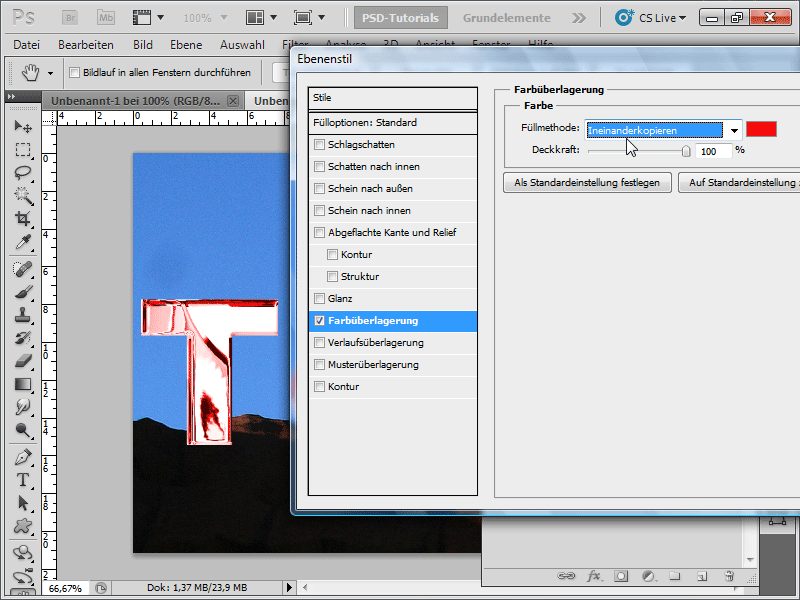
Step 15:
Another fun effect is possible with the Liquify Filter: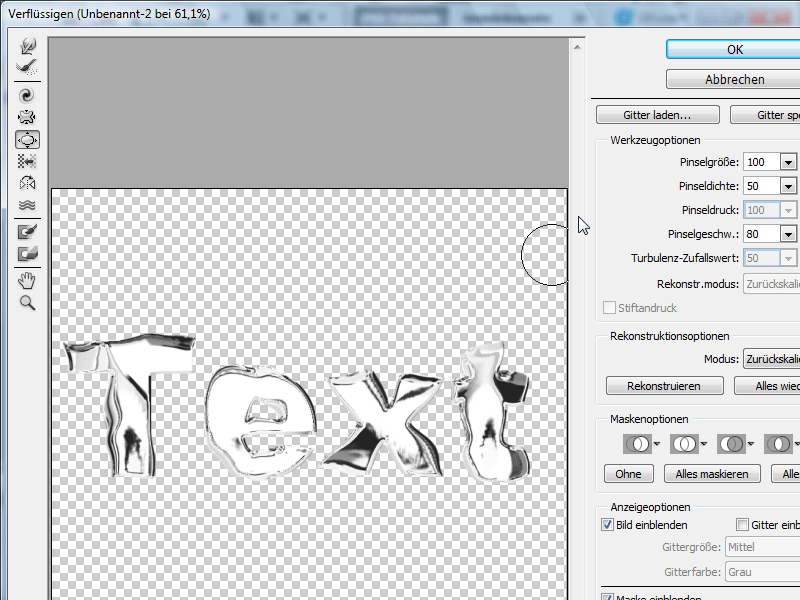
Step 16:
Another, quicker variation would be as follows: I create text again and apply the following layer styles (simply check the boxes):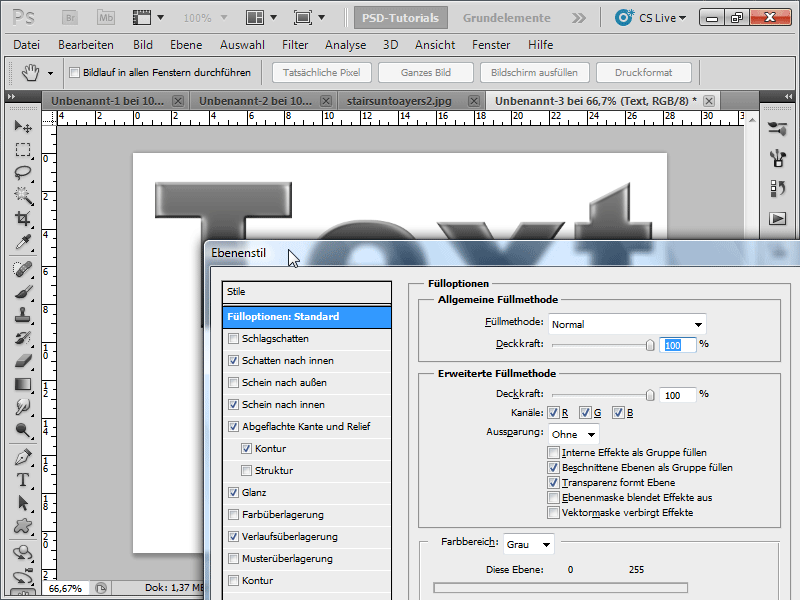
Step 17:
Now I create a new layer, place it below the text layer. Then I click once on the text layer and press Ctrl+E to merge the layers and rasterize the text along with the effects.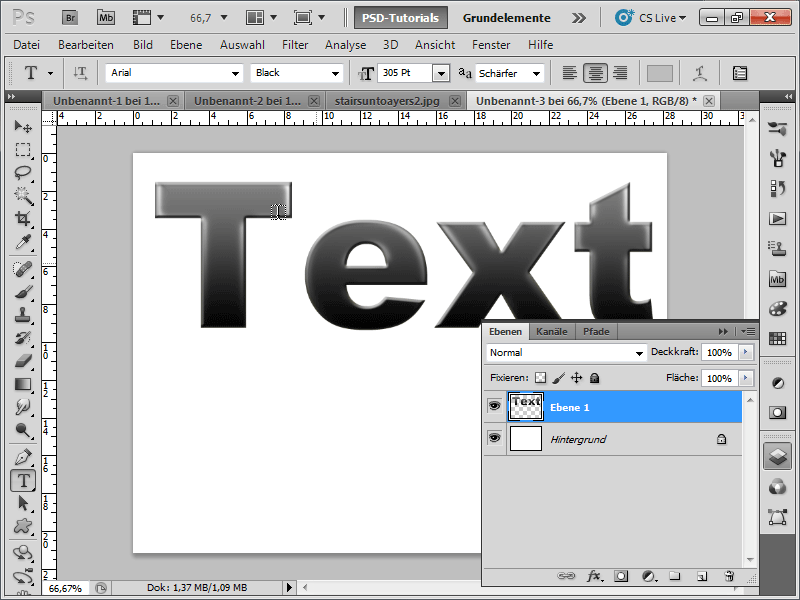
Step 18:
Now quickly open the Curves with Ctrl+M and modify as follows: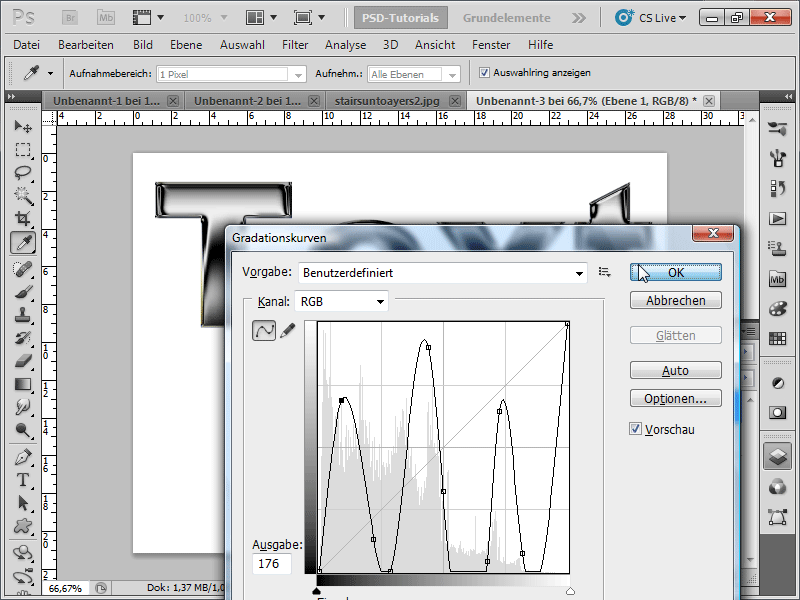
Step 19:
And now I have created a great chrome effect as well.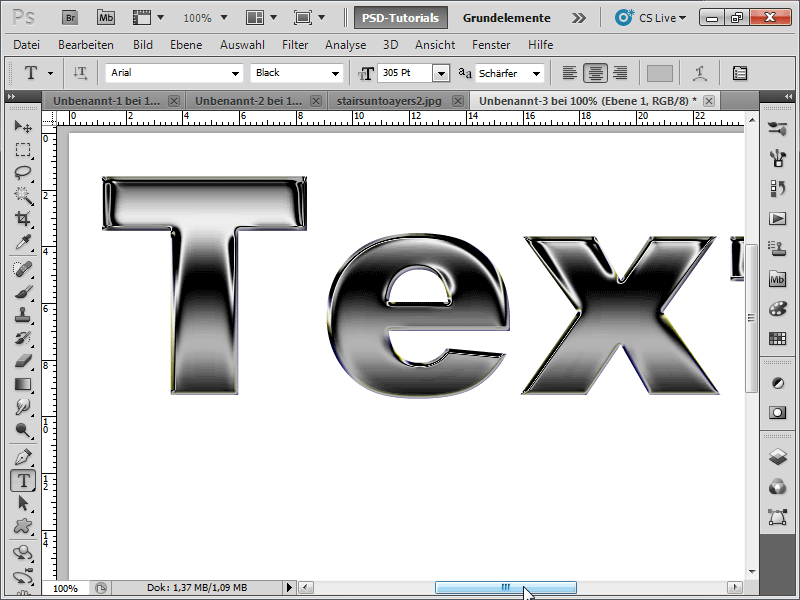
As you can see, there are various ways to create a chrome effect. I hope my three small examples have opened the way to new ingenious chrome effects.


