ToDo Lists are a proven tool for organizing tasks and increasing productivity. But what happens when a task is completed? In the world of React, deleting To-dos is just as important as marking them as done. In this guide, you will learn how to efficiently delete To-dos in a React application to create a more user-friendly interface.
Key Learnings:
- To-dos should not only be marked as done but should also be fully deletable.
- A component-based structure in React helps avoid duplicate code.
- The filtering function in JavaScript allows for deleting specific To-dos based on their ID.
Step-by-Step Guide
Step 1: Create Component for To-do Items
To integrate the functionality for deleting To-dos, it is important to first encapsulate the display of To-dos in a separate component. You start by creating a new function called ToDoEntry.
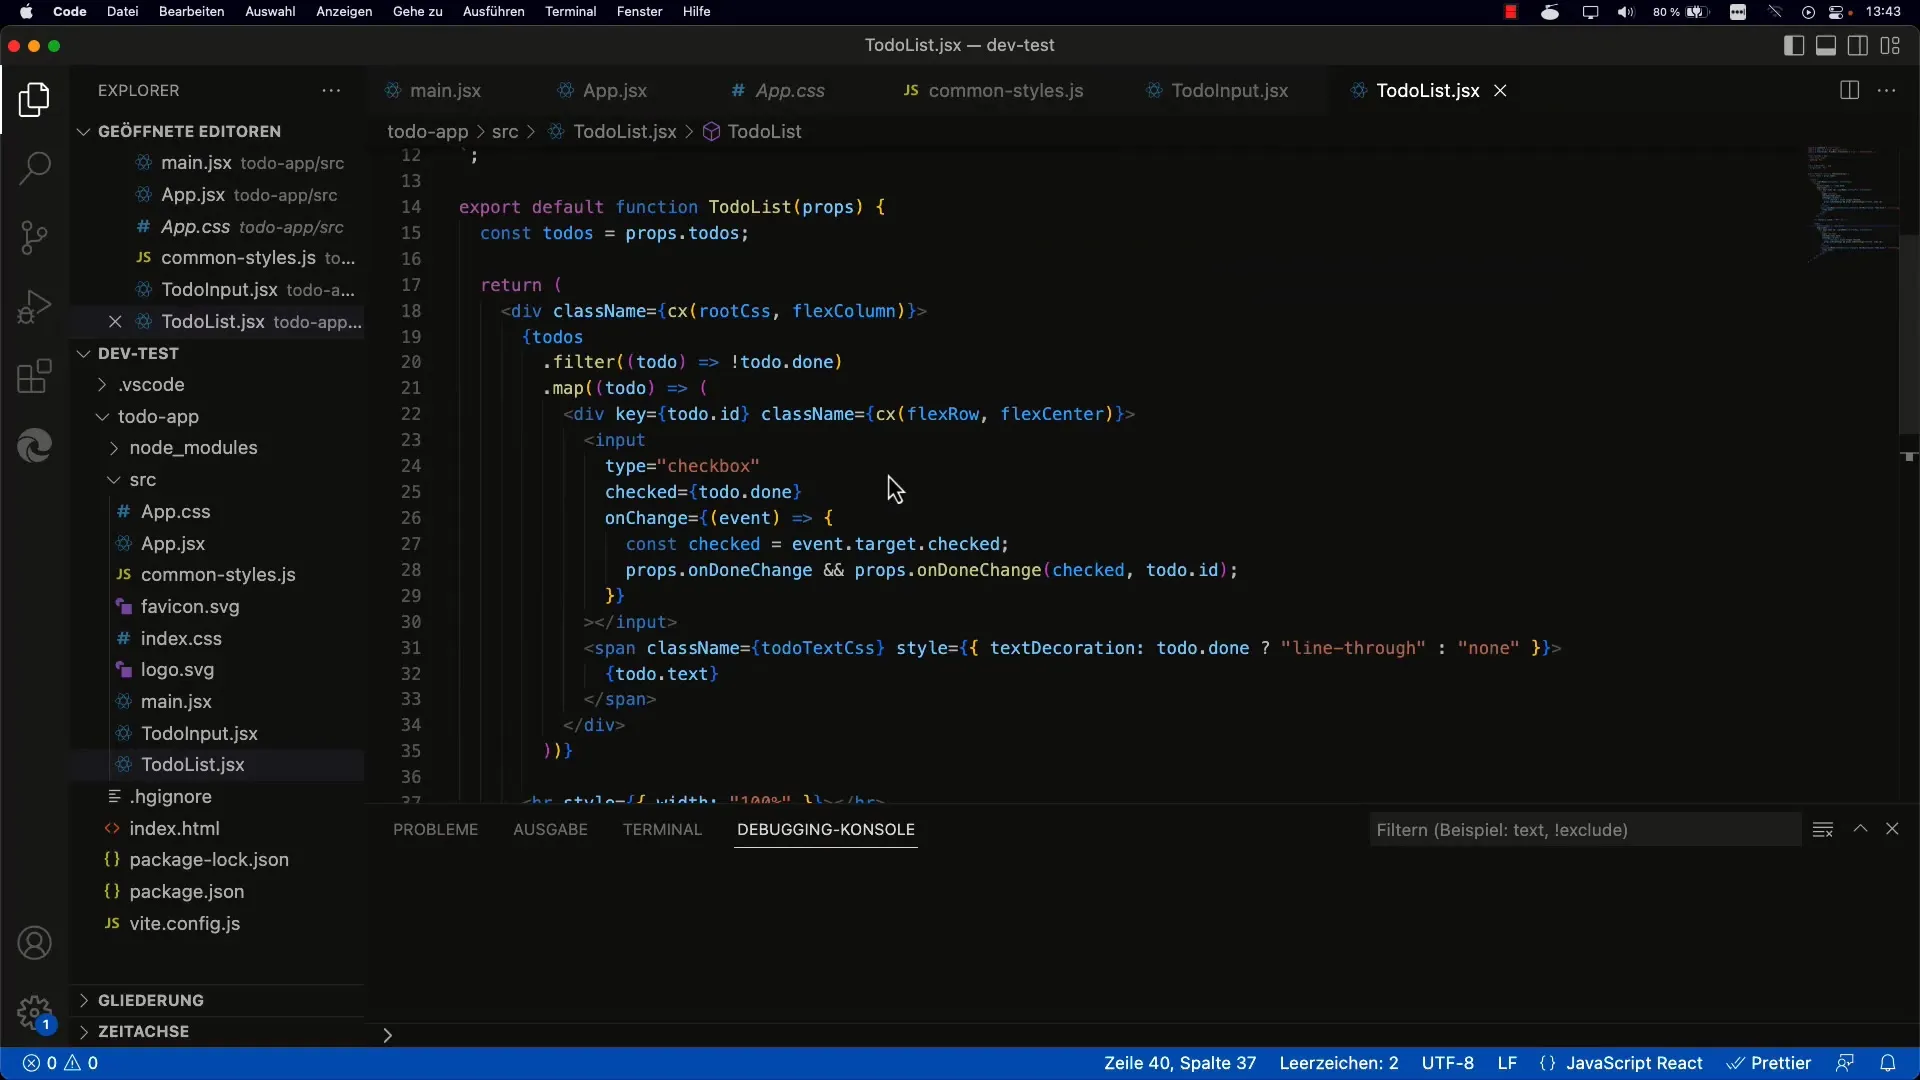
Here, you will use JSX to define the structure. Remember that each React component can be viewed as a function with props. These props are used to pass the To-dos and their properties.
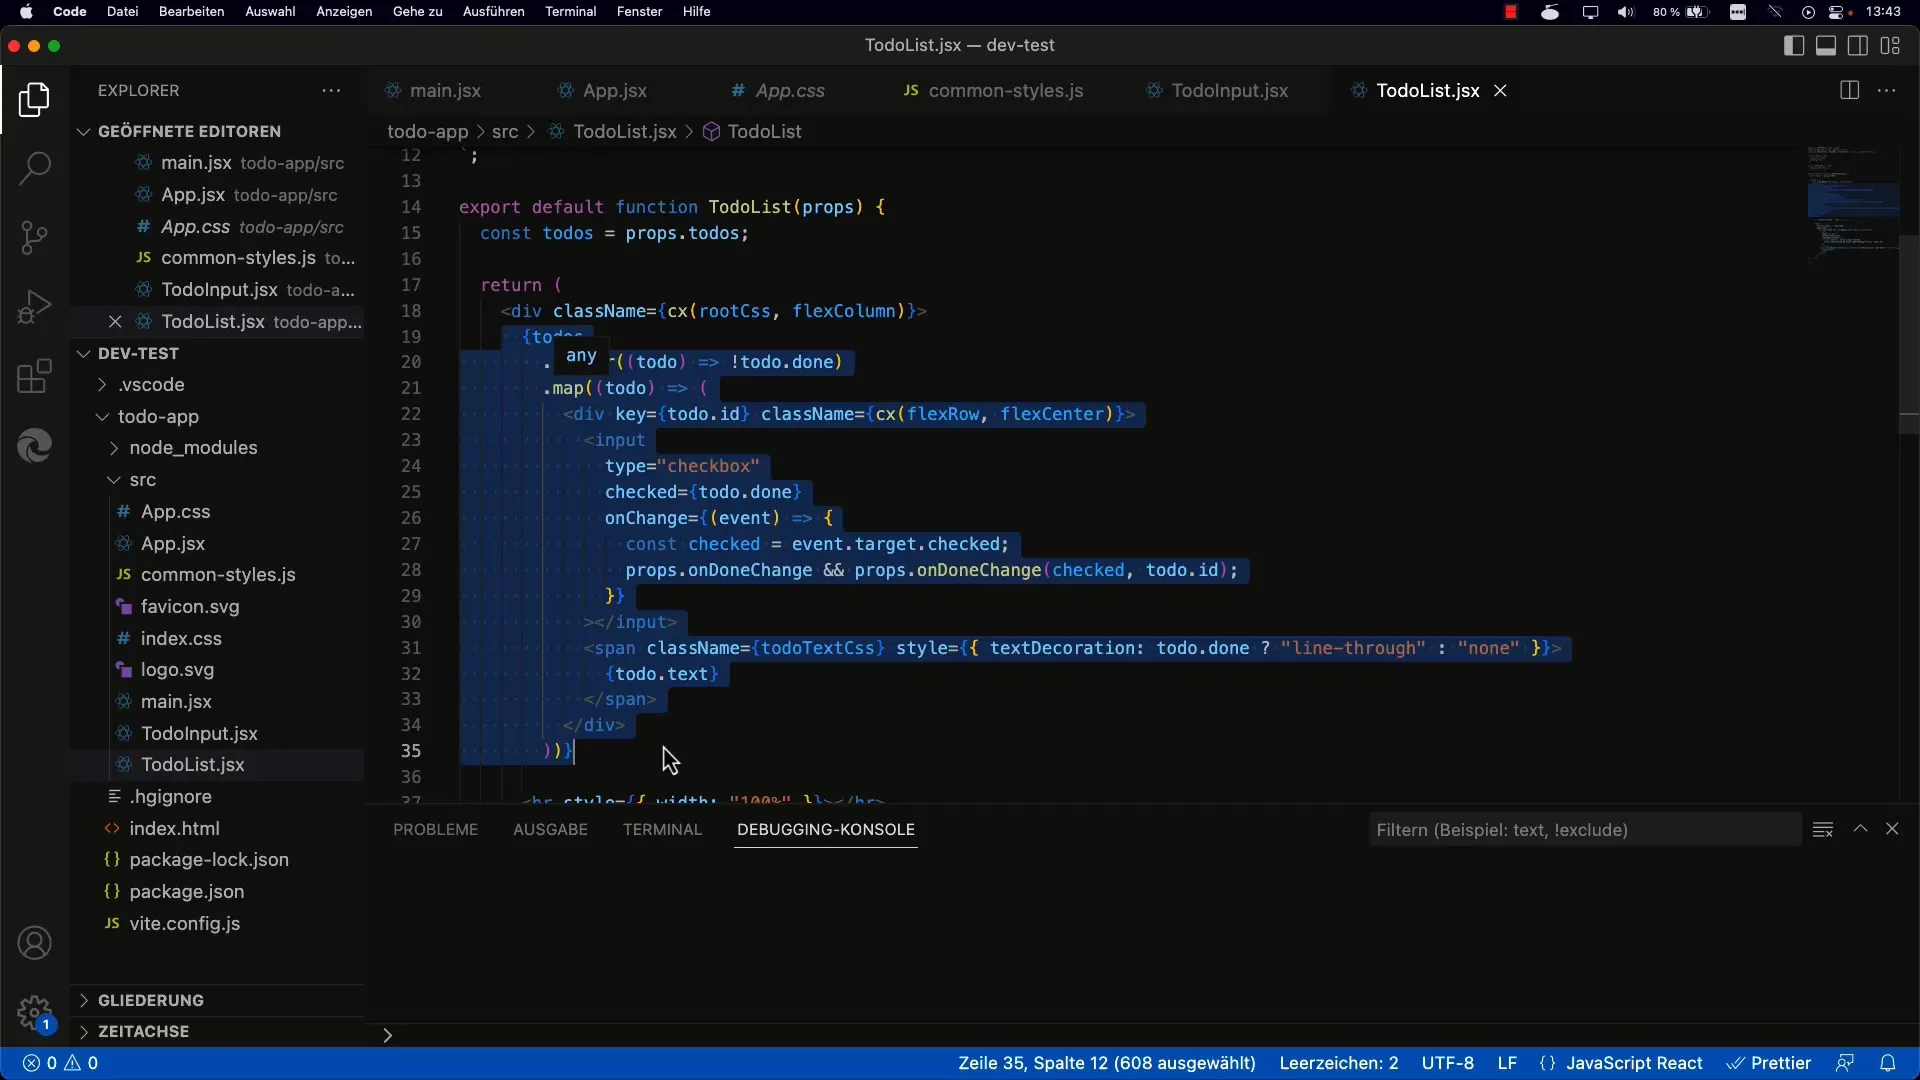
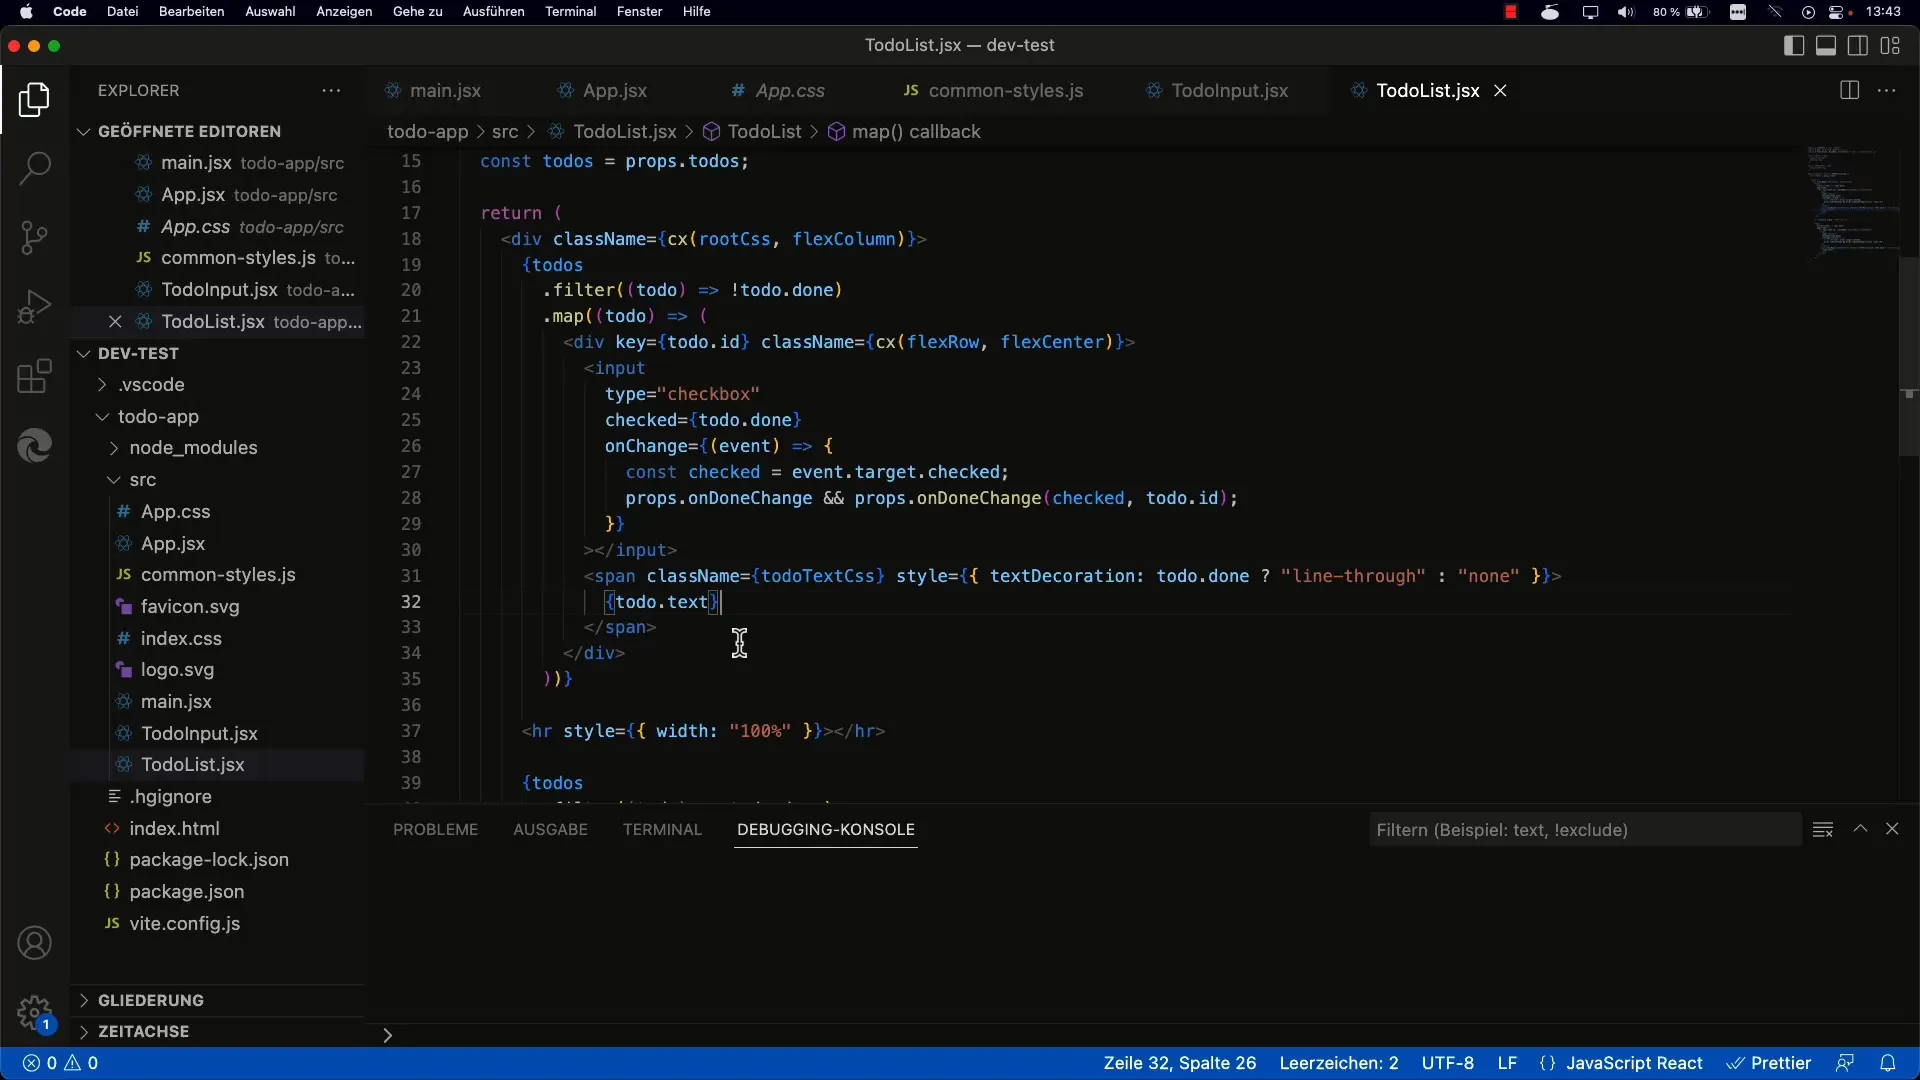
Copy the existing display of the To-do list into your new component and make sure to pass all the necessary values as props.
Step 2: Add Delete Button
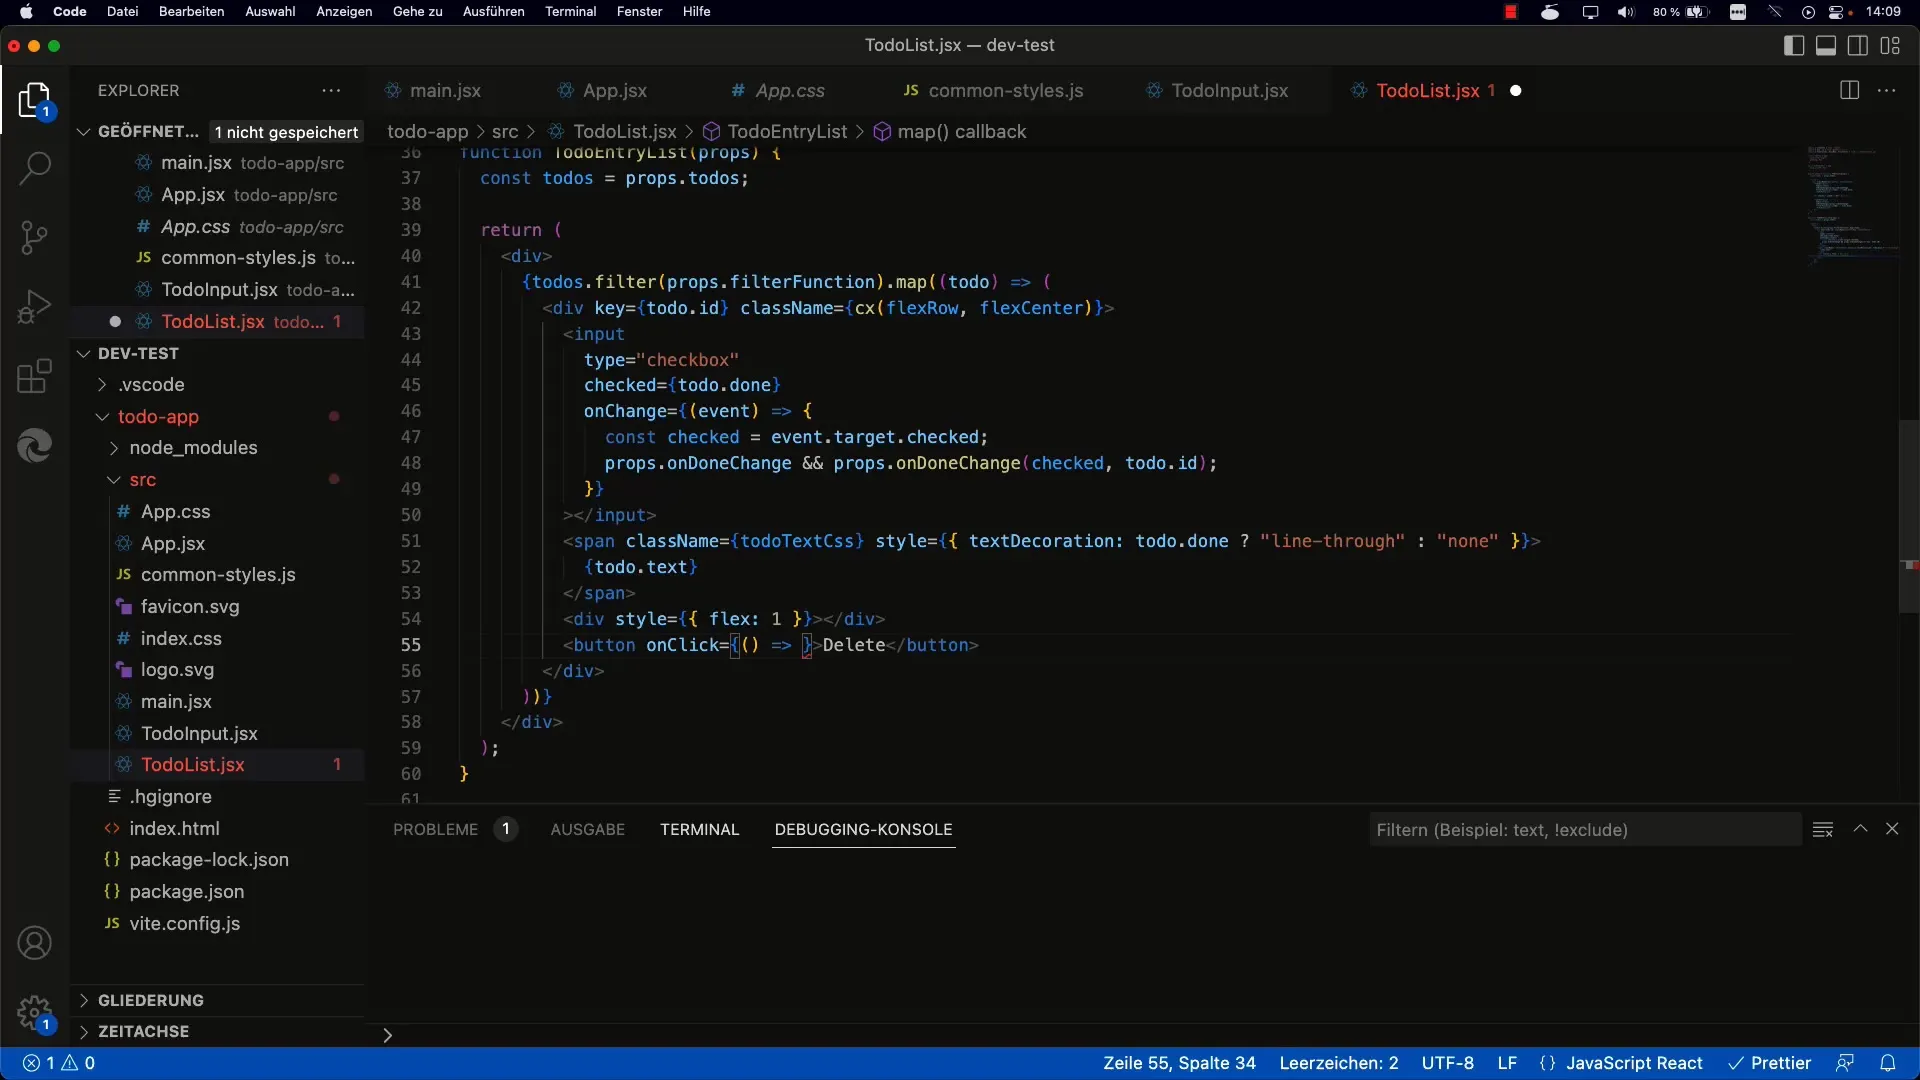
Now that you have a separate component for the To-dos, the next step is to add a delete button. This button should not only be visual but also be linked to an onClick handler function to remove the To-do from the list.
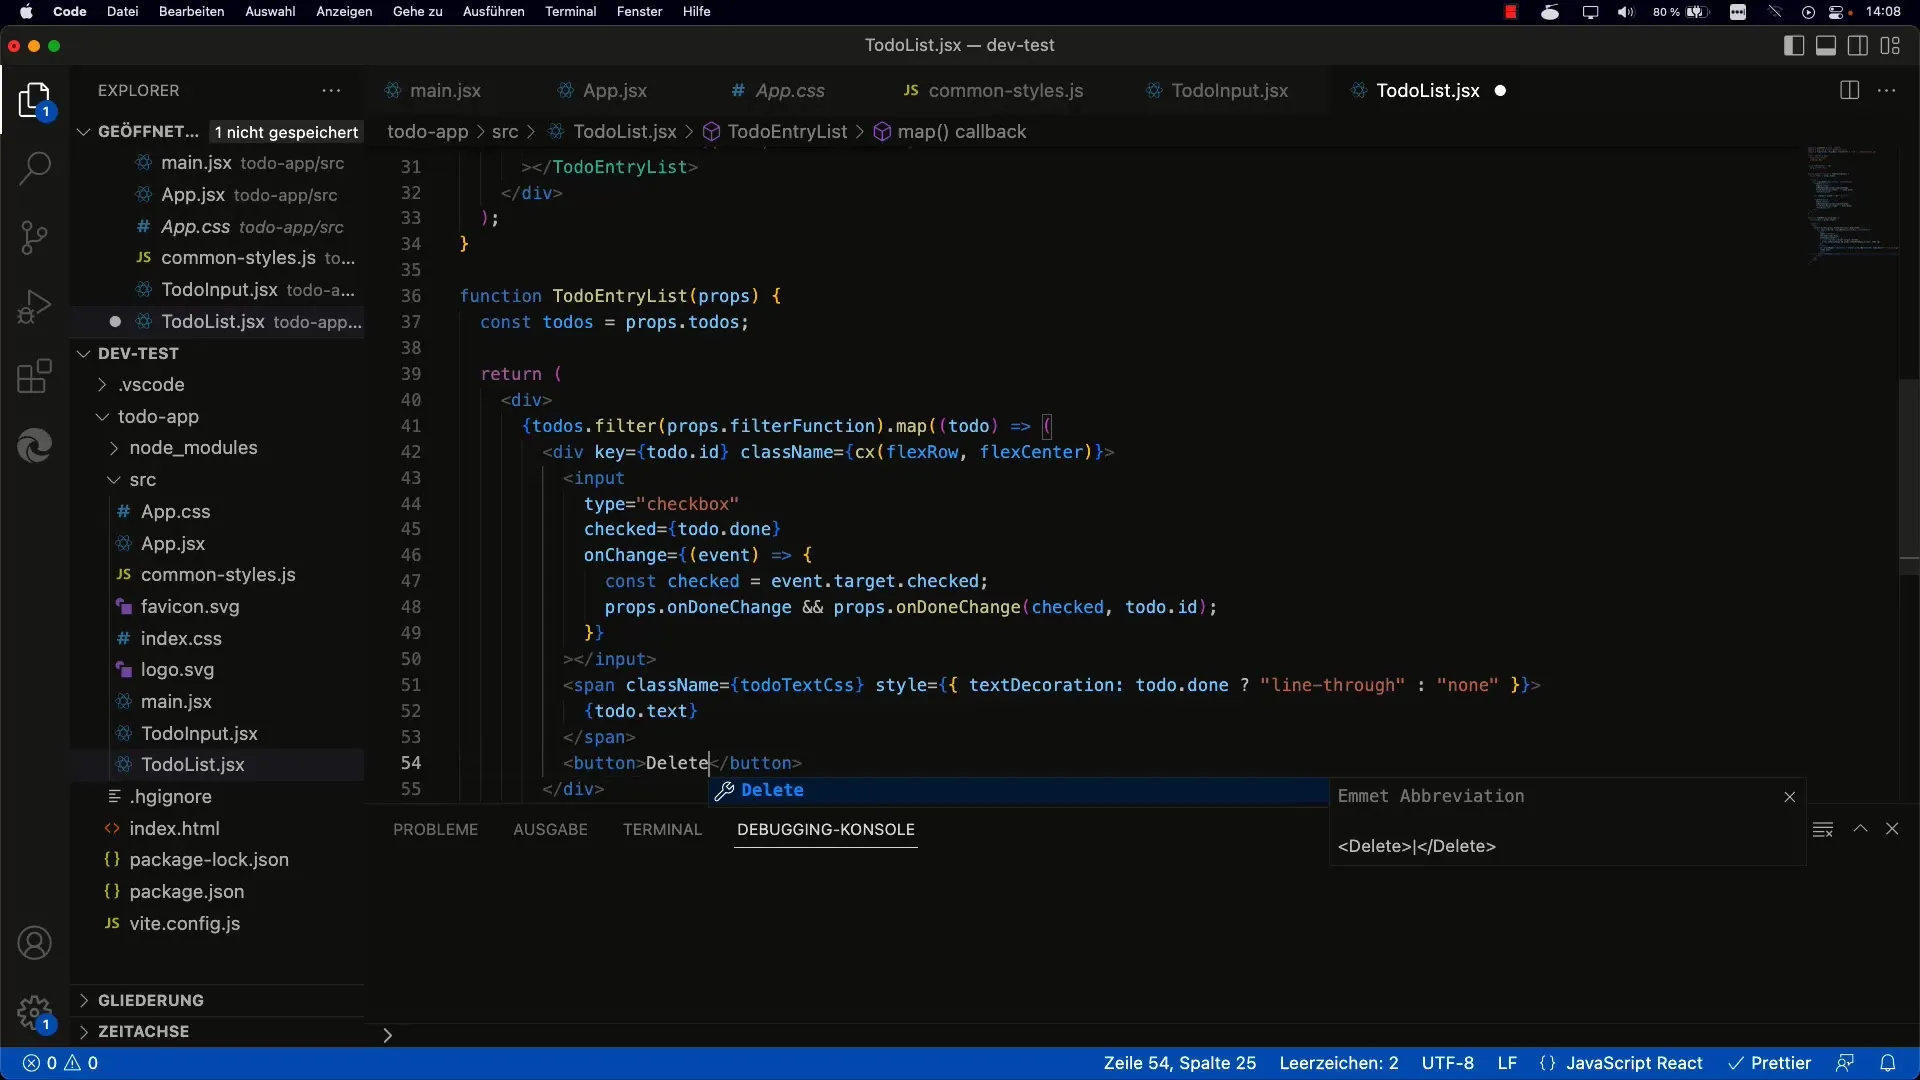
Here, you name the function onToDoDelete, which is called when the button is clicked. Remember to pass the ID of each To-do so that you know exactly which To-do should be deleted later on.
Step 3: Implement the Deletion Function
To delete a To-do, you use a filter function. This function goes through the original To-do array and creates a new array excluding the To-do with the provided ID.
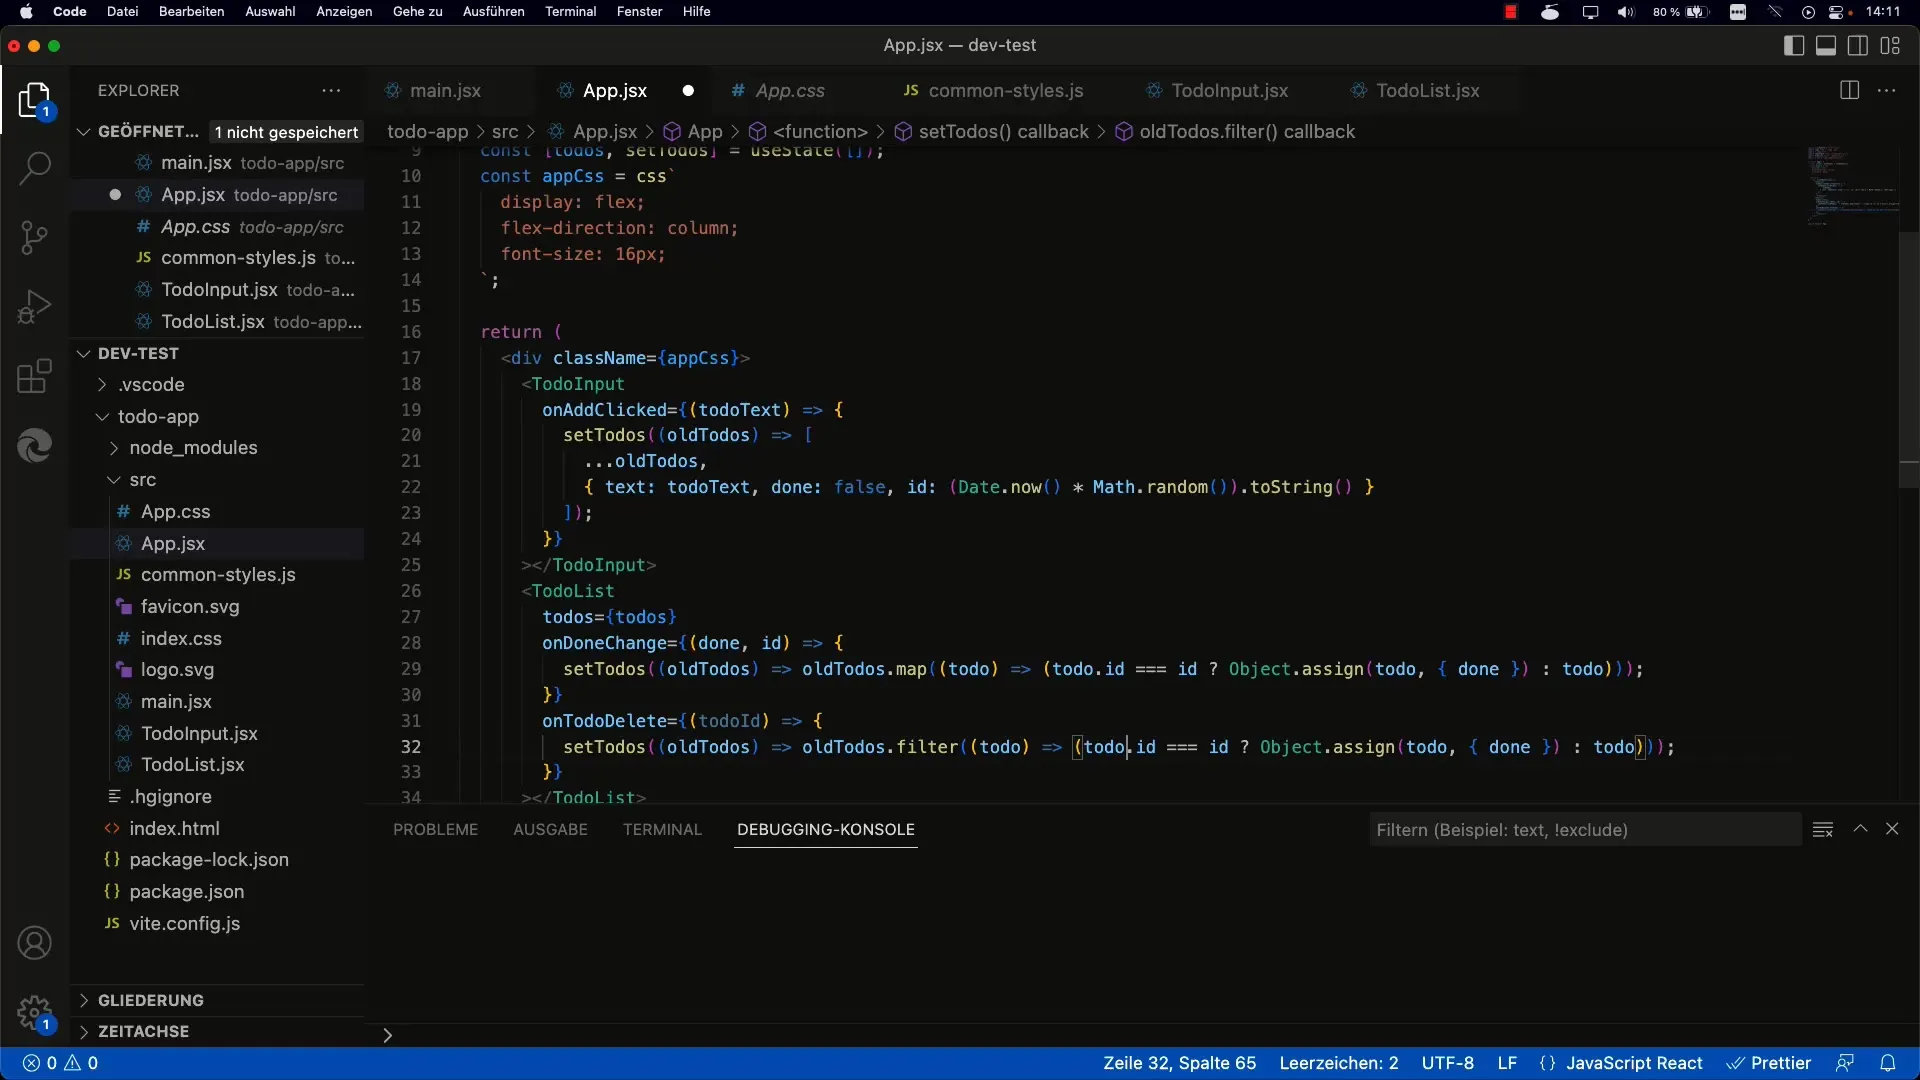
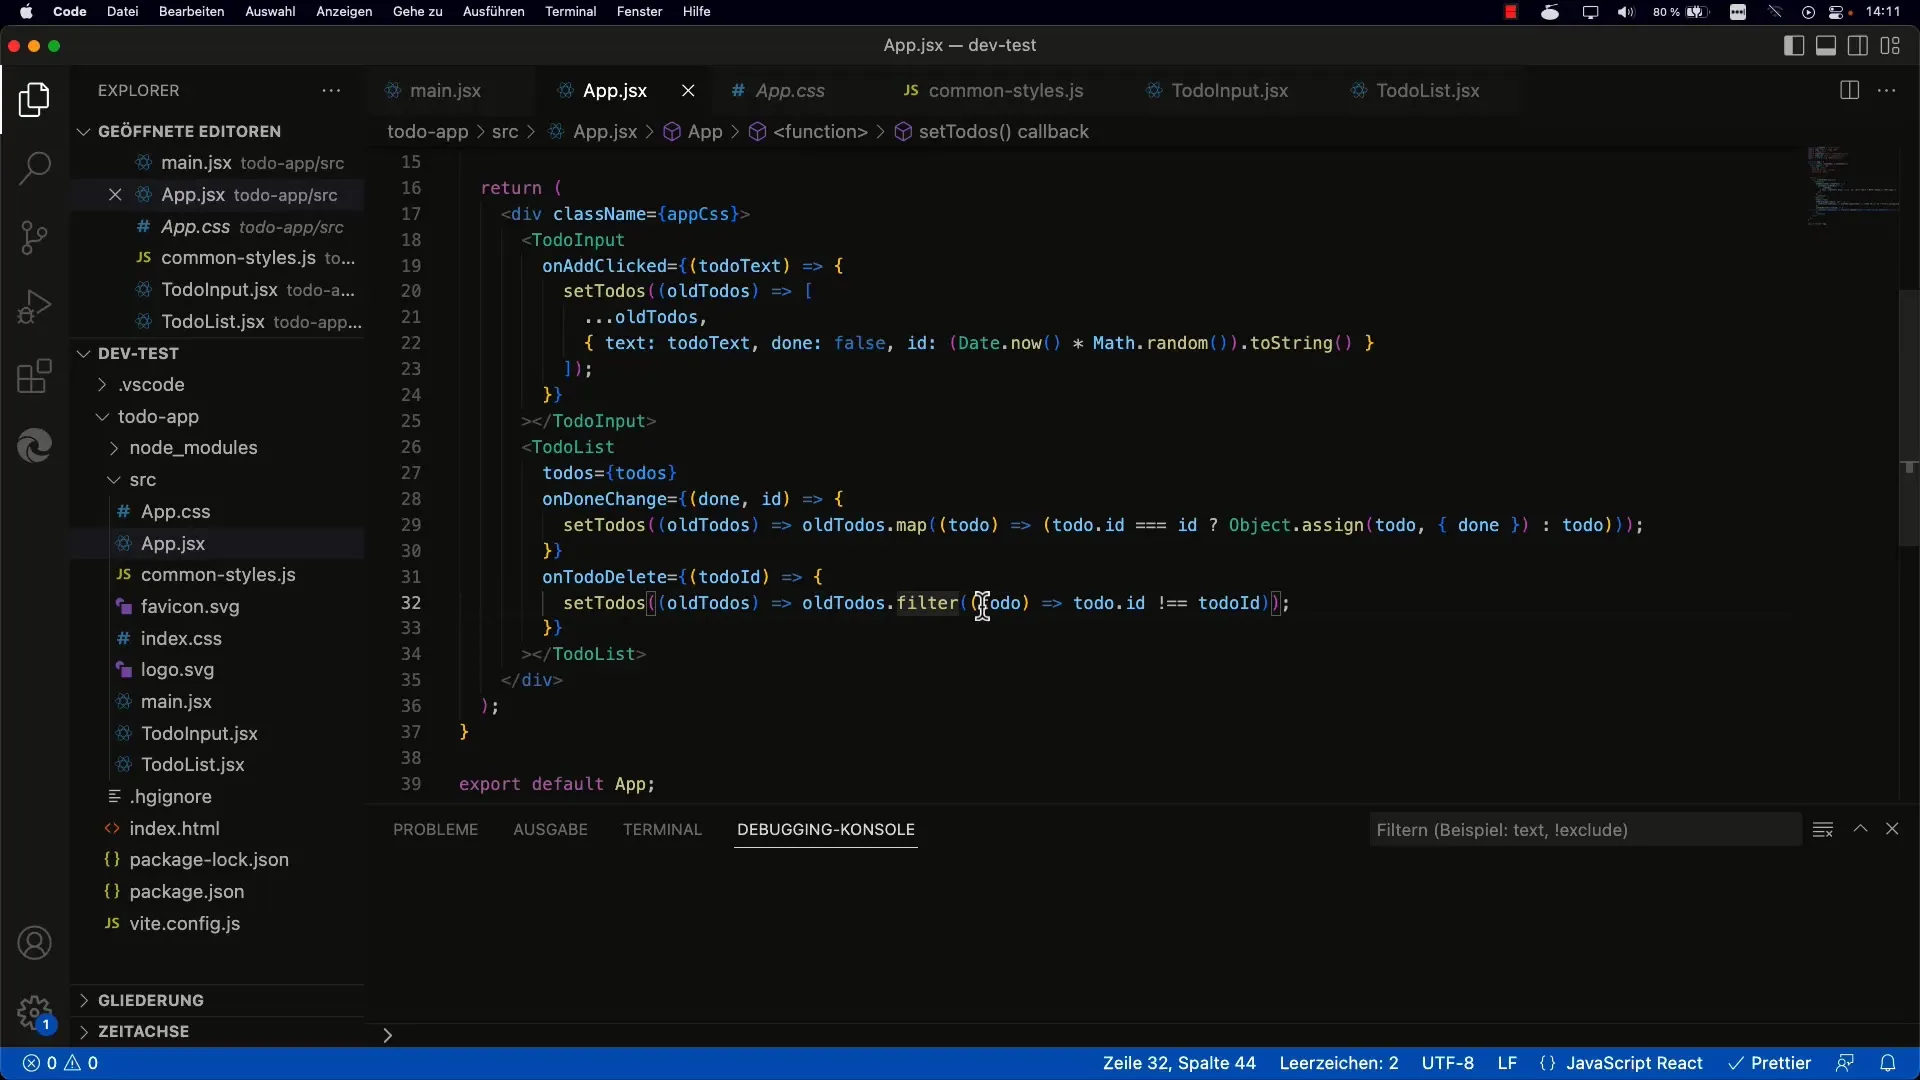
It looks something like this: setTodos(prevTodos => prevTodos.filter(todo => todo.id!== id));. Here, you filter out all To-dos whose ID is different from the ID of the To-do to be deleted.
Step 4: Connect UI with Deletion Function
Now, you need to ensure that the delete button in your To-do component correctly calls the onToDoDelete function and passes the correct ID. Make sure you pass this function to the To-do component and use it in the button element.
Step 5: Test the Deletion Functionality
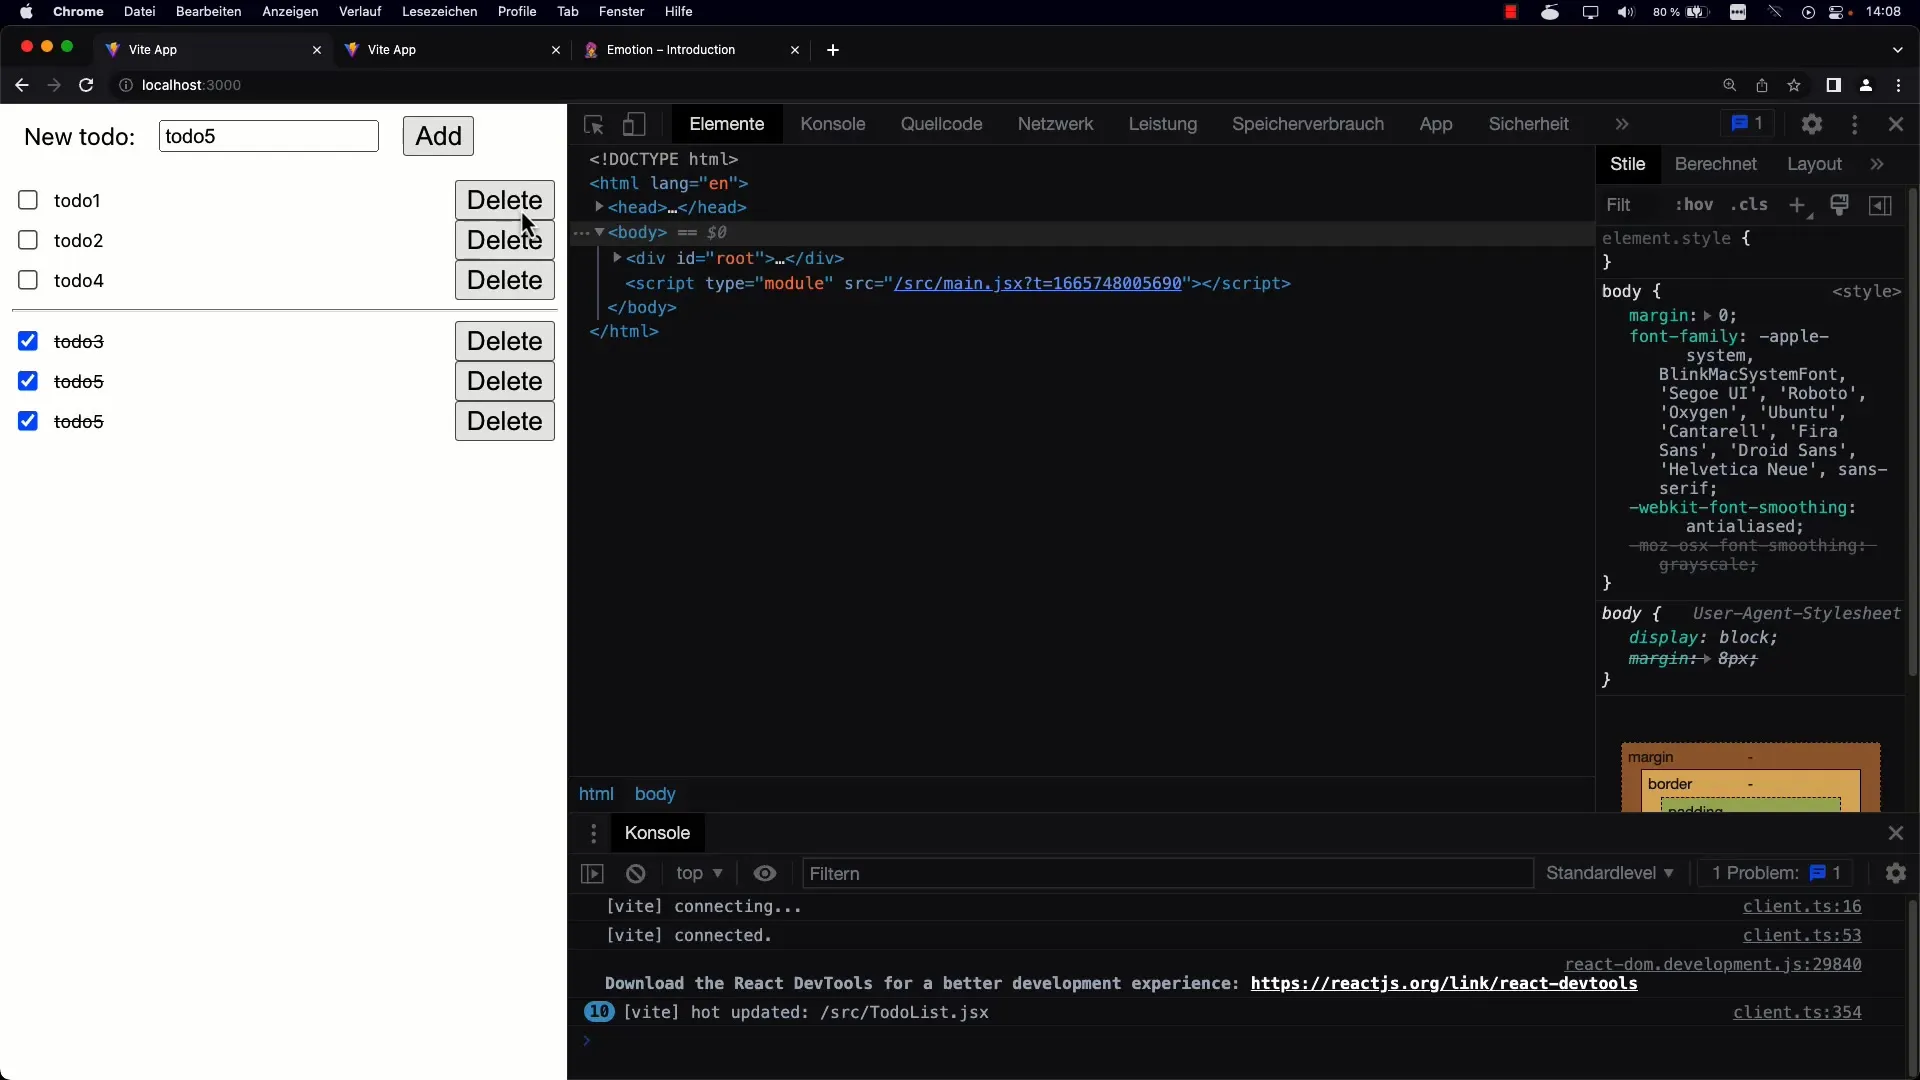
After implementing the function, it's time to test everything. Check if clicking the delete button removes the respective To-dos and ensure that the UIs are always updated. This should now work smoothly.
Step 6: Improve User Interface
To enhance the user interface, you can improve the styling of the buttons. Consider how you can use Flexbox or other CSS techniques to make the buttons visually appealing and ensure they look good on various devices.
Summary
Deleting to-dos in a React application is an important aspect of user interaction. By encapsulating the logic in components and leveraging JavaScript's filter function, you can create a clean and functional user interface. You have learned how to easily delete to-dos and simultaneously create a duplication-free structure.
Frequently Asked Questions
How can I mark to-dos without deleting them?Marking is done through a status change. You can use an additional field in the to-do object.
Can I delete multiple to-dos at once?Yes, you need to adjust the logic to accept multiple IDs and filter accordingly.
What should I do if I encounter a deletion error?Check if the IDs are being passed correctly and if the filter function is working properly.
How can I customize the styling of the buttons?You can use CSS or Styled Components to customize the appearance of your buttons.


