Integrating a volume control into your React applications can help improve the user experience. A simple input element, in the form of a type="range" slider, allows users to easily and intuitively adjust the volume of video elements. In this guide, I will show you step by step how to implement your own volume control to extend control beyond the standard player.
Key Takeaways
- You will learn how to create a volume control with an input type="range".
- The volume is controlled in a range from 0 (muted) to 1 (maximum).
- The slider dynamically adjusts to changes in state.
Step-by-Step Guide
1. Example Setup
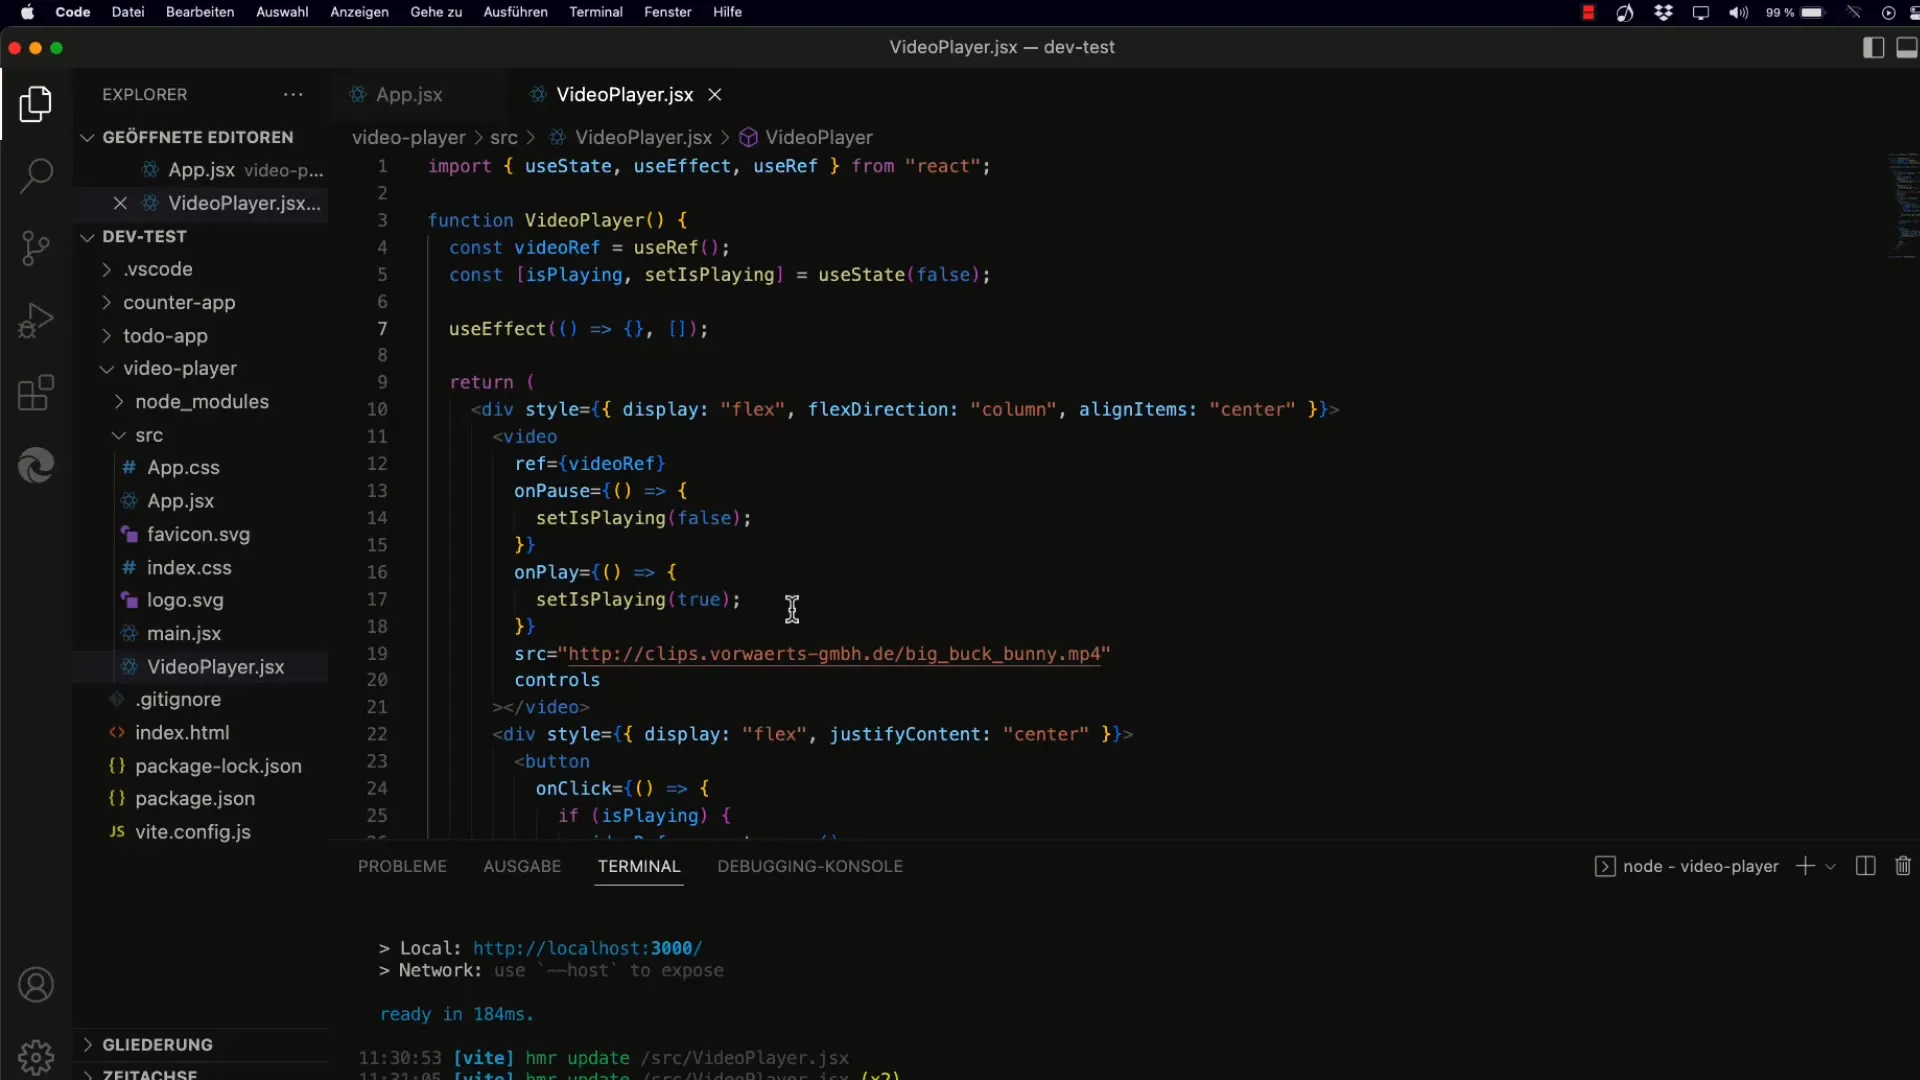
To get started, you need a base application where you can play videos. You must ensure that you have installed the required React libraries. Once you have the setup, you can create the basic components.
2. Implementation of the Volume Slider
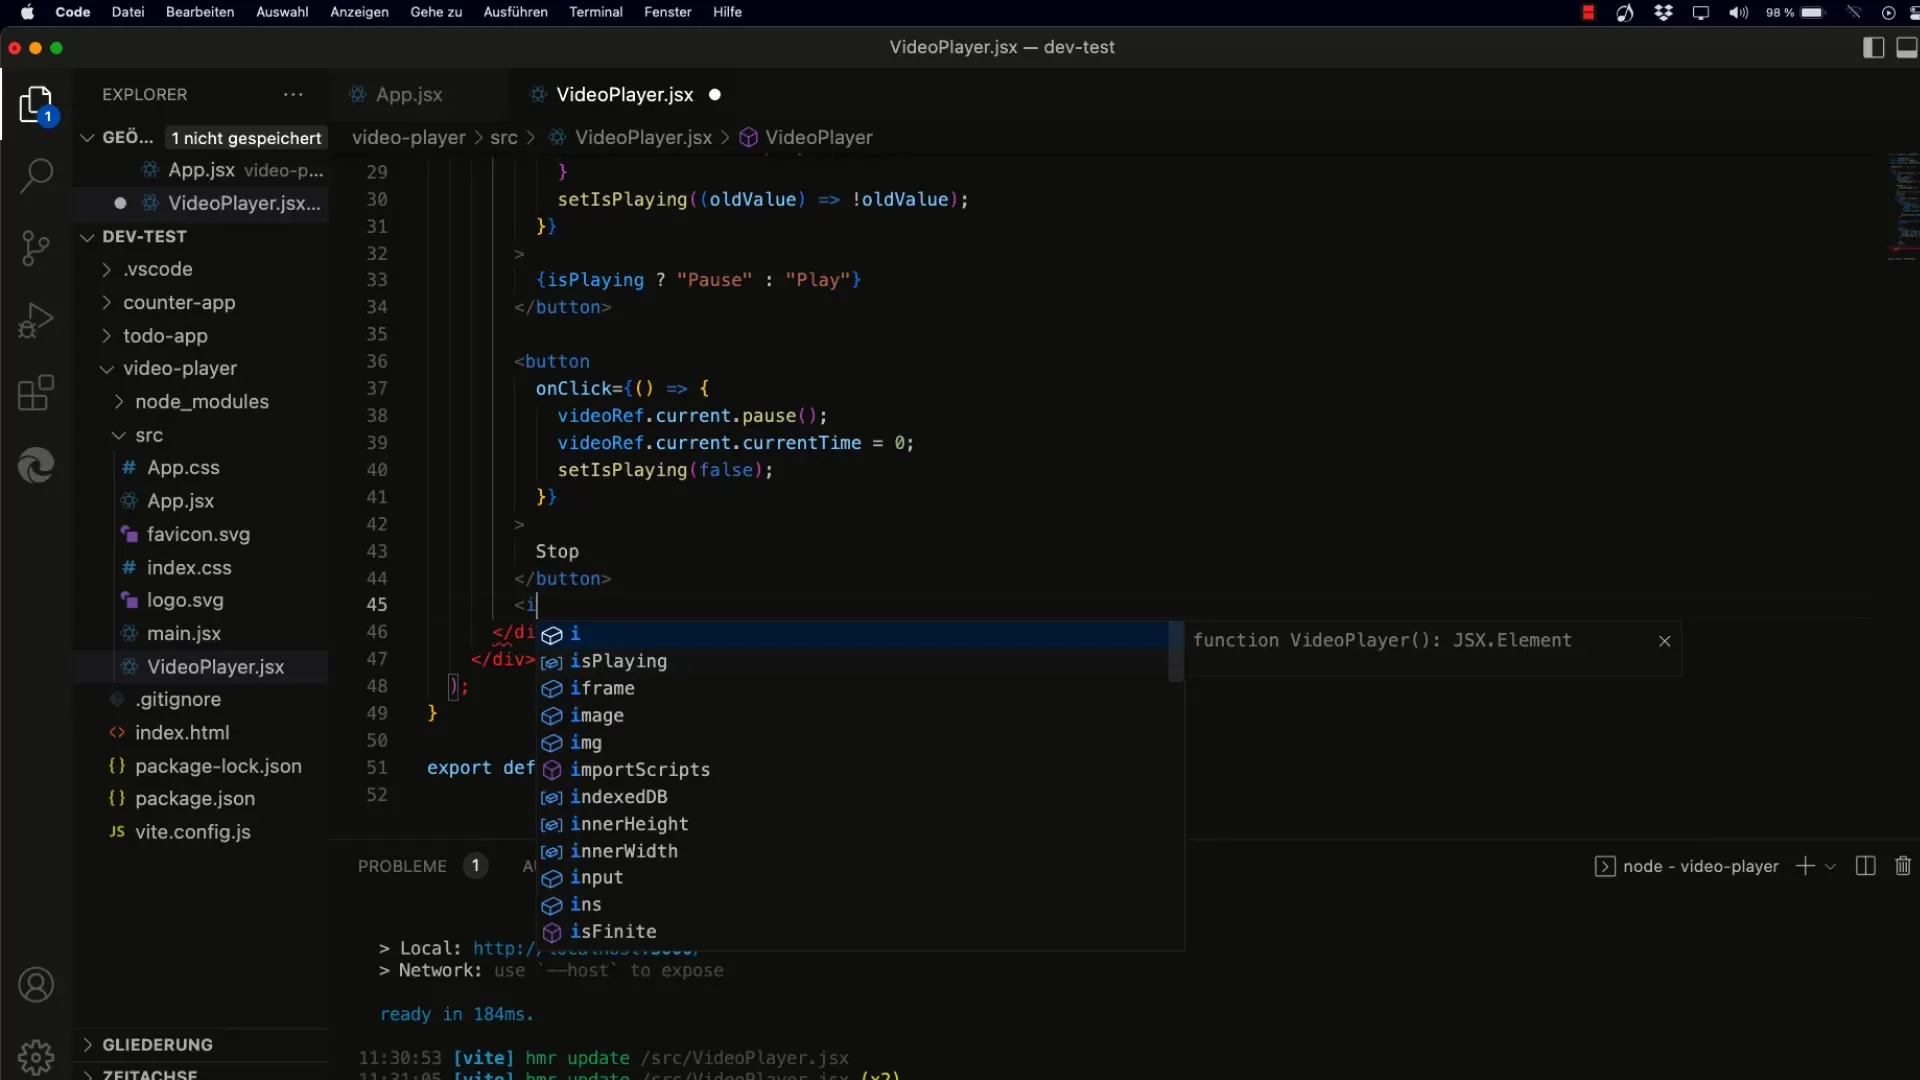
Create an input element with the type range to control the volume. Here, you should set the minimum value to 0 and the maximum value to 1. The step size can be set to 0.01 to allow for fine adjustments.
3. Using State
To store the current volume value, use the React Hook useState. Set the initial value of the volume state to 1, as this is the default value for the video element.
4. Styling of the Slider
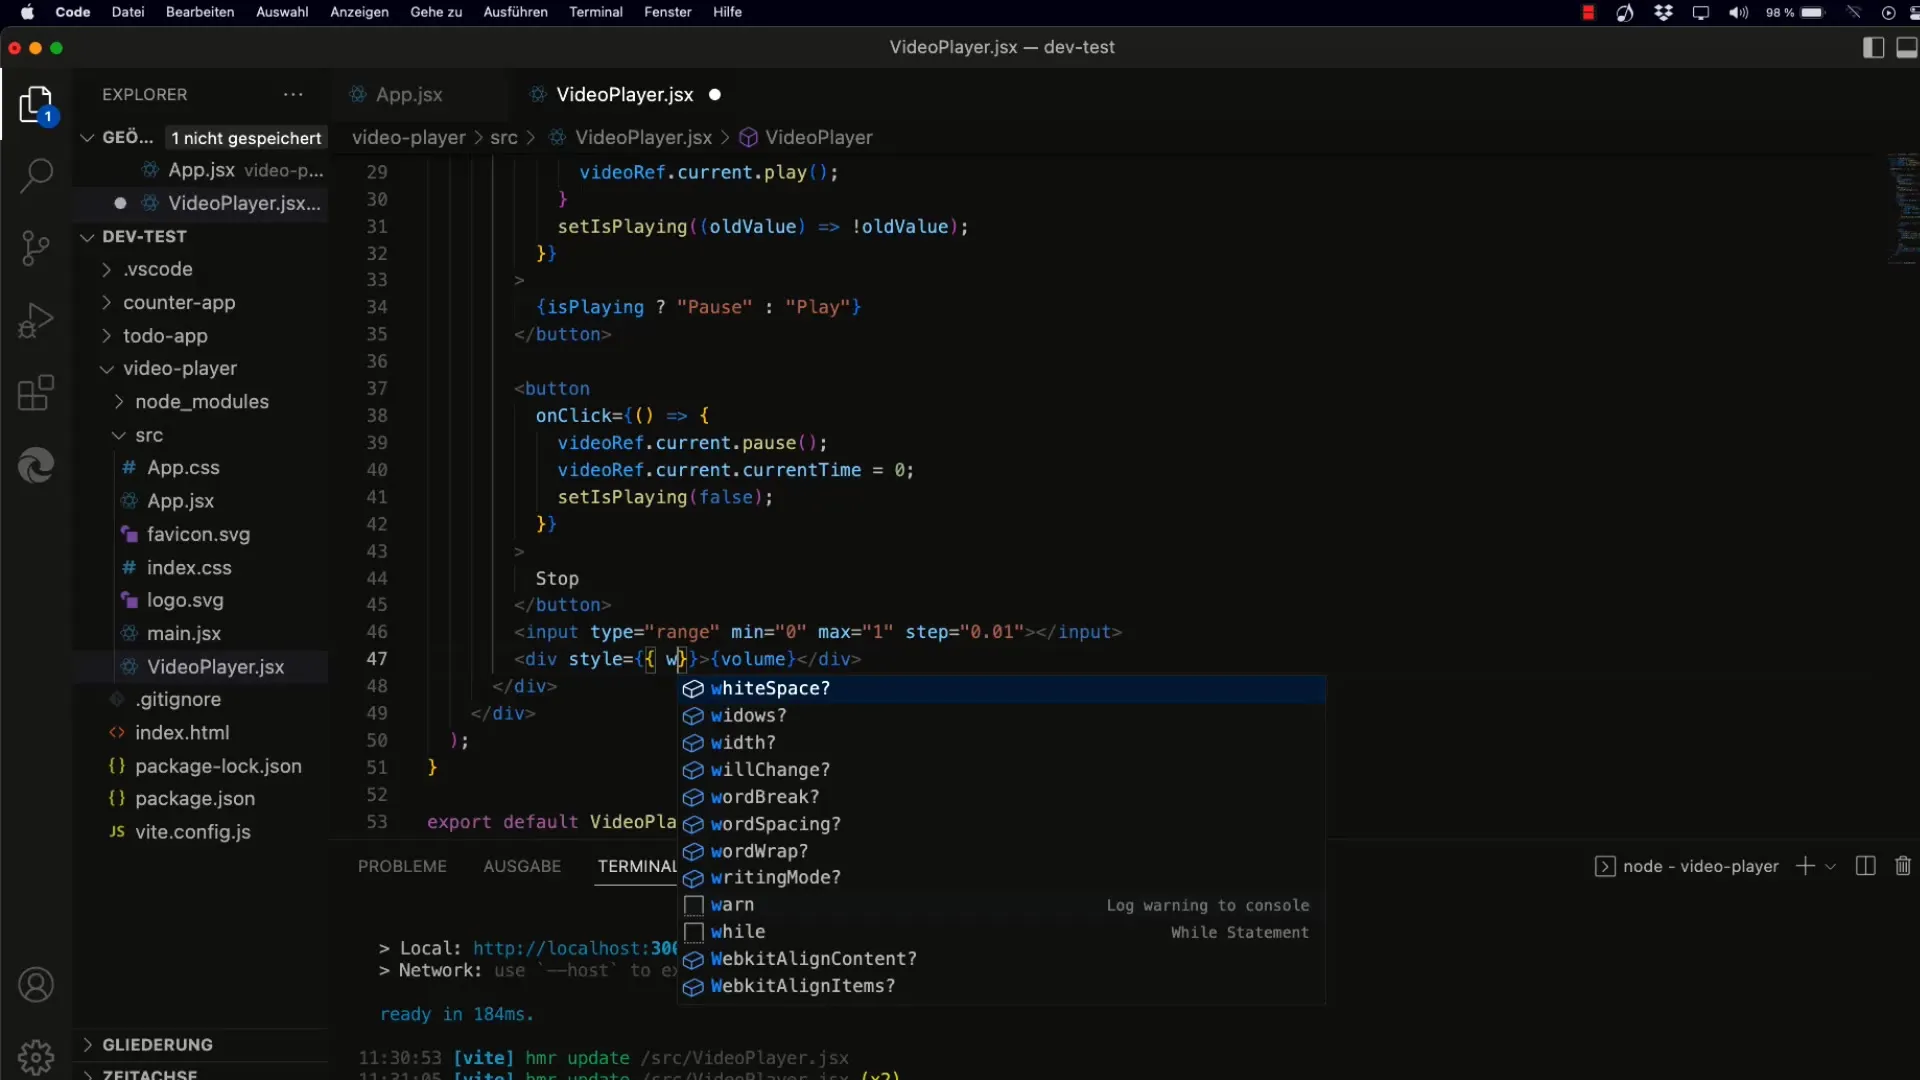
To improve the layout, you can add CSS styles to the input slider. Set the width of the slider to 100 pixels to prevent it from jumping when the text display changes.
5. Handling Changes
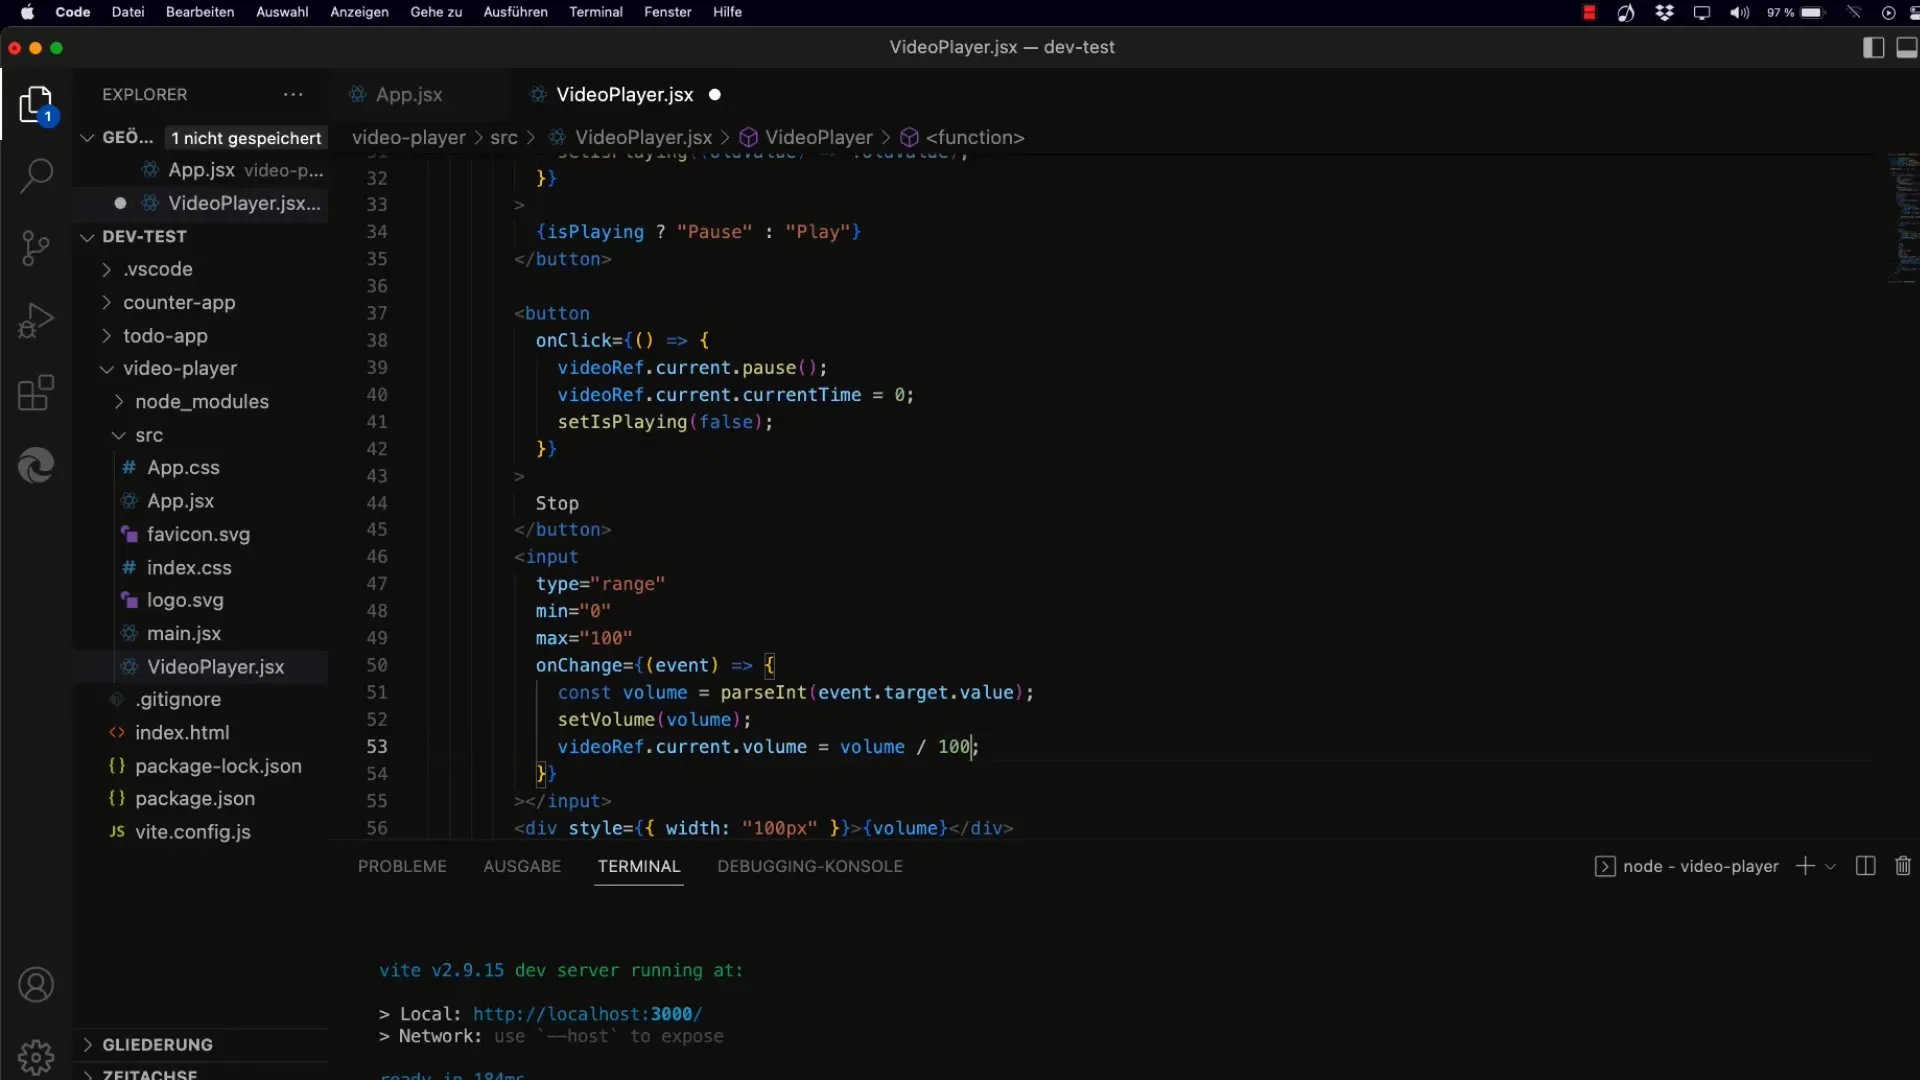
Use the onChange event to react to changes in the input value. Adjust the state value when the user moves the slider. It is important to parse the value as a float to correctly handle decimal values.
6. Adjusting the Video Element
Ensure that the volume of the video element is correctly updated when the user moves the slider. This is done by dividing the slider value by 100 to bring it into the required range for the video element.
7. Displaying the Volume
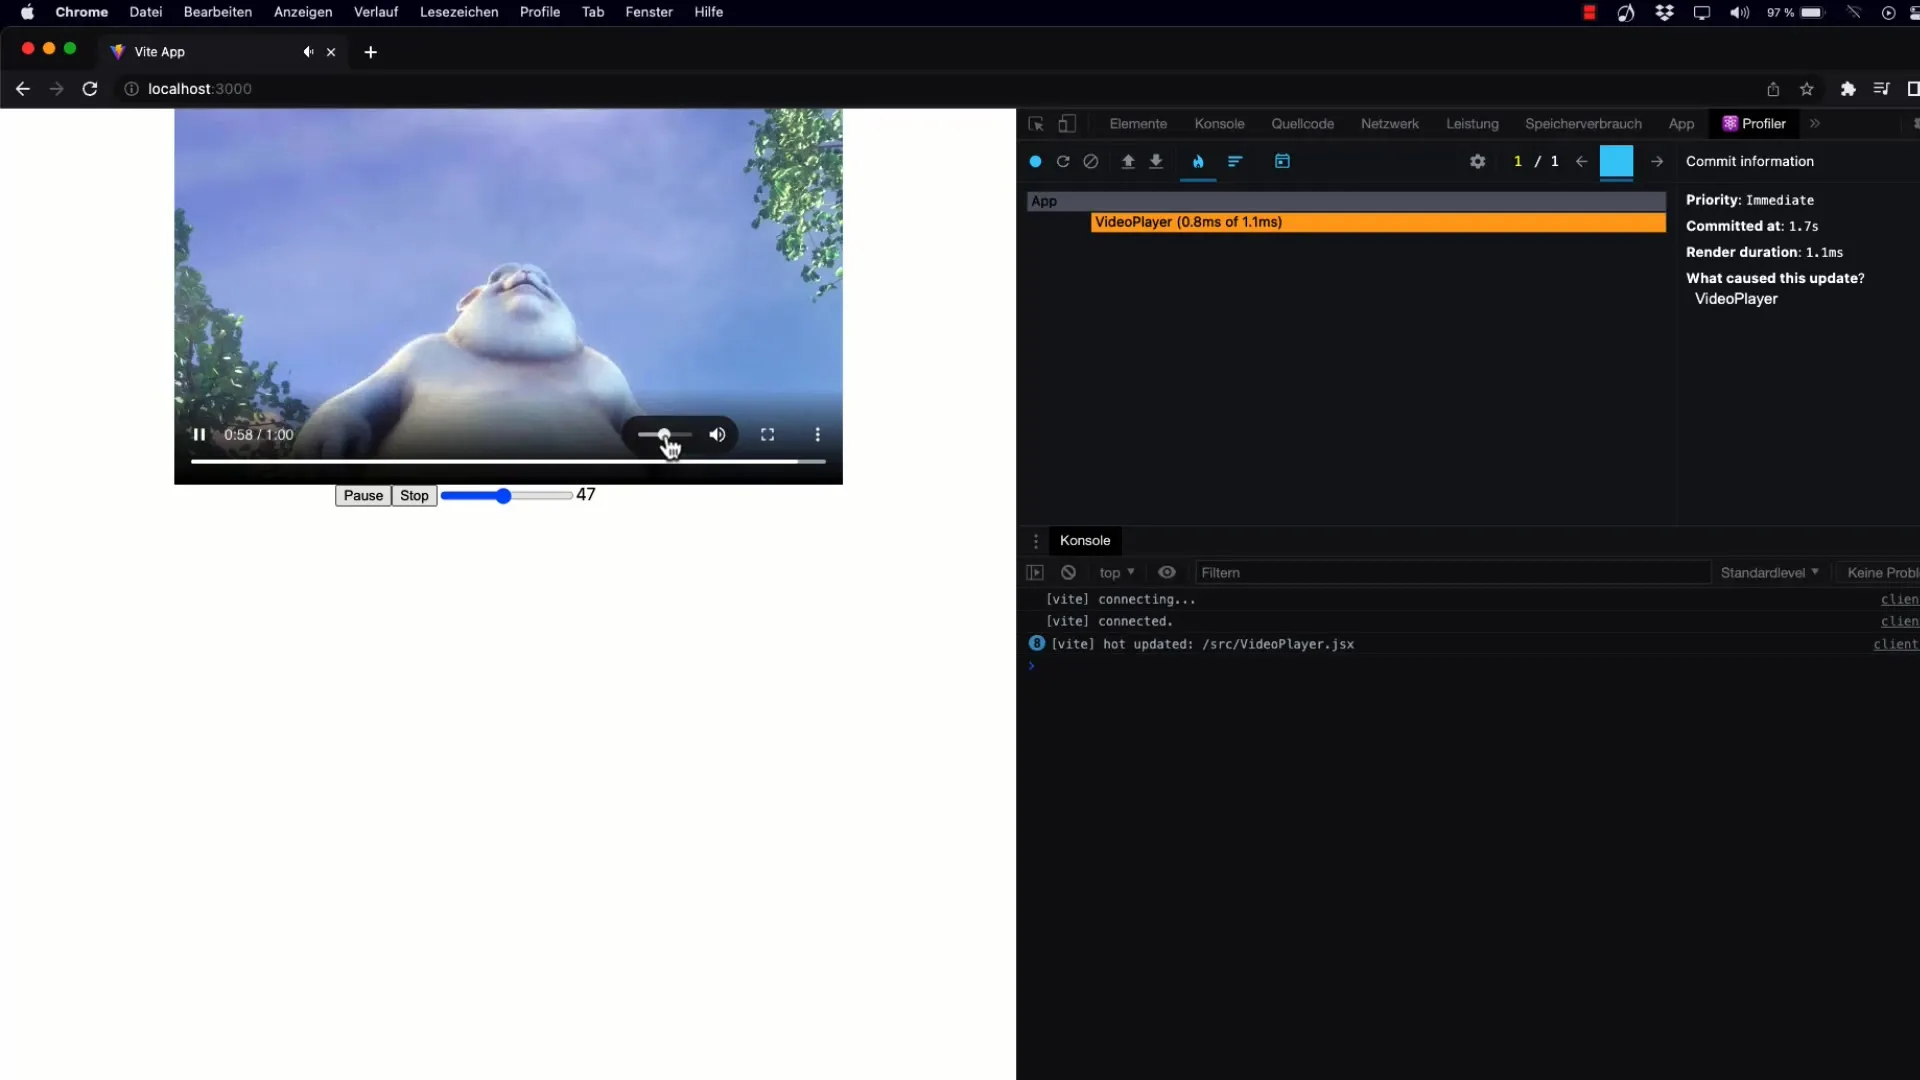
To provide feedback to the user, display the current volume value next to the slider. Use a simple display format from 0 to 100, allowing users to immediately understand the set volume.
8. Synchronizing the Volume
When the video's volume changes, the slider should reflect this update. Use the video element's onVolumeChange event to continuously update the volume value.
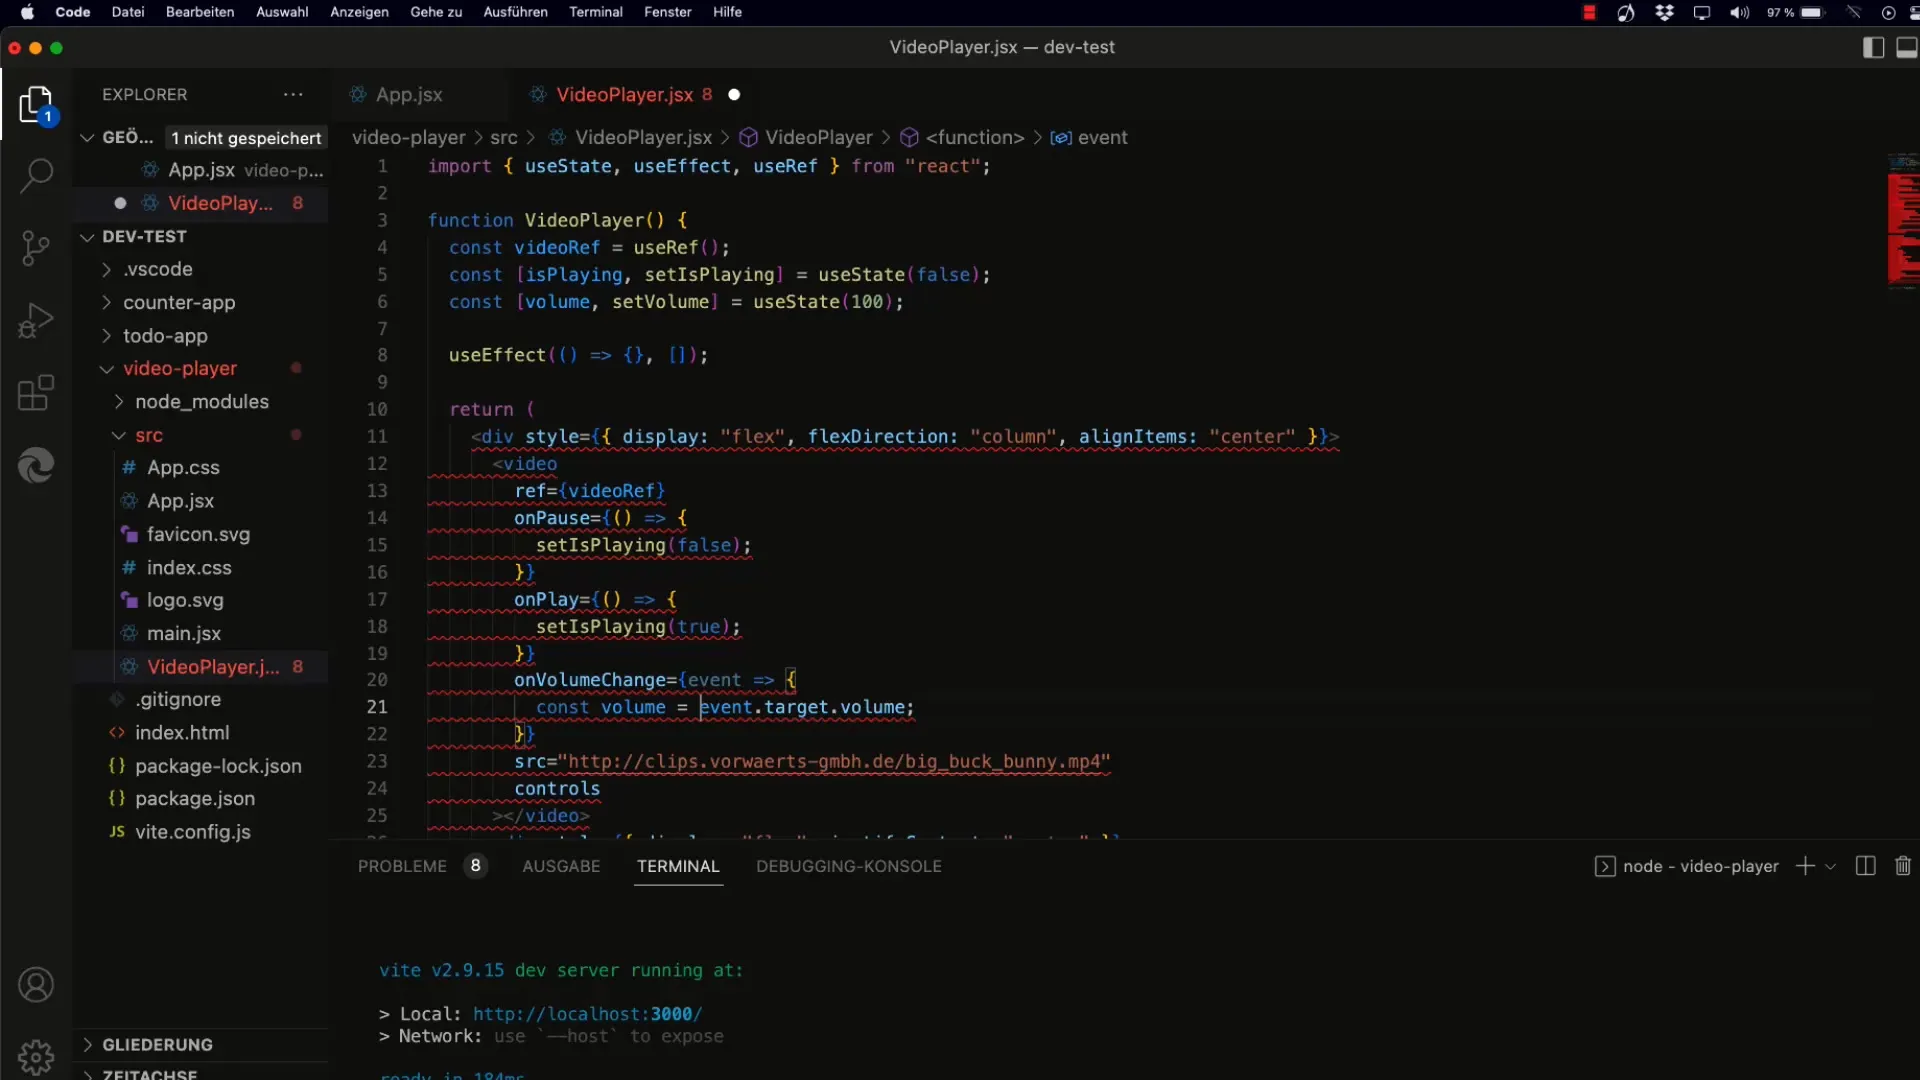
9. Rounding and Style Optimizations
To get a more visually appealing display, you can round the volume values before displaying them. Use the Math.round() function to ensure that the values are displayed as whole numbers.
10. Meeting the Requirements
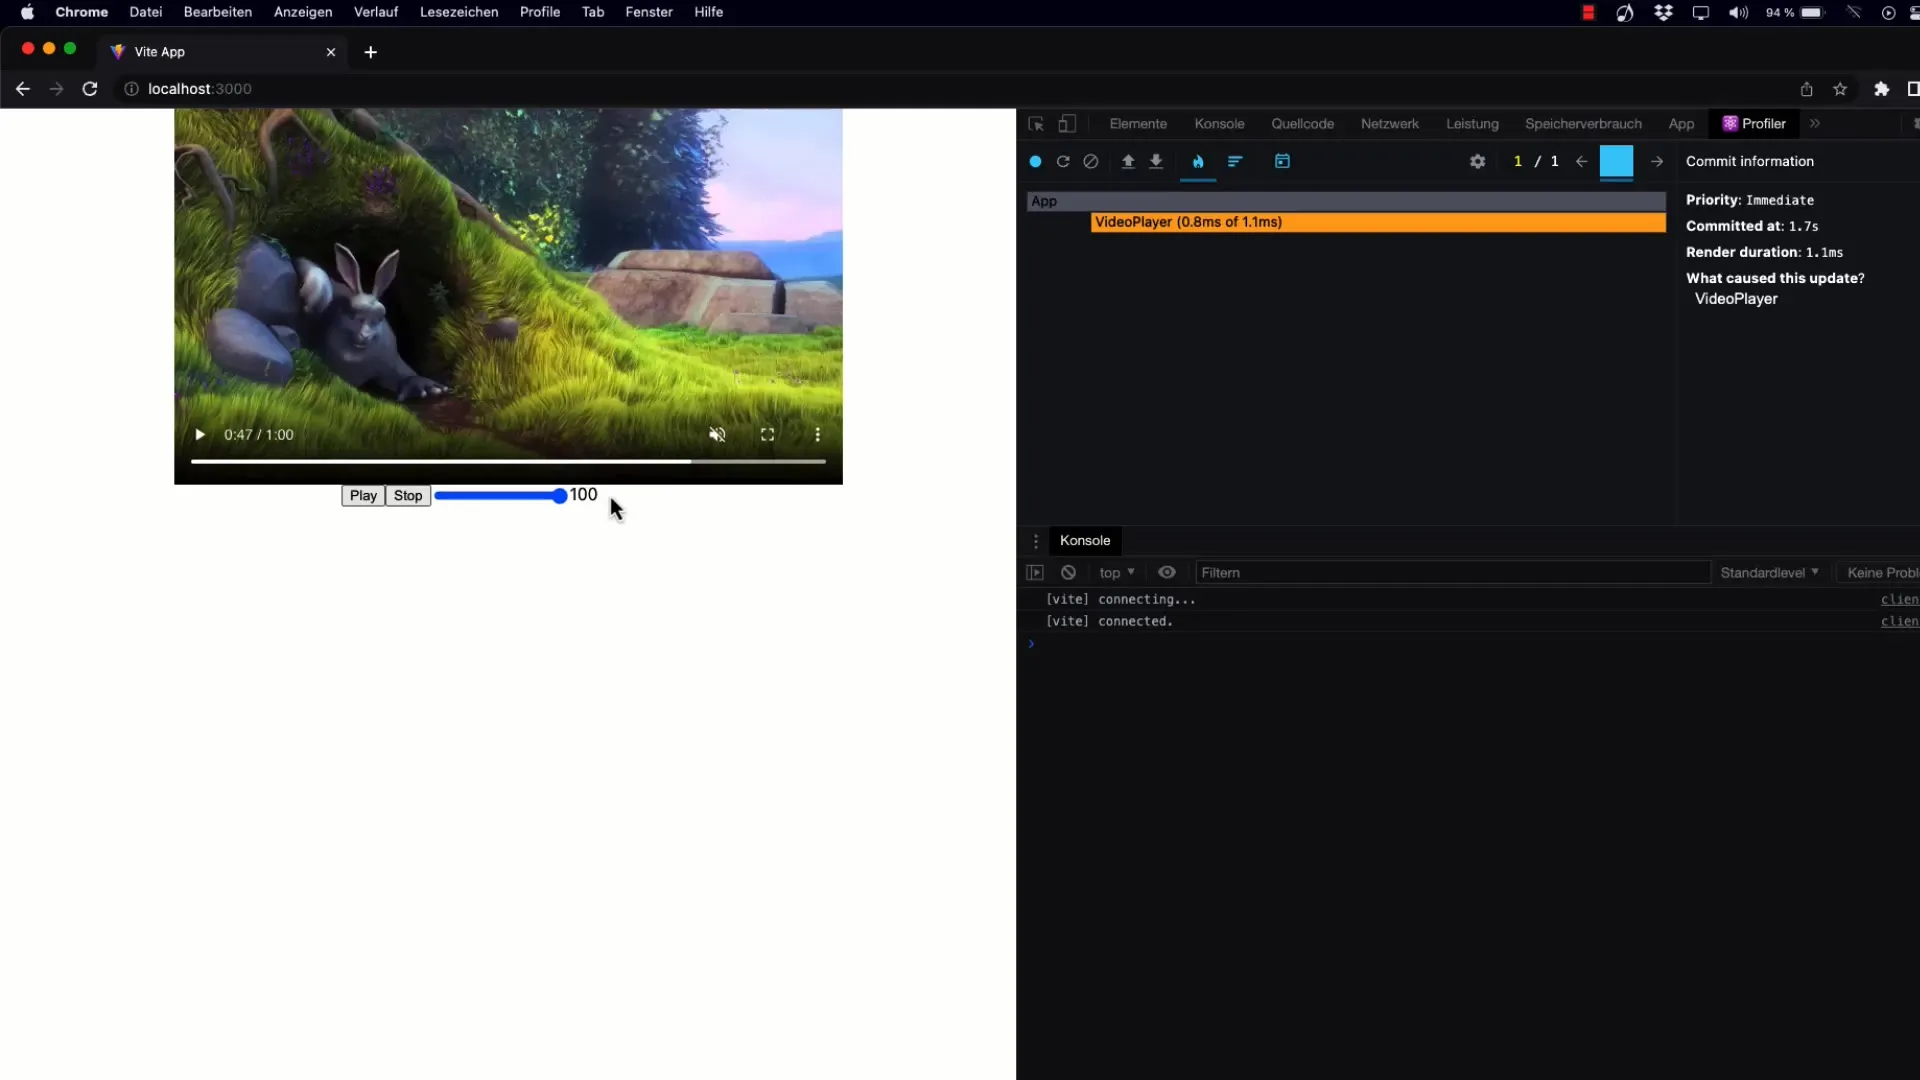
Check your implementation to ensure that both the slider and the video element work seamlessly together. The user should be able to adjust the volume through both the slider and the video controls.
11. Conclusion and Outlook
You have successfully integrated a volume control into your React application. To further expand this functionality, you could consider adding an additional slider to control the video playback position. The next video will cover this process in detail.
Summary
You have learned how to implement a custom volume control that gives the user control over audio elements in your application. This guide provides a solid foundation for future customizations and extensions.
Frequently Asked Questions
How can I change the initial value of the volume slider?The initial value can be adjusted in the useState hook.
Does the slider work with all video formats?Yes, as long as the video element supports volume within the 0-1 range.
How can I avoid distorted values when loading the page?Make sure the initial value is defined in the useState hook to avoid undefined values.


