Before we look at the new possibilities for technical sculpting, let's take a look at the small but important improvements that will help us when working on organic models. I have chosen the alien character from one of the previous tutorials. In the working files for this tutorial, you will find the starting scene under the name "PSD_C4D_R15_Sculpting_Start.c4d".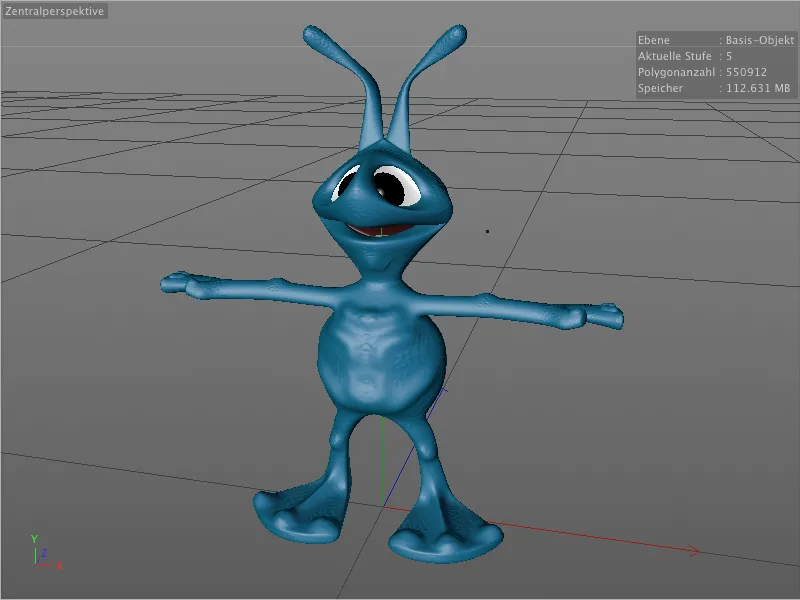
Enhance brush
The Enhance brush is a brand new addition to the Sculpting tools menu. You can use it to selectively enhance the appearance of existing elevations or depressions on the surface.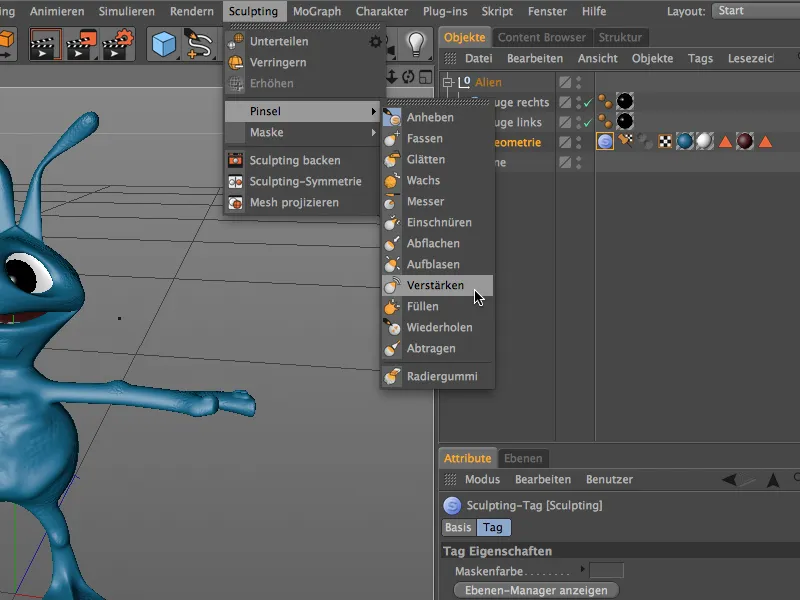
In the settings dialog of the Amplify brush, you will find the corresponding amplification mode on the settings page. Here you can choose whether the Enhance brush should take on all irregularities or only be limited to depressions or elevations.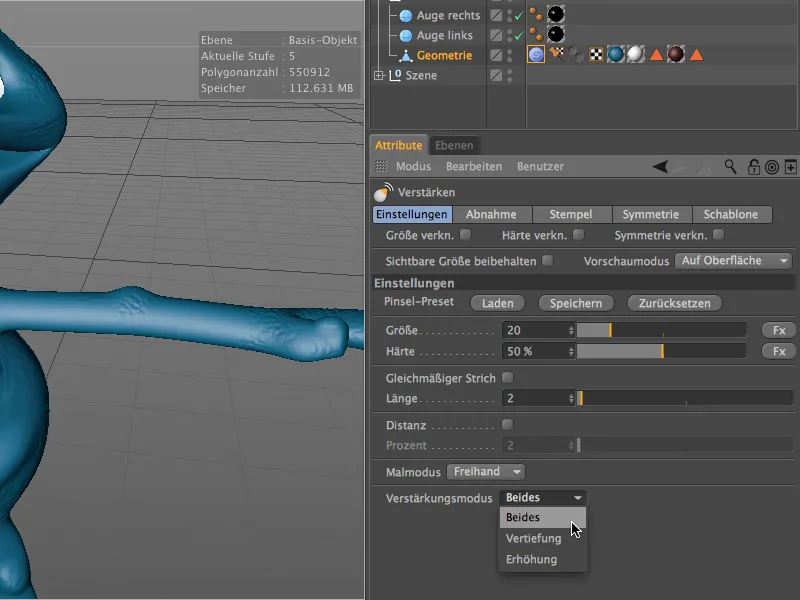
Before we use the brush tool on our model, we activate the symmetry for the local X-axis on the symmetry page so that the modifications are mirrored on the other side via the YZ plane.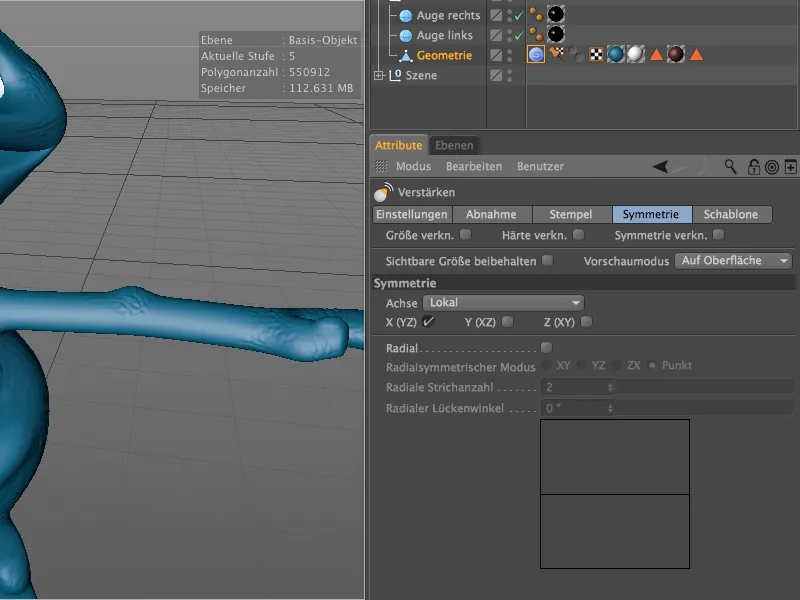
For concentrated work, it is of course advisable to switch to the dedicated sculpting environment. We can do this quickly using the layout menu in the top right-hand corner.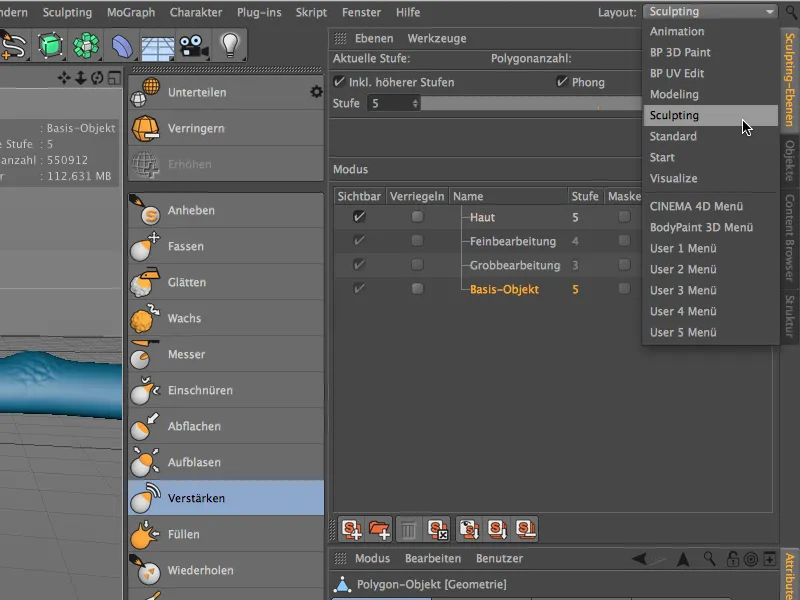
In the sculpting environment, we also have better access to the sculpting layers, where we can specify on which layer we want to work with which subdivision.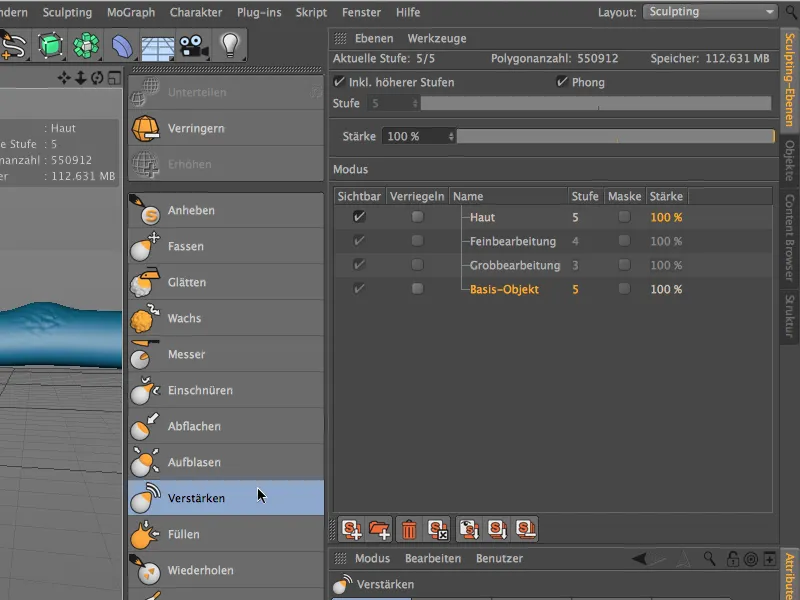
The effect of the Enhance brush becomes clear very quickly as soon as you use the brush again to work on an area that has already been sculpted. In the example of my little alien, for example, I have enhanced the sides of the belly a little more ...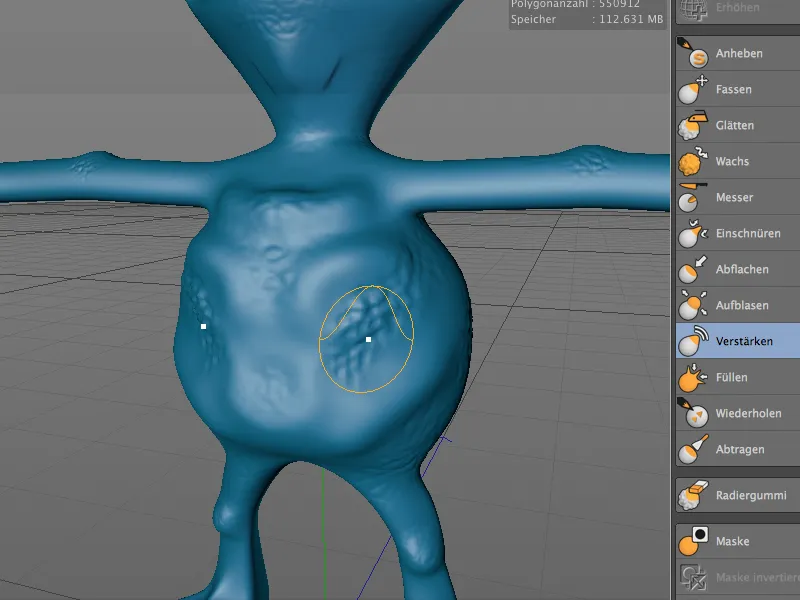
... and the tops of the alien's feet could also be made a little more striking with the Enhance brush.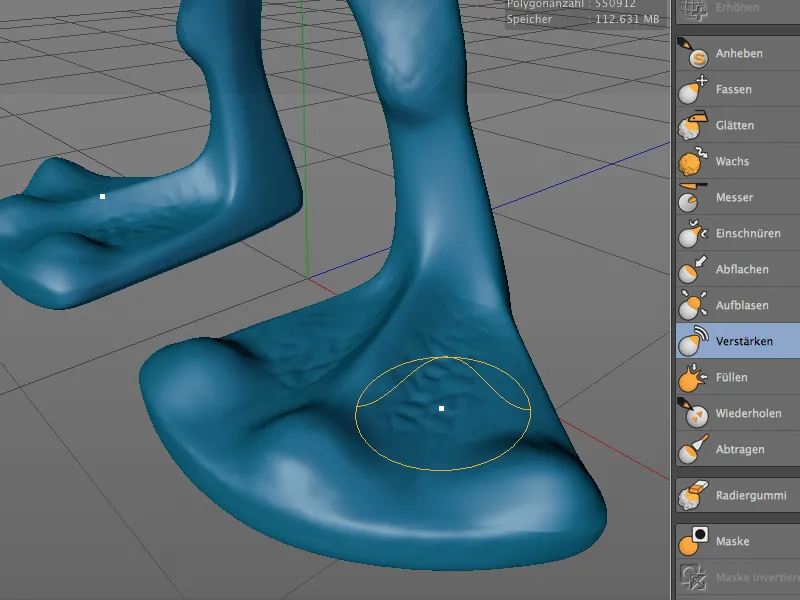
Improved mask brush
Working with masks has been improved in version 15 with some new functions. We can now easily copy and paste masks from one sculpting layer to another - provided that the subdivision level of both layers is identical. Masks can also be temporarily hidden and shown again for the sake of clarity. As usual, you will find the corresponding commands in the menu or palette of sculpting commands.
The Mask Brush itself also has a practical new function - similar to the Amplify Brush.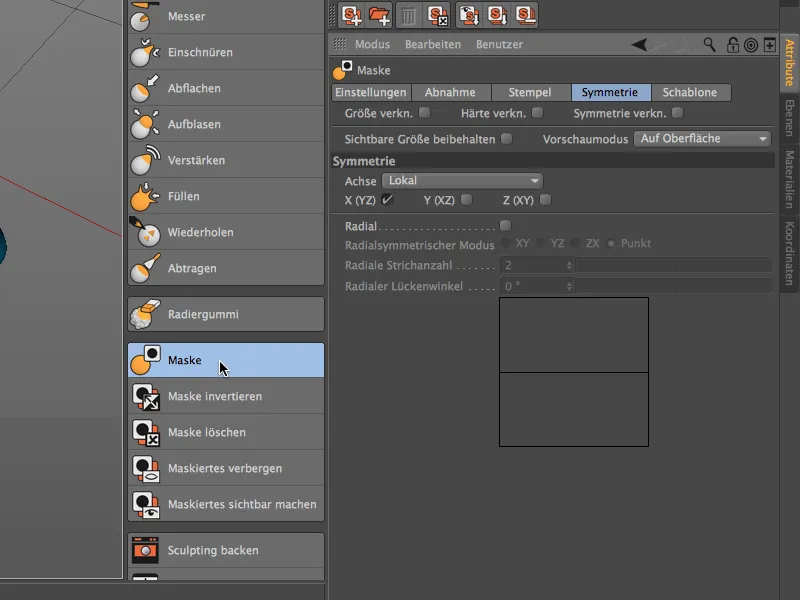
If we look at the settings dialog of the Mask Brush, we will find a new Masking Mode menu on the Settings page. Similar to the Enhance brush, we can select here whether and how the Mask brush reacts to increases or decreases.
In the Increase setting, for example ...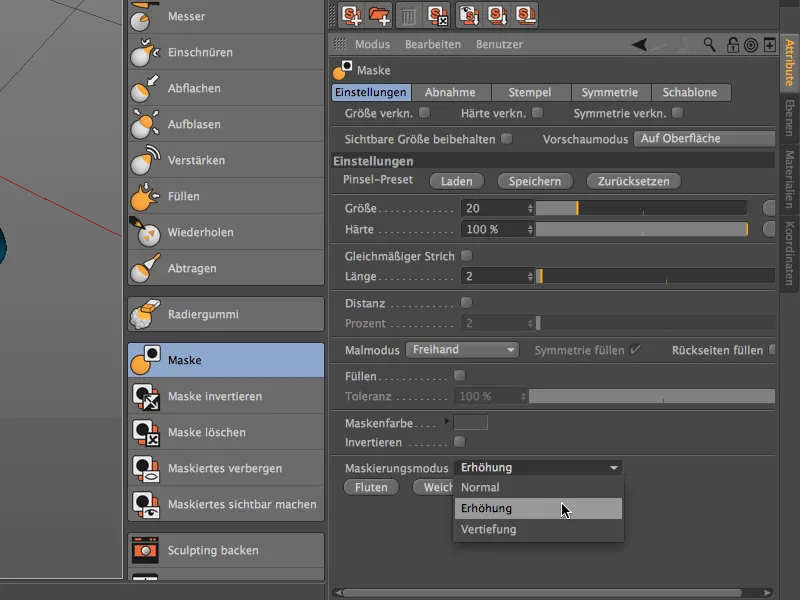
... the mask brush automatically recognizes the raised areas and only applies the mask to the lower areas of the model, as can be seen in the image. The Deepen setting works in exactly the opposite way - here the lower areas are left out.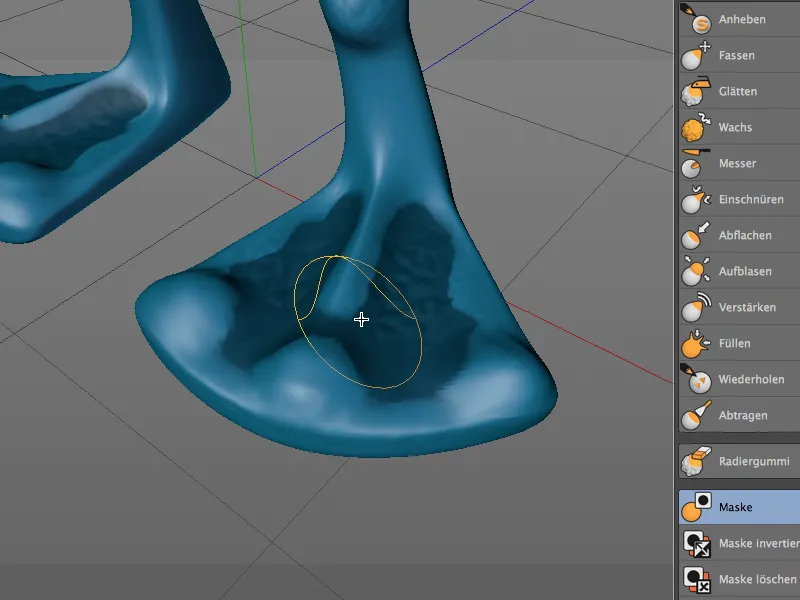
Sculpting symmetry
As we know, the Sculpting tools offer mirrored working on a predefined symmetry axis via their settings dialog on the Symmetry page.
In Release 15, it is now also possible to subsequently mirror the sculpted geometry. This does not necessarily have to be necessary due to an operating error. Subsequent mirroring, for example, allows the computer performance of complex geometries to be better utilized, as the tool does not have to work symmetrically at the same time.
To demonstrate this on our alien, I used the knife tool (not symmetrically, of course) to model a slight notch in the crook of the arm.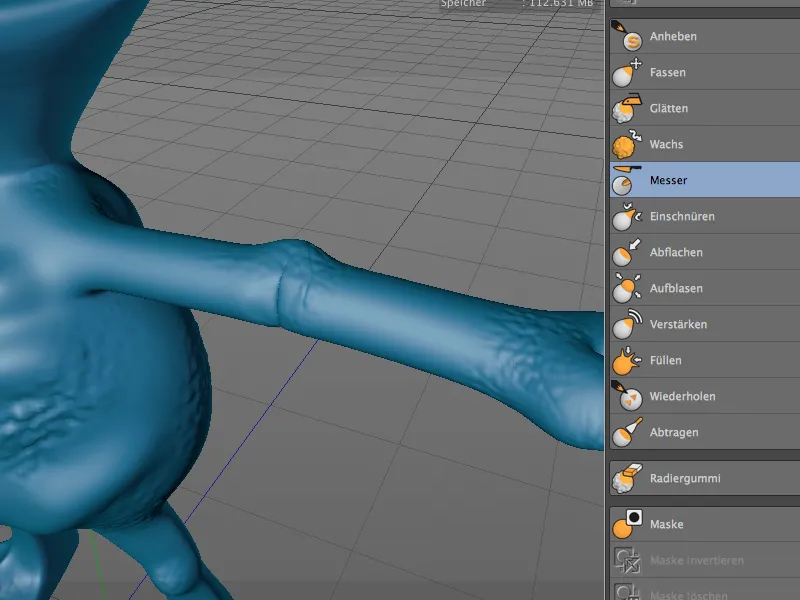
To subsequently mirror this modification, which was only applied to the alien's left arm, on the other side, we call up the Sculpting symmetry dialog via the Sculpting menu.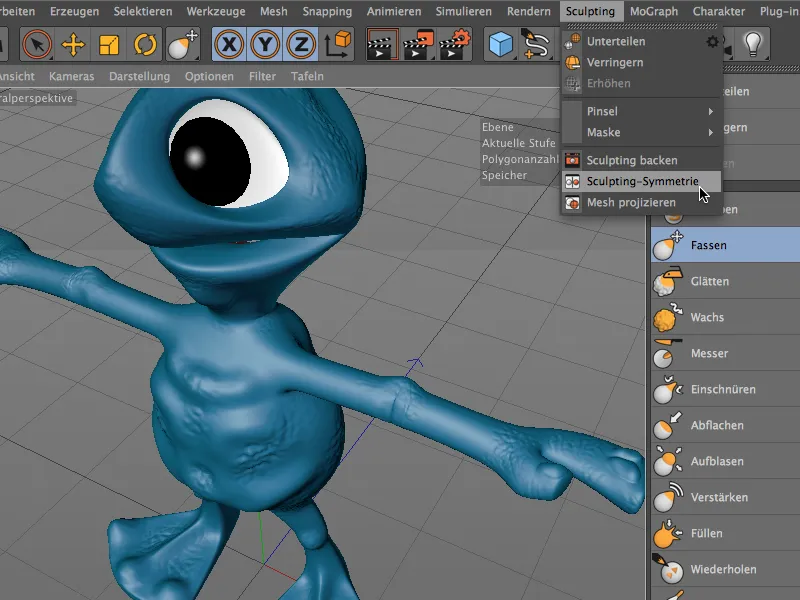
In the Sculpting symmet ry settings dialog, we select the negative X-axis as the mirroring axis, as the modification is to be transferred from the left to the right arm. After clicking on the Mirror object button, the right arm bend is now exactly mirrored by the left arm.
In contrast to this, the Adjust function in the lower area of the dialog does not simply mirror from one side to the other, but adjusts both sides to each other, which usually looks more harmonious.
Project mesh
With the new Project Mesh function, the polygon mesh of an object can be transferred to another object. This can be very practical for creating clothing based on the existing geometry, for example, or for further modeling on another object.
For our alien example, this function could be used to create a breastplate. I have placed a plane object with a relatively high subdivision in the middle of the alien's body. This should represent the target for the mesh projection.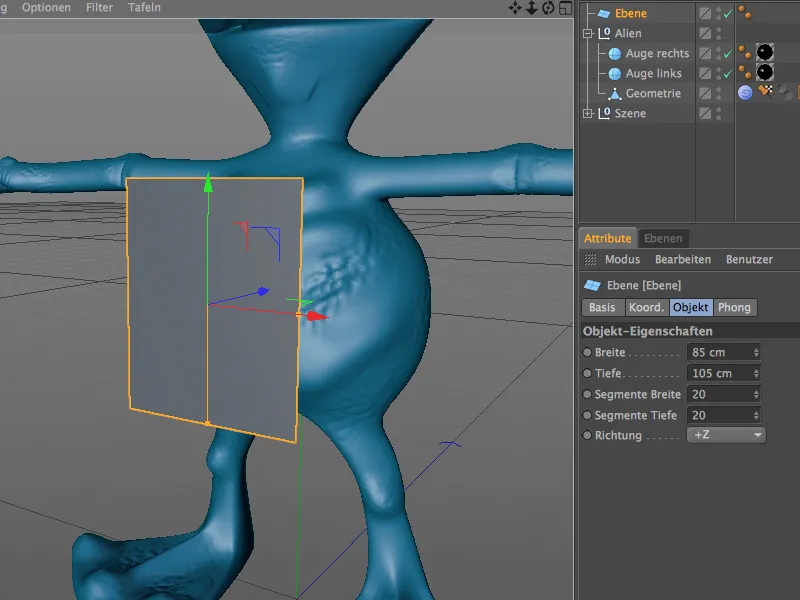
As the transfer of polygon geometry cannot work with parametric objects, we convert the plane object into a polygon object using the Convert basic object command or the C key.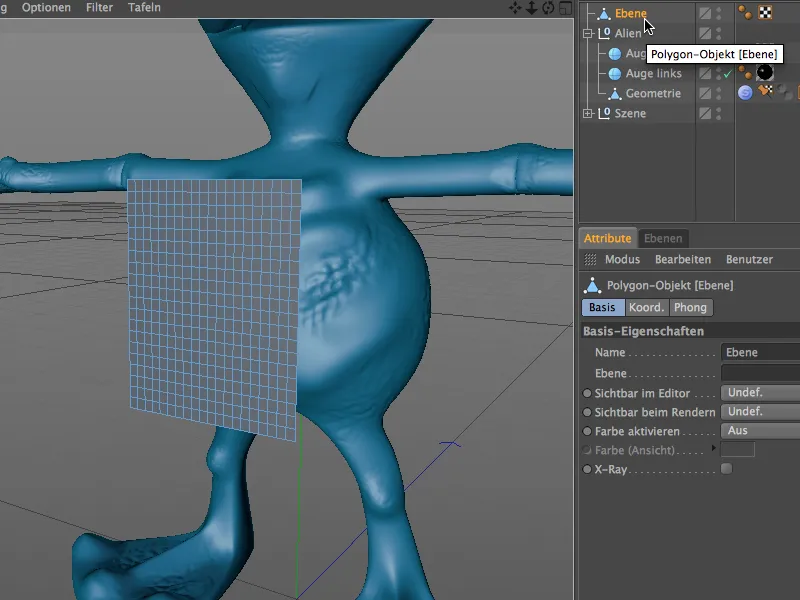
Now we can call up the Project Mesh command from the Sculpting menu. It is therefore not absolutely necessary to switch to the Sculpting environment.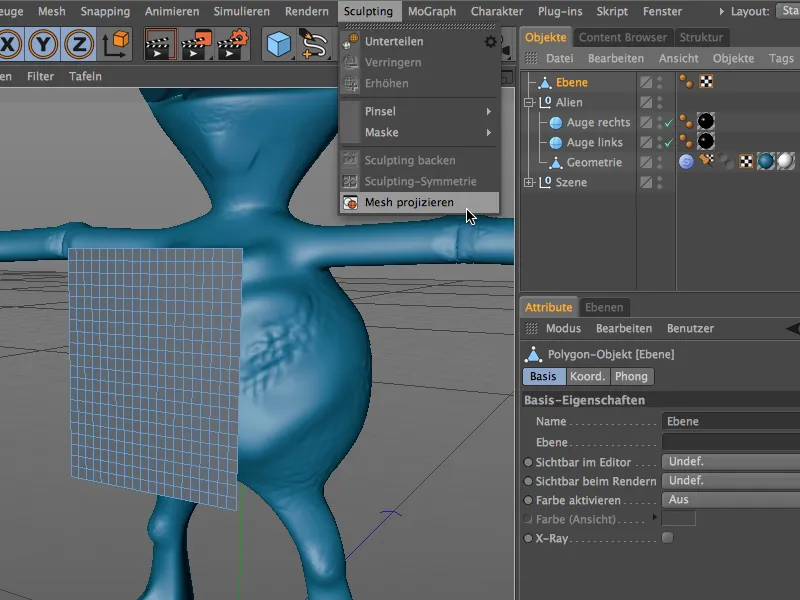
In the settings dialog of the project mesh function, we must now specify exactly which object is to be projected into which target. As the plane object was selected when the command was called, this object is already entered as the target in the project mesh dialog.
In the Source field, we drag the body of the alien, i.e. the Geometry object from the Alien group. Depending on whether the target object can be deformed directly or is to be used for further projections, you can already specify in the dialog whether a copy is to be used and whether the source object is to be invisible afterwards.
After clicking on the Project button, the project mesh function starts working and deforms the target object using the specified source.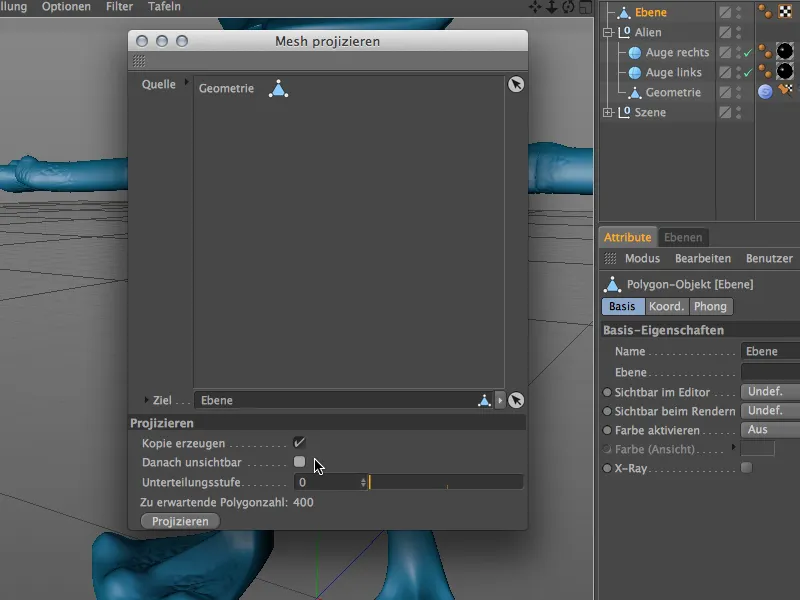
The plane object now also has a sculpting tag as an independent sculpting object. As indicated in the previous dialog, no further subdivisions have been added, so it is still available in the initial resolution of 400 polygons.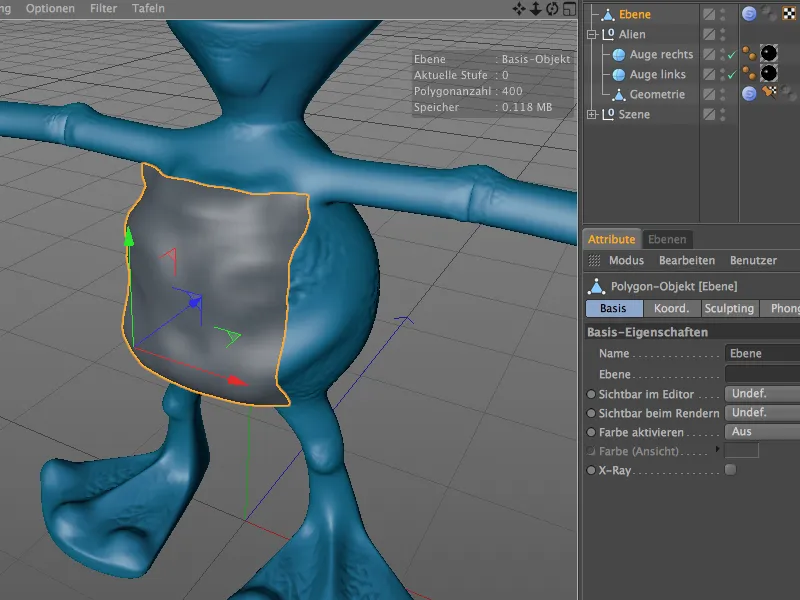
As the plane object was placed quite close to the body of the alien and its size was already adjusted to the body, the quality of the projected mesh is correspondingly good, so that the further elaboration of the breastplate can now begin.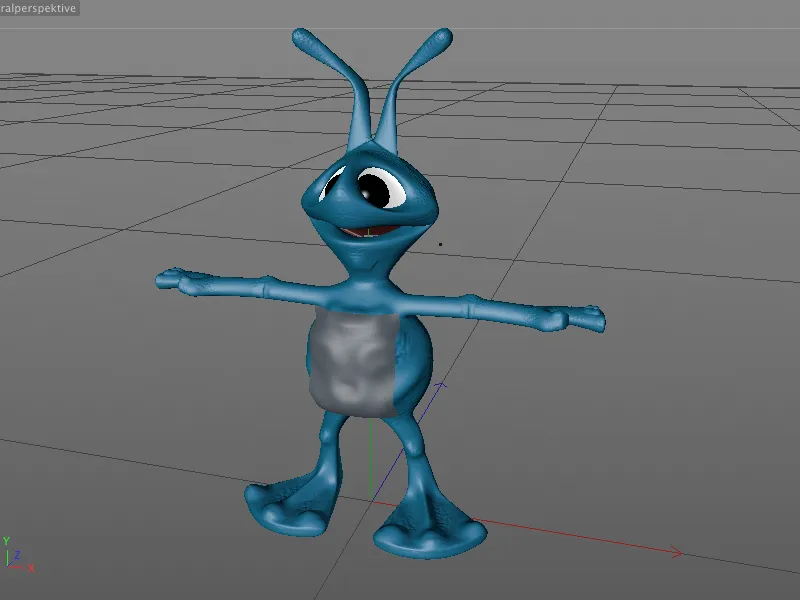
Technical sculpting with the inflation brush
Although the Inflate Brush in CINEMA 4D is not new, it has been upgraded in version 15 with functions that make it the ideal tool for technical sculpting. The functionality is always the same, so let's take a look at a few simple examples.
We start with a simple capsule object with sufficient subdivision in height and circumference.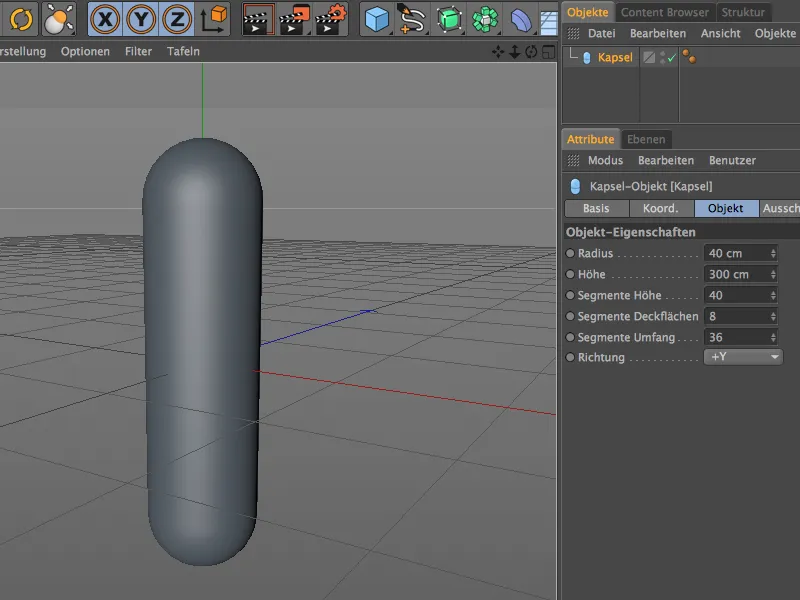
So that we can edit the capsule object using sculpting, we convert it into a polygon object using the Convert basic object command or the C key.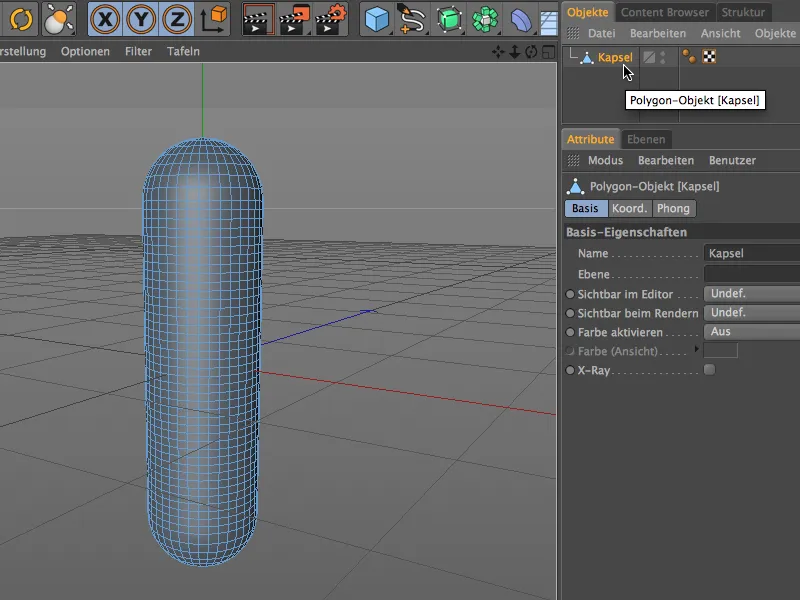
Of course, the existing resolution or subdivision of the capsule is not yet sufficient for filigree sculpting. For the further subdivisions and the preparation for the sculpting tools, we therefore use the Subdivide command from the Sculpting menu.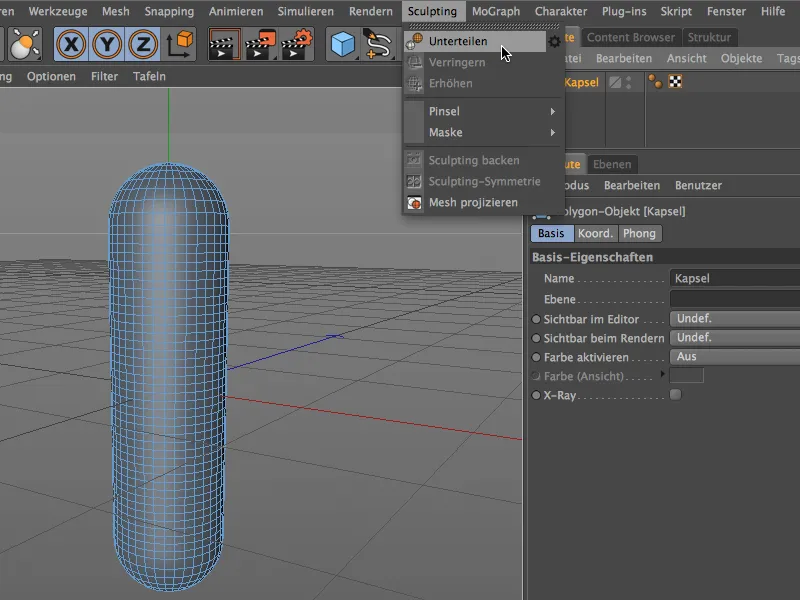
The polygon object of the capsule now has a sculpting tag and, depending on how often you have used the Subdivide command, has at least six digits of polygons. This resolution should be sufficient so that we can now prepare our blow-up brush.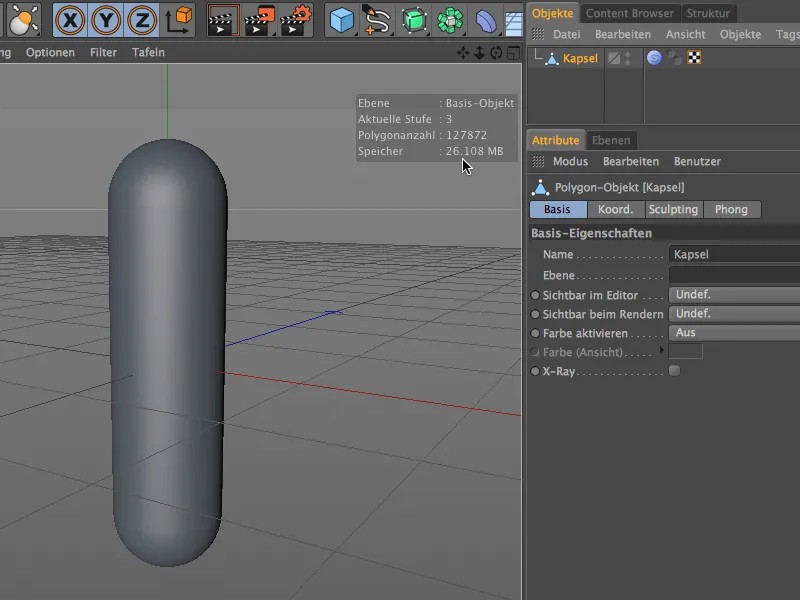
To do this, we first create a new material by double-clicking in the material manager. The texture or shader of this material will later be the tool for our blow-up brush.
We open the material in the Attribute Manager and load a tile shader into the color channel via the Texture menu in the arrow button.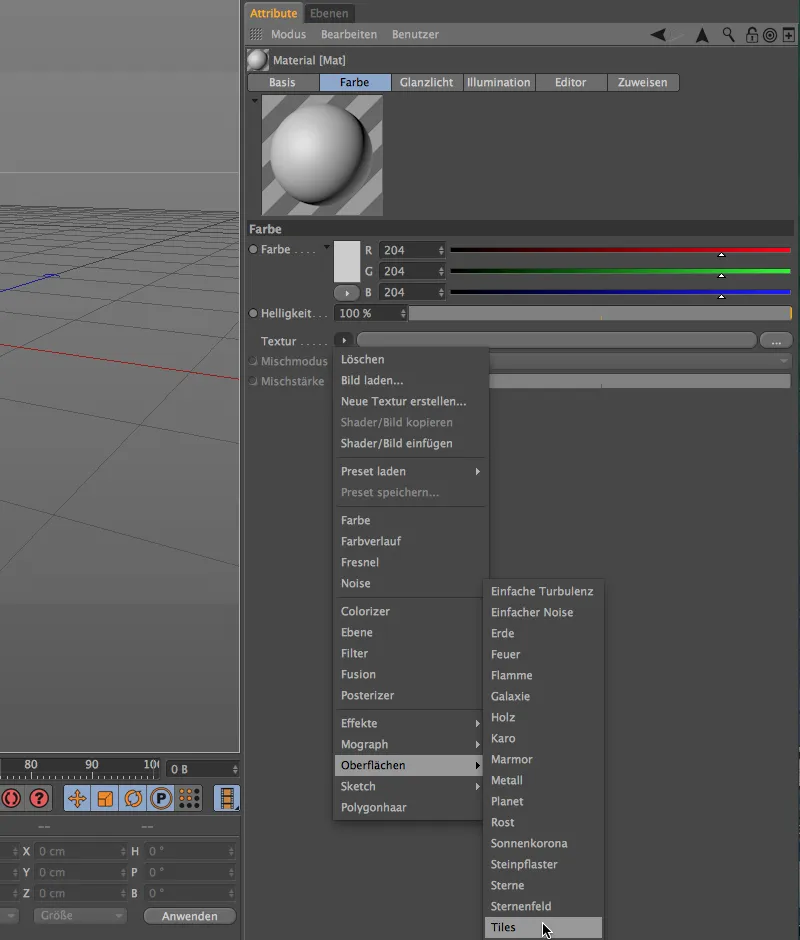
After clicking on the tile shader button, we access its settings dialog. There we first select the Waves 1 pattern. Of course, you can also use any other pattern you want to try out.
Using the tile colors, we create a wave texture consisting of white and gray tones, just as we would do with a bump texture for the relief or displacement channel.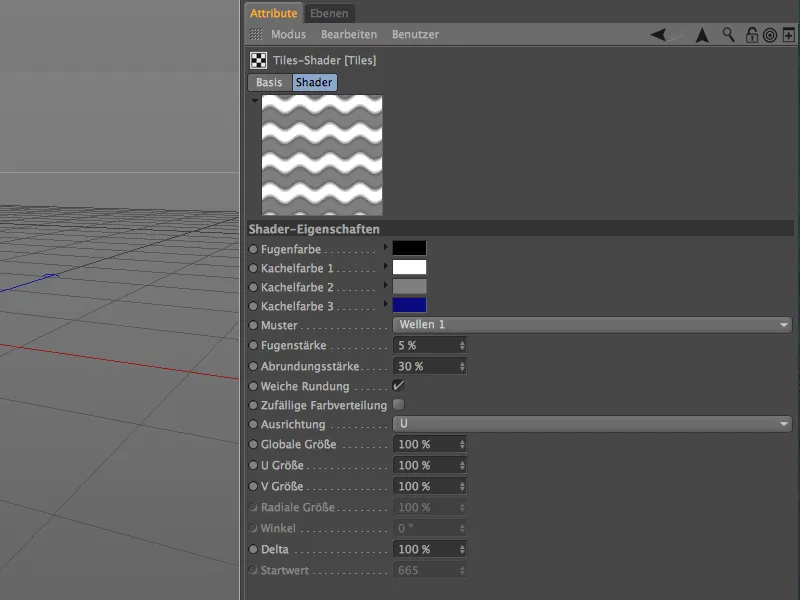
We leave the tiles shader via the arrow button pointing upwards into the next higher layer, the color channel, where we also soften the shader a little using a blur offset of approx. 10%.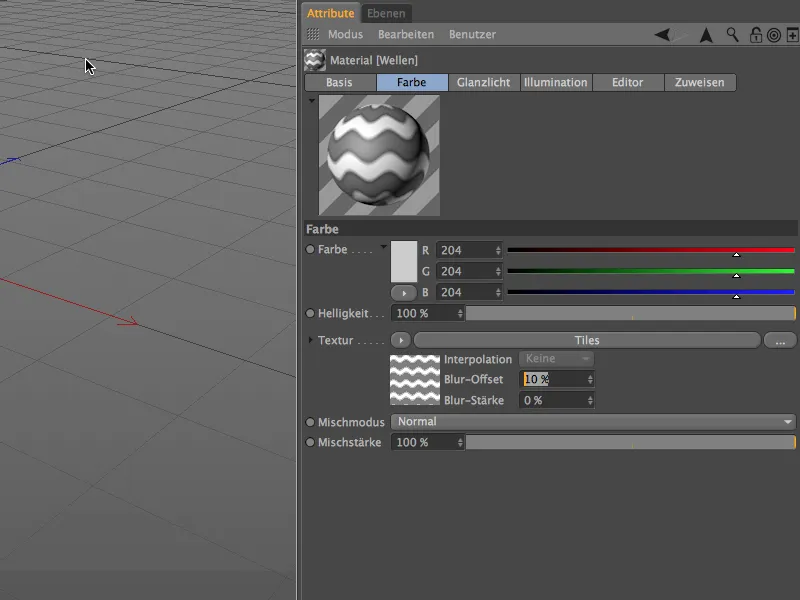
The material for the blow-up brush is now prepared so that we can get back to the actual sculpting. We select the polygonal capsule object via the Object Manager and select the Inflate brush from the Sculpting>Brush menu.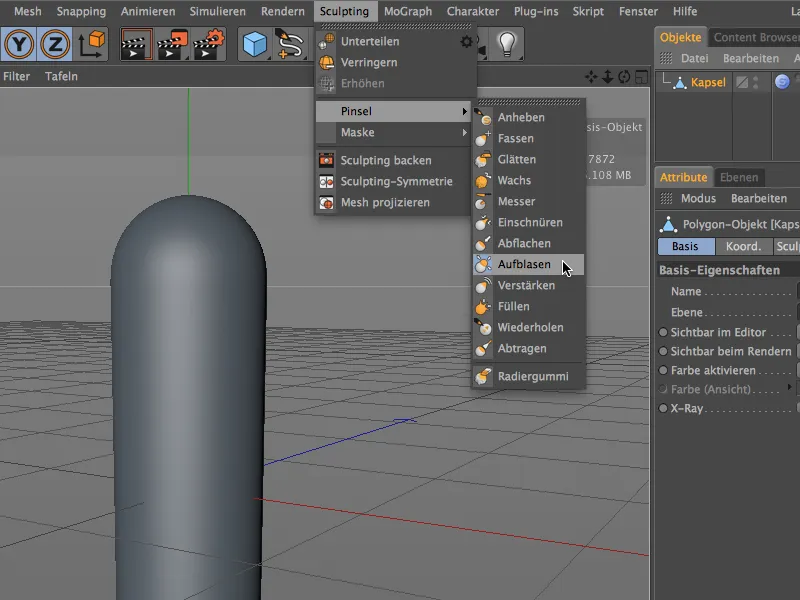
In the settings of the Inflate brush in the Attribute Manager, we find the Material field at the bottom with the option Use material (interactive) already activated. We now drag and drop the material we have created from the Material Manager into this field.
Now we can use the slider for interactive flooding to drag the sculpting shape from the capsule object based on the material we created with the tiles shader.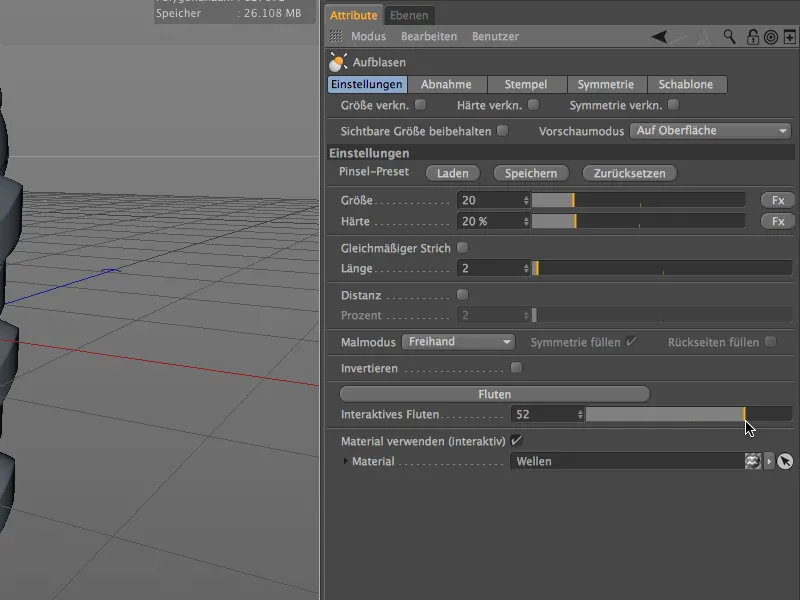
Thanks to sufficient subdivision and a soft-drawn shader, the deformation of the capsule surface is smooth and filigree. As can already be seen in the settings dialog, the deformation is interactive in the editor, here on the capsule with a positive flood value...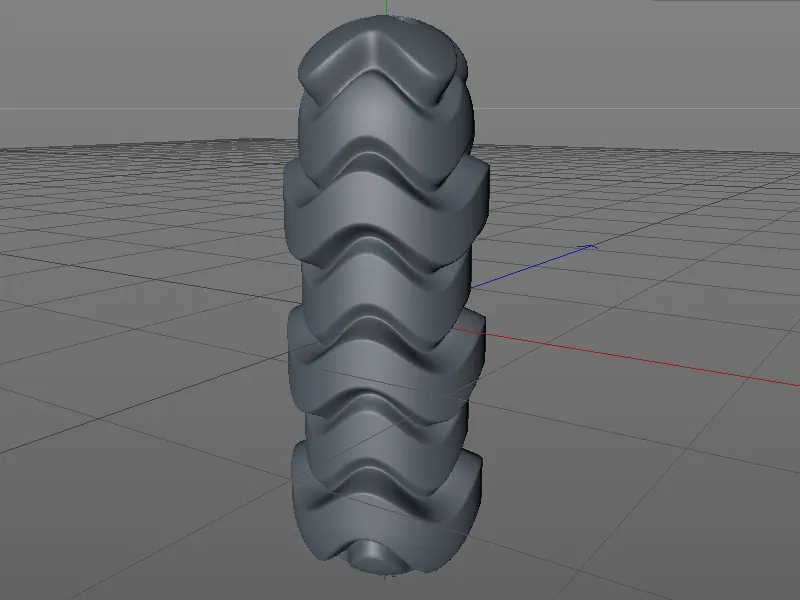
... or with a negative flooding value, as applied to this sphere with the identical inflation brush.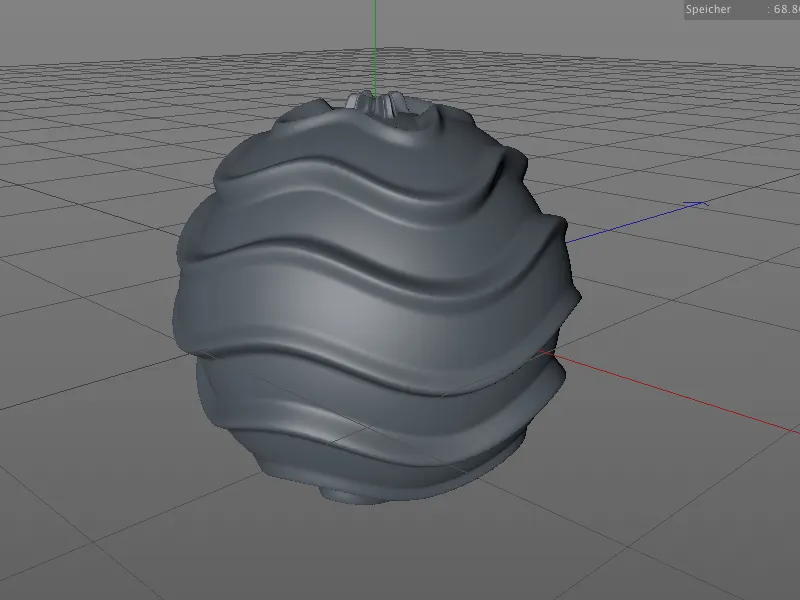
The material used so far can be used for sculpting, but the result is more decorative.
In the next example, we will create a material with which we can sculpt a bellows from a simple cylinder object, for example. To do this, we create a new material by double-clicking on a free space in the Material Manager. In the Color channel, we load the check shader from the Surfaces submenu as a texture using the menu in the arrow button.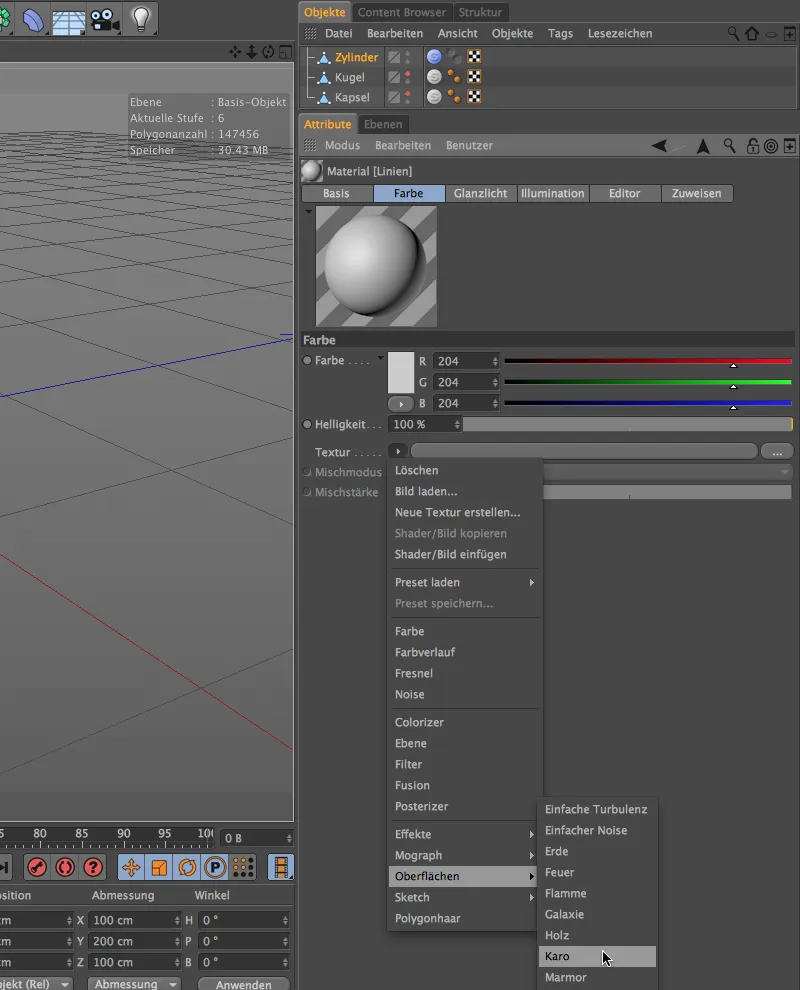
After clicking on the texture button of the check shader, we access its settings dialog. In addition to the colors white and black, we only need lines, which is why we set the U frequency to 0 and thus bypass the check pattern.
The half digit in the V frequency ensures that our line pattern has the same color at the beginning and end.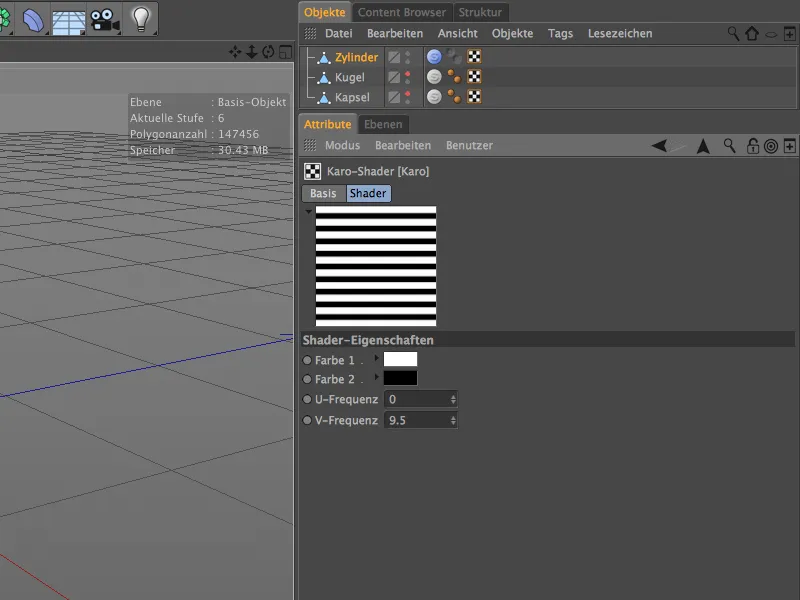
We leave the check shader via the arrow button pointing upwards into the next higher layer, the color channel, where we blur the shader even more by setting a blur offset of approx. 20%.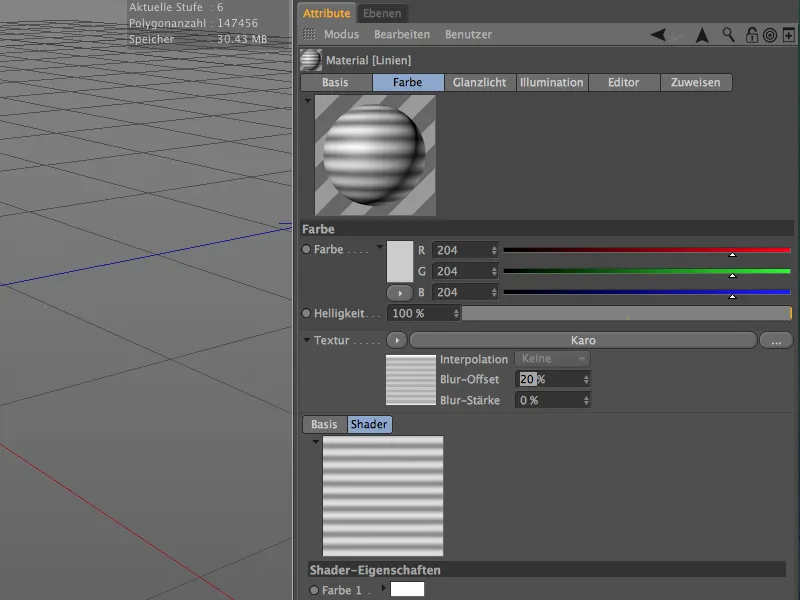
Now that the material for the sculpting brush is complete, we just need a suitable object with sufficient resolution. I have created an evenly subdivided cylindrical object with no cover surfaces and converted it into a polygon object using the Convert basic object command ( C key).
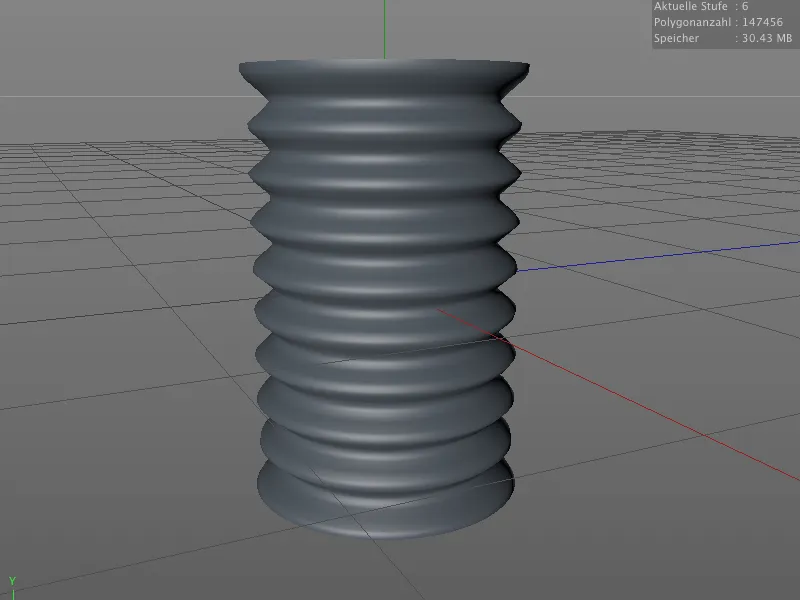
After calling the Subdivide command from the Sculpting menu several times, the cylinder now has a polygon count of more than six digits, which should be enough for smooth sculpting in any case.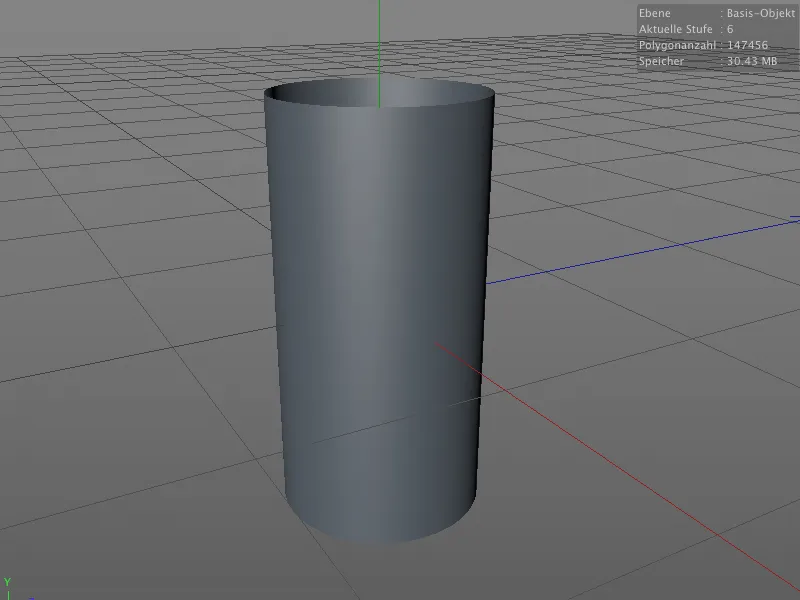
In the settings dialog of the Inflate brush, we find the Material field at the bottom, into which we drag and drop the material we have created for the bellows from the Material Manager.
Now we can use the slider for interactive flooding to sculpt the desired folds from the cylinder.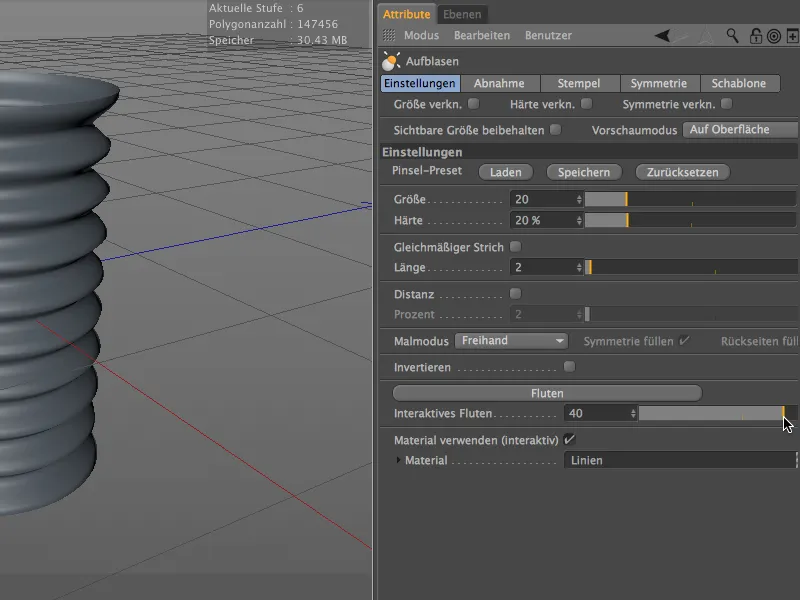
So much for this brief introduction to technical sculpting with the inflate brush. The possible applications are really diverse and the workload is enormous.