The Note tool in Adobe InDesign is a practical tool to add annotations directly to your document. Especially in team projects or complex layouts, it helps to place comments and ideas in the right places without affecting the actual design. In this guide, I'll show you how to effectively use the Note tool to organize your work, incorporate feedback, and facilitate collaboration. Let's get started and discover the benefits of this tool!
With the Note tool, you can insert information and comments for later corrections or changes at exact positions within texts.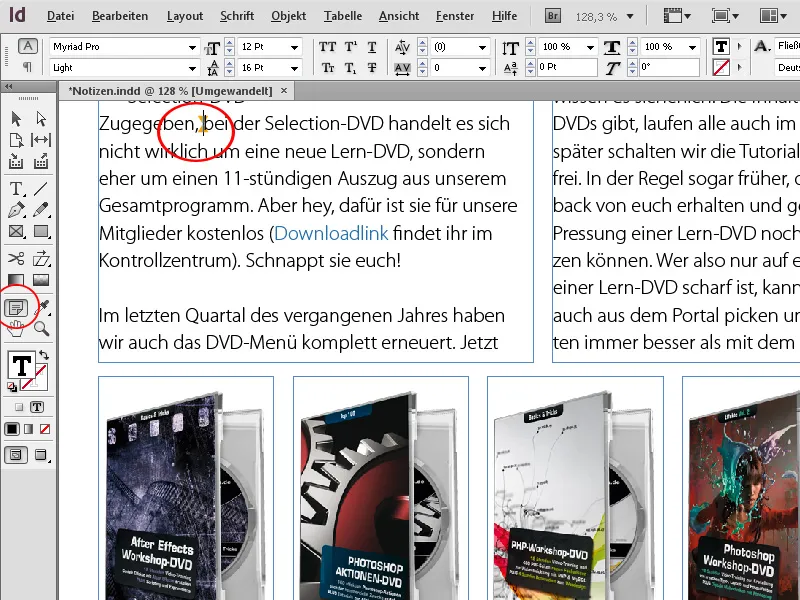
Before publications, a lot of work and revisions are done on the texts. After the author, a proofreader or editor reads through the materials and surely has a lot of suggestions for improvement.
These are quickly and clearly inserted in InDesign. To do this, right-click on the chosen text tool at the desired location in the text and select the option New Note from the context menu. Even faster, use the shortcut Ctrl+F8.
Then a small Notes window appears, where you can now enter your additions or annotations.
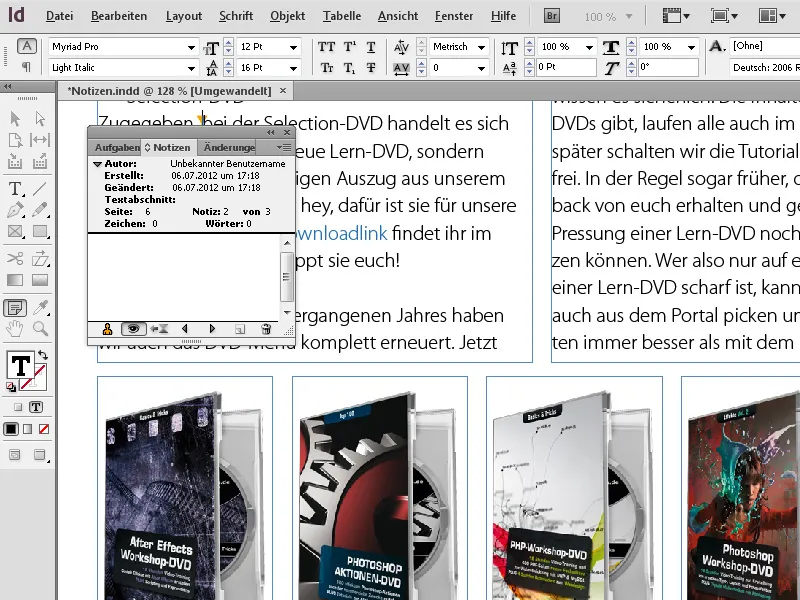
These notes are discreetly marked at the text location by a colored note anchor, without affecting the readability of the text.
This way, the text can now be checked and annotated. When you later hover the mouse over the spot with the note, a quick info is displayed.
To allow the assignment to the author of the notes (especially when multiple persons are adding annotations), the Notes window displays the respective author at each spot with the name of the computer user account.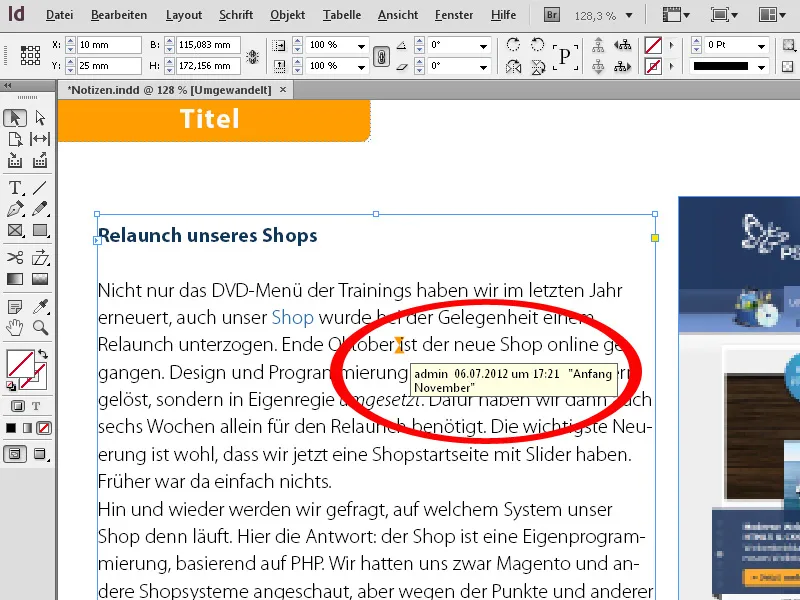
Another way of reviewing text and inserted notes is to access the Text mode via the context menu (or faster with the shortcut Ctrl+Y).
Here, the text is displayed in a separate window without formatting – the inserted notes are in a small frame within the text flow and can also be collapsed with a click on the small arrow symbol on the box's edge. This mode provides a better overview of the text and notes.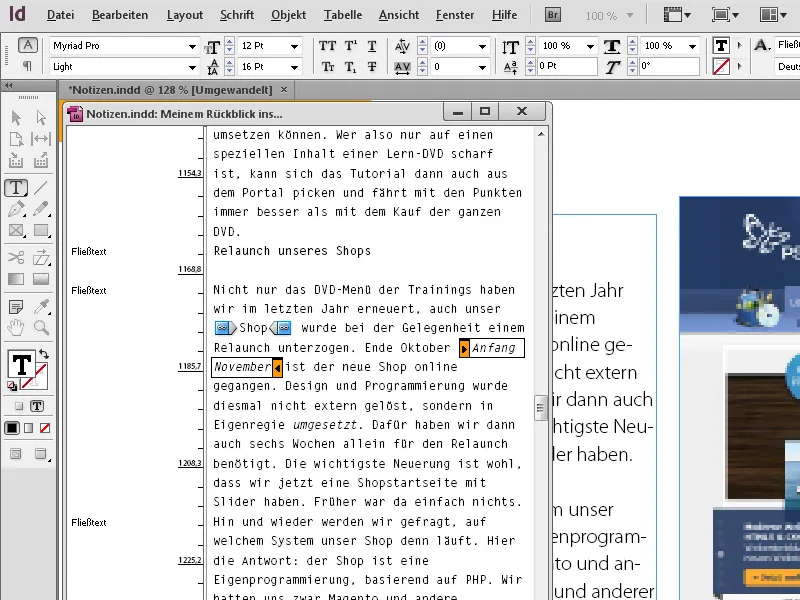
InDesign also offers the convenient option to convert existing text into notes. To do this, select the relevant text passage, then by a right-click from the context menu, choose the entry Convert to Note.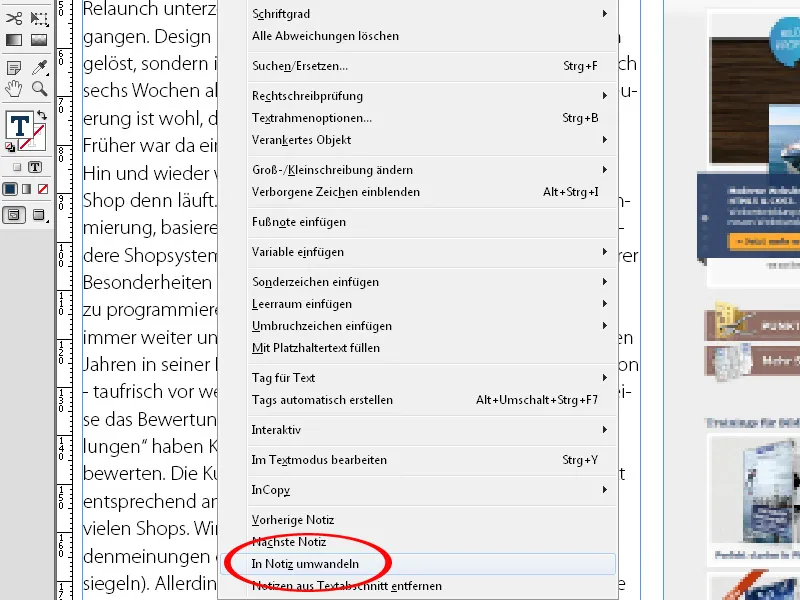
The reverse process is also possible, namely, to incorporate the inserted notes into the existing text. Place the cursor at the beginning of the text, display the Notes window via the menu Window>Editorial tasks (or using Ctrl+F8). Click on the Go to next note button at the bottom. The cursor then jumps to the point with the first annotation, and the note's text is displayed in the window.
To incorporate the note into the text, click on the top right on the icon for the Palette menu and choose the entry Convert to text from there.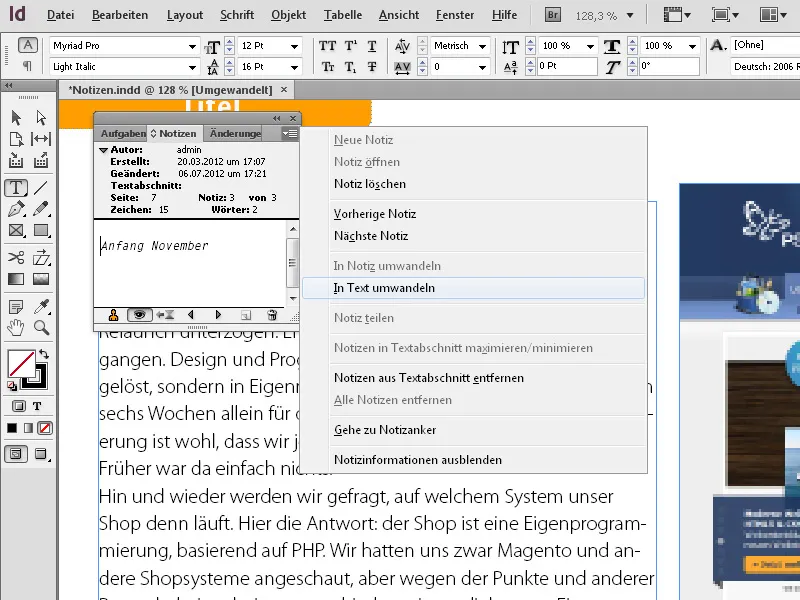
The note is immediately included in the existing text. By clicking the Go to next note button, you can proceed. For safety, the graphical markings for the notes in the text are retained to facilitate a later check of the relevant spots.
Once the process is complete, the note anchors can be deleted by clicking the Remove all notes entry in the Palette menu of the Notes window. Basic settings for the behavior of notes are made via the homonymous entry in the Preferences.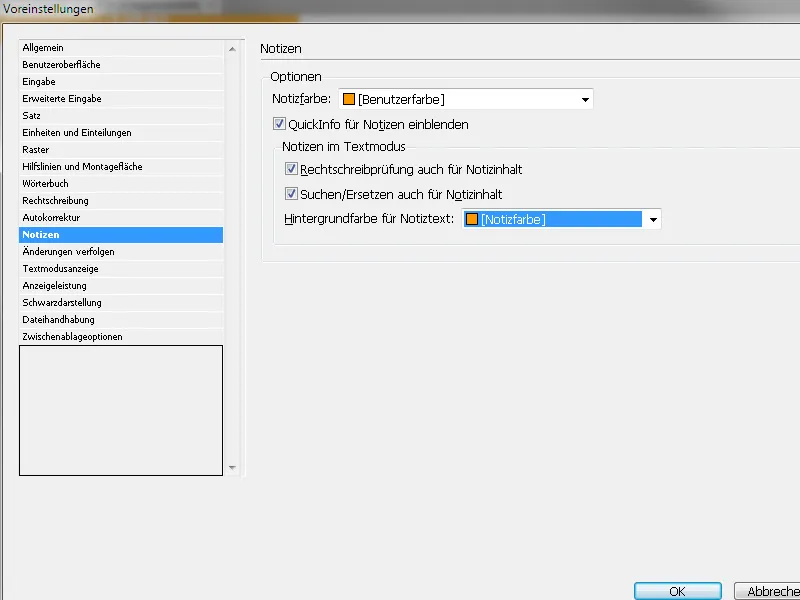
Here you can set the color for the note anchors, whether quick info should be displayed or if the spelling should be checked immediately, etc.


