A 3D electrical diagram is an exciting way to give technical designs depth and dynamics. With Photoshop, you can quickly and easily create this look by cleverly combining lines, shapes, and just a few filters. This effect is perfect for posters, technical illustrations, or creative projects with a futuristic touch. In this tutorial, I'll show you step by step how to create a 3D electrical diagram that convinces with precision and a three-dimensional effect. Let's get started and add tension to your designs!
Step 1:
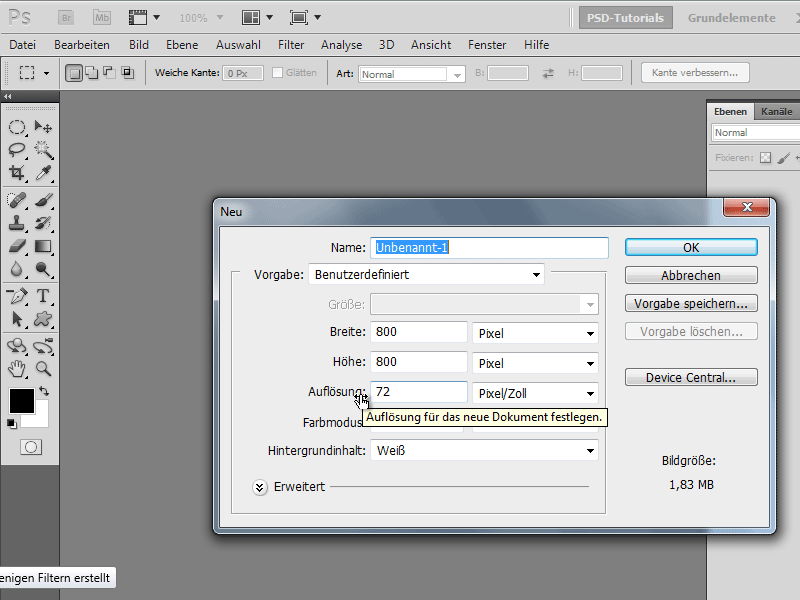
To create the effect, I will first create a new document. The size is of minor importance. I choose 800x800 pixels.
Step 2:
Now I click F9 to create a new action. I name it "electrical diagram." Every step I take will now be recorded.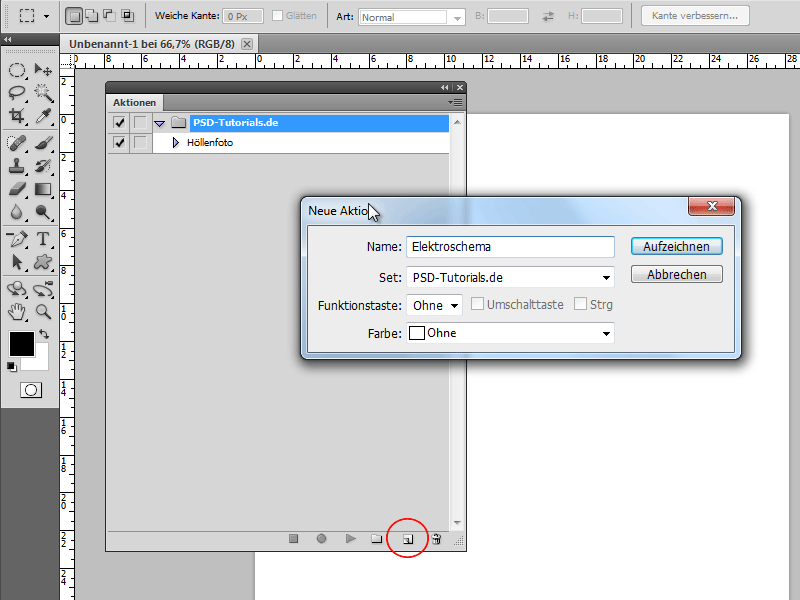
Step 3:
Next, I click on the icon to activate the default colors or simply press D. Then in the Filter menu, I go to Render>Clouds.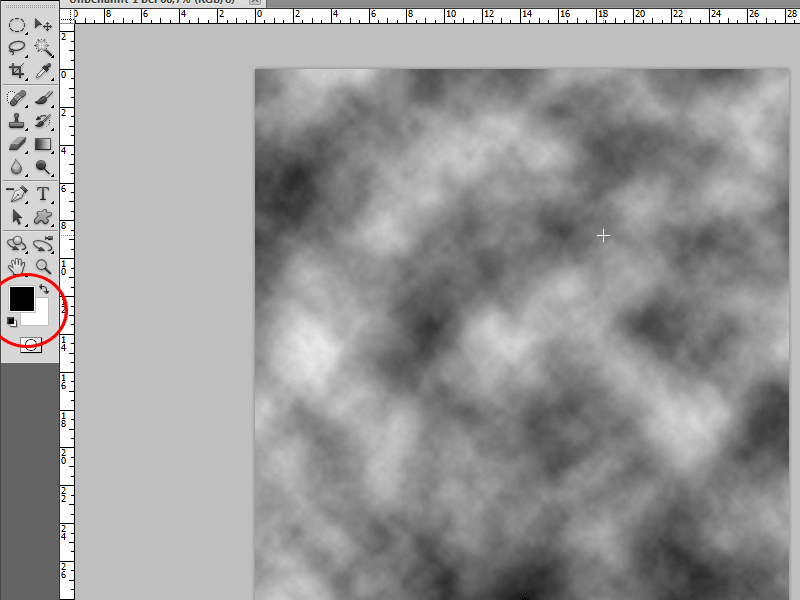
Step 4:
After that, under Menu>Filter>Blur>Motion Blur, I set the following values: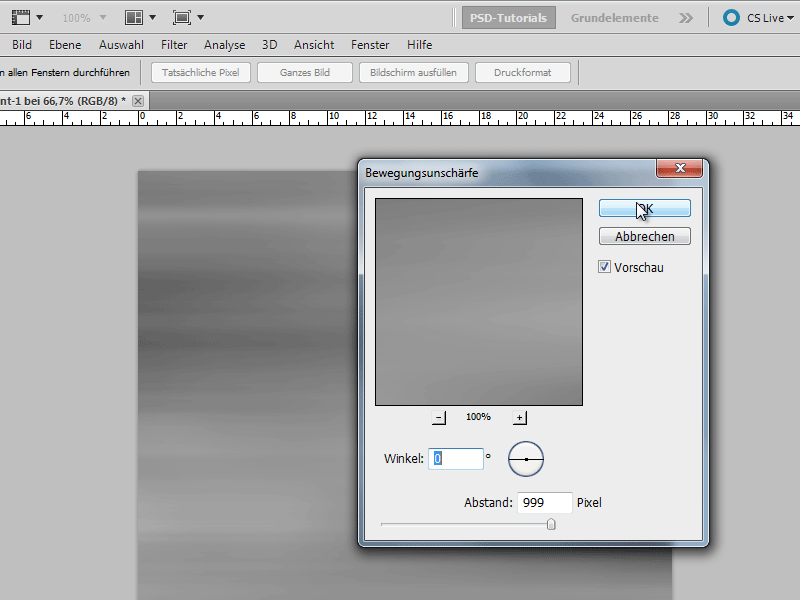
Step 5:
Then I go to Menu>Filter>Stylize>Find Edges.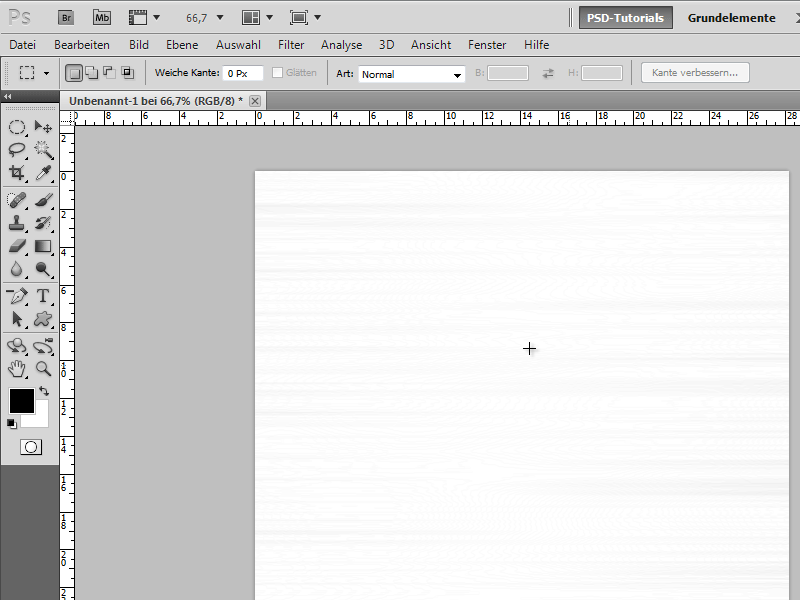
Step 6:
Now I duplicate the background layer (Ctrl+J), transform the new layer with Ctrl+T, and then right-click>Rotate 90° CW.
Step 7:
Next, I change the fill method to Darken.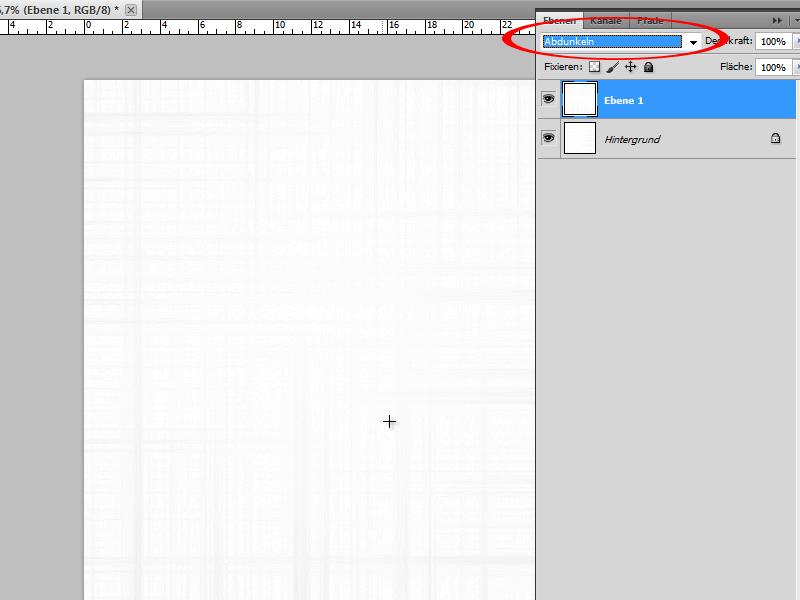
Step 8:
With Ctrl+E, I merge the layer with the background layer, then go to the Filter menu under Stylize>Glowing Edges and set the following values: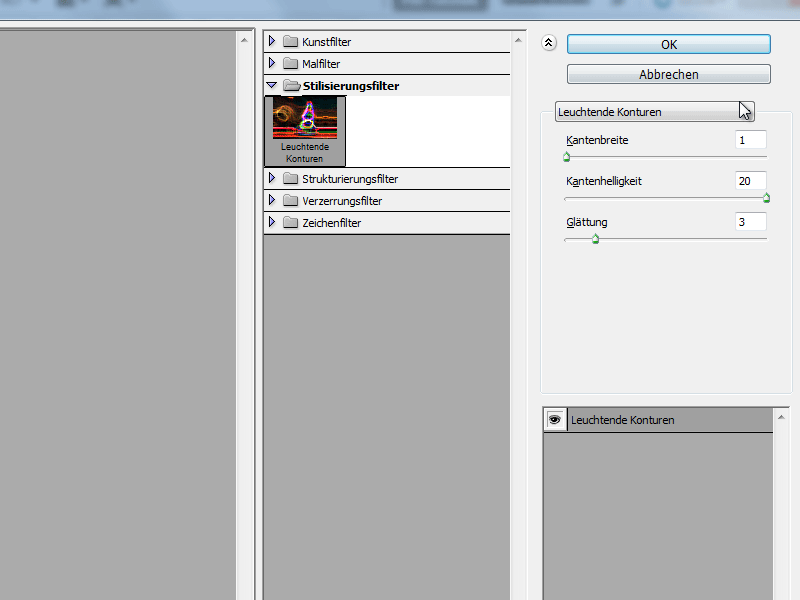
Step 9:
With Ctrl+U, I now color the area as follows: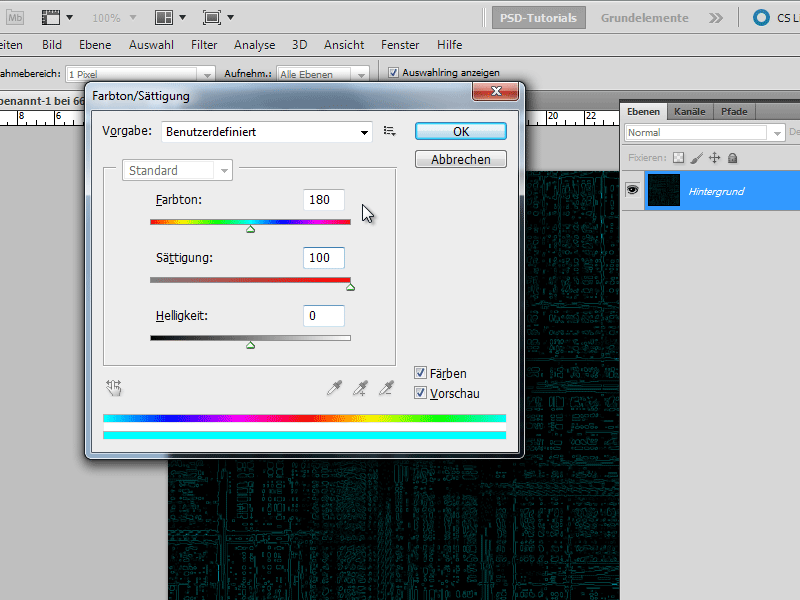
Step 10:
By double-clicking on the background layer in the Layers panel, I convert this layer to a normal layer and transform it with Ctrl+T and right click> perspective transform so that I move the left handle quite far to the left (to do this, I zoom out very far with Ctrl+-).
Step 11:
Next, I duplicate the layer with Ctrl+J, go to Menu>Filter>Blur>Gaussian Blur, and enter 4.4 as the pixel Radius.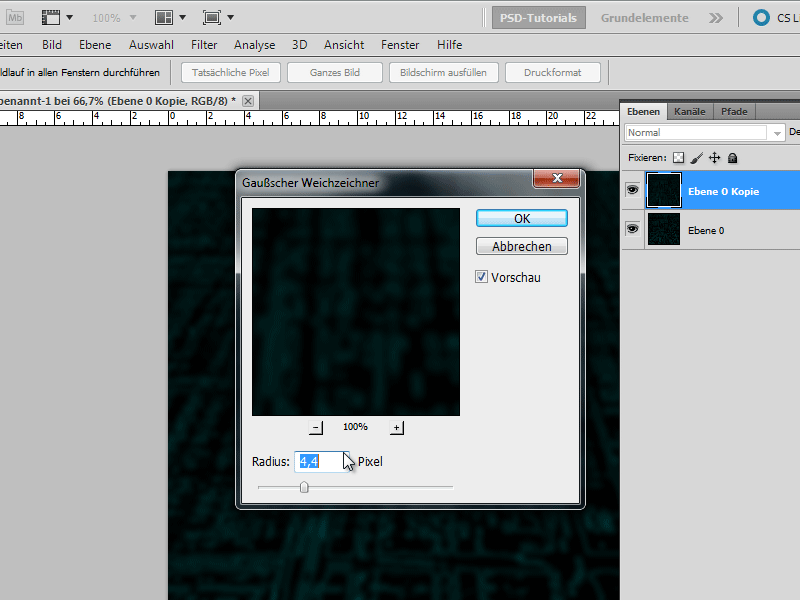
Step 12:
Now I just need to change the fill method to Negate Multiply and then merge the layer with the one below (Ctrl+E). F9 opens my Actions panel. I will now end the current action.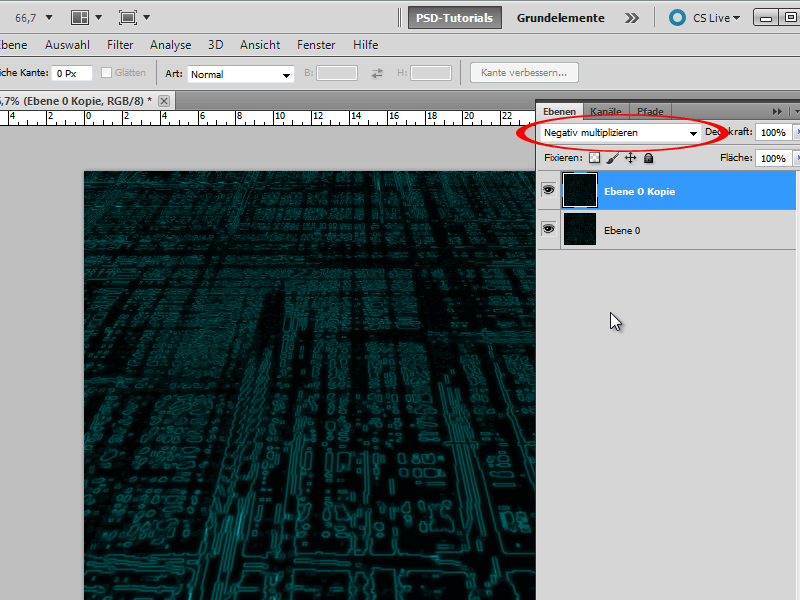
Step 13:
Next, I create a new document in 800x800 pixels and execute the action within it.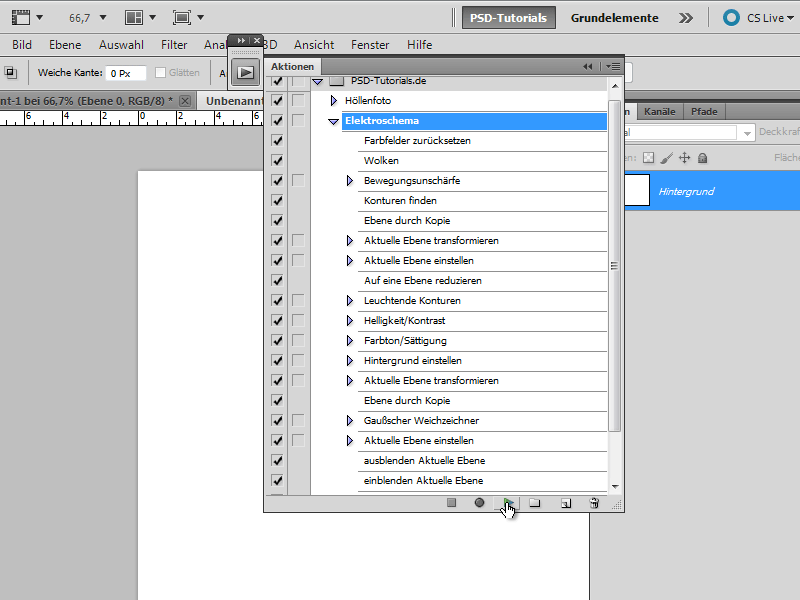
Step 14:
Now I insert the result into my first document (either copy everything and then paste it with Ctrl+V, or I can directly move it into the new document using the Move Tool). Then I only need to change the fill method to Screen and the Opacity to 50%.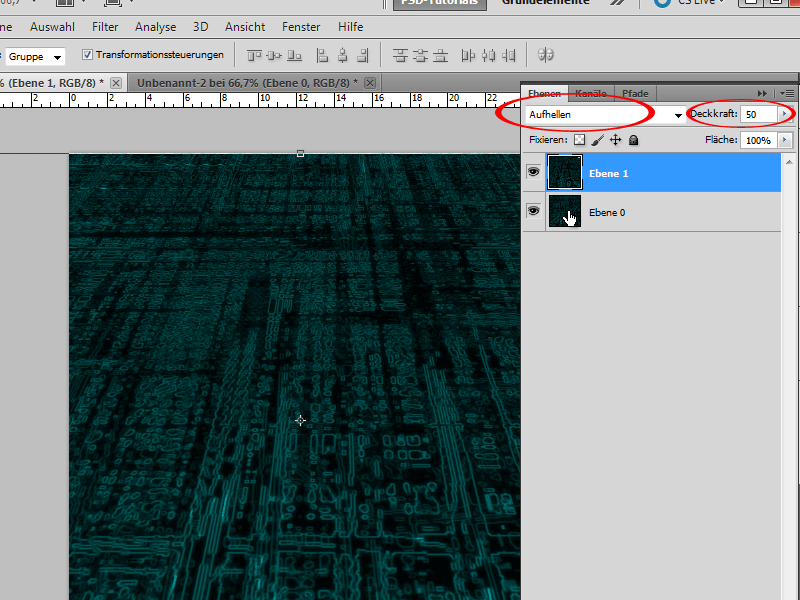
Step 15:
I click on the lowest level and then go to Menu> Filter> Render Filter> Lighting Effects and adjust these settings: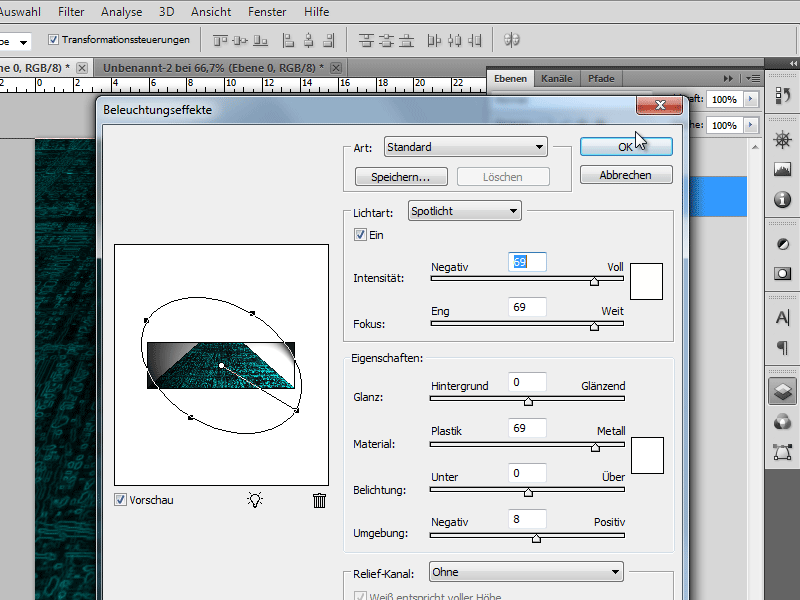
Step 16:
The result will then look like this: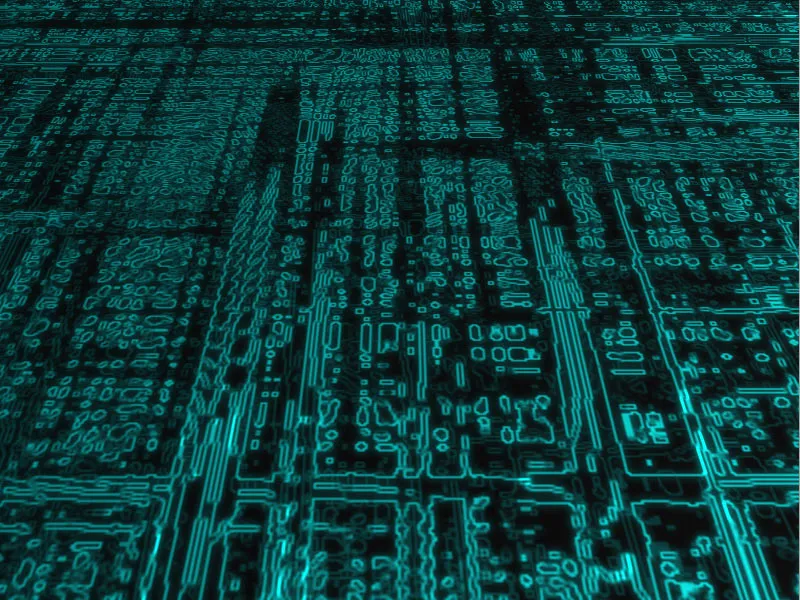
Step 17:
If I had moved the handle further to the left in step 10, the result would look like this (Tip: If I move the contrast all the way to the right in Brightness/Contrast at the end, the result will look even better):
