The initial introduction to Jira can be overwhelming, especially if you are working with the software for the first time. However, there are some steps that can help you quickly understand and effectively use the functionalities of Jira. In this guide, I will walk you through the installation process of Jira to creating your first project with simple steps. This way, you can immediately use the software to organize your work within the team.
Key takeaways:
- Jira is powerful software for project management and team collaboration.
- The free version is available for up to 10 users.
- You can choose between different types of projects, such as Kanban or Scrum, depending on your needs.
Step-by-step guide
Step 1: Download Jira
The first step in your Jira journey is to download the software. Go to the Jira homepage, where you will find a prominent button labeled "Download for free."

Click on this button and select the free plan. This plan allows for up to 10 users and provides basic support. A major advantage is that you do not have to provide credit card information.
Step 2: Account Registration
After selecting the software, you will be prompted to enter your business email address. This address should be the same as the email you used to create your Atlassian account. If you do not have an account yet, please create one; you will need an email address and a password for that.
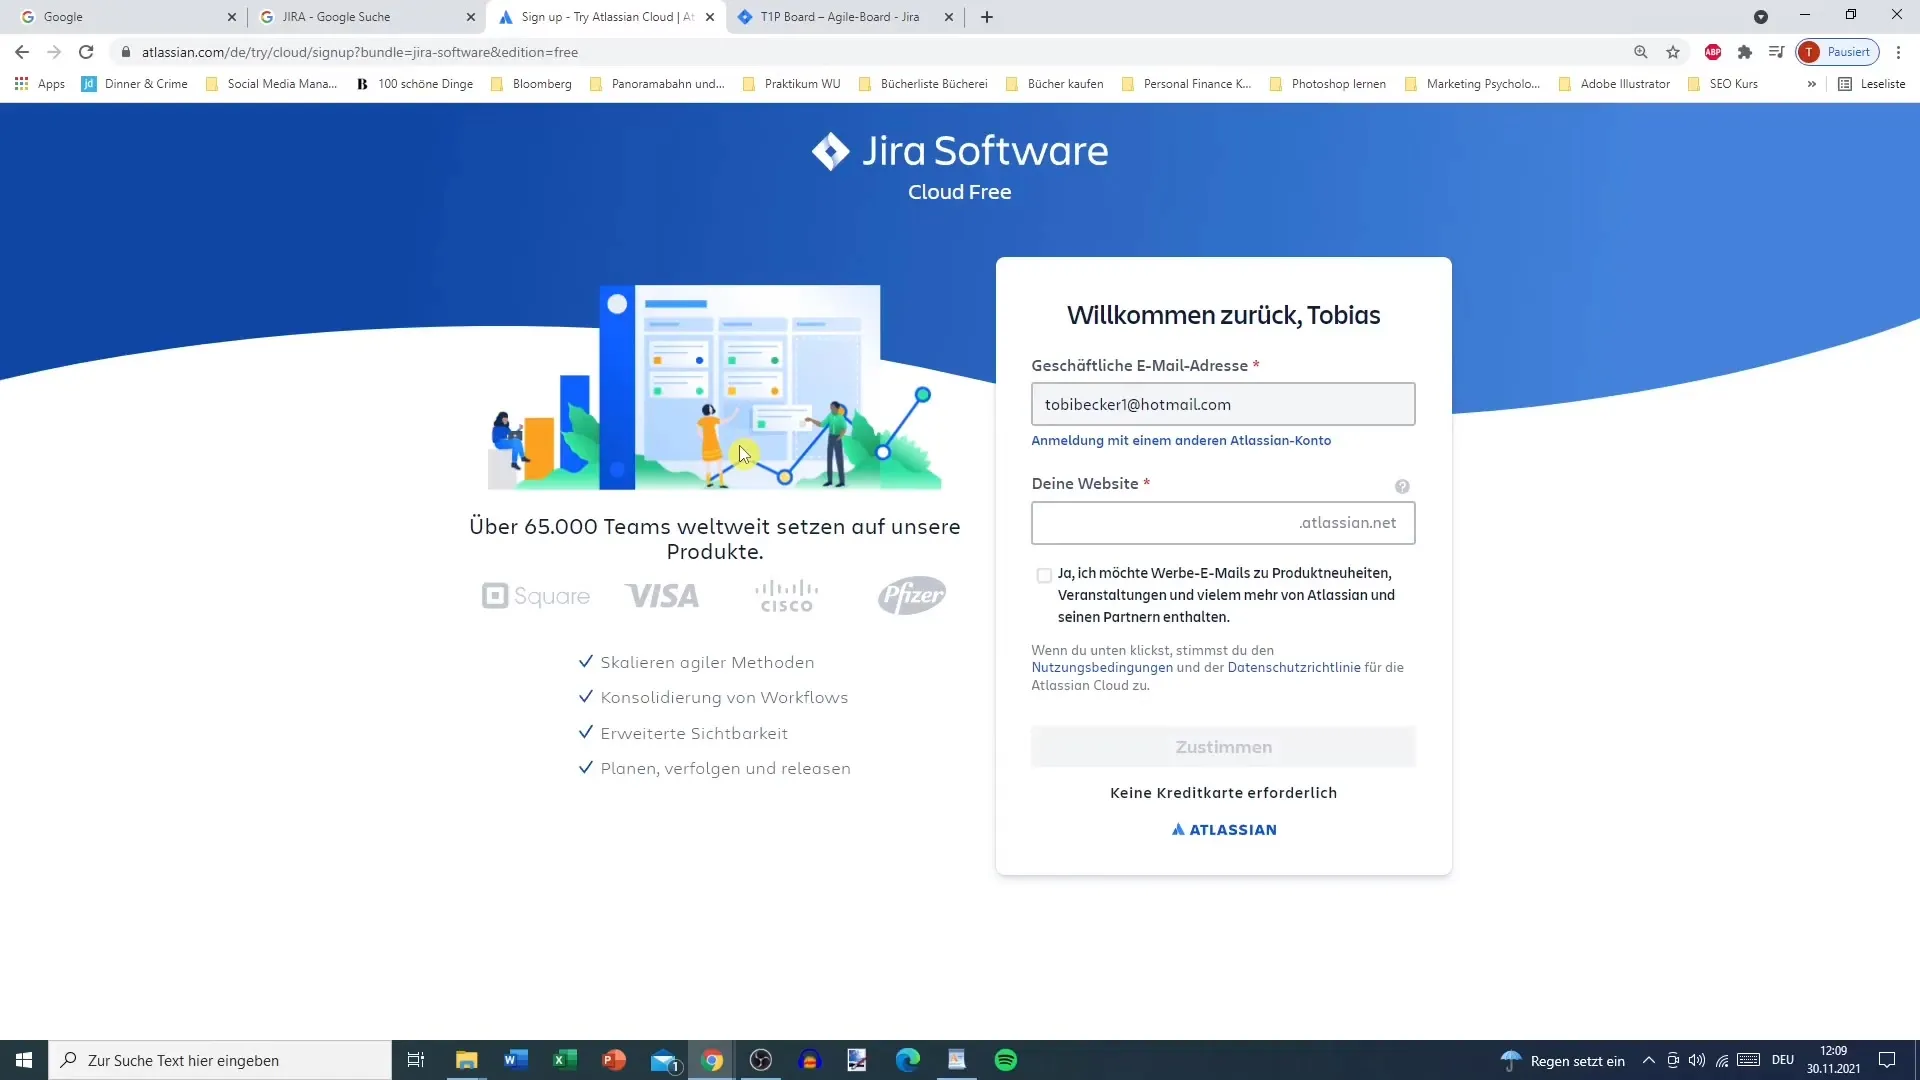
Ensure that the password consists of at least three letters, numbers, or special characters. Once you have entered your information, you can proceed by clicking "Agree."
Step 3: Email Confirmation and Team Invitation
An important upcoming step is confirming your email address. This may take some time, so please be patient. After confirmation, you will have the opportunity to add team members.
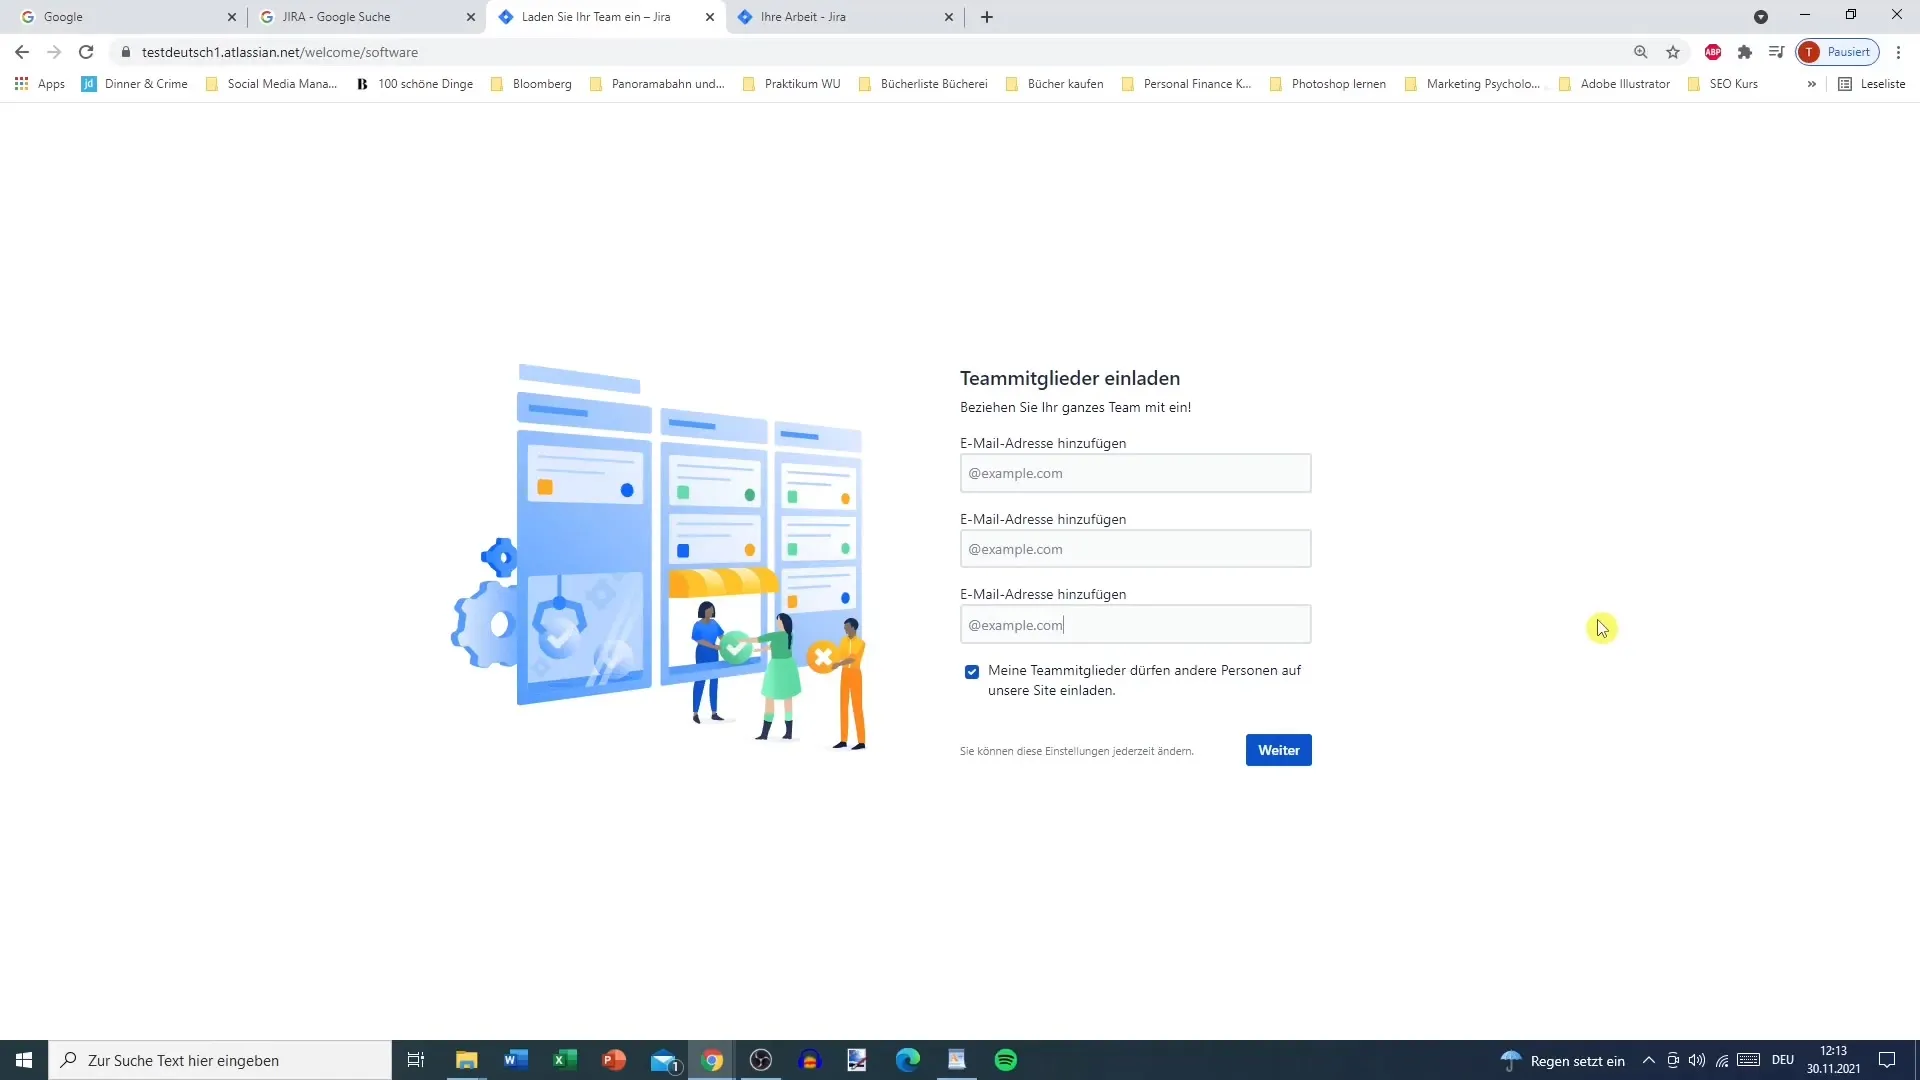
Here, you can enter the email addresses of your team members and decide whether these team members should have permission to invite others.
Step 4: Define Your Needs
Jira allows you to specify your preferences when setting up the software. This information helps Jira provide you with appropriate guidance. You can indicate whether you have experience with Jira or not and how your team works.
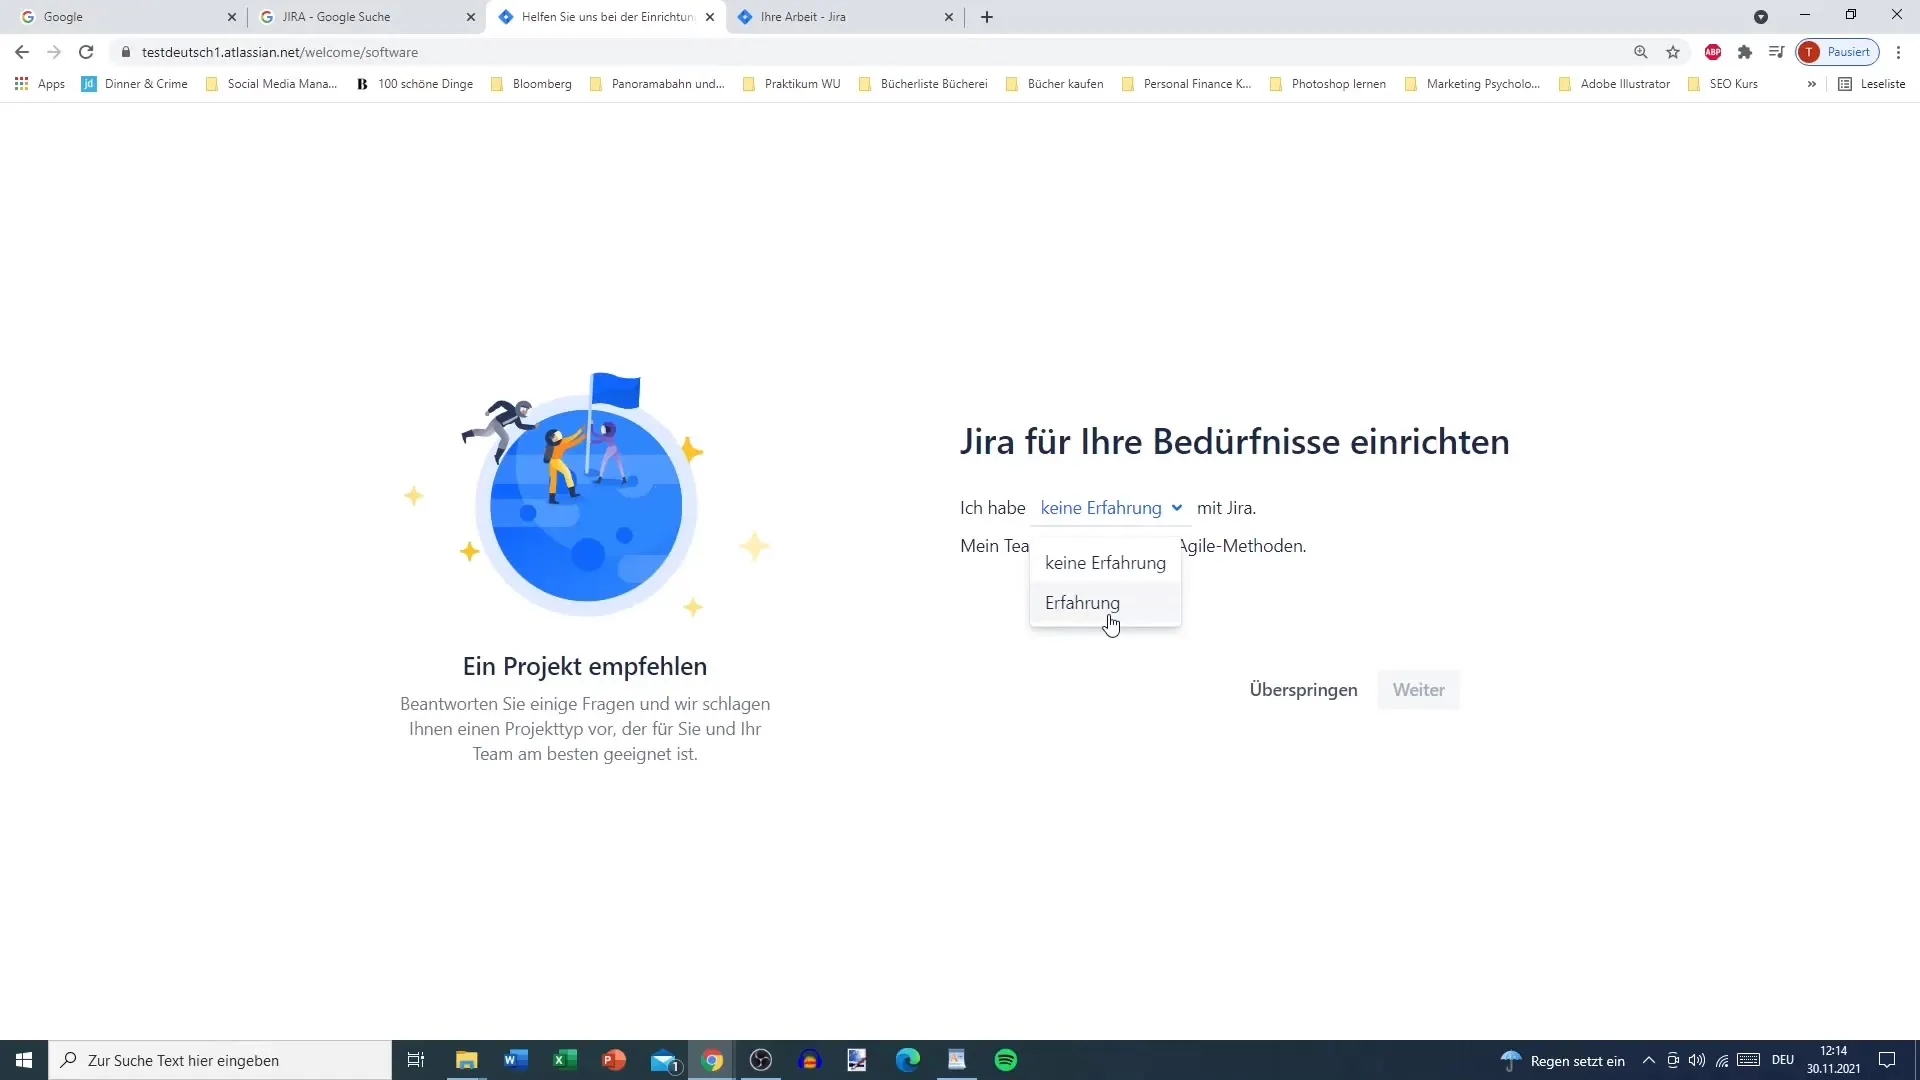
On this page, you can choose between different options like "No experience," "Experience with agile methods," or "We work flexibly on features."
Step 5: Select Project Type
Now comes the exciting part - selecting the project type. Jira offers you the possibility to create different boards, including Kanban, Scrum, or Bug Tracking.
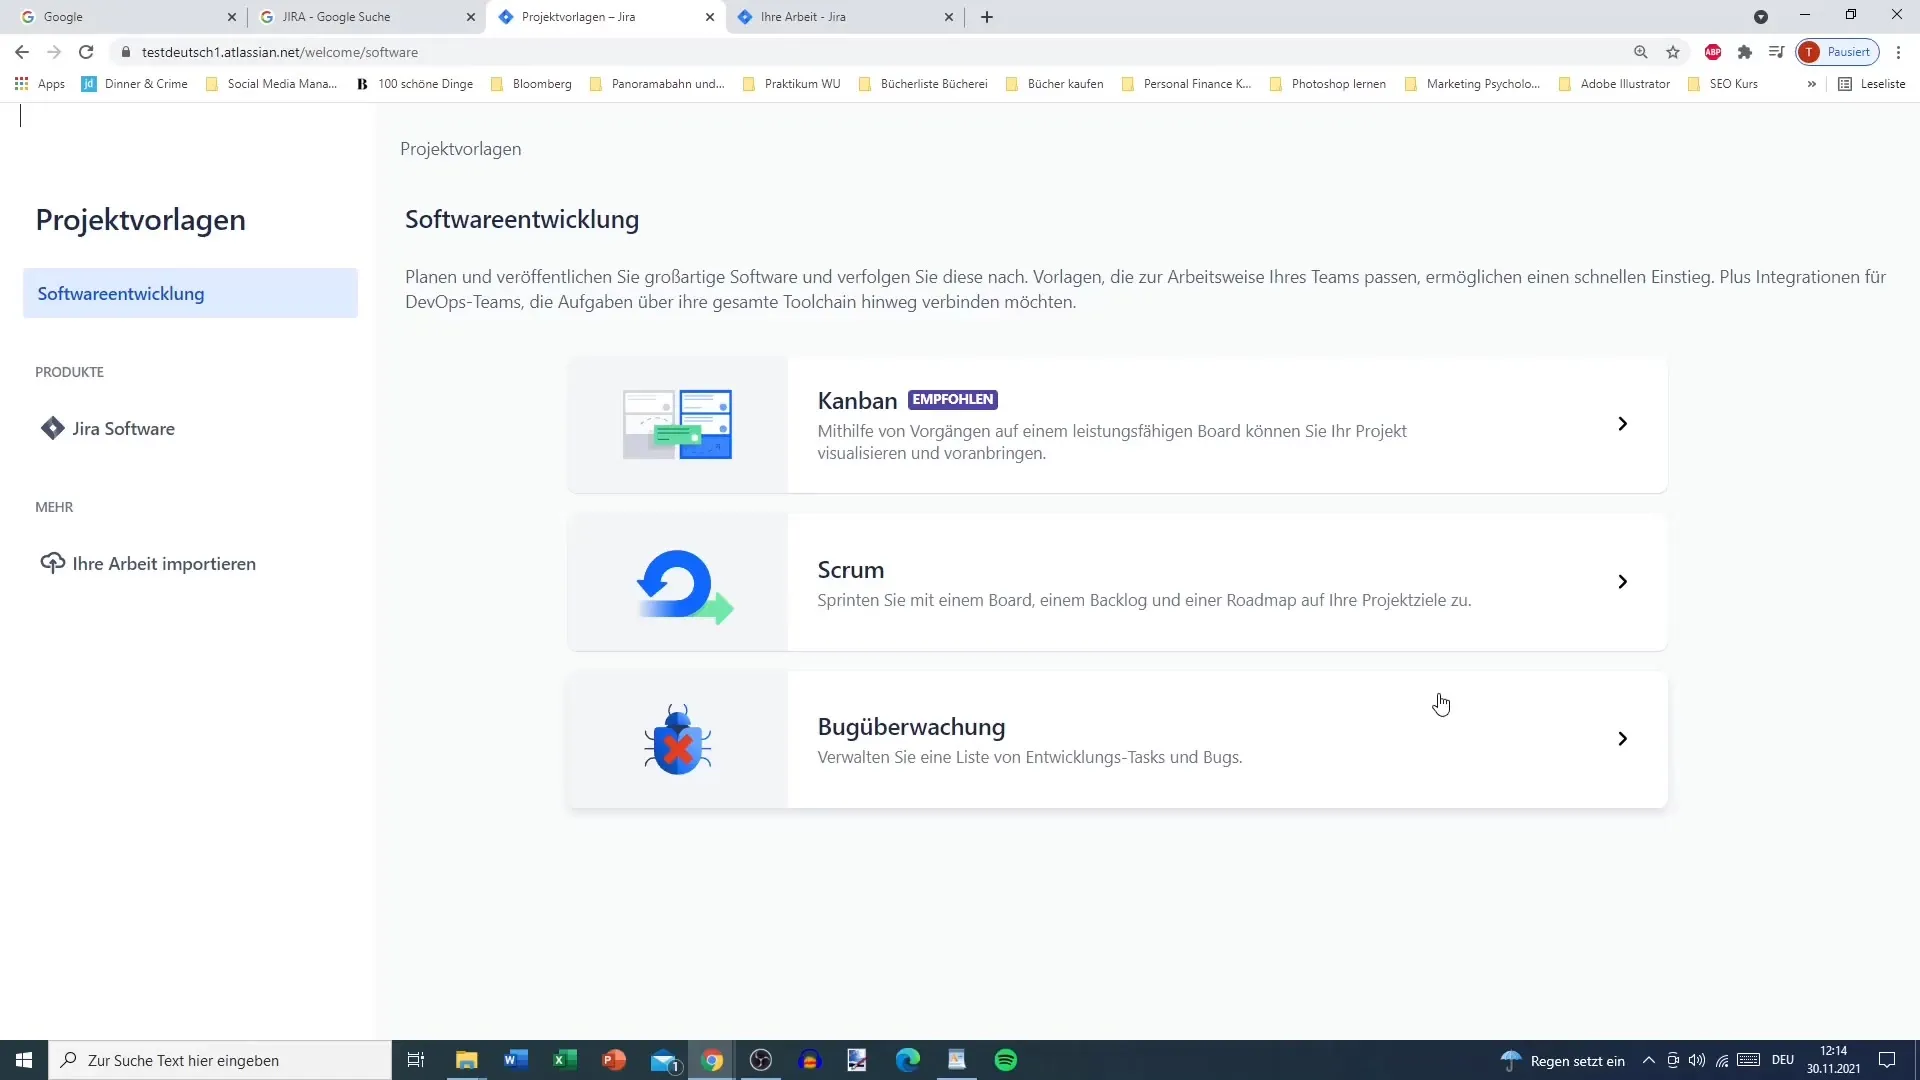
Since Kanban is used by many teams, I recommend selecting a Scrum board, especially if you are working on an agile project. After selecting a Scrum board, there is a brief explanation focusing on the main parts of Scrum, such as backlogs and sprints.
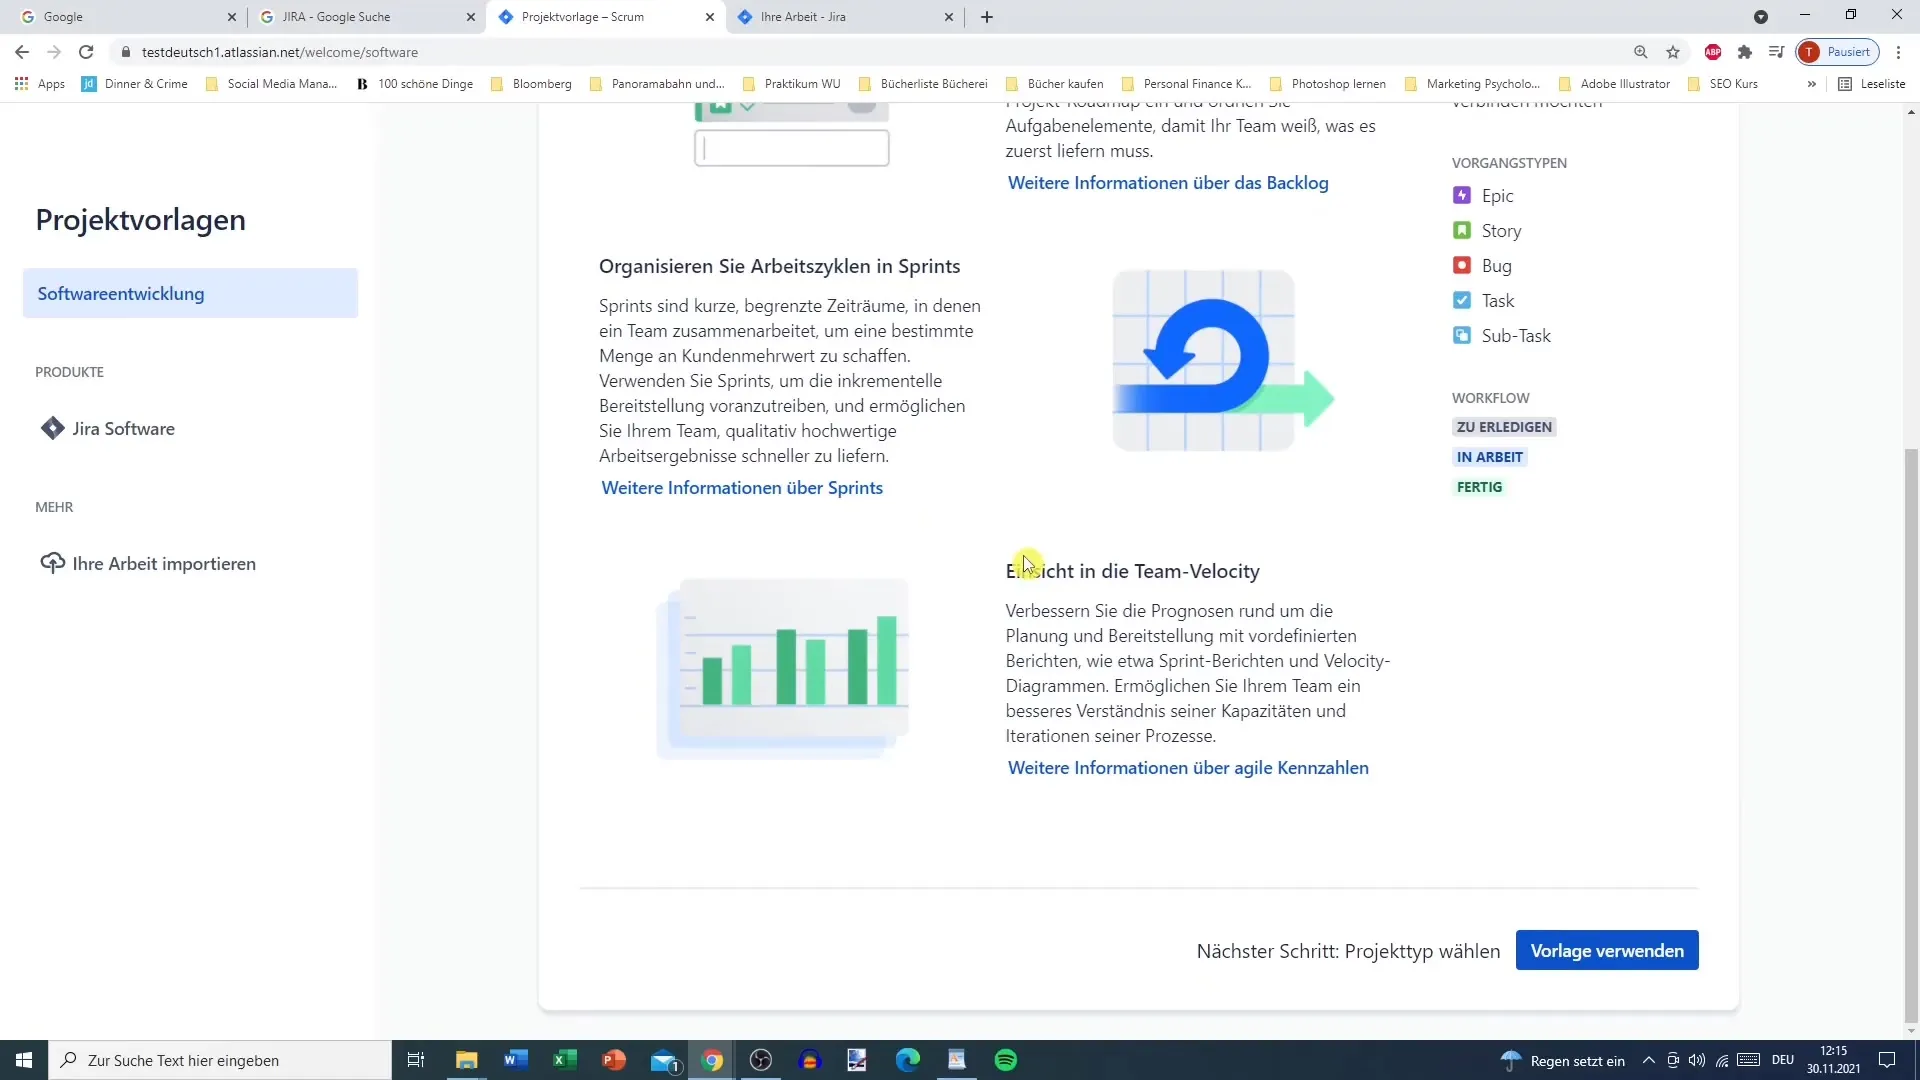
Step 6: Further Customizations and Project Creation
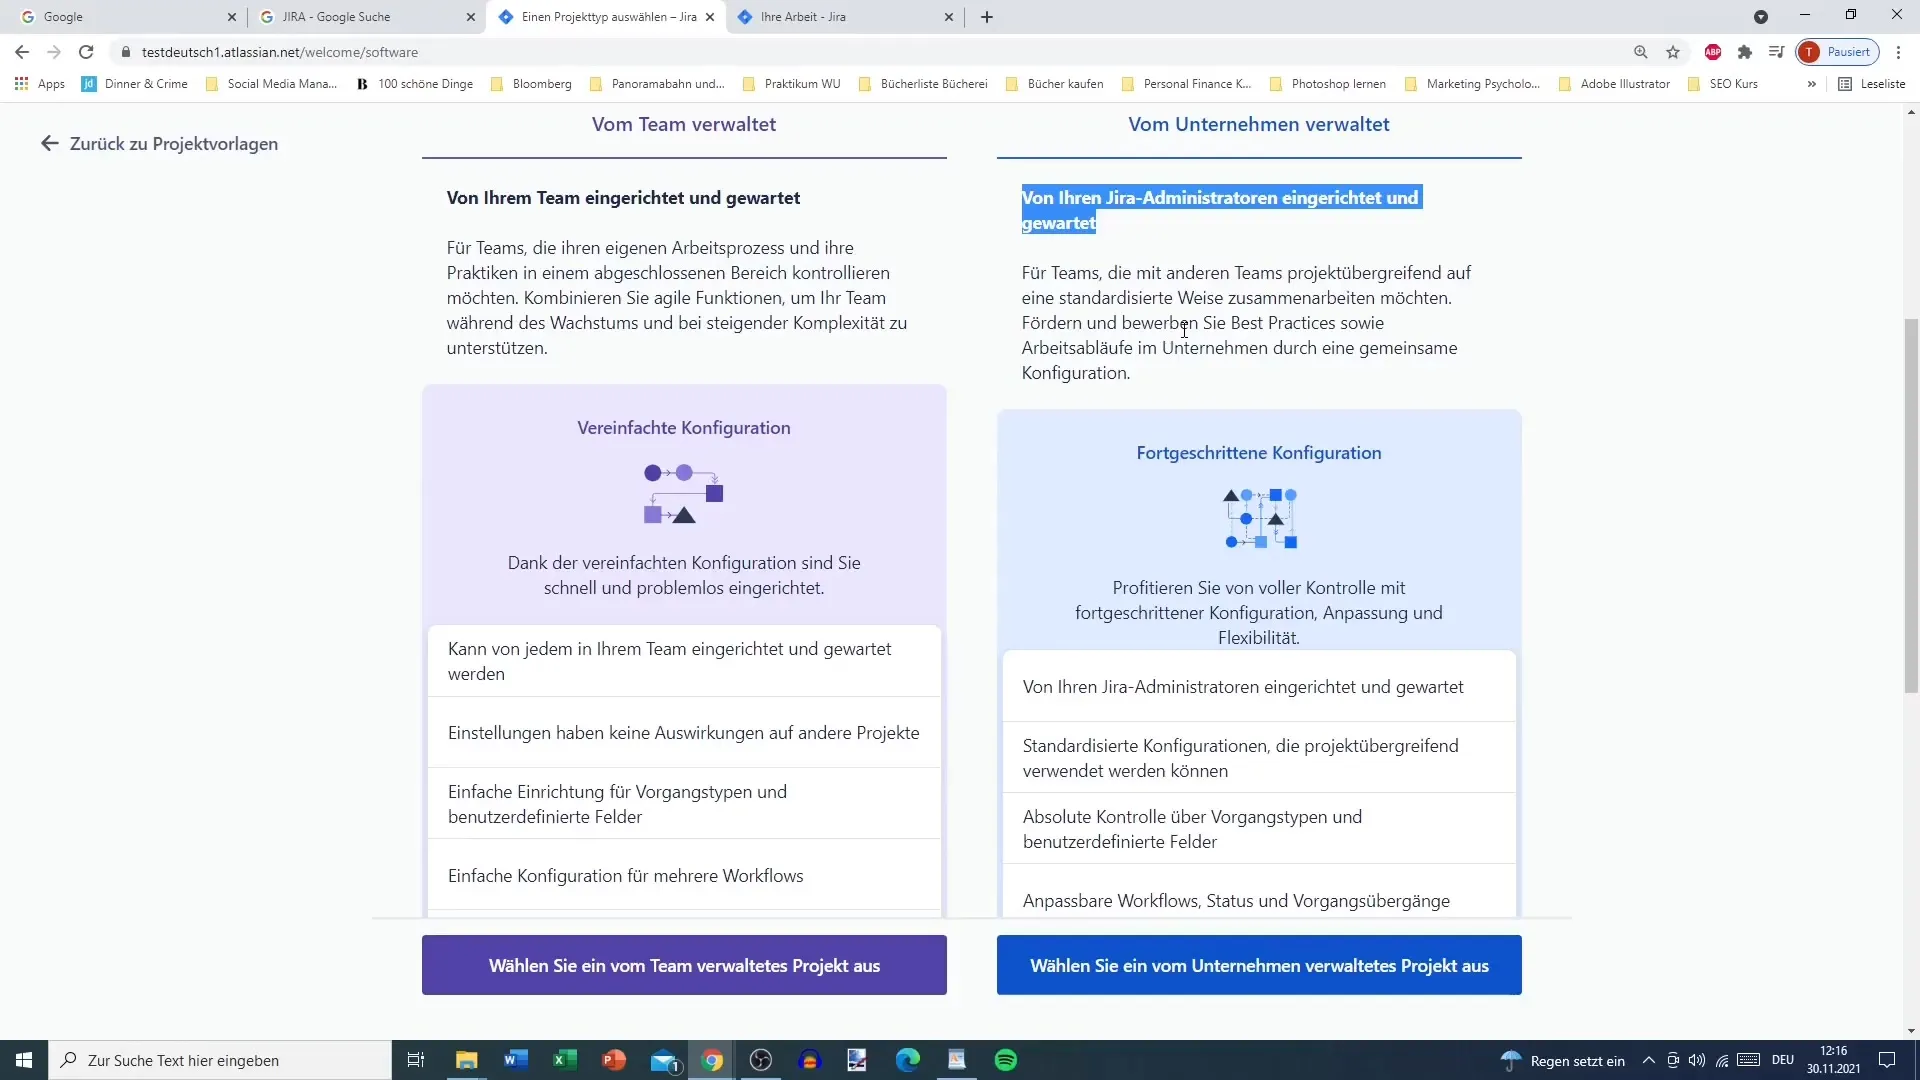
Now you have the option to decide whether your project should be team-managed or managed by a Jira administrator. Consider carefully what makes the most sense for your team.
Once that is set, give your project a name - for example, "Scrum Test Project" - and a key, like "STP."
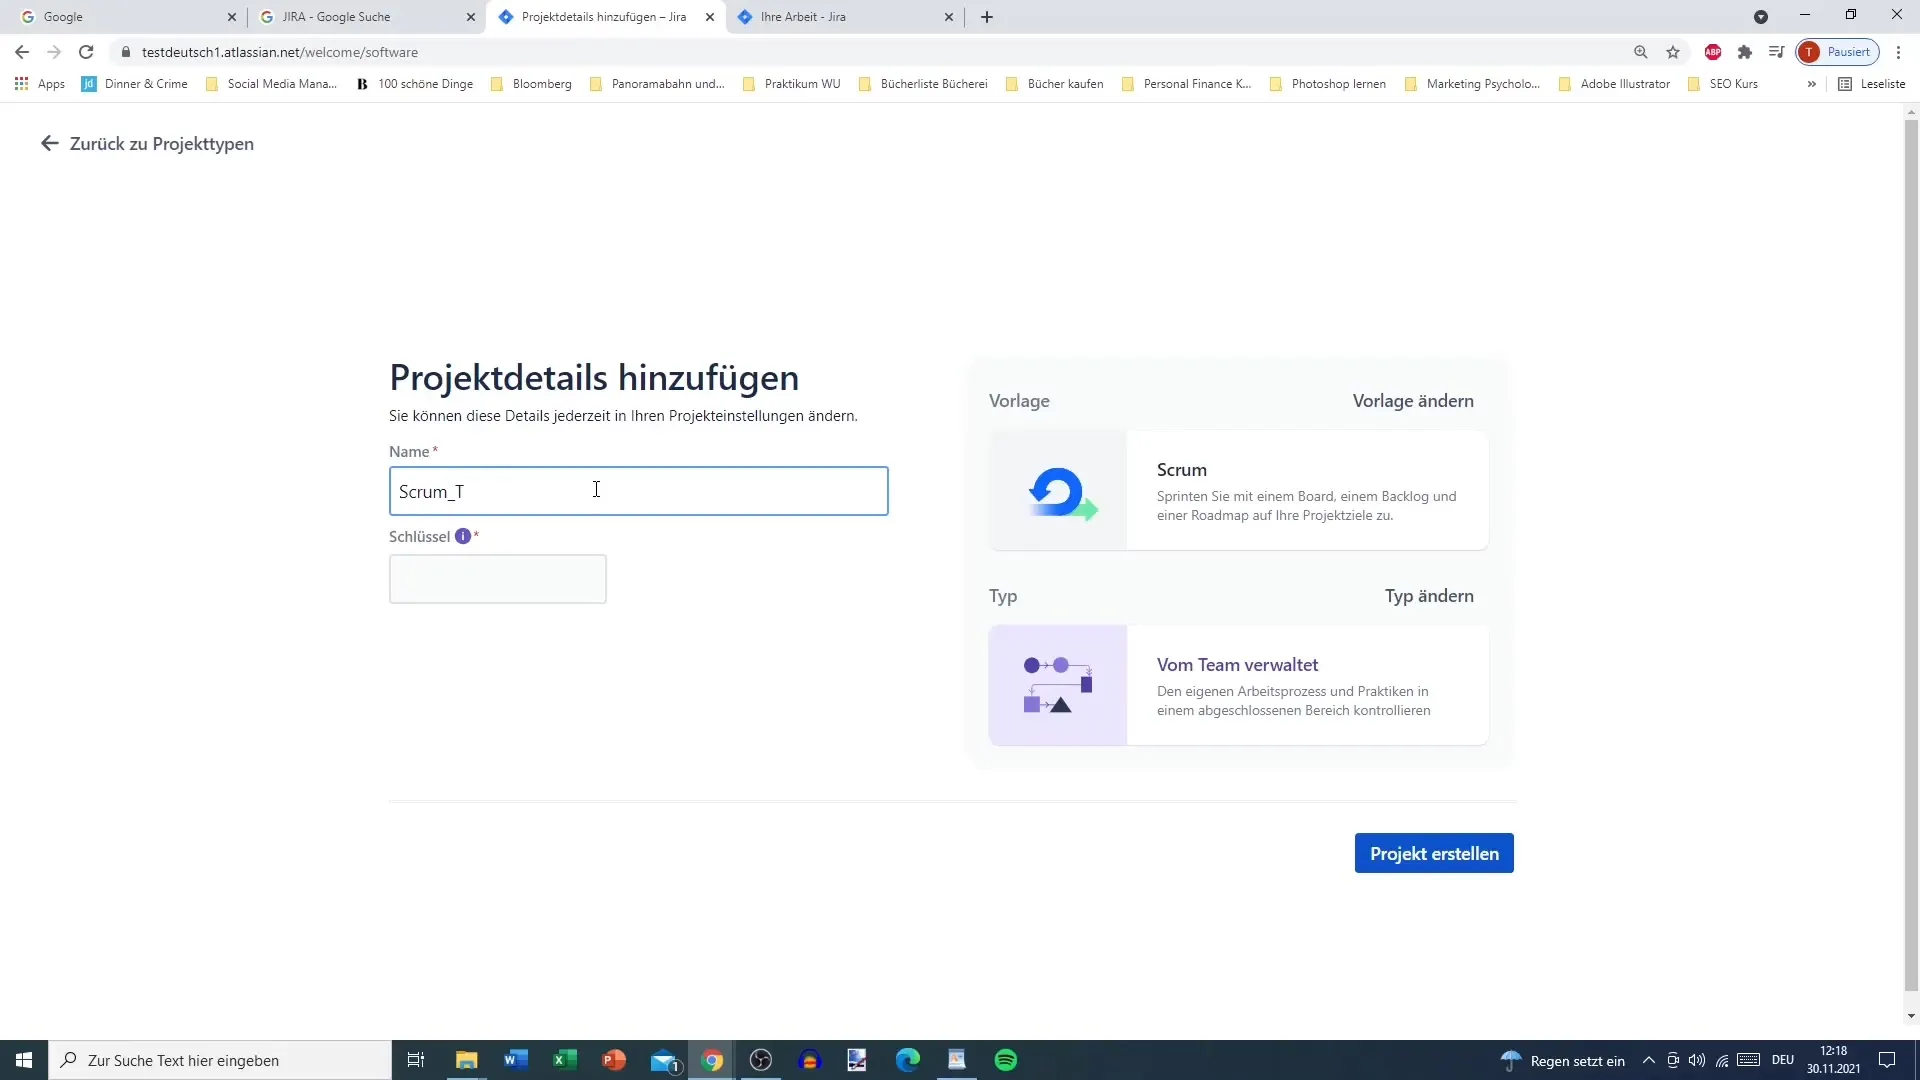
Click on "Create project" and your Jira project will be generated. You will automatically be taken to the backlog, where you can manage your tasks.
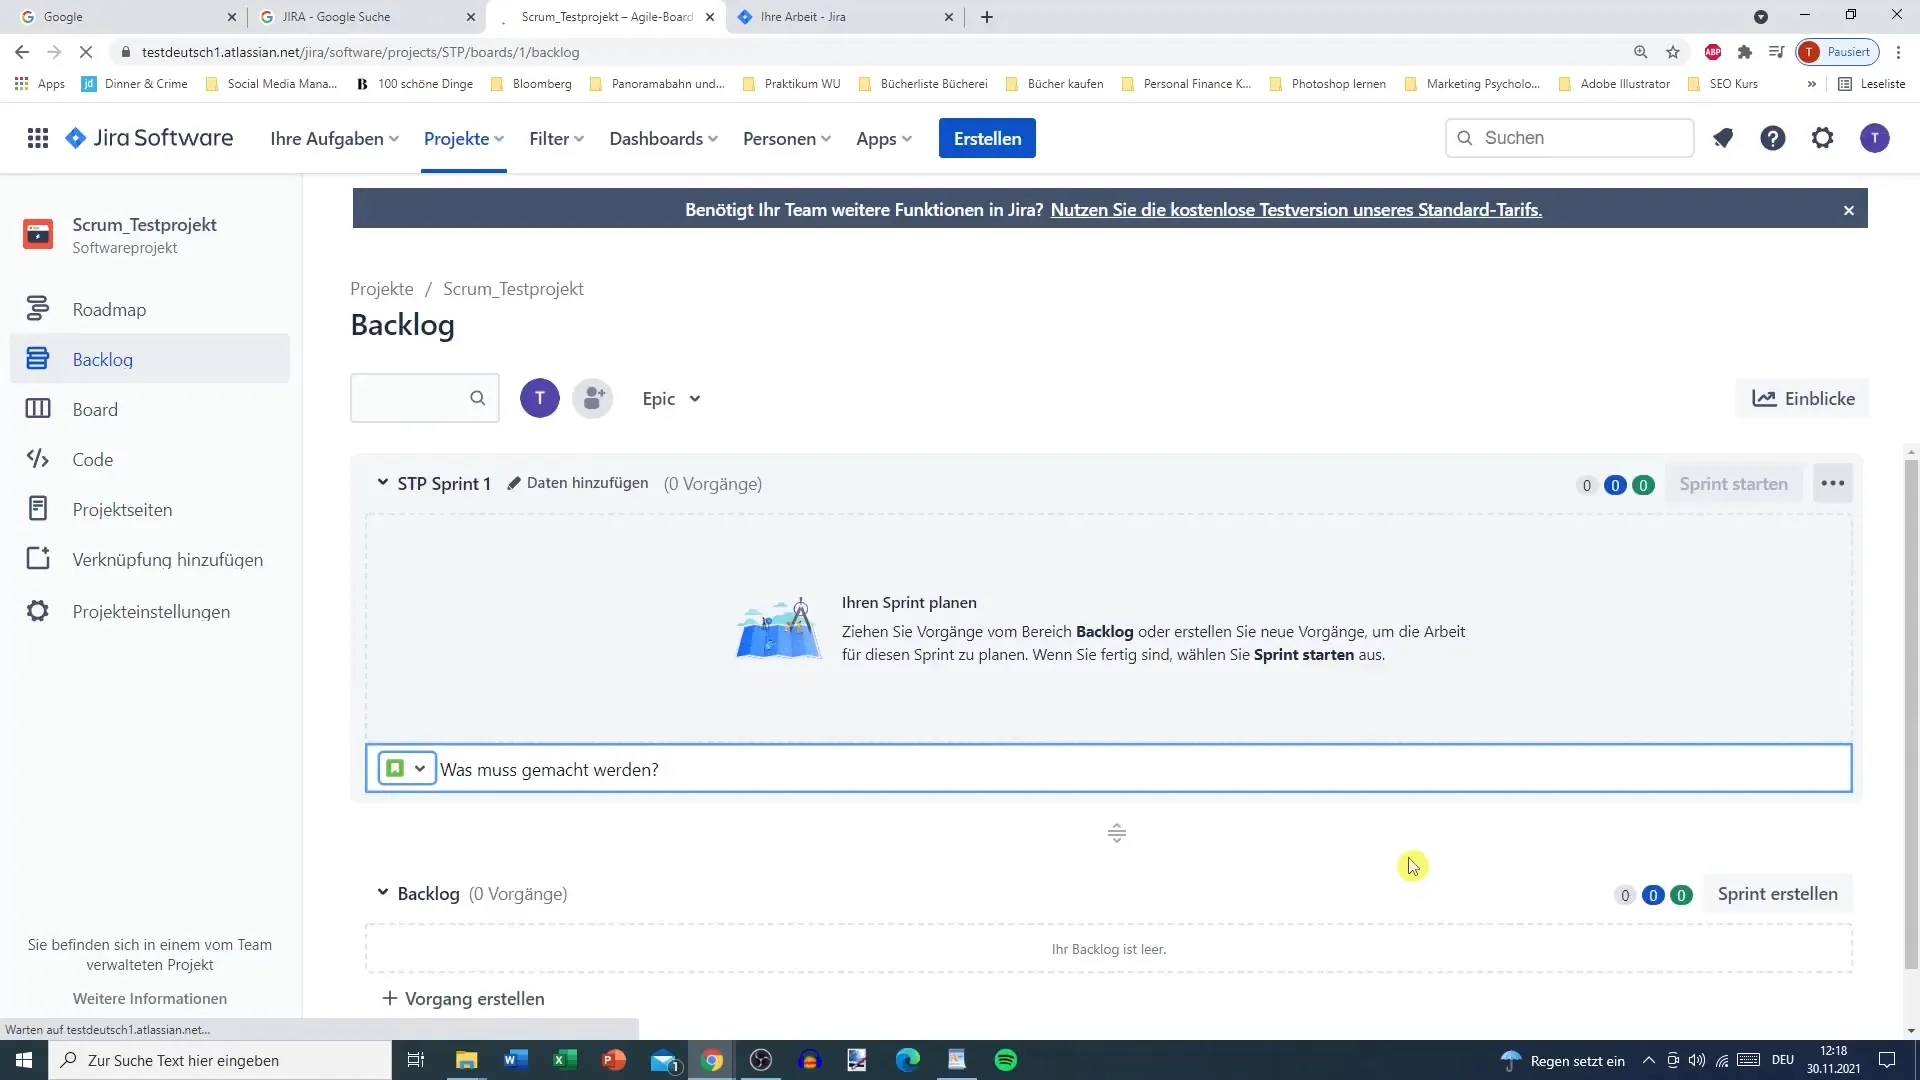
Step 7: Getting Started in the Project and Exploring Features
After the project has been successfully created, you can start the tour of the system. Alternatively, you can explore your environment on your own while I explain the key features in the next tutorials.
Summary
Jira is a powerful tool that helps you effectively manage projects and optimize your teamwork. By downloading the software, creating an account, defining requirements, and selecting a project type, you have now laid the groundwork to successfully use Jira.
Frequently Asked Questions
How do I download Jira?You go to the Jira homepage and click on "Download for free".
Do I need to provide a credit card for using Jira?No, no credit card is required for the free version.
Can I invite team members to my project?Yes, you can add the email addresses of your team members and specify whether they can invite others.
What is the difference between a team-managed and a company-managed project?A team-managed project is set up by you and your team, while a company-managed project is managed by Jira administrators.
How do I give my project a name?You can enter a name and a key of your choice when creating your project.
