Automation in Jira can significantly simplify your workflows. By implementing automation rules, you can ensure that certain actions are executed automatically without manual intervention. In this guide, I will show you how to create a simple automation rule that sends you emails when you create a new issue.
Main Takeaways
- Automations in Jira allow you to automate recurring tasks.
- You can create rules based on specific triggers to trigger specific actions.
- Conditions are important to restrict the execution of actions to specific situations.
- Email notifications are a practical example of an automation rule.
Step-by-Step Guide
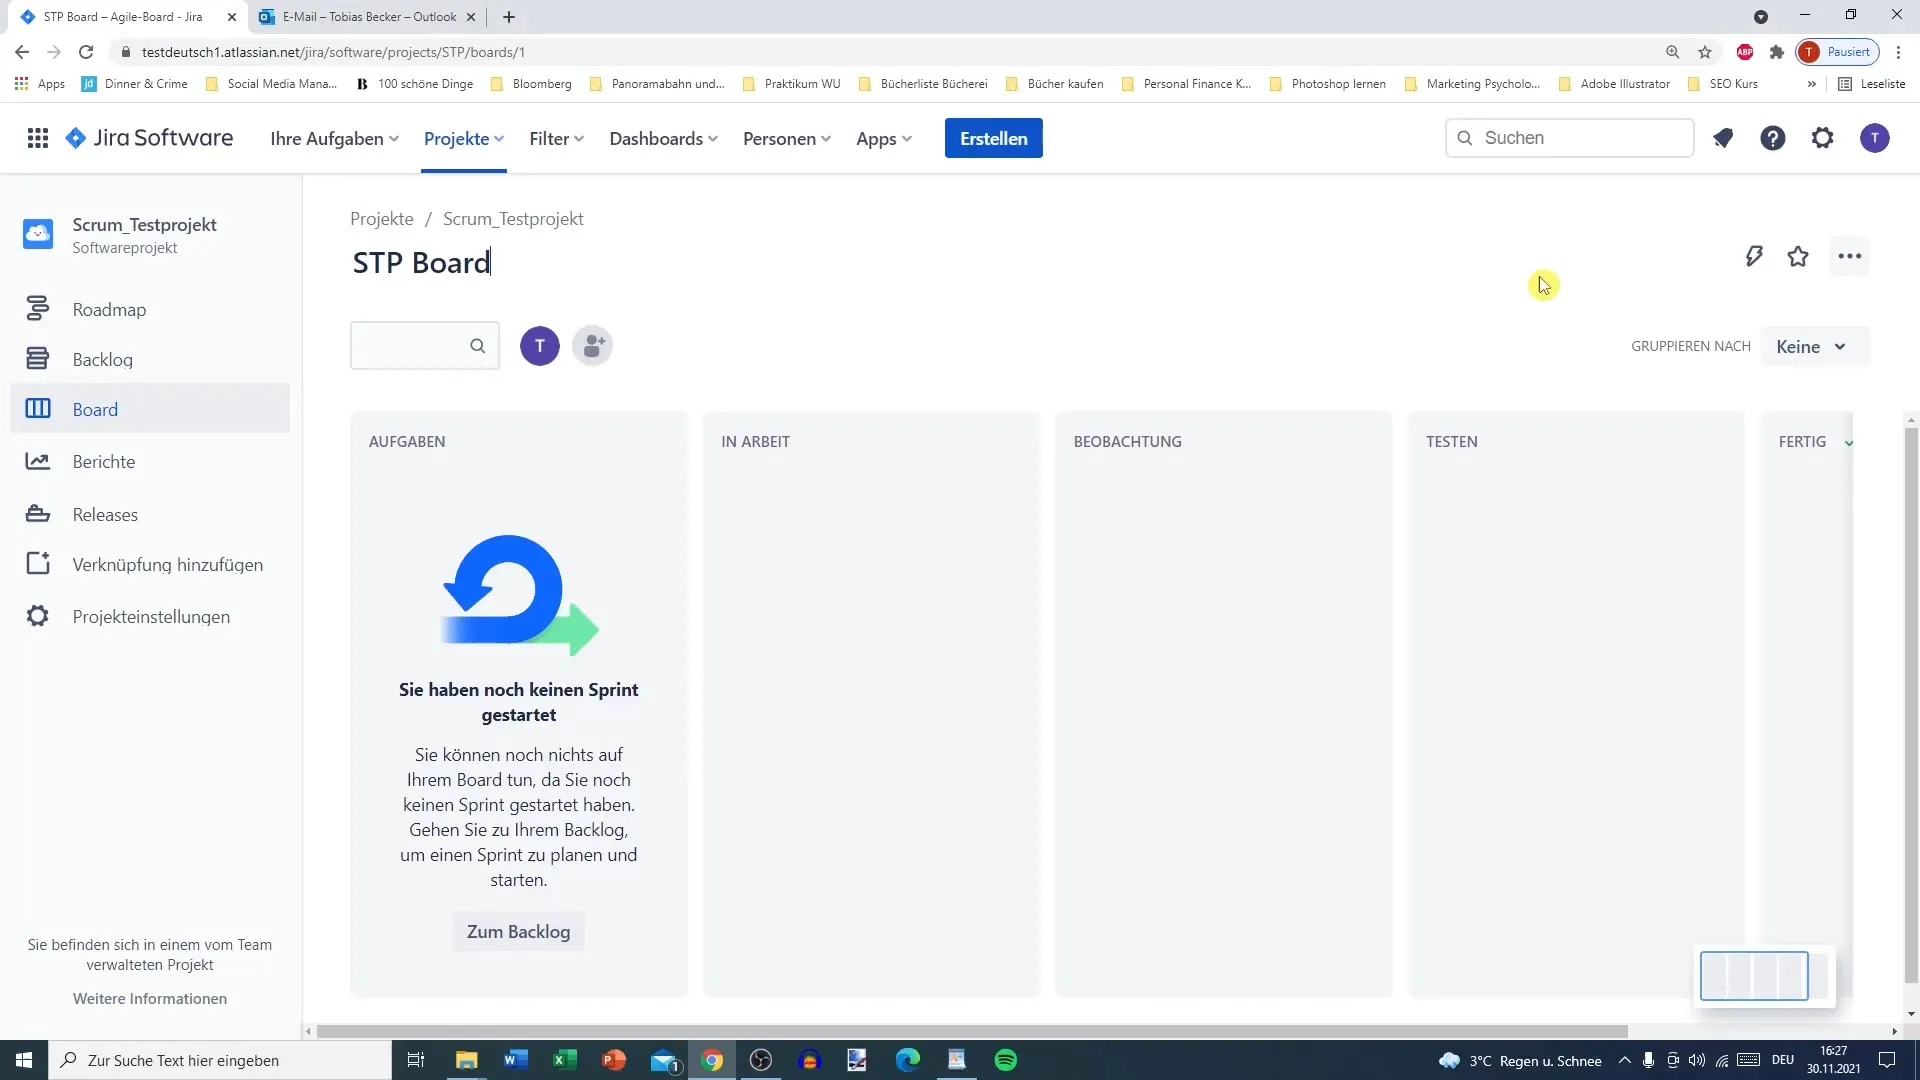
Step 1: Access Project Settings
First, you need to navigate to the project settings of your Jira project. Click on the project where you want to create the automation. In the navigation bar, you will find the option "Project settings". Once there, select the "Automation" section.
Step 2: Review Existing Automation Rules
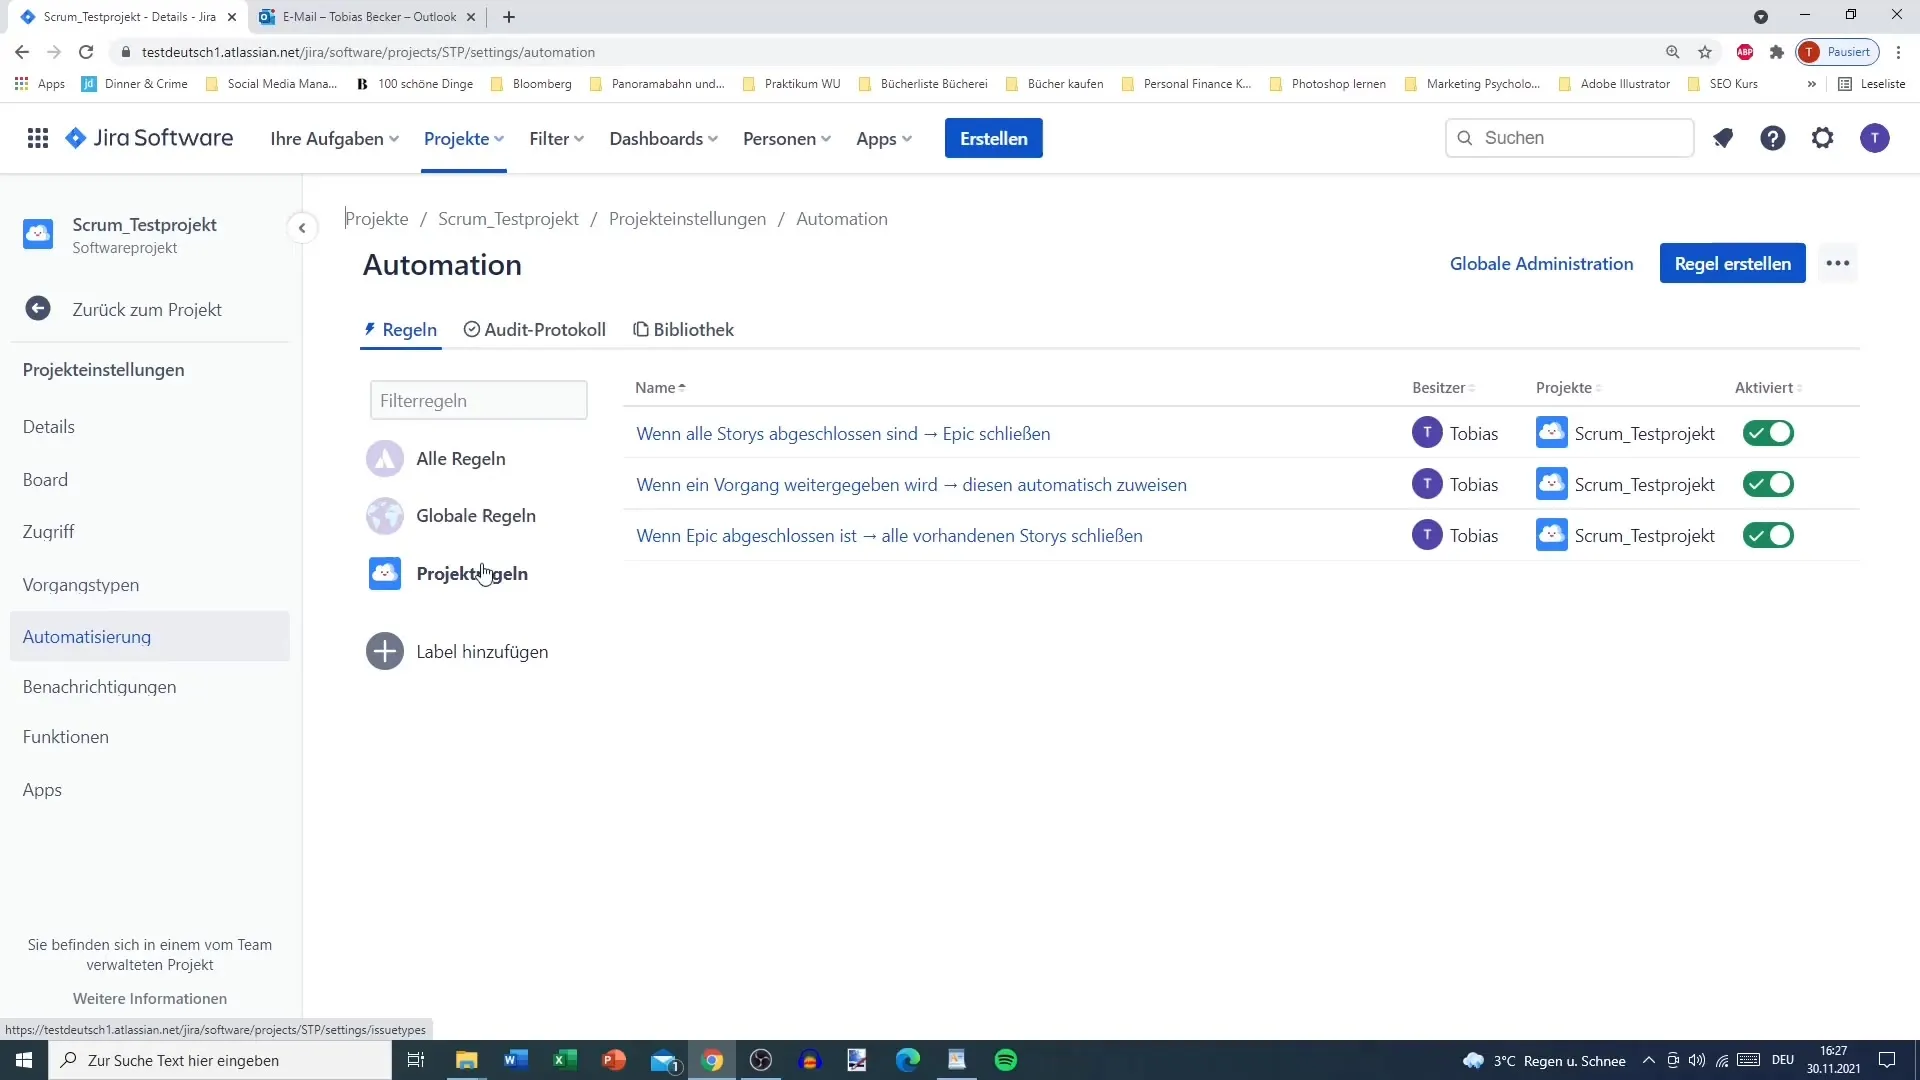
Once you are in the automation section, you will see existing rules. By default, there are often several rules such as closing an Epic when all associated Stories are completed.
Step 3: Create Rule
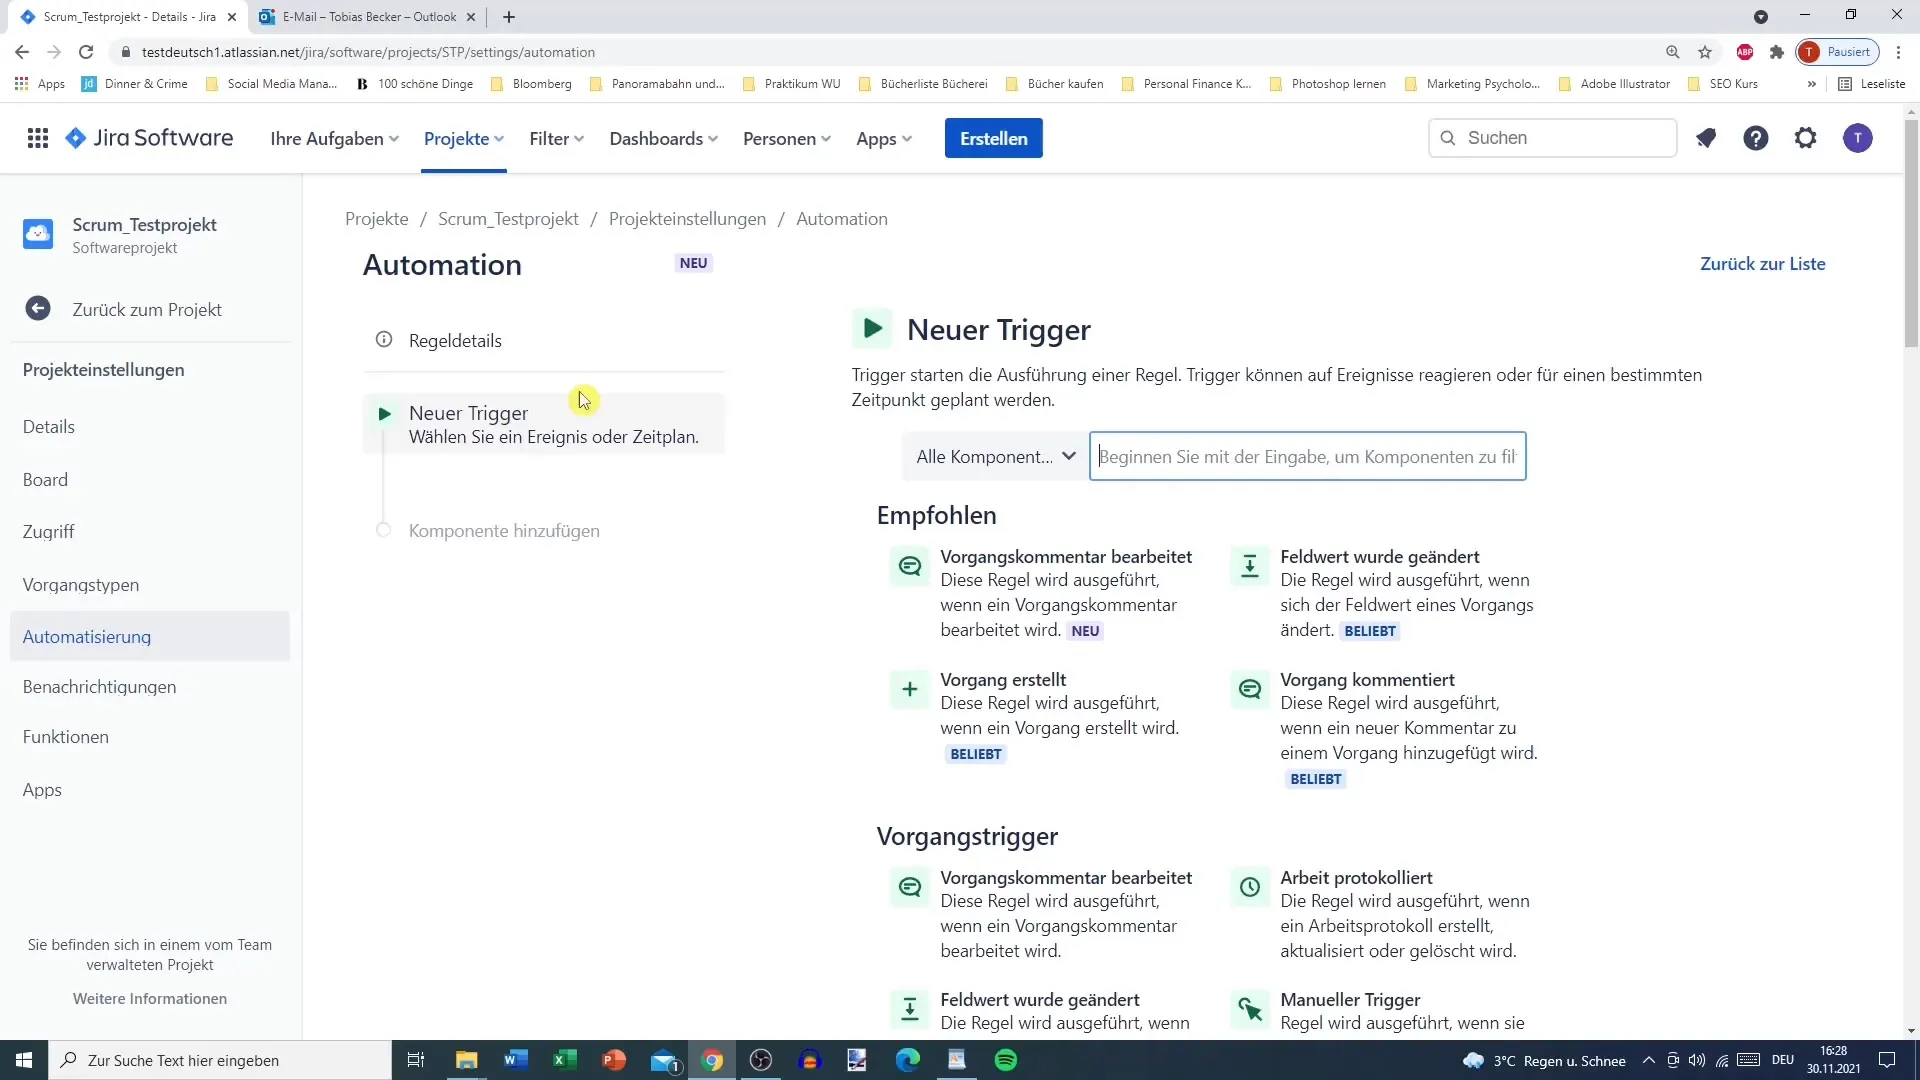
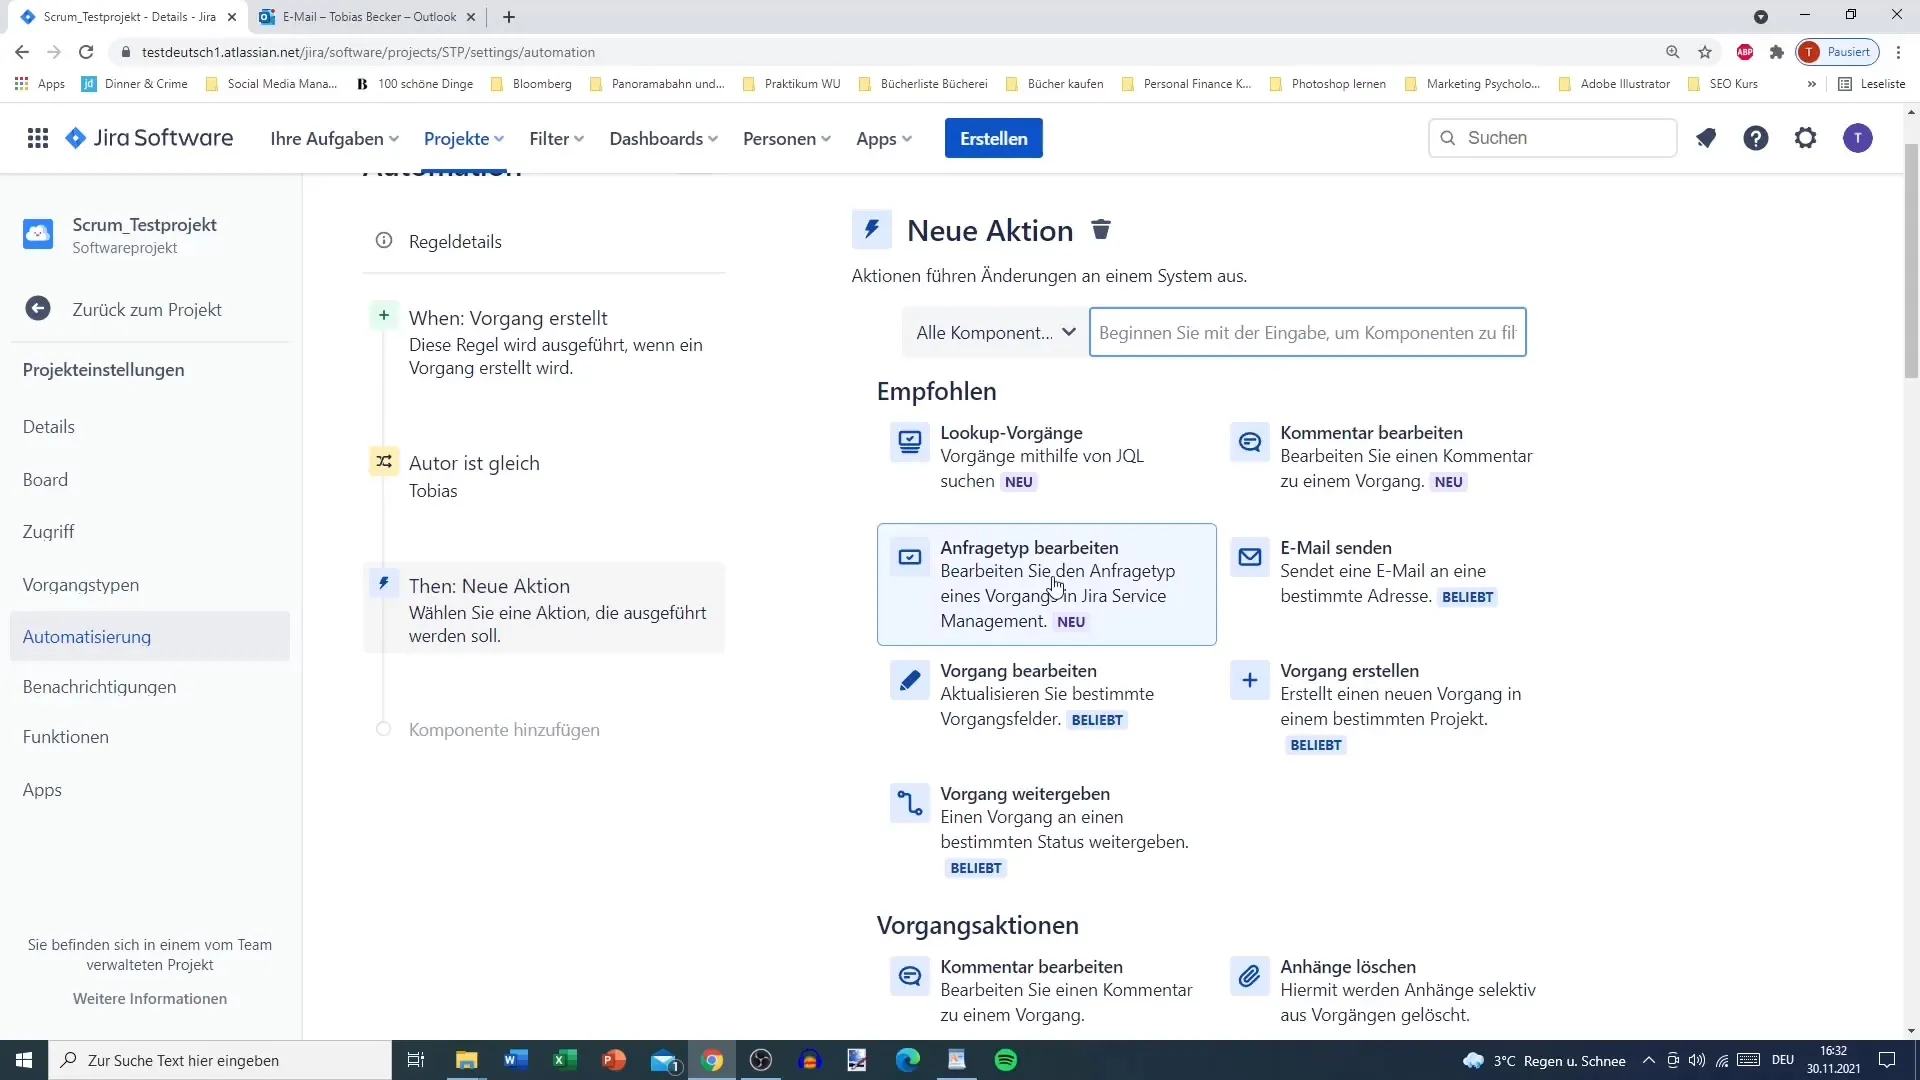
To add a new rule, click on the "Create rule" button. You must now choose a trigger. A trigger is the event that initiates the automation. For our example, we will choose the trigger "Issue created".
Step 4: Set Conditions
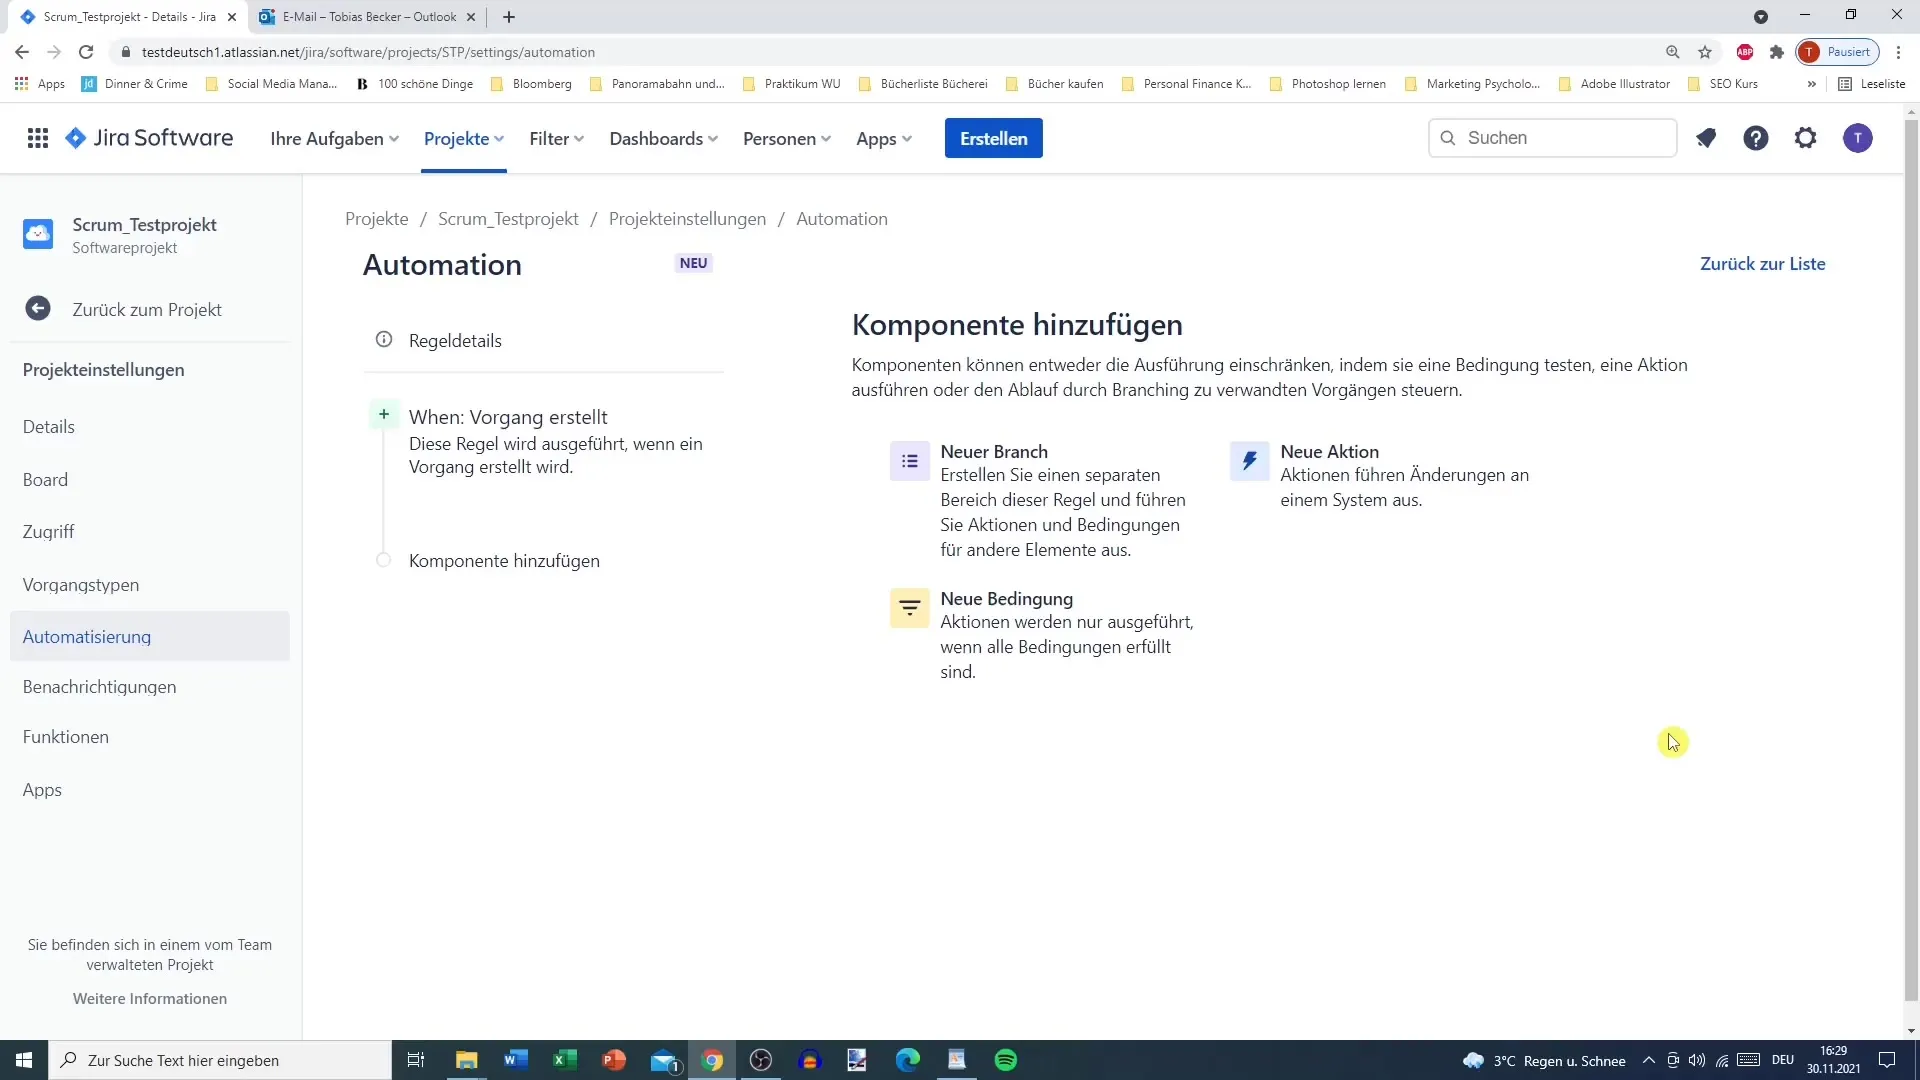
After choosing the trigger, it is important to set conditions. These conditions determine under what circumstances the automation should be triggered. For example, you could specify that the rule should only be activated if the issue is created by a specific author.
Step 5: Add Email Action
The next step is to add an action that will be executed when the trigger and conditions are met. Here we choose the action "Send email". You now need to set the recipient address, subject, and content of the email.
Step 6: Name Automation Rule
After defining the conditions and action, you should give your automation a meaningful name. In our case, it could be "Test_1". You should also ensure that the rule is enabled.
Step 7: Test Rule
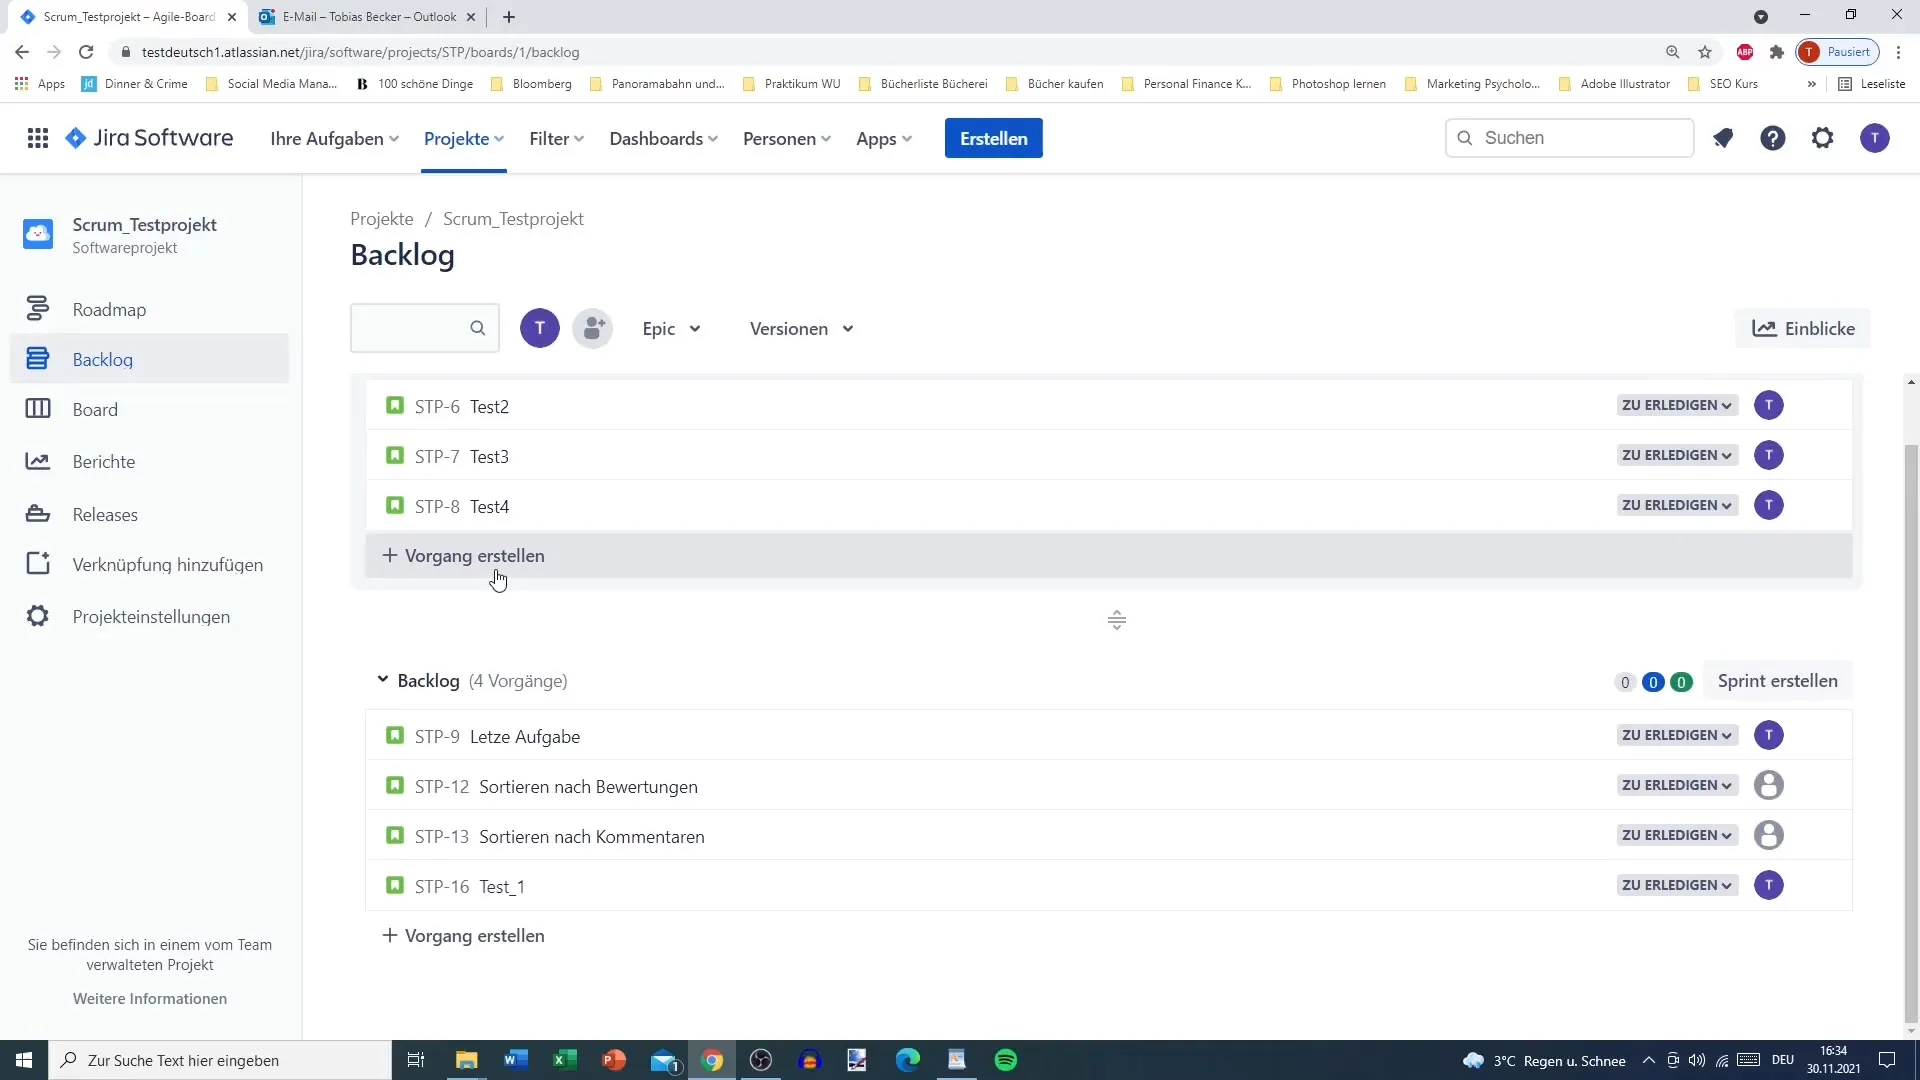
Now it's time to test the rule. Go to your backlog and create a new issue. Make sure you are the author you defined in the conditions.
Step 8: Receive Email
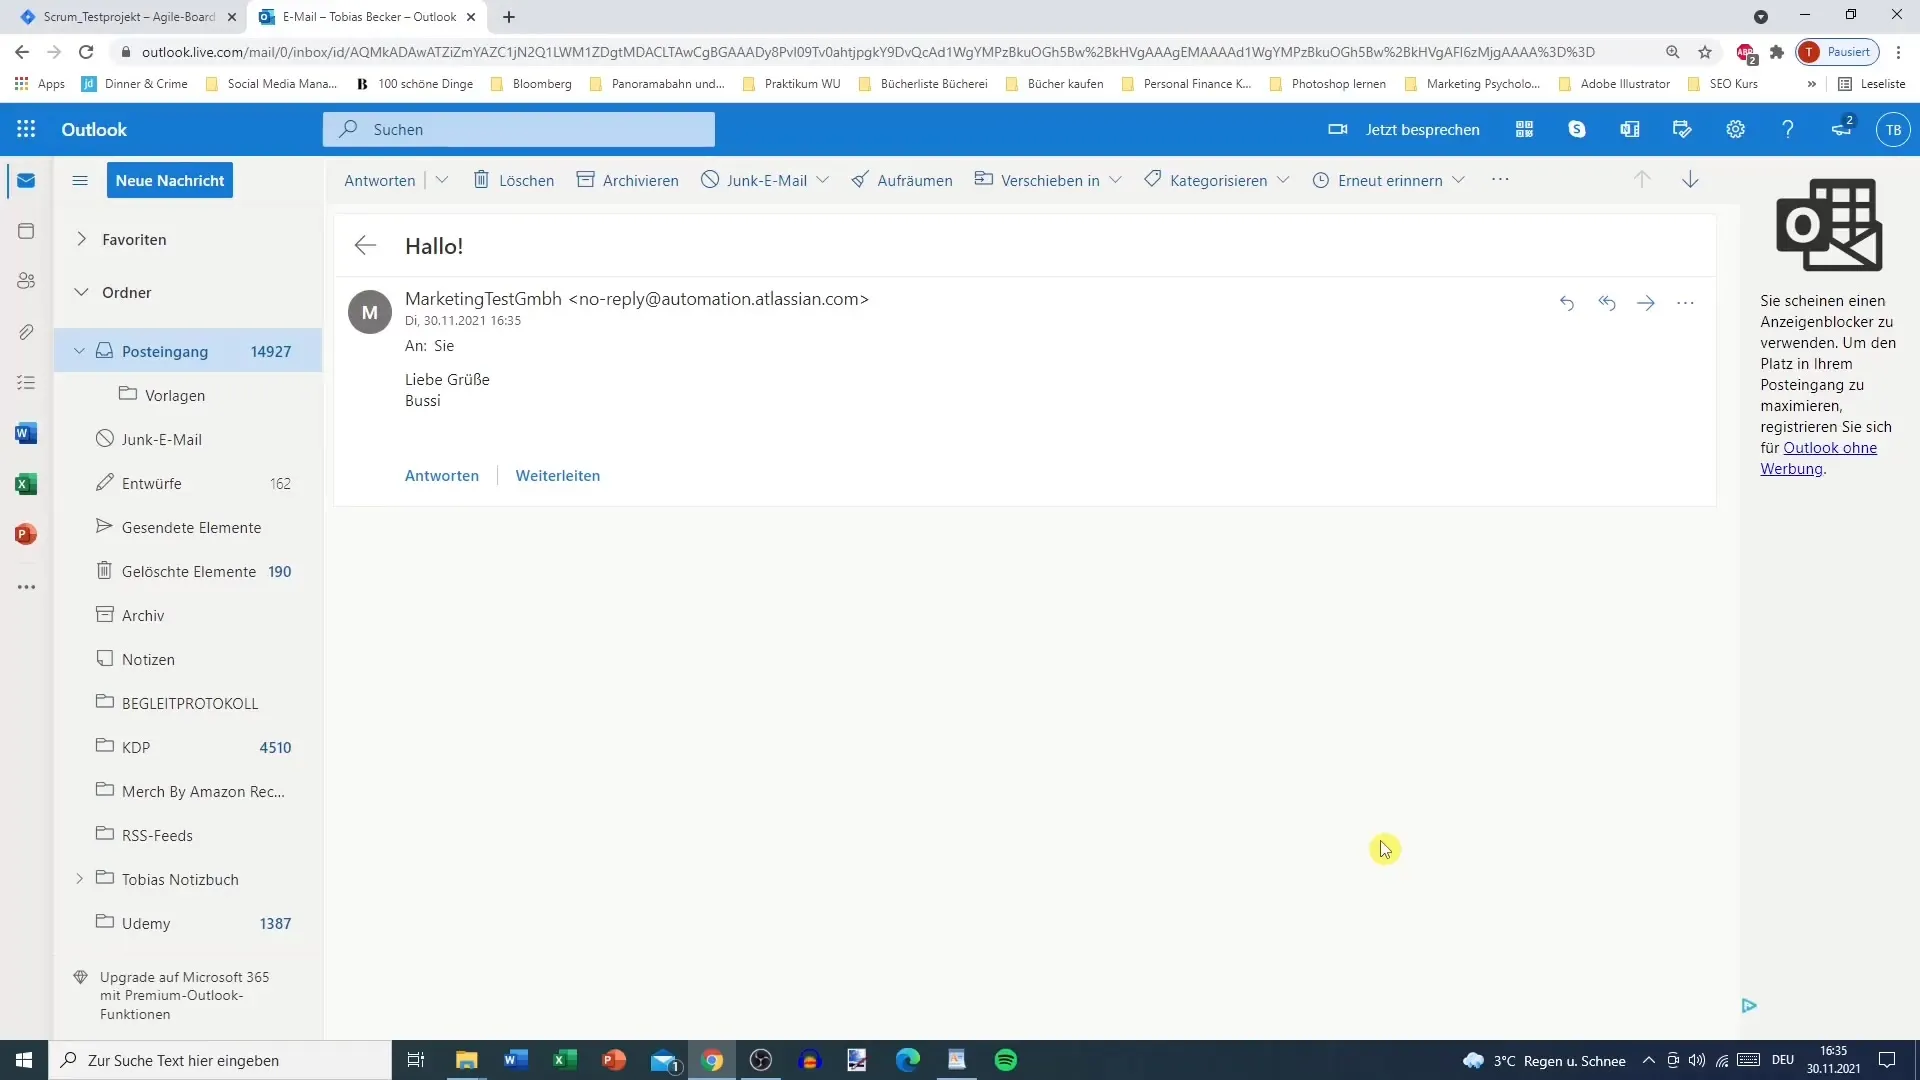
If everything is set up correctly, an email should be sent to the specified recipient once the issue is created. You can check your email inbox to verify that the automation has worked.
Step 9: Manage Automation Rule
If you want to deactivate or modify the rule later, you can do so in the automation section of your project settings. Here, you have the option to deactivate, edit, or delete the rule.
Step 10: Export Rule
In case you want to reuse the rule in another project, Jira offers you the option to export the rule as a JSON file. This way you can later import it again without having to create it from scratch.
Summary
In this guide, you have learned how to create a simple automation rule in Jira to help you manage your work. Automation can not only save you time but also ensure that important notifications are always sent on time.
Frequently Asked Questions
How do I create an automation rule in Jira?You can create a new rule in the project settings in the Automation section by defining a trigger, conditions, and actions.
What is a trigger in an automation rule?A trigger is an event that activates the automation, such as creating a new issue.
Can automation rules only send emails?No, automation rules can perform many different actions, such as deleting issues, assigning them, or creating new issues.
How do I test an automation rule?You can test your rule by creating an issue that meets the conditions of your rule.
What do I do if the rule is not working?Check the conditions and the trigger to make sure they are set up correctly, and test your rule again.


