You are now at a crucial point in the Design Thinking process: prototyping. In this phase, the aim is to translate your previous ideas and findings into a tangible design. Perhaps you have already collected numerous ideas, and now it is time to individualize and test them. Prototypes are not only physical objects but can also shed light on services. In this guide, you will learn how to develop the prototype while focusing on creativity and practical implementation.
Key Insights
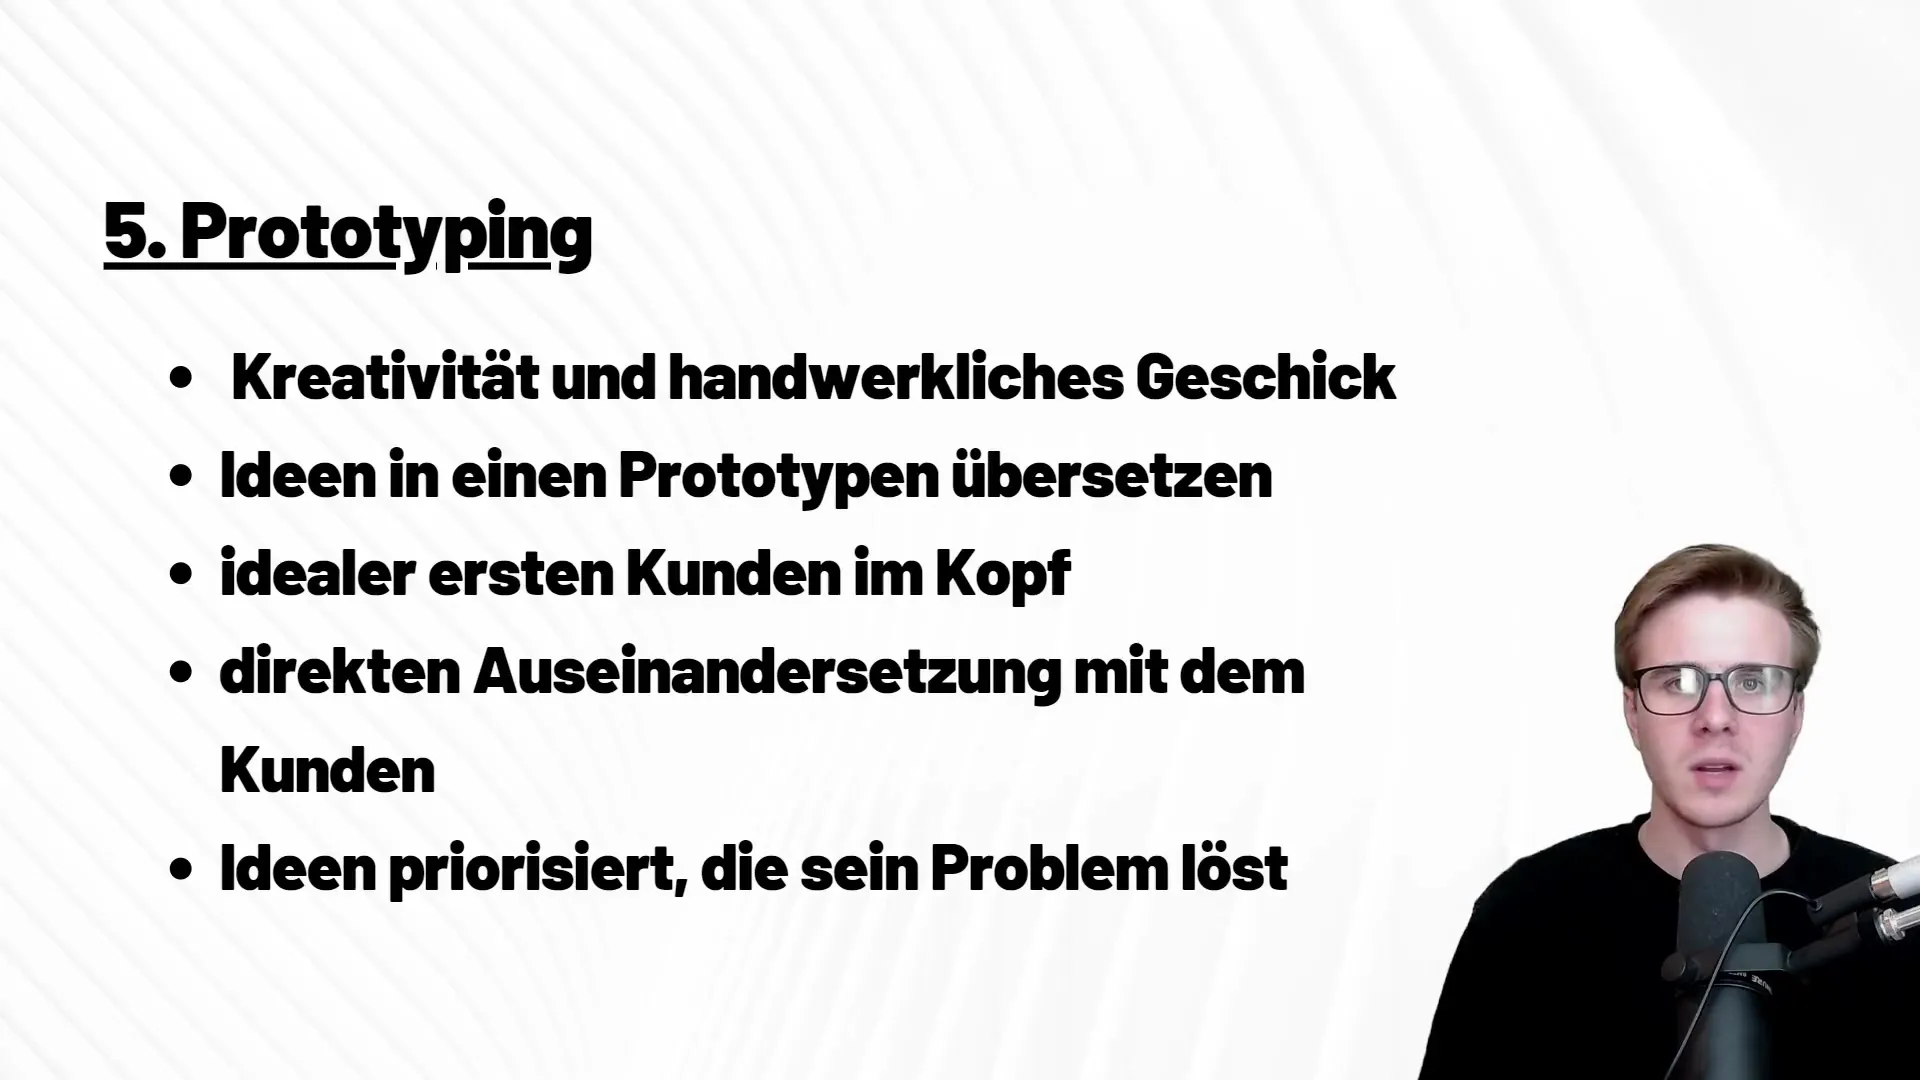
Prototyping is a creative process for testing ideas. The ideal customer and their needs should be the focus. A prototype can include multiple variations reflecting different approaches. Customer feedback is crucial for the product's further development. The primary problem must be solved, while other aspects can be treated as secondary.
Step-by-Step Guide
Step 1: Establish the basic idea
First, it is important to prioritize your collected ideas. Select the most promising concepts that are suitable for your prototype. Which aspects provide the most value for the customer? Consider whether the ideas fit well together or if you should choose a single idea.

Step 2: Keep the ideal customer in mind
When developing the prototype, always keep the persona, i.e., the ideal customer, in mind. It is important to put yourself in their perspective and understand their expectations. What problems does the customer have that your product can solve? These considerations form the basis of your design.
Step 3: Develop prototypes
Now it gets creative. Start by designing your first prototype. Manual skill plays a crucial role here. You could create sketches or use materials that are easy to work with. Remember that the goal is to develop an initial test version. It should be tangible but not perfect – testing comes first.

Step 4: Gather feedback
Once you have created your prototype, it's time to present it to your customer or a test group. It is important to be open to feedback. The customer can provide valuable insights to help you determine if your approach works or if adjustments are needed. Keep the initial problem in mind during this process.
Step 5: Revise and adjust
Based on the feedback received, you can now revise your prototype. You may find that some aspects do not meet the customer's expectations. That's okay! Be prepared to develop alternatives or make adjustments. Remember that there can be multiple prototypes to choose from.
Step 6: Iteration and further testing
Developing a prototype is an iterative process. This means that you should revise your prototype multiple times and test it again until your product meets the customer's needs and proves to be useful. Even after the presentation, you can make improvements if necessary.

Summary
The fifth phase of the Design Thinking process, prototyping, gives you the opportunity to test your ideas in practice. It involves developing creative solutions, collecting customer feedback, and designing better products. Your focus should always be on solving your customer's problem.
Frequently Asked Questions
What is Prototyping in Design Thinking?Prototyping in Design Thinking is the process of visualizing and testing ideas.
How many prototypes should I create?There is no fixed number; often, creating multiple prototypes is helpful to test various approaches.
How to handle negative feedback?Negative feedback should be seen as an opportunity for improvement. Use the feedback to make adjustments.
Is prototyping only suitable for physical products?No, prototyping can also be applied to services and digital products.
How important is the ideal customer in prototyping?The ideal customer is central as their needs and problems significantly influence the design process.


