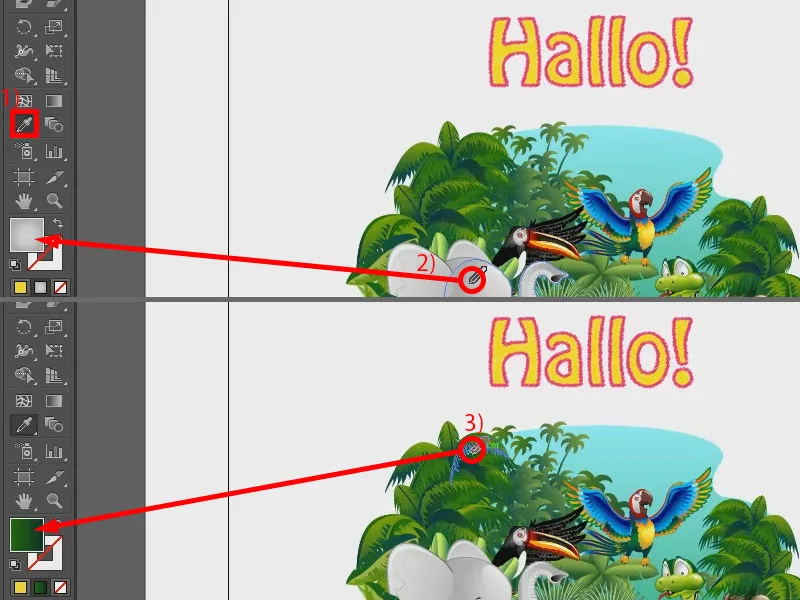
This training course is about the pipette. It may sound a bit boring at first, but it's not at all. Why? For one thing, I can use this beautiful little pipette (1) to pick up colors, among other things. For example, if I want this gray here (2), I click once and I have the gray gradient in my area. Or the green (3).
But there's another trick: here you can see that it always takes the same gradient. But sometimes I might just want the color of this green and not the gradient. There is the following trick for this: Shift. I press it - and if I press it here, you can see that a little box appears next to my eyedropper (1), so I really only pick up the color (2).
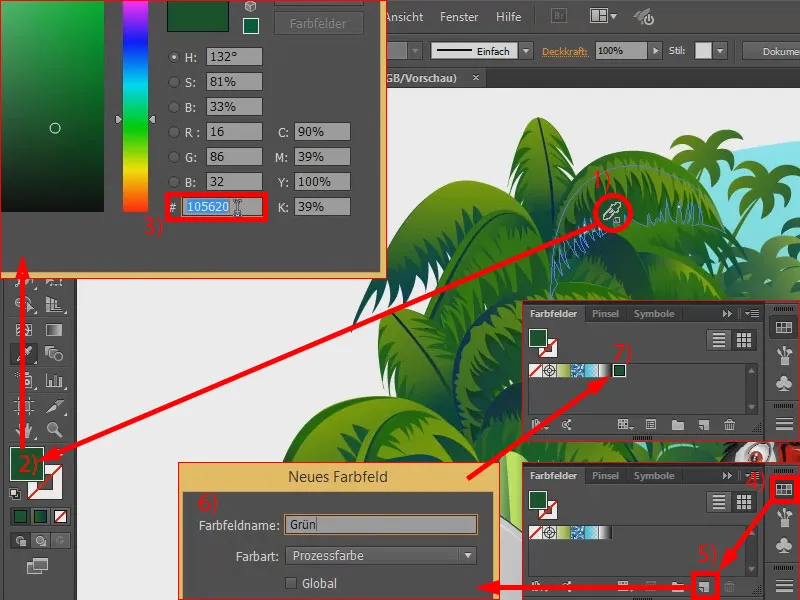
I can, for example, immediately copy this color code (double-click at 2, then 3) for a web page, or create a new color field (4 and 5). That works here, I'll call it "green" (6). Then I have this in here (7). It's as simple as that. Just hold down the Shift keyand it takes the entire color instead of the gradient.

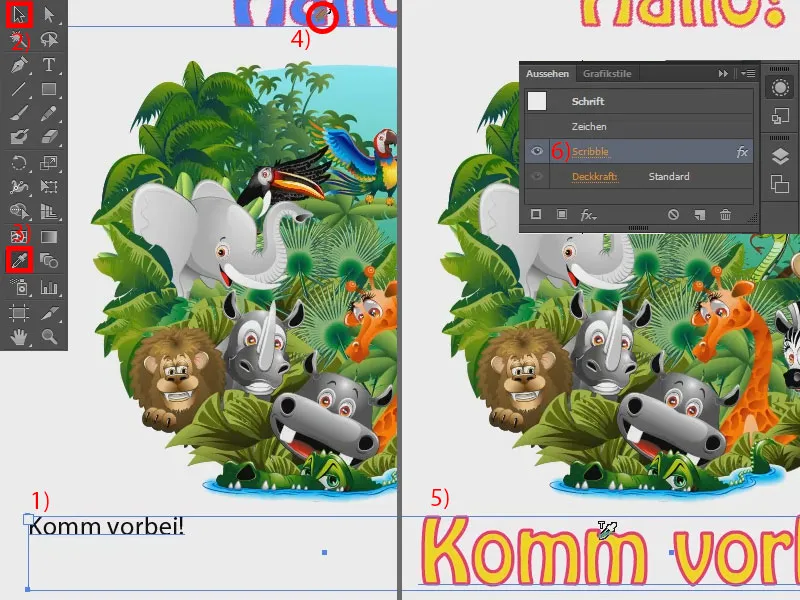
But that's not all. What else can the eyedropper do? It can not only pick up colors, it can also pick up complete properties of objects. You've already seen a bit of that with the gradient. If I write something in here, for example "Come over" (1), and then want to have exactly the same font formatting as the "Hello!" above, then I simply proceed as follows: I select the text box (with 2), take the eyedropper tool (3) and click once on the "Hello!" (4). My new text has already taken on the same properties (5). Not quite the same, is it? The color is correct, as is the outline color, but the Scribble effect (6), which is still working here, has not been applied.
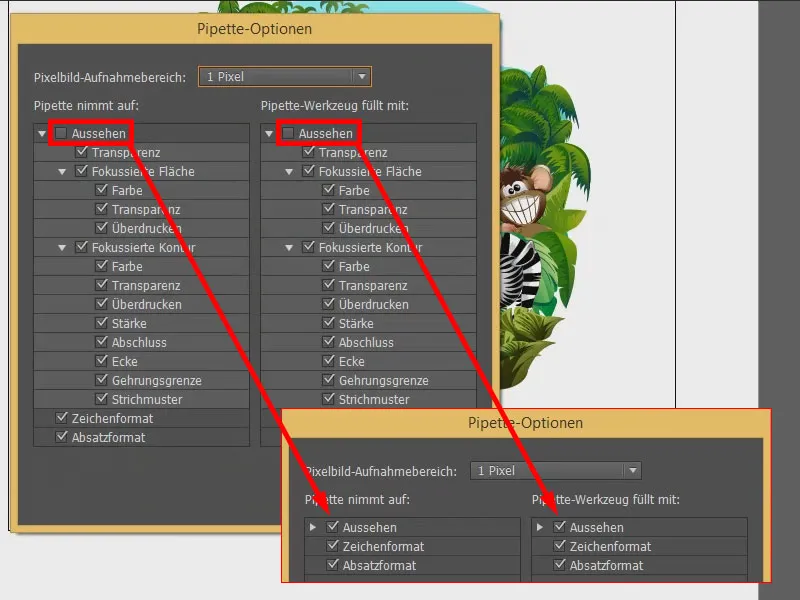
How do I do that? Right - with the pipette. It has even more properties than you might think. I simply double-click on it and a large window appears with the pipette options. It contains all the things that can be recorded. So I can select or deselect individual items. And if I want to record everything, I can simply check the box at the top.
I'll try that again now: click on the "Come by" area, select the pipette, click on the "Hello!" at the top - and the effect is also applied. Cool thing, isn't it?


