Creating and managing notes in Miro provides you with a valuable way to systematically capture projects and ideas. With the note function, you can not only add text and lists but also insert visual elements to present your thoughts clearly. In this guide, you will learn how to make the most of this function.
Key Takeaways
- Miro offers a modern note function that is comparable to tools like Notion.
- The note function allows you to create checklists, meeting agendas, and project summaries.
- You can format text, add links, and visually customize elements.
- Annotations and summaries can be created and edited in a shared workspace.
Step-by-Step Guide
Step 1: Open Note Function
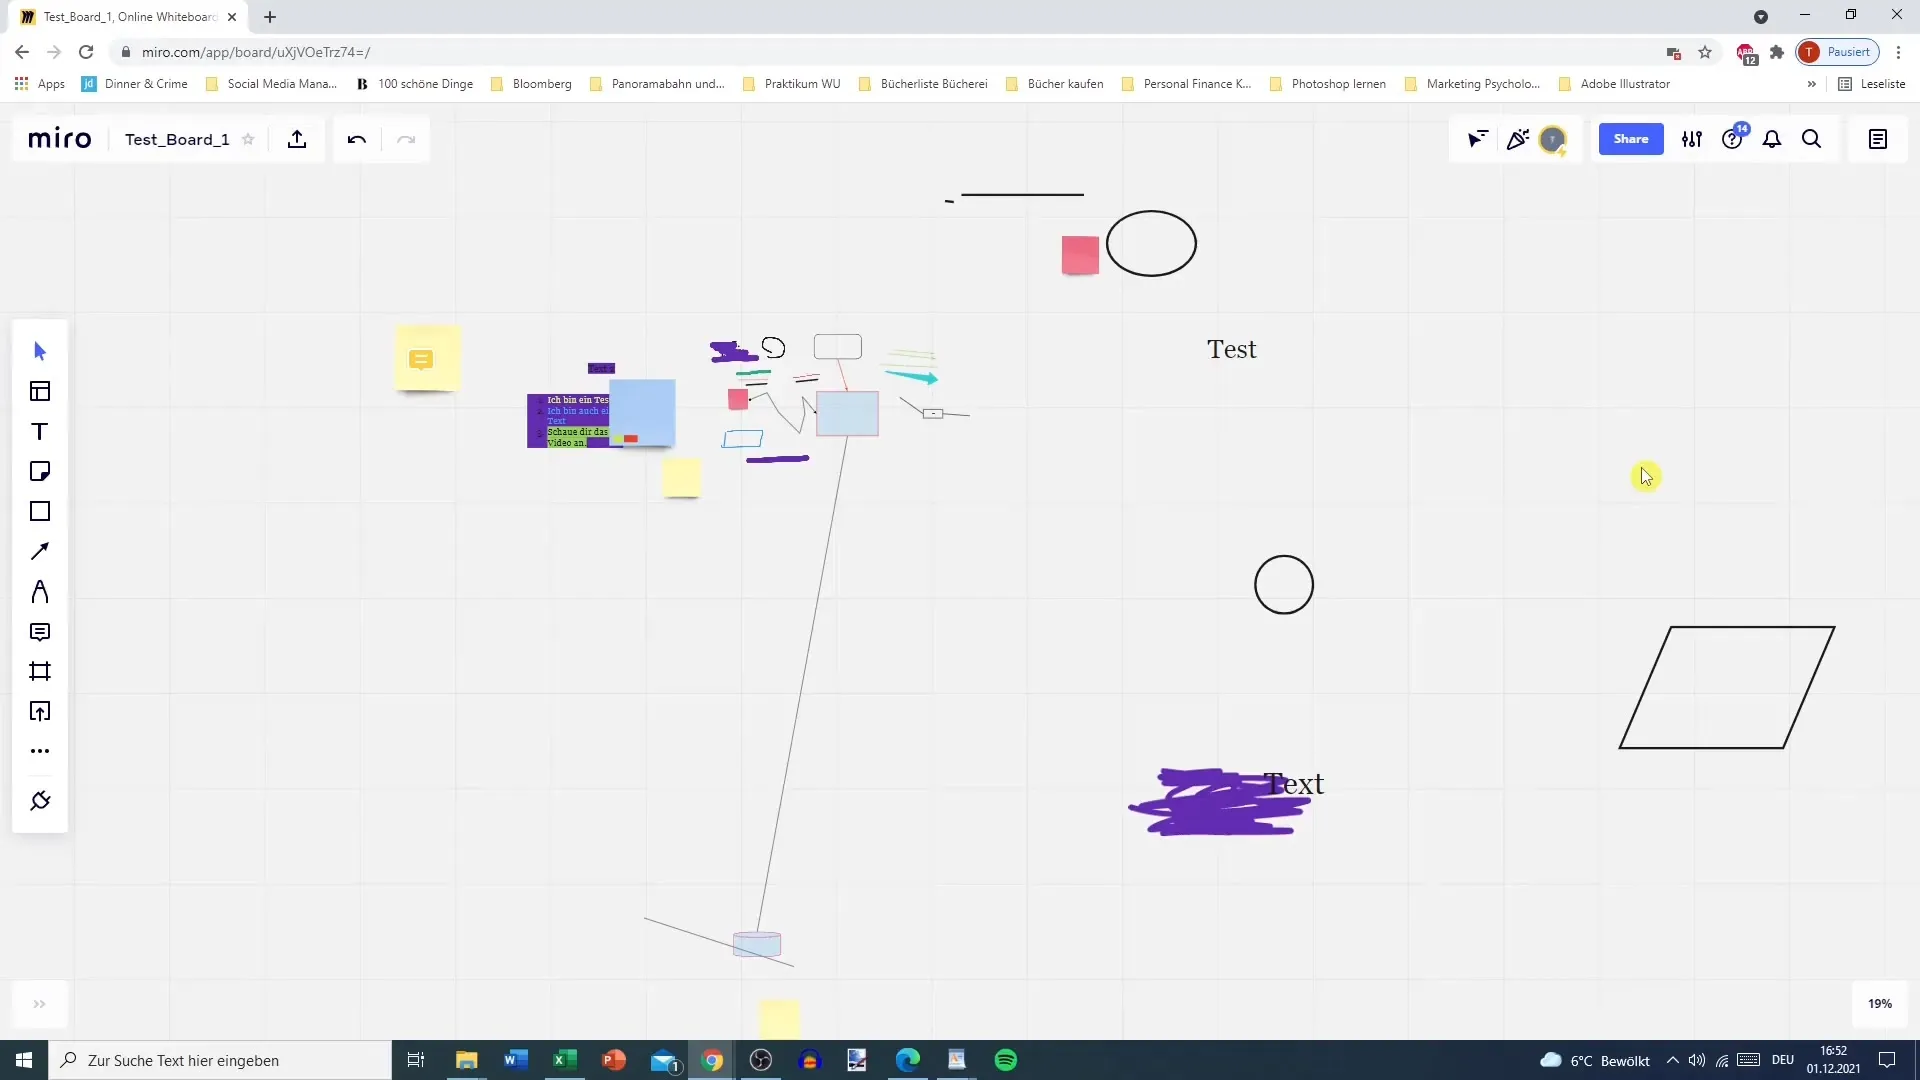
To create a note in Miro, start by opening the note function. You can find it in the upper right corner of your Miro board, where there is a notepad icon present. Click on this icon to open the note area.
Step 2: Use Templates
In the note area, you have access to various templates. You can choose a to-do list, a meeting agenda, or even a project summary, for example. Use the available templates to get started quickly, or simply click on "New Notes" to create your note from scratch.
Step 3: Add Your Own Notes
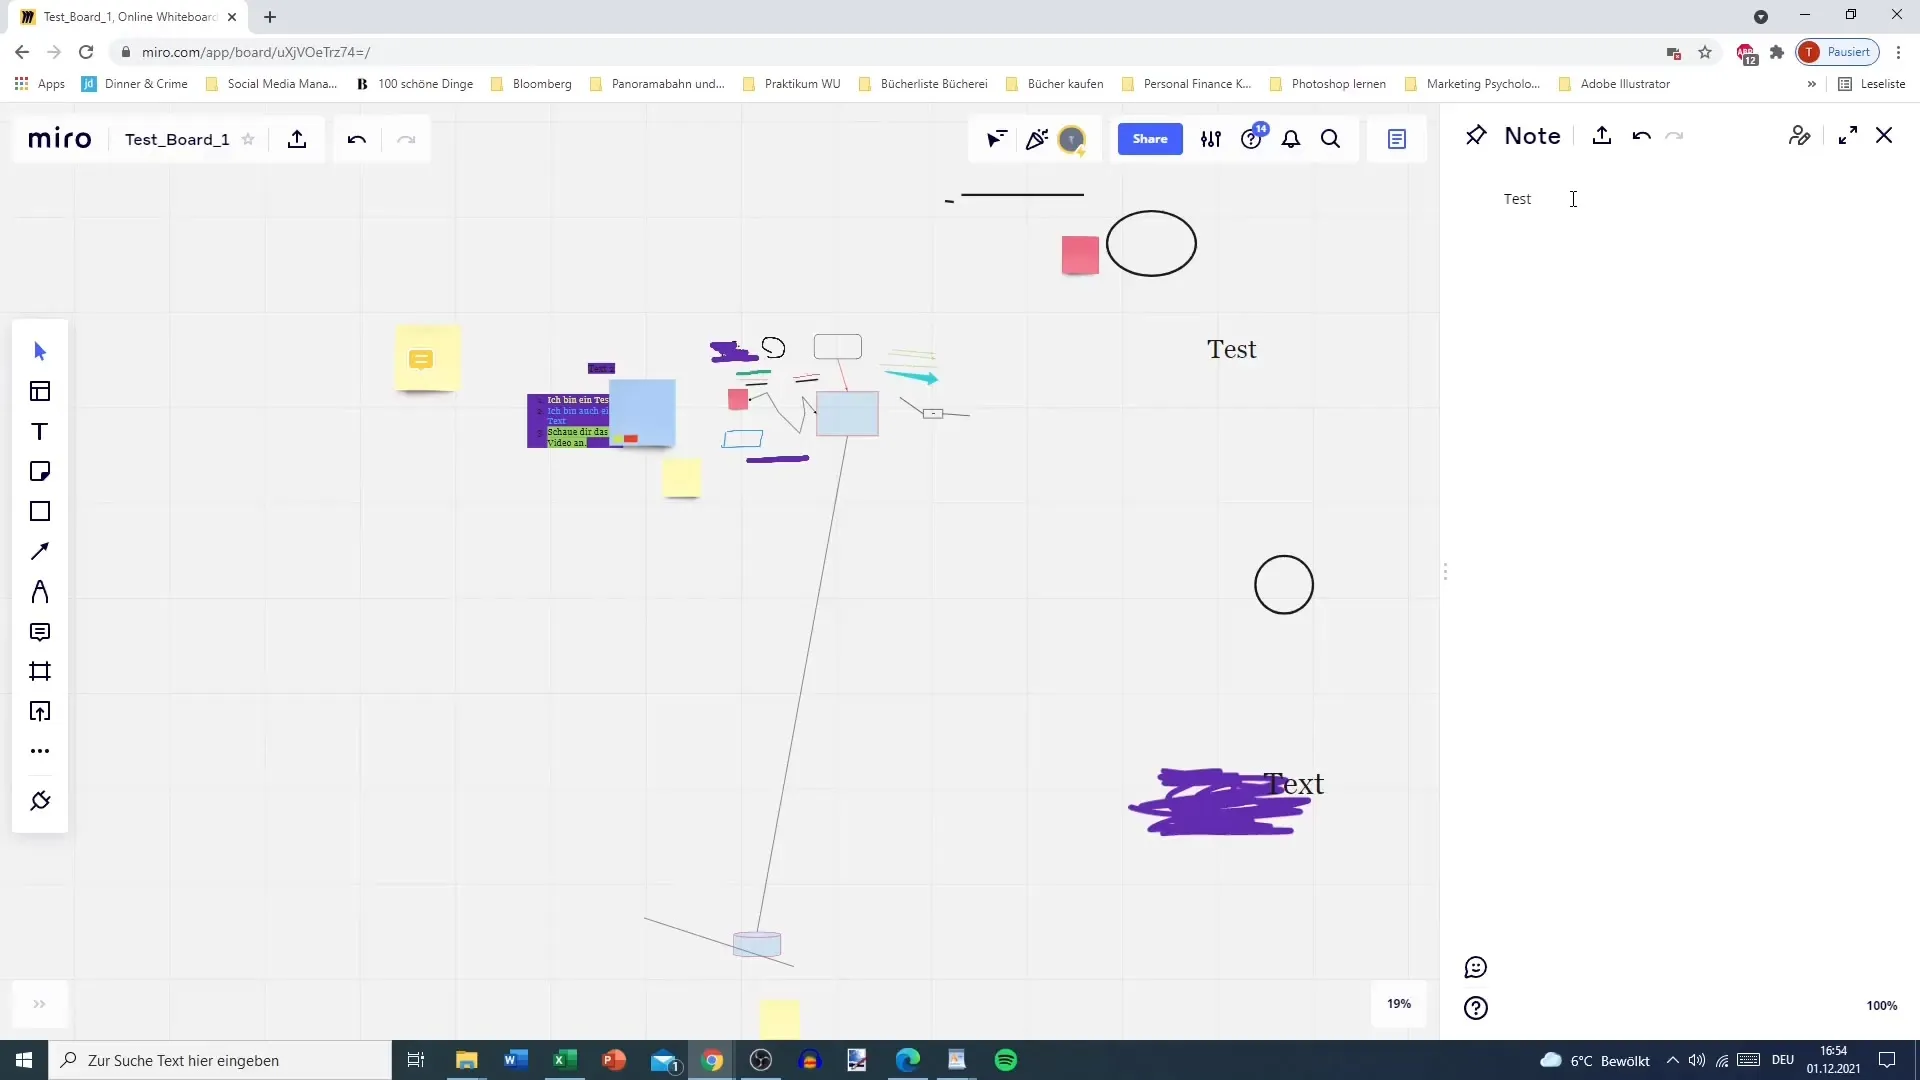
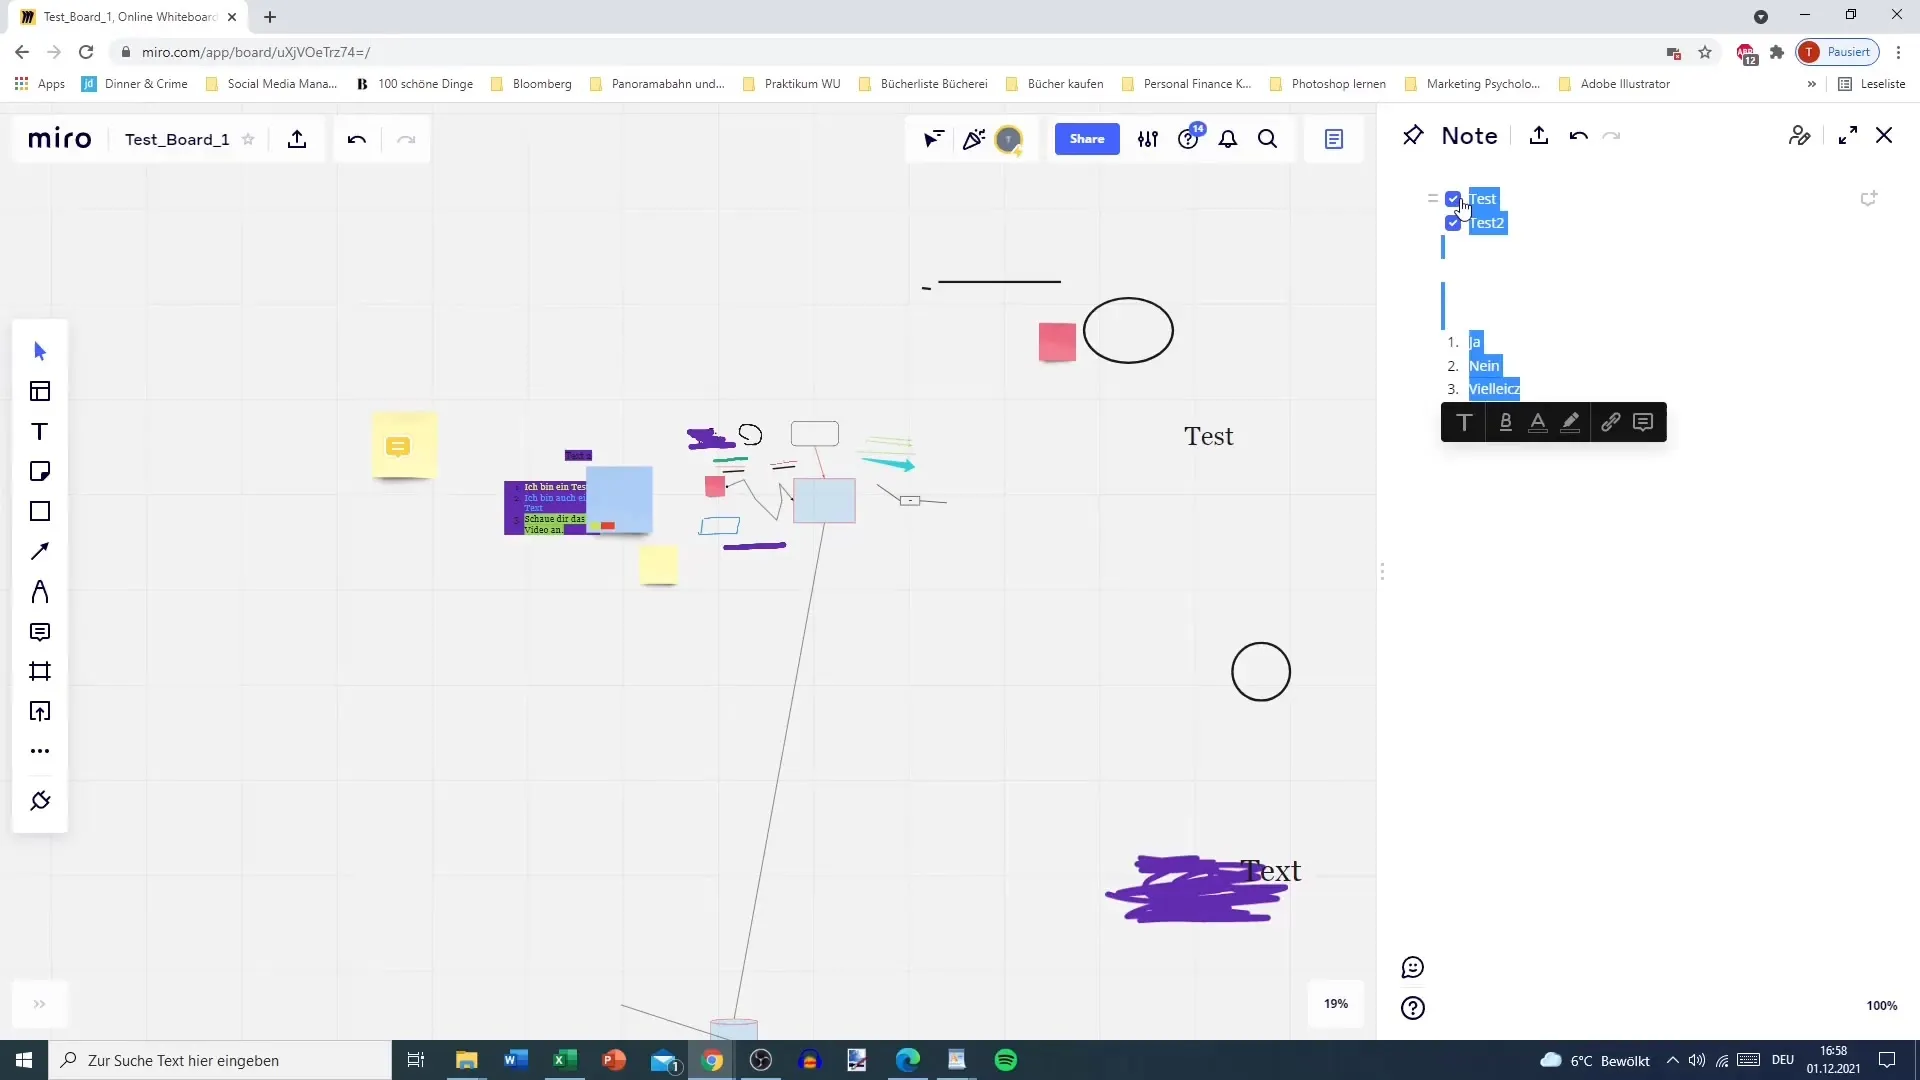
If you want to start with a blank note, simply enter text. For example, start with "Test." You have the option to format the text, display it as a heading, or bold it. You can also change the text color to highlight different topics.
Step 4: Create Lists
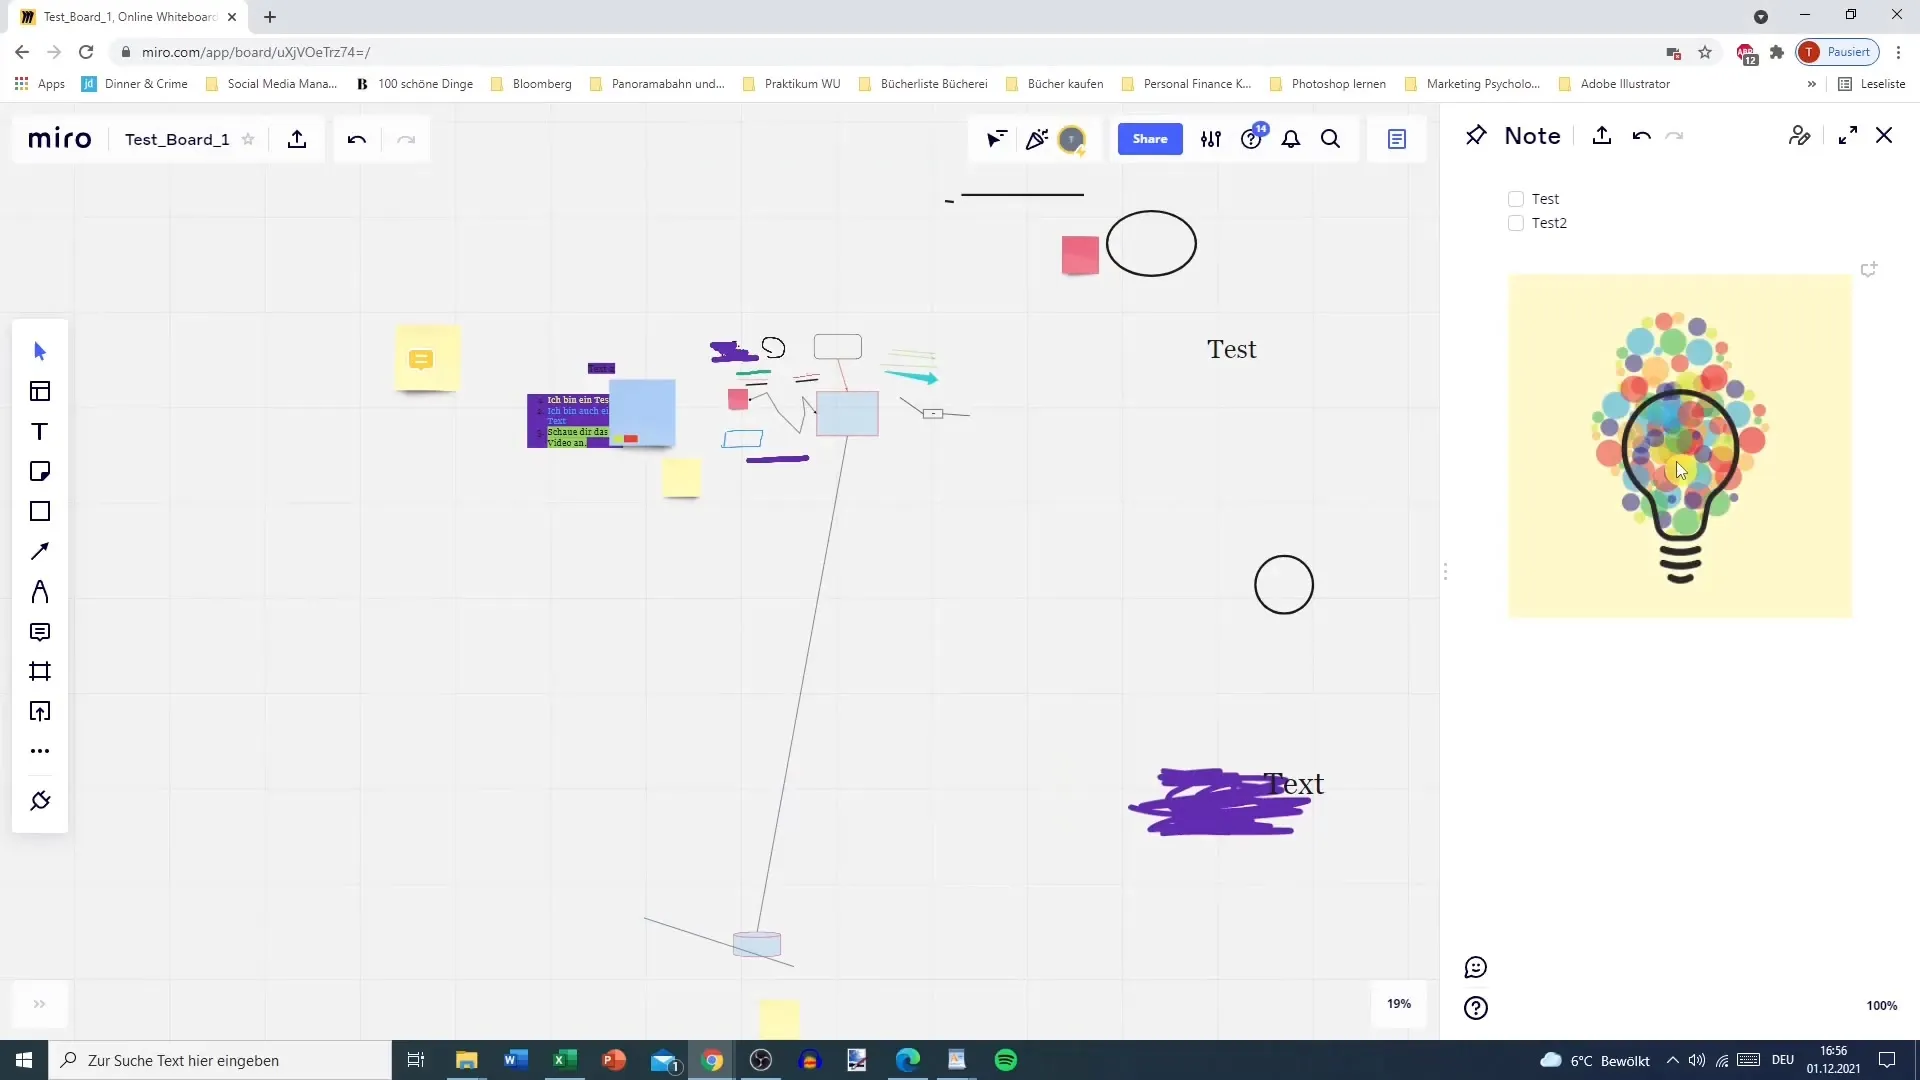
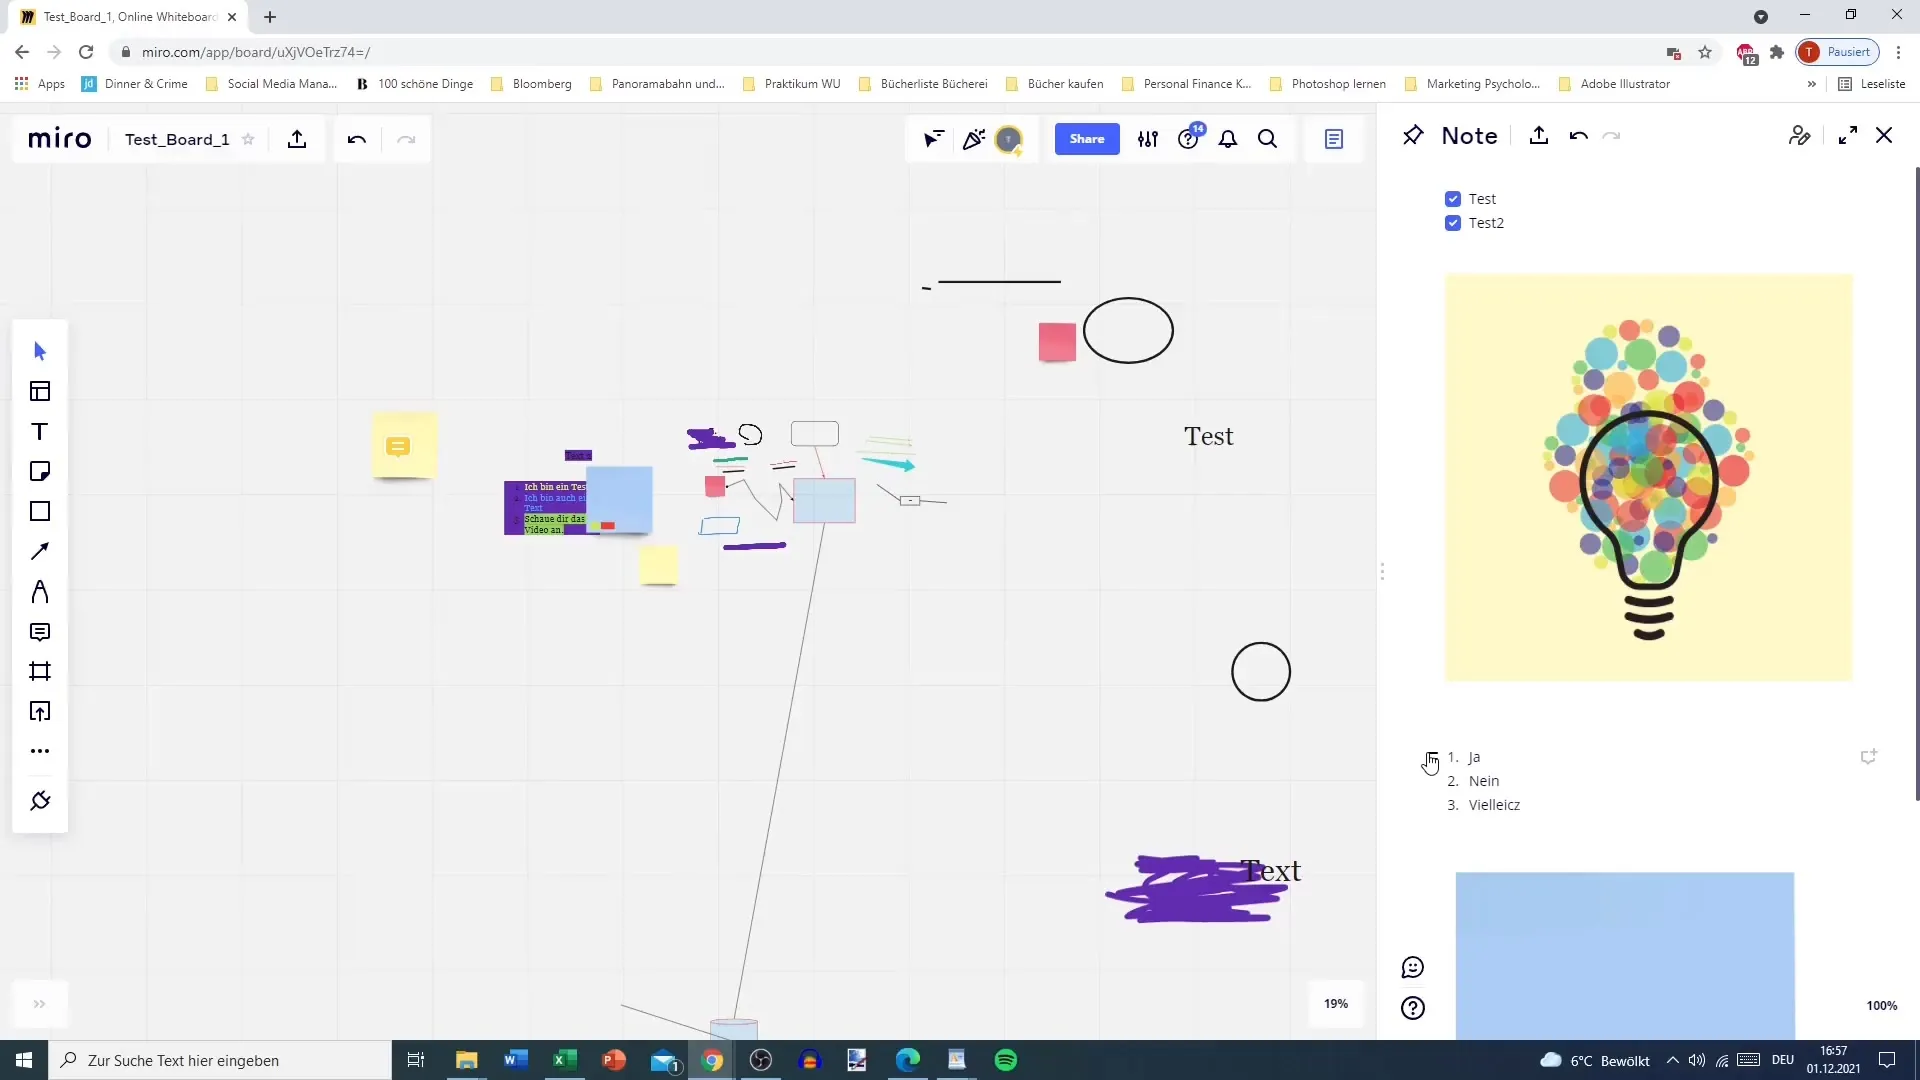
One of the useful functions in Miro's notes is creating lists. You can create both checklists and numbered lists. To add a checklist, simply click on the plus sign and select "Checklist." Start with your entries, such as "Test" or "Test 2," and use the spacebar to add new items.
Step 5: Add Images and Objects
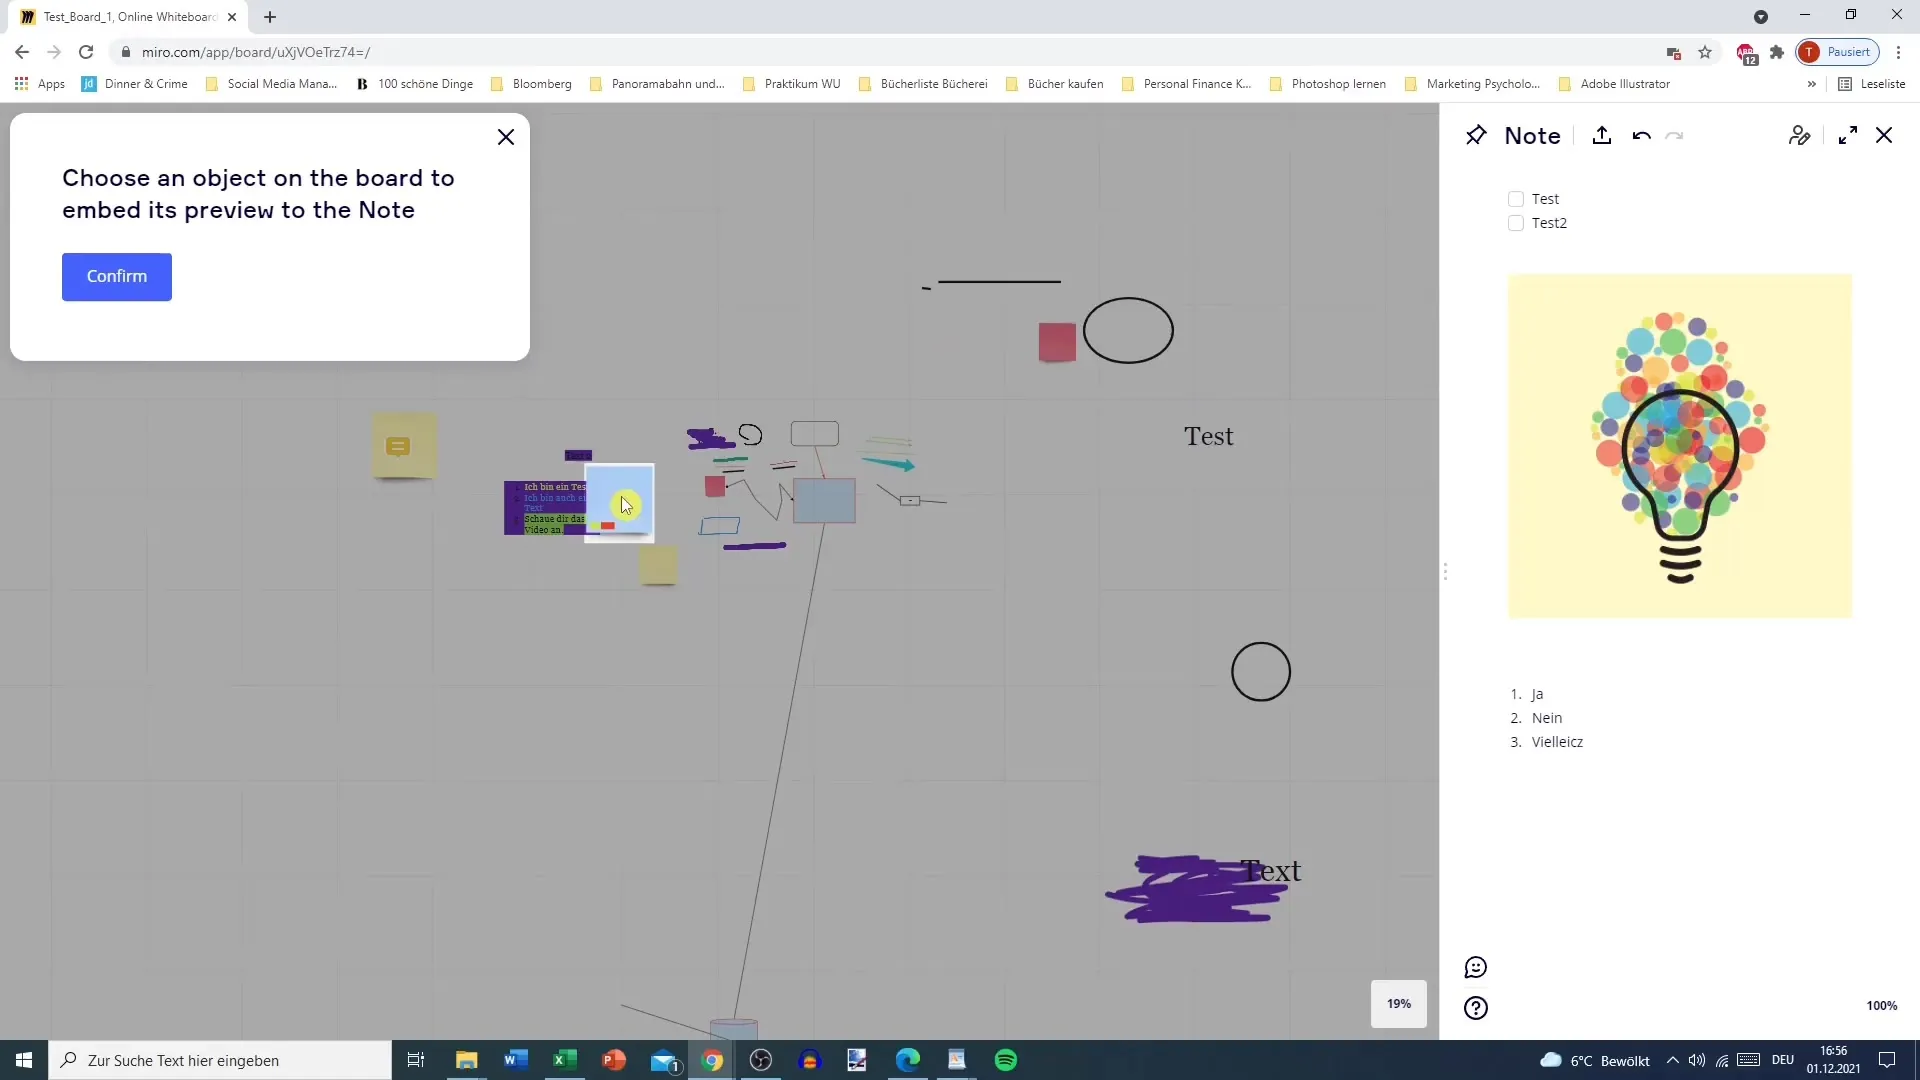
You can also insert images and other objects into your notes. To add an image, simply draw a line in your note line. A window will open where you can select the desired image. This way, you can enrich your notes with visual information.
Step 6: Edit and Customize Notes
Once you have started writing, you can make several adjustments to organize your notes. You can zoom in, zoom out, and move your notes. For example, if you have a sticky note, simply drag it to the desired position and customize it.
Step 7: Set Tasks and Responsibilities
Another major advantage of the note function is that you can set tasks within your notes. For example, you could note that Tobias is brainstorming while Flo is creating a flowchart. This clarity allows you to easily track responsibilities.
Step 8: Add Comments and Feedback
An important part of collaboration is leaving comments. You can add comments to each note block, making communication within your team easier. If notes are no longer needed, you can also delete them at any time.
Step 9: Format Note
Once you have completed your note, start formatting it. For example, you could add a heading to structure your note. This helps you keep track of your project and ensures that all team members know what they are working on.
Step 10: Publish or share note
Finally, when your note is complete, share it with your team or save it for future reference. You can reopen the note area at any time to add new information or review existing ones.
Summary
Miro offers you a powerful platform for creating and managing notes that can support your projects and promote teamwork. With various features and customization options, you can design your notes according to your needs and ensure effective work.
Frequently Asked Questions
How do I add a new note in Miro?Click on the note icon in the top right corner and select "New Note Block".
Can I insert images into my notes?Yes, you can insert images into your notes by using a corresponding input field.
Are notes shareable in Miro?Yes, you can share your notes with other team members so they can view or edit them.


