The Pipette and the Measuring tool in Adobe InDesign are essential tools to quickly and precisely pick up or measure colors, formats, and distances. With the pipette, you can extract and apply styles, colors, and text formats from one element to another. The measuring tool helps you determine exact distances or angles in your layout. In this guide, I will show you how to effectively use both tools to create your designs in a professional and efficient manner. Let's get started and explore these practical tools!
The Pipette and Measuring tools appear in a flyout menu when you click on the symbol highlighted above in the tool bar and hold down the left mouse button.
They consist of
• the Pipette Tool and
• the Measuring Tool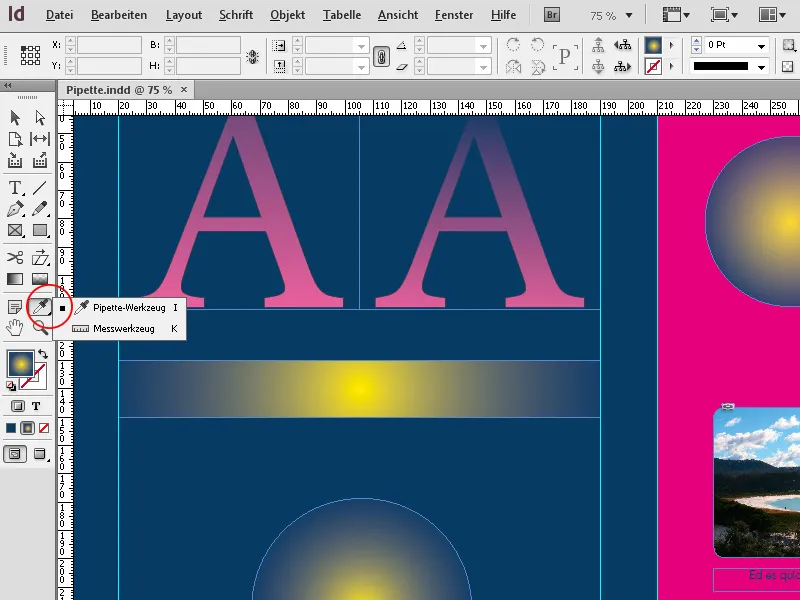
1. The Pipette Tool
With the Pipette Tool (Shortcut I), you can in the simplest case pick up the color of an object and transfer it to another object. Like everything in InDesign, this can be done in various ways:
If nothing is selected on your page, click with the Pipette on a spot where you want to pick up the color. This can also be a very specific spot in an image.
Keep in mind that the representation for the Pipette changes: it is now filled. You can now click on as many other objects as you like with the filled Pipette to transfer the color.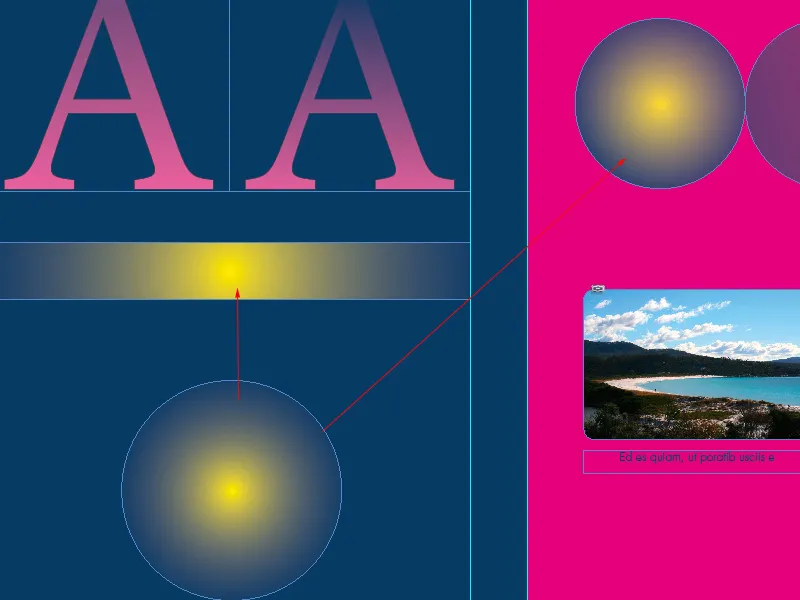
You can also first select an object with the Direct Selection Tool and then click with the Pipette at another location in the document on the area to be transferred, after which the selected object receives the properties taken up by it.
In addition to the color, you actually transfer a lot of other properties of the source object. You can determine these properties in a very targeted manner by double-clicking on the Pipette Tool and opening the Pipette Options.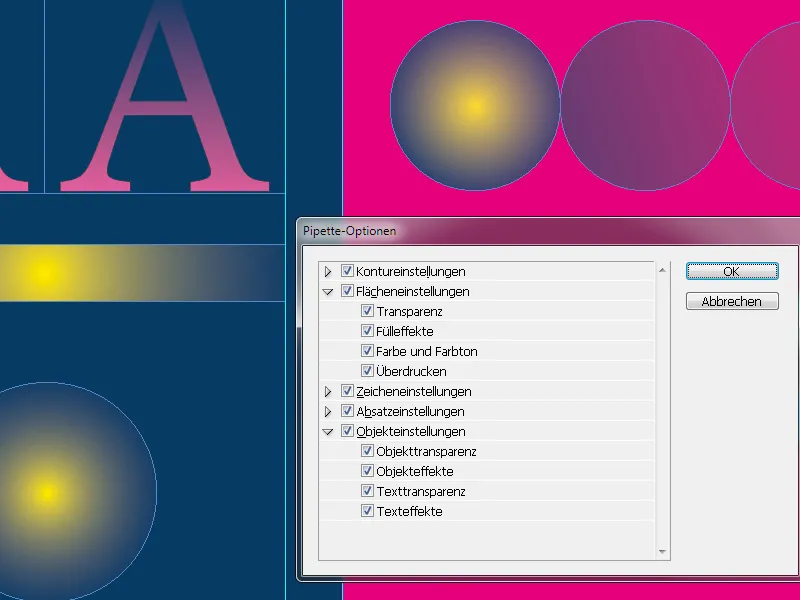
Here, all conceivable settings can be selected or deactivated for outlines, fillings, characters, paragraphs, and objects with the click of a Pipette Tool on an object, in order to then transfer them to another object.
A click on the small arrows in front of the categories opens the view into the depths of the myriad of setting options. Despite the overwhelming variety, the possibility to select certain options and deselect others is a brilliant help to only transfer specific properties when necessary. Perhaps you only want to give certain words in the text the color of another text, without changing further formats such as font style, size, or character formatoutline thickness and effects.
You can set all this very specifically here, but only if it is required. By default, all properties are initially activated and copied when clicking with the Pipette. The Pipette retains its filling until it is emptied again with a click in the tool bar or by pressing the I key.
So you can transfer properties to as many objects as you like with the filled Pipette. You can also copy text properties to others. To do this, first drag the Pipette over some source text and then mark the target text with the filled Pipette. By default, in addition to the color, all text and paragraph attributes are also transferred.
2. The Measuring Tool
With the Measuring Tool (Shortcut K), you can measure the distance between two points. The measured distance is displayed in the Info Panel. All measurements are calculated in the unit of measurement set in the Preferences.
After you measure an object with the Measuring Tool, the corresponding lines remain visible until you make another measurement or select another tool.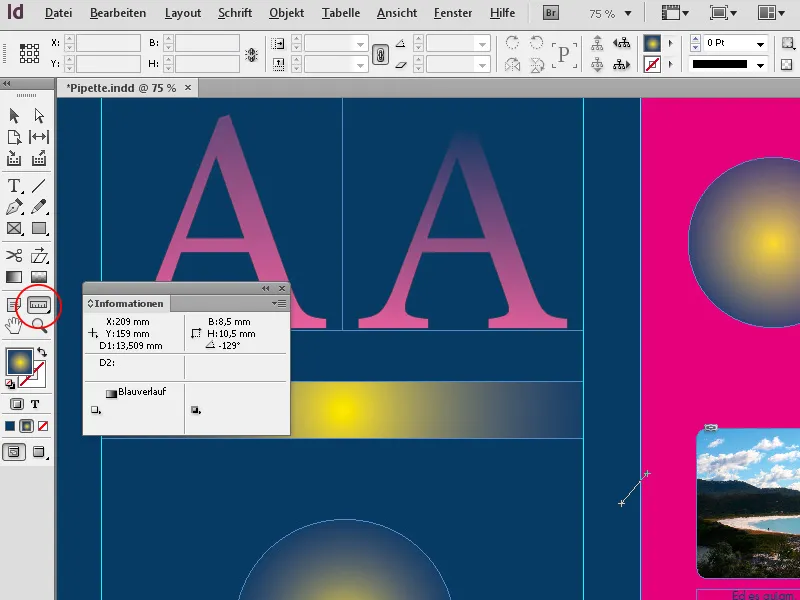
To measure the distance between two points, click at the starting point and move the mouse with the mouse button pressed to the target point. The Info Panel will display the X and Y coordinates, the length of the distance, and the angle. If you hold down the Shift key while dragging, the measuring line will run precisely vertically or horizontally.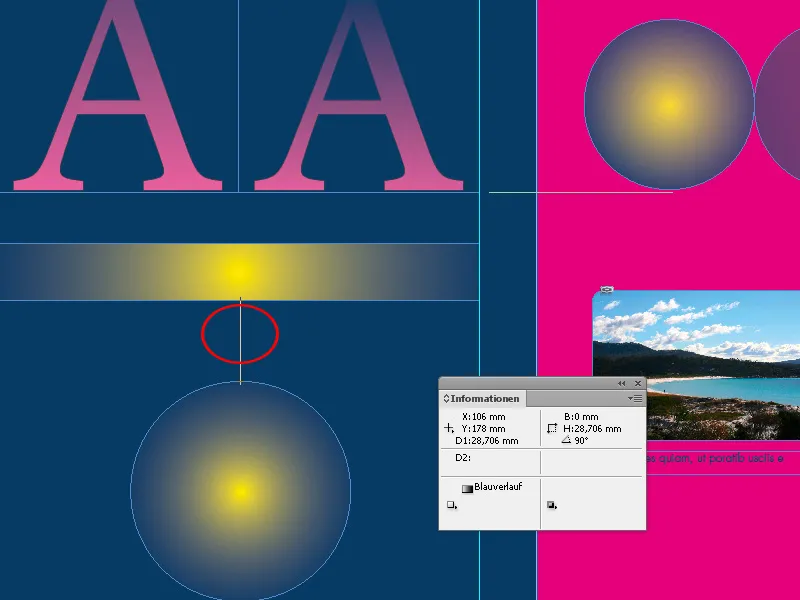
You can also measure the angle at which certain layout elements or graphic lines in images are aligned to position other objects in the same way and achieve a harmonious overall image.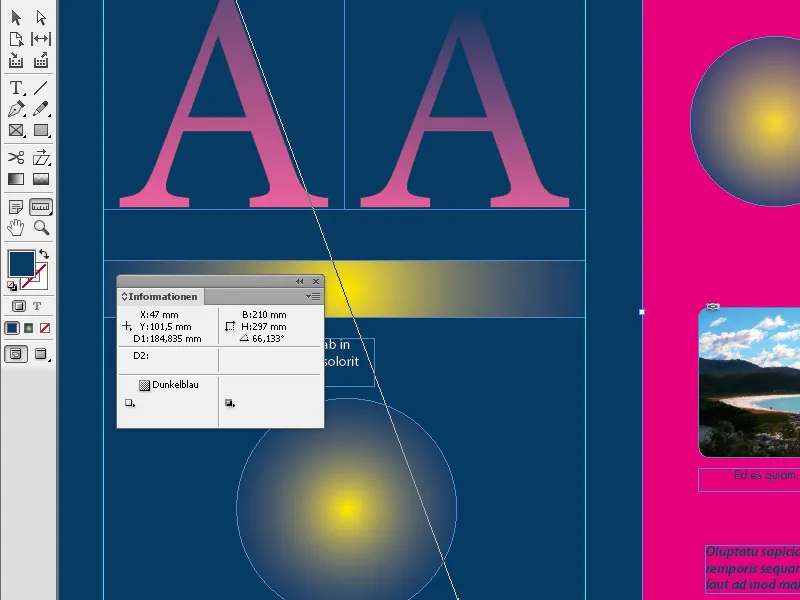
Indesign thankfully displays the relation to other objects on the printing sheet in the form of guidelines, which appear whenever the Measuring Tool reaches the edges or centers of neighboring objects. This facilitates the exact positioning of the tool.
You can also move a generated distance line to another position on the printing sheet with the mouse button held down to intuitively set the same distance for another object, for example.
If you drag with the mouse button pressed at one of the endpoints of the measurement line, you can measure an angle. InDesign continuously creates horizontal or vertical guidelines to establish the reference to neighboring objects. A measurement line positioned at an angle can then be moved to another position on the printing sheet with the mouse button held down to align other objects to it.


