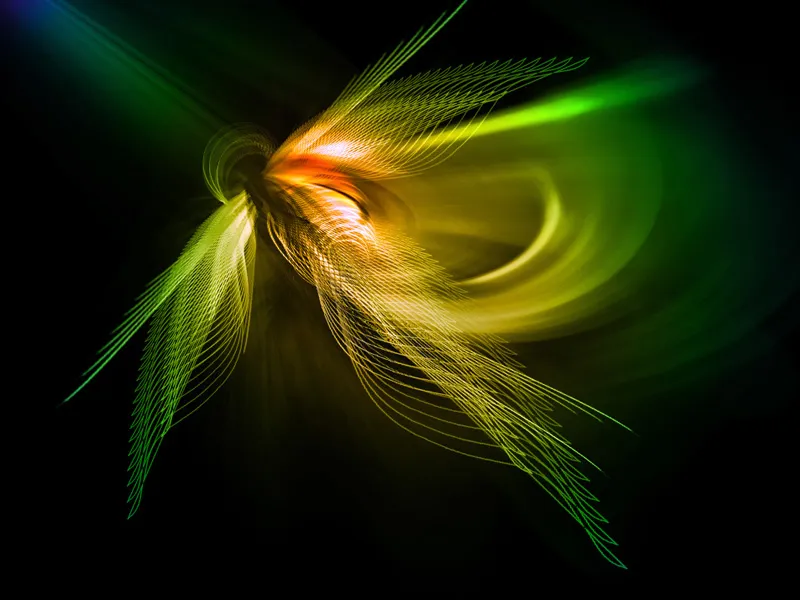
Who doesn't know the great Sinedots graphics, where lines twist and turn with each other and light up in great colors? Many assume that you need a rendering program from the 3D scene for this type of graphic. However, this is not the case, and Photoshop provides us with all the tools to create such graphics ourselves.
Step 1 - Creating a New File
First, we need a new file with dimensions of about 1200x1200 pixels to have enough space for our graphic. We color this background black.
Step 2 - Shape Creation
The effect consists of various shapes that shrink in size.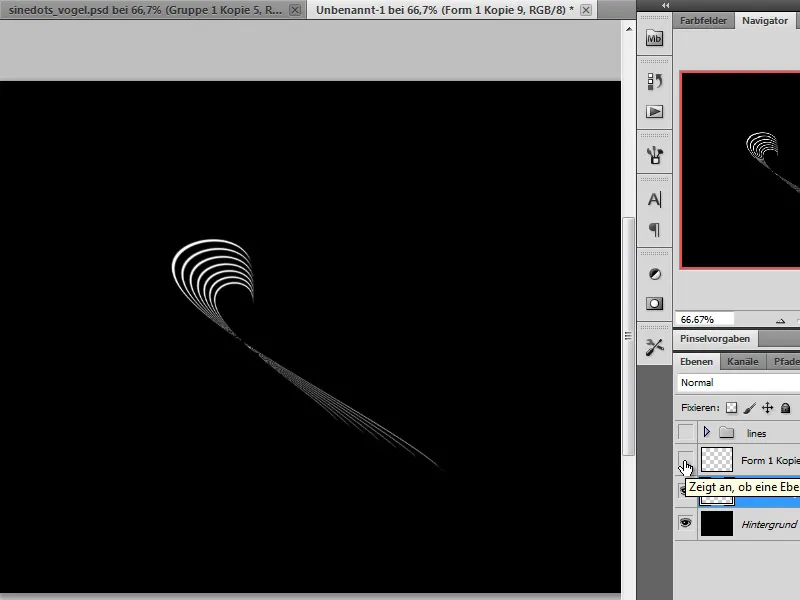
These shapes can be created quite easily. For this type of creation, I use an Action that I can run as many times as I want.
I need an empty layer and use the Pen Tool to create an initial shape. Alternatively, you can also use existing shapes from the shape gallery. With the Pen Tool, I draw a simple base shape or line.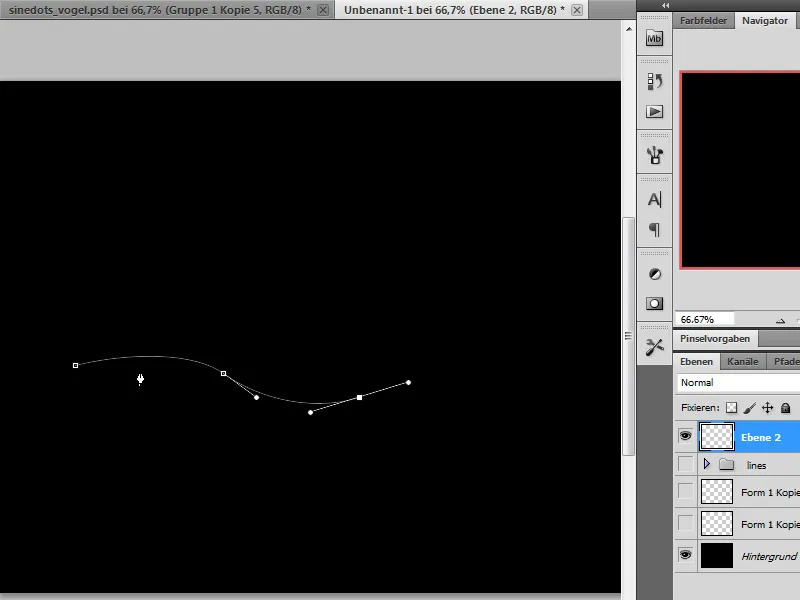
Next, in the Context Menu, I select the option Fill Path.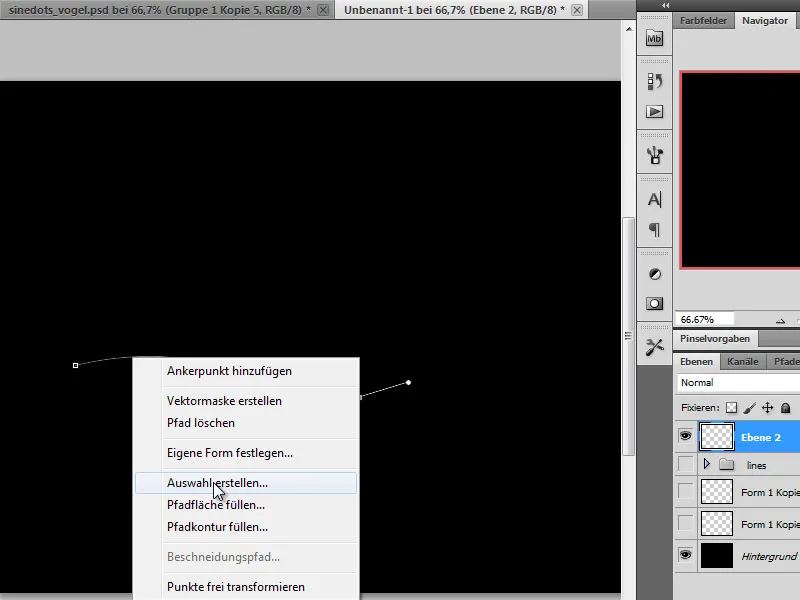
I leave the displayed option on Colored Pencil, Simulate Pressure. The Foreground Color should already be set to White beforehand.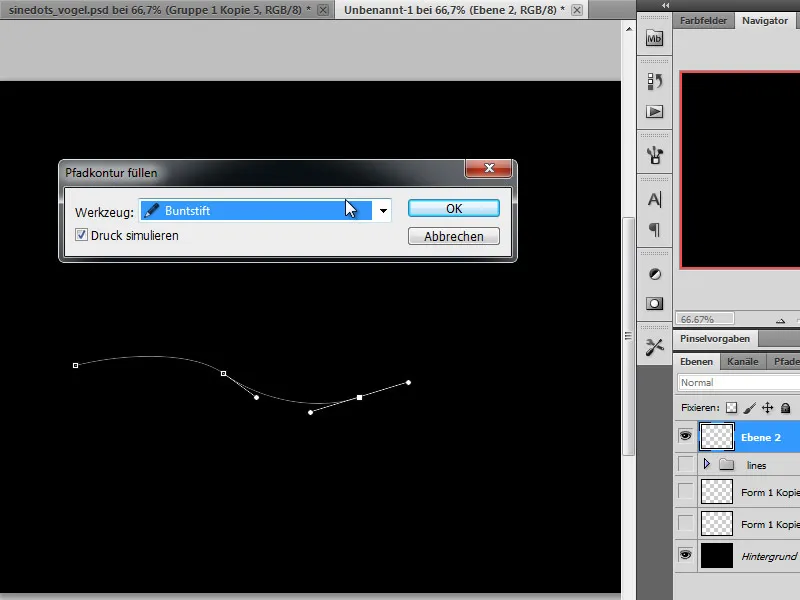
After filling this path, I can delete the Work Path found in the Paths section of the Layers Palette.
Step 3 - Creating an Action
For simple duplication, I need an Action that I can access through the Action window (F9). I create a New Action by clicking on the New icon next to the trash can.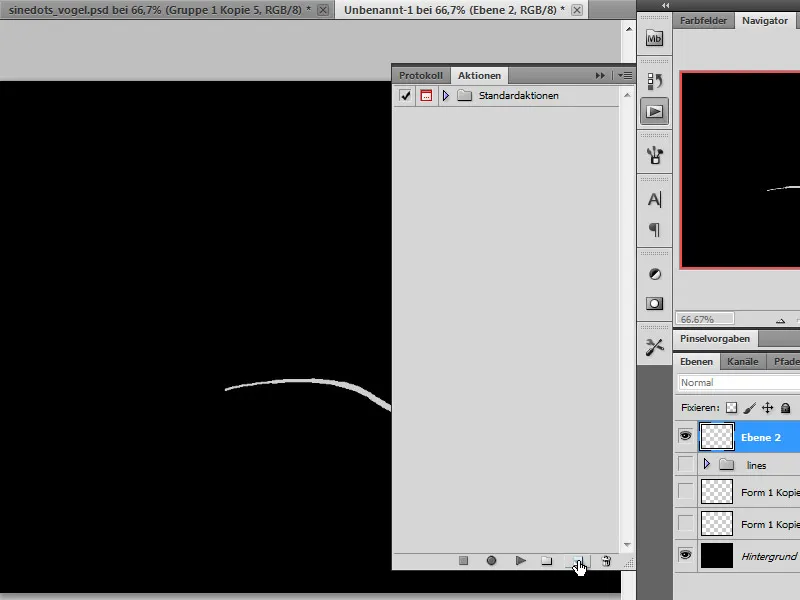
I can also add a name and a keyboard shortcut that I want to use to execute this Action.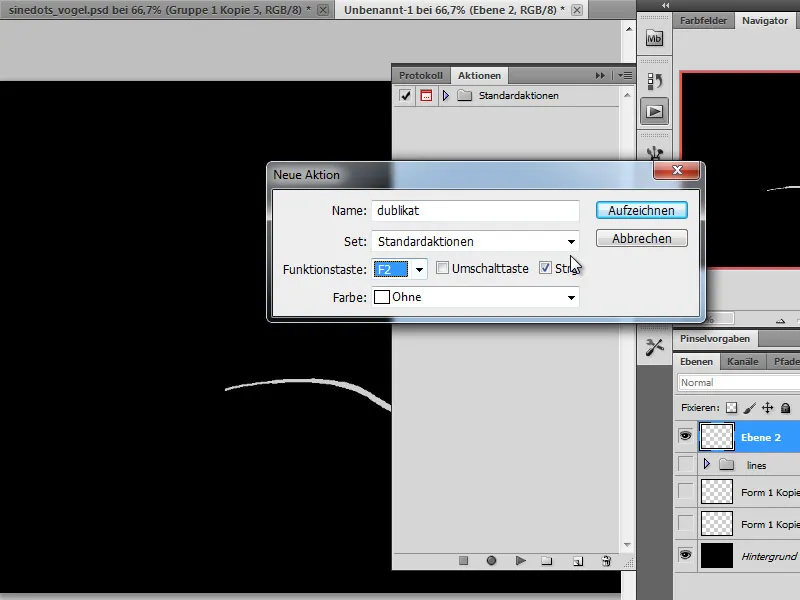
Clicking on Record will start recording immediately. There is no need to rush; all the steps I take now will be recorded.
First, I duplicate my layer using Ctrl+J. Then I scale this copied shape and rotate it with the center point moved. I place it either in one of the corners, the rotation center, or to the side so that the shape will rotate around it later.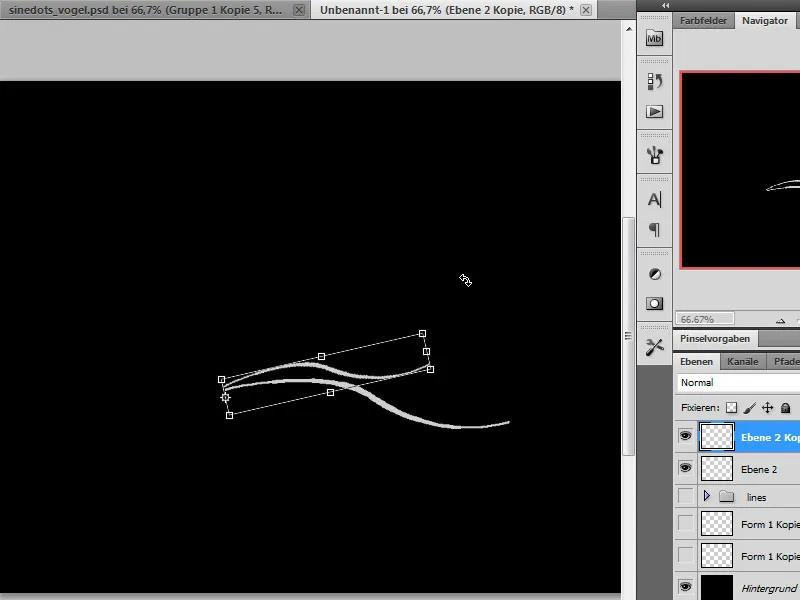
Once I am satisfied, I can stop the transformation, open my Action window, and stop the Action recording.
Step 4 - Applying the Action
Now I can already use the Action. However, I create a Layer Set where all line copies are gathered. Additionally, I use the Warp Tool to give my shape a new appearance.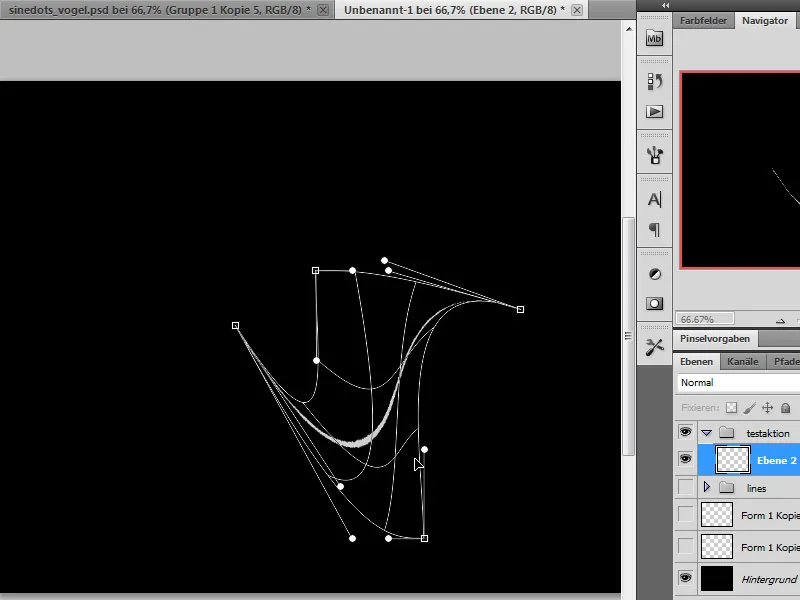
After reshaping my shape, I can call my recorded Action as often as I like using the designated keyboard shortcut. If the path components do not align as desired, you can always create a new Action. Simply try moving the rotation or scaling center. Some experimentation is required here. Alternatively, you can manually line up the path parts.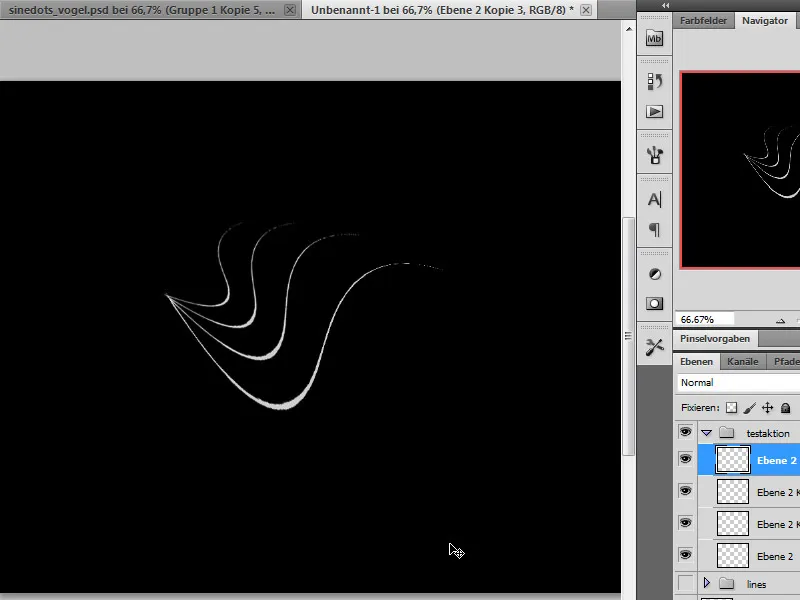
Step 5 - Arranging Shape Sets
Now it's time to combine the shapes, create figures, or make further edits.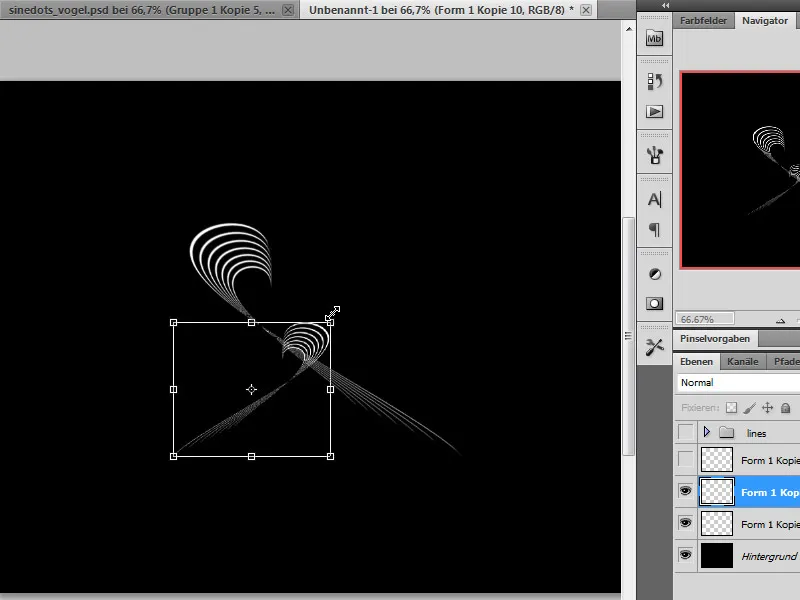
To do this, I repeatedly use the tools of Transformation Control for Scaling, Rotating, Distorting, etc. By duplicating layers, I can always go back to my original shape.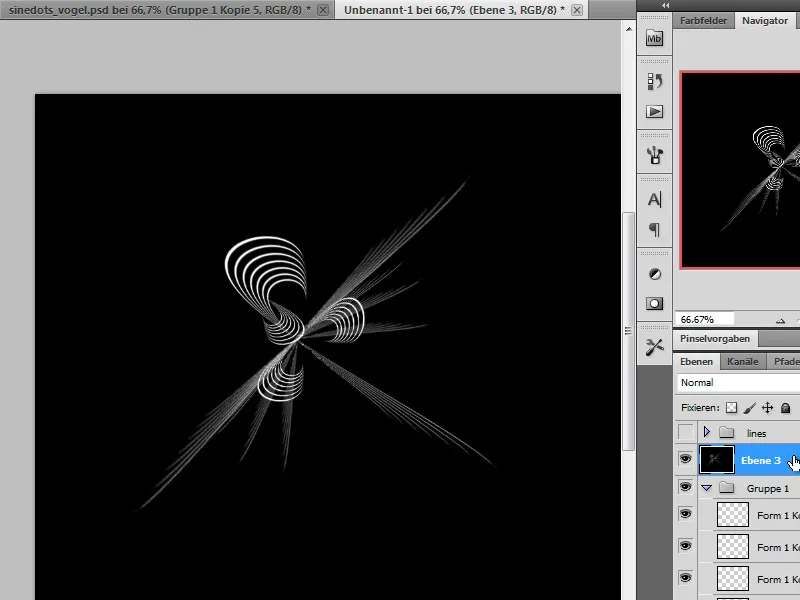
Step 6 - Grouping Shape Sets, Applying Effects
Over time, several beautiful shapes accumulate, which can be used for deeper image editing through further processing. For example, I merge all visible layers into a new layer using Ctrl+Alt+Shift+E and apply the Polar Coordinates distortion filter.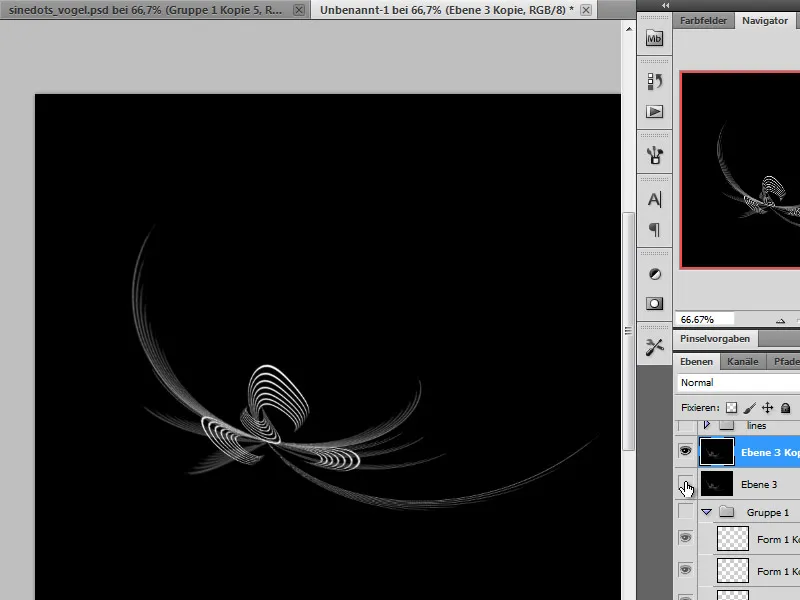
I can also duplicate this edited layer and apply the Polar Coordinates filter again to add more curvature.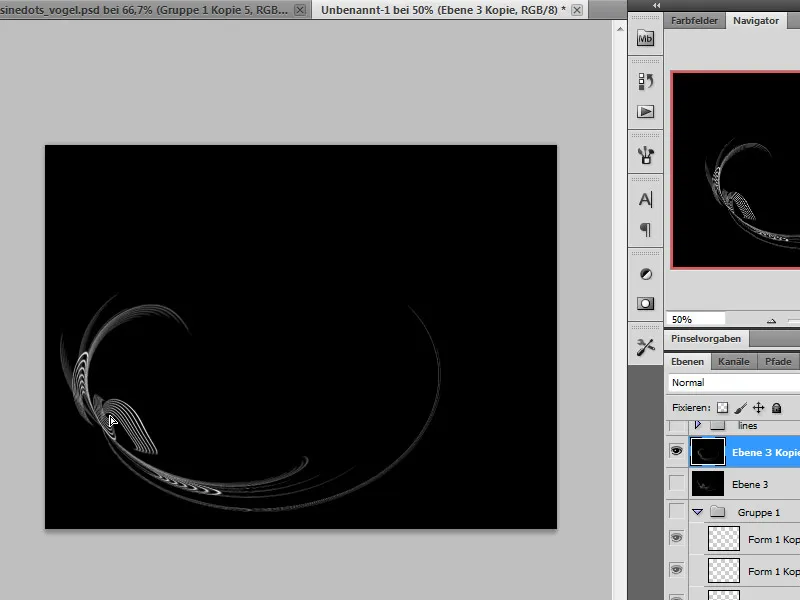
Now it's up to each individual how they want to use these effects. For my editing, I also called up the blur filter Radial Blur and applied it in a radial pattern at 100 percent strength and very good quality.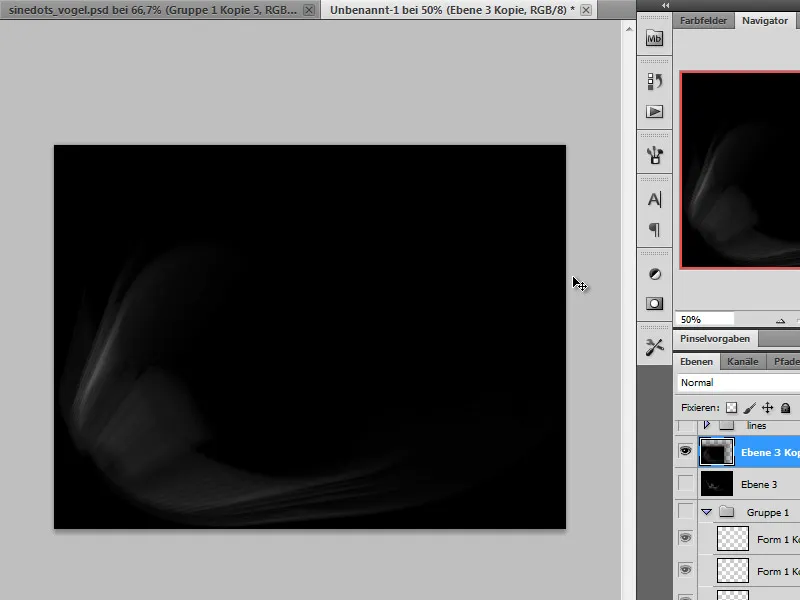
Step 7 - Bringing color into play with adjustment layers
Currently, we only have white or grey shapes, which don't look particularly exciting yet. That's why I will apply an adjustment layer Gradient to the folder containing the shapes in order to colorize them. After determining a gradient, I set the layer's mode to color.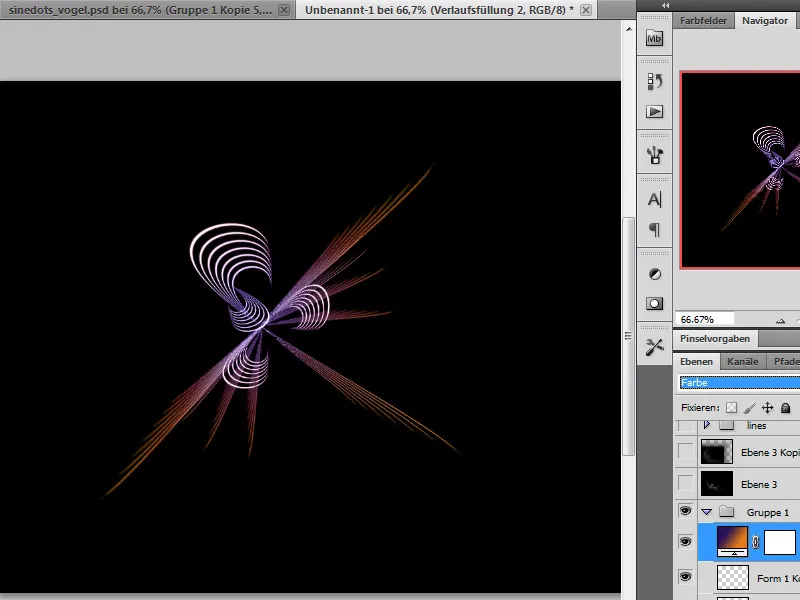
I also use these techniques to give the shape more wing area. I use the blurred polar coordinates layer and shape it into a wing part, which I also colorize. However, in order for this color to only affect this shape, I link the adjustment layer to the underlying shape layer by clicking on the dividing line in the layer palette while holding down the Alt key.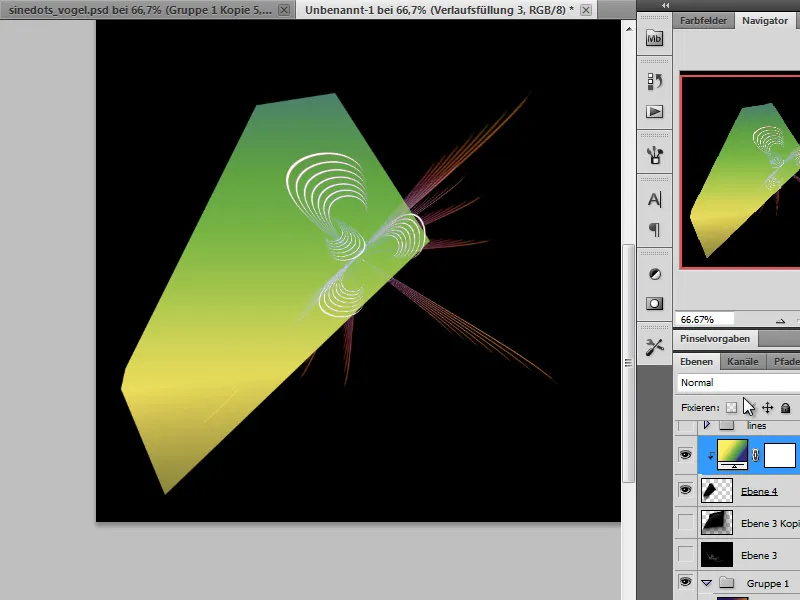
The gradient layer mode is set to divide.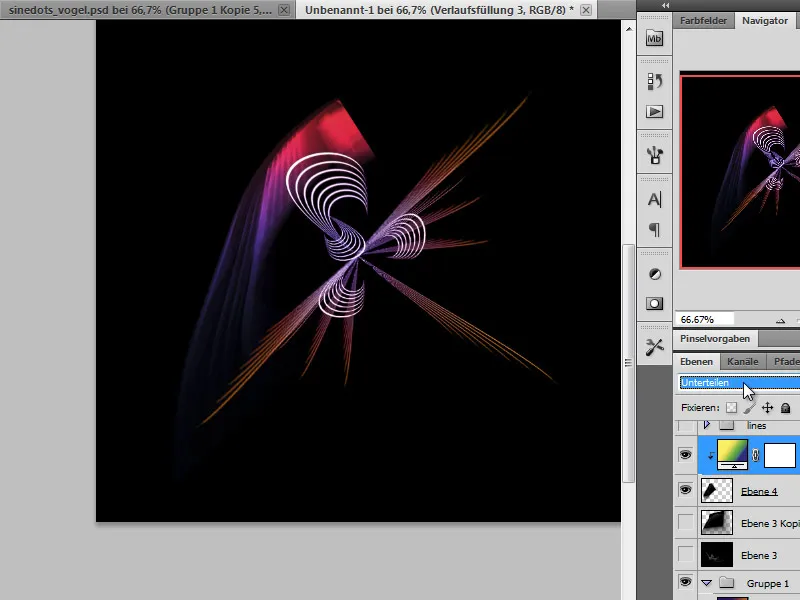
Step 8 - Building shapes
In essence, the essential editing steps have already been mentioned. It's up to each individual to decide which colors and shapes to combine. I will now show the further construction of the image excerpted.
• Polar coordinates applied to the overall shape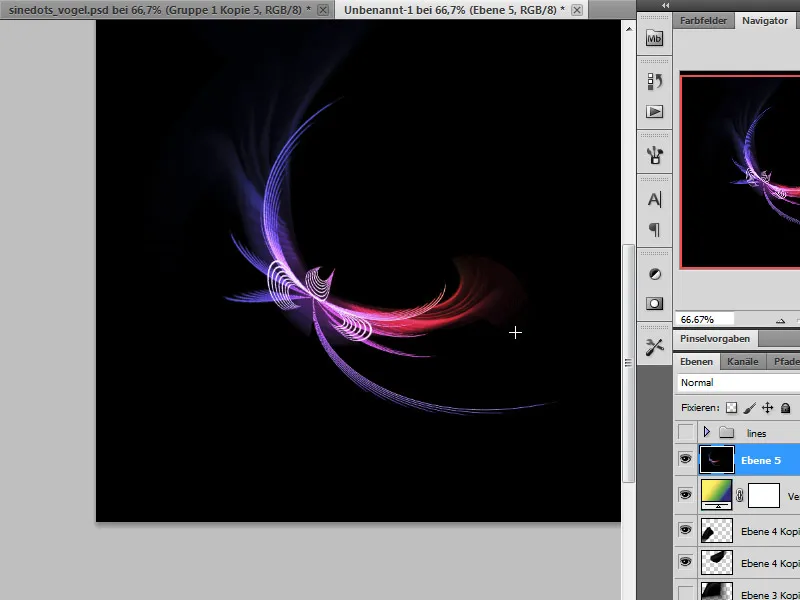
• Blur and move down in the layer stack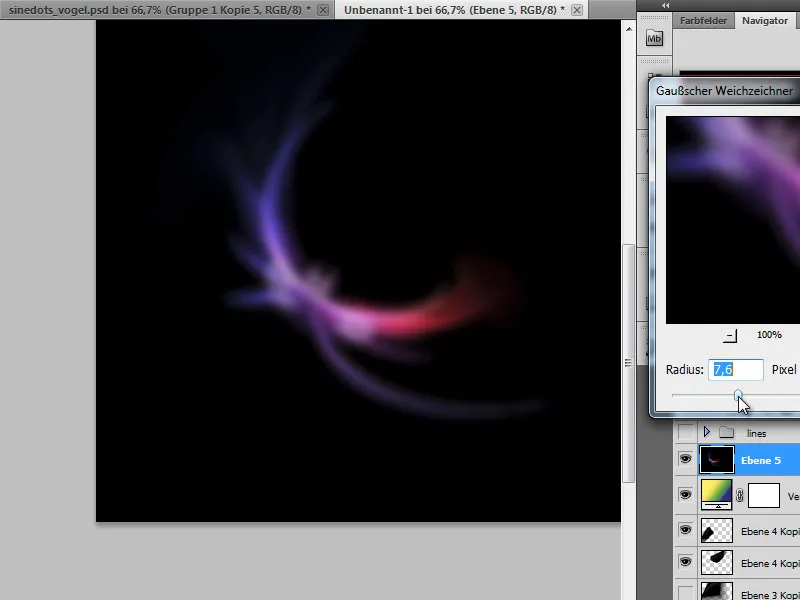
• Adjustment layer Gradient - mode change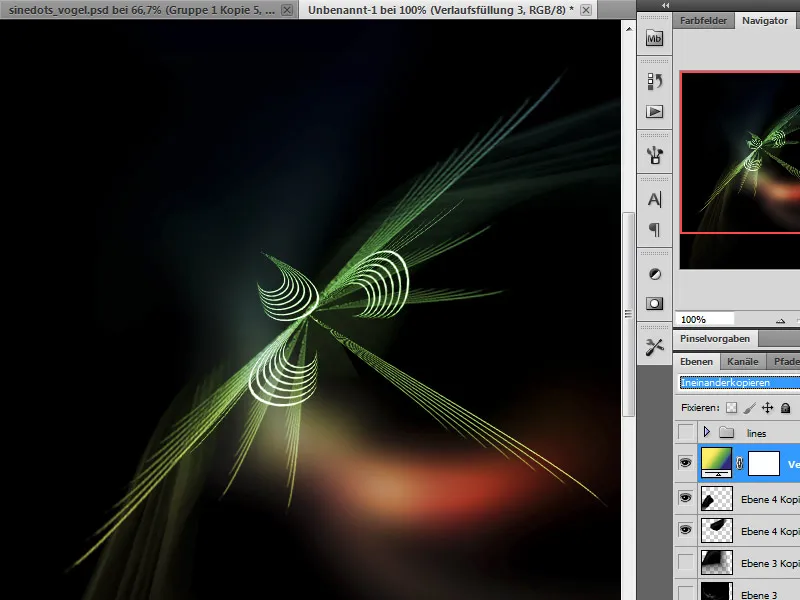
• Lines (create new shapes, color, append)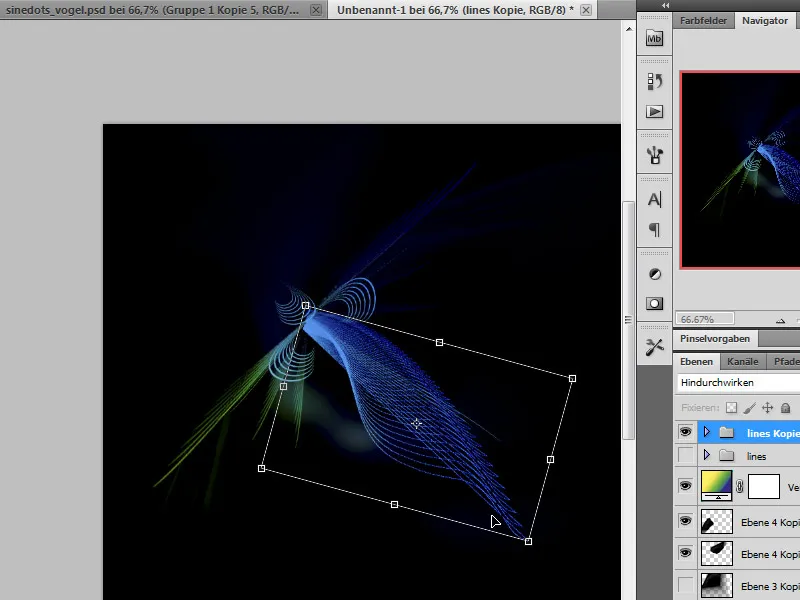
• Create a gradient and merge shape and gradient layer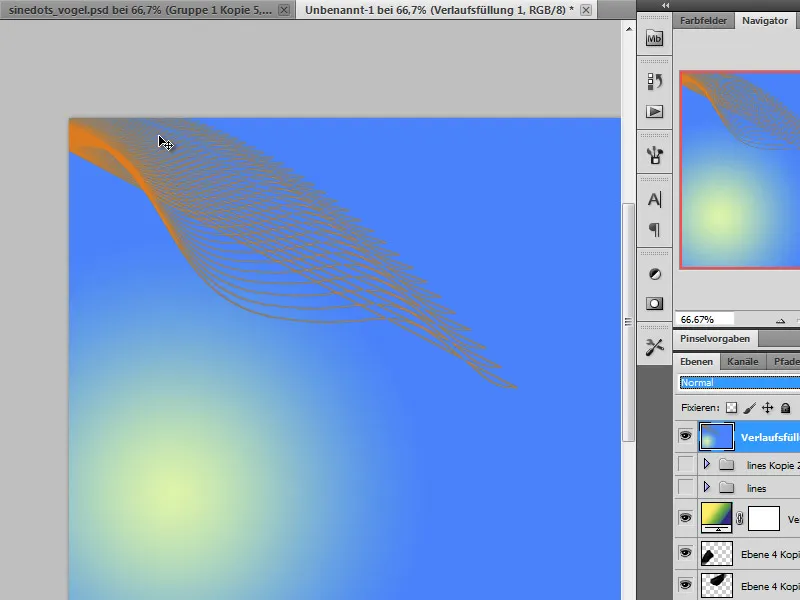
• Finally, blur the gradient, copy and paste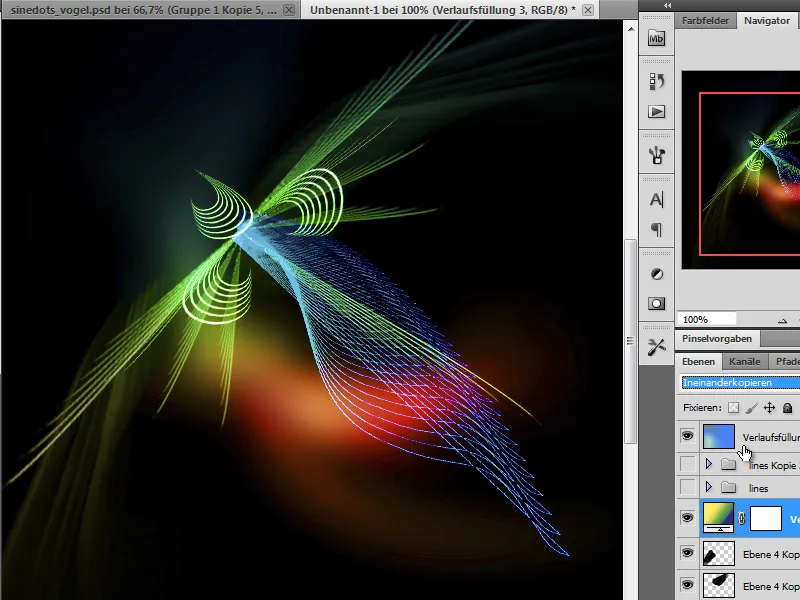
Finally, here's another example: