Editing MIDI Velocity is a key skill in music production that allows you to optimize the dynamics and expressiveness of your MIDI compositions. In this tutorial, I will show you how to effectively adjust the attack strength of your MIDI recordings in Logic Pro X. Use this technique to breathe more life into your sounds and captivate the listener.
Key Takeaways
- The attack strength (Velocity) affects the volume and expression of your MIDI notes.
- Dynamics in Logic Pro X are visually represented by colors, allowing for an easy distinction between soft and loud notes.
- With the Velocity tool, you can adjust the attack strength both individually and for multiple notes simultaneously.
Step-by-Step Guide
To change the attack strength of your MIDI notes, follow these steps:
1. Open MIDI Region and Display Piano Roll
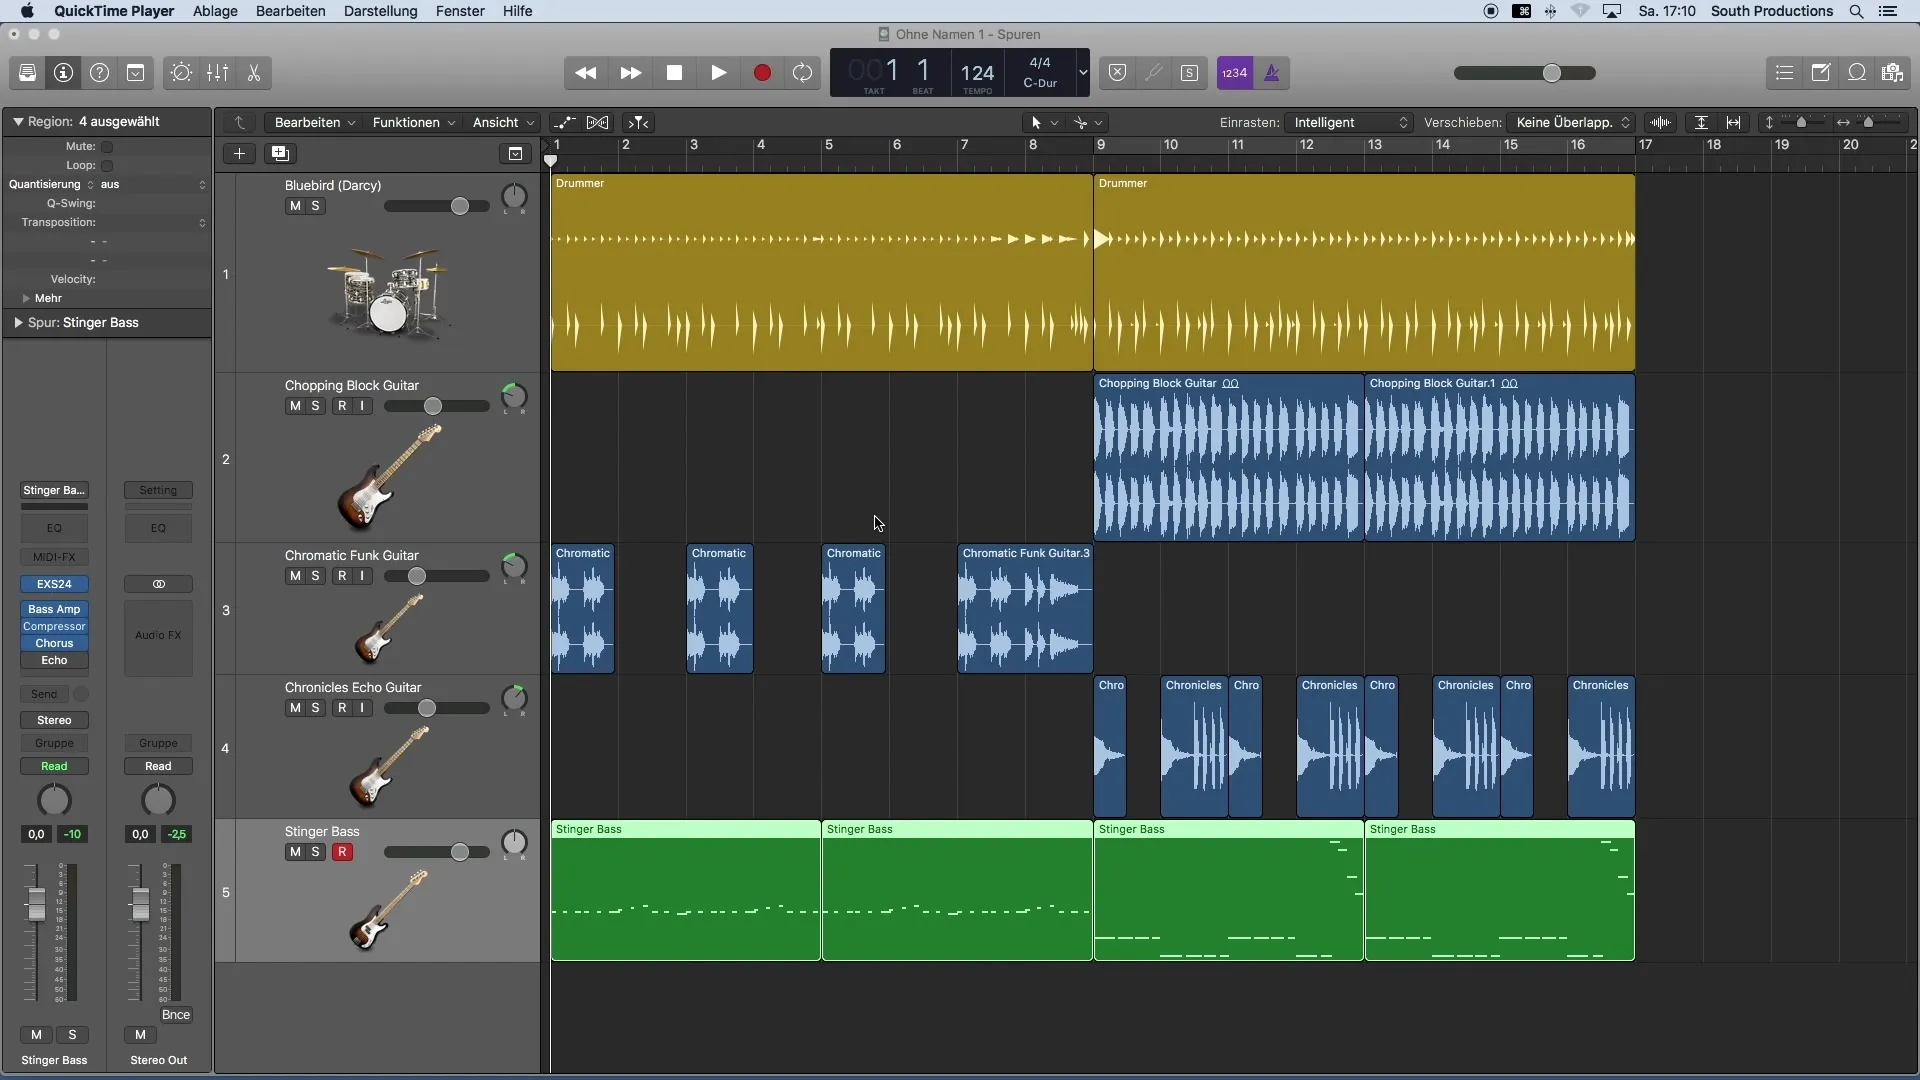
First, you need to open the MIDI region you want to edit. Click on the desired MIDI track in your project. Once there, open the Piano Roll. Use the corresponding option in the menu or press the shortcut to quickly access the Piano Roll.
2. Analyze the Dynamics of MIDI Notes
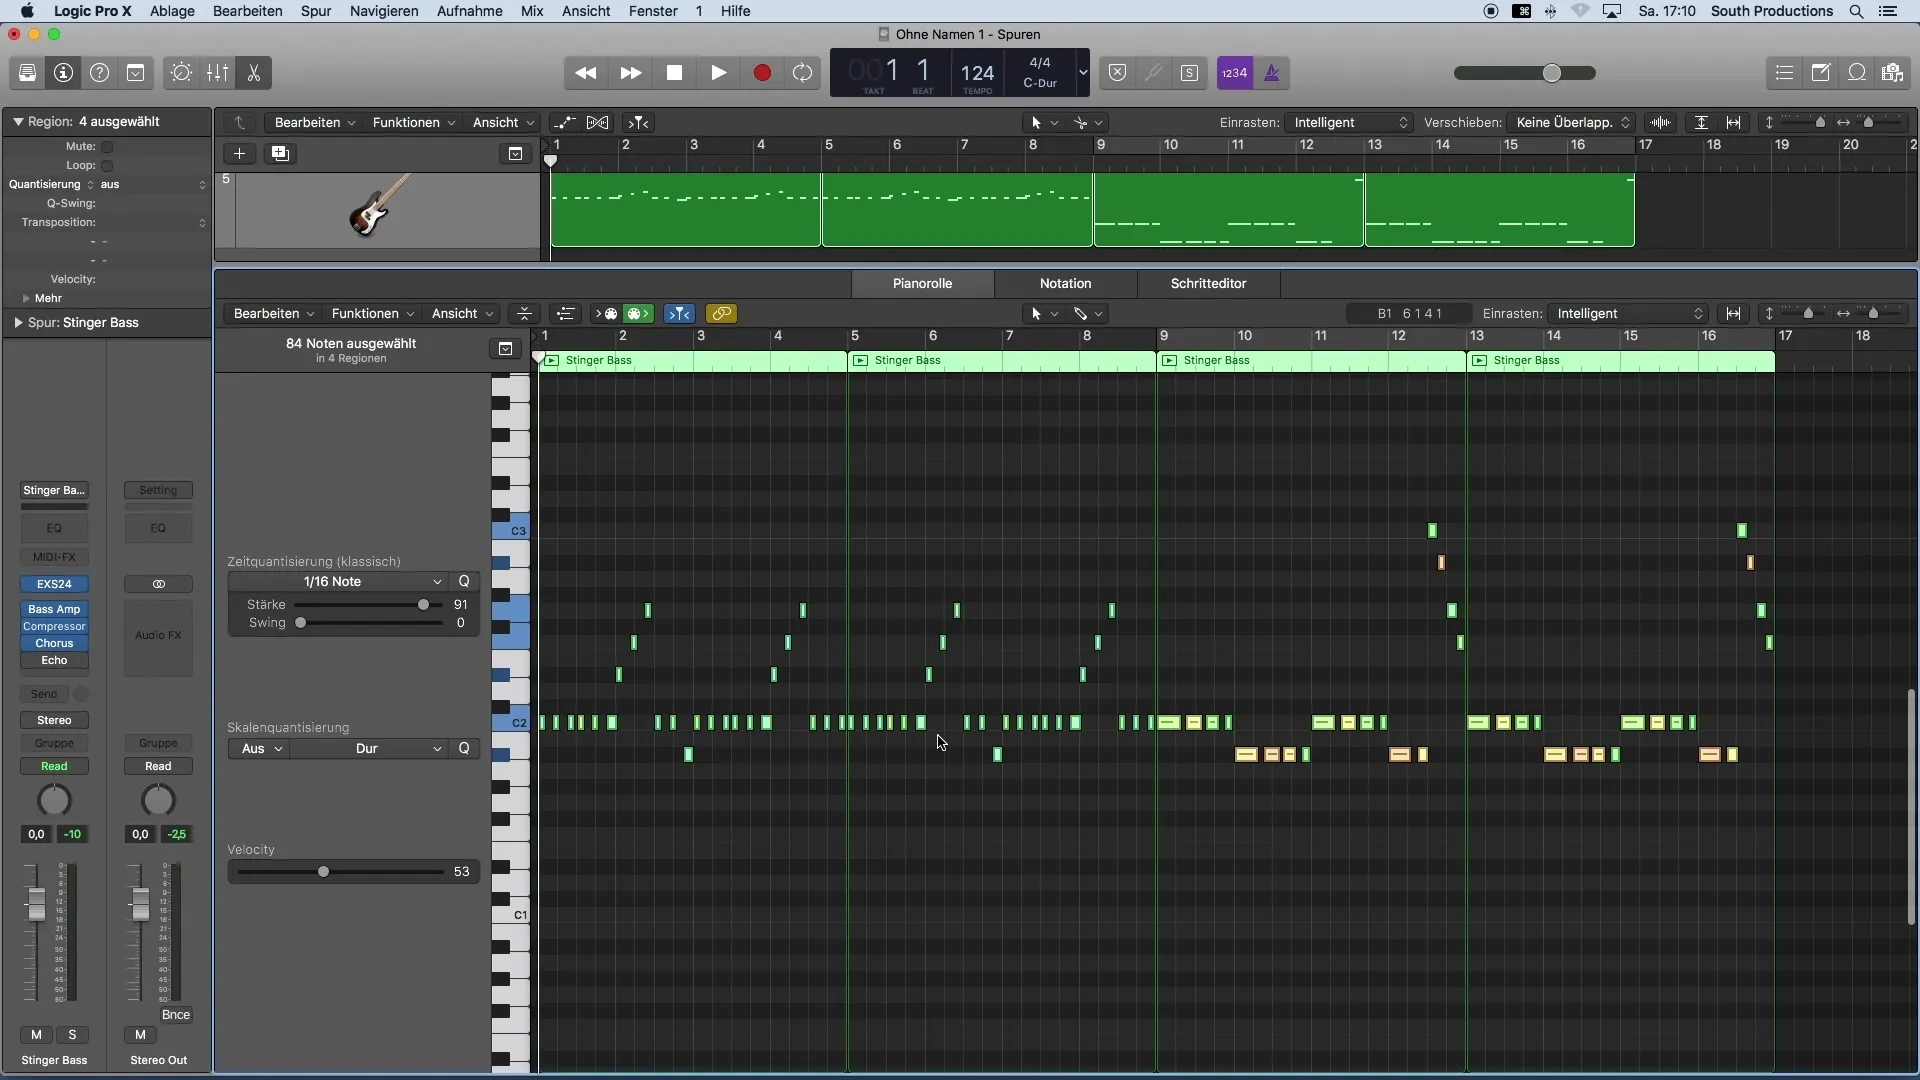
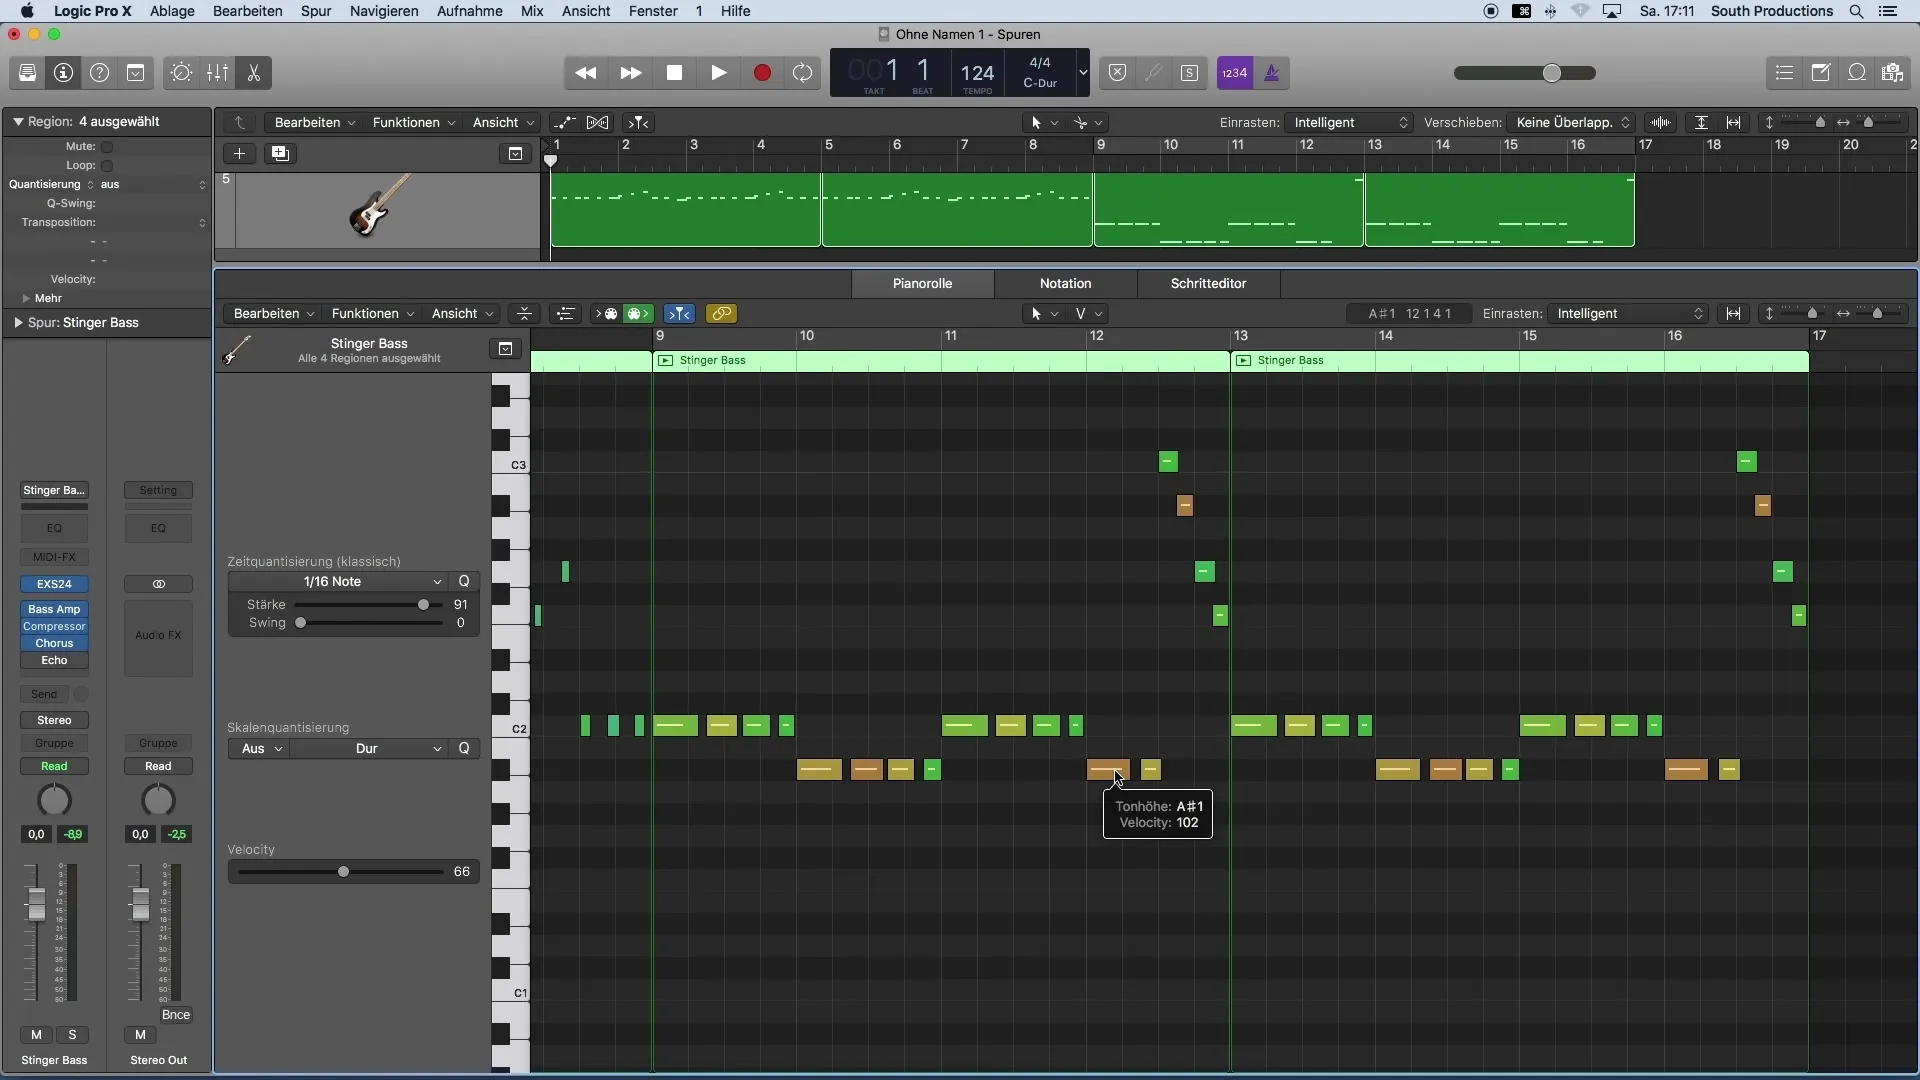
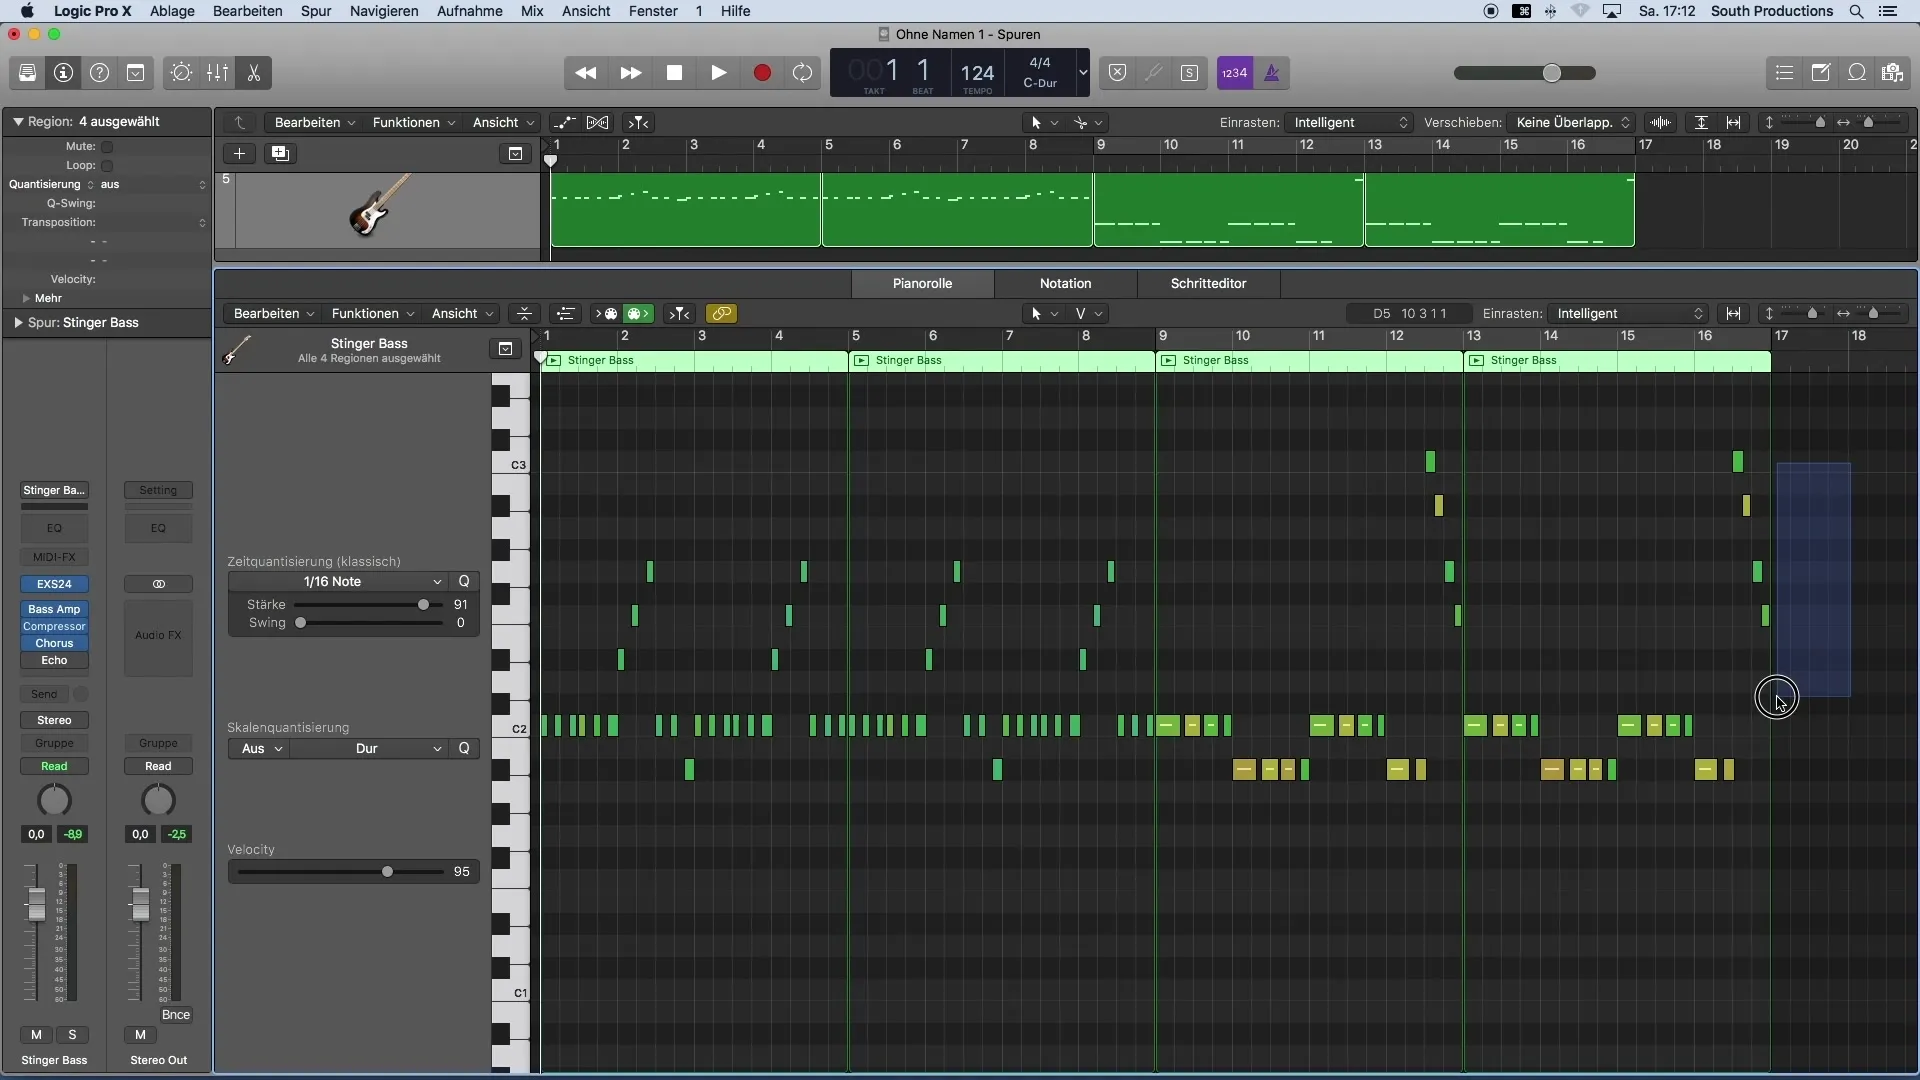
In the Piano Roll, you can directly assess the dynamics of your MIDI notes. The colors of the notes are helpful here: blue notes represent soft tones, while red notes indicate louder attacks. Yellow and green notes represent intermediate values. This visual representation helps you quickly grasp the dynamics at a glance.
3. Select the Velocity Tool
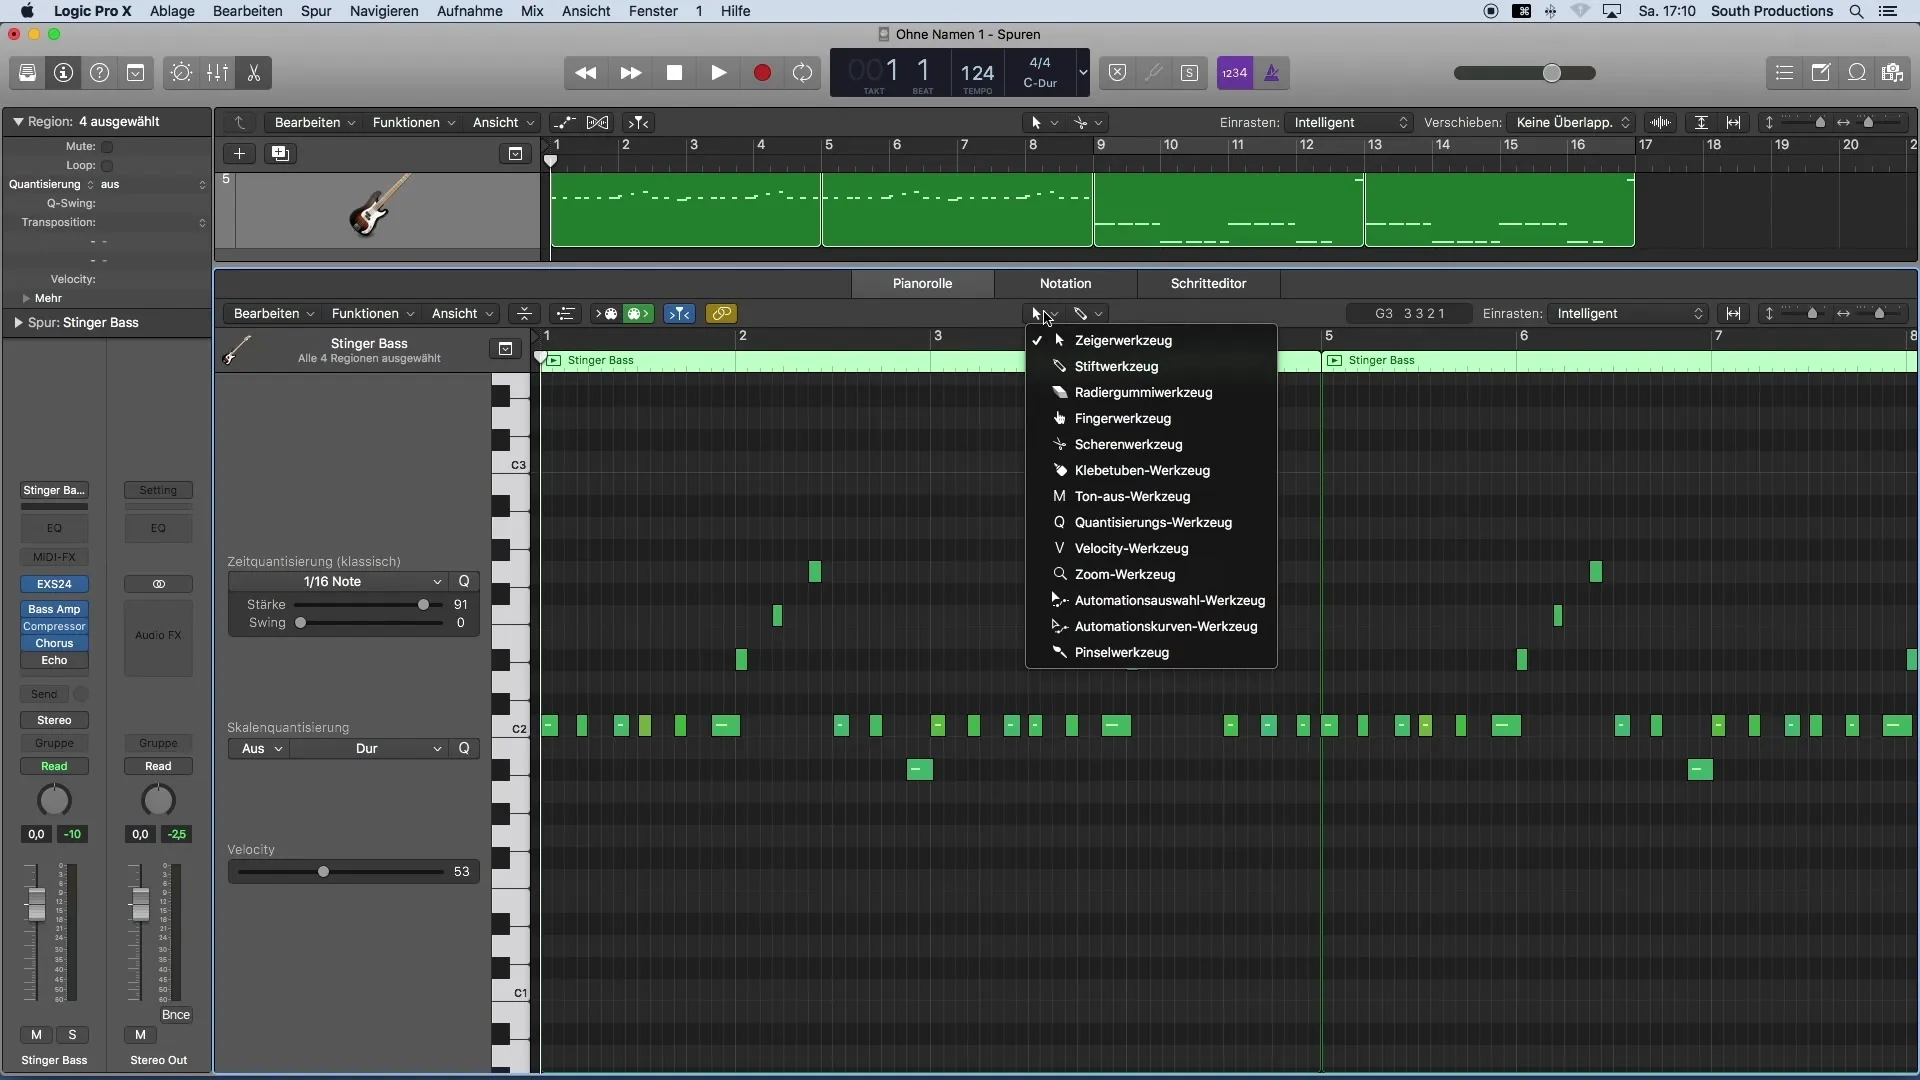
To adjust the attack strength of a note, you need the Velocity tool. You can find it in your toolbox, or you can make it available as a secondary tool. To do this, hold down the "Command" key and click on the tool to display it.
4. Adjust Velocity of a Specific Note
Now that you have selected the Velocity tool, click on the MIDI note whose attack strength you want to adjust. You can increase or decrease the Velocity up to 127. This adjustment allows you to control the technical dynamics within your recorded track.
5. Adjusting Multiple Notes
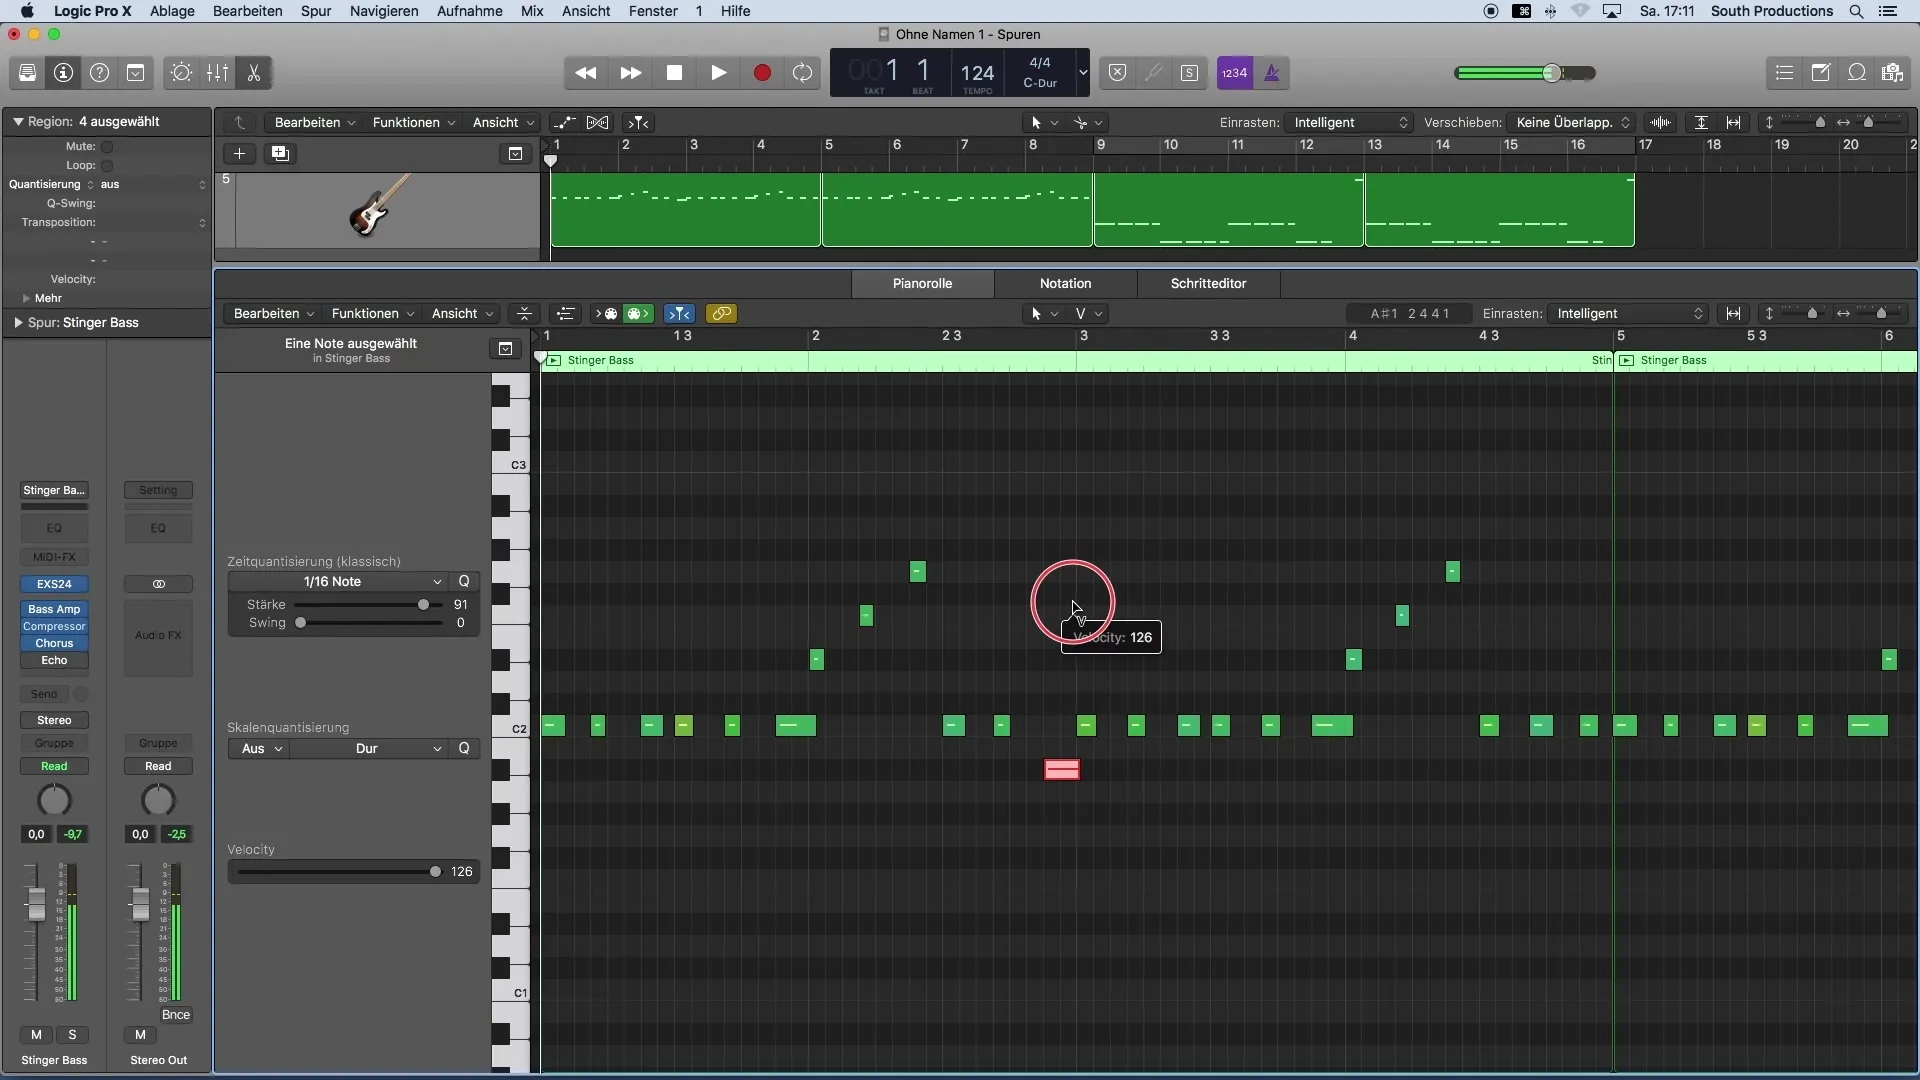
If you want to adjust all notes with a specific Velocity simultaneously, select the corresponding notes by pressing "Shift" and clicking on the desired notes. You can also uniformly adjust the Velocity of a group of notes by simply using the Velocity tool to change the volume of one of these notes.
6. Fine-Tuning the Velocity
When adjusting the Velocity, you can work precisely. For example, if you want to slightly lower all notes with a Velocity of 102, select them and adjust the volume to achieve a harmonious sound. Using this technique will ensure that the overall dynamics of the arrangement remain coherent.
7. Review and Fine-Tune
Once you have made all the adjustments, replay the MIDI region to ensure that the changes sound as desired. Listen carefully and further refine your adjustments if necessary. This review ensures that your piece remains lively and engaging.
Summary
Adjusting MIDI Velocity in Logic Pro X is crucial for the dynamics and expressiveness of your music. By utilizing the colors in the Piano Roll and handling the Velocity tool, you can optimize the attack strength of your notes individually or simultaneously. Experiment with the dynamics and find the perfect balance to bring your musical ideas to life.


