Translating the musical implementation of your ideas can sometimes be challenging, especially when it comes to exact timing accuracy. If you're not quite in sync when playing a MIDI instrument, it can affect the quality of your music. This is where the concept of Quantization comes into play. In this guide, you will learn how to quickly and easily bring your MIDI recordings into the correct rhythm through quantization. This not only saves your nerves but also improves the overall sound of your productions.
Key Takeaways
- Quantization helps you bring inaccurate MIDI notes into the grid.
- The Piano Roll in Logic Pro X is the tool with which you can visualize and edit MIDI data.
- Various grid sizes like eighth or sixteenth notes can be used depending on how you play.
- You can also adjust the strength of quantization to give your recordings a more natural groove.
Step-by-Step Guide
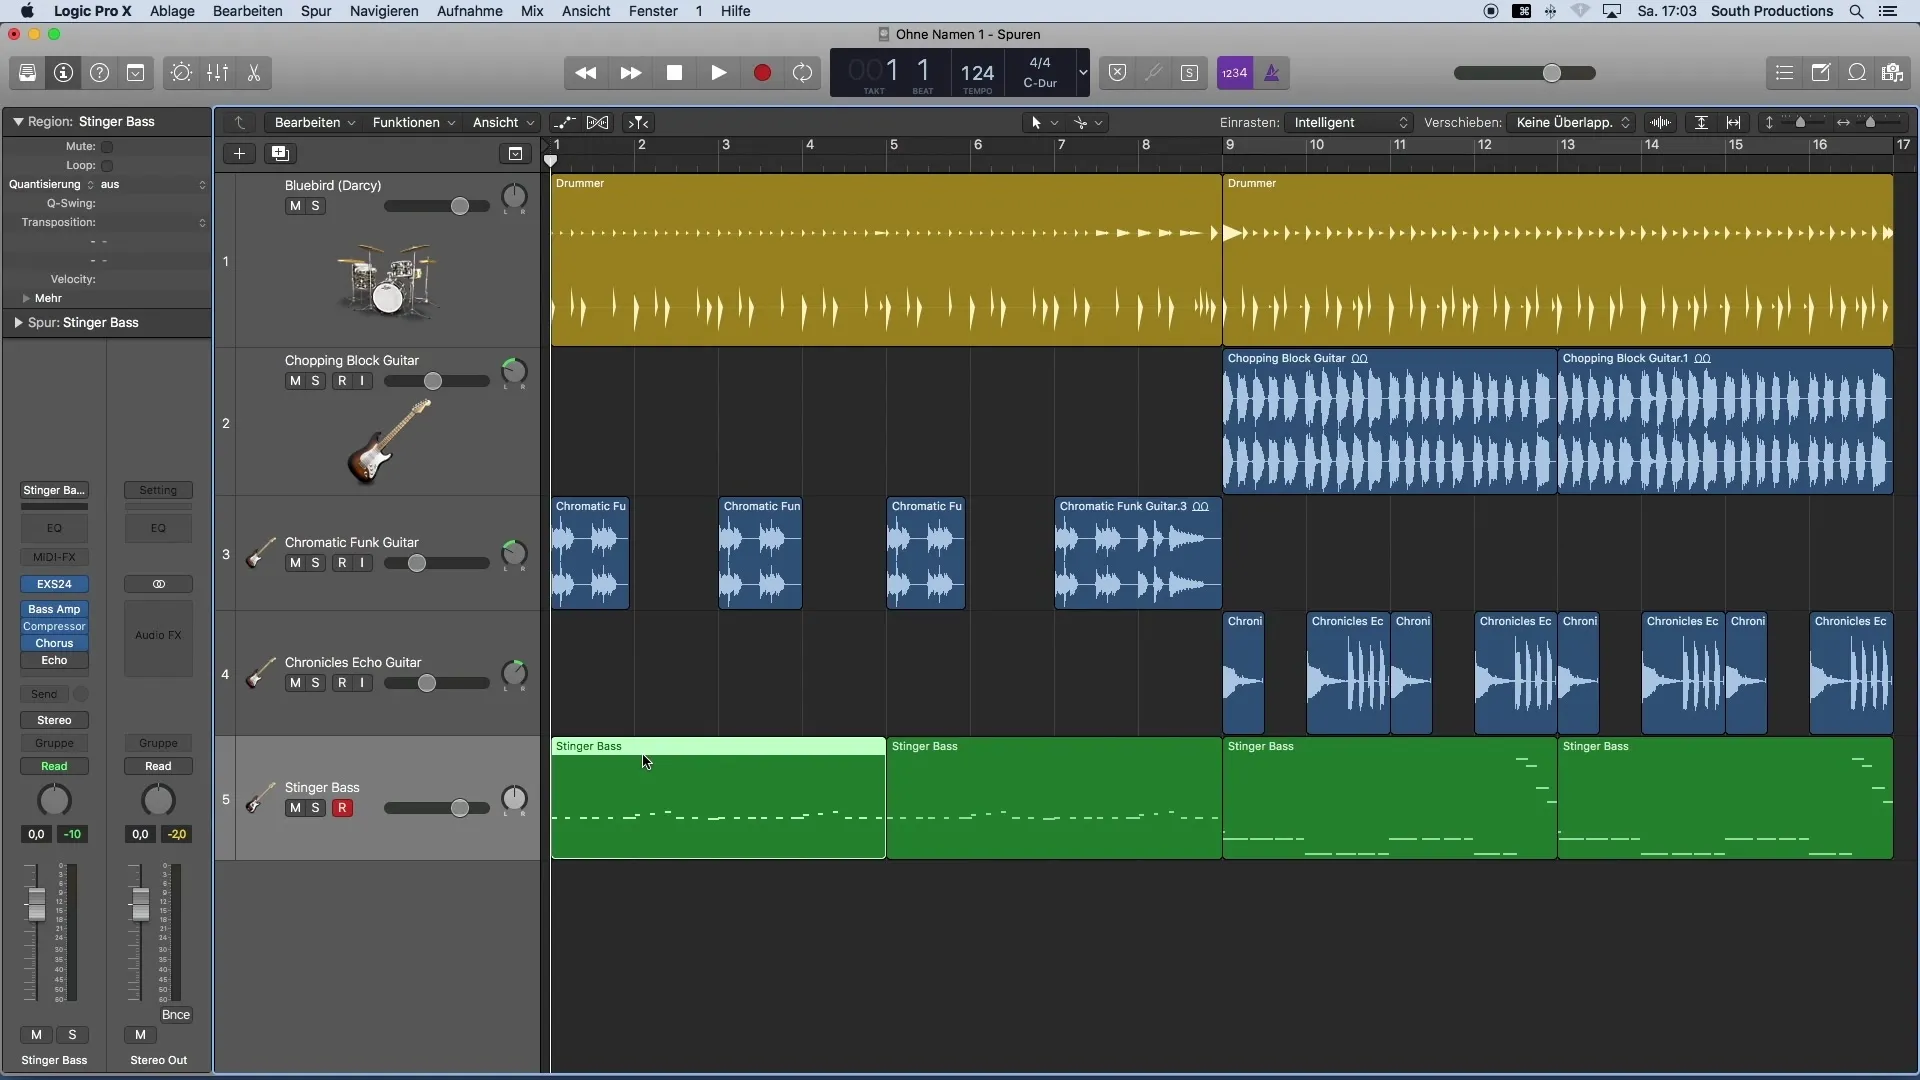
1. Open the Piano Roll
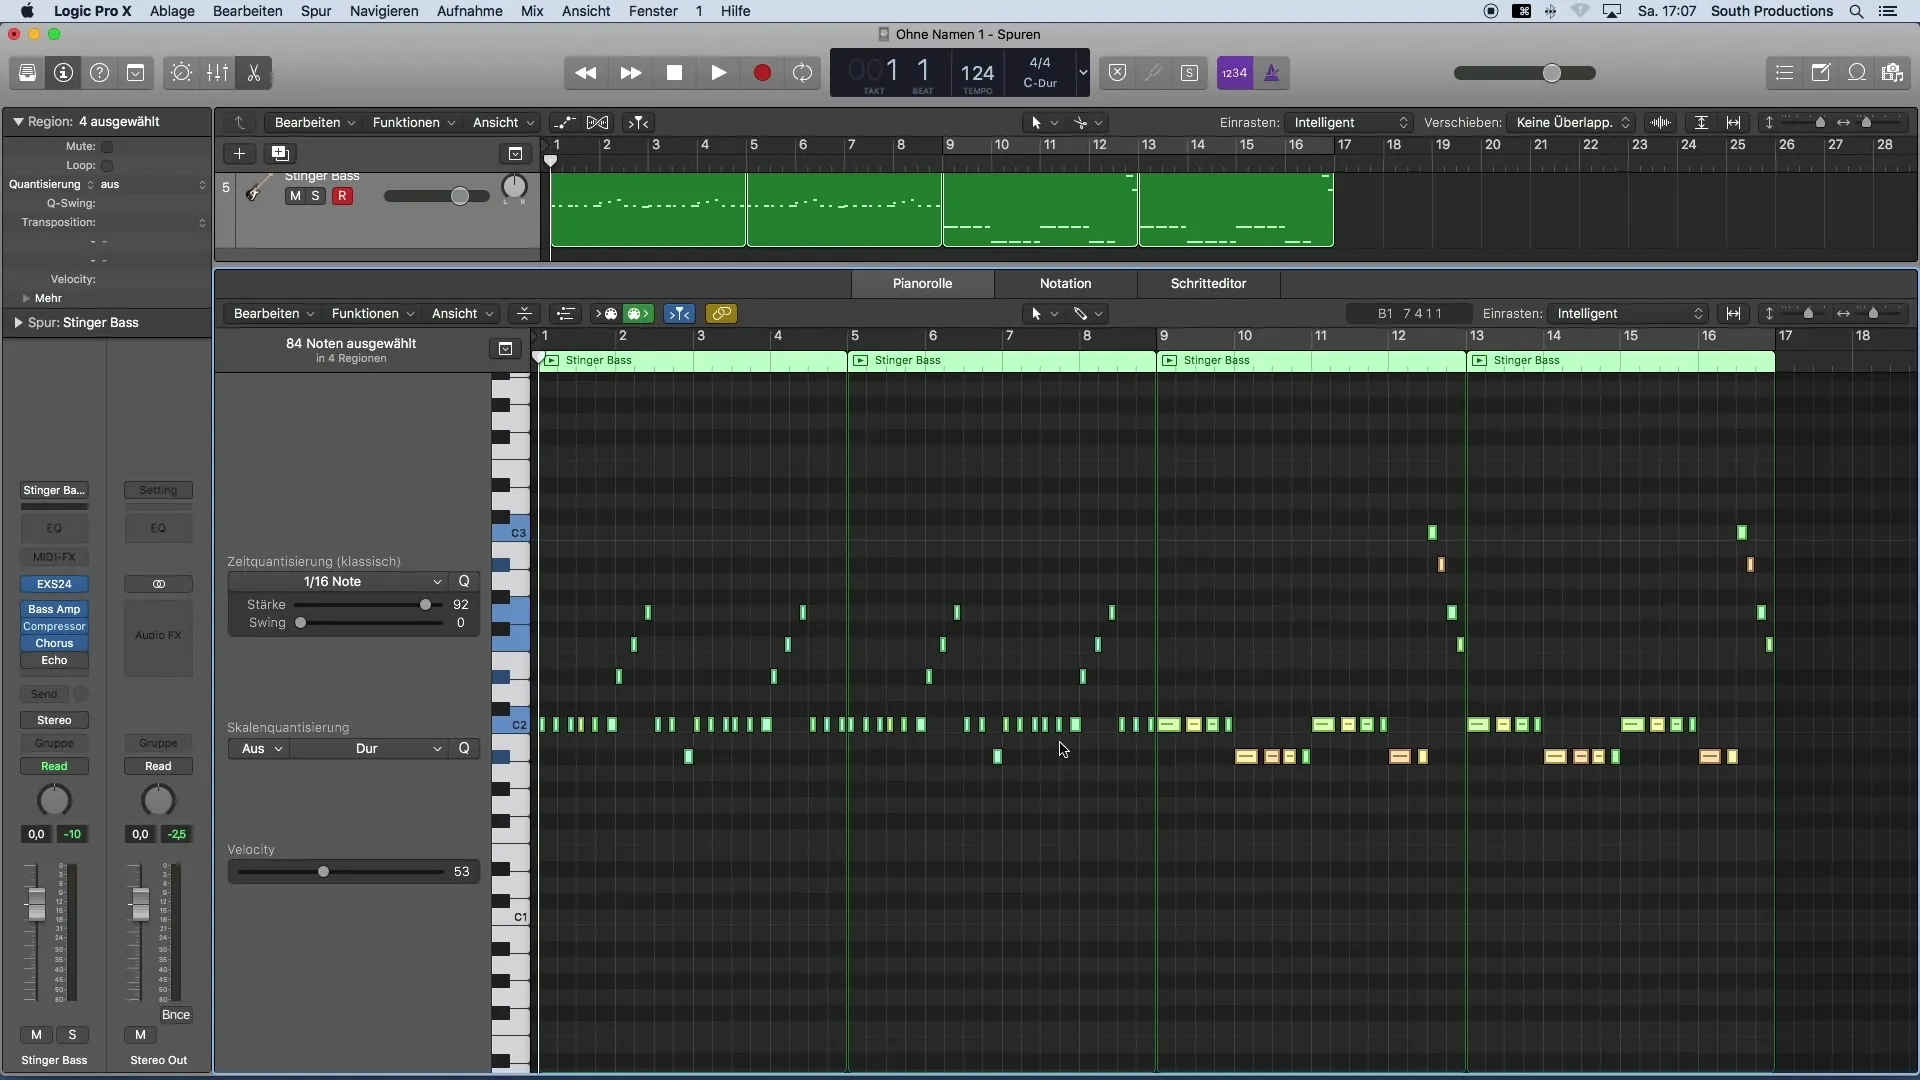
To start with quantization, you need to open the Piano Roll. You can do this easily by double-clicking the corresponding MIDI region or pressing the "P" key on your keyboard.
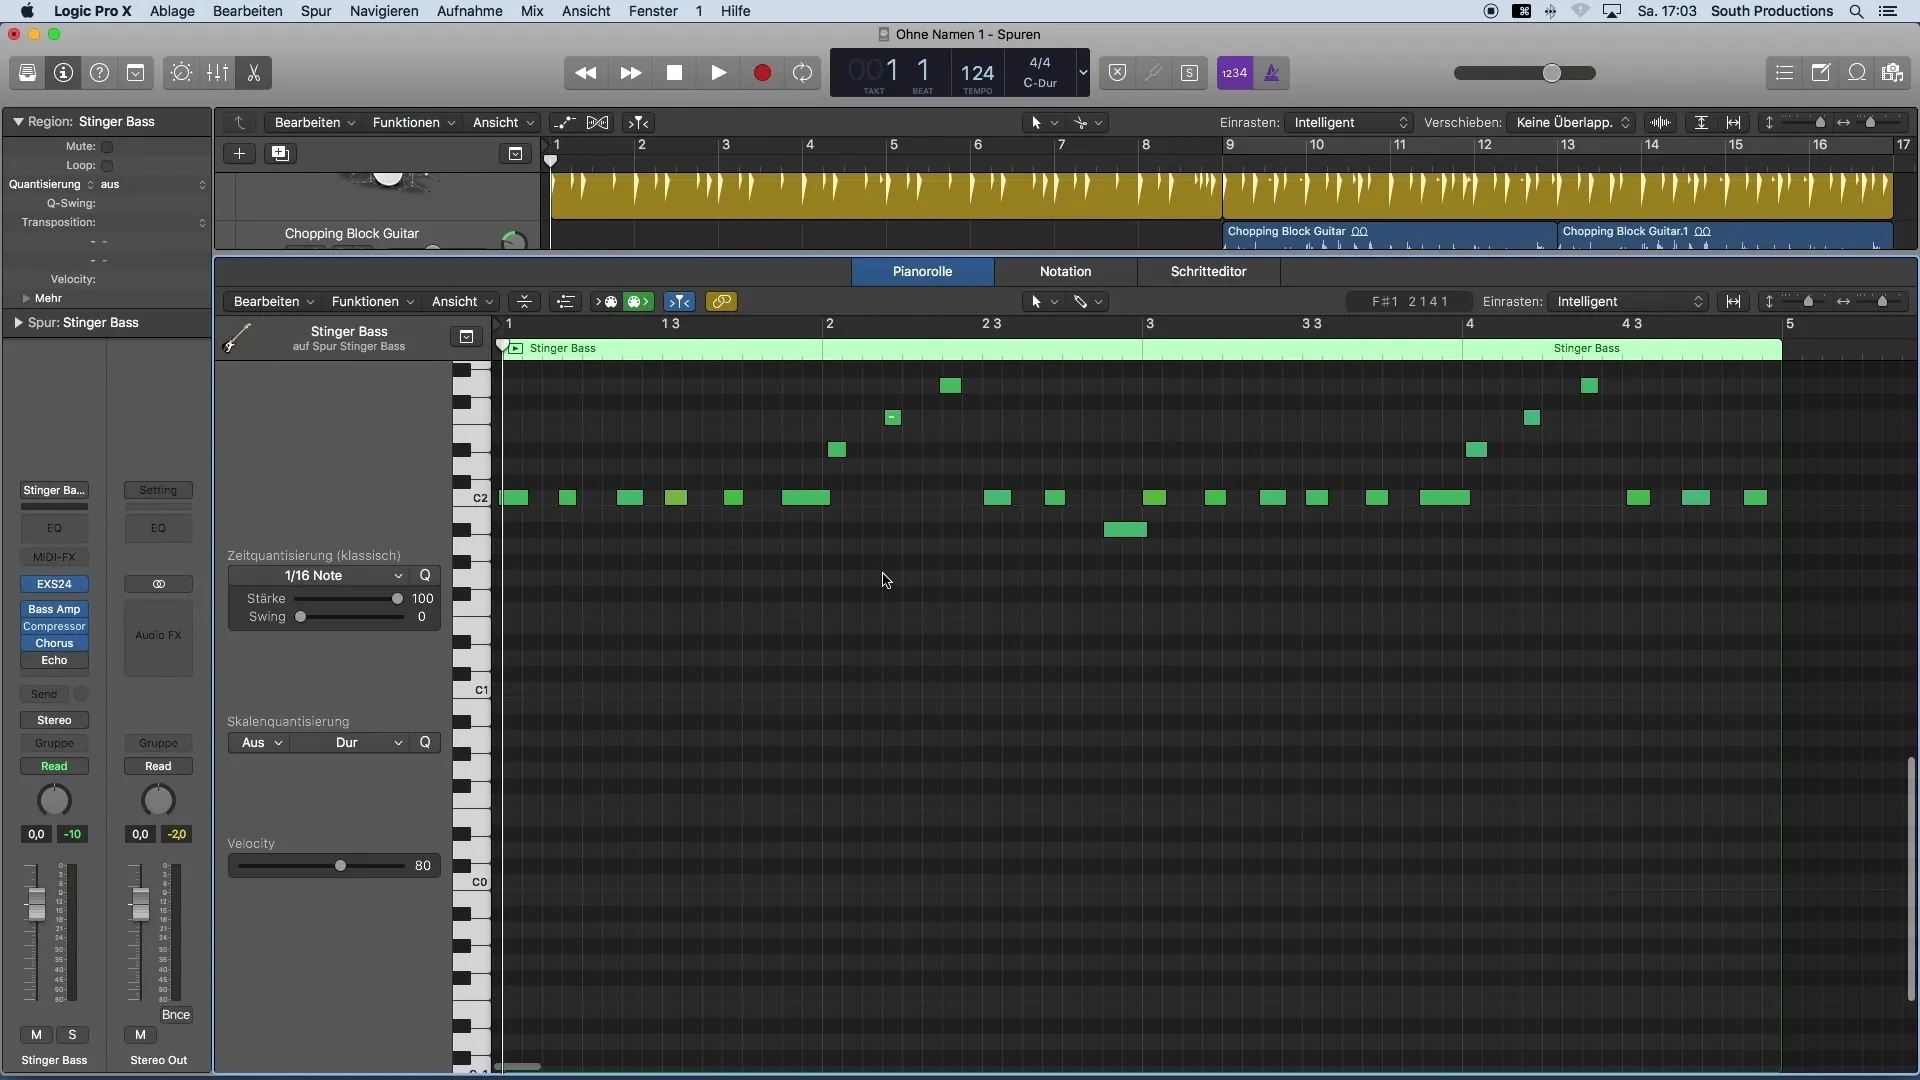
2. Identify the MIDI Notes to be Adjusted
Once the Piano Roll is open, you can see all the MIDI notes you've played. Click on the notes to listen to them and analyze where the timing is not quite right.
3. Select All MIDI Notes
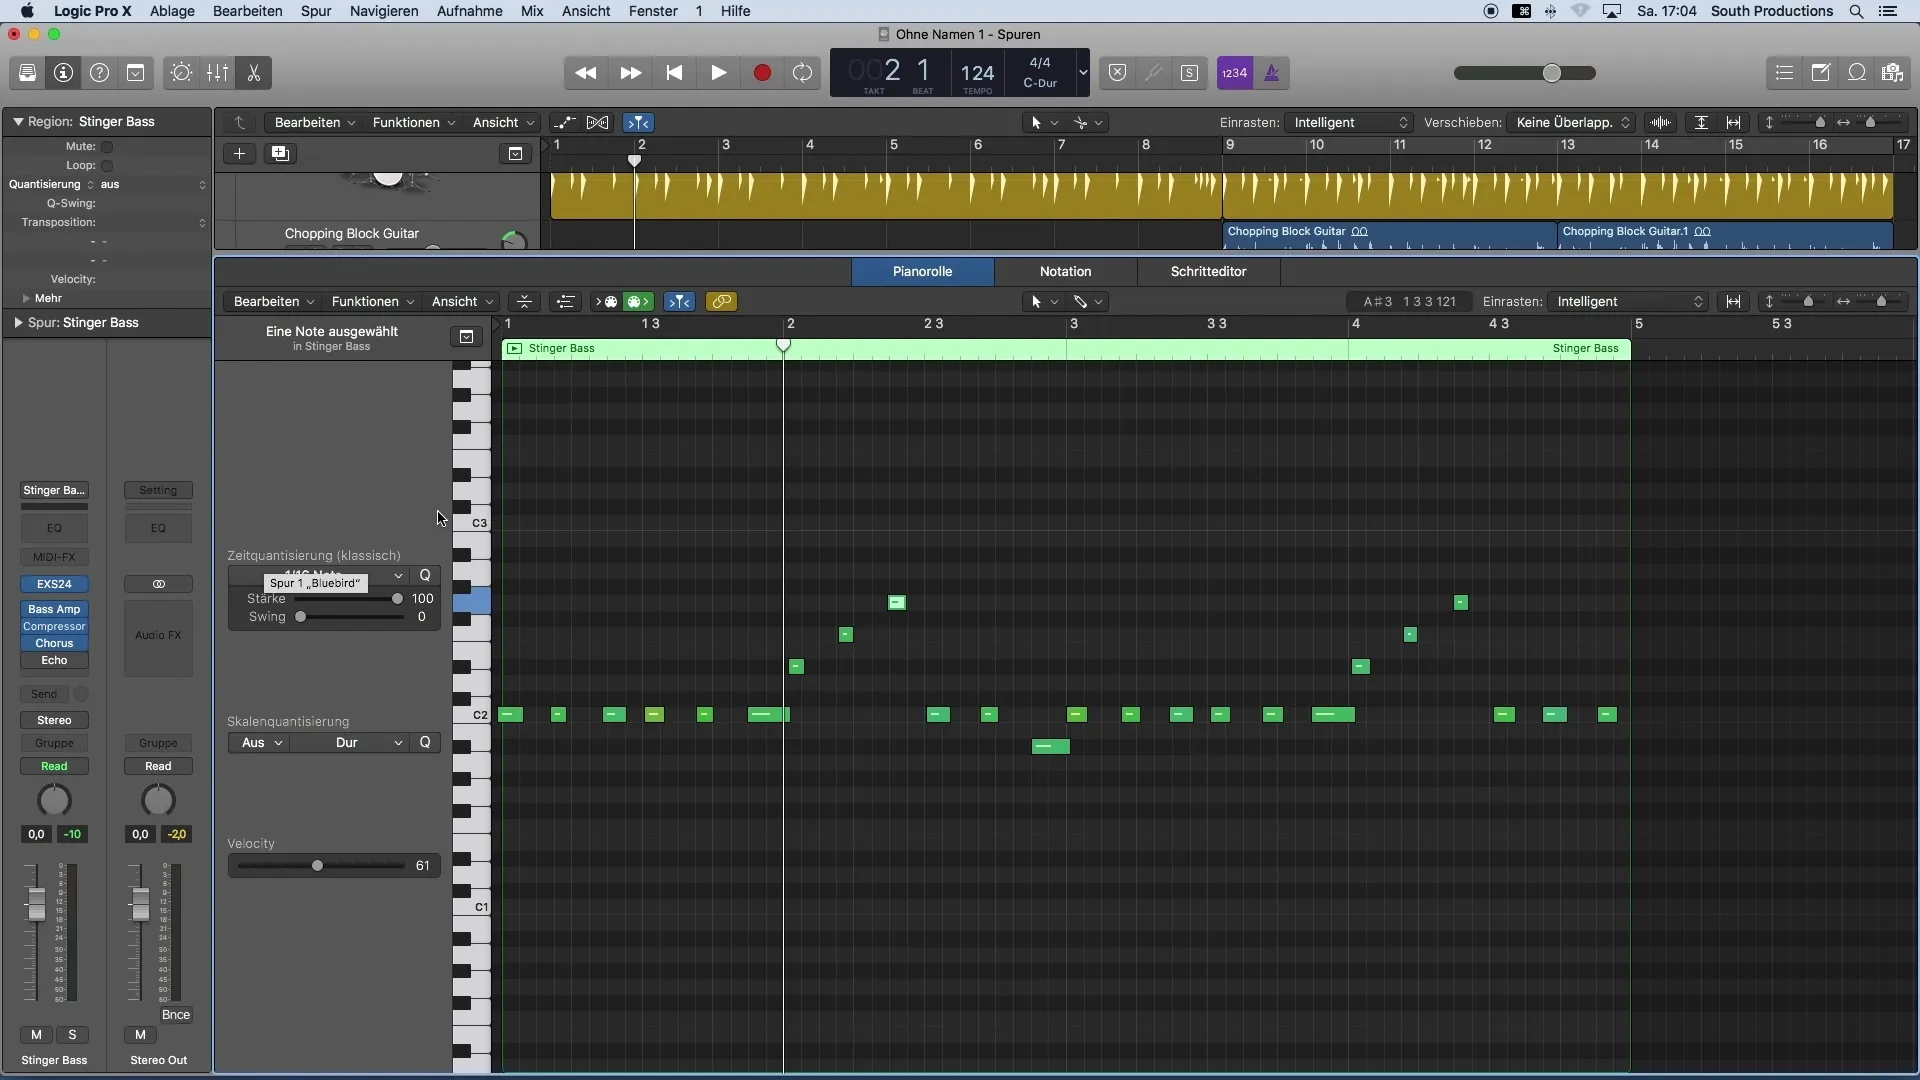
Before applying quantization, make sure all relevant MIDI notes are selected. Most of the time, it's not enough to just select a region. To ensure you capture everything, you should select the entire track. You can do this by pressing the "Command" (or "Apple") and "A" keys simultaneously.
4. Choose the Appropriate Time Grid
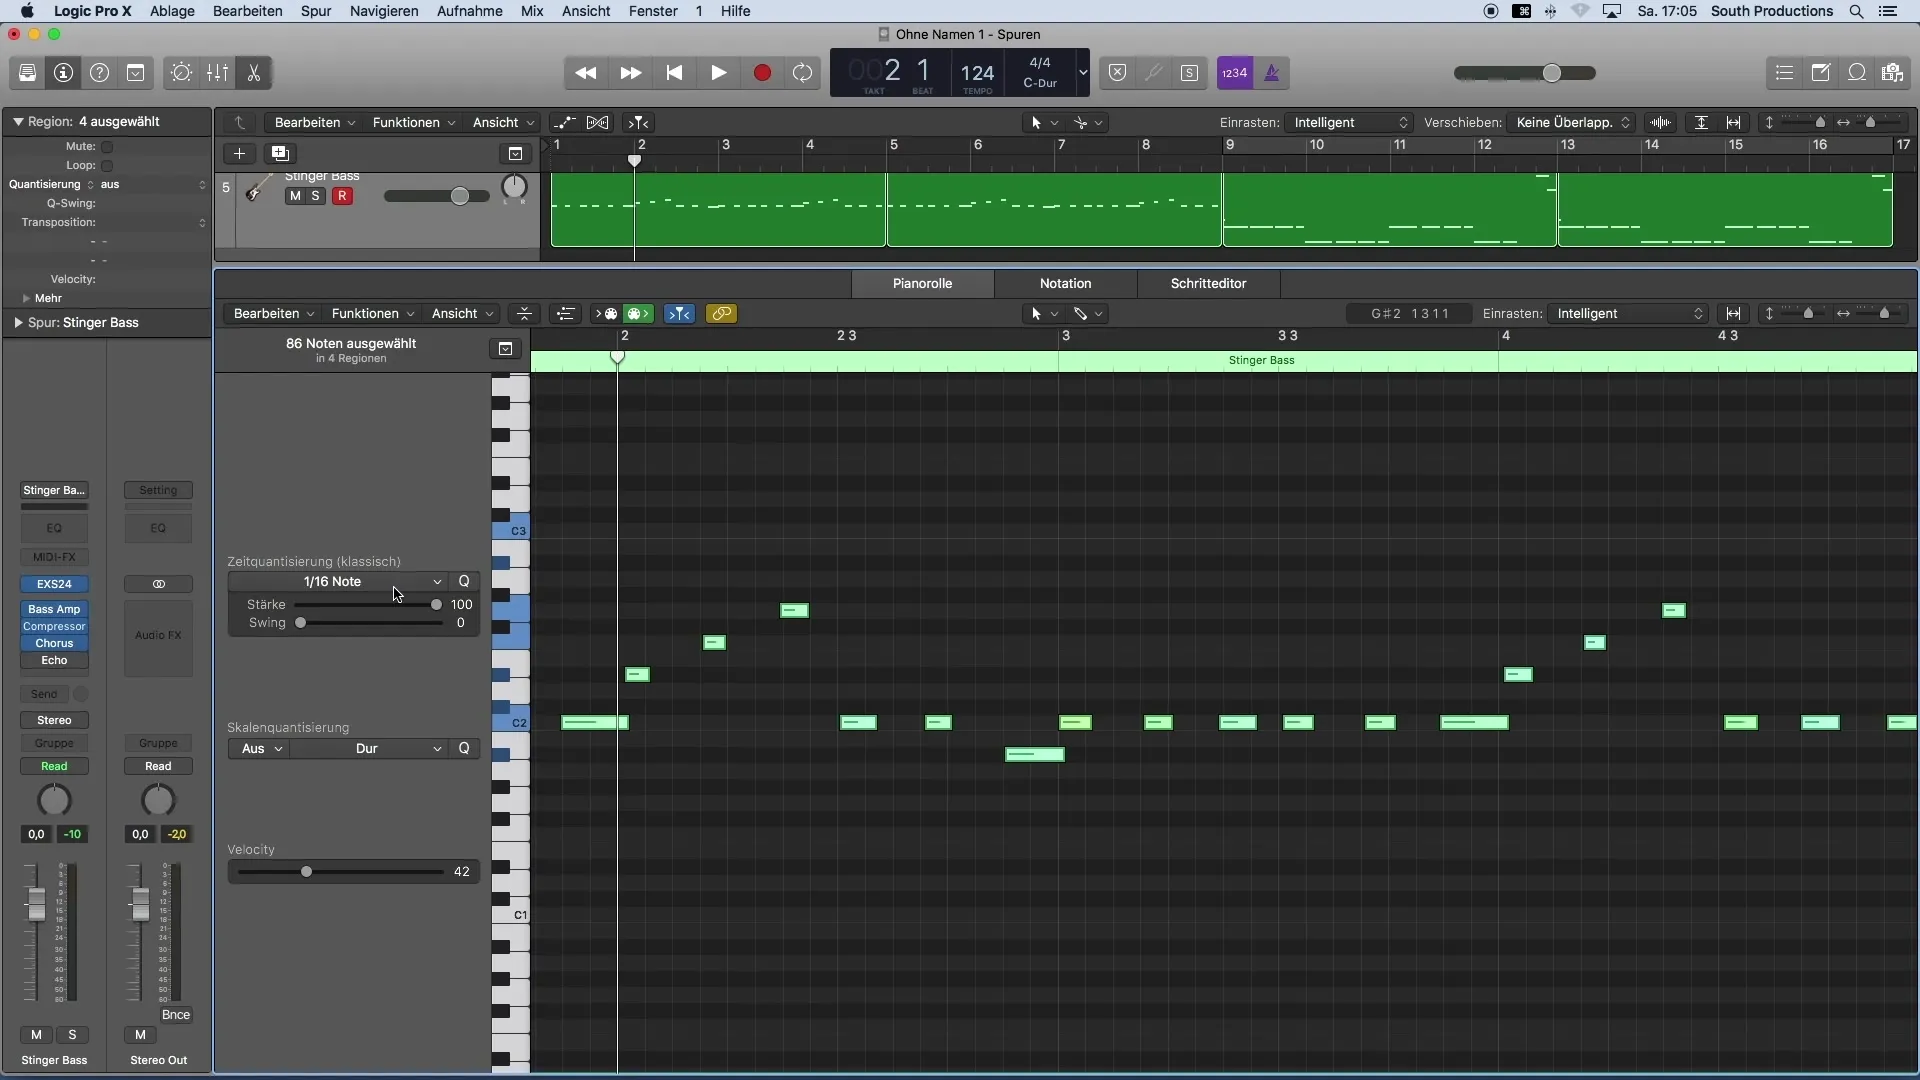
Now it's time to set the appropriate time quantization. In Logic Pro X, you can specify the grid to which the notes should be snapped. Consider which grid is suitable for your playing style. If you think an eighth-note grid is appropriate, set that.
5. Check the Result
After applying quantization, listen to the results. You should notice that your notes are now more precise in time. However, the result may not sound as you envisioned if the grid chosen was too coarse.
6. Make Adjustments as Needed
If the quantization result does not meet your expectations, experiment with different grids. For example, if you played quickly, a sixteenth-note grid may be more suitable than the originally chosen eighth-note grid.
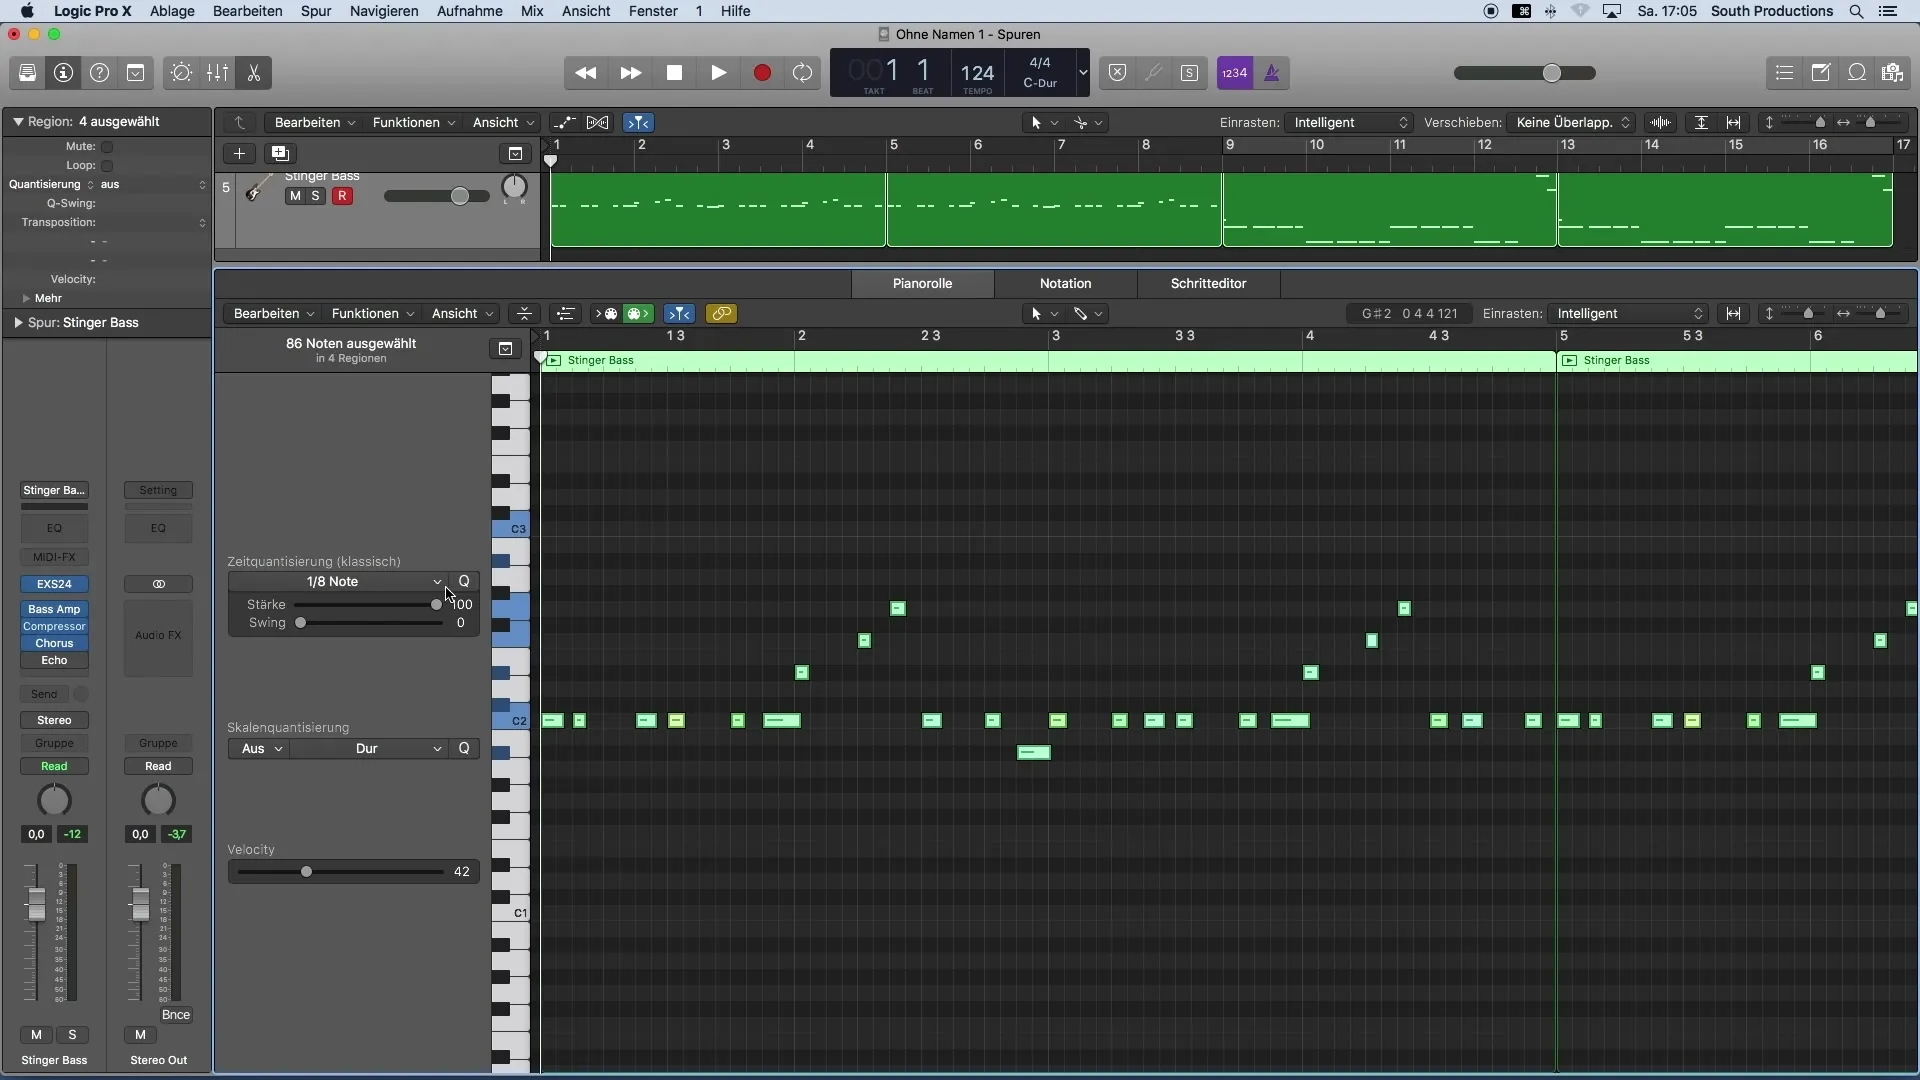
7. Correct Unwanted Notes
You may have played MIDI notes accidentally that you don't want to keep. You can easily select and delete them by using the "Backspace" key.
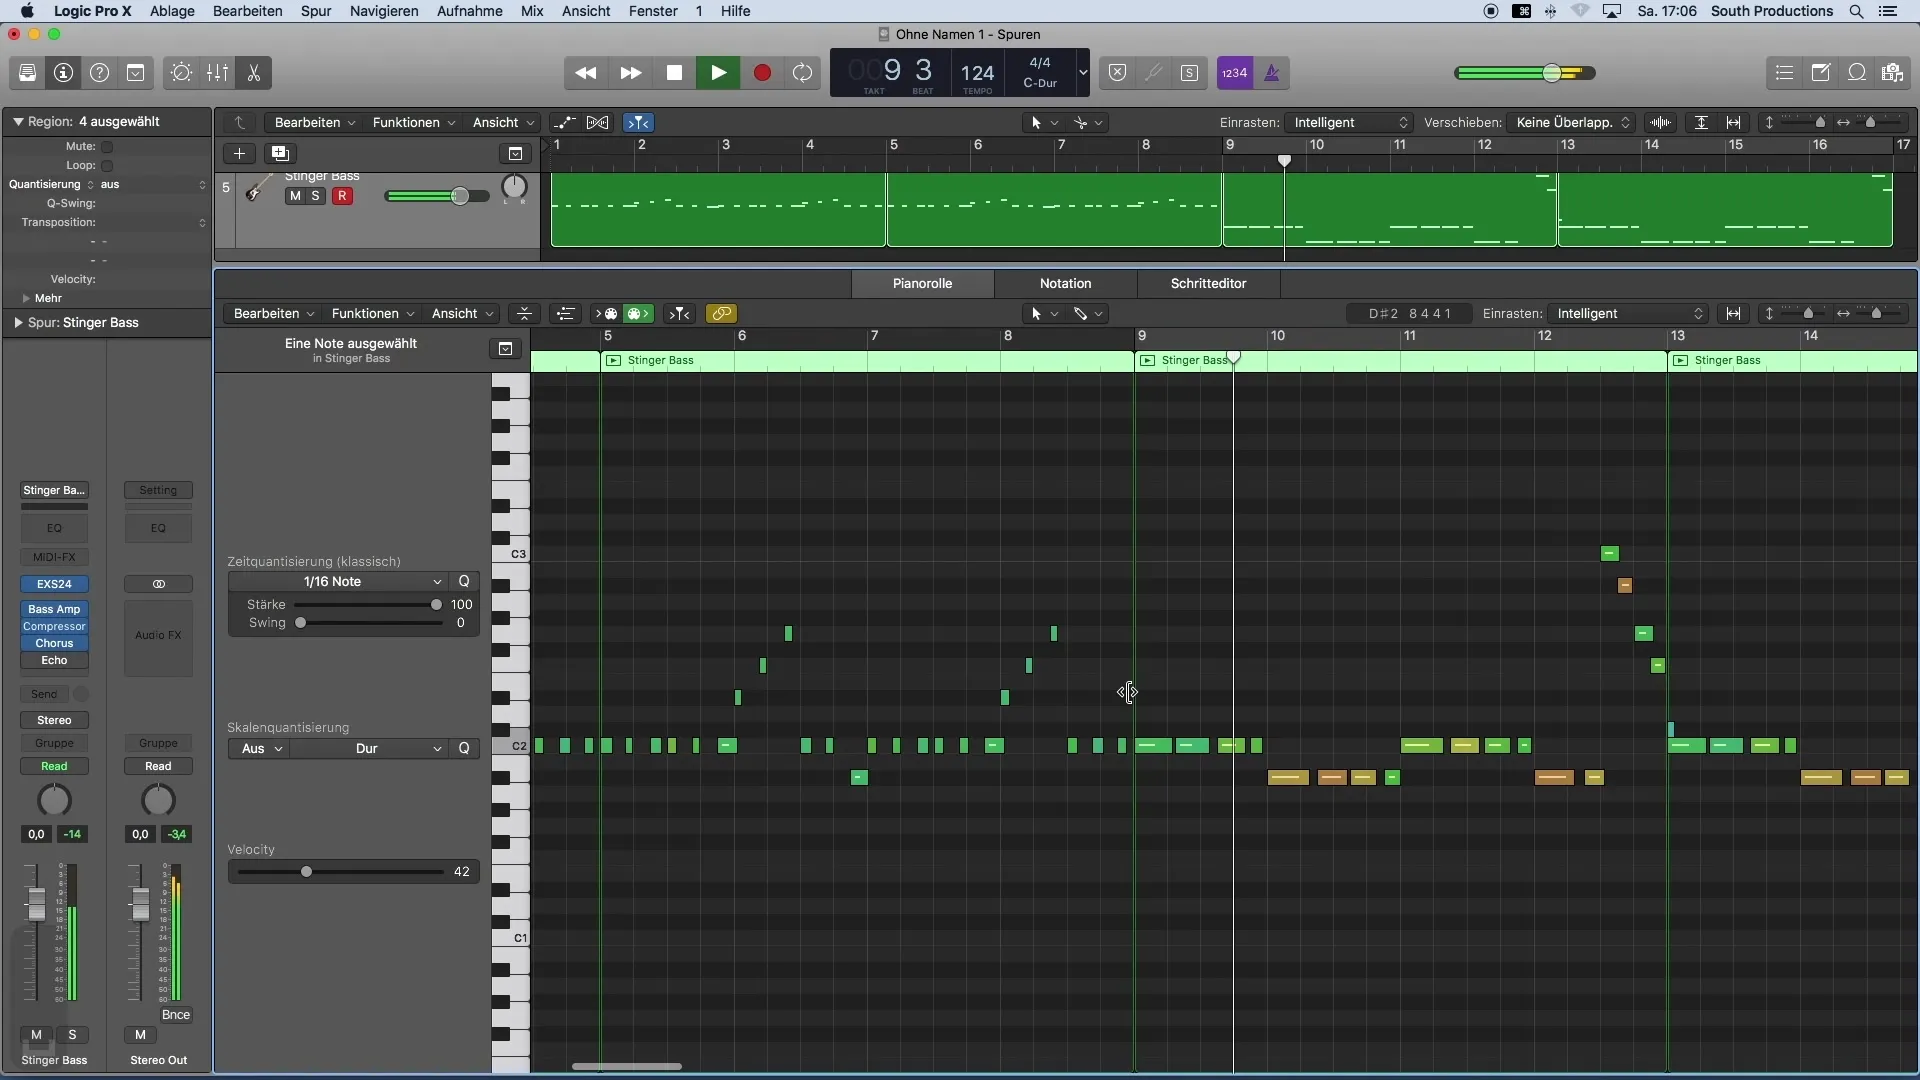
8. Apply Changes to Other Parts
If you've made changes to a section of your MIDI track and want to apply those adjustments to another part, you can do so by simply moving the notes with the "ALT" key and a click.
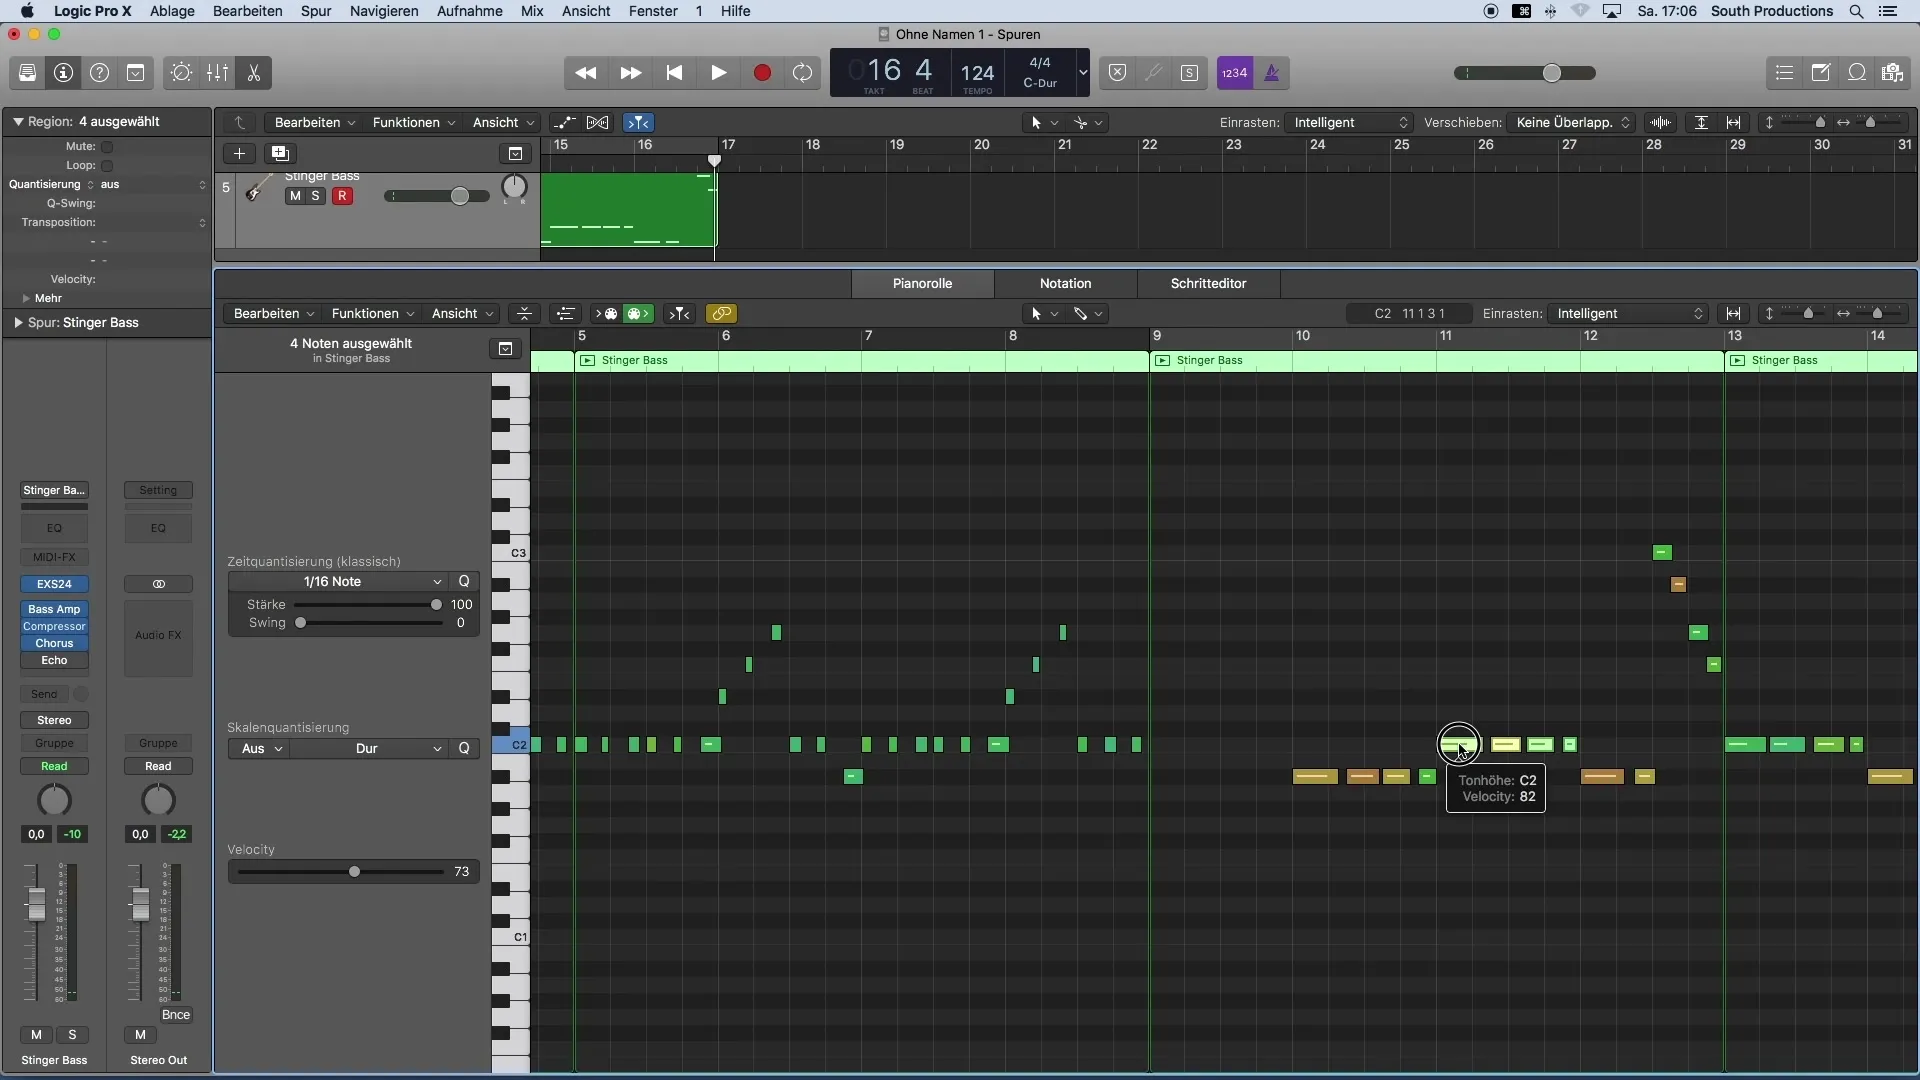
9. Close the Piano Roll
Once you are satisfied with your adjustments, close the Piano Roll by pressing the "P" key on your keyboard.
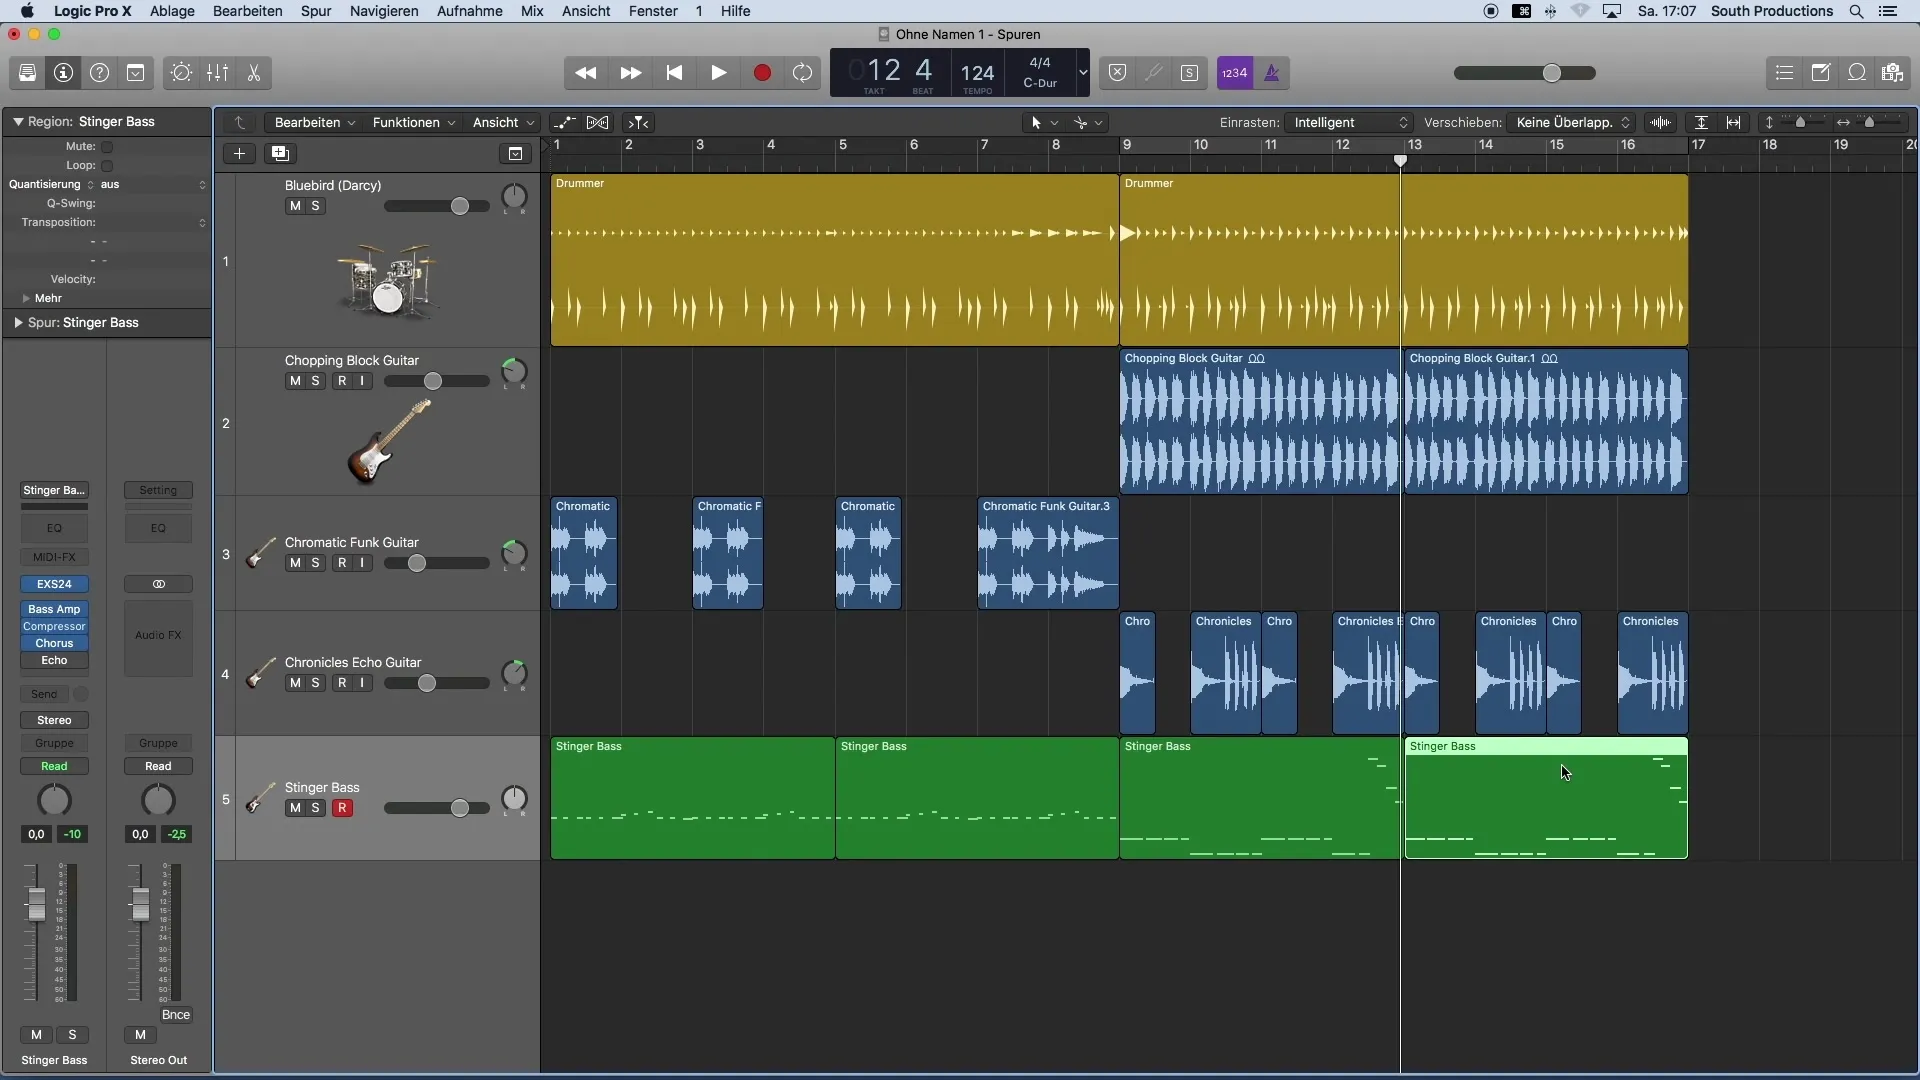
10. Fine-tuning of Quantization
It can also be helpful to adjust the strength of quantization to give the song more liveliness. You can select the MIDI notes and perform time quantization again, but reduce the strength to obtain a more organic groove.
Summary
Throughout this guide, you have learned how to effectively quantize MIDI notes in Logic Pro X. Step by step, you have learned how to open the Piano Roll, select notes, choose the appropriate quantization strength, and correct unwanted notes. Proper timing is crucial for the quality of your music productions, and quantization provides you with the tools to achieve this without disrupting the creative process.
Frequently Asked Questions
How can I open the Piano Roll in Logic Pro X?Double-click on the MIDI region or press the "P" key on your keyboard.
What should I do if I don't want some notes?Select the unwanted notes and press the "Backspace" key to delete them.
How do I choose the time grid for quantization?Go to the time quantization settings and choose the desired grid.
What if quantization doesn't work?Experiment with different grids, perhaps a finer grid is needed.
Can I adjust the strength of quantization?Yes, you can perform quantization and reduce the strength to get a more lively sound.
