When you delve into the world of music production, you will quickly realize that editing your recordings is crucial for the quality of your final product. In this tutorial, I will show you how you can effectively edit vocal tracks in Logic Pro X to eliminate background noises and achieve a clean recording that does justice to your musical work.
Key Insights
- Empty spaces in recordings should be removed to enhance sound quality.
- Use the Fade tool to smooth the inputs and outputs of audio regions.
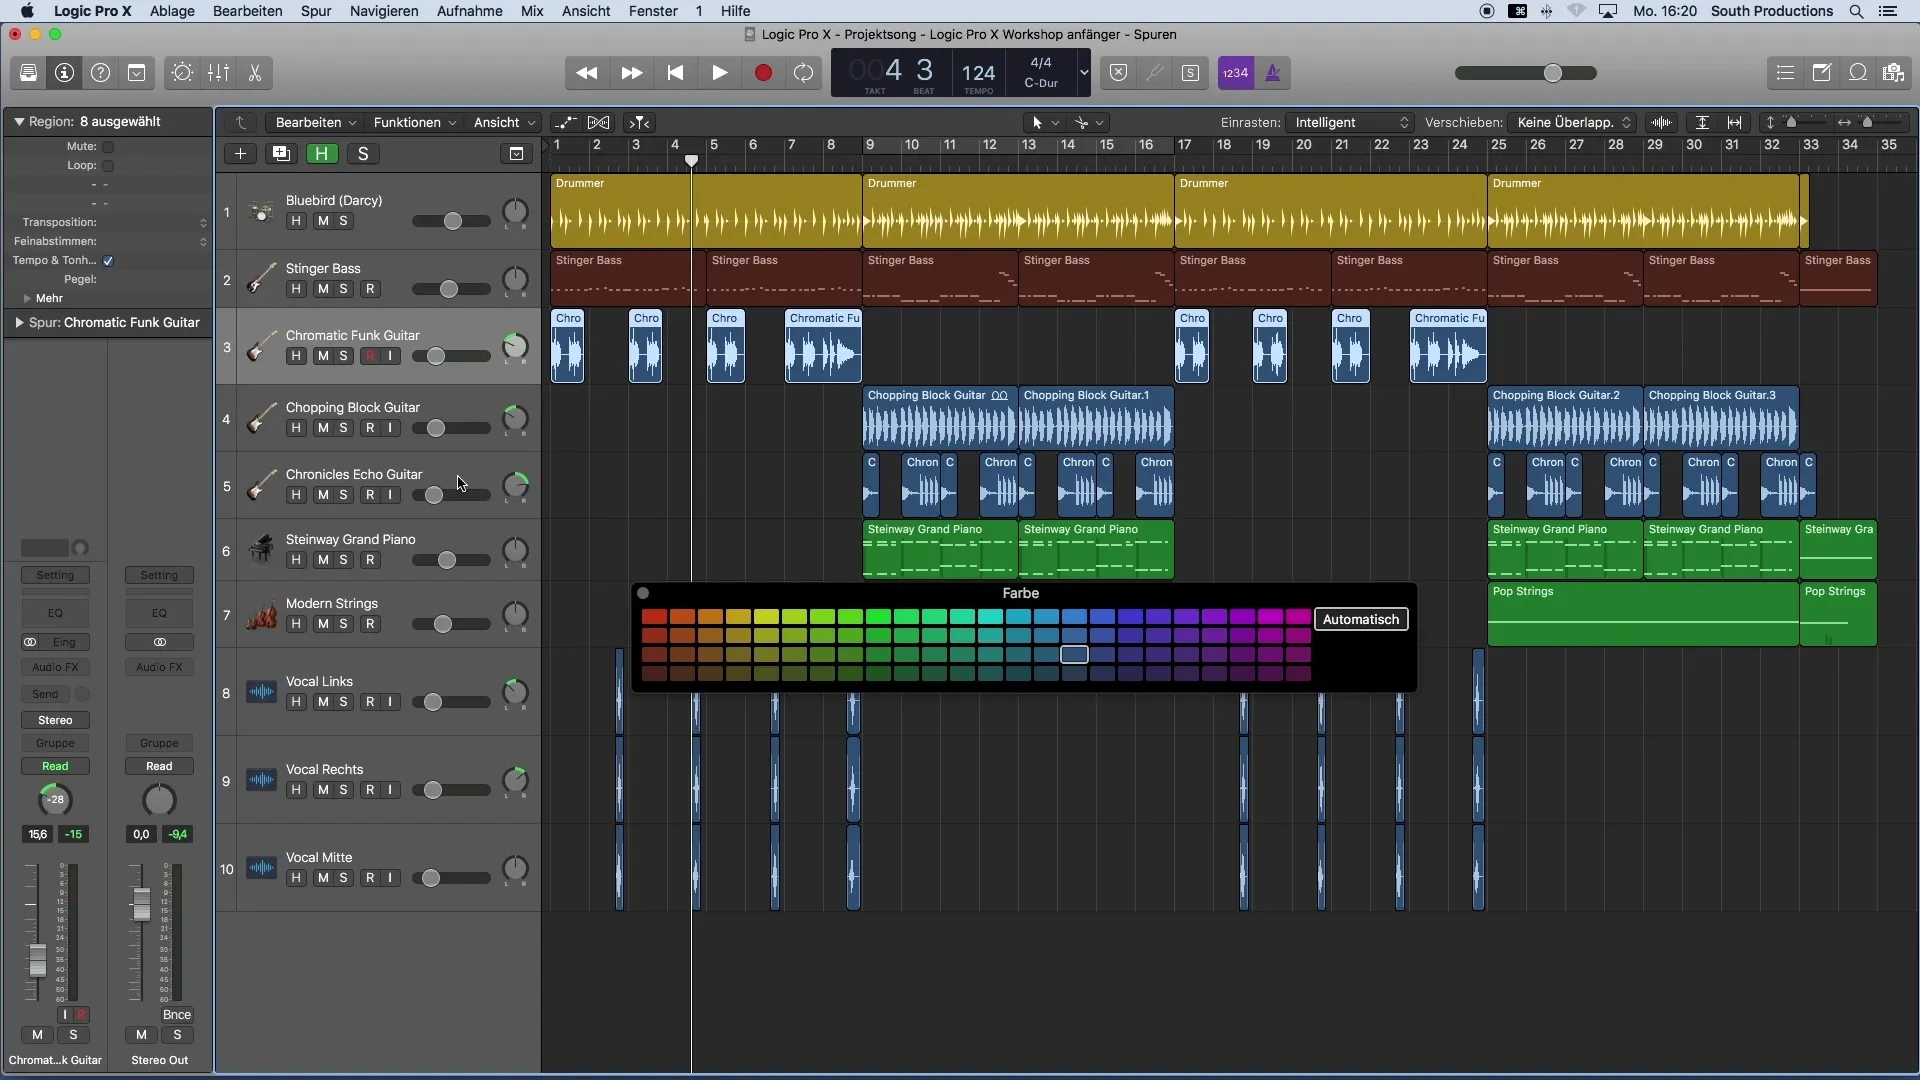
- Color coding helps you keep track of your project.
Step-by-Step Guide
1. Removing Background Noises and Empty Spaces
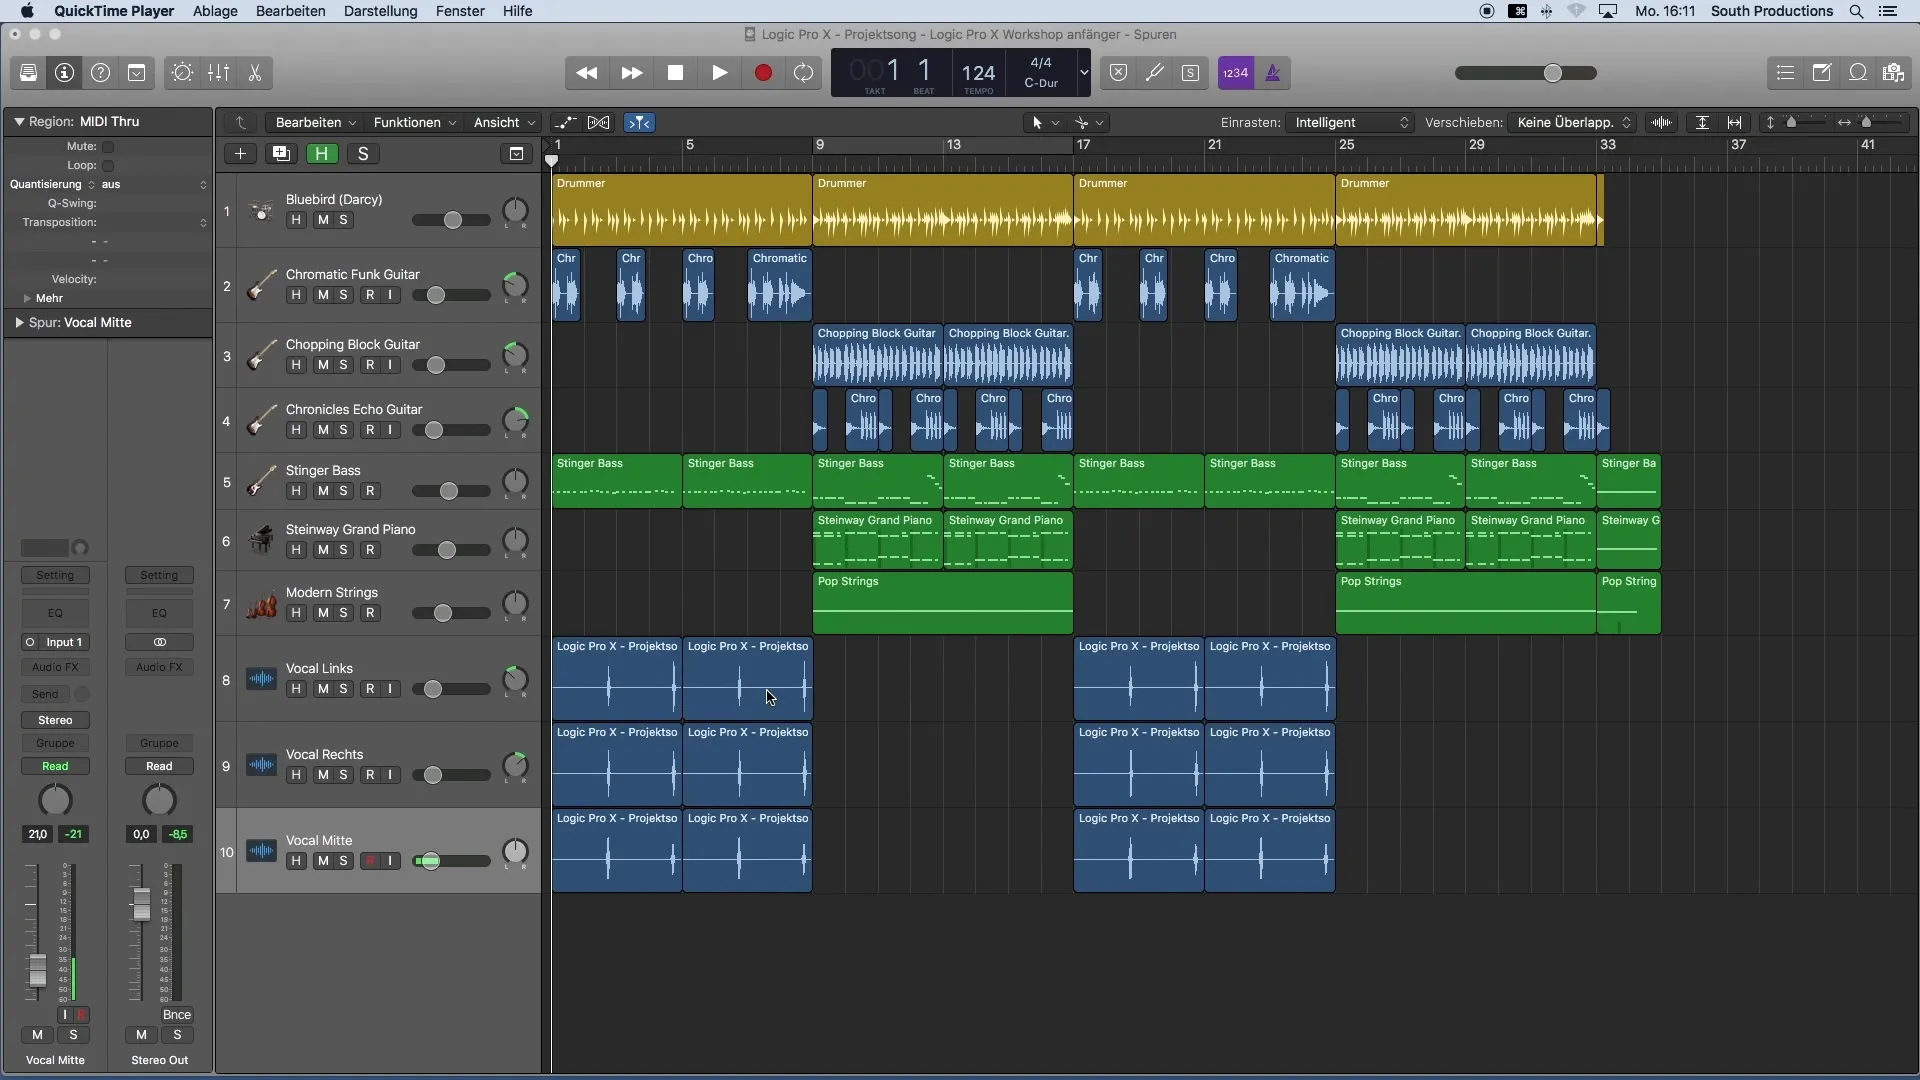
Start by selecting your vocal tracks where no useful signals are present. You can cut out the areas between your singing passages. It is important to remove these parts to eliminate unwanted noises, such as breathing sounds, from the arrangement.
2. Activating the Click Zone for the Fade Tool
To be able to smoothly fade in and out the volume of your vocals, I recommend activating the click zone for the Fade tool in the settings. Go to Logic's menu, select "Preferences," and then "General." There you will find the option to activate the click zones for the Fade tool.
3. Vertical and Horizontal Zooming
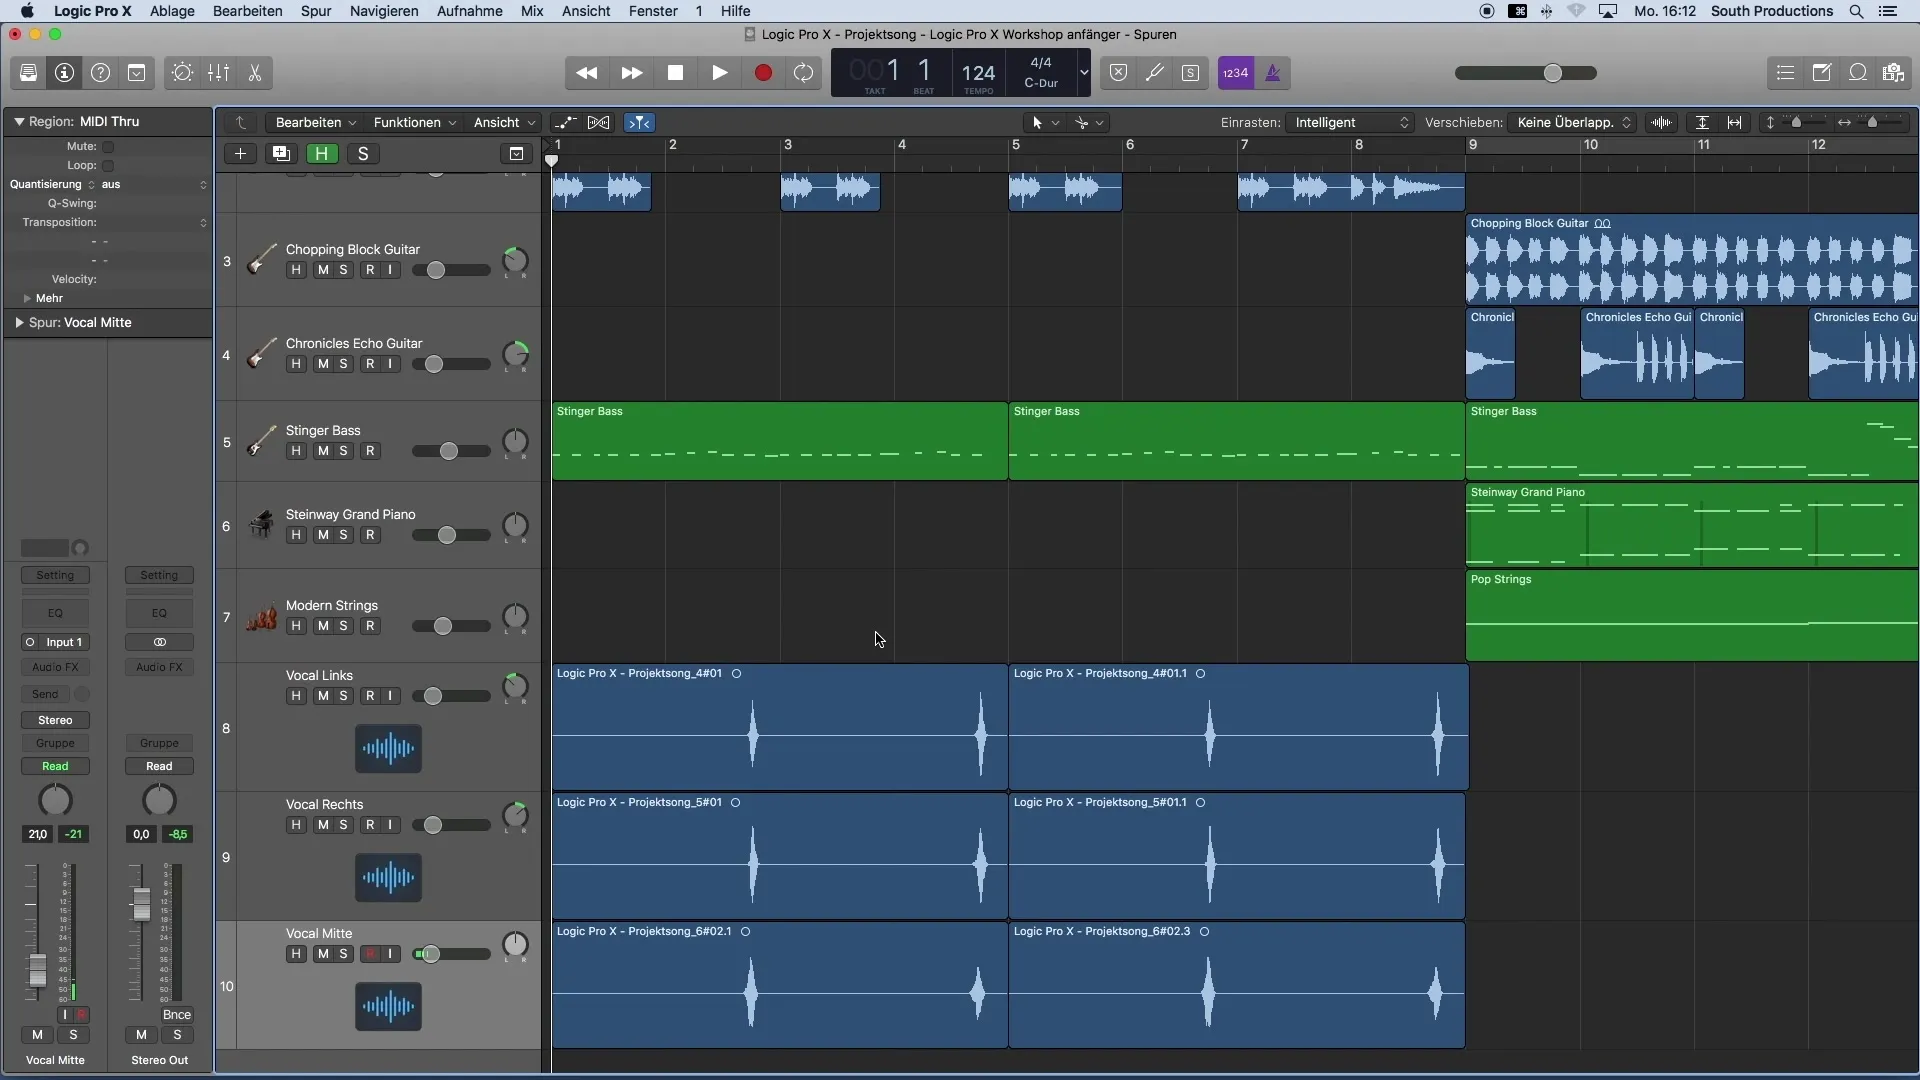
Use the scroll wheel of your mouse in combination with the ALT key to zoom vertically. Hold the Command key and use the scroll wheel for horizontal zooming. This allows you to zoom in precisely on the areas you want to edit.
4. Working with the Fade Tool
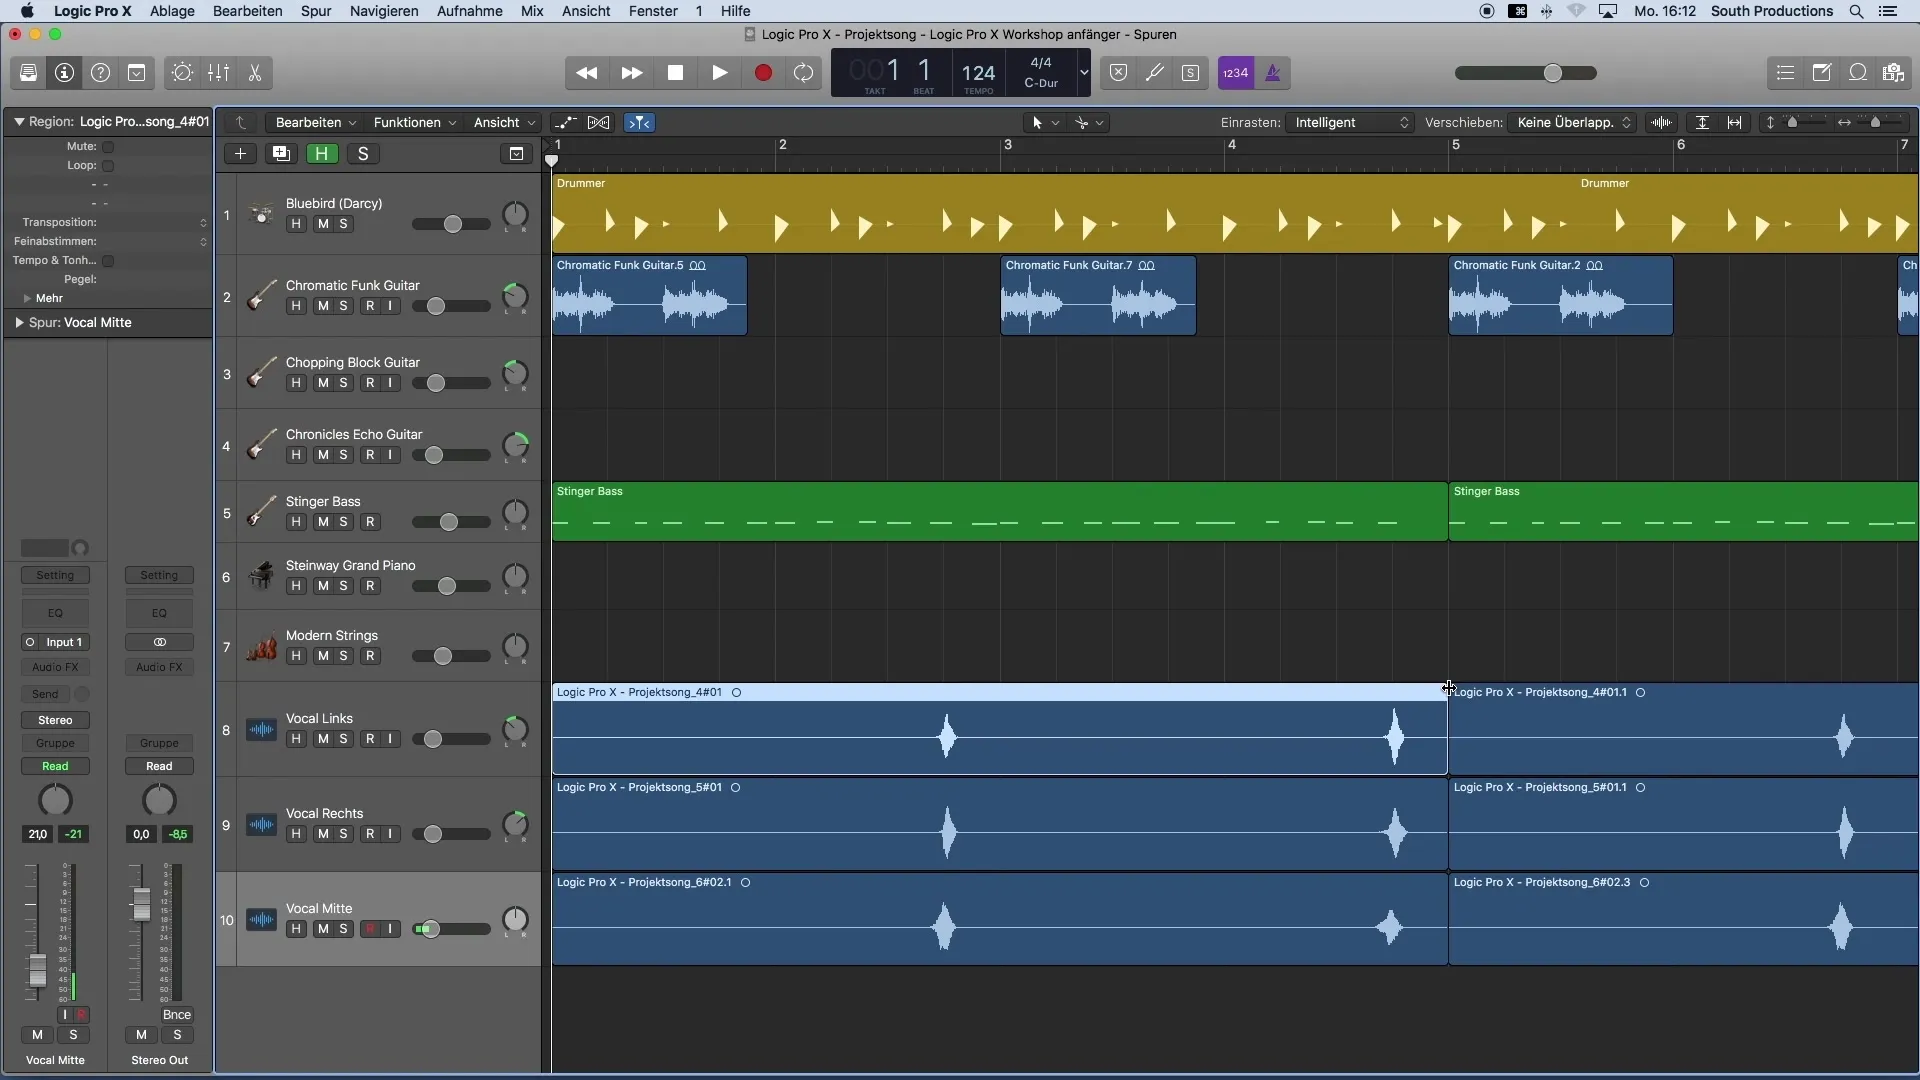
The Fade tool appears when you move to the end or beginning of an audio region. With this tool, you can create volume fades. Make sure to choose corners with enough distance when applying fades to avoid clipping.
5. Cutting the Vocal Tracks
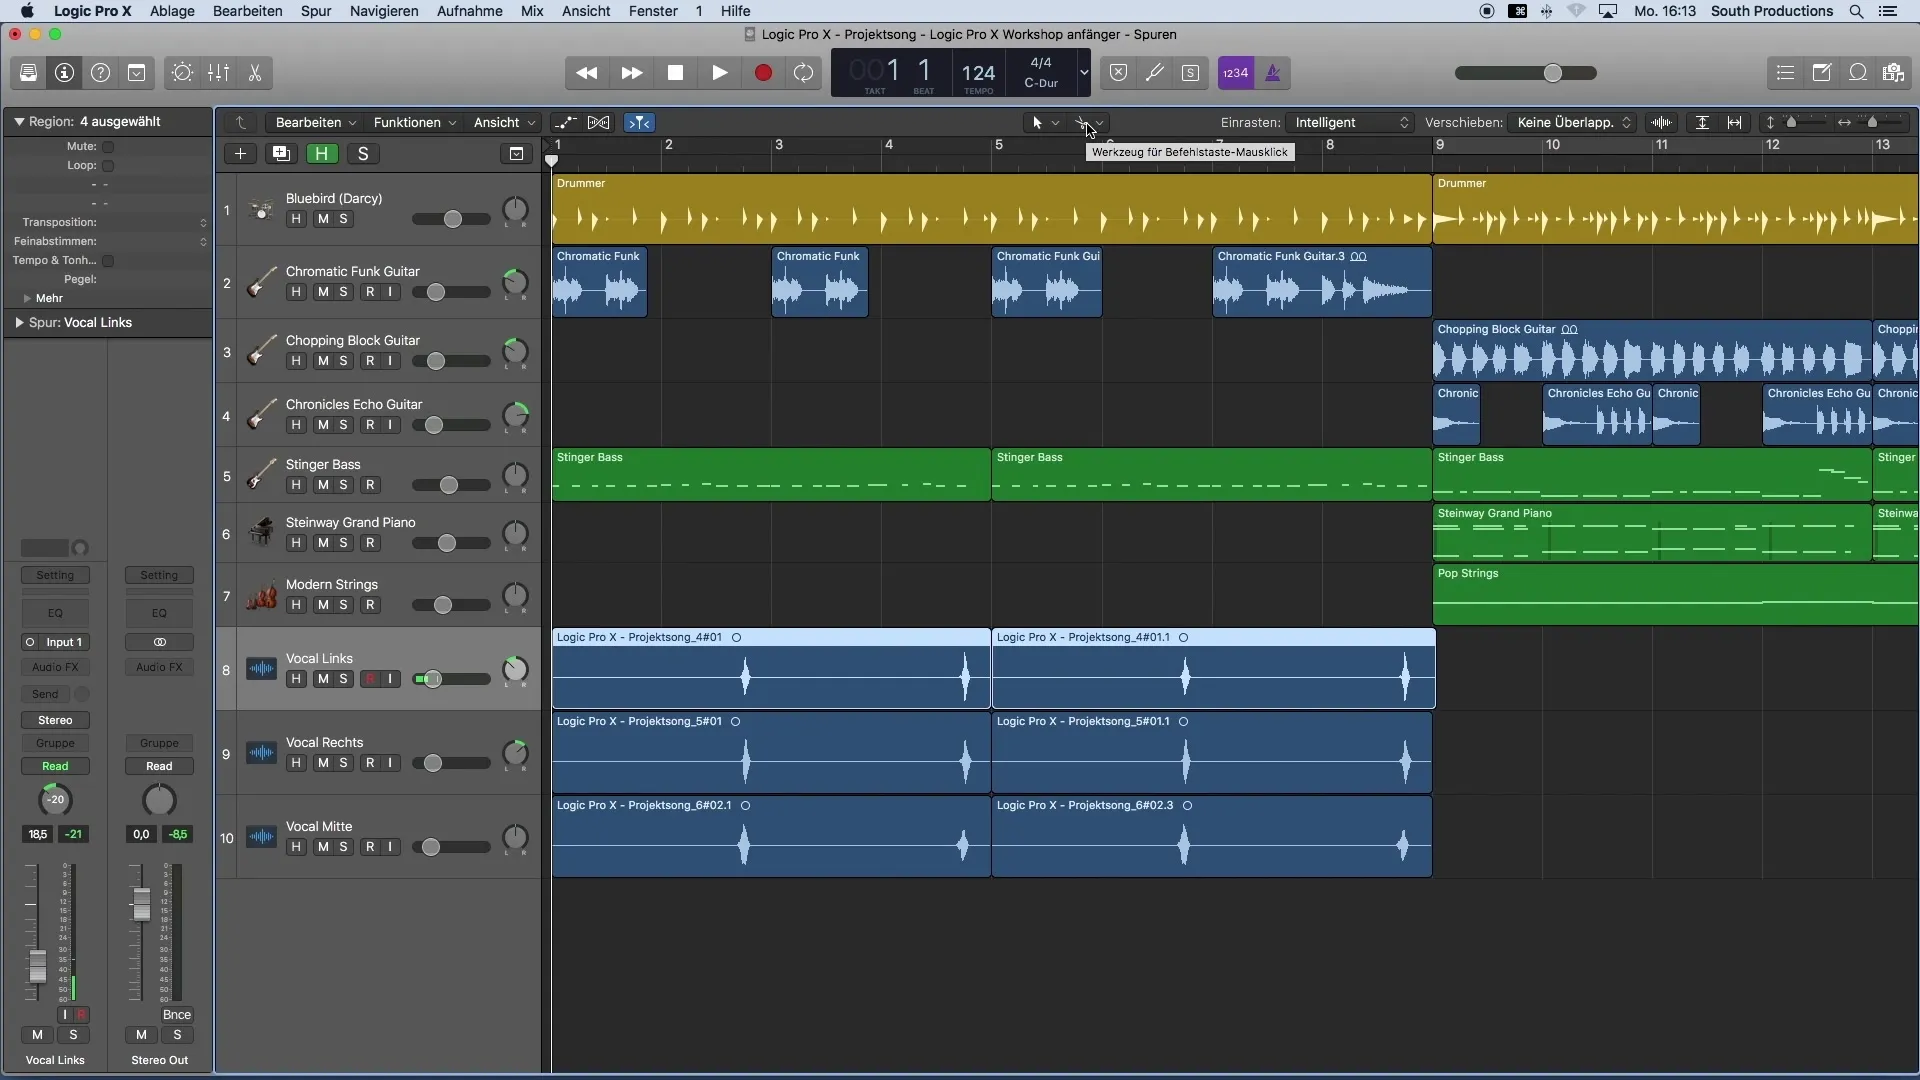
Now you are ready to cut out your empty spaces. You can use the scissor tool to precisely mark the areas you want to edit. Do not hesitate to leave some distance from the useful signals to ensure a clean sound.
6. Deleting the Unnecessary Parts
After cutting out the empty parts, you can delete the unnecessary content with the backspace key. Make sure that the cut parts no longer contain background noises before performing these steps.
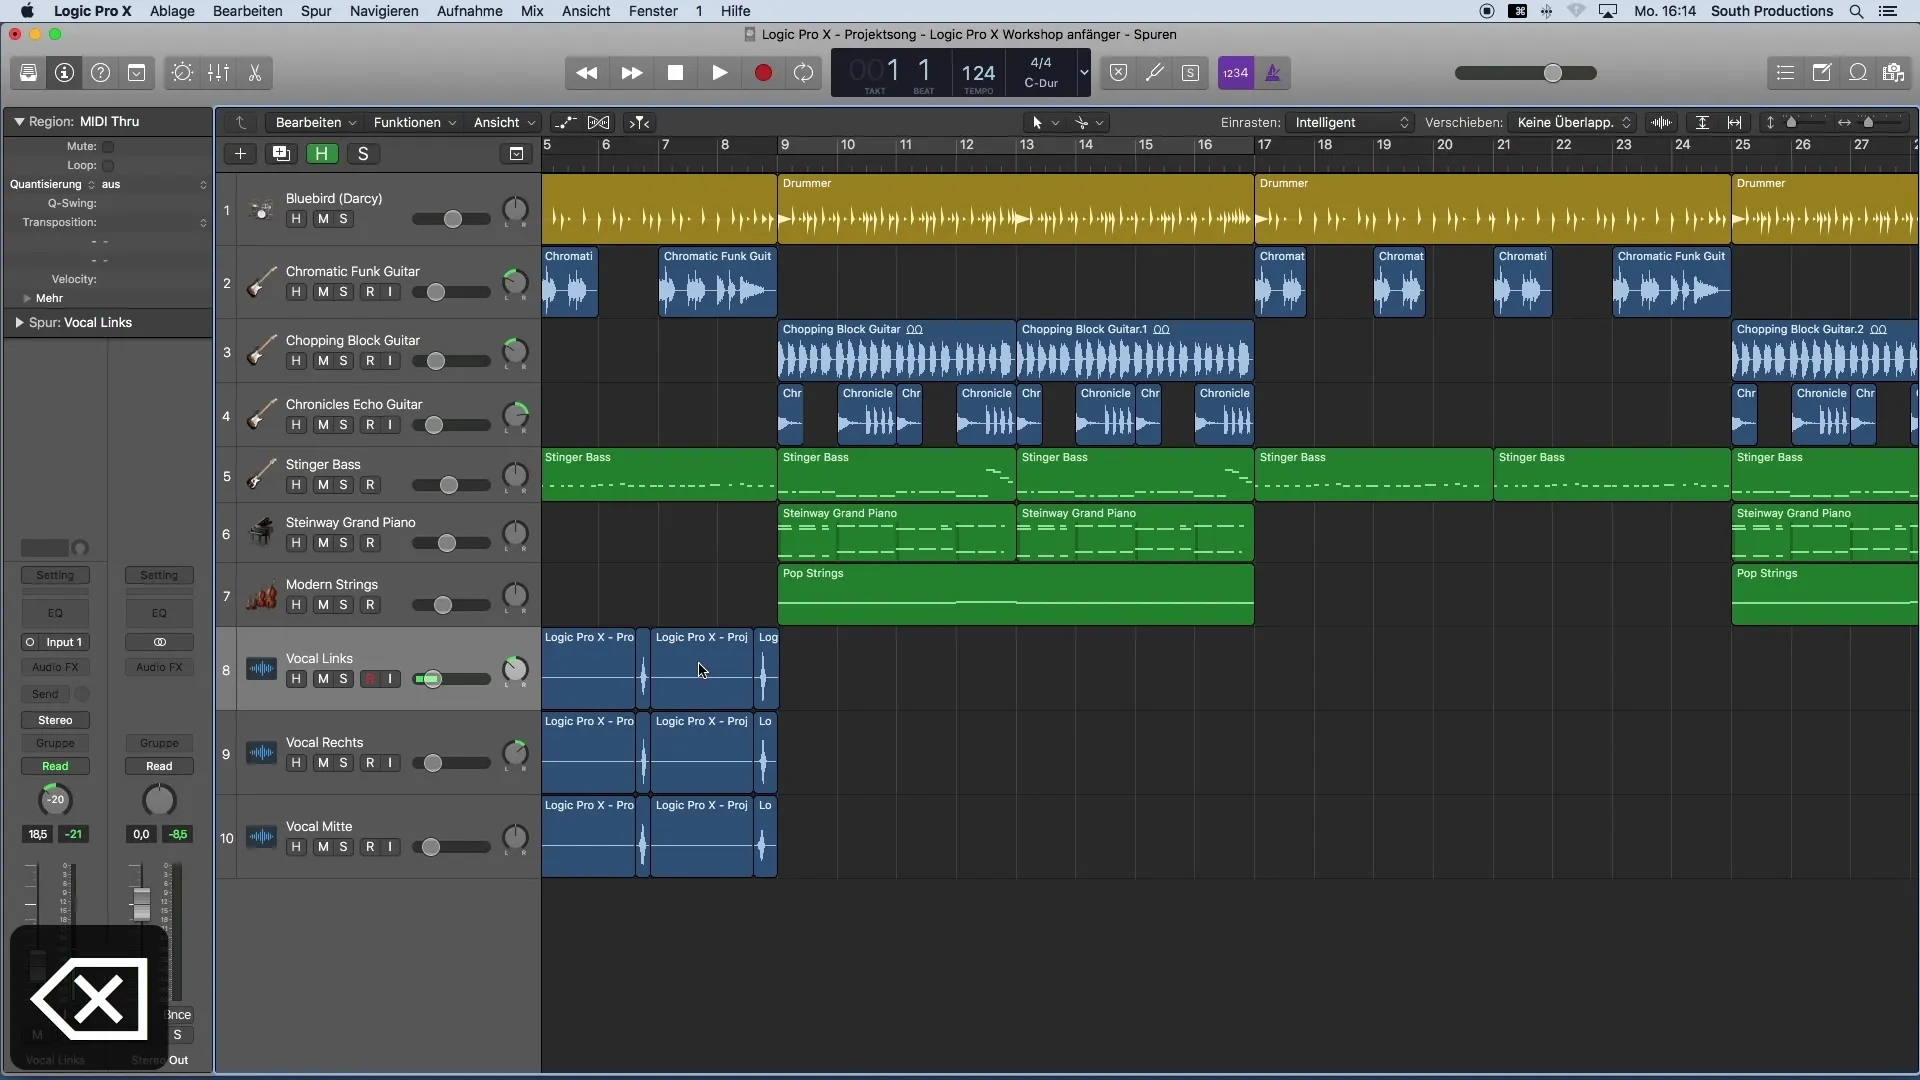
7. Activating Solo Mode
To better assess your edited tracks, activate solo mode. This allows you to listen to the isolated vocal tracks without distraction from other instruments. Mark your tracks and activate the solo function.
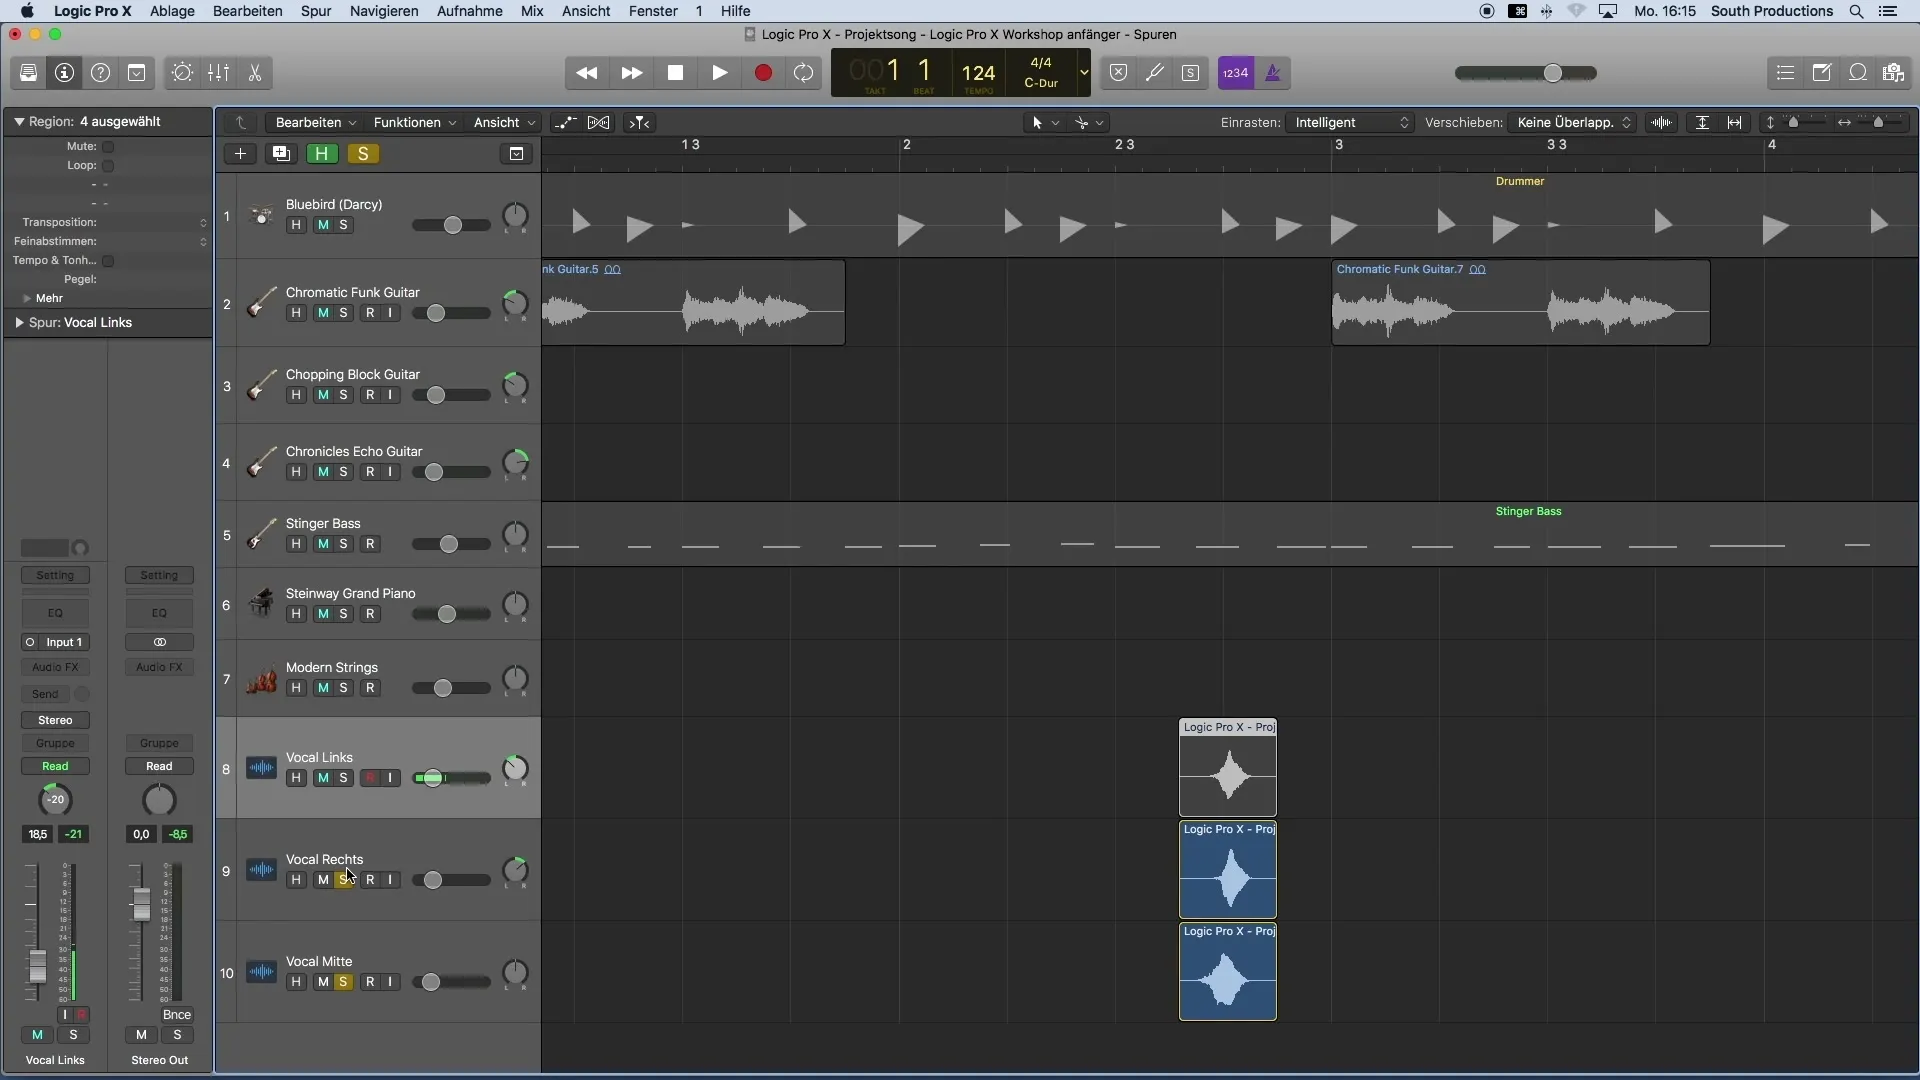
8. Adjusting Volume Fades
If you hear breathing sounds at the end of your recordings, you can also create volume fades at the end of each region. This will make the transitions smoother and minimize background noises.
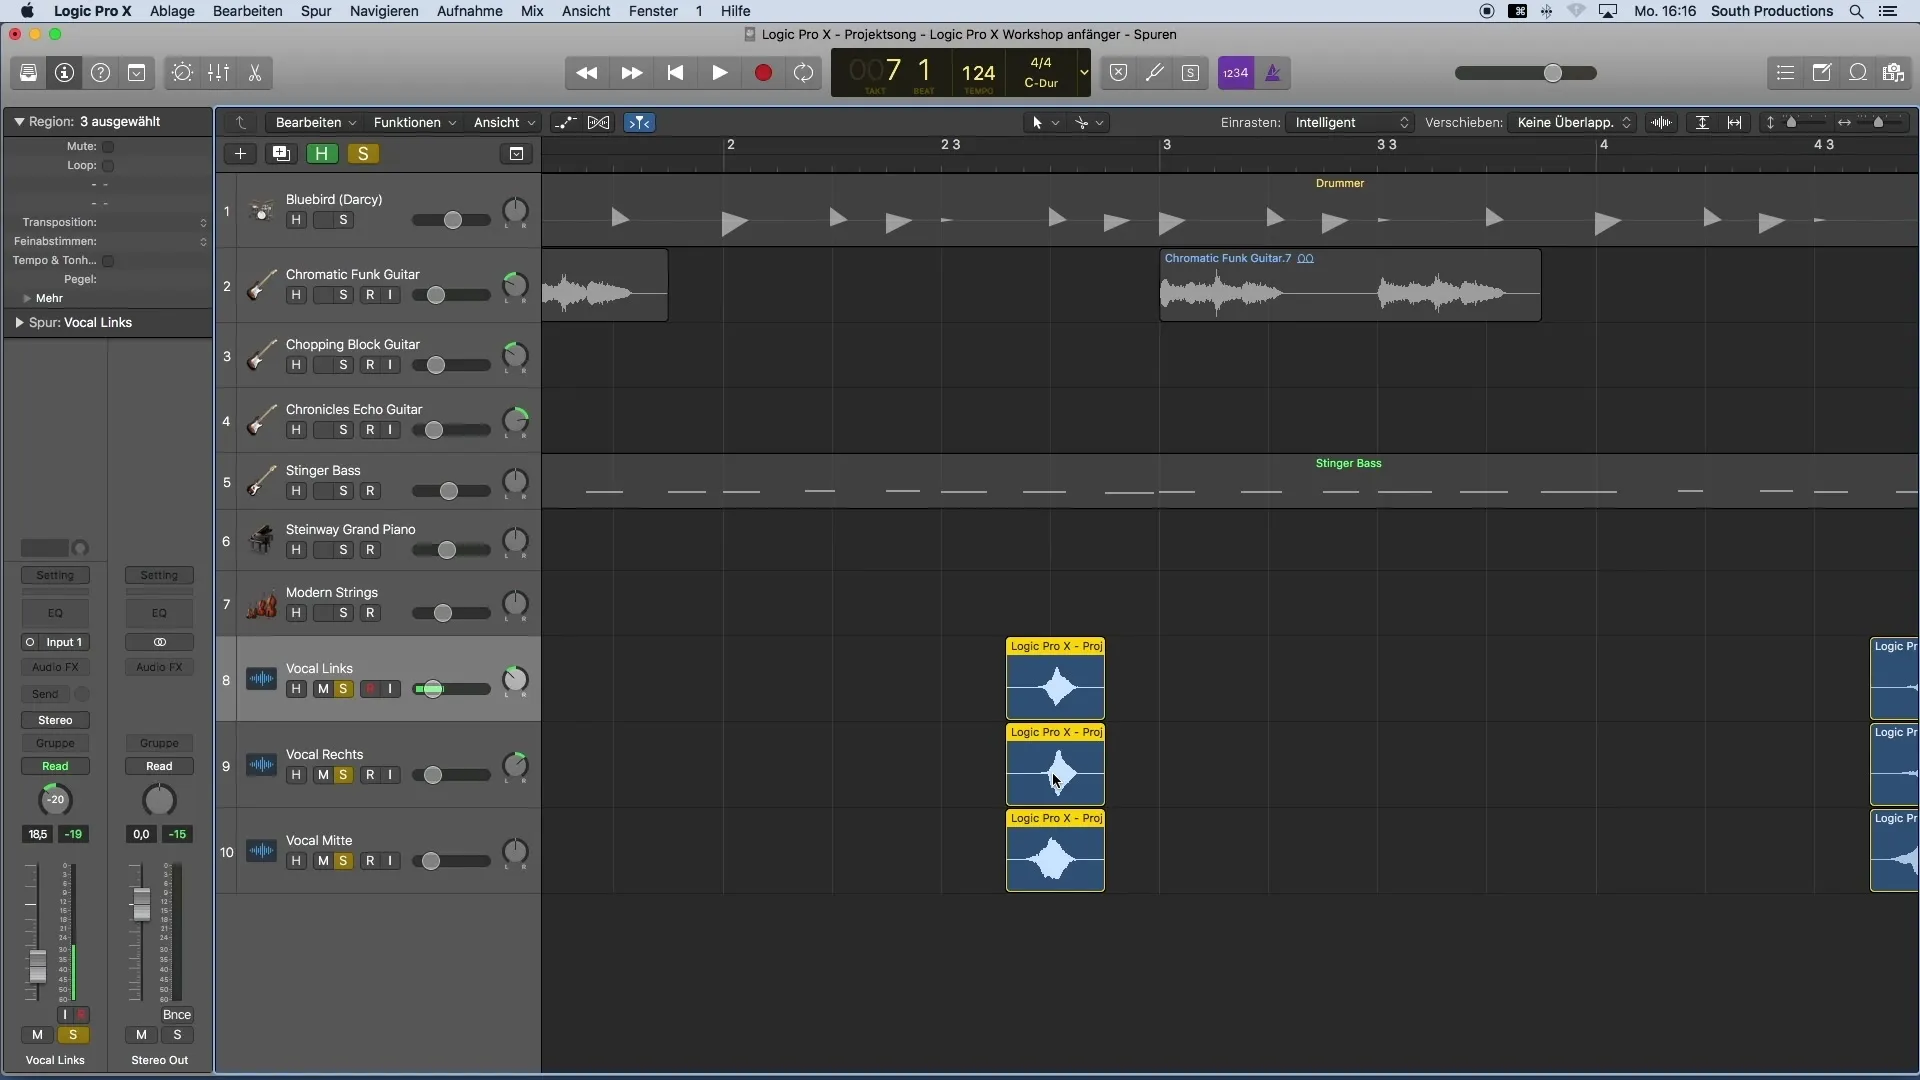
9. Copying and Pasting the Edited Regions
To duplicate your editing, first select the edited region, copy it with Command+C, and then paste it at the desired position with Command+V. This way, the consistency of your editing will be maintained.
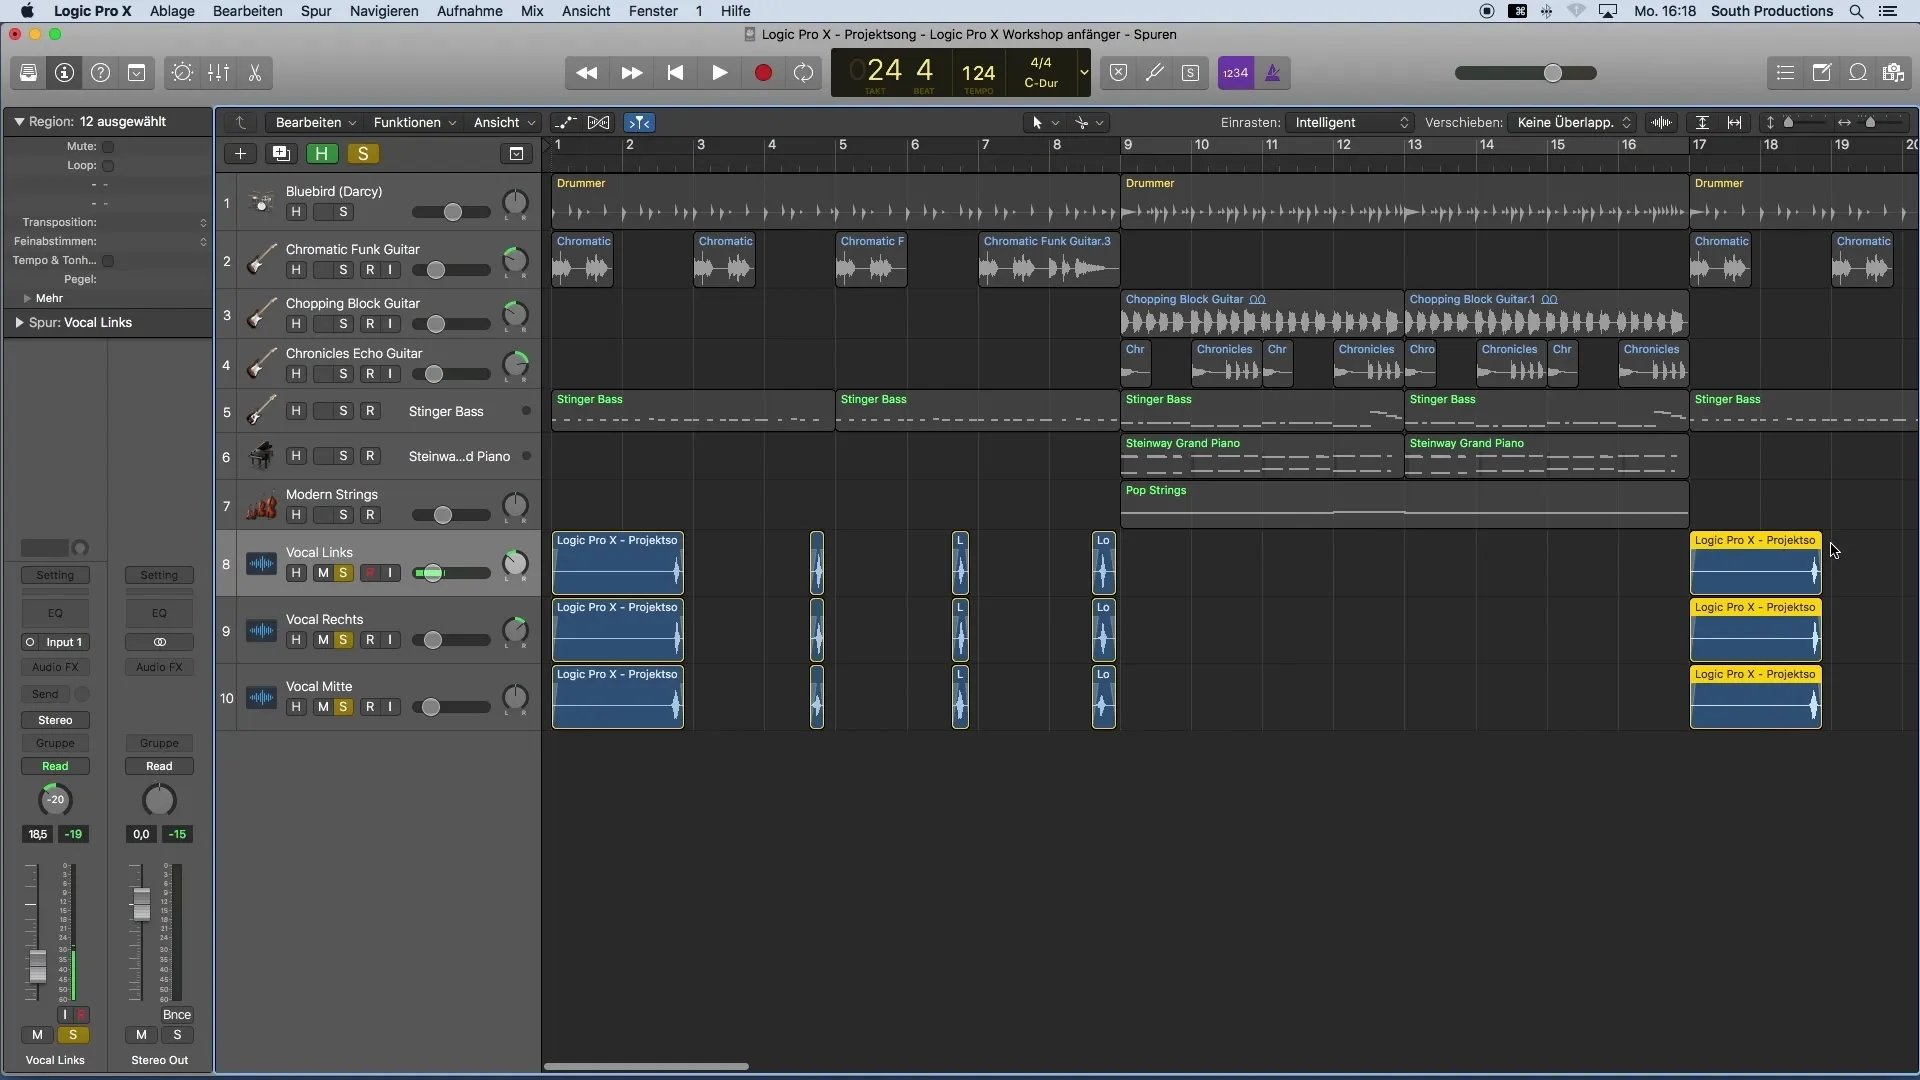
10. Project Organization and Color Palette
Finally, it is advantageous to keep your project organized. Think of a color palette for your groups of instruments. For example, you could color drums in yellow, bass in brown, and vocals in pink. This significantly facilitates navigation through your project.
Summary
In this tutorial, you should have learned how to effectively edit vocal tracks with Logic Pro X. By removing noise, creating volume fades, and organizing your project using colors, you achieve high audio quality and easy navigation in your recordings.
Frequently Asked Questions
How do I remove noise?You can use the scissor tool to cut out the empty parts of your audio regions and delete them with the backspace key.
How do I make more precise fades?Enable the click zone for the fade tool in the settings of Logic Pro X and drag the fades at the corners of the audio regions.
Can I listen to multiple tracks simultaneously in solo mode?Yes, you can activate multiple tracks in solo mode by first selecting them and then activating the solo function.


