The art of mixing often begins with a precise adjustment of the volume ratios. When working with Logic Pro X, you have the ability to focus on individual audio tracks and optimize the volume of specific sections. This guide will show you how to effectively balance volume fluctuations within your audio tracks to create a harmonious sound experience.
Key Insights
- The volume of individual regions can be adjusted precisely using the level fader.
- The scissor tool allows you to make precise cuts to edit specific parts.
- The volume can be dynamically changed to achieve a consistent sound profile.
- Multiple regions can be edited simultaneously, making the editing process more efficient.
Step-by-Step Guide
First, it is important to know that there are various methods to adjust volumes in Logic Pro X. The simplest way is to directly change the volume level of individual regions. Let's start with a practical example.
Step 1: Identifying the critically loud region
Before making any changes, listen to your track and identify the areas where the volume is too high. In our example, we are listening to a guitar track that is louder at a certain point than at the beginning.
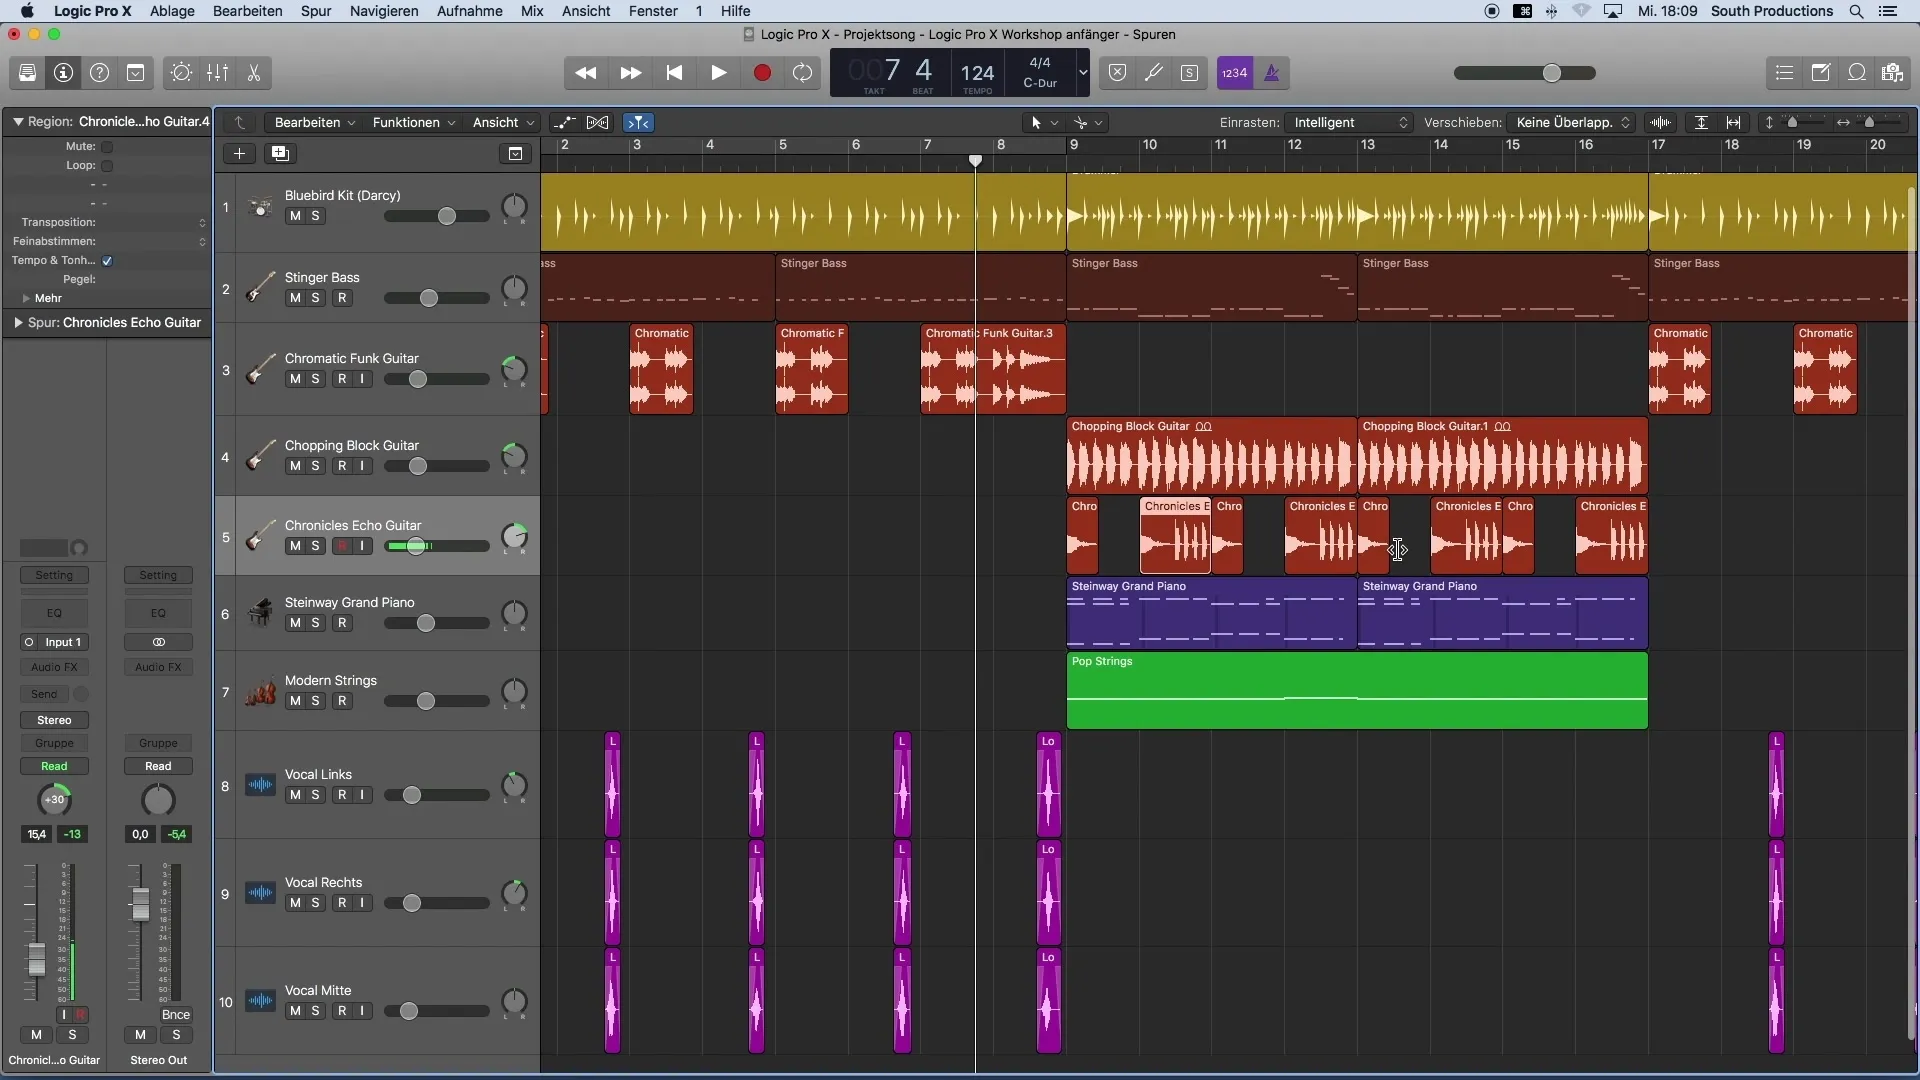
Step 2: Using the scissor tool
To change the volume of a specific part, you need to first cut the relevant regions. Select the scissor tool and make a cut at the desired location. Be sure to work as precisely as possible.
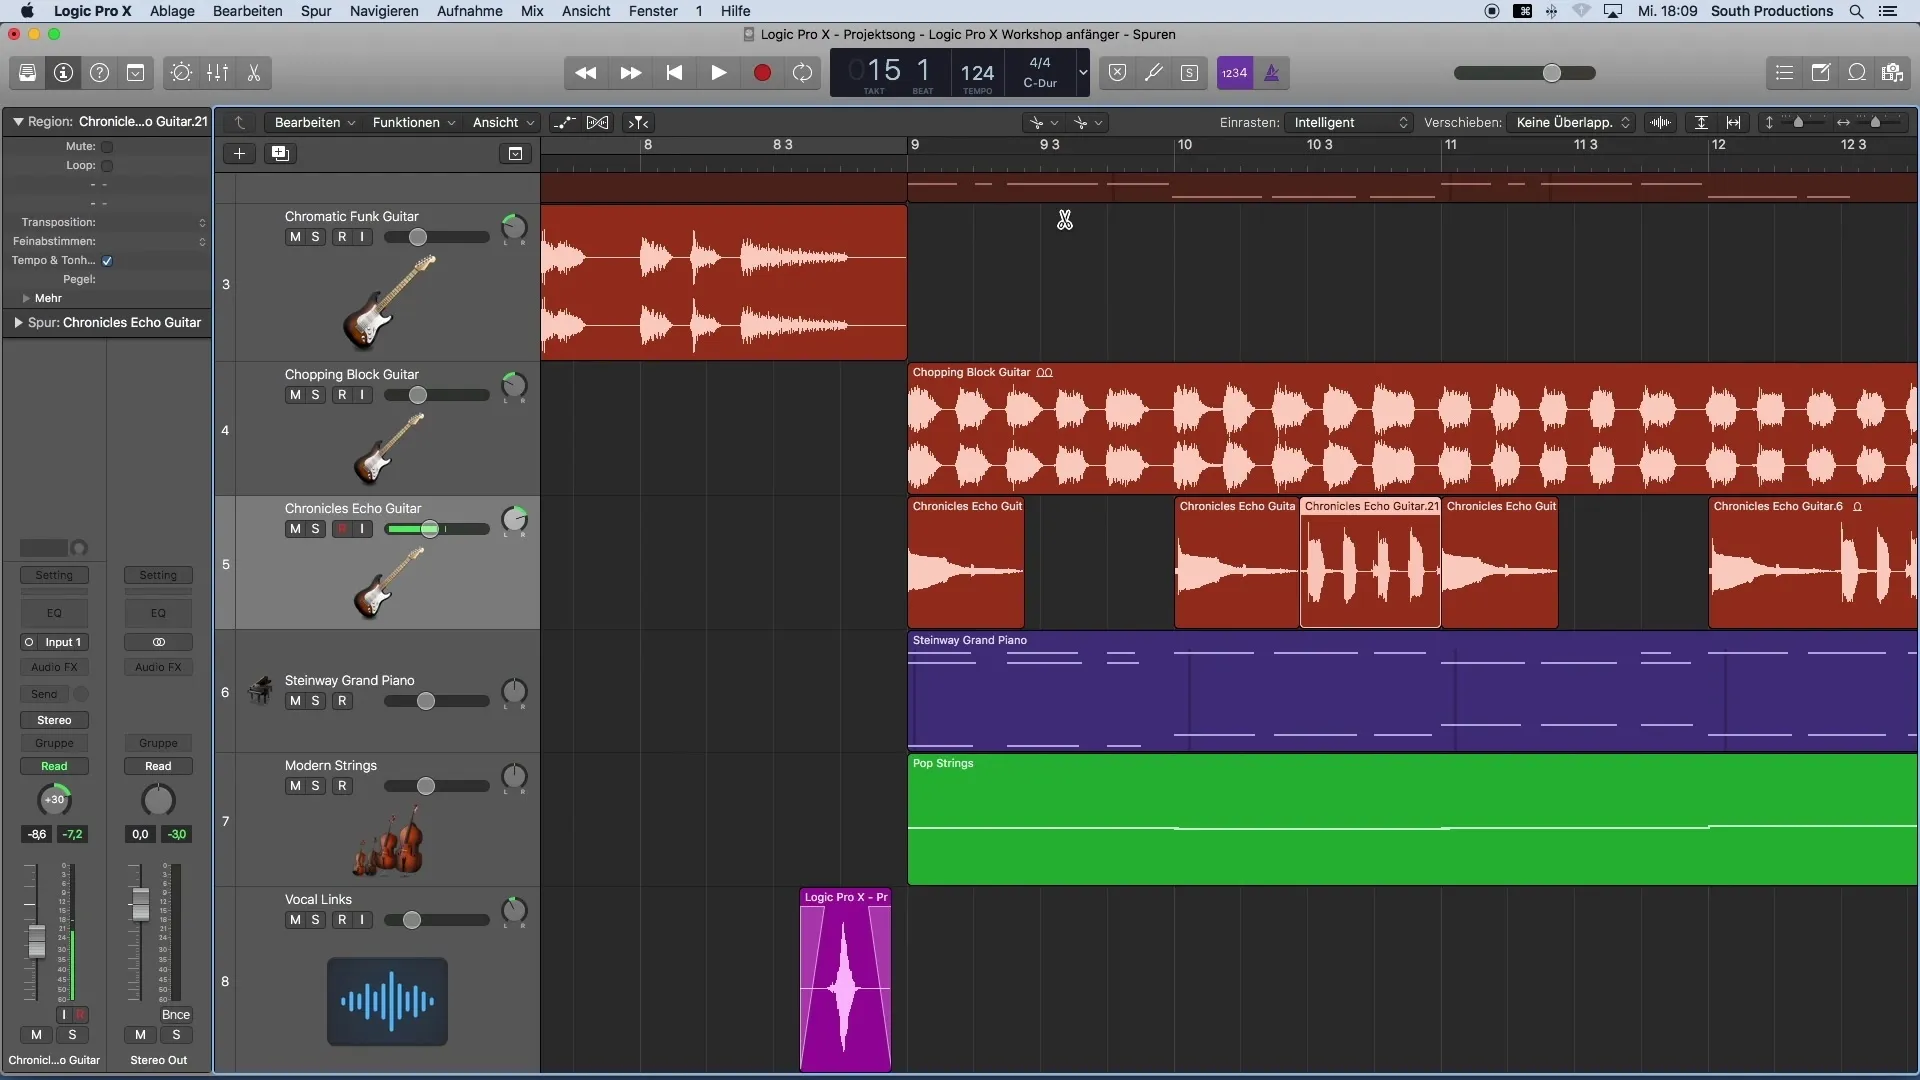
Step 3: Adjusting the cut
It is important to ensure that the cut is placed exactly where you want it. Zoom into the middle of the cut and move it as close as possible to the adjacent regions.
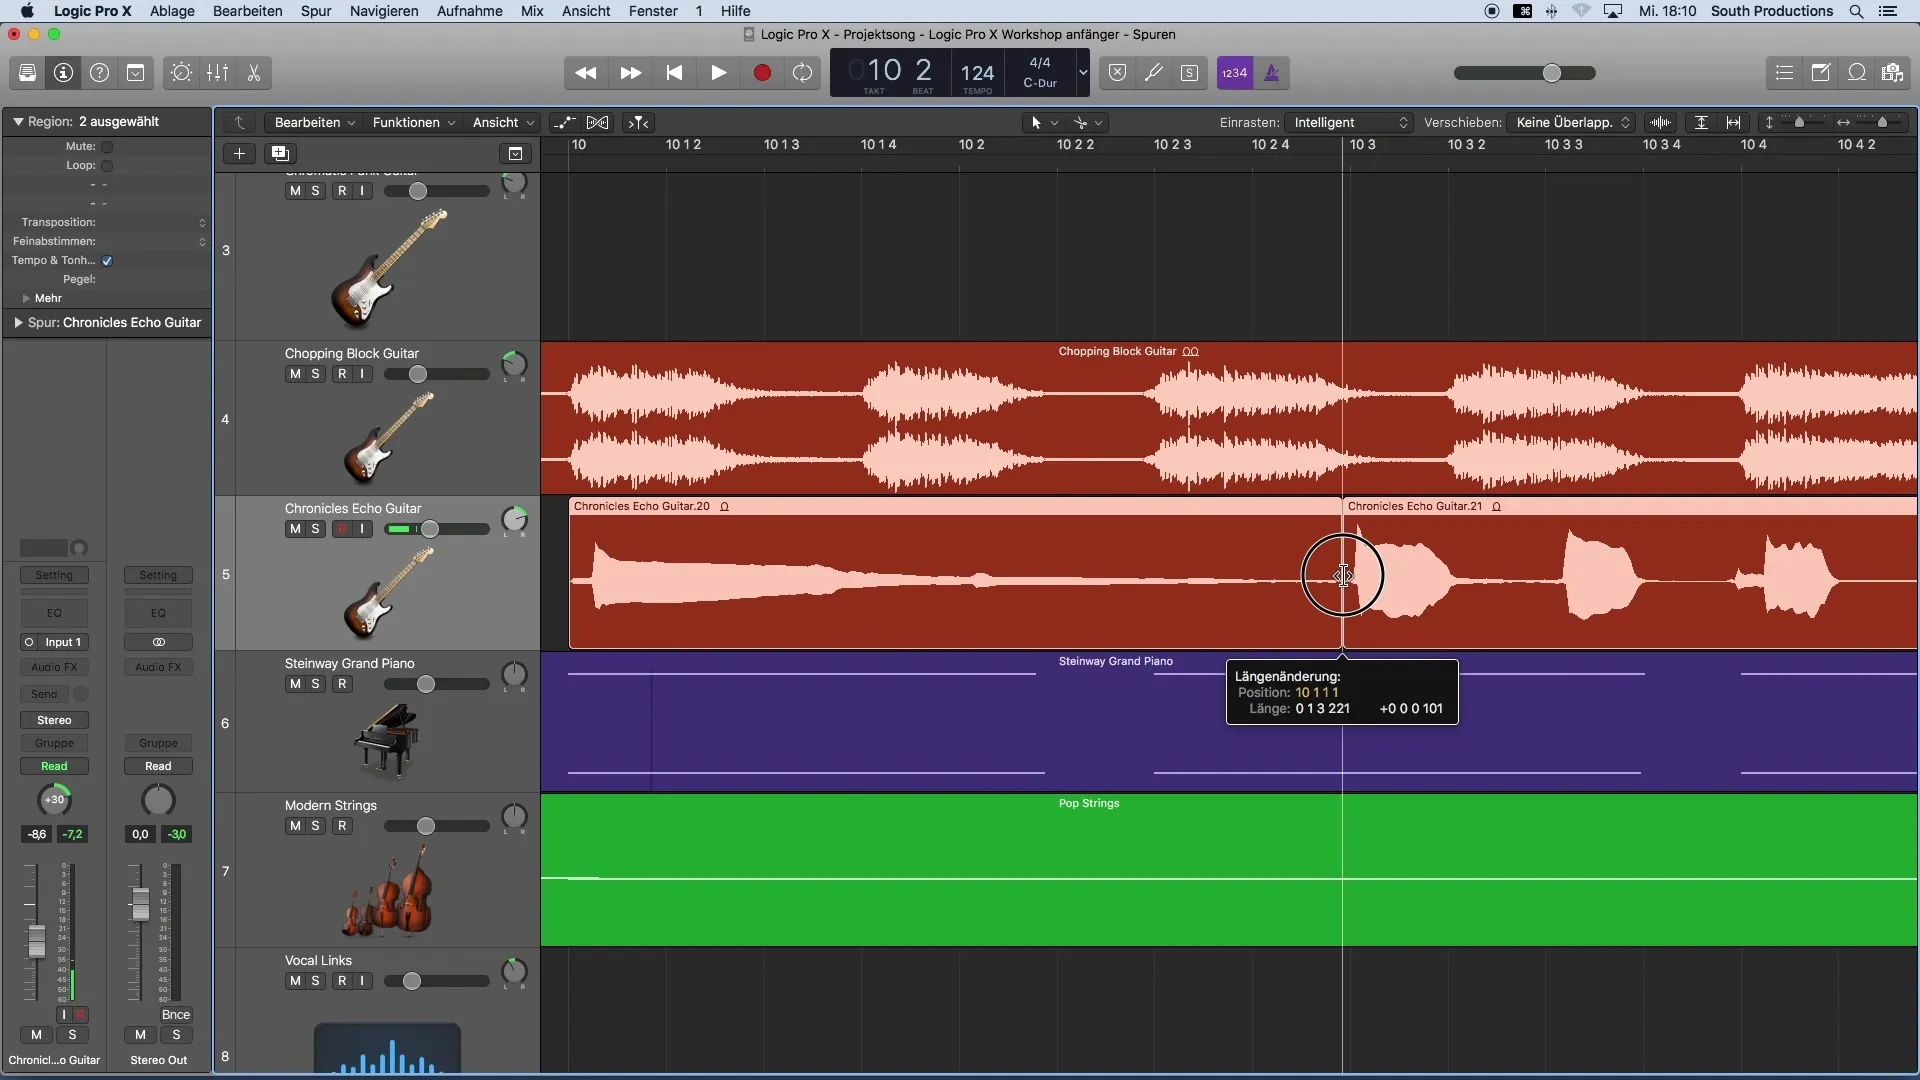
Step 4: Selecting the region
Once you have cut out the region, select it. You can do this by simply clicking on it. After selecting, open the inspector to modify the level for this specific region.
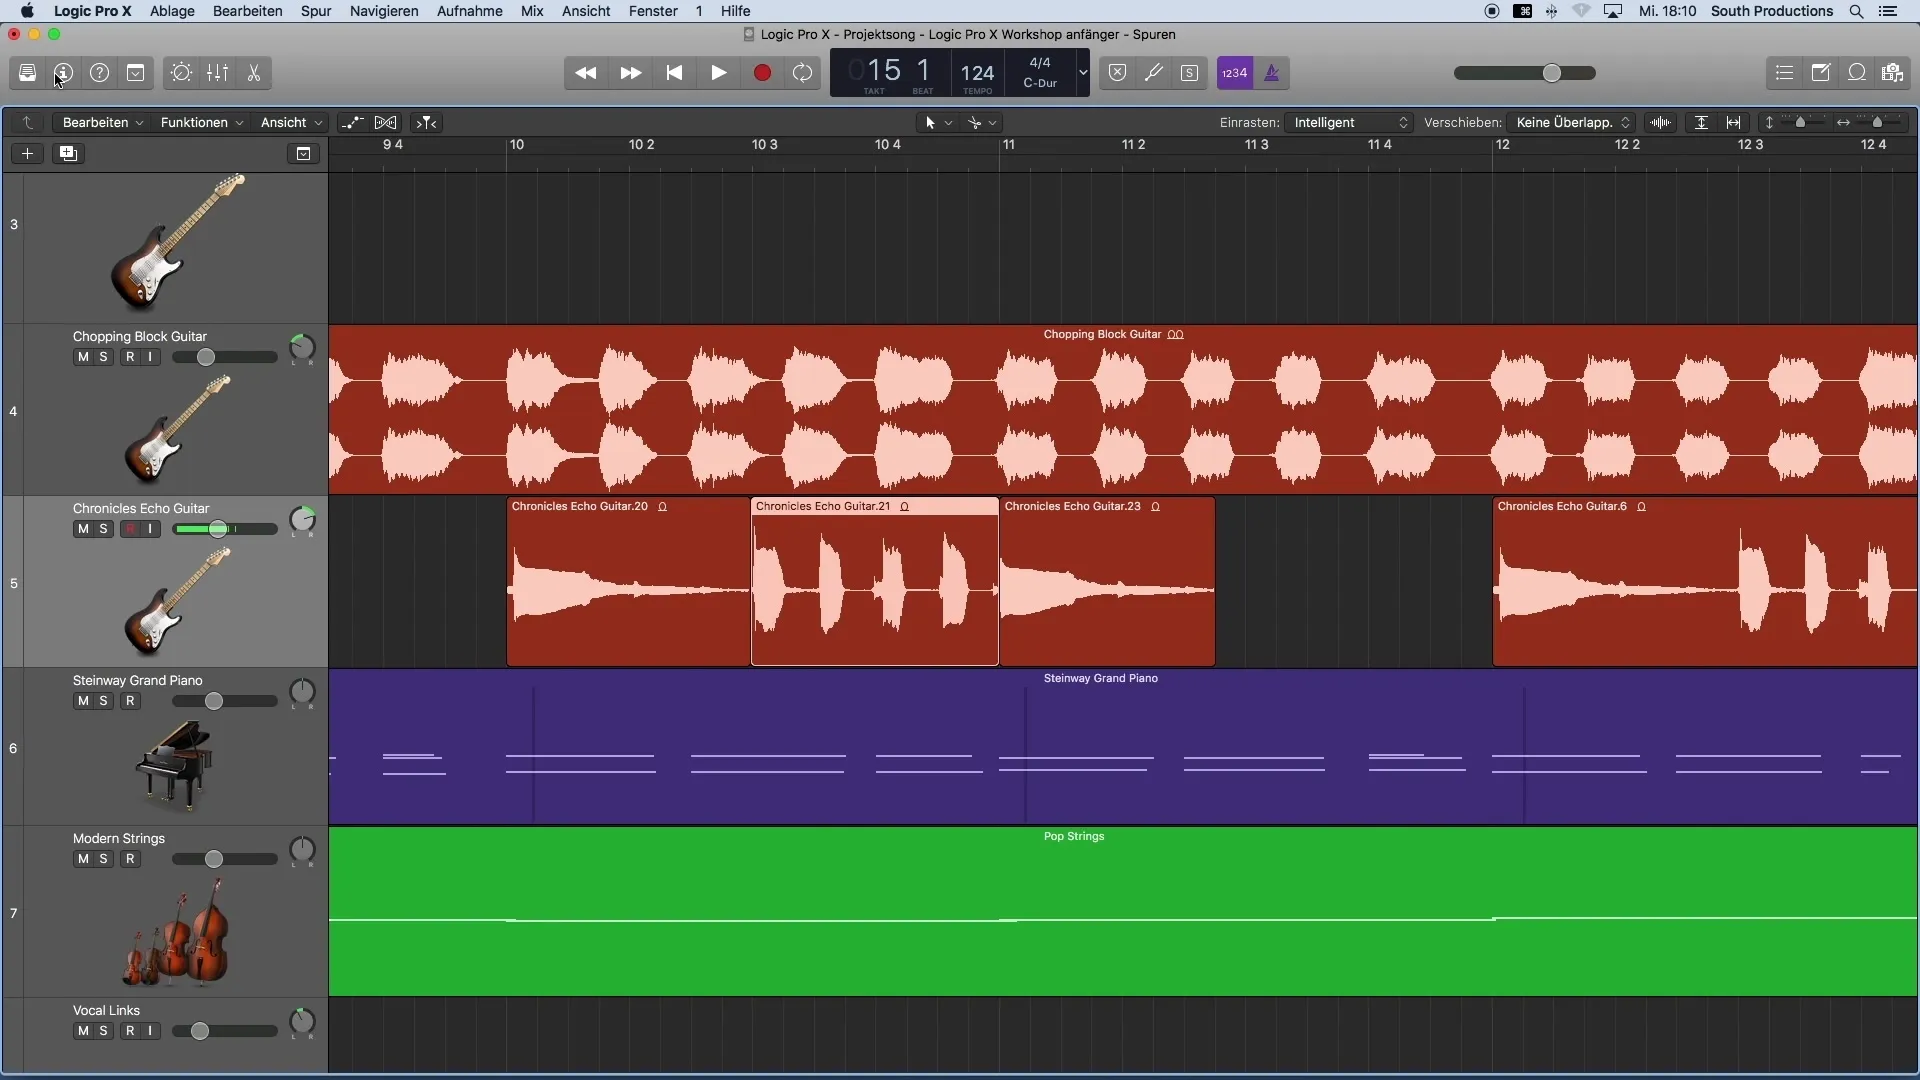
Step 5: Level adjustment in the inspector
In the inspector, you will find the level fader. Double-click in the field and enter the desired value for the volume (e.g. -5 dB). Logic Pro X will immediately adjust the volume of the selected region.
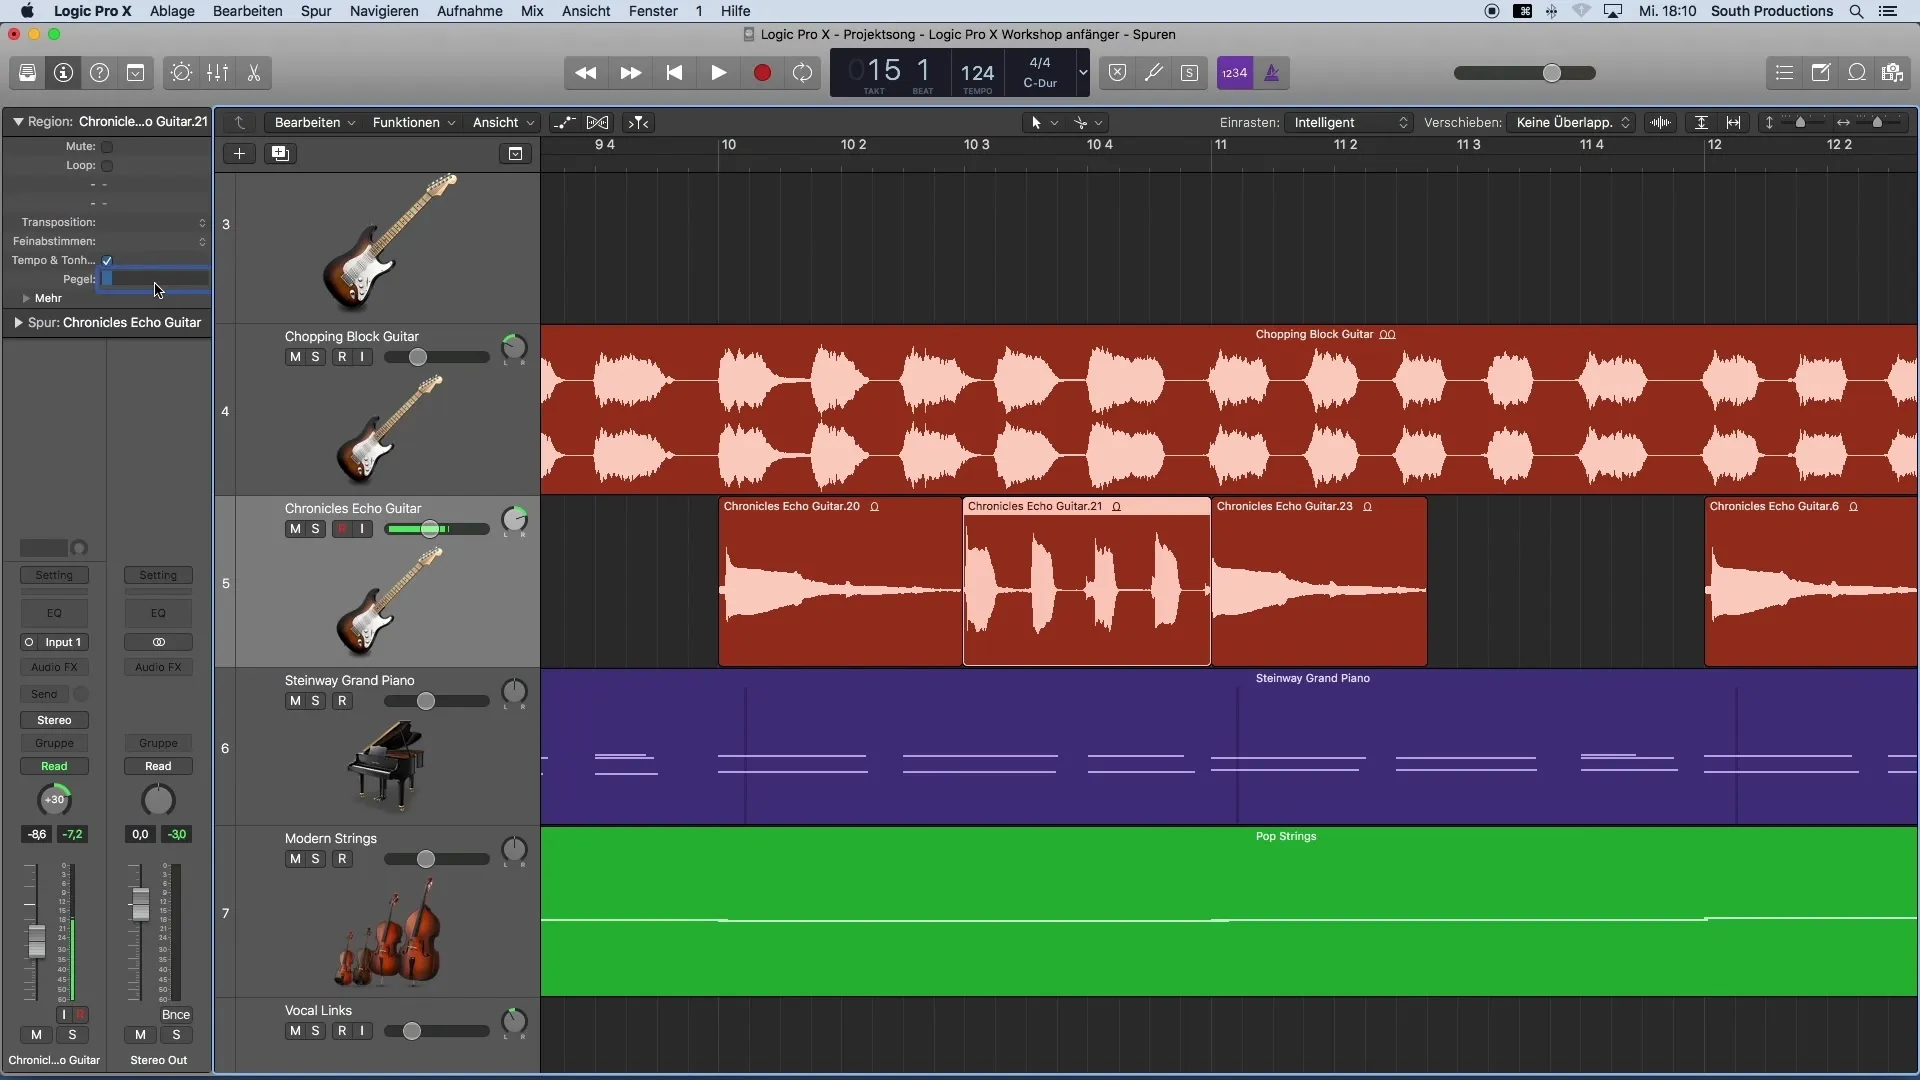
Step 6: Testing the adjustment
Let's now listen to the changes. It can be helpful to not only visually check the volume but also musically test whether the new level fits with the other regions.
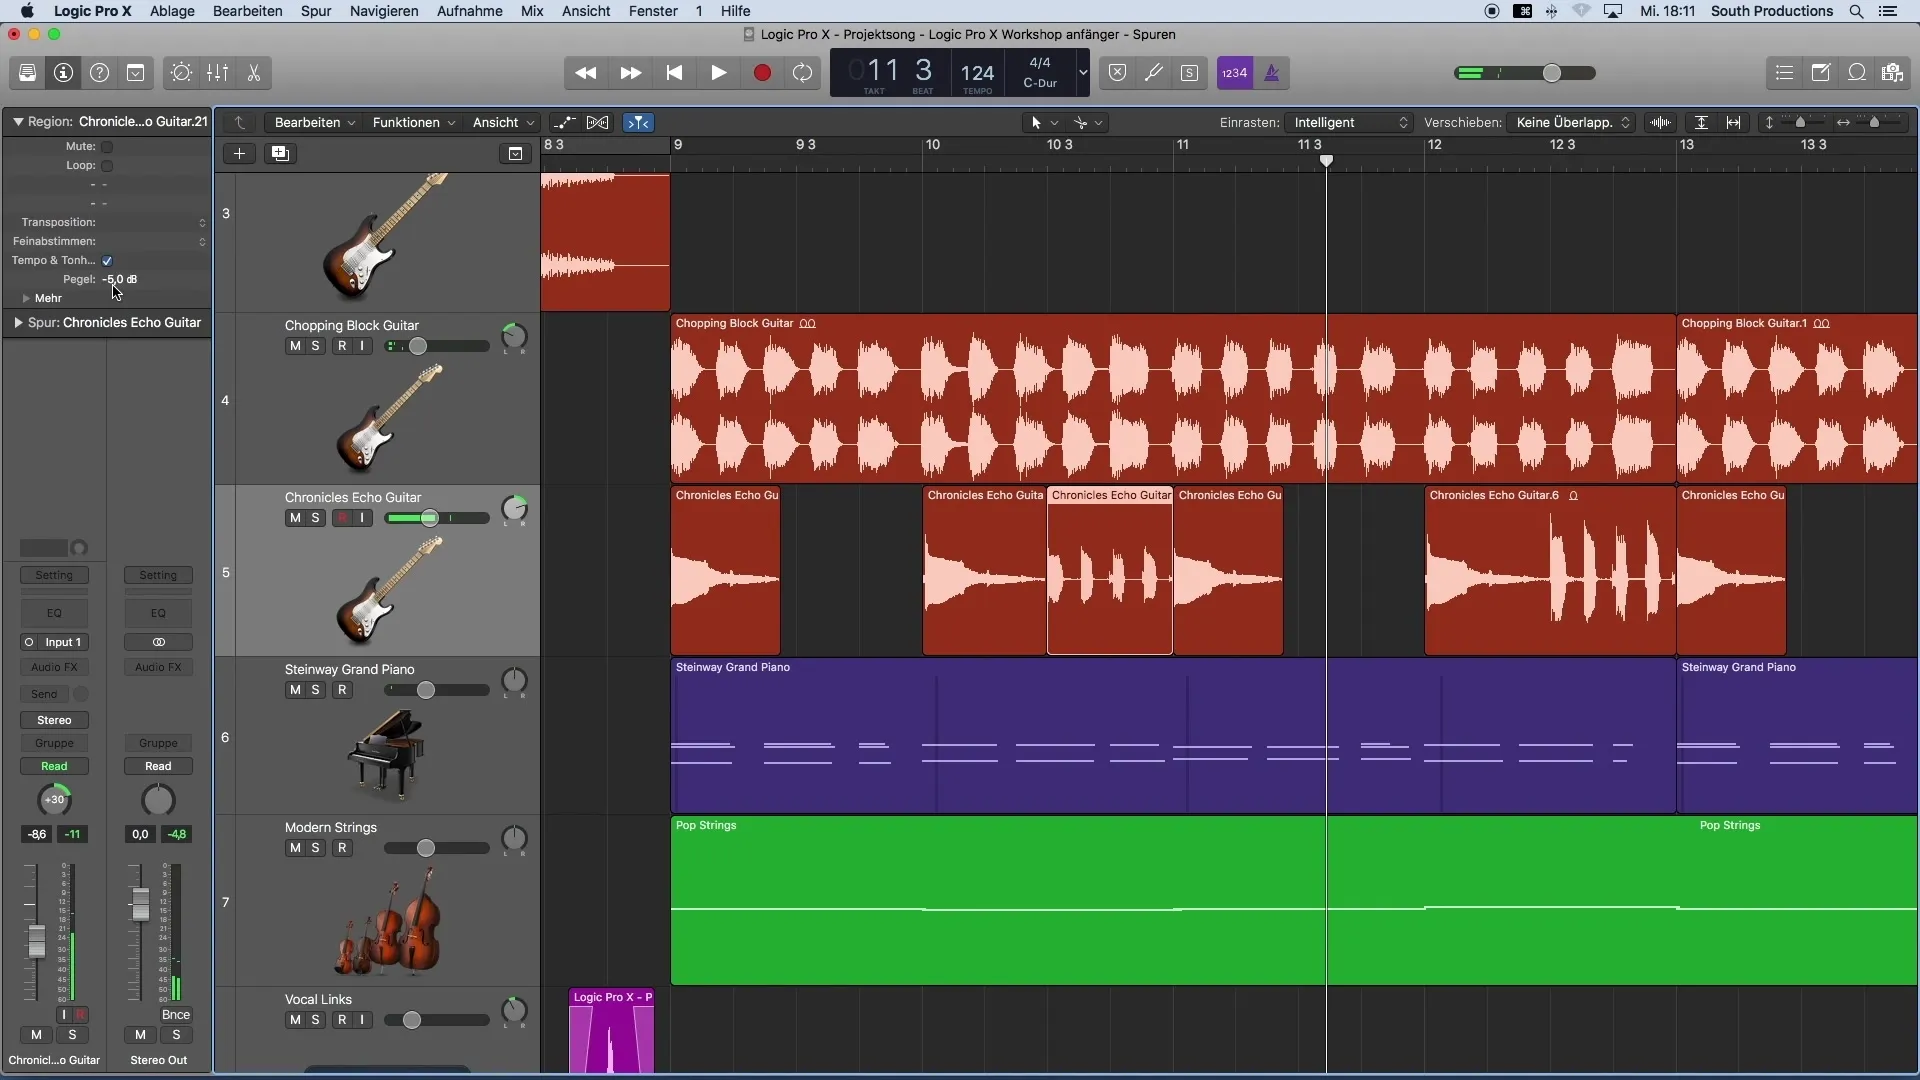
Step 7: Dynamic volume adjustment
You can also dynamically adjust the volume by holding down the left mouse button and dragging the mouse up or down. This allows you to make fine adjustments and balance the volume effectively.
Step 8: Efficient work through copying
If you are working with multiple similar regions, you can copy the edited region and apply it to the other parts. To do this, remove the unwanted regions and paste the edited region in the desired location.
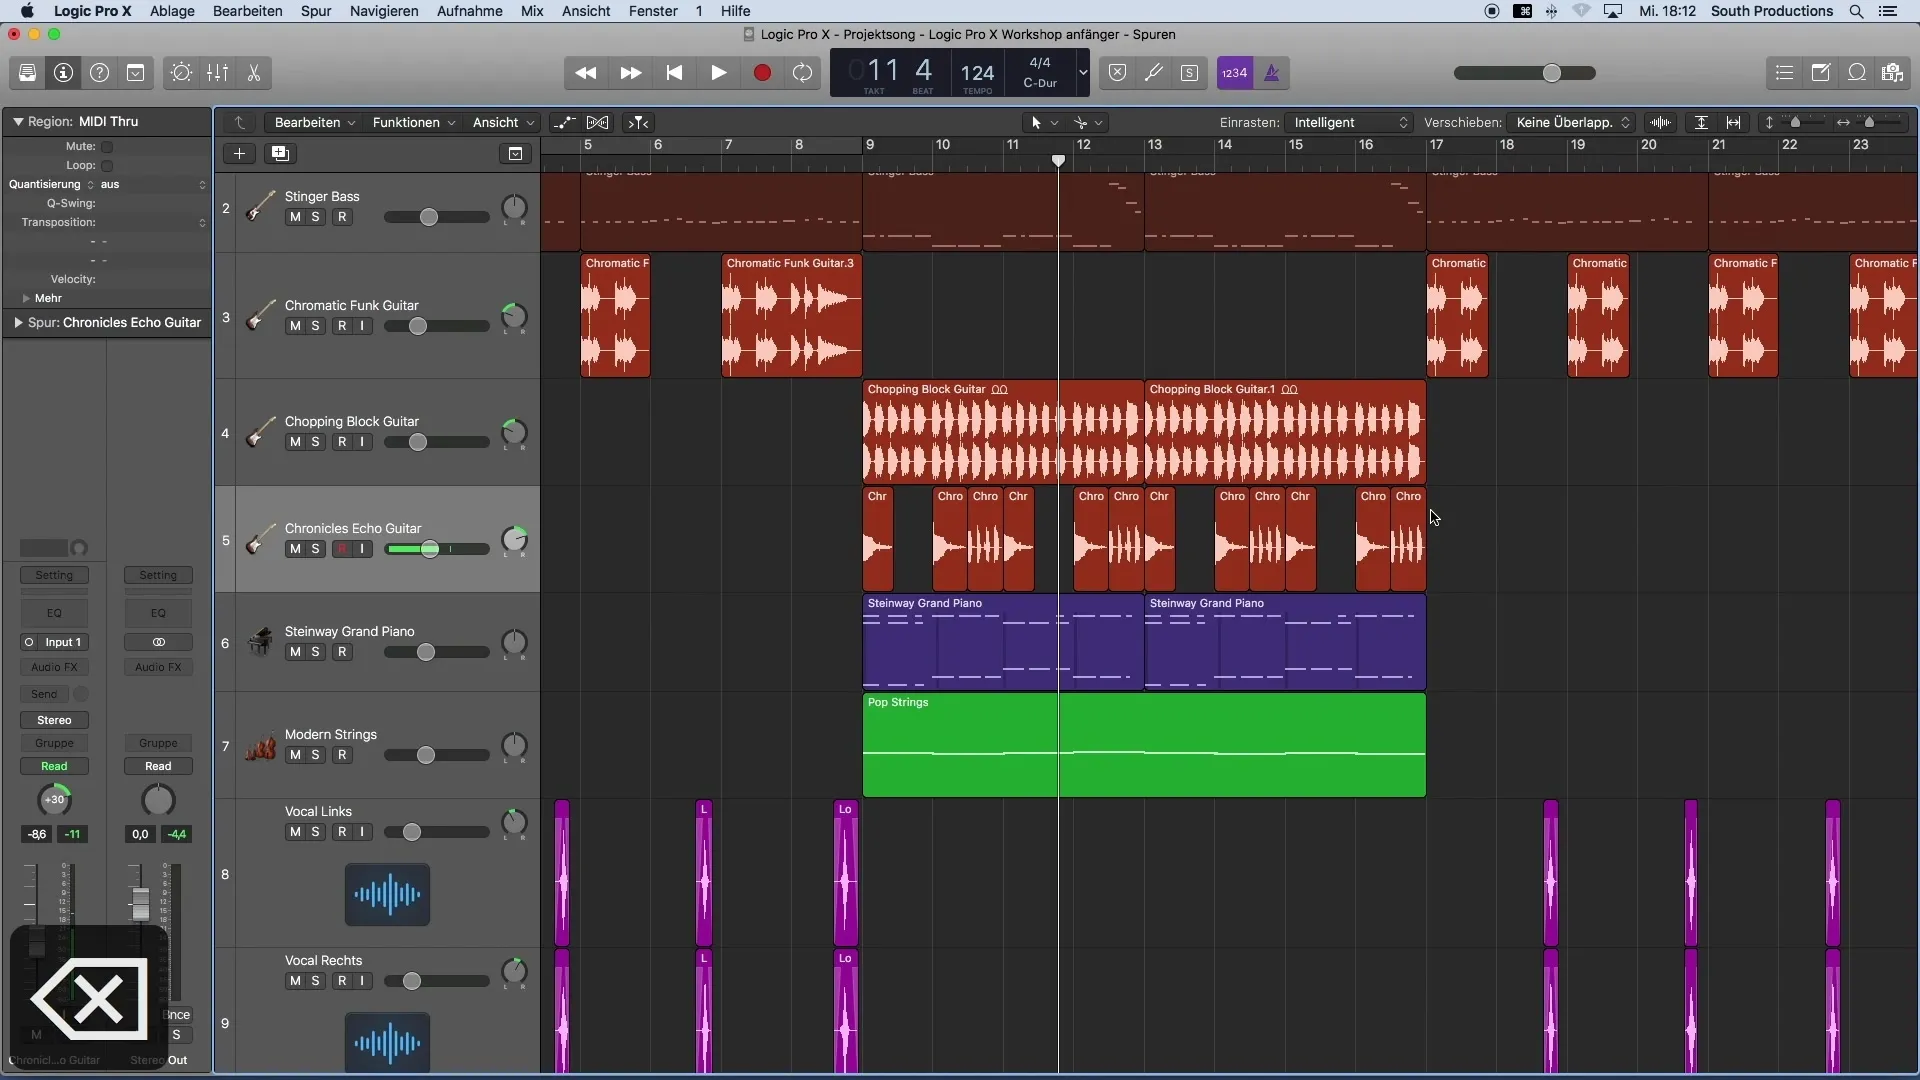
Step 9: Volume adjustment for additional regions
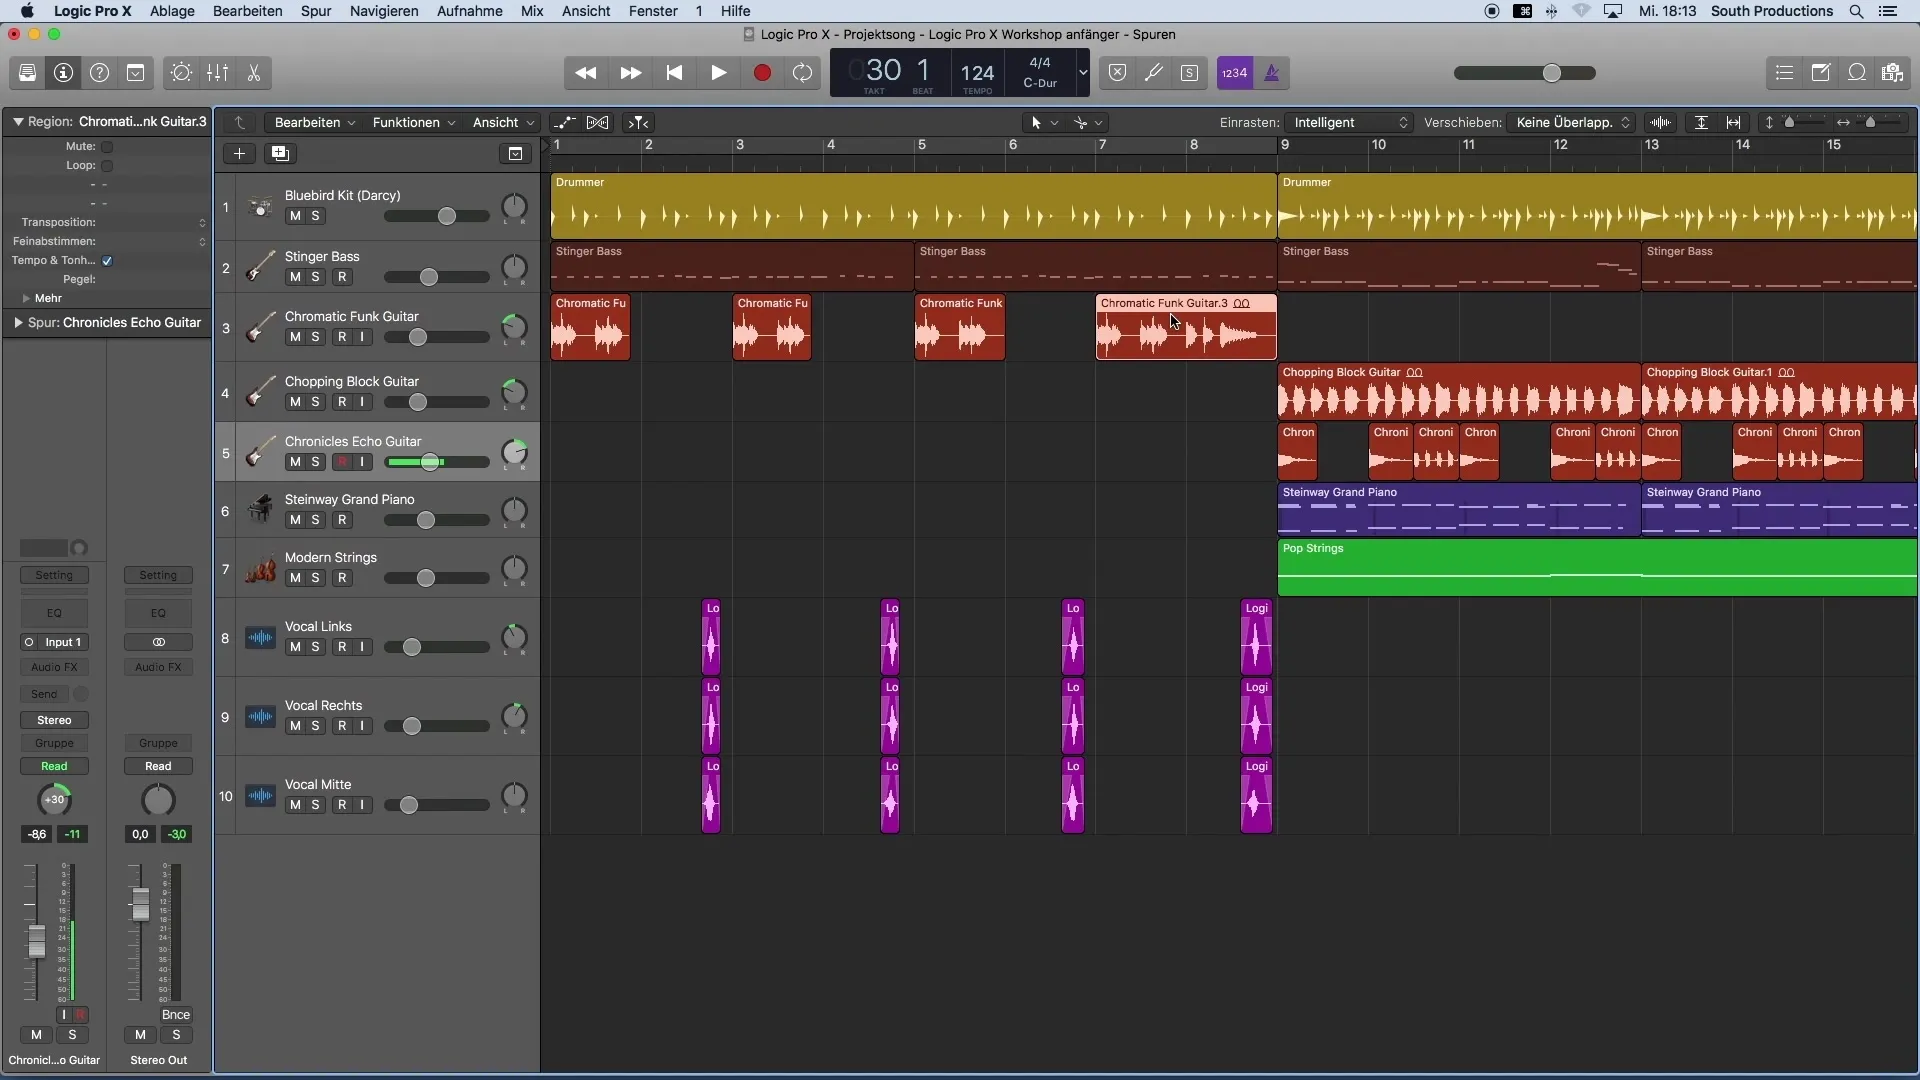
Apply the same process to other parts of the track as well. Make sure you always mark the correct regions to keep the volume adjustments consistent.
Summary
In this guide, you have learned how to effectively adjust volume levels in Logic Pro X. By using the Scissors tool and the Inspector, you have the ability to make targeted adjustments that ensure a balanced mix. With these techniques, you can not only change the volume of individual regions but also enhance the overall quality of your music productions.
Frequently Asked Questions
How can I adjust the volume of a region?Select the region, open the Inspector, and change the level.
Can I adjust multiple regions at once?Yes, hold the Shift key and select multiple regions before making the adjustment.
What is the advantage of the Scissors tool?The Scissors tool allows precise cuts to edit specific parts of an audio track.
What should I do if I am not satisfied with the volume?You can re-select the region and adjust the volume to your liking.
How can I best hear my changes?Use the playback function in Logic Pro X to hear the adjustments directly in the context of the music.


