Project management not only requires precise planning, but also regular evaluation of progress. When working with Microsoft Project, you can use a few clicks to analyze and visually represent the current status of your project. This guide helps you efficiently and easily master this task, so you always have a clear overview of your project.
Key Insights:
- Microsoft Project offers various ways to analyze project progress.
- You can use different reports and graphics to visualize the data.
- Standard reports are often sufficient, custom reports are not necessarily recommended at the beginning.
Steps to Analyze Project Progress
Step 1: Enter Project Progress
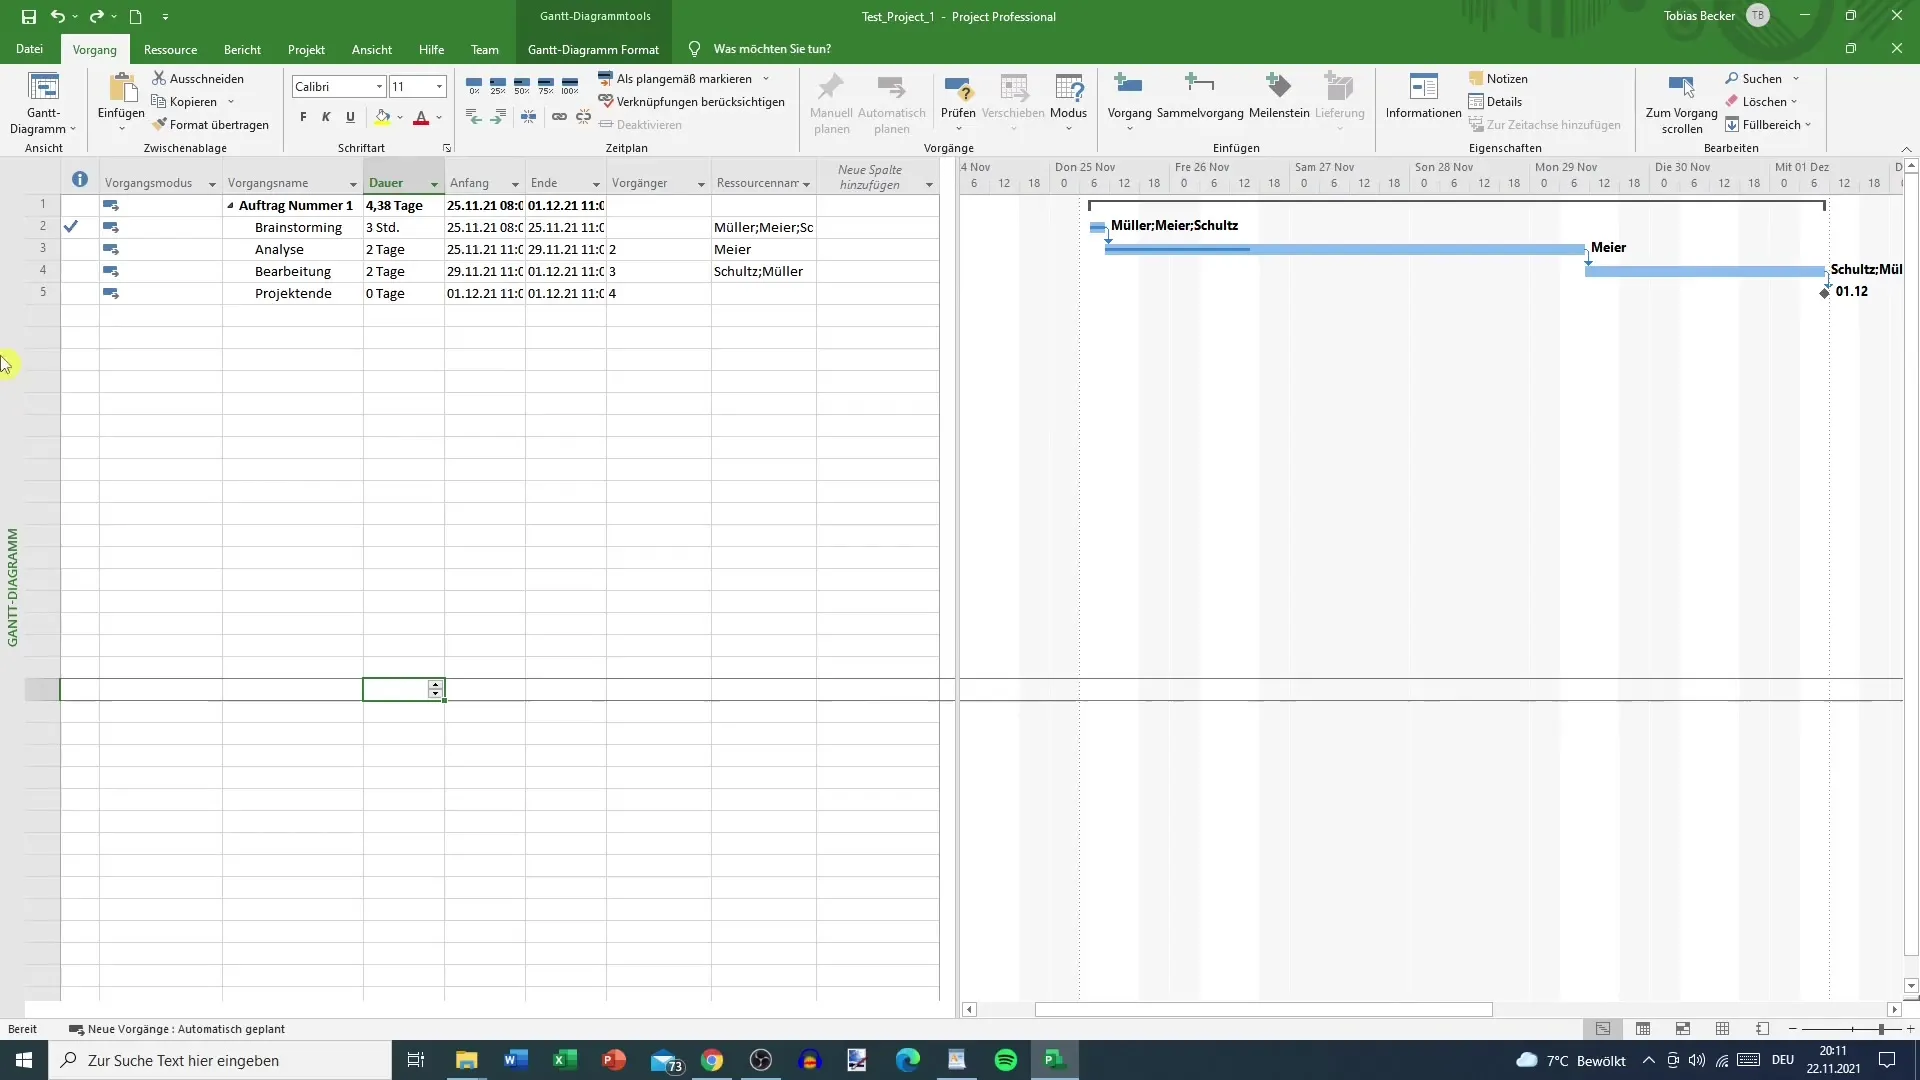
First, ensure that your project progress in MS Project is correctly entered. This is the cornerstone for any further analysis. Open your project and navigate to your current progress. Here you can review the progress on the graph.
Step 2: Use Diagram View
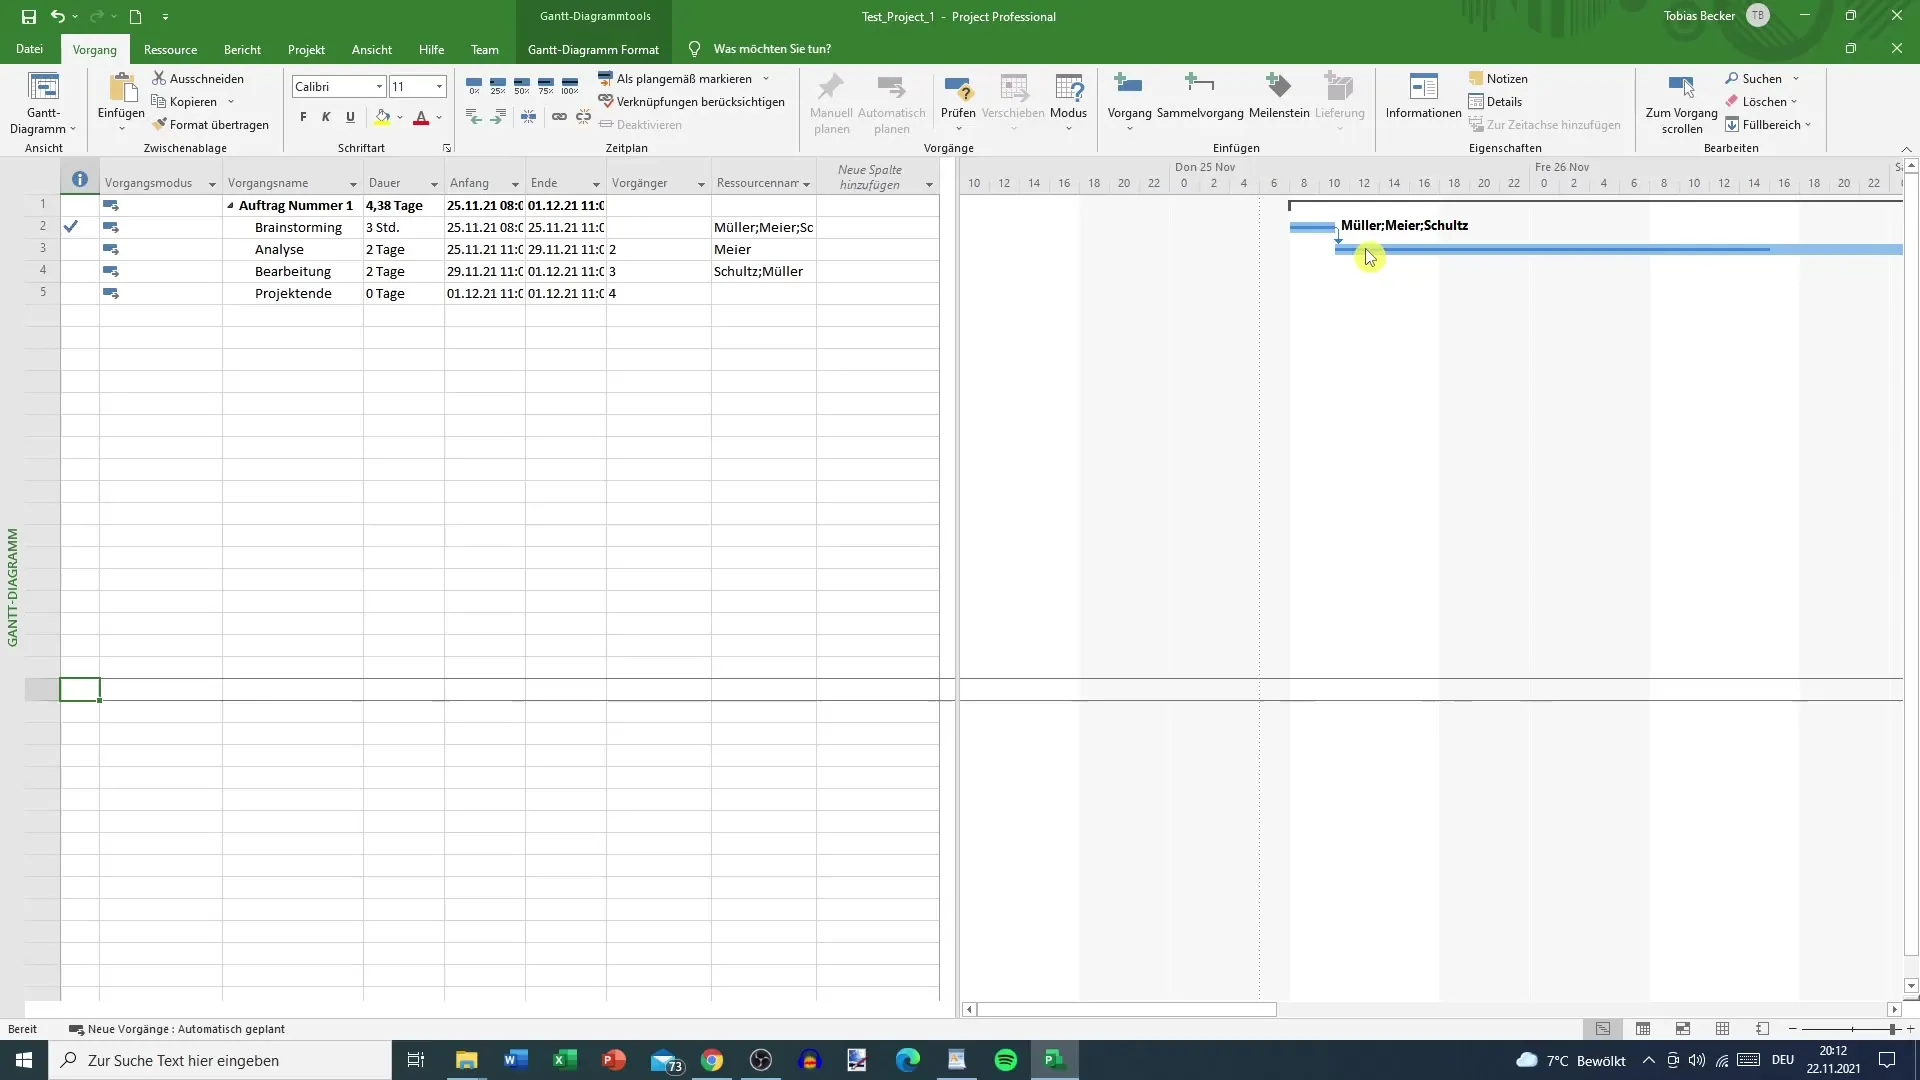
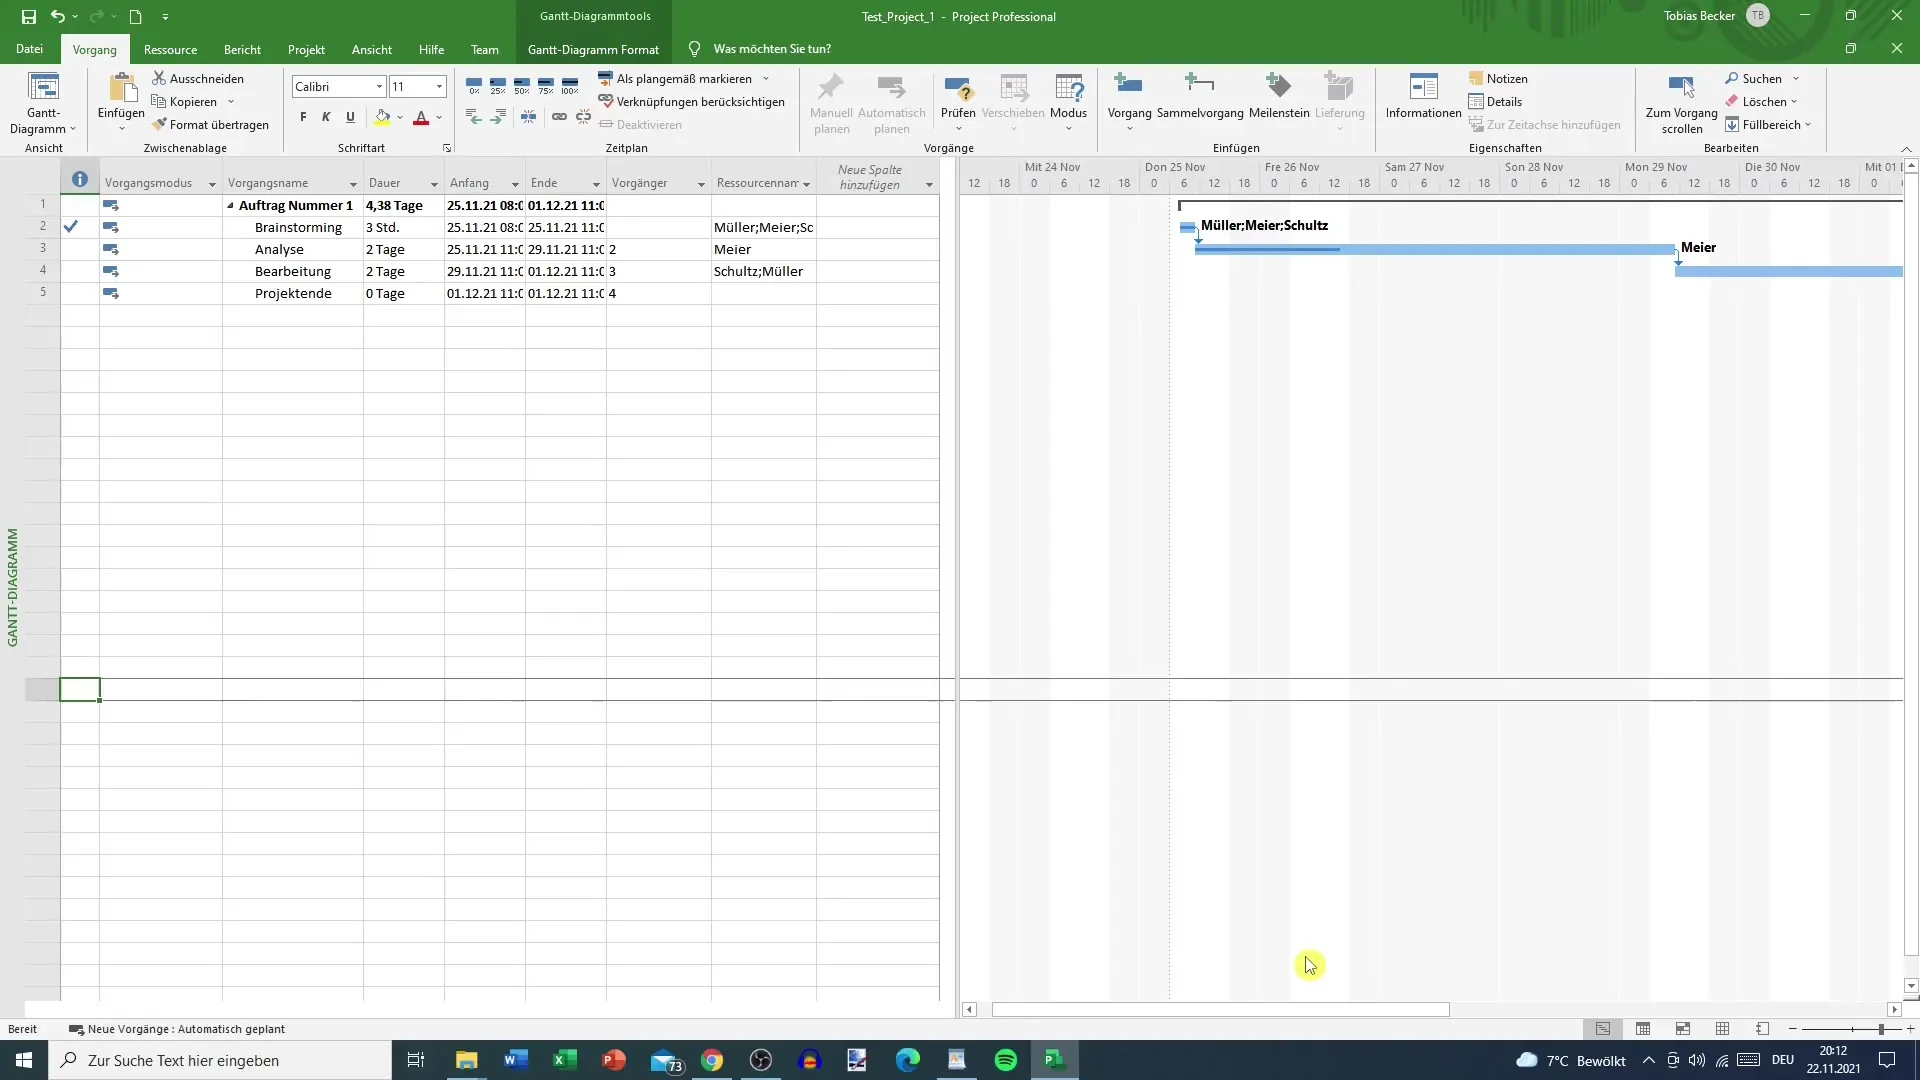
Switch to the overall diagram view to see the project as a whole. Make sure to zoom in on the specific progress point. The blue lines on the graph provide a visual representation of the planned and actual progress achieved.
Step 3: Visualize Progress
Now, you will see not only the actual progress line but also a thick blue line representing the current progress in a practical manner. This representation allows you to clearly identify deviations between the planned and current statuses.
Step 4: Create Reports
To obtain more detailed information on the progress, use the field "What do you want to do?". This helpful feature allows you to quickly and easily search for the needed reports. Enter "Progress" to display relevant reports for analysis.
Step 5: Select Reports
After displaying the progress reports, you will find various options for evaluation. Choose the reports that are relevant to your project. Frequently used options are "Status of Future Tasks" and AEL Analysis (Actual Effort).
Step 6: Visual Representation of Data
Examine the graphical representation within the reports specifically. These will help you present the extensive data in a simple and understandable way. Utilize the tables to determine the number of remaining activities and the current status of the project.
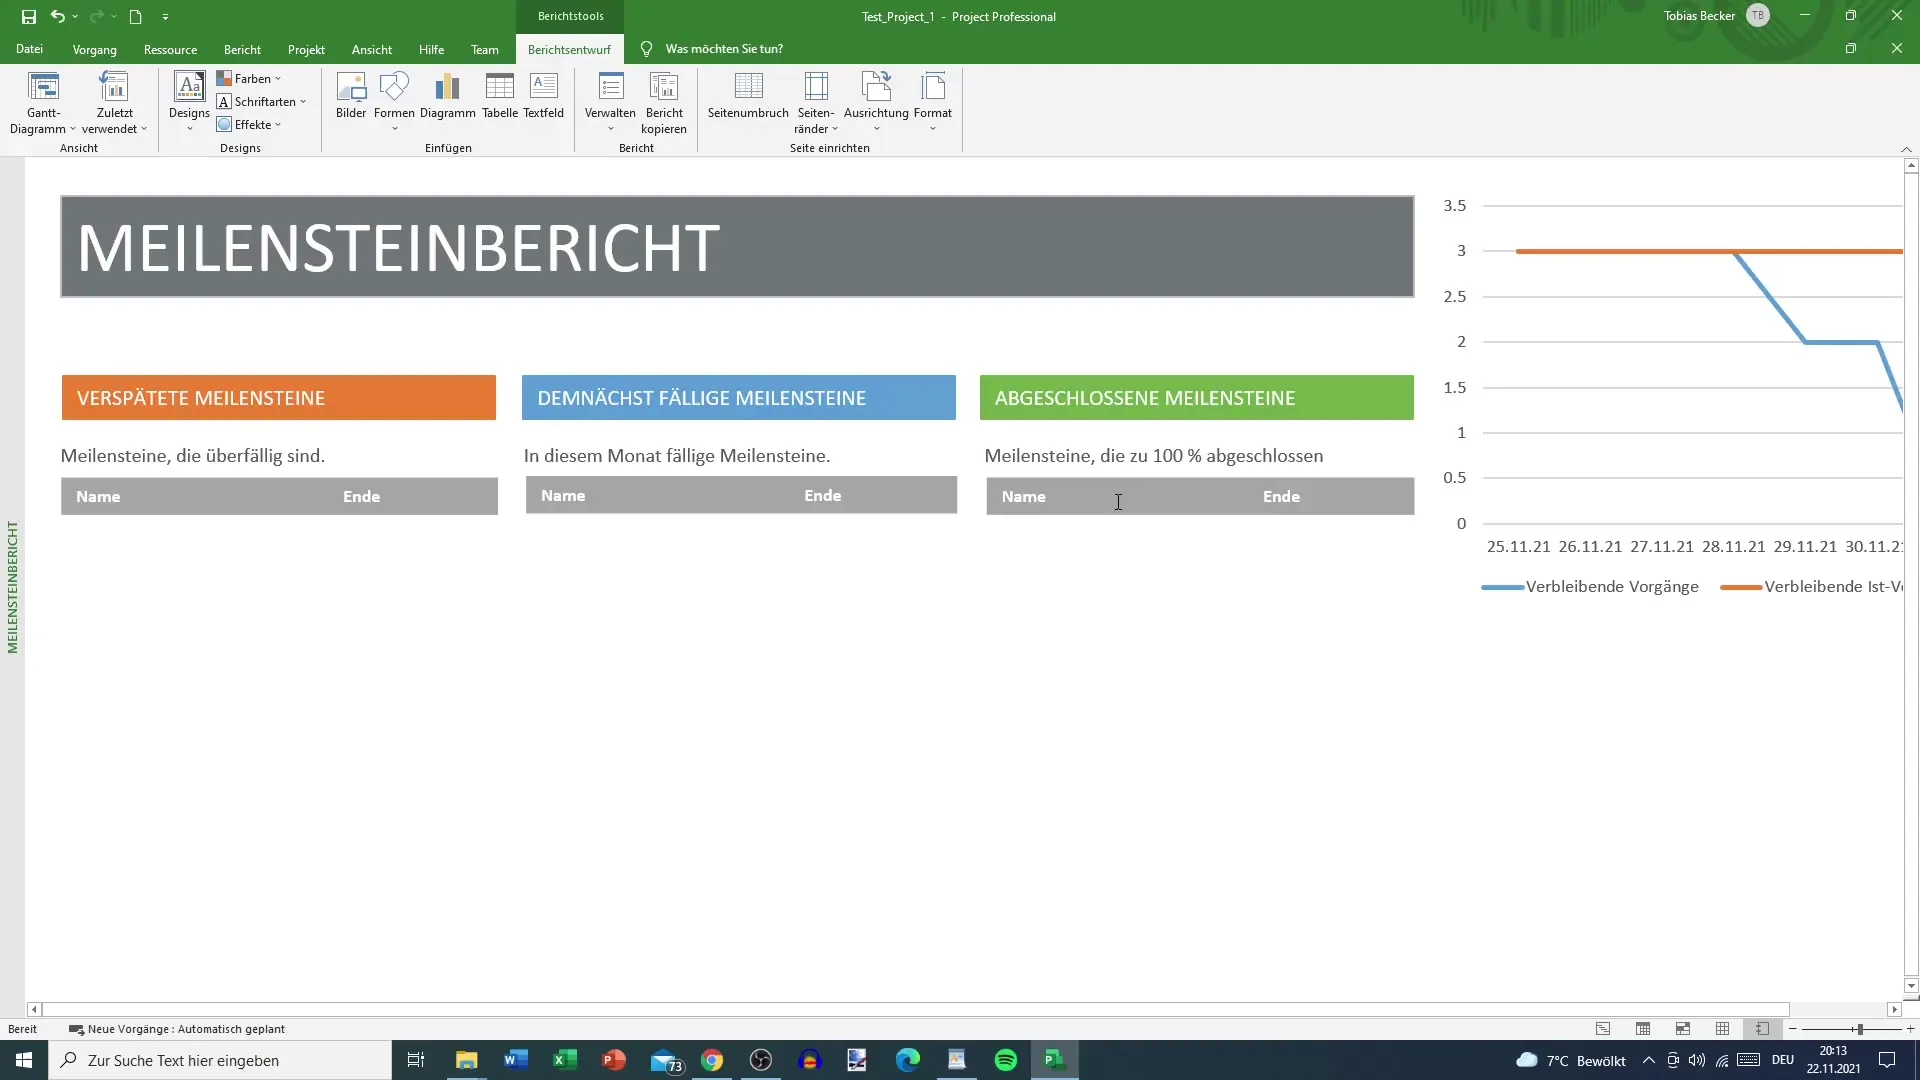
Step 7: Review Milestone Report
It is also advisable to review the milestone report, even if it may not be extensive in this case. Even with limited data, such reports can still provide useful information. You will also find the table with remaining tasks here.
Step 8: Explore Additional Reports
Under "Additional Reports," you can explore additional options for analysis. Although there are specific cost reports, they may not be necessary in the initial phase. Learning how to create custom reports can be beneficial, but standard reports should be primarily used in the beginning.
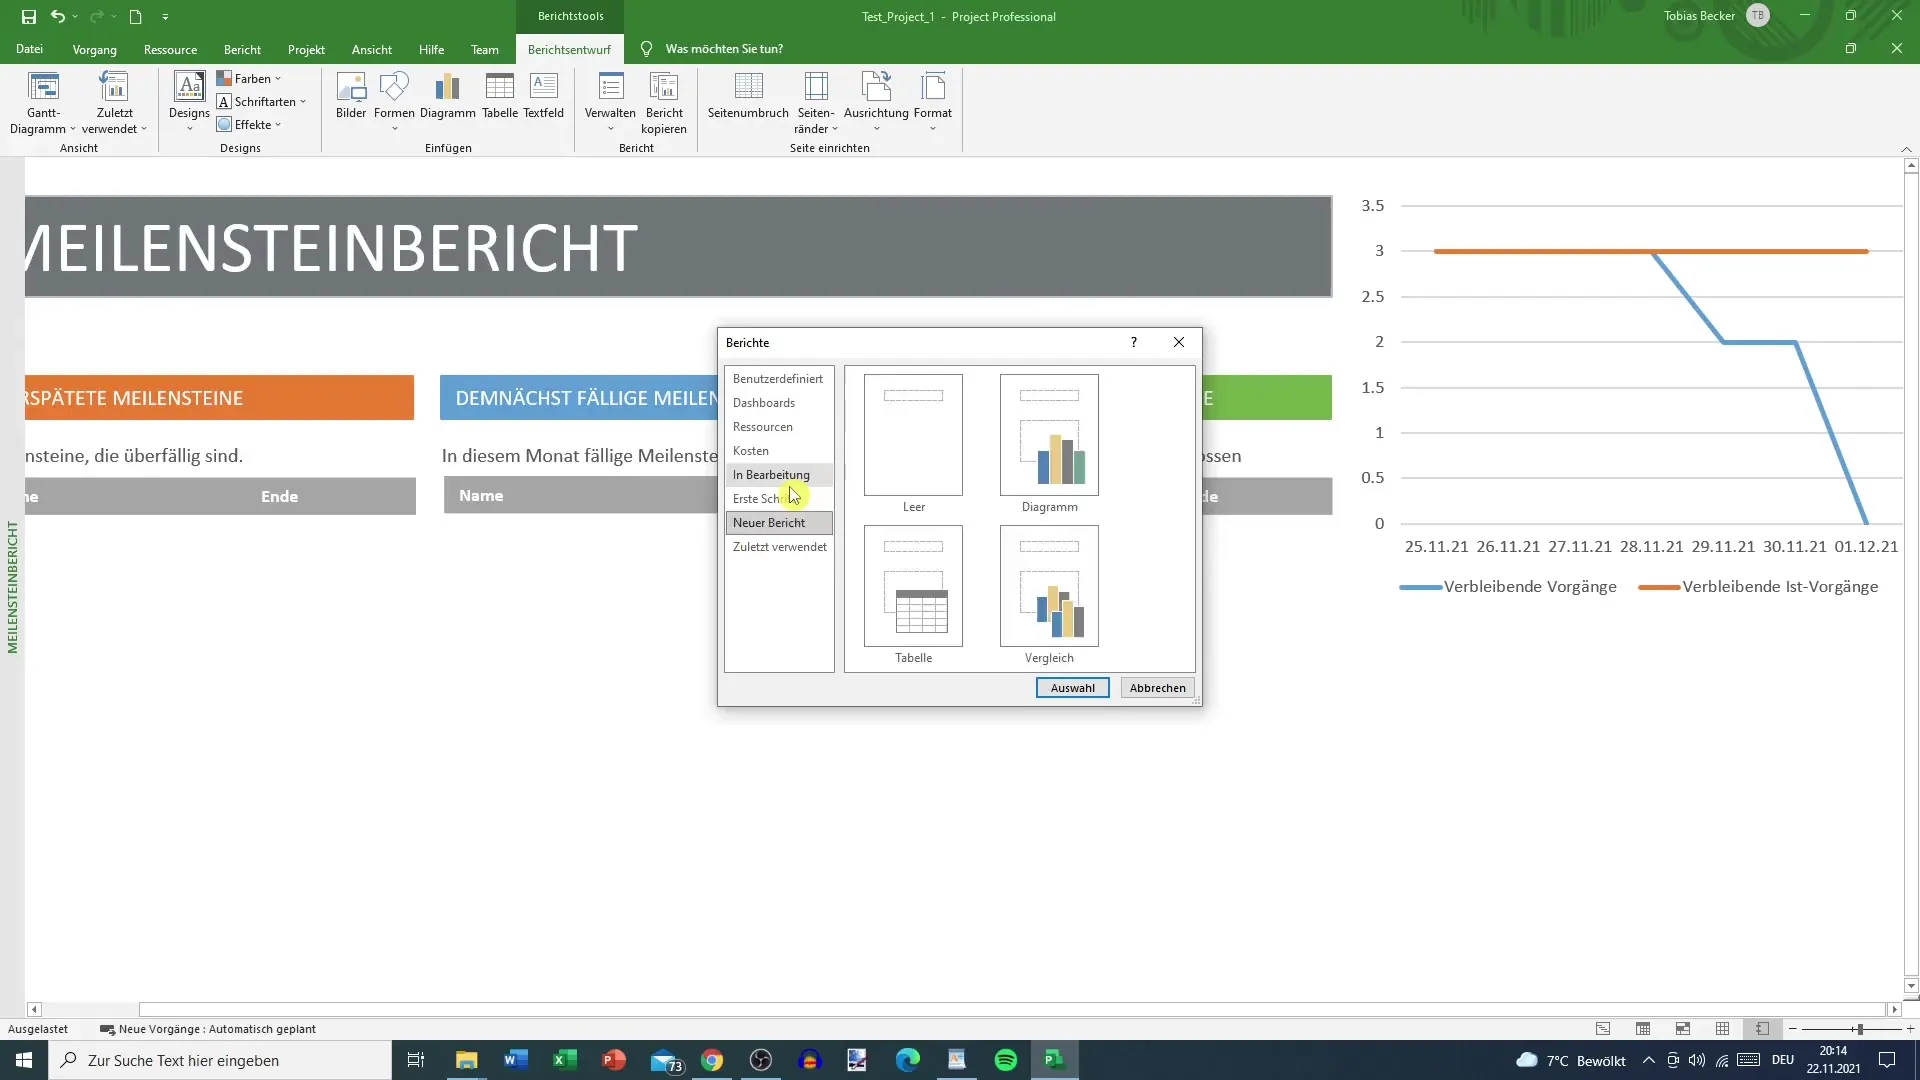
Step 9: Independent Report Creation
If you decide to create custom reports, be aware that this is not the primary choice initially. Prefabricated reports are usually sufficient and offer a solid foundation for your analyses.
Step 10: Saving the Results
After collecting all necessary information and creating the reports, it is crucial to save your project. This prevents the loss of vital data and ensures that you can track your progress at any time.
Summary
With the steps mentioned above, you can efficiently analyze the progress of your project in Microsoft Project. Use the available reports and graphics to get a comprehensive view of the status of your project and quickly identify common deviations.
Frequently Asked Questions
How do I enter the project progress in MS Project?You can enter the project progress directly in the chart or in the temporal tasks in Microsoft Project.
How do I find the required reports in MS Project?Use the "What do you want to do?" field to quickly search for specific reports.
Are custom reports necessary?In most cases, the pre-built standard reports are sufficient, independent reports are not necessarily recommended for beginners.
Can I represent reports graphically?Yes, the progress reports can be visually presented to provide more clarity to the data.
How do I save my progress analyses?Don't forget to regularly save your project to secure your analyses and progress.
