I have a calendar here with a table where all my dates are entered, i.e. the days.
Sometimes I need just such a table, for example in a web page or in another image or, or, or.
How do I export this table?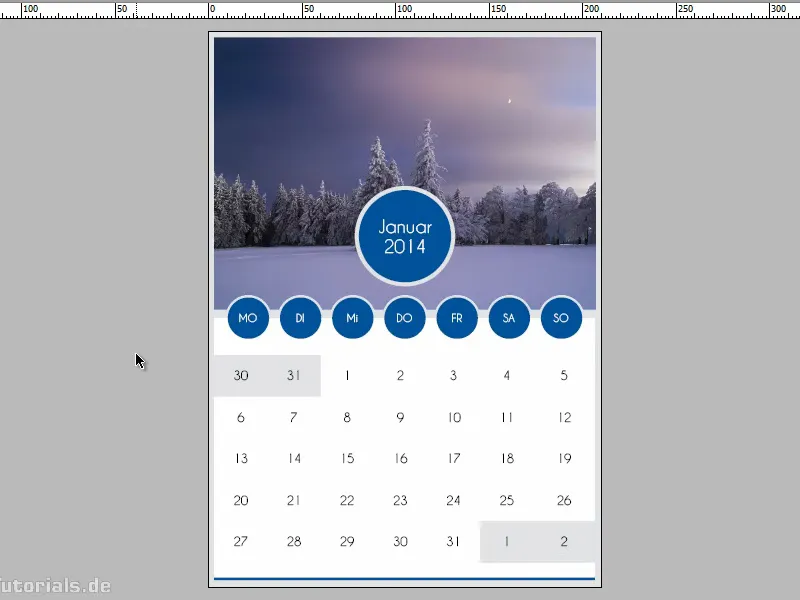
Step 1
I click on the table, which is in a text frame, and then I go to File>Export.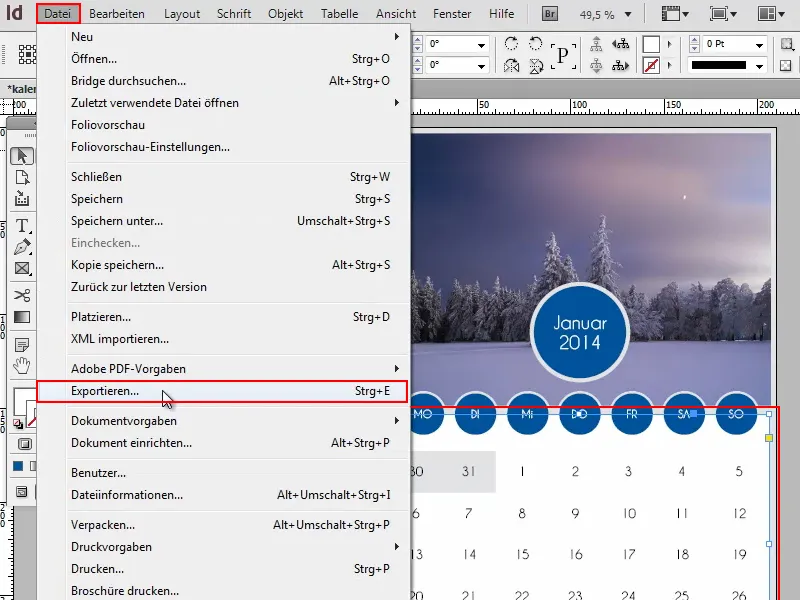
Step 2
I give the object a name, here "calendar" and then I can select File type: PNG. With PNG I have the option of including transparencies.
Then I click on Save...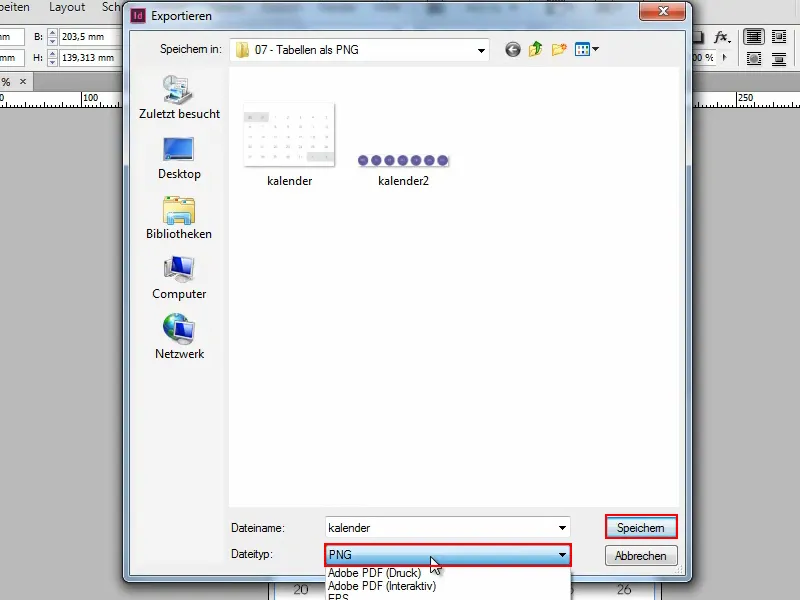
Step 3
... and get all kinds of setting options:
It is important that I click on the selection under Export, because then only what is selected will be exported. Otherwise I would export the entire layout including the image etc.
And then you can specify what the quality should be under Image. I select Maximum, for printing.
Then I can specify the resolution (ppi). Since I want to print the thing, I enter 300. Otherwise 72 is also sufficient for screen.
Then I can also say whether RGB or gray.
And if the transparencies are to be taken into account, I have to check the Transparent background box.
I always find smoothing the edges a good idea and then I click on Export.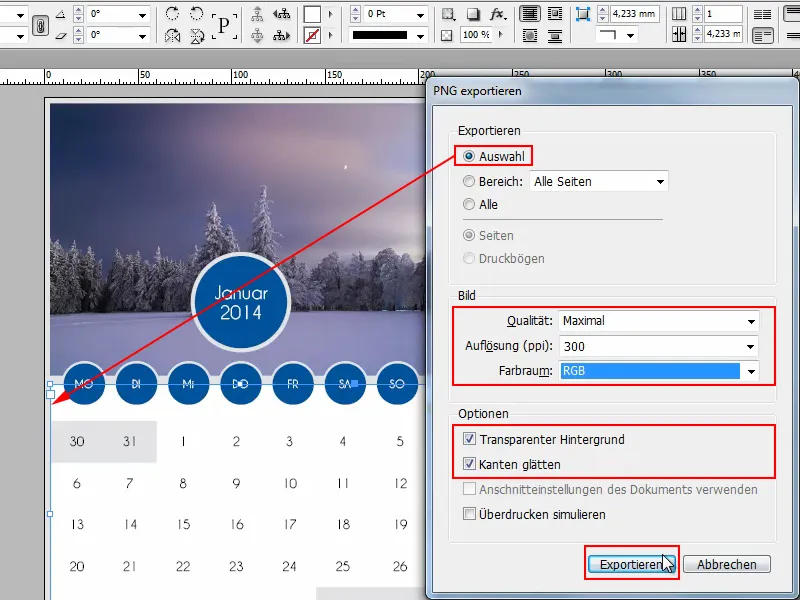
Step 4
Then I go to File>Open in Photoshop and take a look at the table. I get it in a good resolution.
At 100% it looks like this. All nice and smooth, that's what I wanted.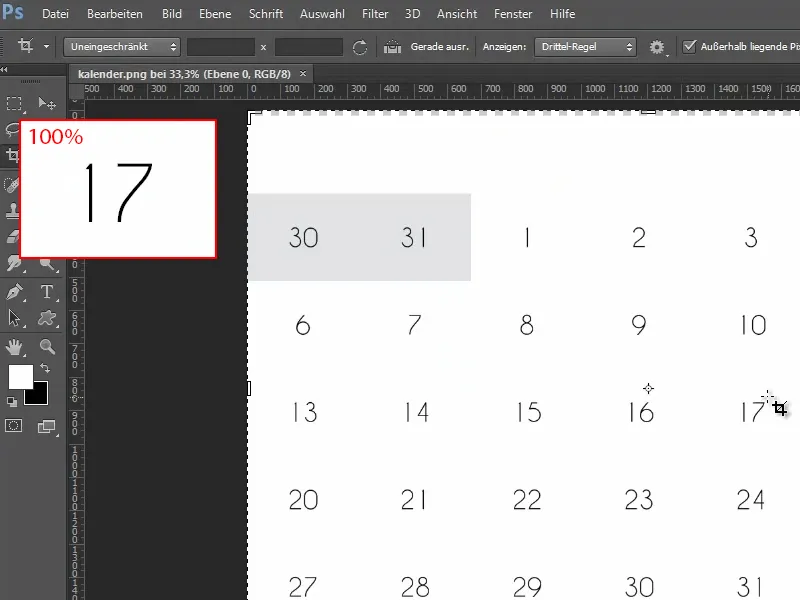
Step 5
If I need other elements, such as the days of the week here, I select them by holding down the Shift keyand go to File>Export again.
I name the file "Calendar2" and set everything accordingly in the options. Transparent background is particularly good here.
Then I go to Export...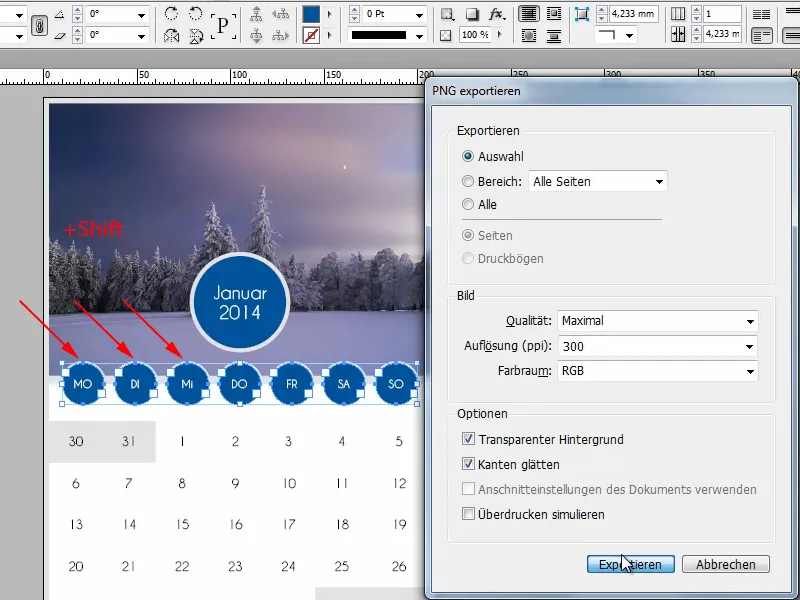
Step 6
... and open the file in Photoshop.
Here the transparencies are represented by a checkered pattern. That's exactly what I wanted.
There were no transparencies (*) in the calendar earlier because I defined the background of the individual table cells as white. If I had made the cells transparent, this would also be taken into account.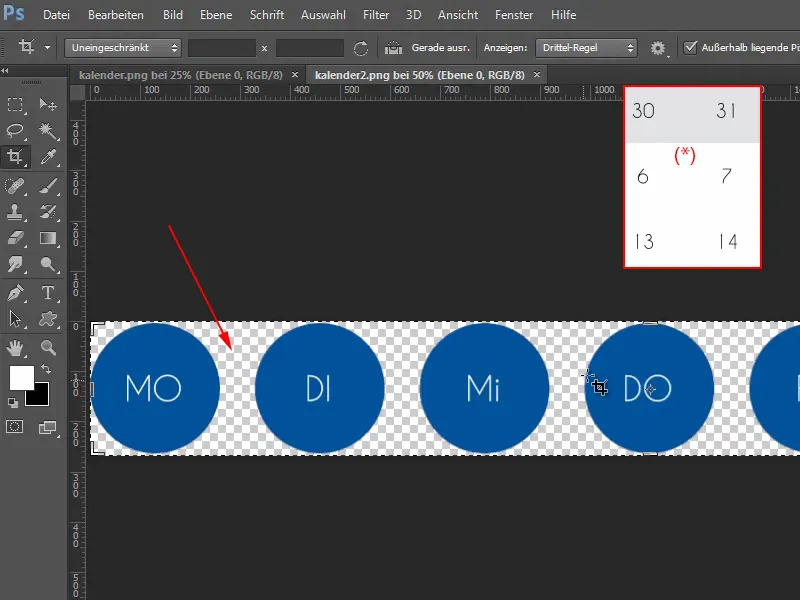
So it's a good thing to export individual elements.
It is really important that you export as a PNG filewhen exporting and then click on Select. And then you have the whole thing available in Photoshop.
Nice with the outline and in a very good resolution. You could even set a higher resolution if 300 ppi is not enough.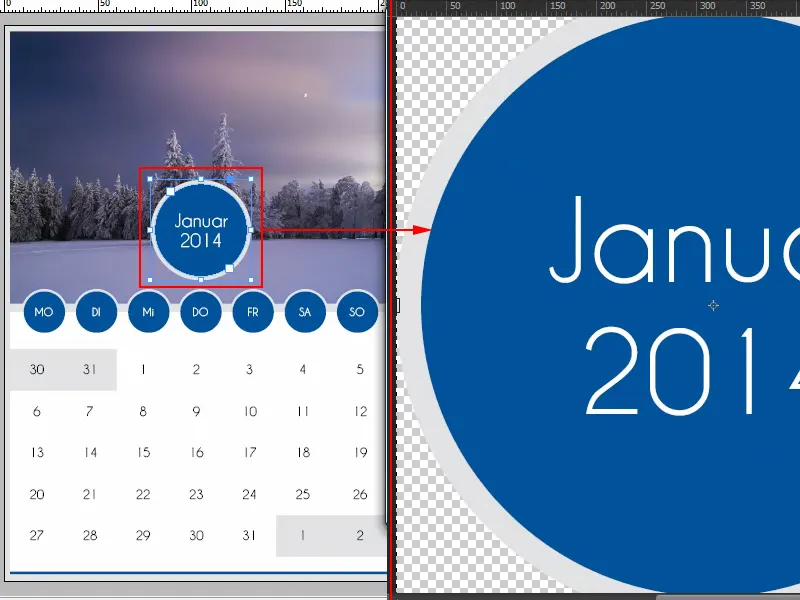
Step 7
Of course, you can also copy the desired object in InDesign with Ctrl+C and then paste it into a new image in Photoshop with Ctrl+V and confirm with Enter.
Then I even have the whole thing as a smart object and can make it bigger and smaller myself. That works too, of course.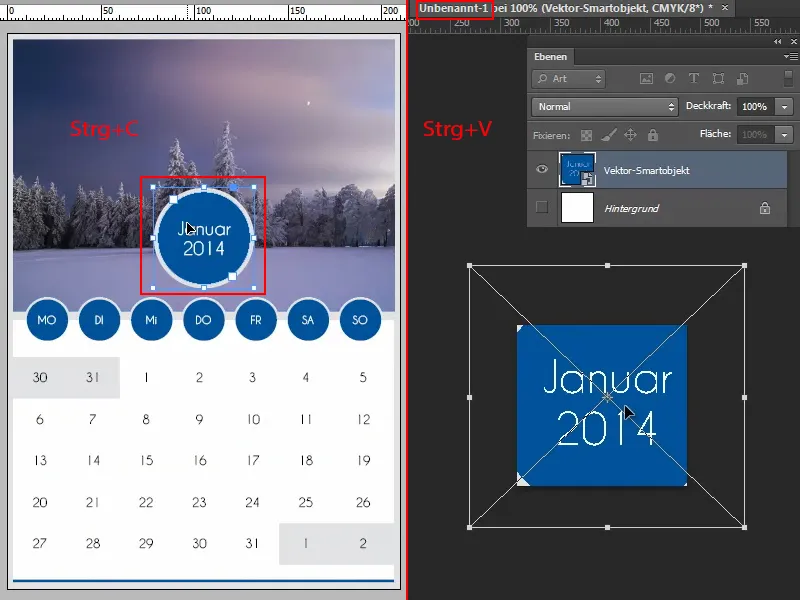
But unfortunately, the smart object only works in Photoshop. If you have a different graphics editing program, it's probably better to use Export and not the clipboard.
I hope you can now use this little trick to easily export tables or other objects for another program.


