The timeline in MS Project is a powerful tool to effectively visualize the progress and structure of your projects. It allows you to gain a clear overview of individual tasks and their status.
Here you will learn how to activate and use the timeline to better manage your projects.
Key Insights
- The timeline shows the total duration of a project and its individual phases.
- You can select specific projects and track their progress.
- Tools within the timeline facilitate the adjustment and visualization of your tasks.
Step-by-Step Guide
Step 1: Activating the Timeline
First, you need to activate the timeline in your MS Project document. Click on the "Task" tab and look for the timeline section. Here you will find the options to access this view.

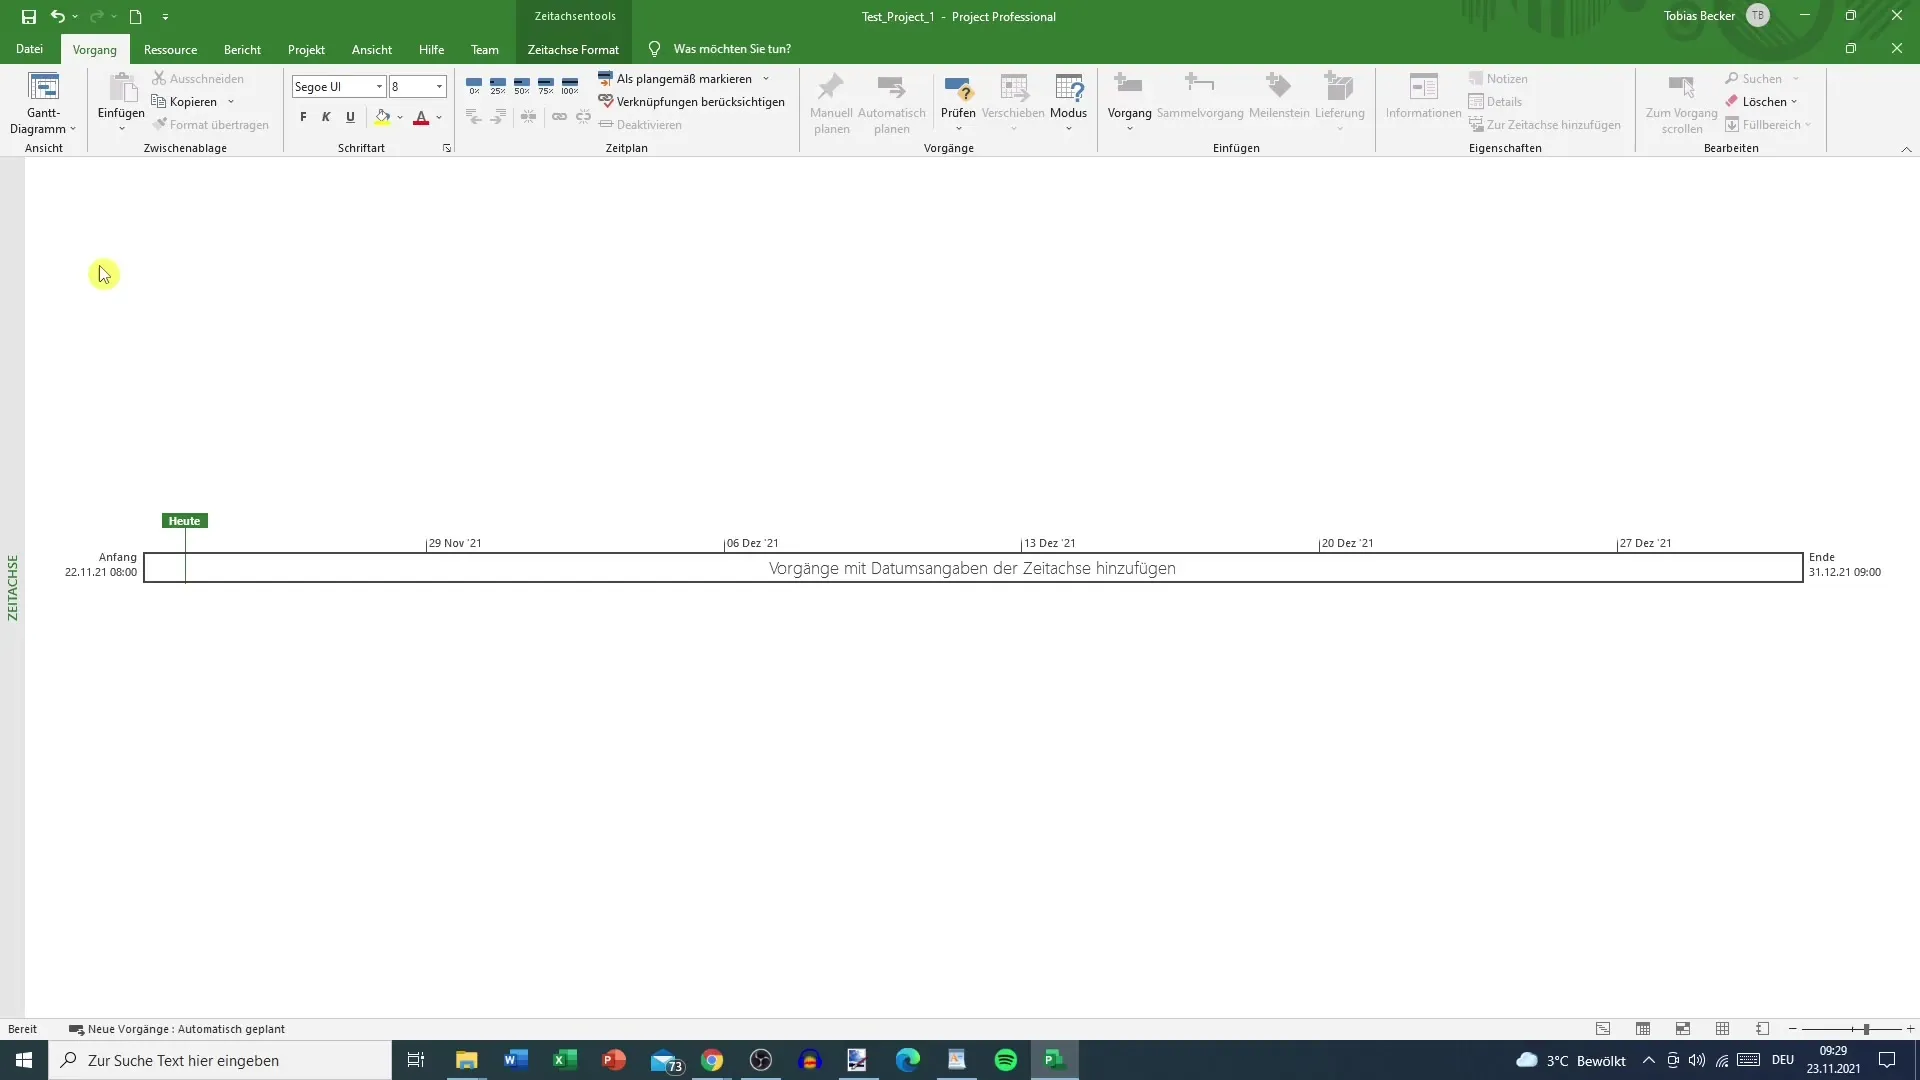
Step 2: First Look at the Timeline
When you open the timeline for the first time, you may notice that no data is initially entered. The starting point is usually the current day, and the project end is determined by the last task.

Step 3: Selecting a Project
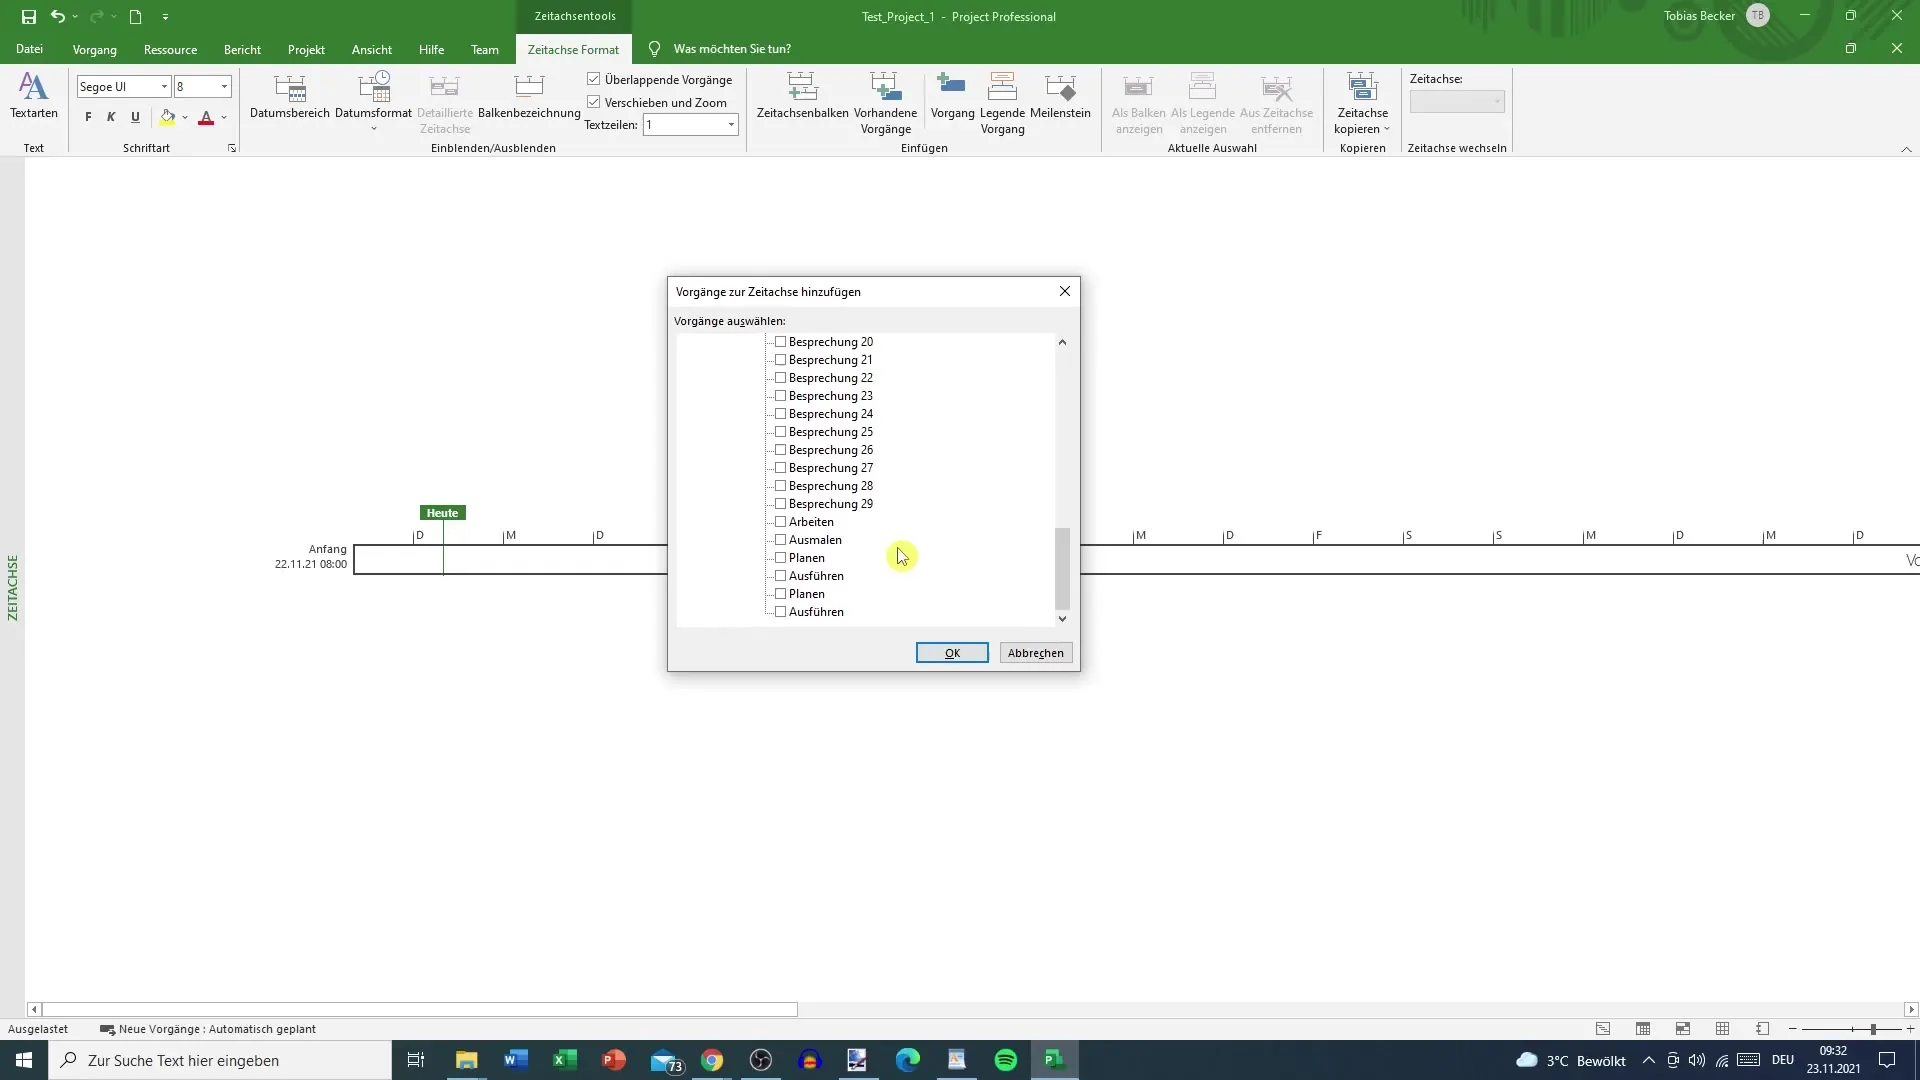
To review specific projects on the timeline, double click on the timeline. This will open a menu where you can select different projects. You don't necessarily need to select all projects; this helps to keep an overview.
Step 4: Using the Zoom Function
It is useful to zoom into the timeline to better see details. Hold down the "Ctrl" key and use the mouse wheel to zoom in closer to individual tasks and see all details clearly.
Step 5: Visualizing Progress
In the timeline, you can have the progress of your tasks represented in colors. For example, if a task is 25% complete, that portion will be color-coded accordingly. This visual representation helps you see where you are and what tasks still need to be completed.
Step 6: Editing Time Entries
If you only want to see the components of a project without the overarching structures, you can select this option. This way you can see the individual tasks more clearly.
Step 7: Inserting a Legend
When working with complex projects, it can be useful to insert a legend that explains the colors and symbols. You can find this feature among the timeline tools.
Step 8: Making Adjustments
You can also remove elements from the timeline or adjust the project end. An empty timeline can be useful for entering and visualizing new tasks without distractions from existing elements.

Step 9: Analyzing Tasks
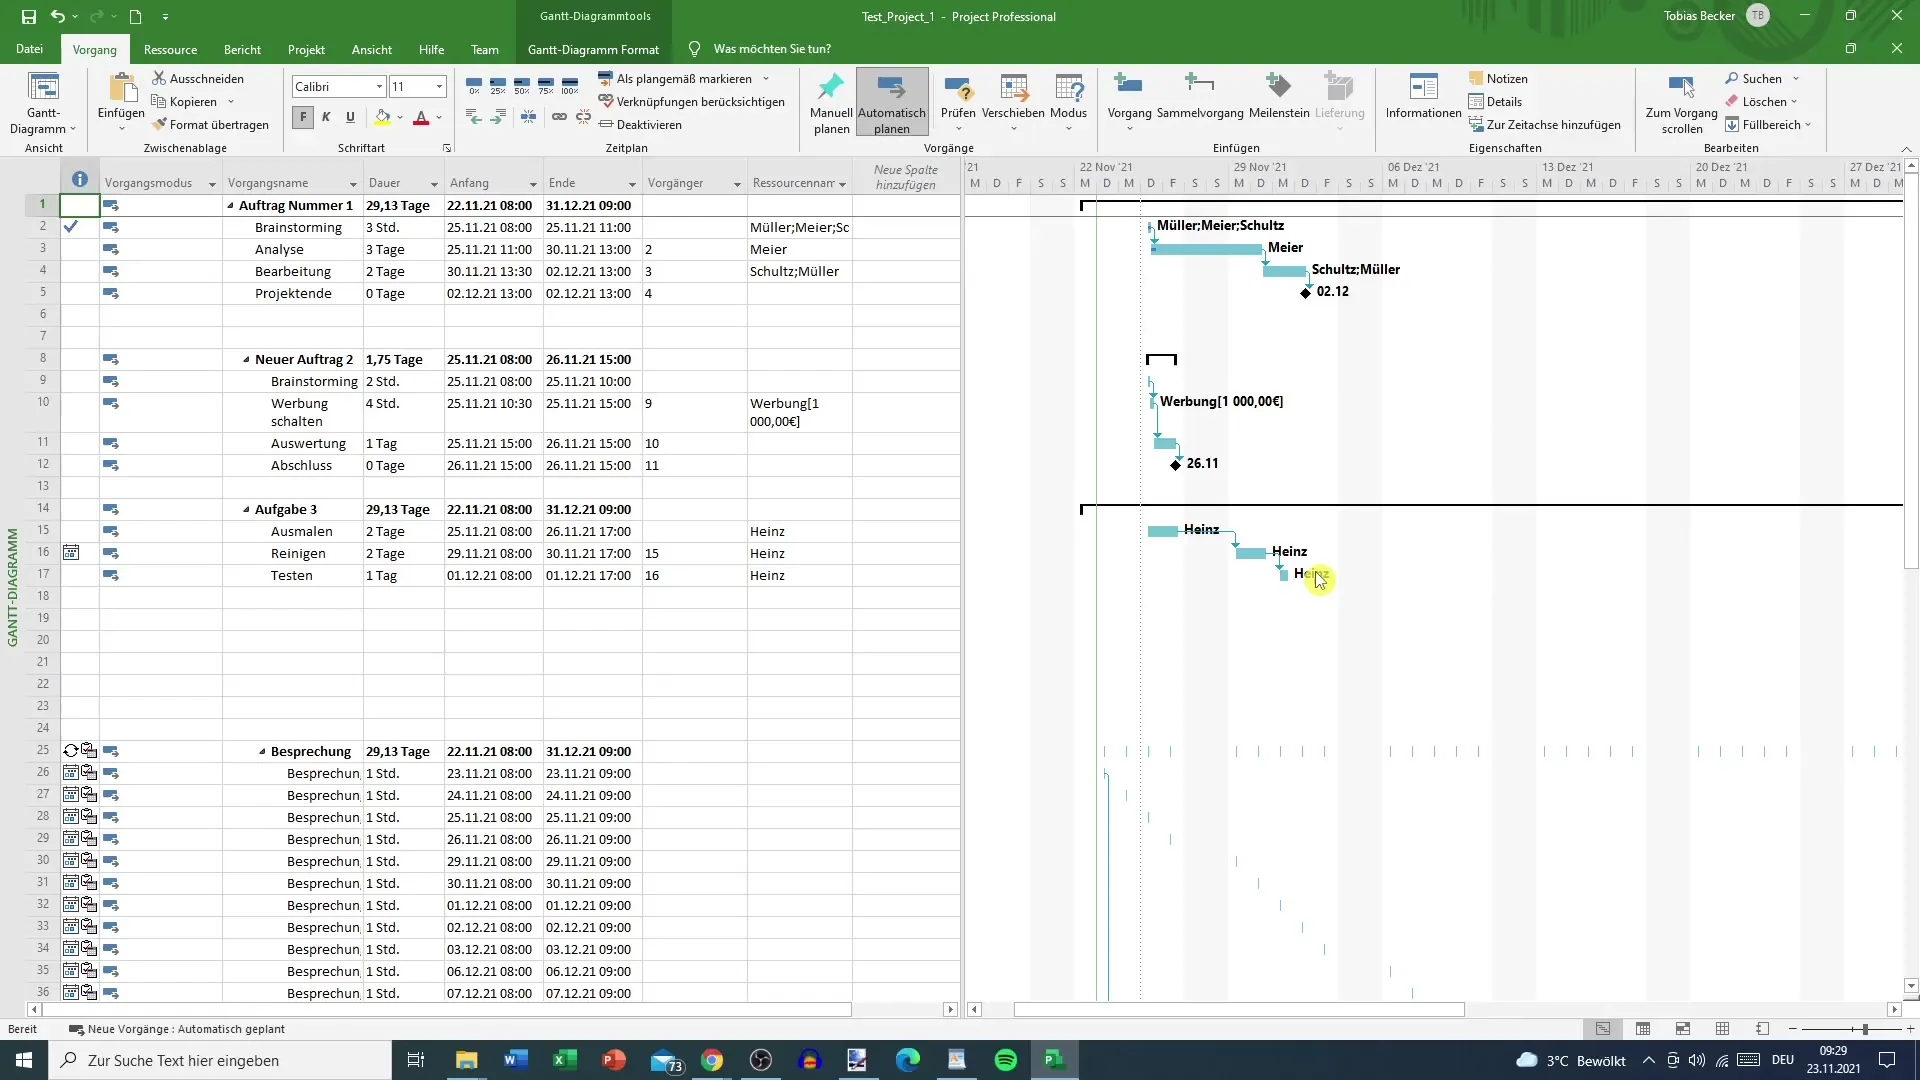
Determine which specific tasks are needed for your analysis. This way you can maintain control over the representation of your projects on the timeline and reduce data in the Gantt chart at the same time.
Summary
The timeline in MS Project is an indispensable tool for project planning and monitoring. By selectively choosing projects, visualizing progress, and using customization options, you can work more efficiently and stay organized.
Frequently Asked Questions
How do I activate the timeline in MS Project?You activate the timeline through the "Task" tab and selecting the corresponding section.
Can I display the progress of projects on the timeline?Yes, you can visualize progress through color markings.
Is there a way to display only certain tasks?Yes, you can select specific projects or tasks that you want to see on the timeline.
Can I customize the timeline?Yes, you can add elements, remove them, and adjust the display to suit your needs.


