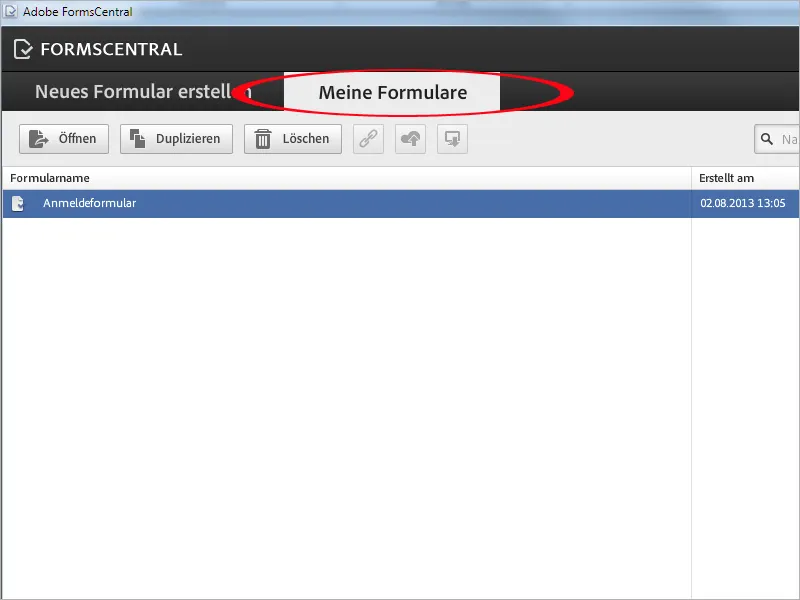
In addition to the already described form editing within Acrobat, the Adobe FormsCentral application installed together with Acrobat can also be used to create new forms.
Under Windows, you can find it under Programs>Adobe FormsCentral.
Select template
One of the advantages of this application is that Adobe provides a whole range of templates that can be customized. You can find these templates - sorted by category - by clicking on the Create new form tab.
As an alternative to the templates, you can also create a user-defined form or import an existing form file to edit it here.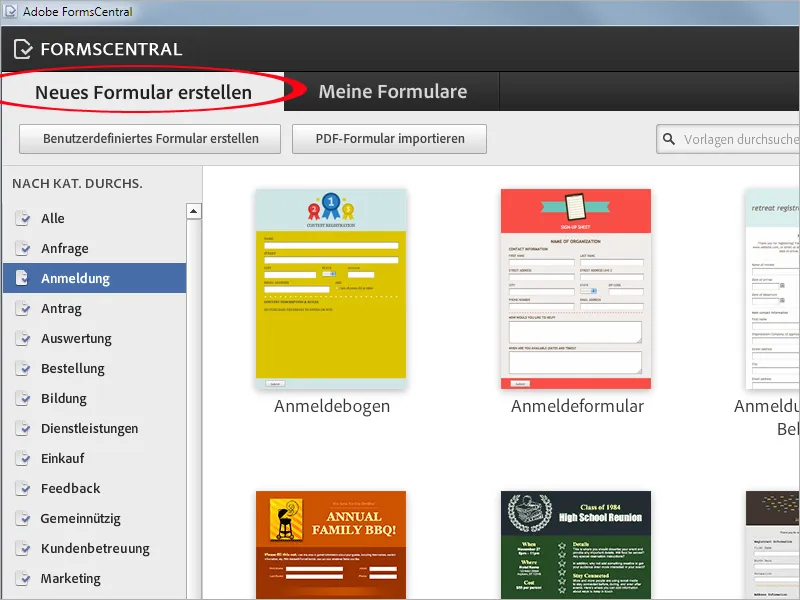
Once you have decided on a template, open it by double-clicking on it.
Edit form
The form now opens in edit mode. At the top is a bar with tools for editing and aligning text.
To edit a form field, simply click on it. It will be highlighted with a frame and the text can now be selected and edited.
Click on the small trash can icon Delete element on the right-hand side of the selected field to delete it if you do not need it.
Click on the small plus symbol Add element next to it to insert another element above or next to it.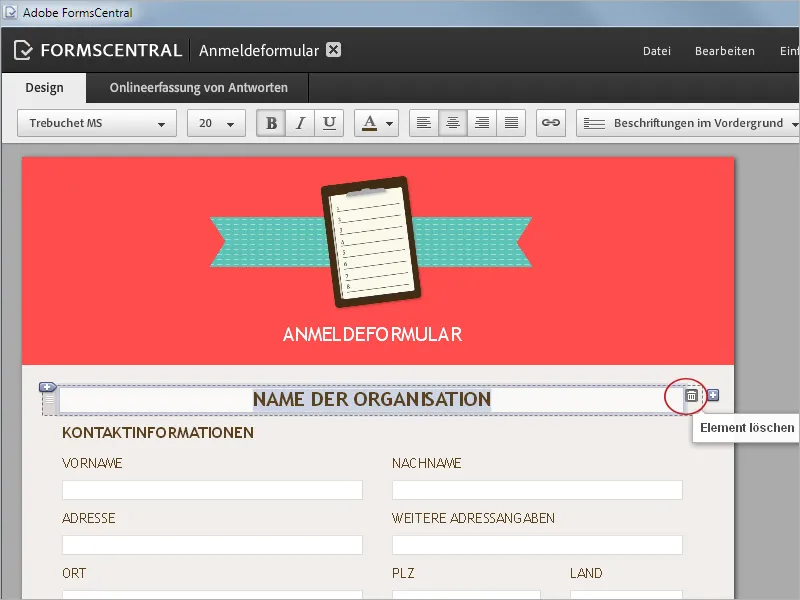
Adding elements
If you click on the Add element icon to insert a new element, a menu appears with the various form field types from which you can select the desired one: There is a single or multi-line text field, date field, email field, radio button or selection field, a drop-down list or rating scale.
You can also insert a field for formatted text, an image, a horizontal line (as an element for visual separation) and a new page.
Close the menu again by clicking on the Close cross.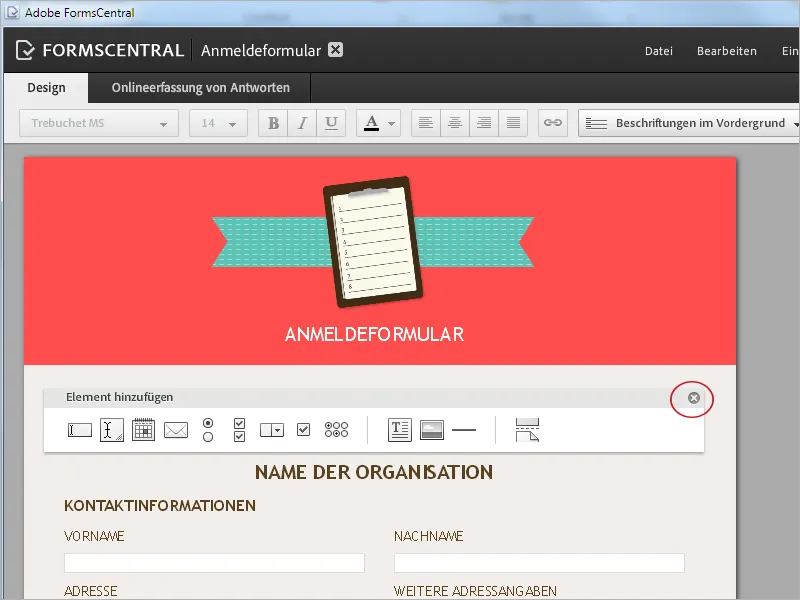
Adjust the position of the field labels
The position of the field labels can be changed via the drop-down list Labels in the foreground in the editing bar so that they are to the right or left of the input field. The layout then adapts accordingly, if possible.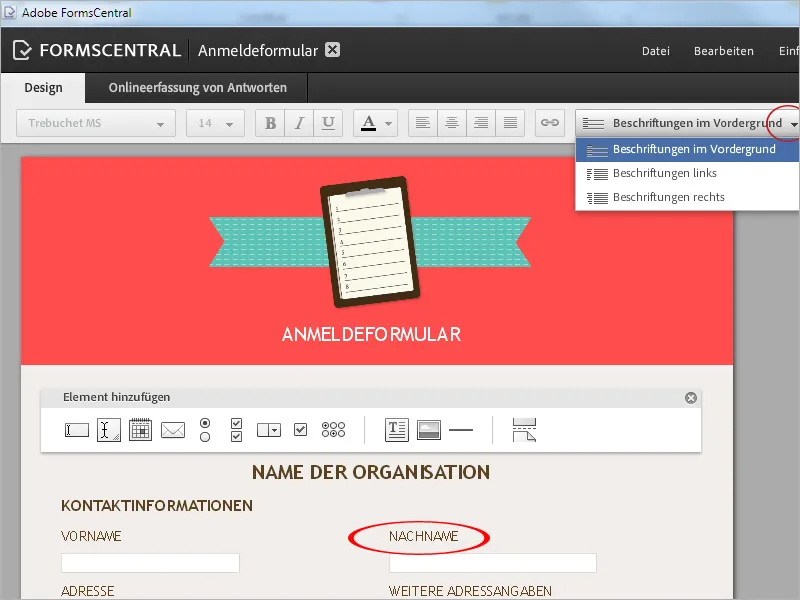
Adjust background color
You can change the background color of the form document and adapt it to your needs by clicking on the Page color button.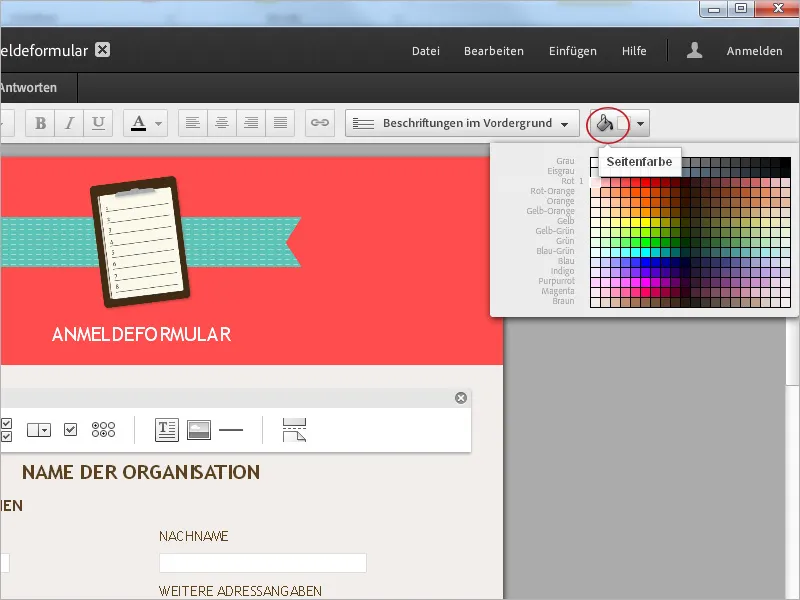
Customize header
To customize the header, you must first select it by clicking on it. The Header properties context menu opens. You can now use the pull-down menu to set whether the header should consist of text, an image to be selected, e.g. your logo, or text and image. The image placement above, below, left or right of the text and the background color are also freely selectable.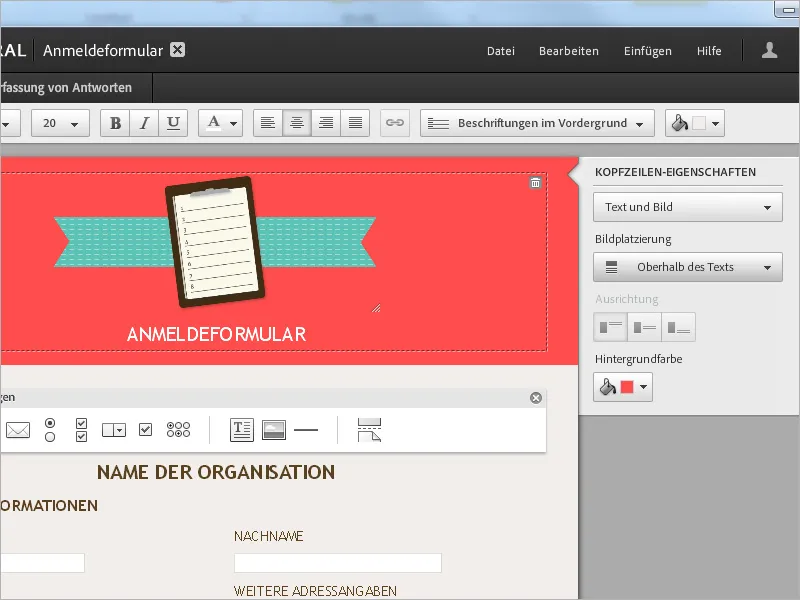
Adjust the size of the elements
The size of selected form fields can be adjusted by holding down the mouse button - single-line text fields only horizontally, multi-line horizontally and vertically.
In the field properties, you can subsequently change the field type if required (e.g. from multi-line text field to single-line text field). You can also specify whether input from the recipient is required (if the recipient does not enter anything, a message appears) and whether a help text should be displayed on mouseover.
If you activate Include help text, a field for entering this help text opens. You can also use Restrict character count to regulate the number of characters to be entered in a field. If you activate this option, a field opens for entering minimum and maximum values.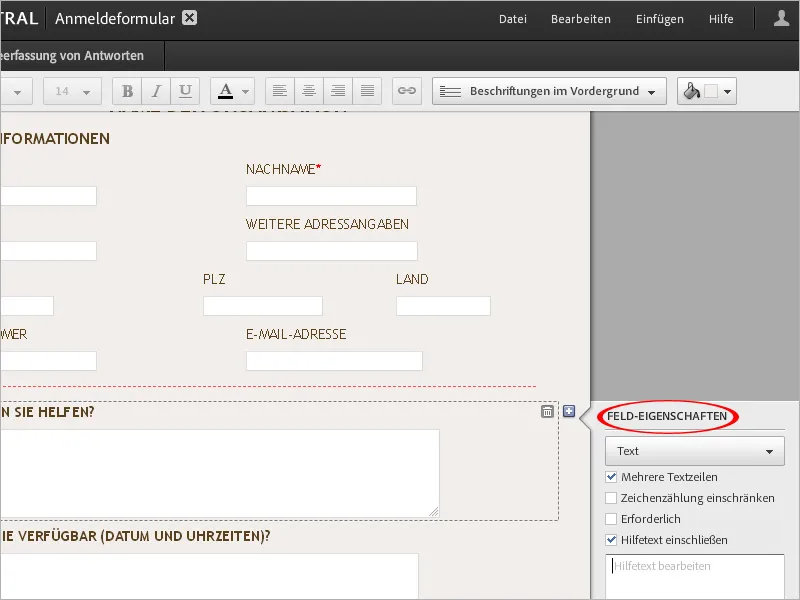
Form design
The form design can be called up via the File menu.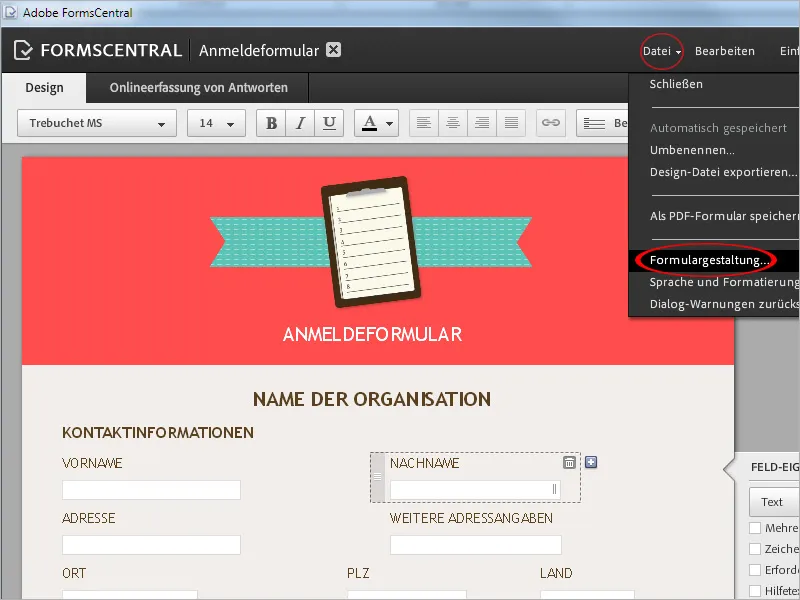
Here you can select a suitable format from a range of predefined formats or create a user-defined format if required. You can also set whether the form should be displayed in portrait or landscape format.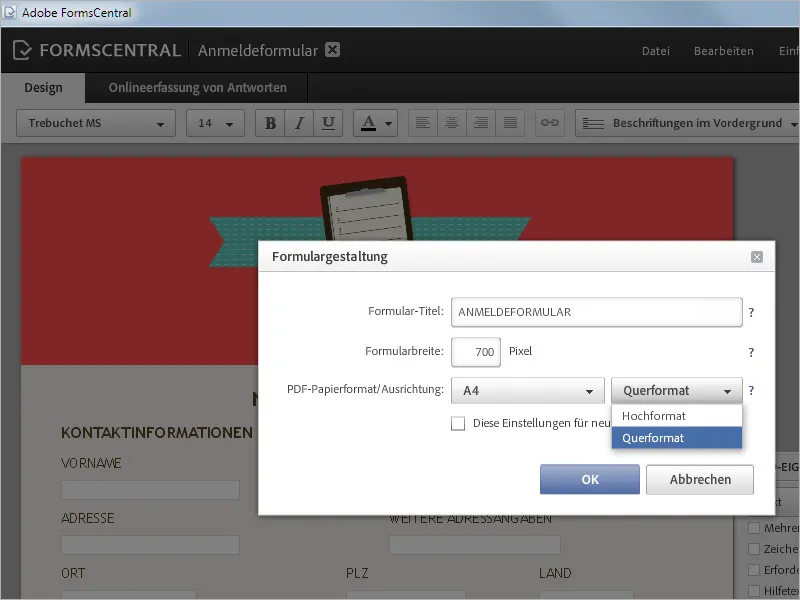
Language and formatting
In the File>Language and formatting menu, you can select basic settings for the language used , thedate sequence and any date separators used , the time format, currency symbol and placement as well as the number and percentage format from drop-down lists.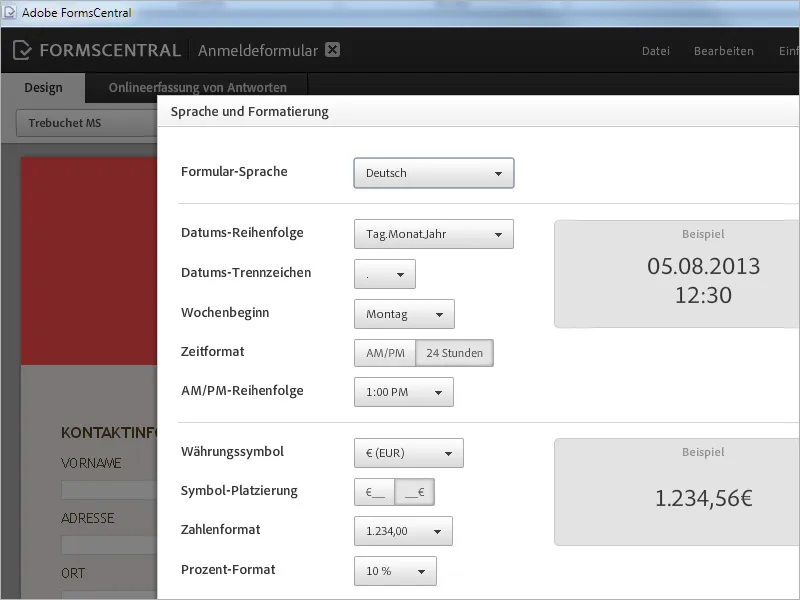
Custom settings
The measurement units to be used and spell check options can be selected in the Custom settings menu.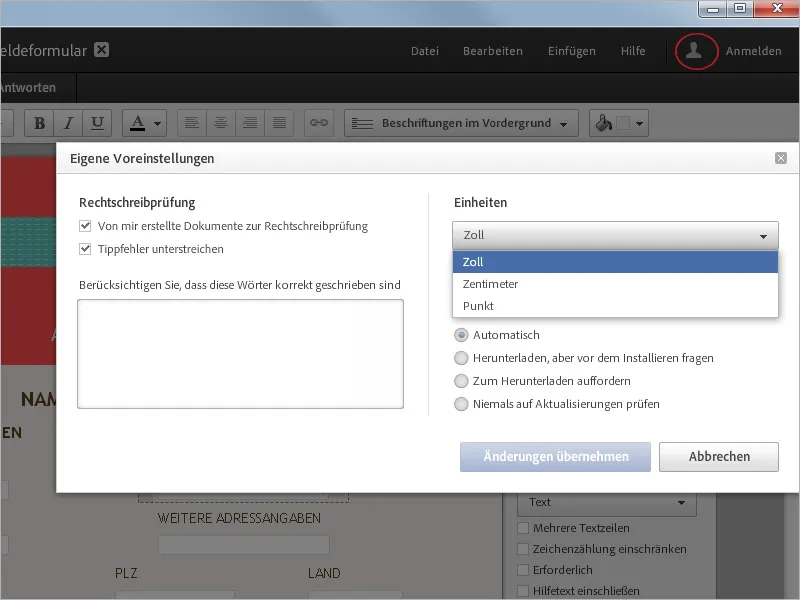
Save form
You can now save the file as a PDF form via the File menu.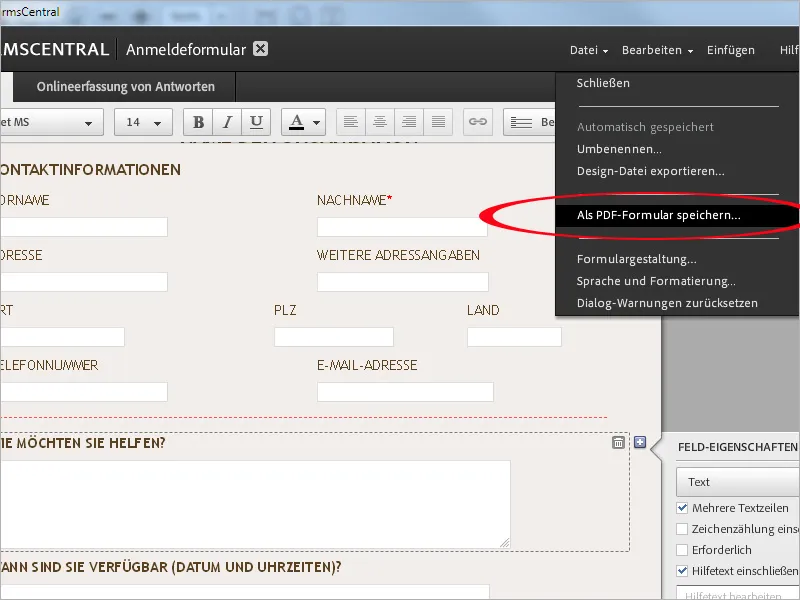
New form template
The next time you start FormsCentral, you will find the layout file in the My forms tab, where you can open it and edit or delete it.