Creating an imprint on your website is not only a legal requirement, but also a sign of professionalism and transparency. It protects you from legal issues and is essential for every entrepreneur or website operator. In this guide, you will learn how to quickly and easily create an imprint using Elementor and an imprint generator.
Key Insights
- An imprint is a legal requirement.
- It can be easily created with the help of an imprint generator.
- Integrating the imprint into your WordPress site is straightforward.
Step-by-Step Guide
First, you must ensure that you have access to your WordPress dashboard. Let's start by creating a new page for the imprint.
Create a New Page
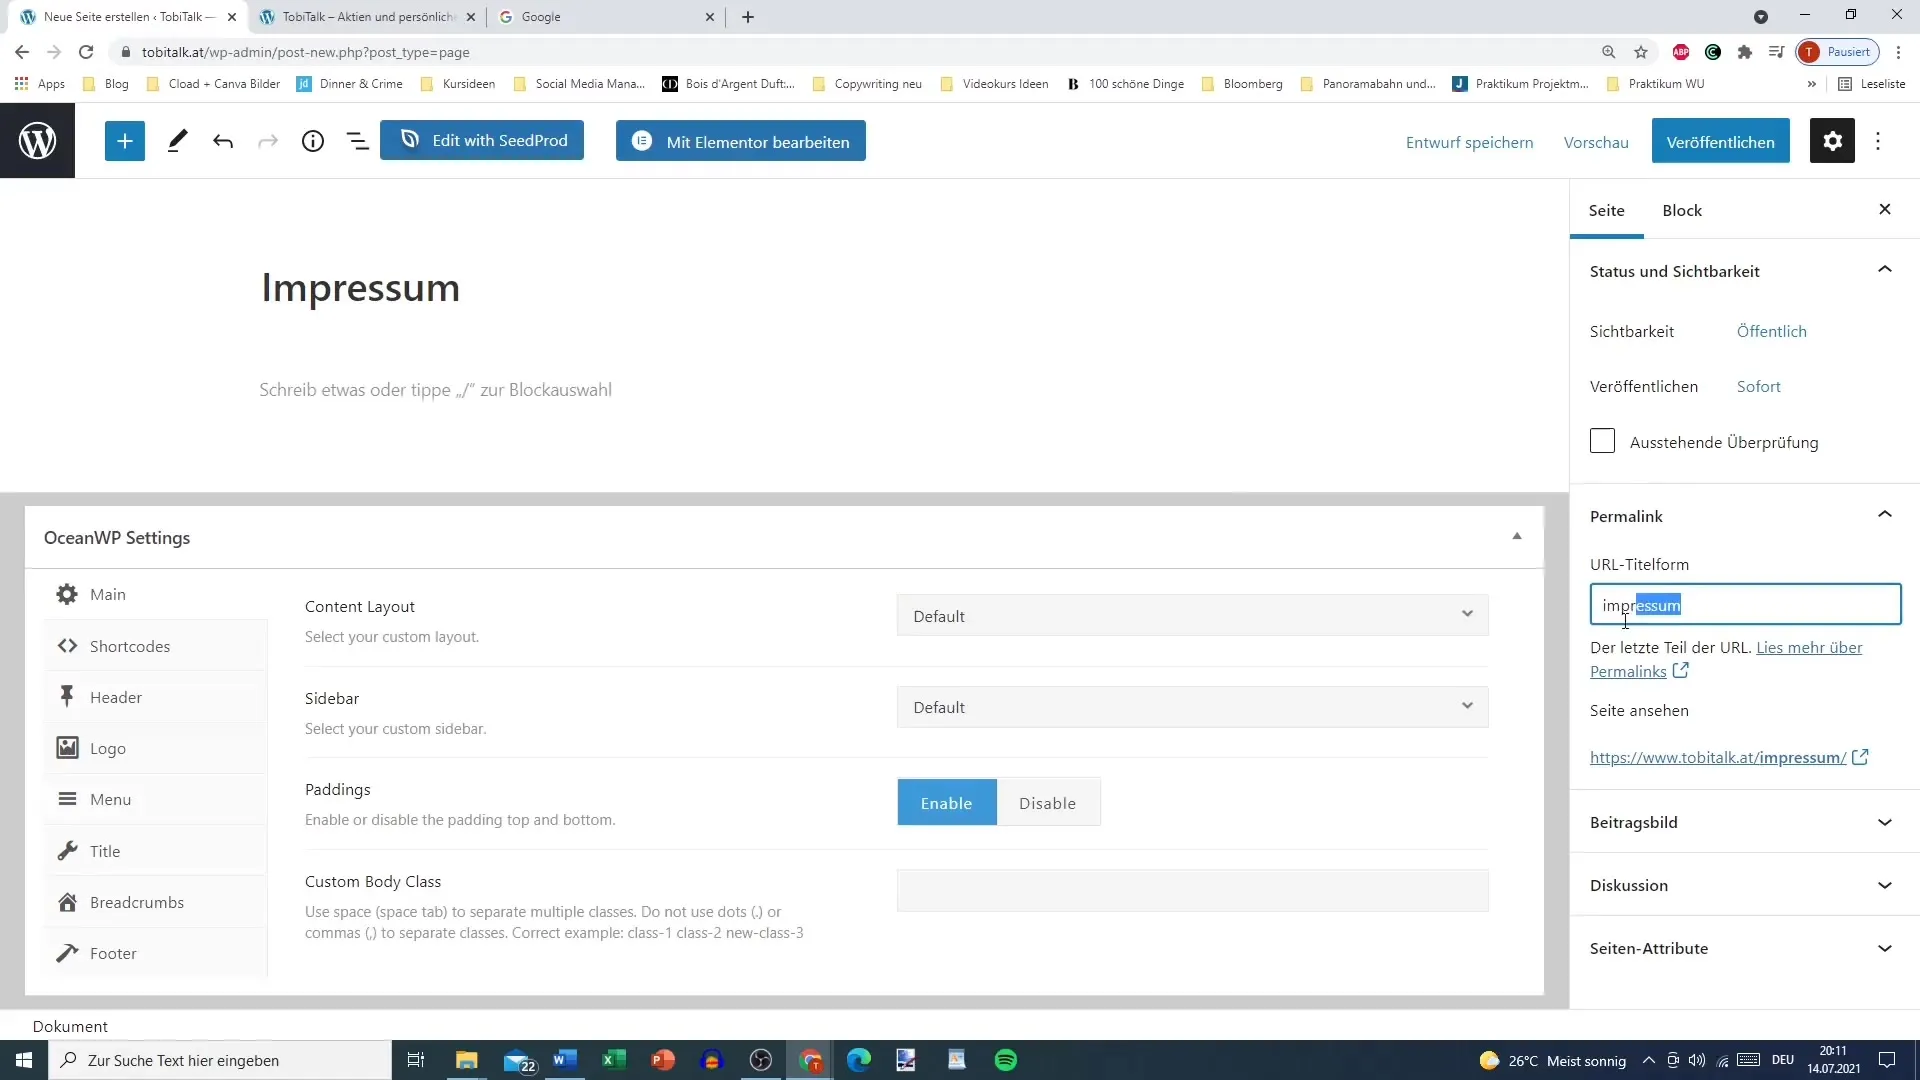
In the WordPress dashboard, navigate to the "Pages" section and click on "Add New". Here you can enter the title "Imprint".

Now you have a blank workspace where you will later paste the text. You will see how easy it is to gather the necessary information.
Find an Imprint Generator
Before you start filling in information, you need an imprint generator. There are various providers that can help you with the creation. Choose one that meets your requirements, e.g., eRecht24 for Germany or simple.at for Austria.

Enter Legal Form Details
The next step is to select the legal form of your company. Here you enter necessary information such as legal form and contact details. For sole proprietors without a trade register entry, the details are often simpler.
Ensure that you use realistic and current data. You can go through the process in the generator and simply use arbitrary data as long as you ensure that the necessary information is correctly inserted later.
Fill in Company Information
In the generator, you will be asked for details such as company name, first name, last name, address, telephone number, and email. A UID number is also required if available. These details are important for the imprint to be legally valid.
Once you have entered all this, you can click on "Continue". The generator will take some time to process the data and create the imprint.
Deselect Privacy Policy
Usually, you will be asked if you also want to create a privacy policy. Since we are initially focusing only on the imprint, you can deselect all checkboxes for the privacy policy and only generate the imprint.
This is useful if you want to create the privacy policy separately later. Then click on "Generate Now".
Generate the Imprint
Once the imprint generator is ready, you have the option to receive the text via email or copy it directly. It is important to mention the source of the generator to prevent legal issues.
Ensure that when copying the text, it is done completely and without deviations. Remember to include the source of the generator in the imprint.
Paste Text into WordPress
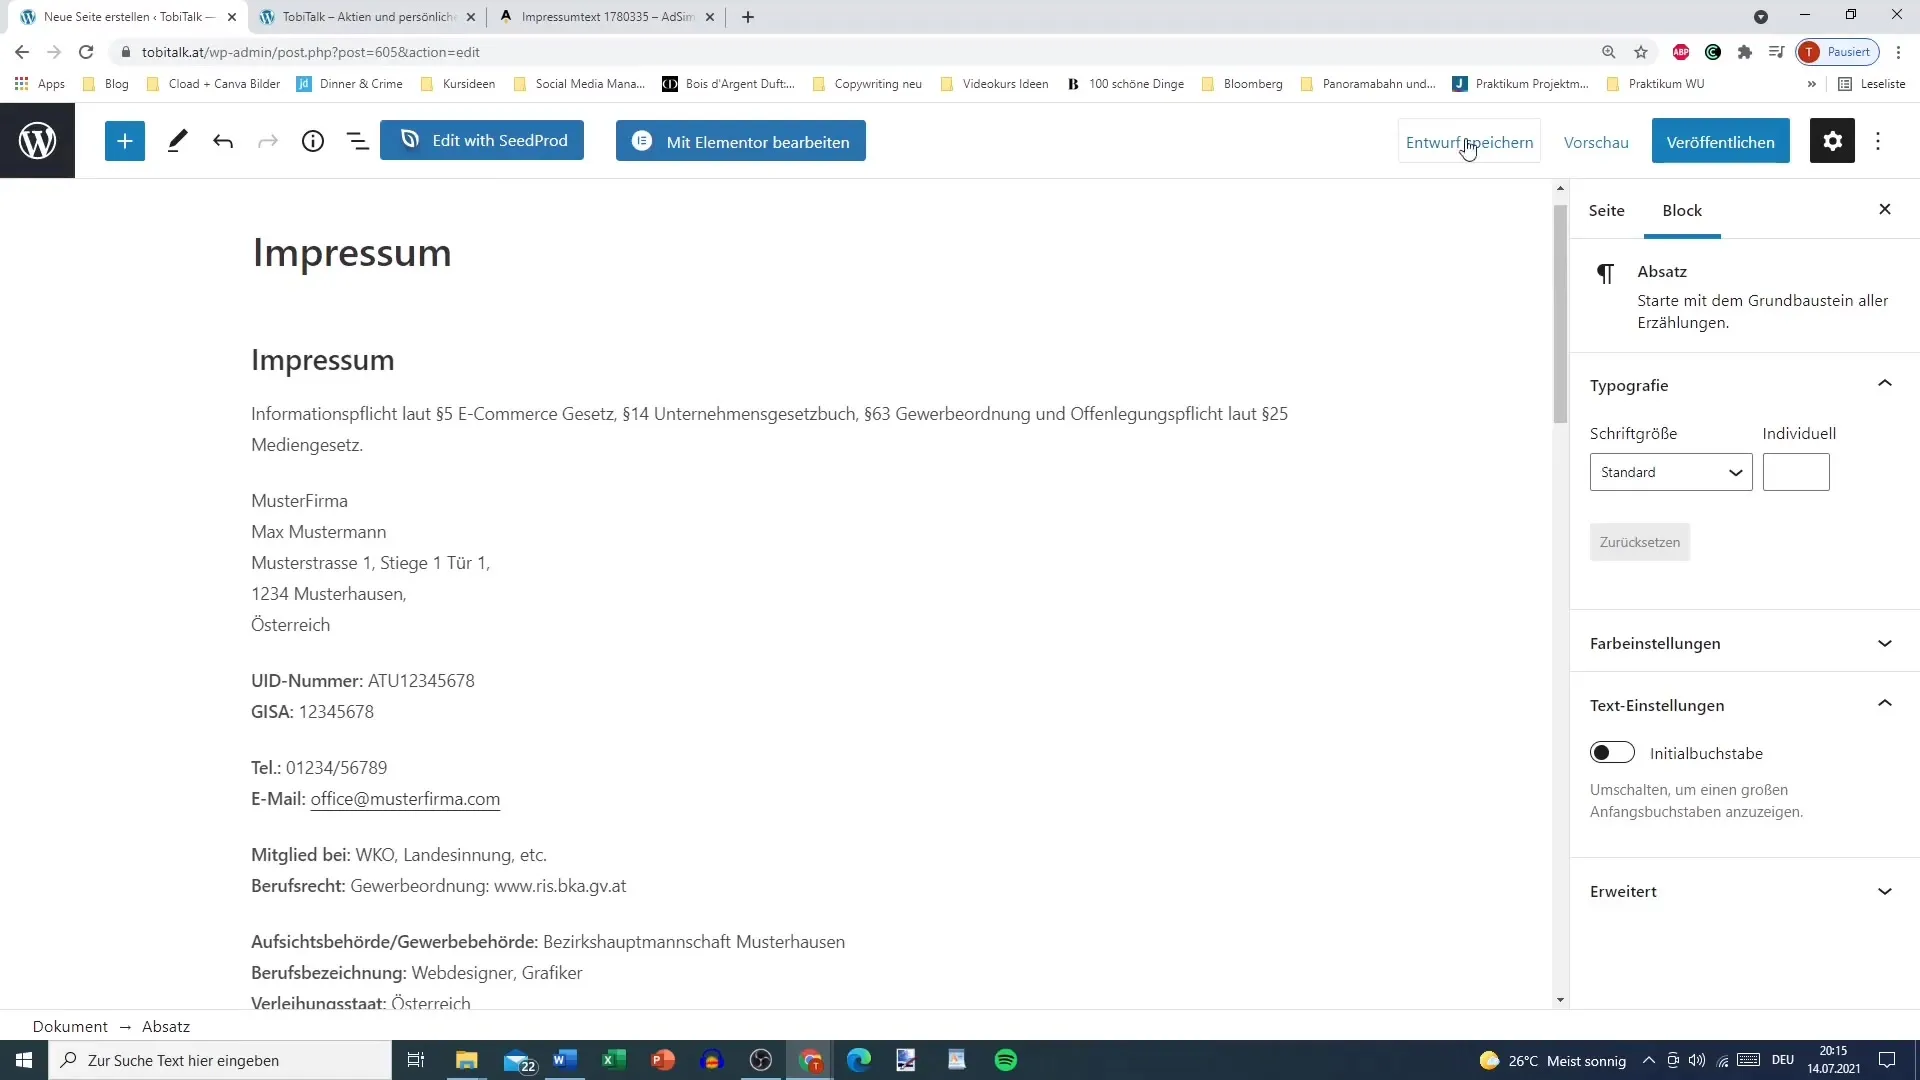
Now return to your WordPress site. Click in the text area and paste the text copied earlier. Make sure you have the fully inserted text in the right place.

Publish the Page
To make the imprint visible to everyone, click on the "Publish" button. Then you can review the page to ensure everything looks correct.
The imprint is now live and accessible to your visitors. You have successfully created an imprint.
Summary
The steps for creating an imprint are clear and straightforward. You have learned how important it is to enter the right information and to use an imprint generator. By following this guide, you are now able to create an imprint quickly and effectively.
Frequently Asked Questions
How often does the imprint need to be updated?The imprint should be updated when relevant company data changes.
Is an imprint required on every website?Yes, in many countries, an imprint is legally required, regardless of the type of website.
What happens if there is no imprint?If there is no imprint, legal action can be taken against you, including warnings.


