You are able to create your own website and want to ensure that it also complies with legal requirements? Especially with regard to data protection, a privacy policy is essential. It protects you from potential legal consequences and gives your users clarity on how their data is processed. In this guide, I will show you how to effectively create a privacy policy with Elementor for WordPress.
Key Takeaways
- A privacy policy is necessary for every website.
- You can use a privacy policy generator to quickly and easily create the policy.
- The privacy policy should be comprehensive and include all relevant points to meet legal requirements.
- A well-structured privacy policy can also be made more user-friendly by using table of contents.
Step-by-Step Guide to Creating a Privacy Policy
Step 1: Create a New Page
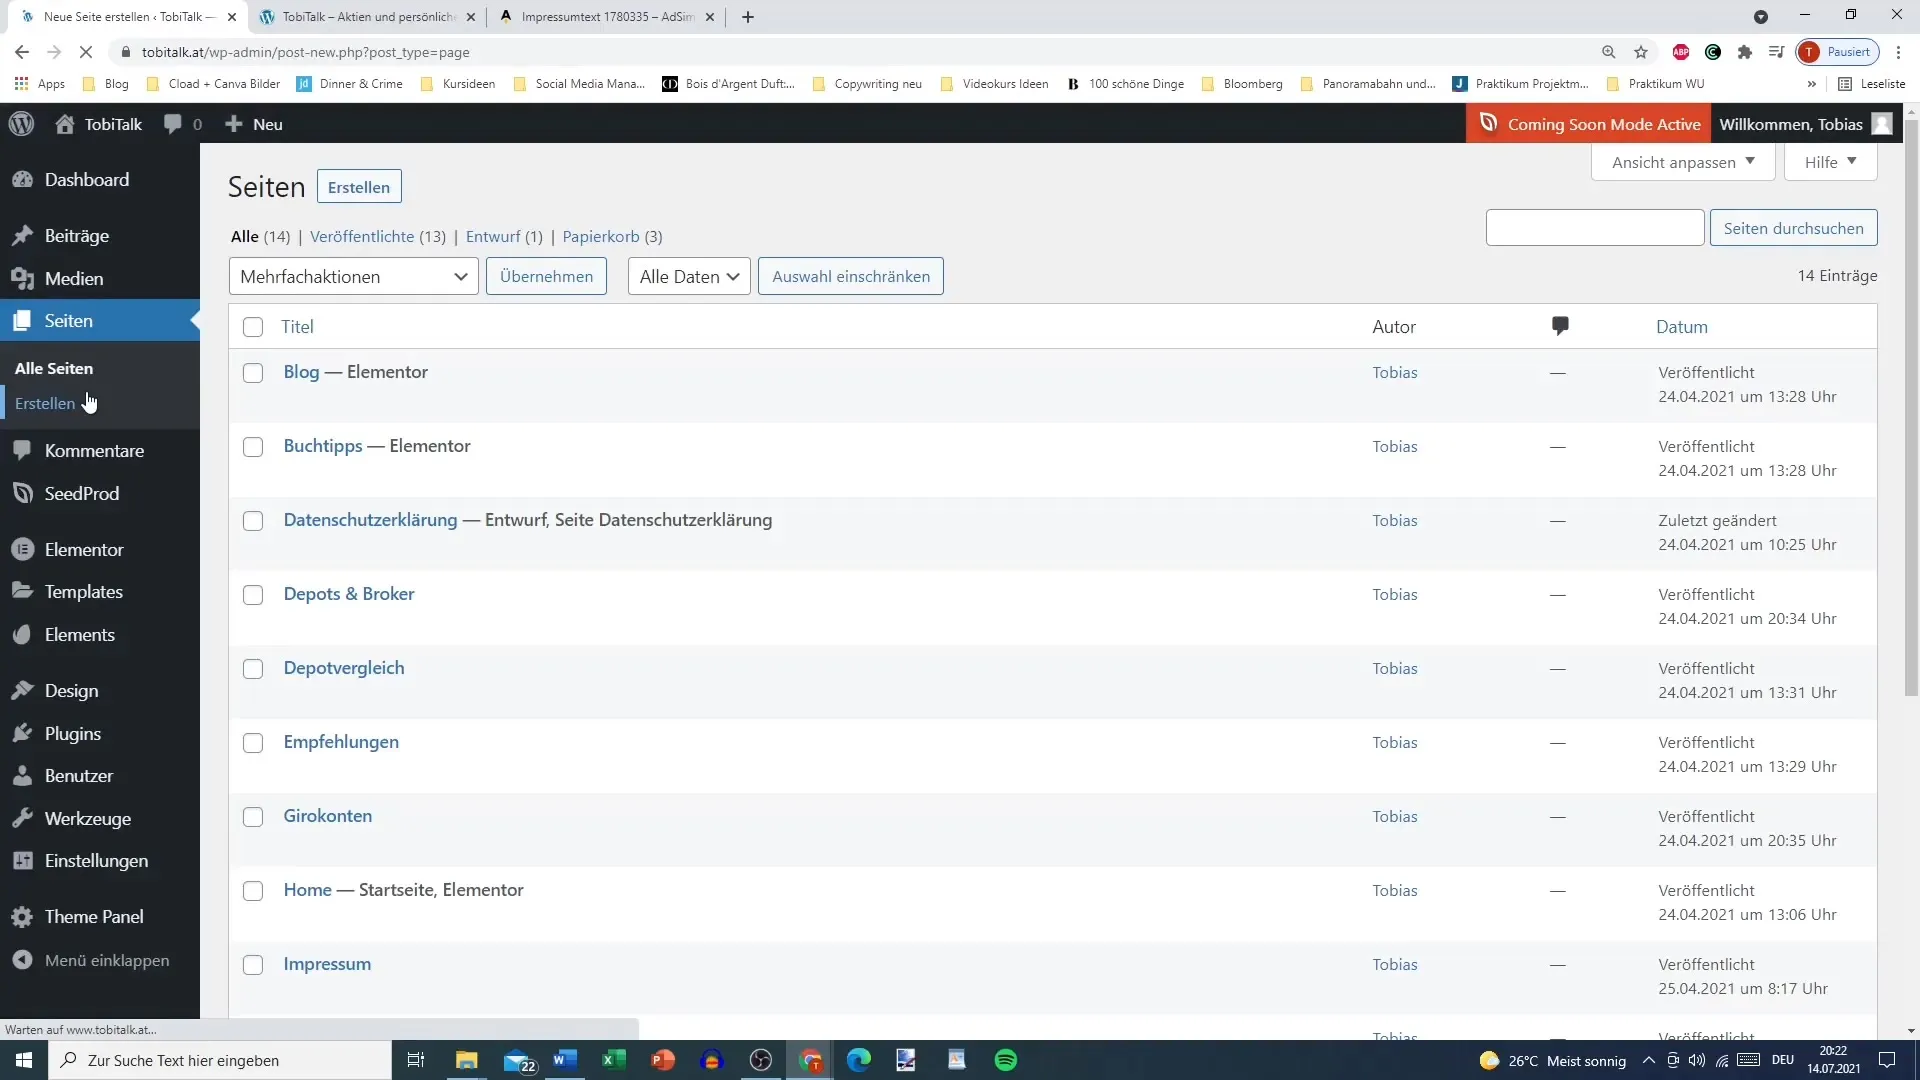
Start by creating a new page for your privacy policy in Elementor. Go to "Pages" in the sidebar and click on "Add New". Name the page "Privacy Policy".

Step 2: Use a Privacy Policy Generator
To generate the required content for the privacy policy, search on Google for a privacy policy generator. Make sure it is tailored to the requirements of your country (Germany, Austria, Switzerland).

I recommend websites like eRecht24 or firmenwebsite.at, which offer comprehensive templates.
Step 3: Select Contents
In the generator, select the relevant points that should be considered in your privacy policy. These include aspects such as cookies, security, web analytics, email marketing, and social media.

Make sure to select comprehensively to best secure your website – better to be thorough than lacking.
Step 4: Generate Privacy Policy
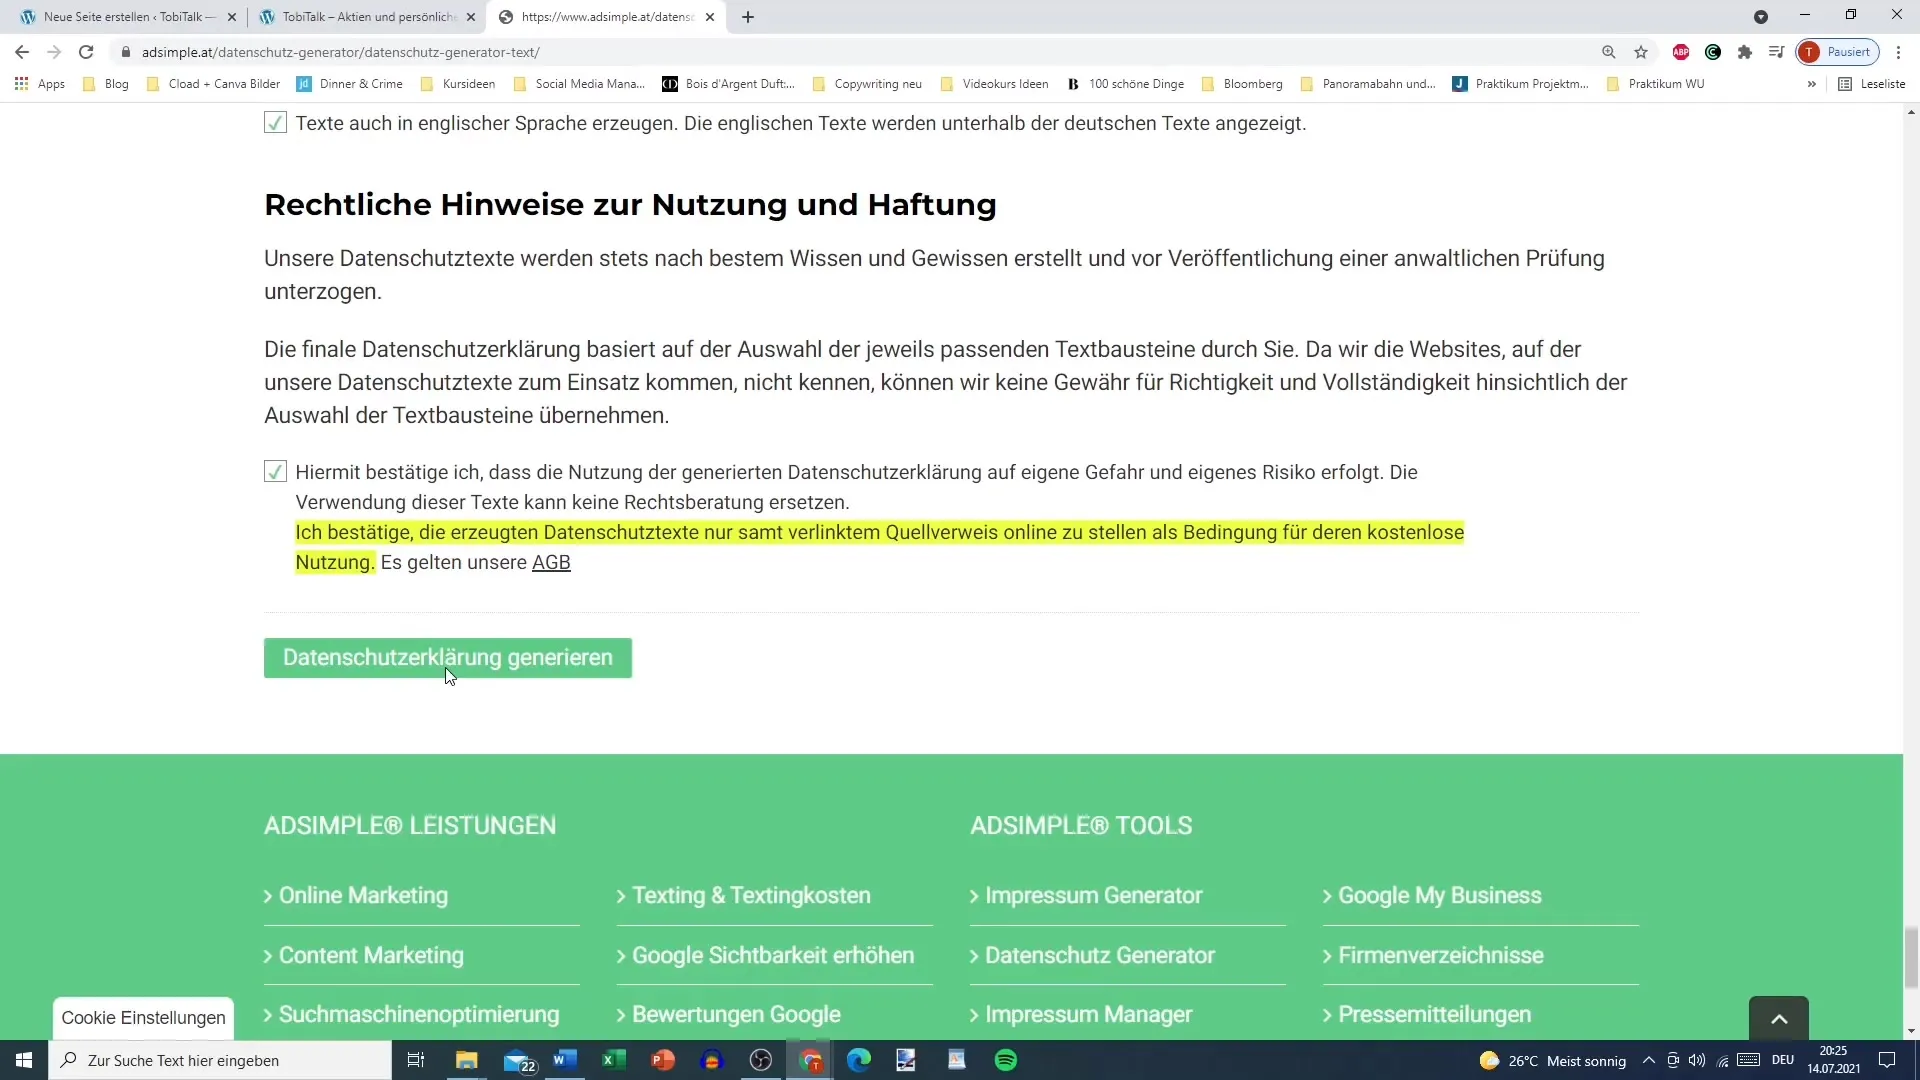
After you have provided all the relevant information, confirm your selection and have the privacy policy generated.

The text will now be presented to you in an organized form.
Step 5: Paste Text into Elementor
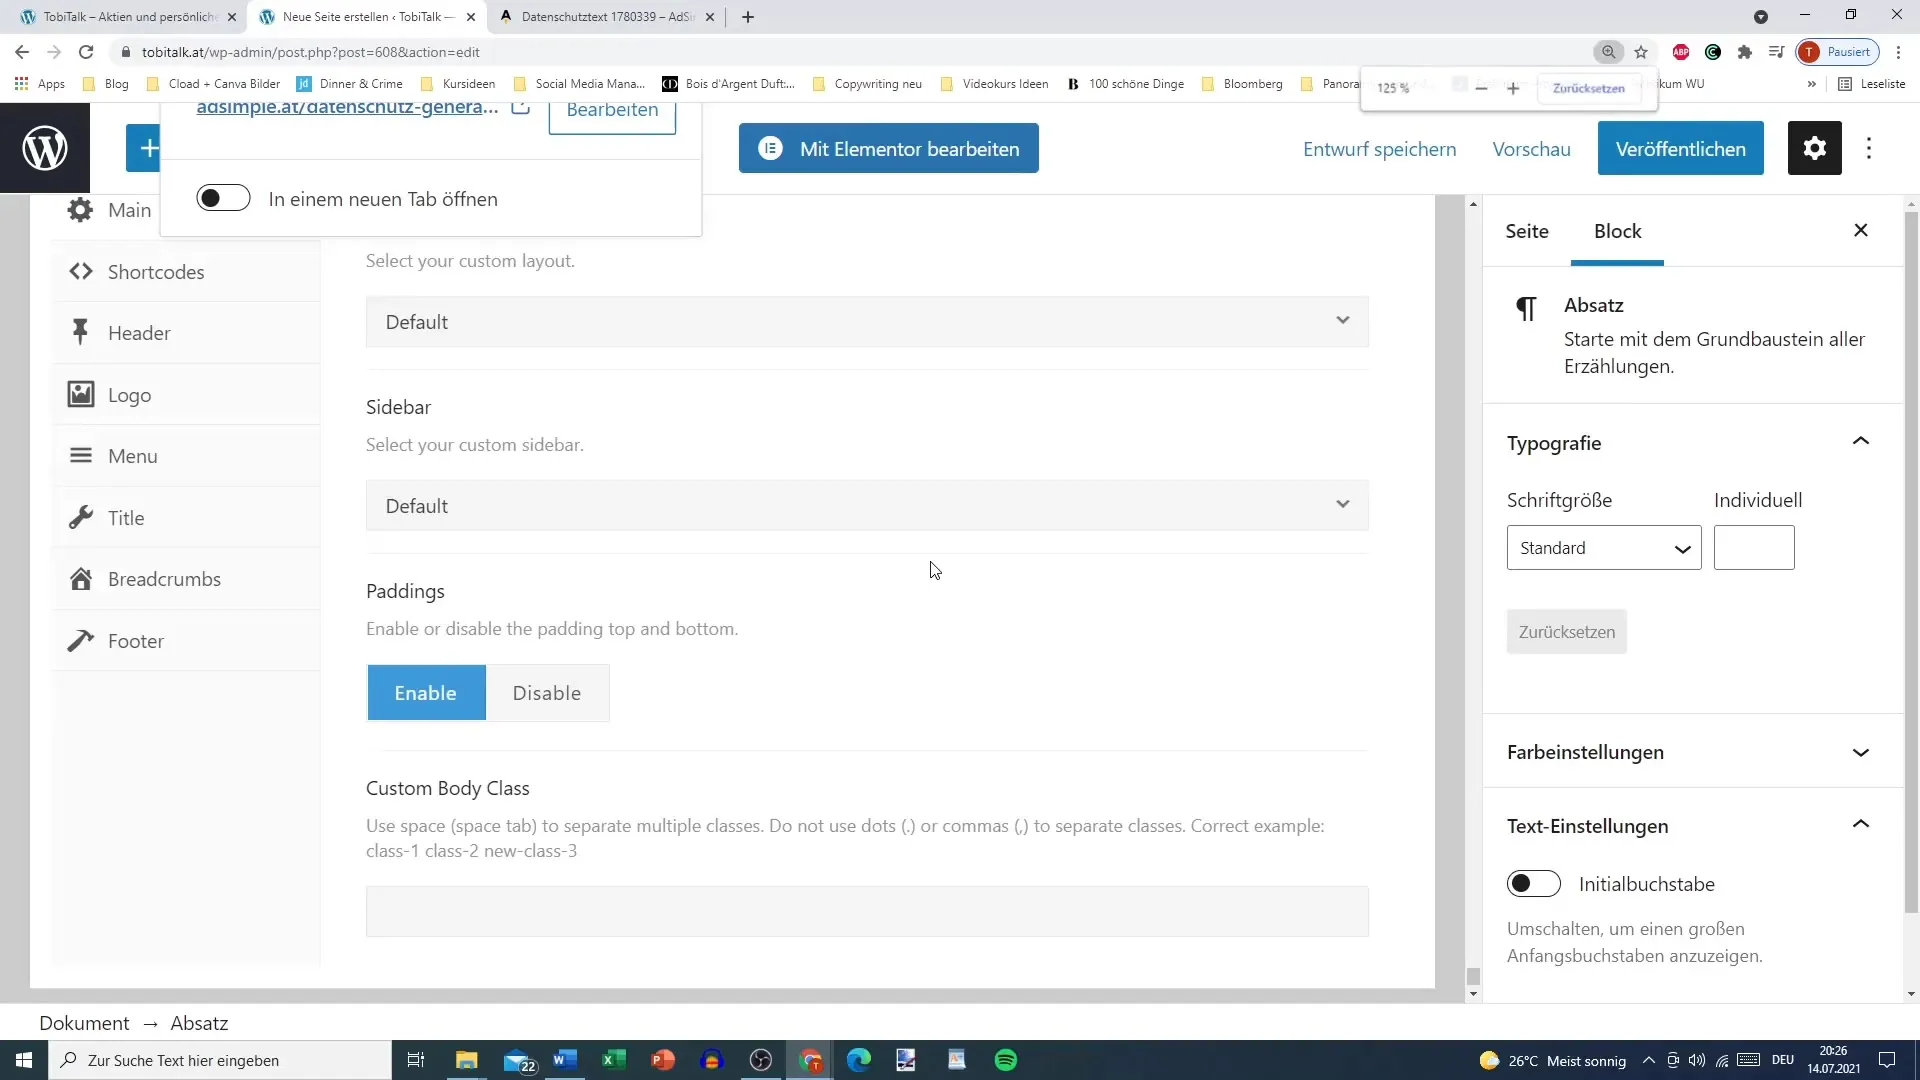
Copy the text of the privacy policy and paste it into the text field of the newly created page in Elementor.

Be sure to document the source of the generator to be able to demonstrate, in case of legal questions, that you used a qualified template.
Step 6: Publish Page
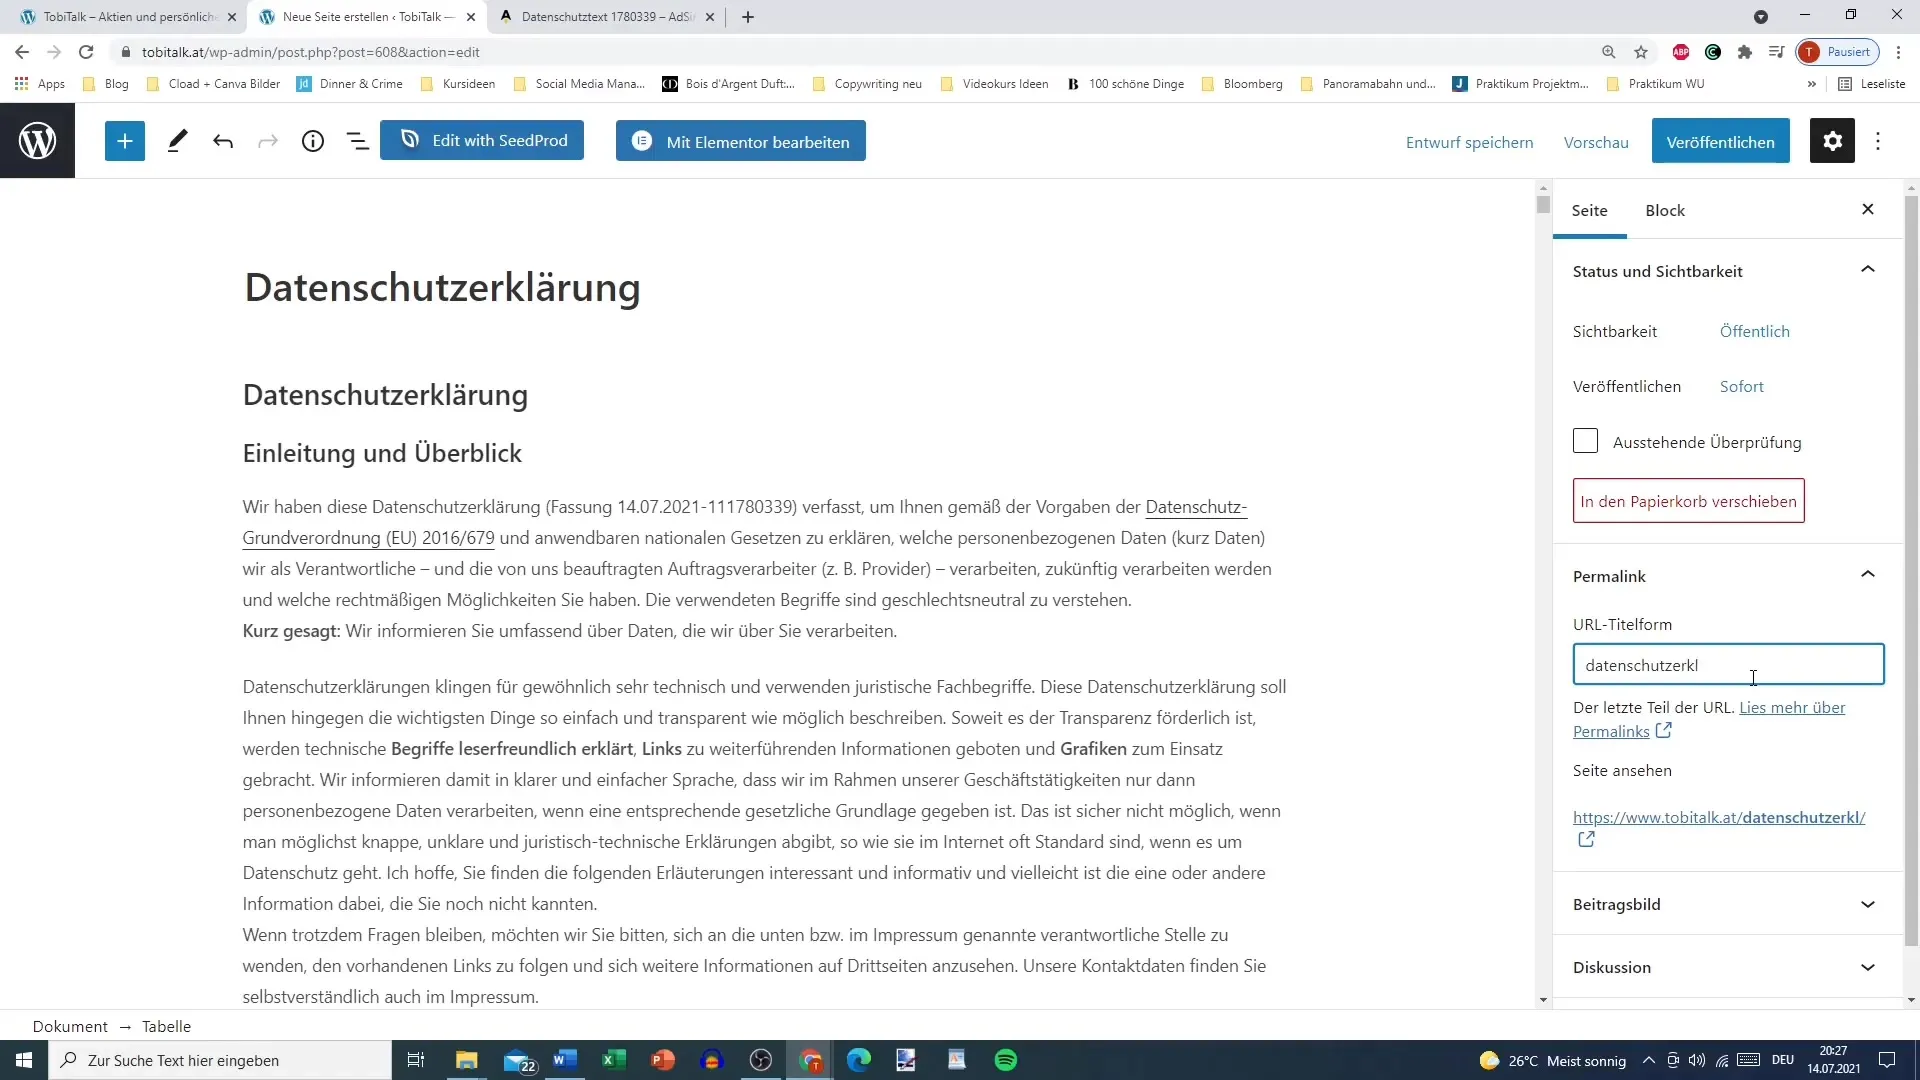
Before publishing the page, check the permalink for accuracy. The permalink for the privacy policy should be clear and simply structured, for example: "privacy-policy".

Now click on "Publish" to make the page live. Congratulations, you have successfully created your privacy policy!
Step 7: Insert Privacy Policy in Footer
Once your privacy policy is published, you can integrate it into the footer of your website. This makes it easily visible to all users. This is usually done through menu customization or widget settings.
Summary
In this guide, you have seen how you can easily create a privacy policy with Elementor. By using a privacy policy generator, you were able to generate the necessary content and add it to your website. This not only protects yourself but also provides your users with the necessary transparency regarding their data.
Frequently Asked Questions
How do I find the right data protection generator?Search on Google for a data protection generator and make sure it is tailored to your country.
Do I have to write the privacy policy myself?No, it's better to use a generator as it takes into account current legal requirements.
What happens if I don't have a privacy policy?If you lack a privacy policy, you can face legal consequences and possibly receive warnings.
Why is the privacy policy so important?The privacy policy allows users to understand how their data is processed and protects you legally.
What can I do if my data processing practices change?You should adjust your privacy policy accordingly and publish the changes.


