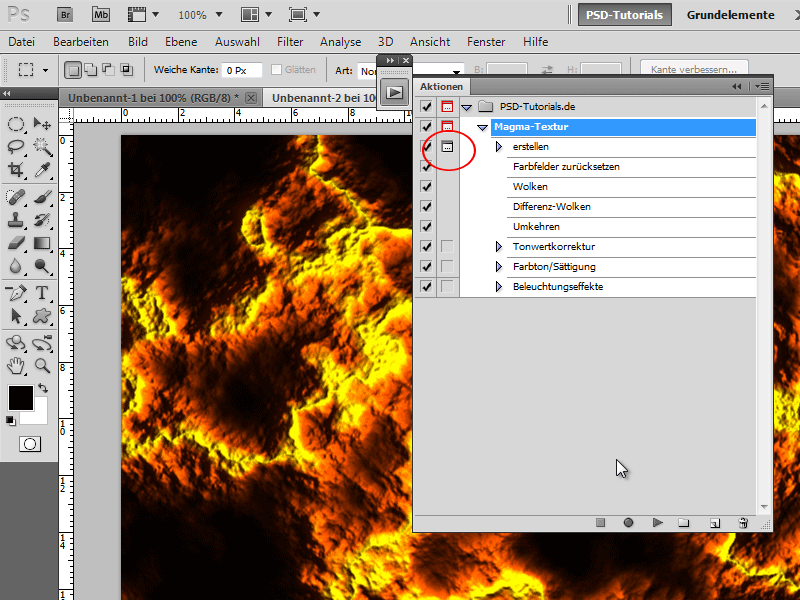
A magma texture gives your designs a powerful and energetic look - ideal for dramatic backgrounds, text effects, or digital artworks. With Photoshop, you can easily create this effect with vibrant colors, glowing highlights, and textured details. In this tutorial, I will show you step by step how to create a magma texture and save it as an action to apply it to other projects with just one click. Let's get started and transform your design into flowing lava!
Step 1:
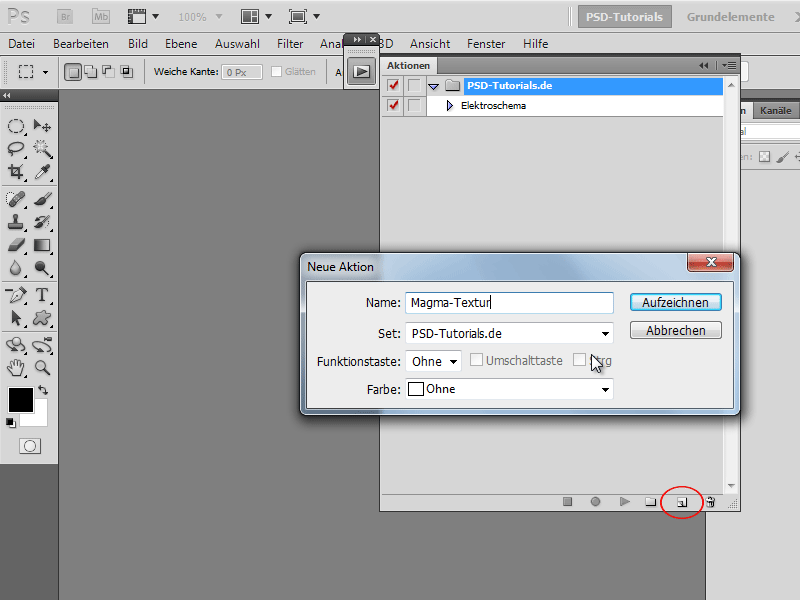
First, I press F9 to show the Actions panel. Then I click on a folder and at the bottom on the New symbol. Now I assign a name for my new action.
Step 2:
All steps are now being recorded. To create a new document, I click Ctrl+N and enter Width as 800 pixels and Height as 600 pixels.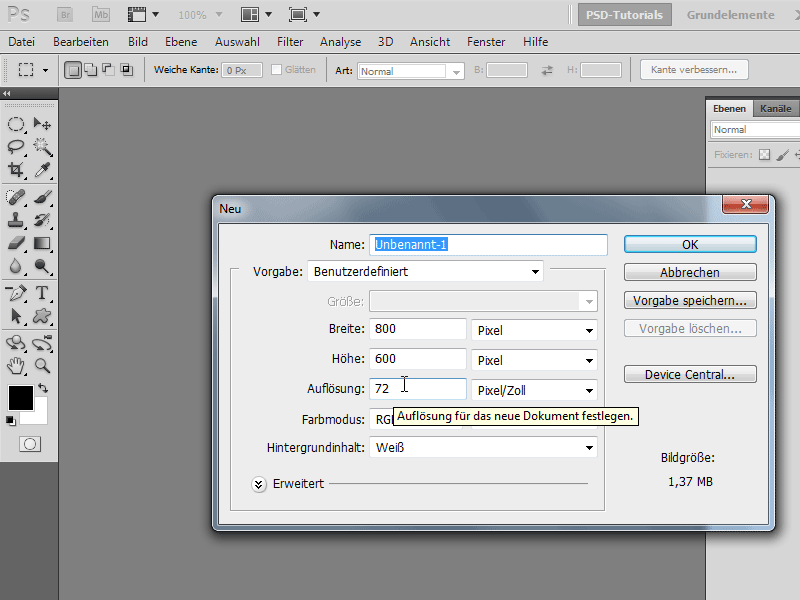
Step 3:
To activate the default colors, I press the letter D. Now I go to Menu>Filter>Render Filter>Clouds.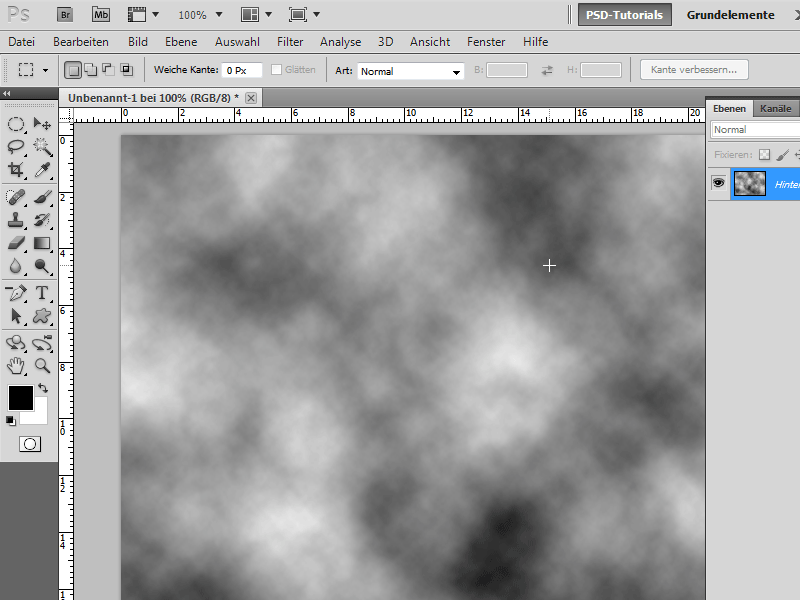
Step 4:
Then on Menu>Filter>Render Filter>Difference Clouds.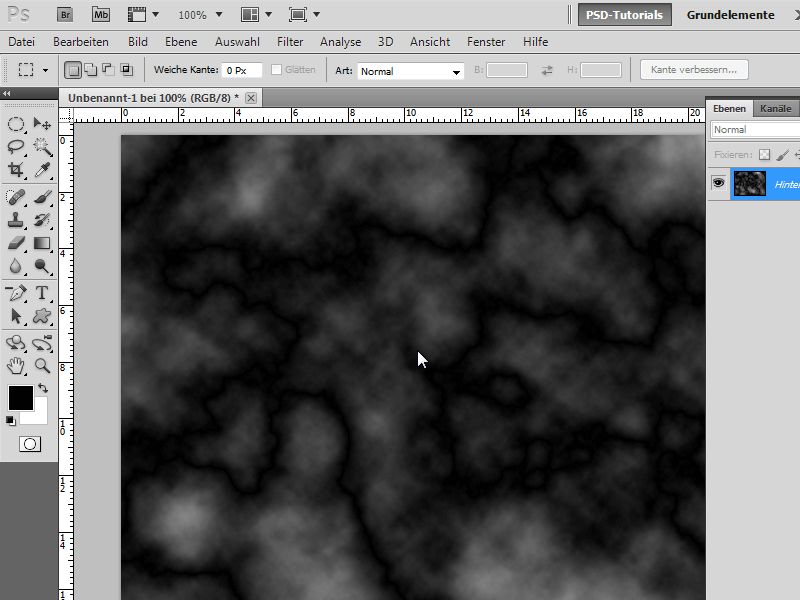
Step 5:
Now I have to invert the image with Ctrl+I. Then I press Ctrl+L, to enter the Levels adjustment. Here, I move the middle slider quite far to the right to enhance the white engravings.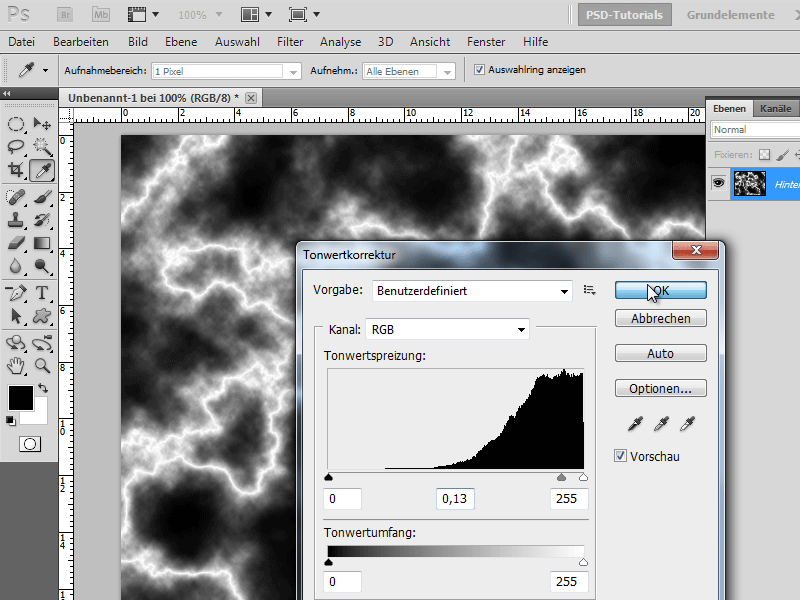
Step 6:
To give the whole thing a nice color, I press Ctrl+U and enter the following color values (I check the Colorize box):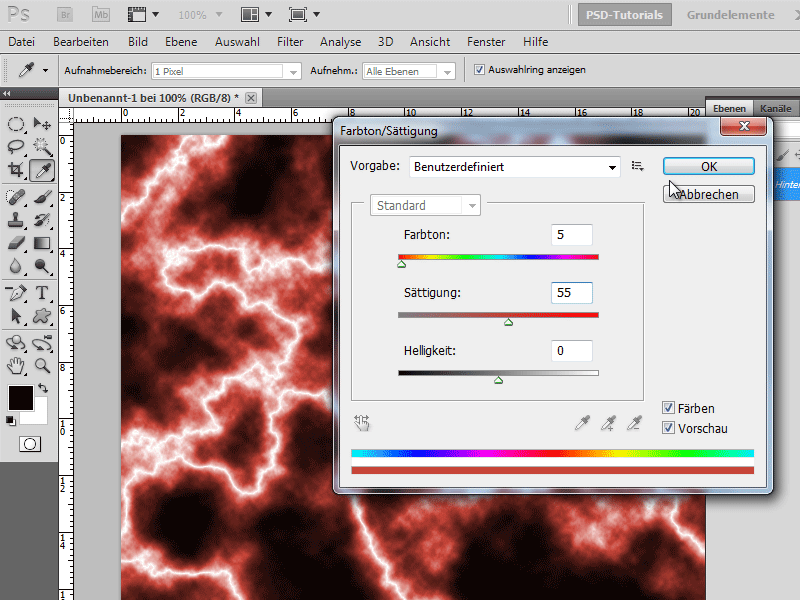
Step 7:
Almost done! I go back to the Filter menu, but this time to Render Filter>Lighting Effect. Here, I enter the following values (I slightly enlarge the circle in the preview with the slider):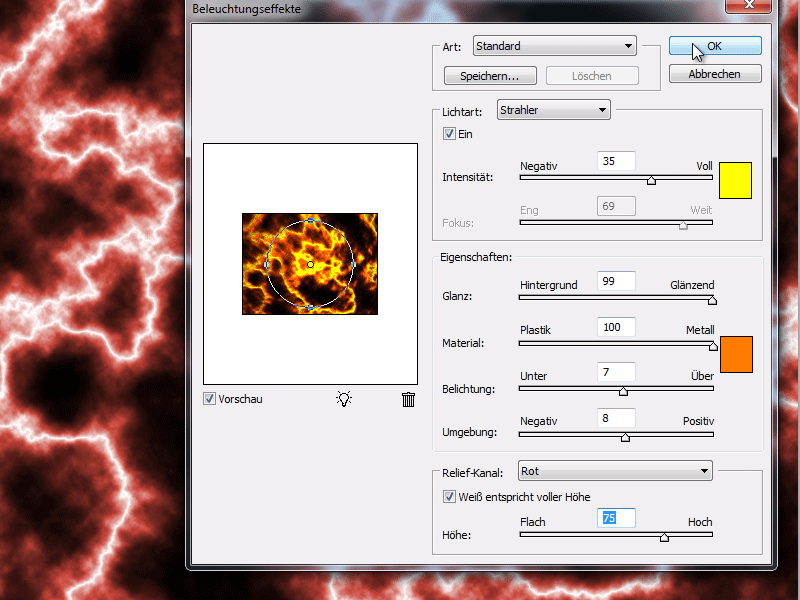
Step 8:
Looks great, doesn't it, the result?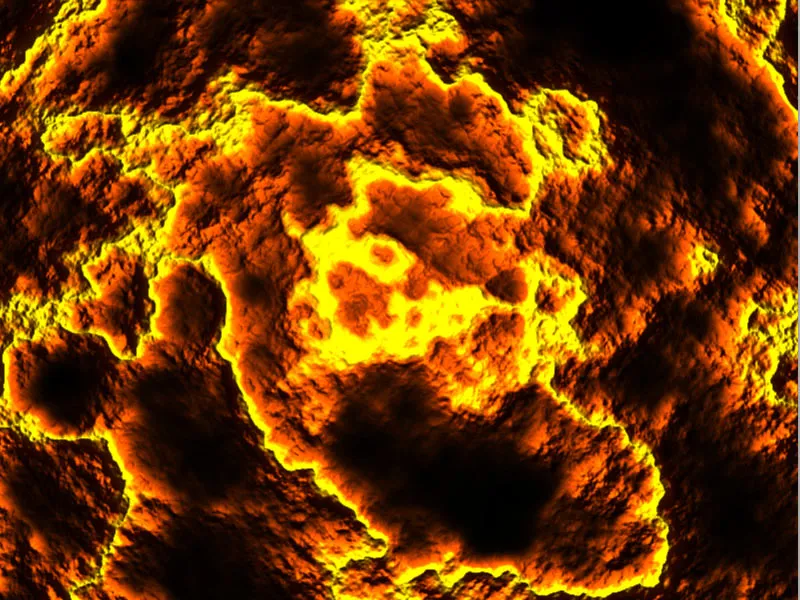
Step 9:
Now I press F9 again to make the Actions panel visible and end my action. I can now simply click on the Play symbol to run the action again. Each time, one will see that the magma looks different as the Clouds Filter is always created randomly.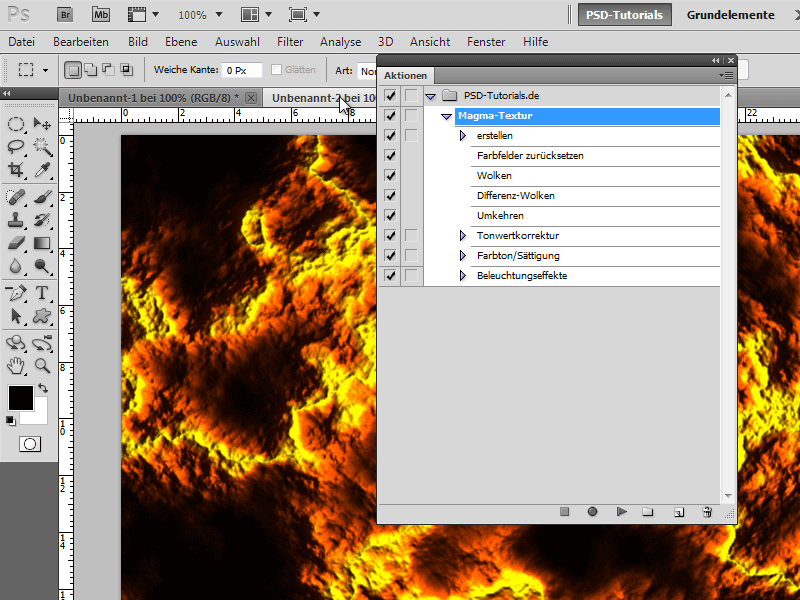
Step 10:
If I want to see a dialog to change certain values, I click on the icon next to the checkmark.