Choosing the right WordPress theme is crucial for the first impression of your website. OceanWP is considered one of the most popular and versatile themes, offering simple installation and numerous customization options. In this guide, you will learn how to effectively install and activate the OceanWP theme to give your homepage a fresh look.
Main Takeaways
- OceanWP is a flexible and customizable WordPress theme.
- Installation is done directly through the WordPress dashboard in a few simple steps.
- After activation, you can immediately customize and test your website.
Step-by-Step Guide
First, log in to your WordPress dashboard. If you haven't done so yet, open your browser, go to your WordPress login page and sign in.

Once logged in, you will be directed to the dashboard view. Here, you can download the OceanWP theme. Click on "Appearance" in the left menu, then on "Themes".
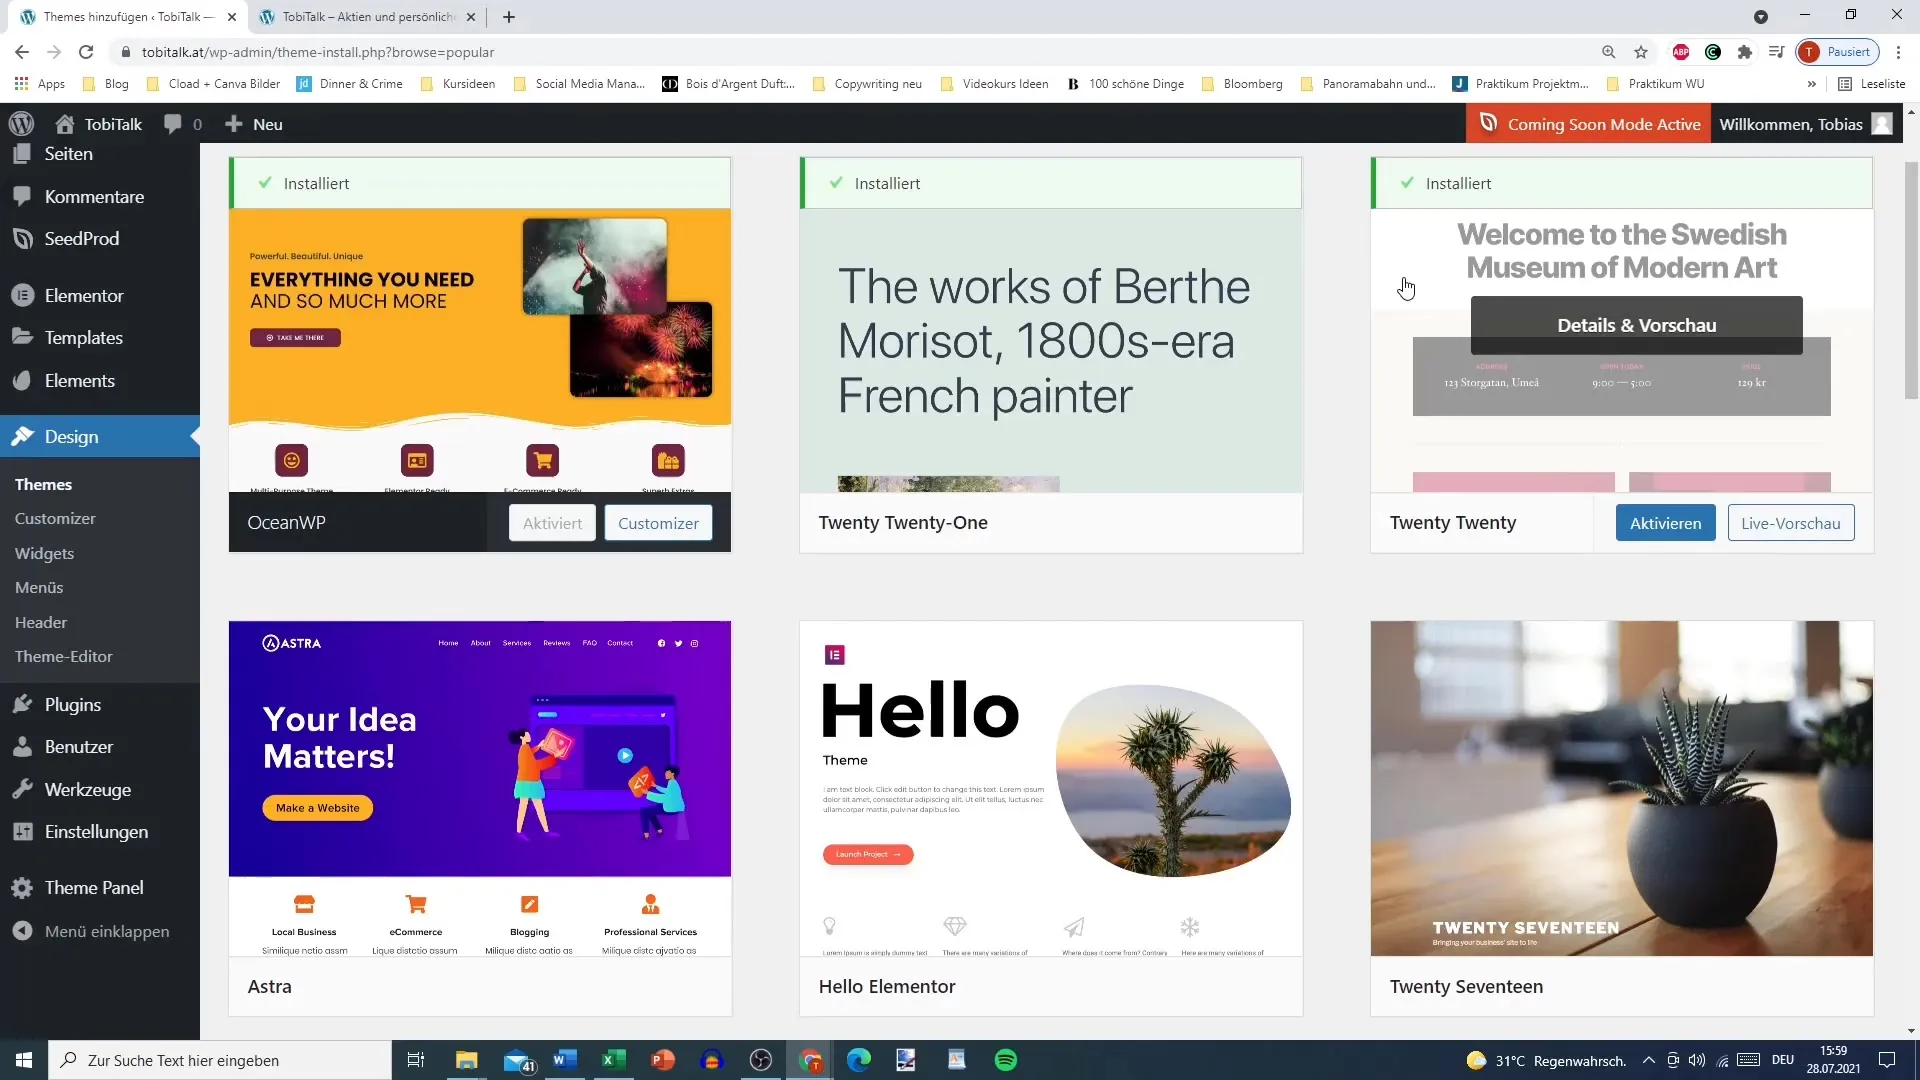
Now you are on the themes page. Here, you have the option to install a new theme. Click on the "Install" button to begin the installation of OceanWP.
The system will now download the theme. Depending on the speed of your internet connection, this may take a moment. Keep an eye on the progress window to ensure the process is successful.
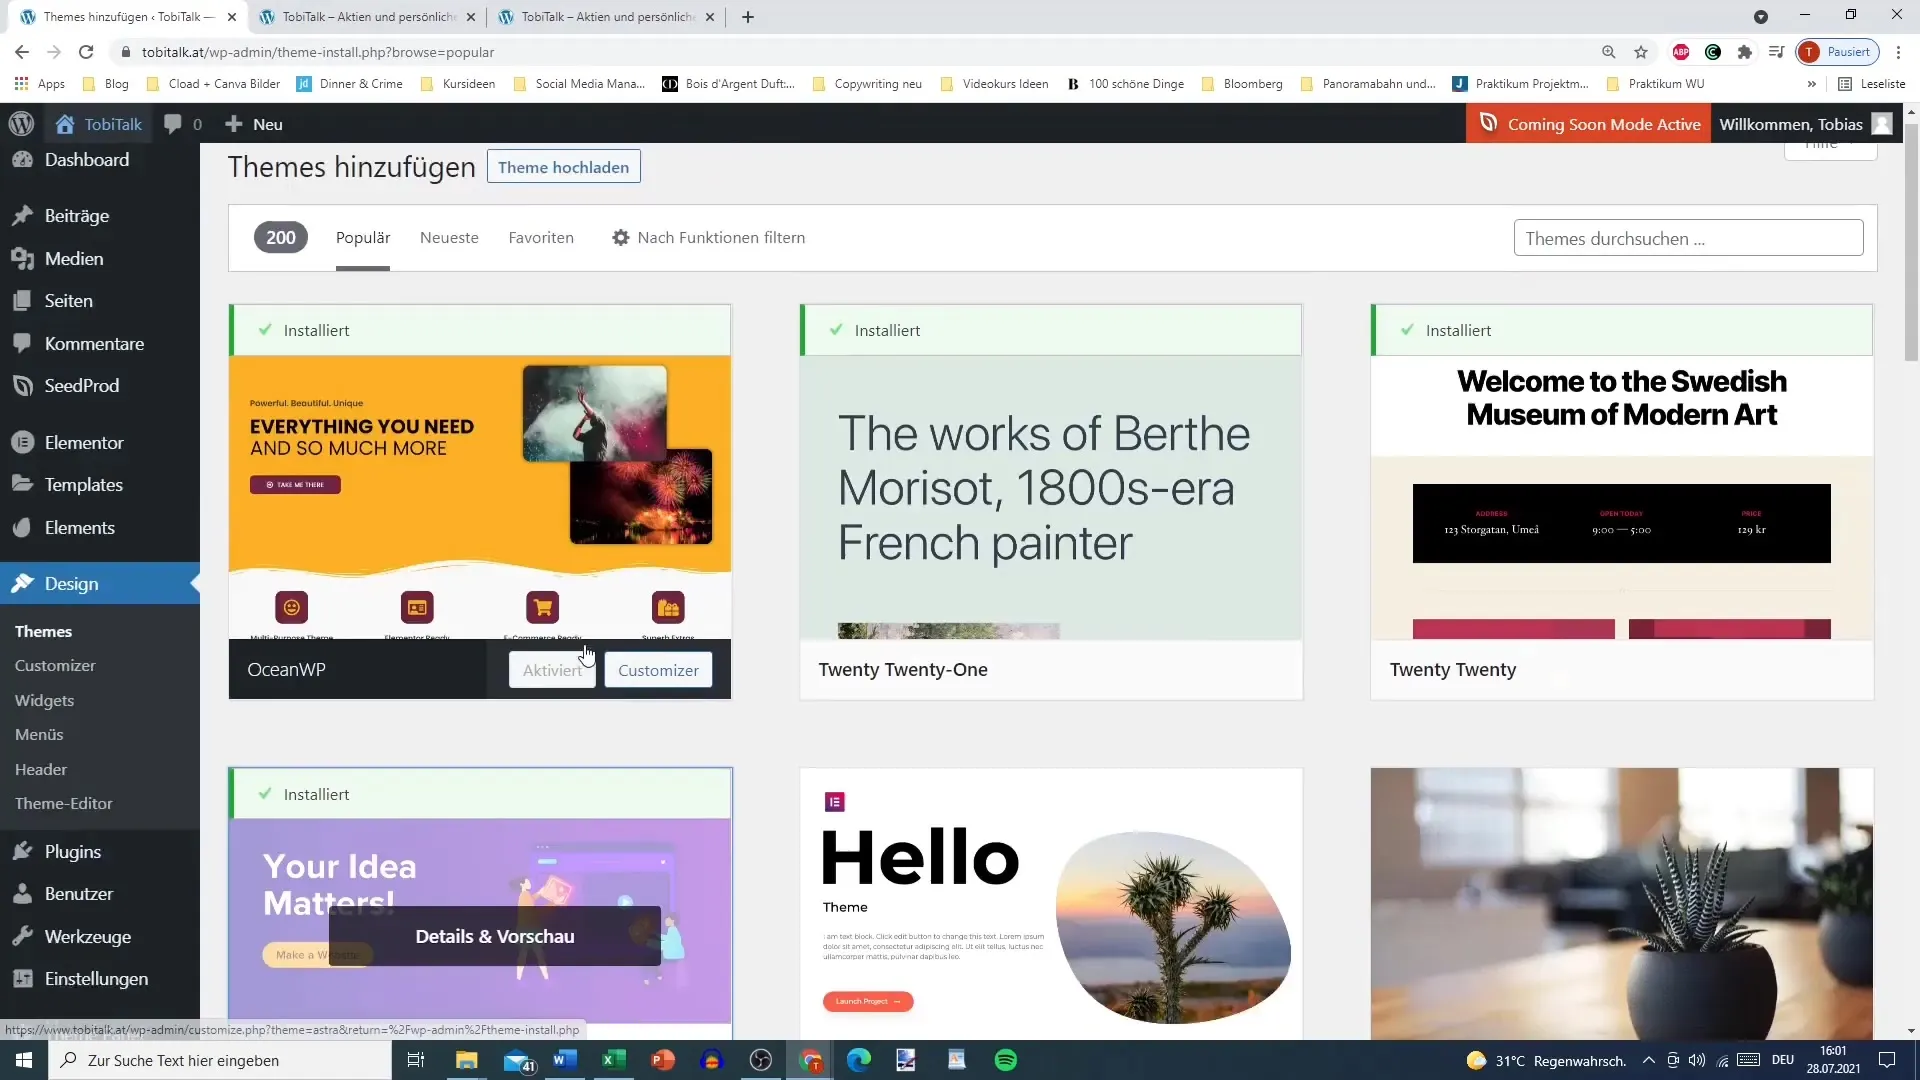
Once the installation is complete, you will have the option to activate the theme. At this stage, it is important to activate OceanWP to be able to use the theme on your website. Click on "Activate" to do so.
Now that OceanWP is activated, you can view your website to gain initial impressions. Simply click on "Refresh" to see the latest changes.
Remember that if you select and activate a different theme such as Astra or Twenty Twenty-One, the appearance of your homepage may look completely different. It's worth trying out various options, especially if your site has no content yet.

Now that OceanWP is activated, refresh your website to see all the effects of the theme. Start customizing your website with the individual adjustments and utilize the many options that OceanWP offers.
In the next step, after theme activation, you will add plugins to enhance the functionality of your site. These plugins are crucial to meet your requirements and make the most out of your new theme.

Summary
With this guide, you have successfully integrated and activated the OceanWP theme into your WordPress theme. Remember to regularly update your website and explore the various customization options to make it according to your preferences.
Frequently Asked Questions
How do I install OceanWP?You can install OceanWP by going to Design > Themes in the WordPress dashboard and then clicking on "Install".
How do I activate OceanWP after installation?After installation, you can activate the theme by clicking on the "Activate" button.
Can I customize the homepage of my website?Yes, the homepage can be customized after activating the theme. Different themes offer various customization options.
What should I do if I don't like the theme?If you don't like the theme, you can simply switch back to another theme and activate it.
How can I test the appearance of my website?To test the appearance of your website, simply click on "Refresh" to see the latest changes.


