The design of websites has fundamentally changed in recent years. With page builders like Elementor, creating appealing layouts for WordPress websites is easier than ever. The column settings are a central part in achieving a clear structure and harmonious design. In this guide, you will learn how to effectively adjust column settings with Elementor to make your website visually appealing.
Key Insights
- Column settings allow for flexible layout design.
- You can adjust width, vertical and horizontal alignment, and spacing.
- The adjustment is crucial for the overall look of your website.
Step-by-Step Guide
Add column
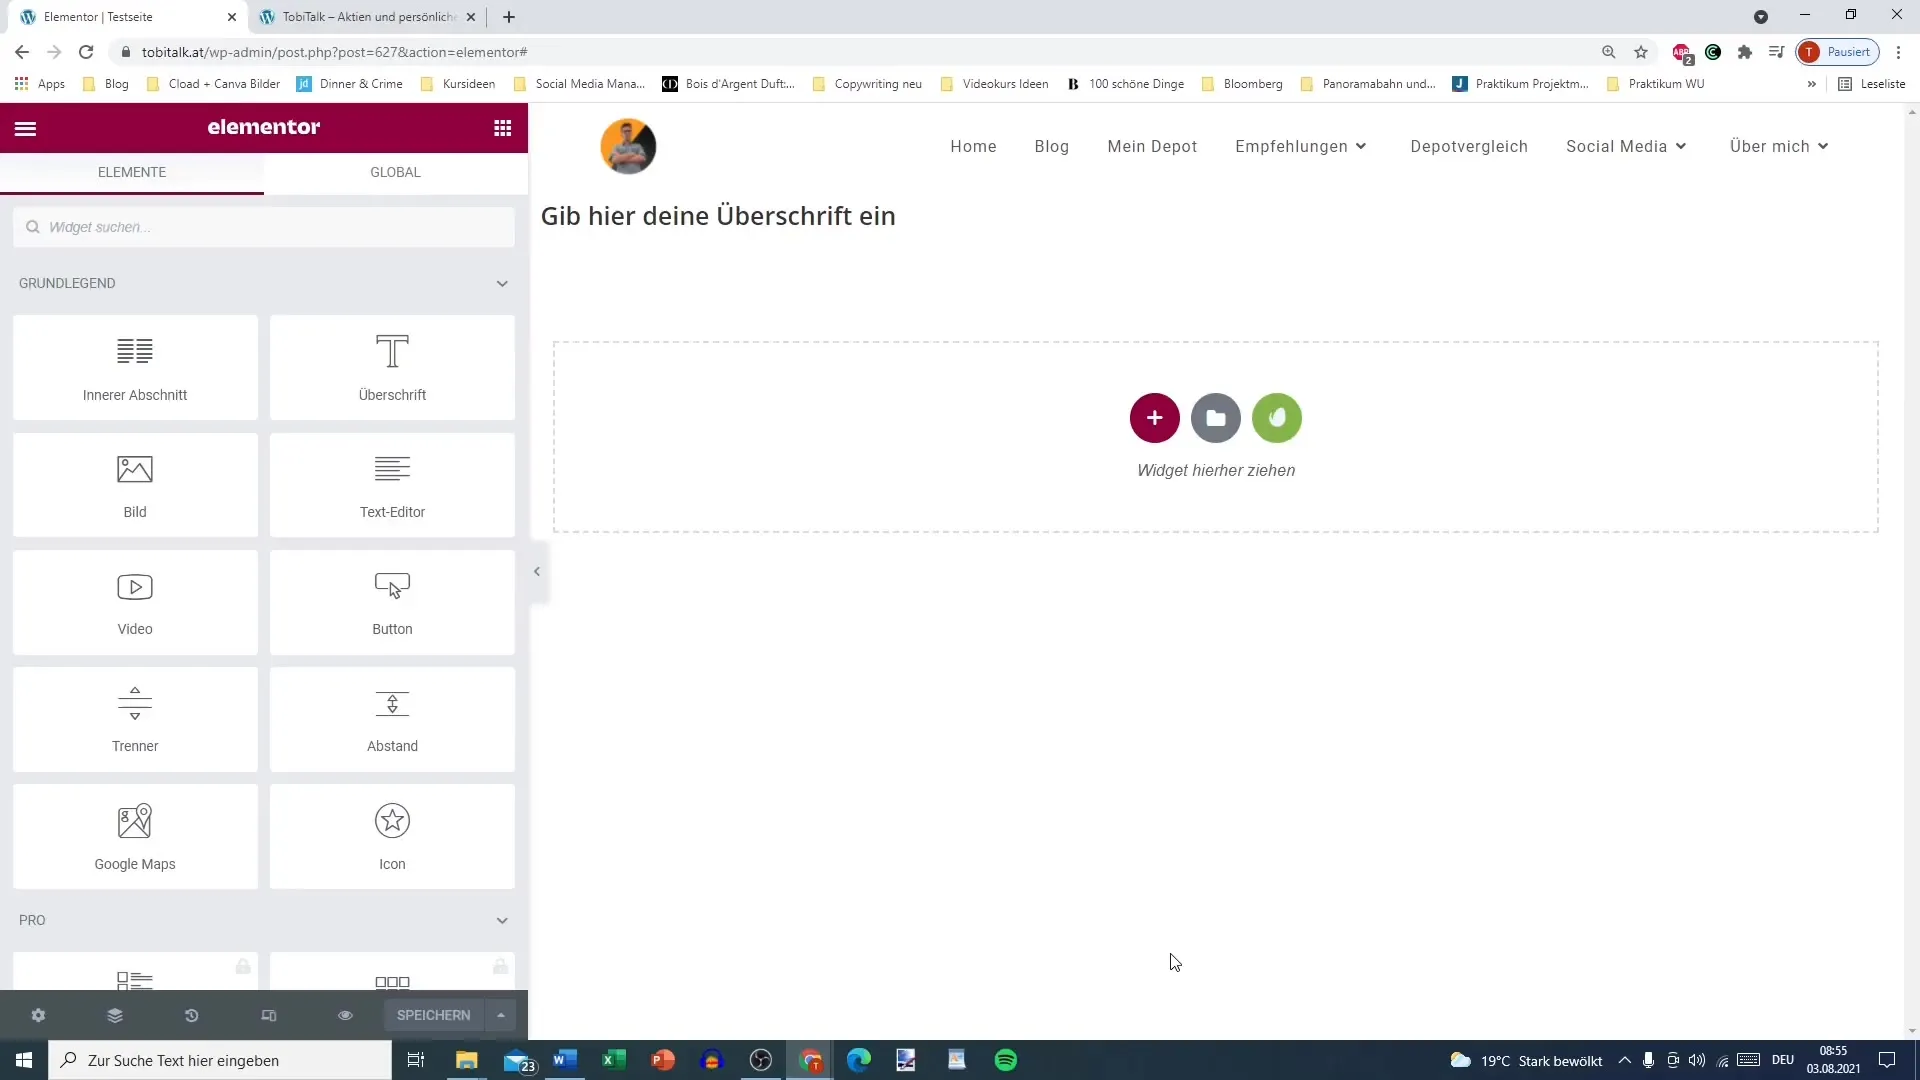
To start with column settings, we first add a new section with columns. You can choose the option "Add Column" and opt for a two-column layout, for example. With this base, you can efficiently control the placement of content.

Add content
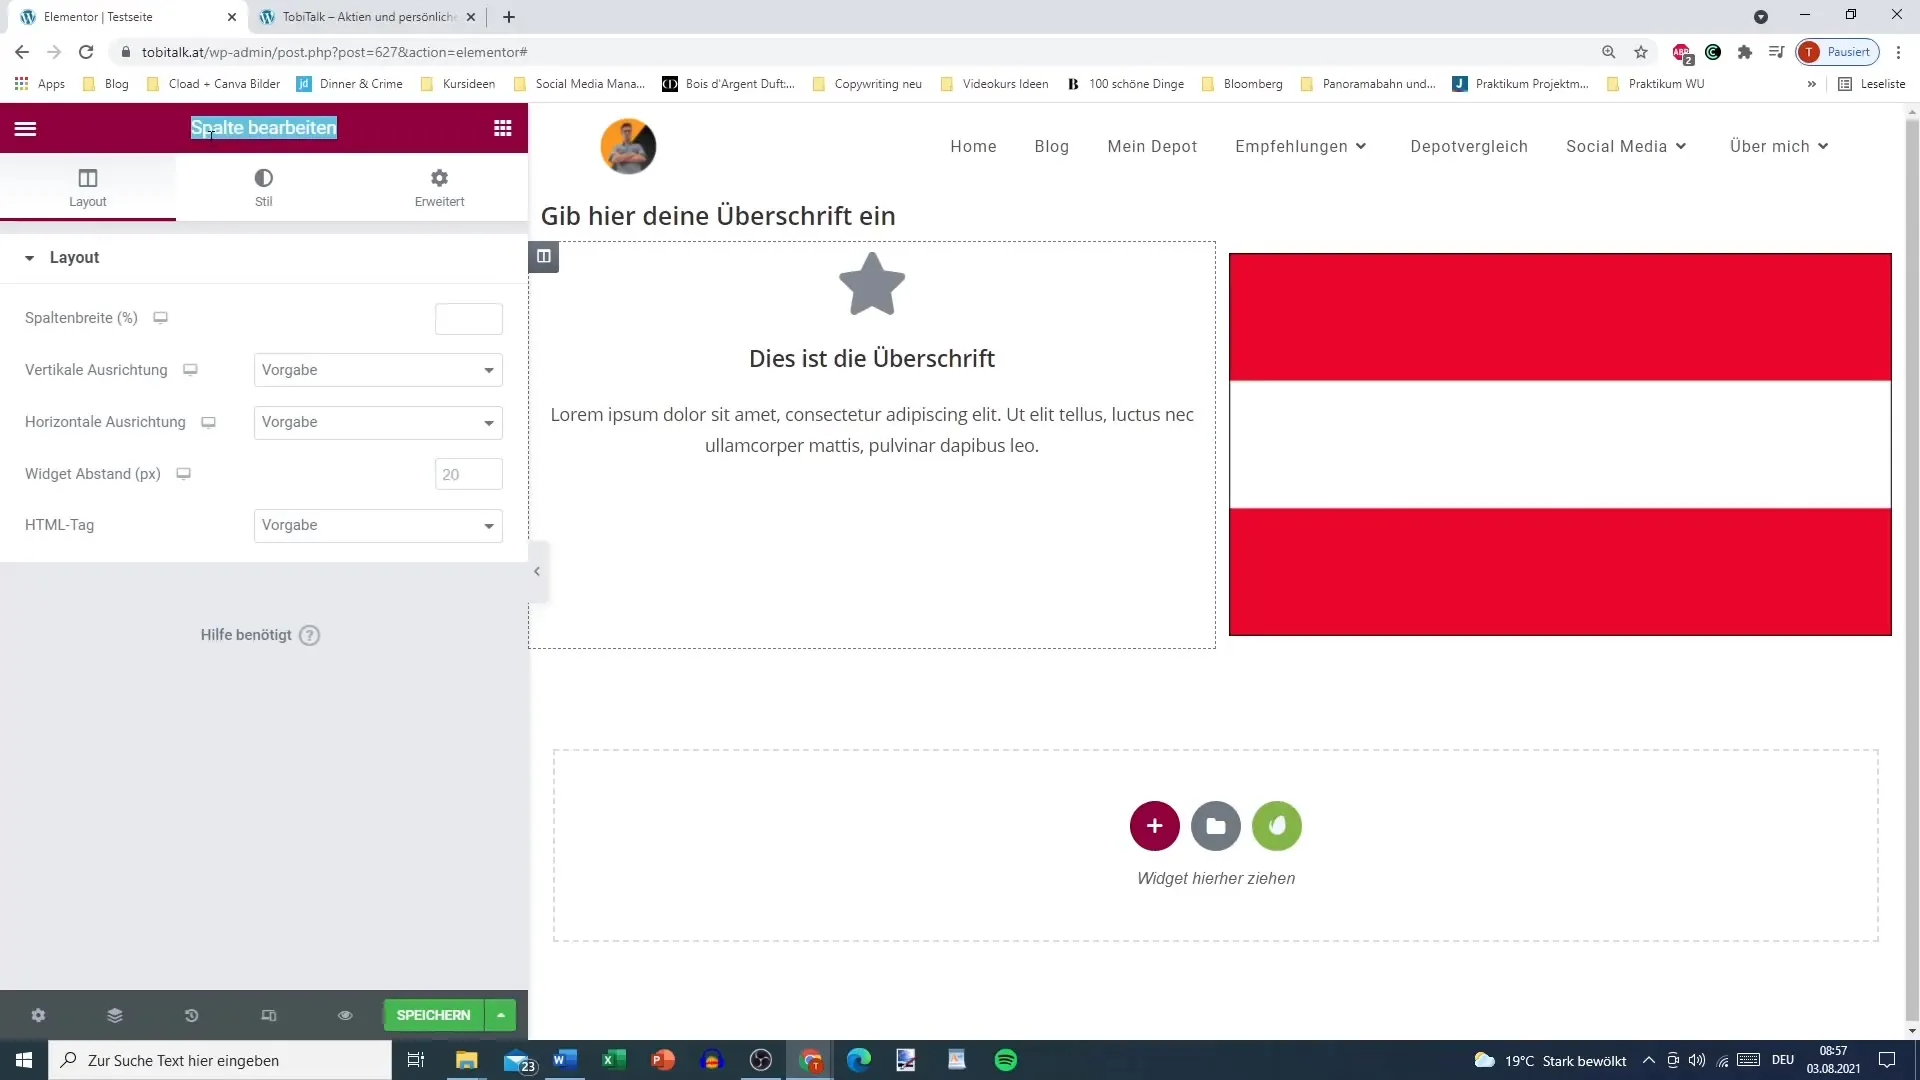
Once the section is created, you can add various contents. For instance, you could add an image into one of the columns. A balanced ratio between image and text is recommended. Creating engaging content is key to a successful layout.
Edit column
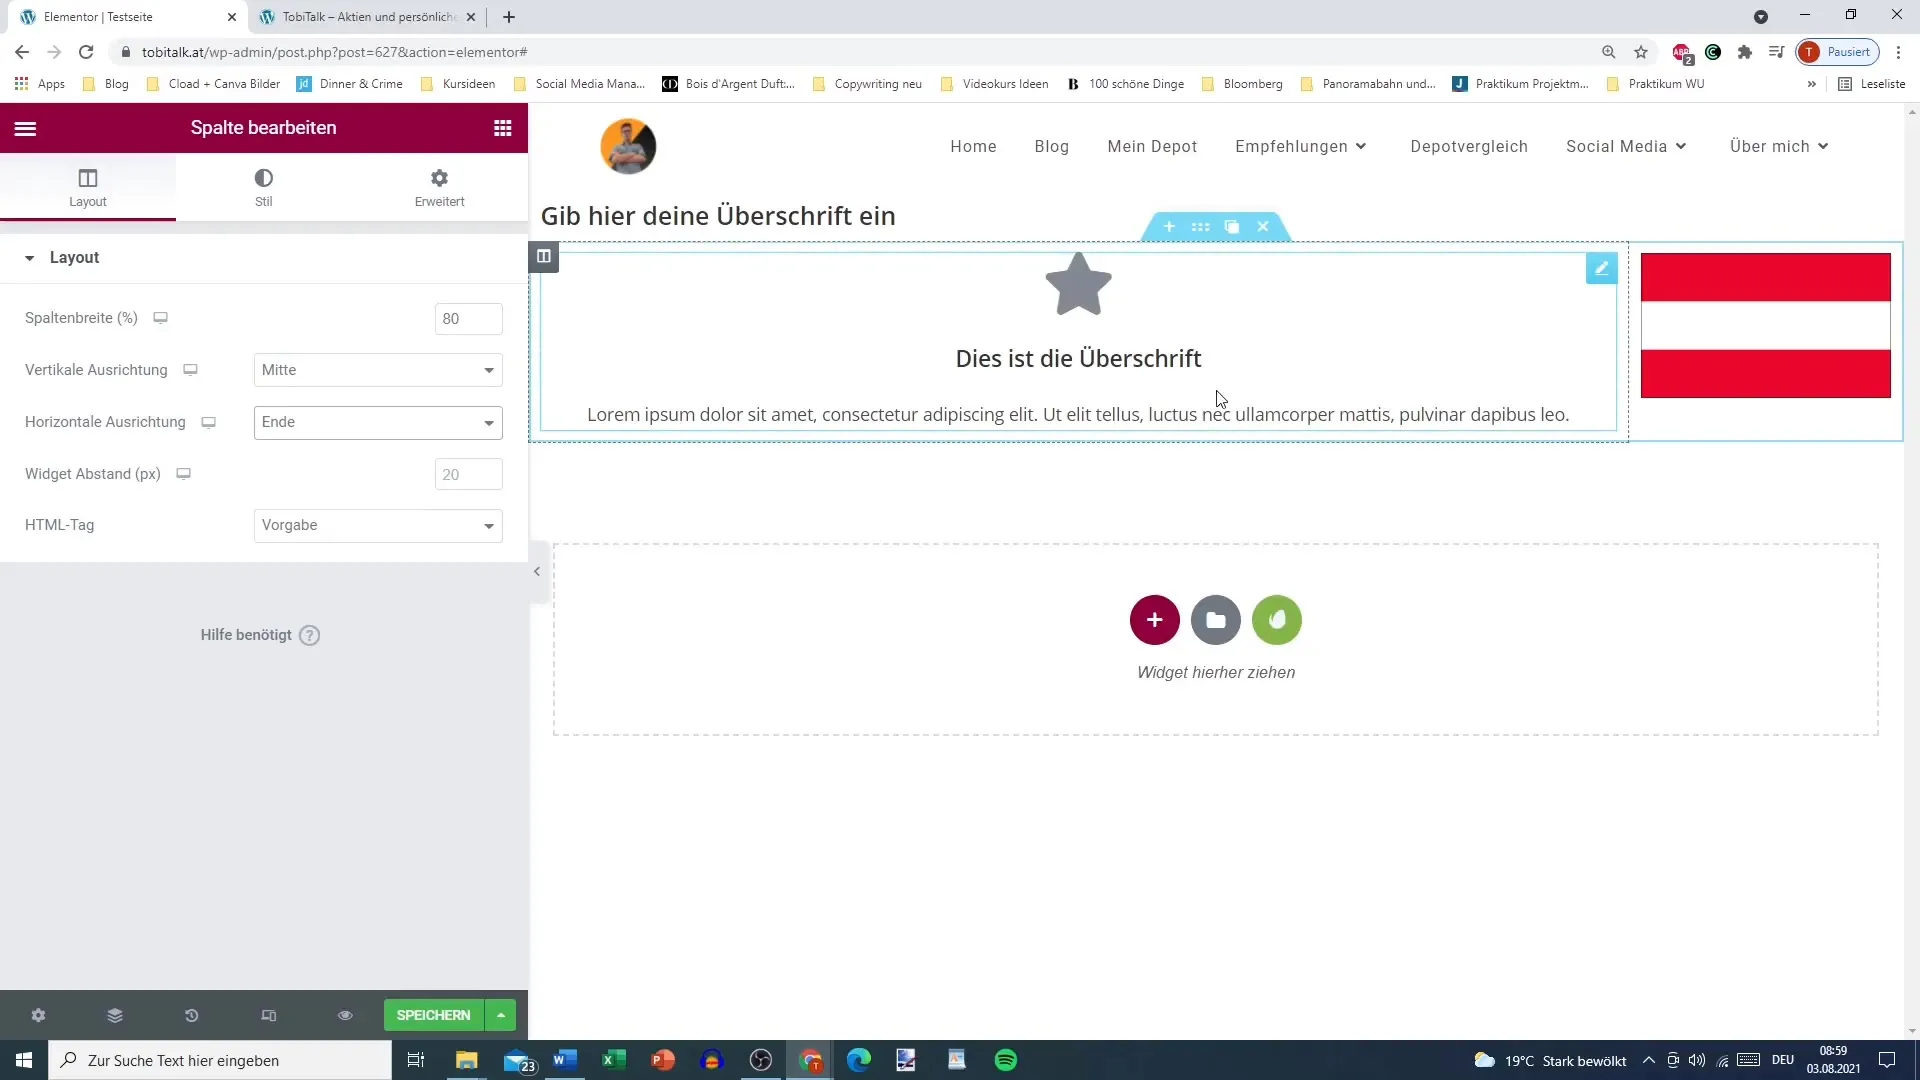
To adjust the settings of a column, click on the "Edit Column" button. Here, a window will open with numerous options available. An important setting is the width of the columns - an ideal width could often be 30% for the image and 70% for the text. Experiment with different values to achieve the best result.

Adjust vertical alignment
In the same editing window, you can set the vertical alignment of the content within the columns. Aligning at the top, middle, or bottom can have significant effects on the visual design. Test which alignment best suits your needs.
Change horizontal alignment
In addition to vertical alignment, horizontal alignment is also crucial. You can adjust this in the "Edit Column" window as well. Consider whether you want elements at the beginning, middle, or end. This promotes clarity in the structure and an appealing design.

Adjust widget spacing
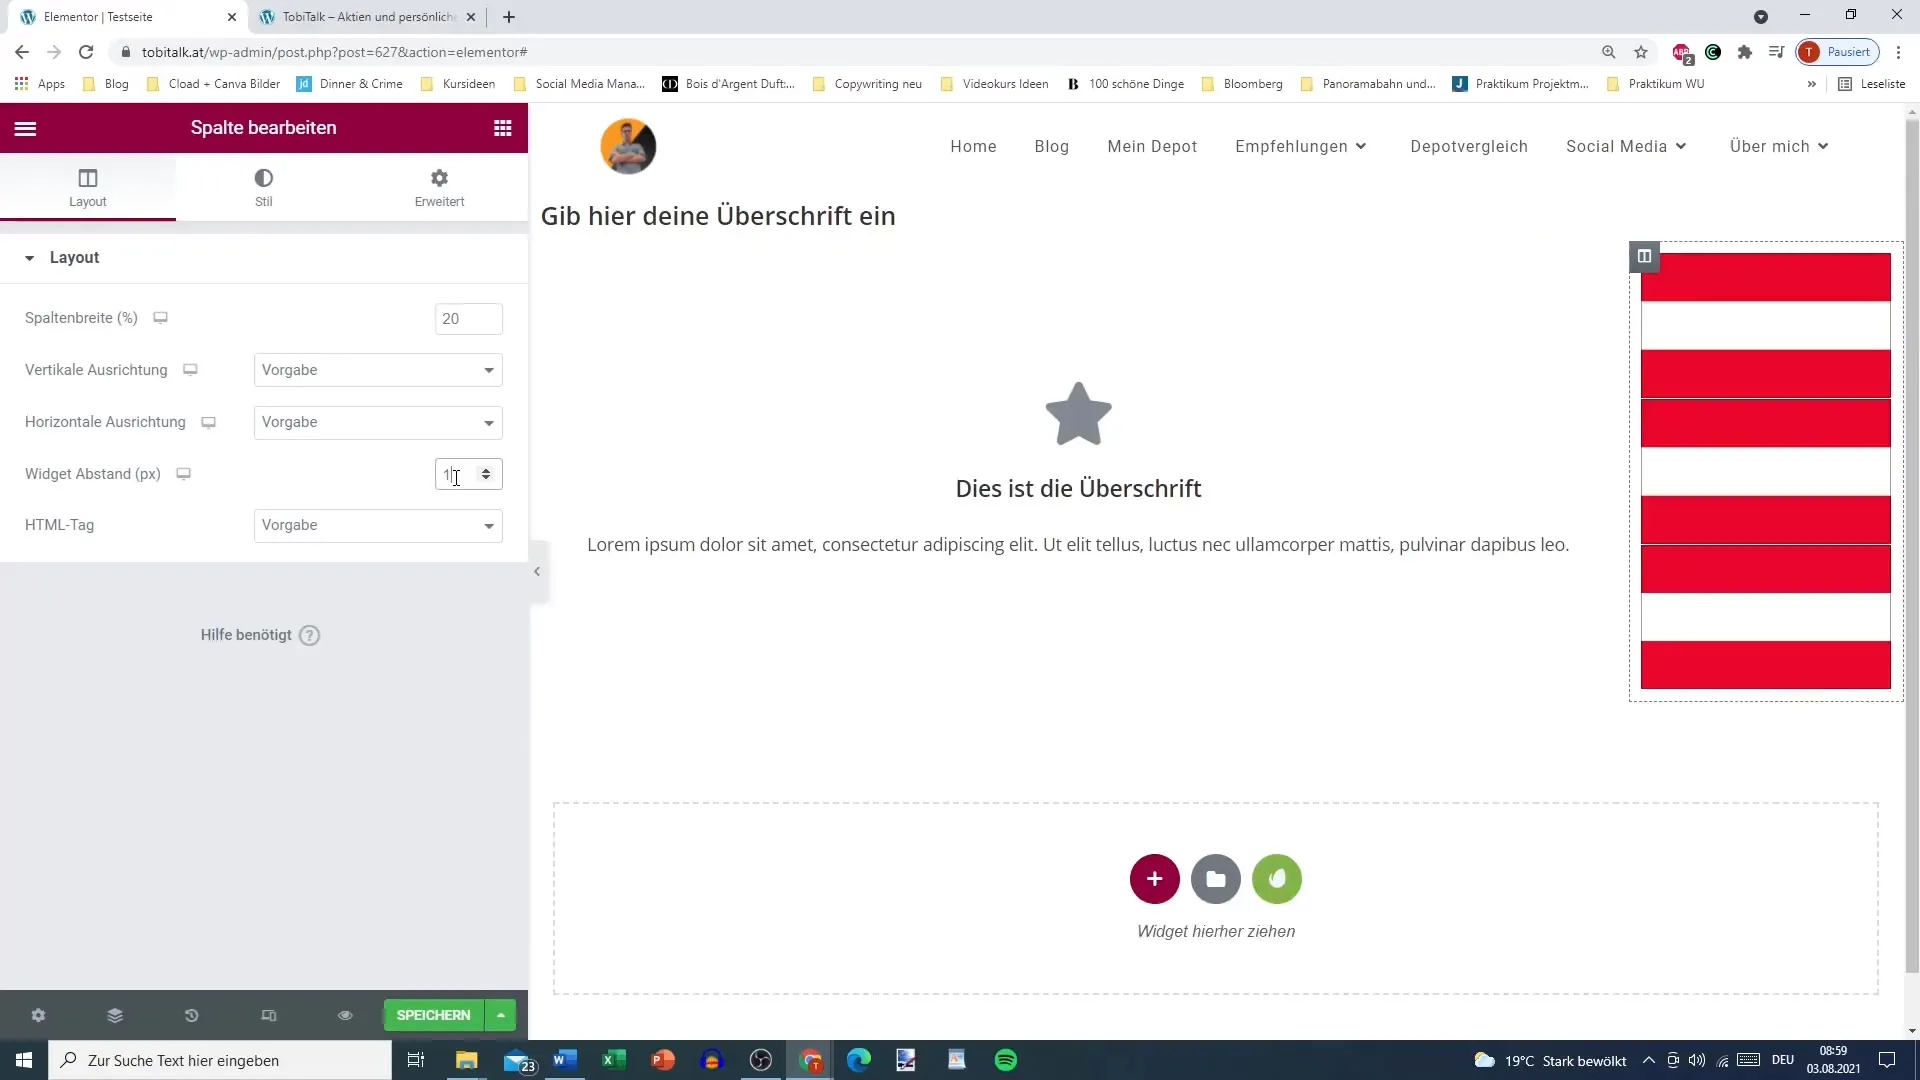
Another important aspect is adjusting the spacing between widgets within the columns. You can increase the spacing to improve readability or decrease it to utilize space efficiently. Remember that appropriate spacing between elements significantly contributes to user experience.

Adjust negative spacing
An interesting function is the ability to adjust negative spacing. With this function, you can achieve additional flexibility in your layout. Be cautious in using this function to avoid an overloaded or cluttered design.
Use HTML tags
Lastly, you have the option to include HTML tags in your texts. This can be helpful to use special functions or formats. While you may not need this yet, it's good to know that this possibility exists.
Summary
In this guide, you have learned the basic column settings in Elementor. By adding columns, editing widths, adjusting spacing and alignments, you can significantly enhance the user experience on your website. Pay attention to the structure and arrangement of your content to achieve an appealing design.
Frequently Asked Questions
How do I add a column in Elementor?Go to "Add Column" and choose the desired layout.
How can I adjust the width of a column?Click on "Edit Column" and adjust the width in the settings window.
What can I do to change vertical alignment?Find the option for vertical alignment in the editing window of the column.
Can I adjust the spacing between widgets?Yes, you can adjust the spacing between widgets in the settings area.
How do I use negative spacing in Elementor?Input negative numbers in the respective field to bring the elements closer together.


