The design of texts plays a crucial role when it comes to creating an appealing website. Typography not only influences readability but also the overall aesthetics of your site. In this tutorial, you will learn how to effectively adjust typography settings in Elementor. You can expect comprehensive options to define fonts, sizes, and styles to highlight your content and enhance user experience.
Key Takeaways
- You can adjust font types, sizes, and colors for all text elements on the website using global typography settings.
- Various levels (H1 to H6) are available for headings and can be customized individually.
- Text style can be enhanced with attributes such as bold, italic, and strikethrough effects.
- Color changes and hover effects can be defined for links.
Step-by-Step Guide
1. Accessing Typography Settings
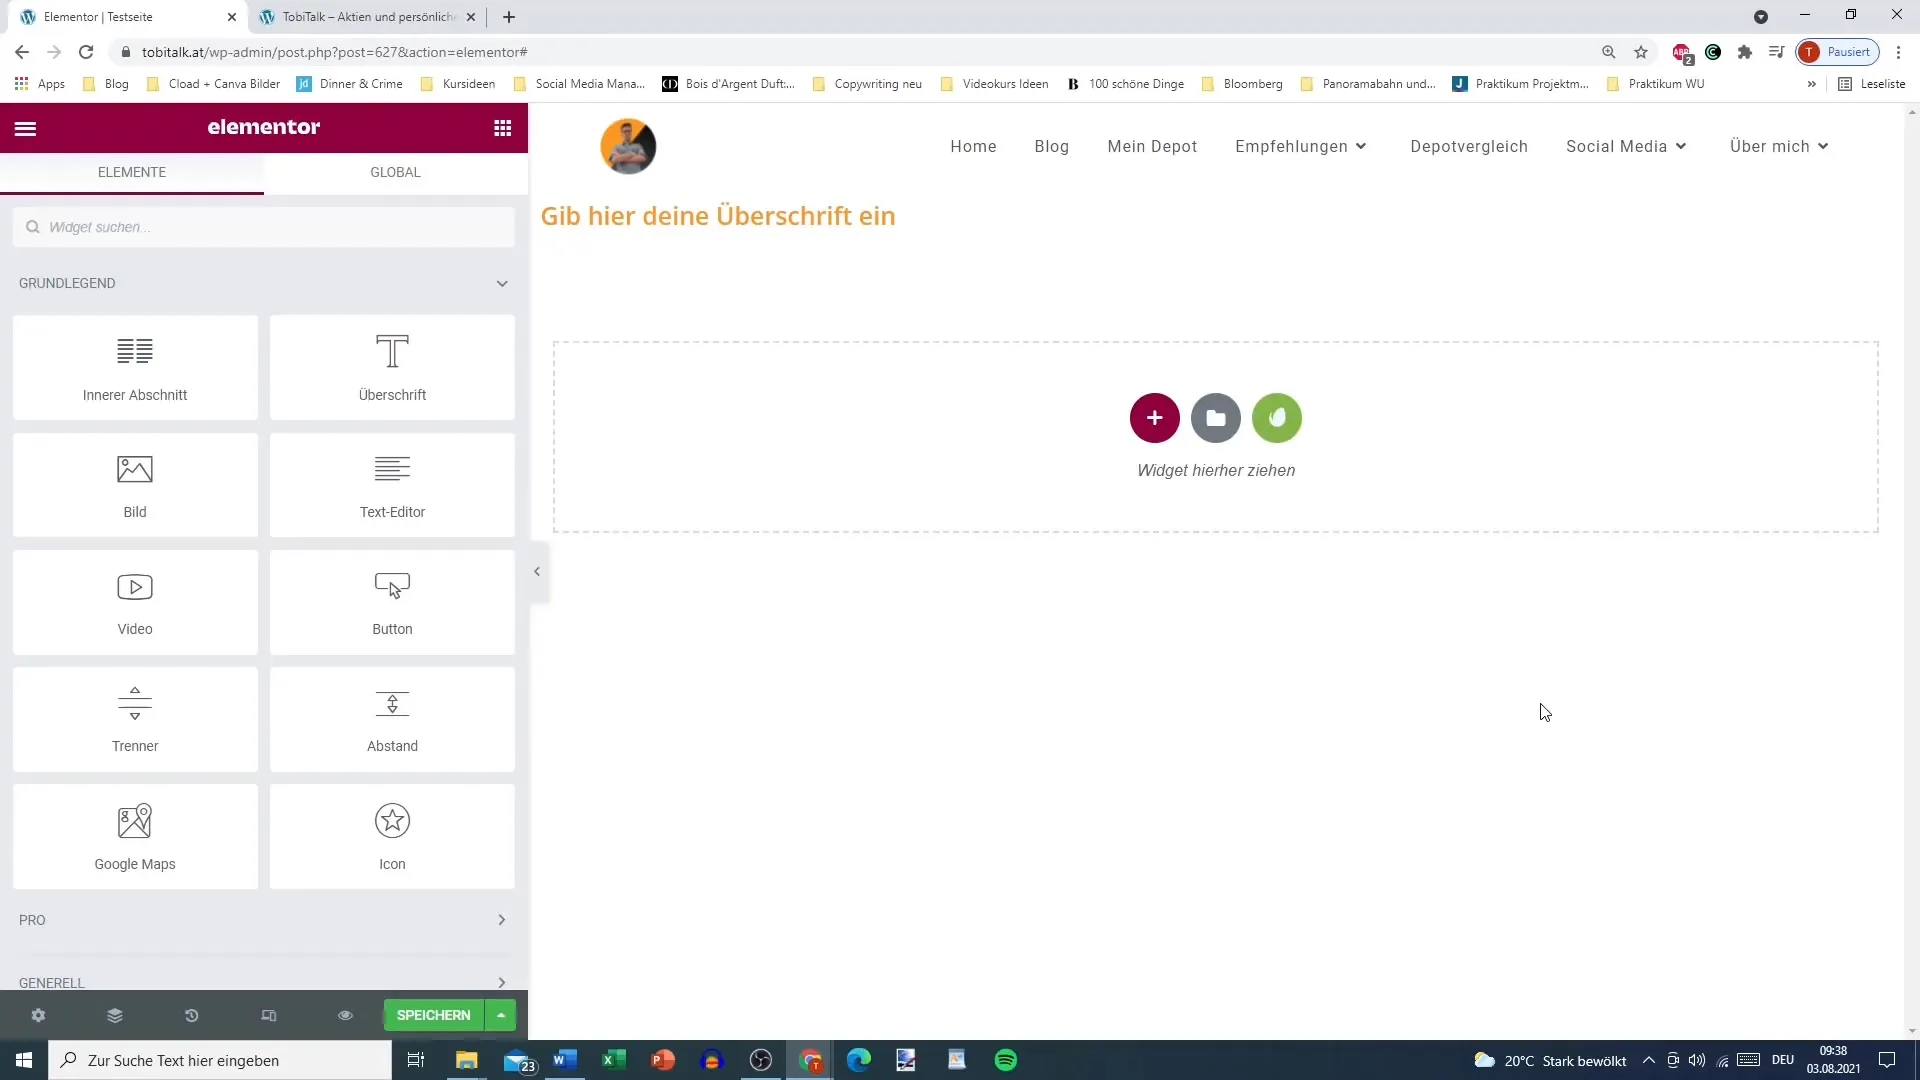
To modify typography settings, first go to the Elementor editor. Open the page you want to edit.
2. Accessing Global Settings
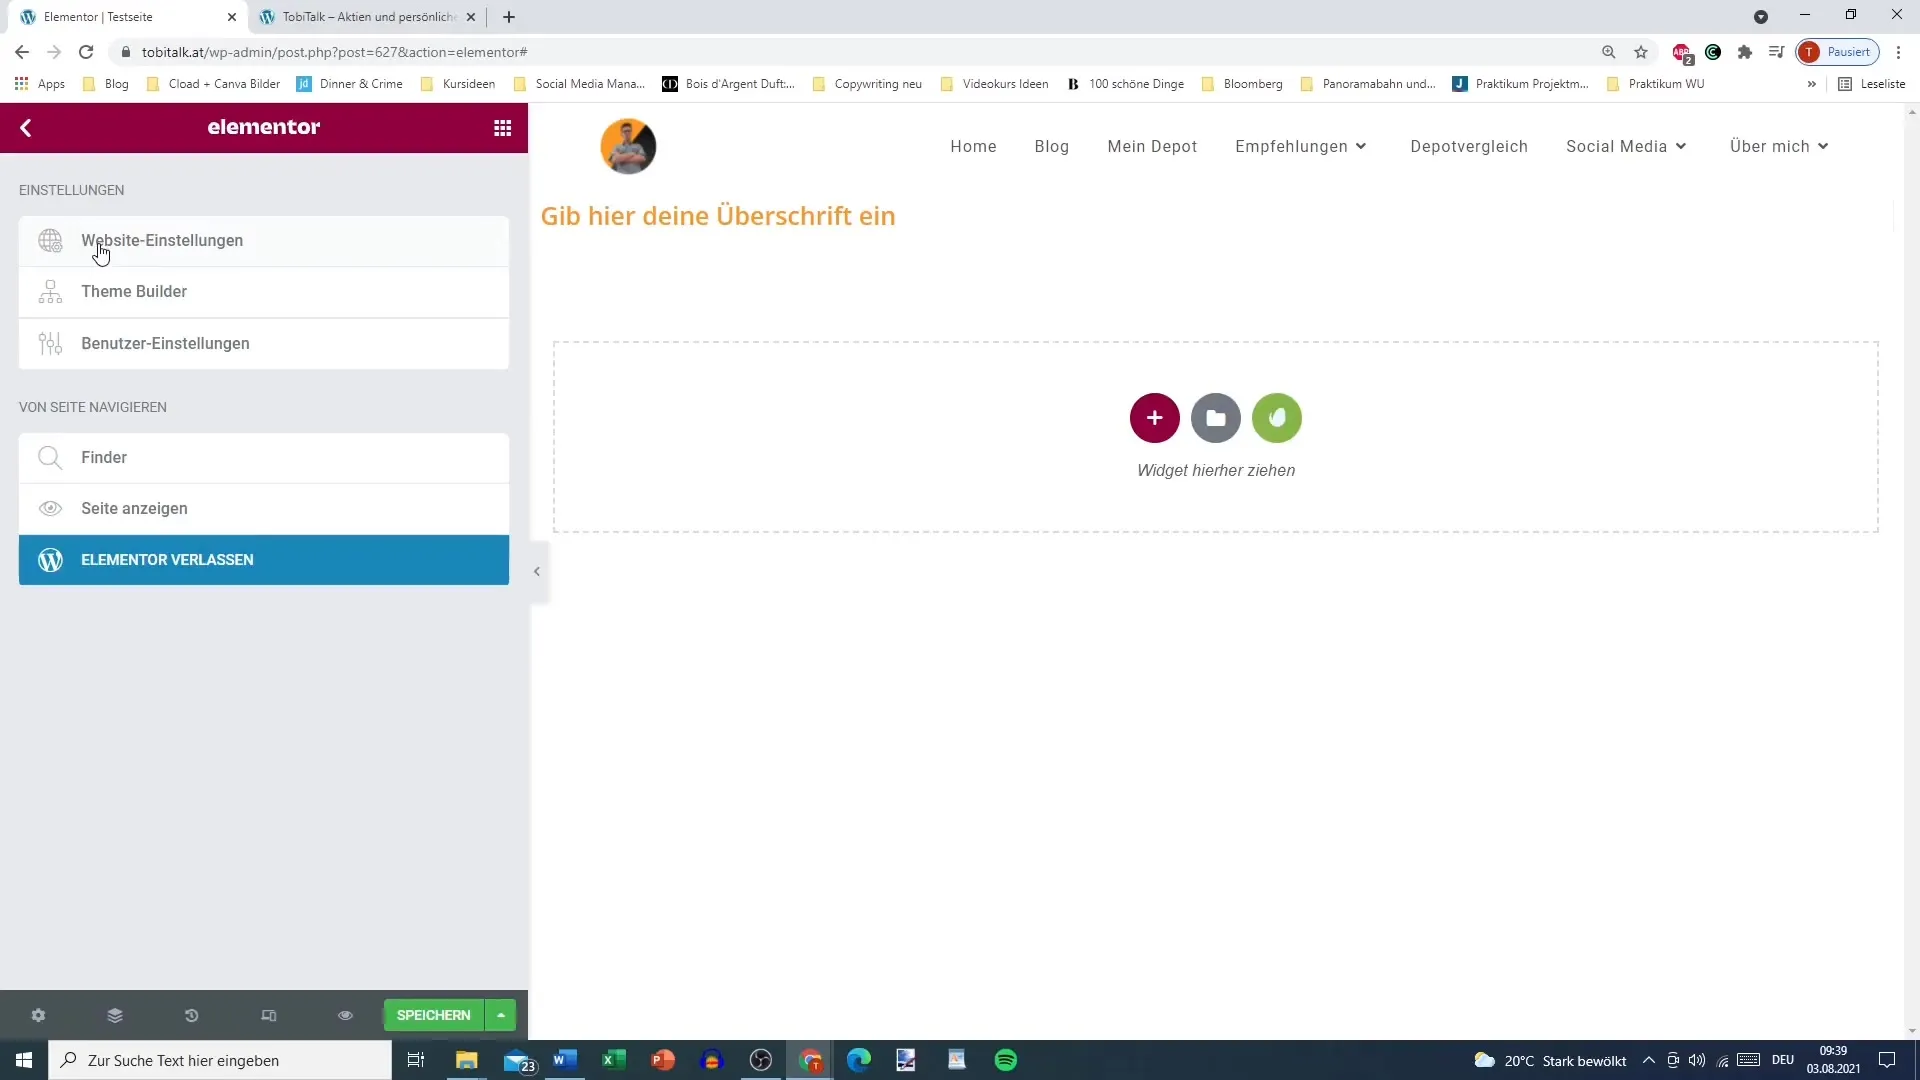
In the top left corner, click on "Website Settings." Here, you will find the section for typographic adjustments and other global settings that affect your entire website.
3. Selecting Fonts
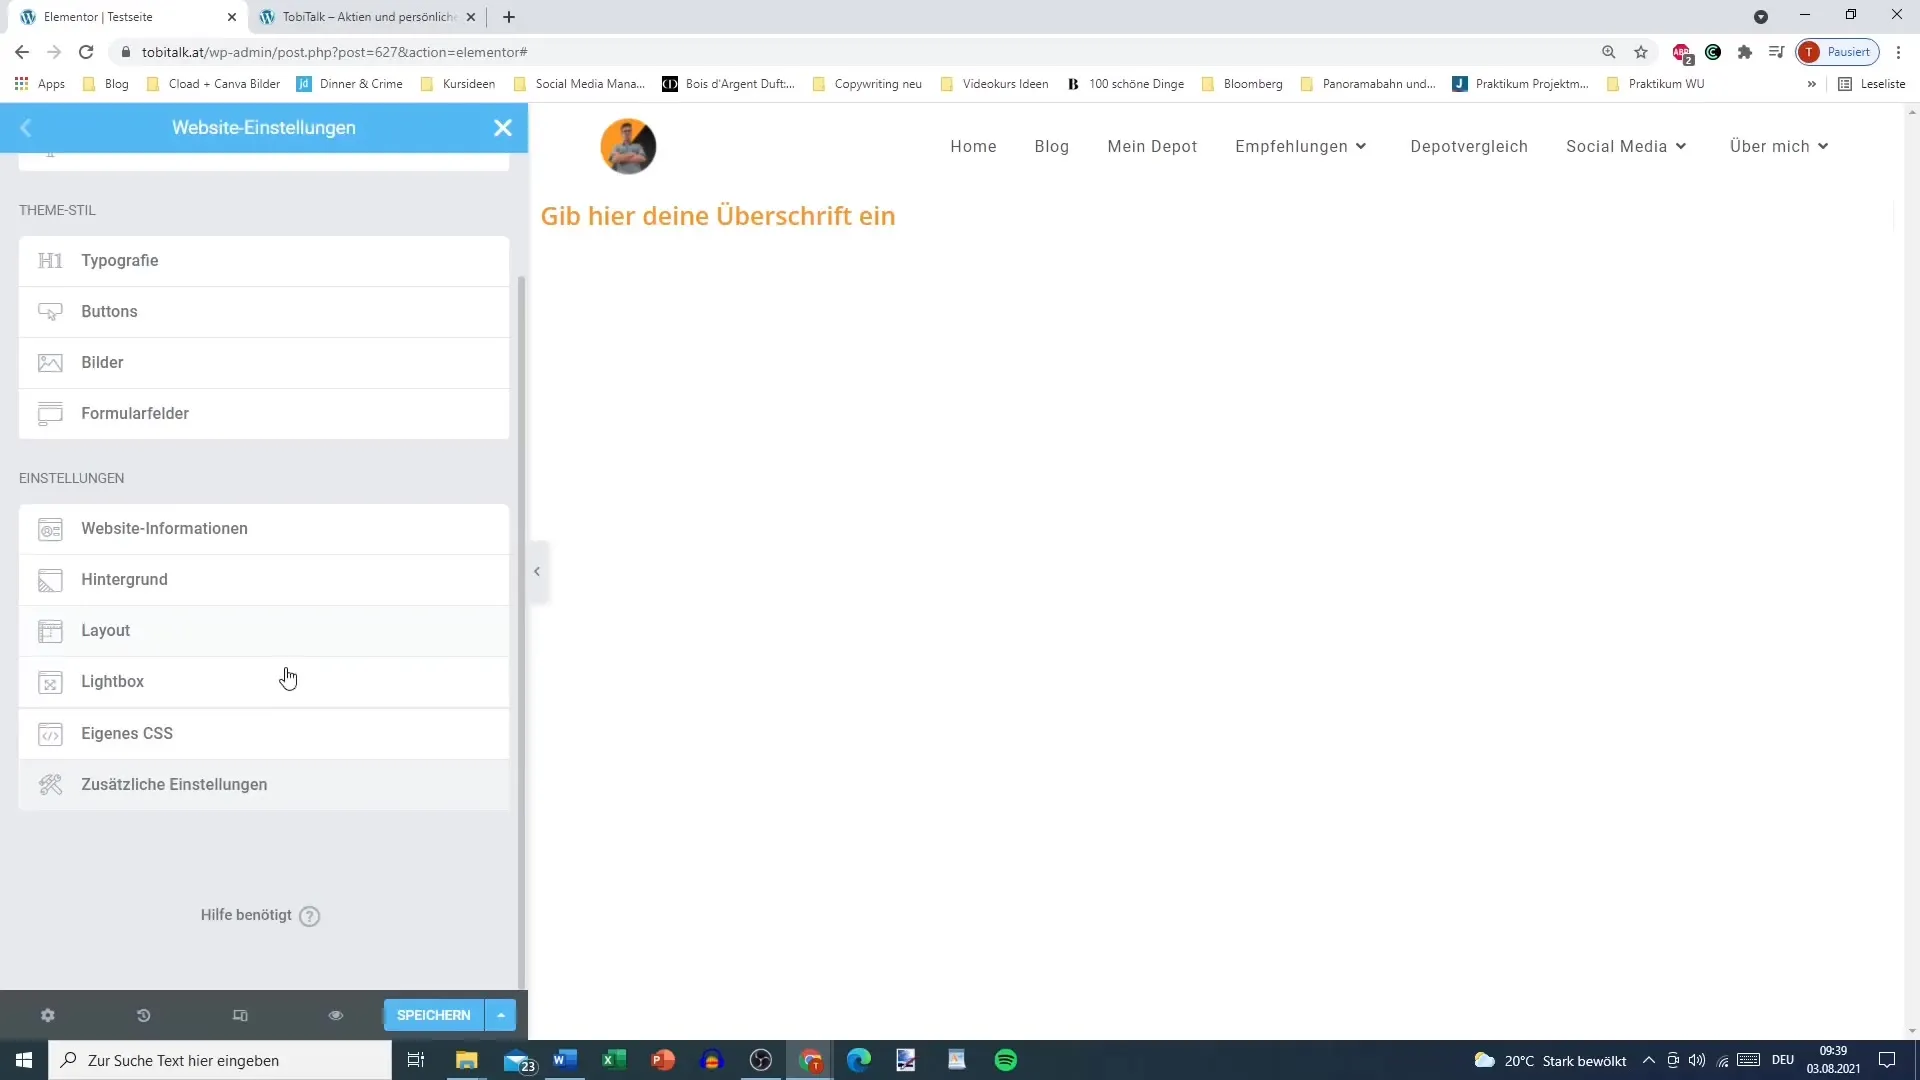
In the "Typography" section, you can choose different fonts for various text types, from body text to headings. You can select which font you prefer as the default body text font.
4. Adjust Text Color
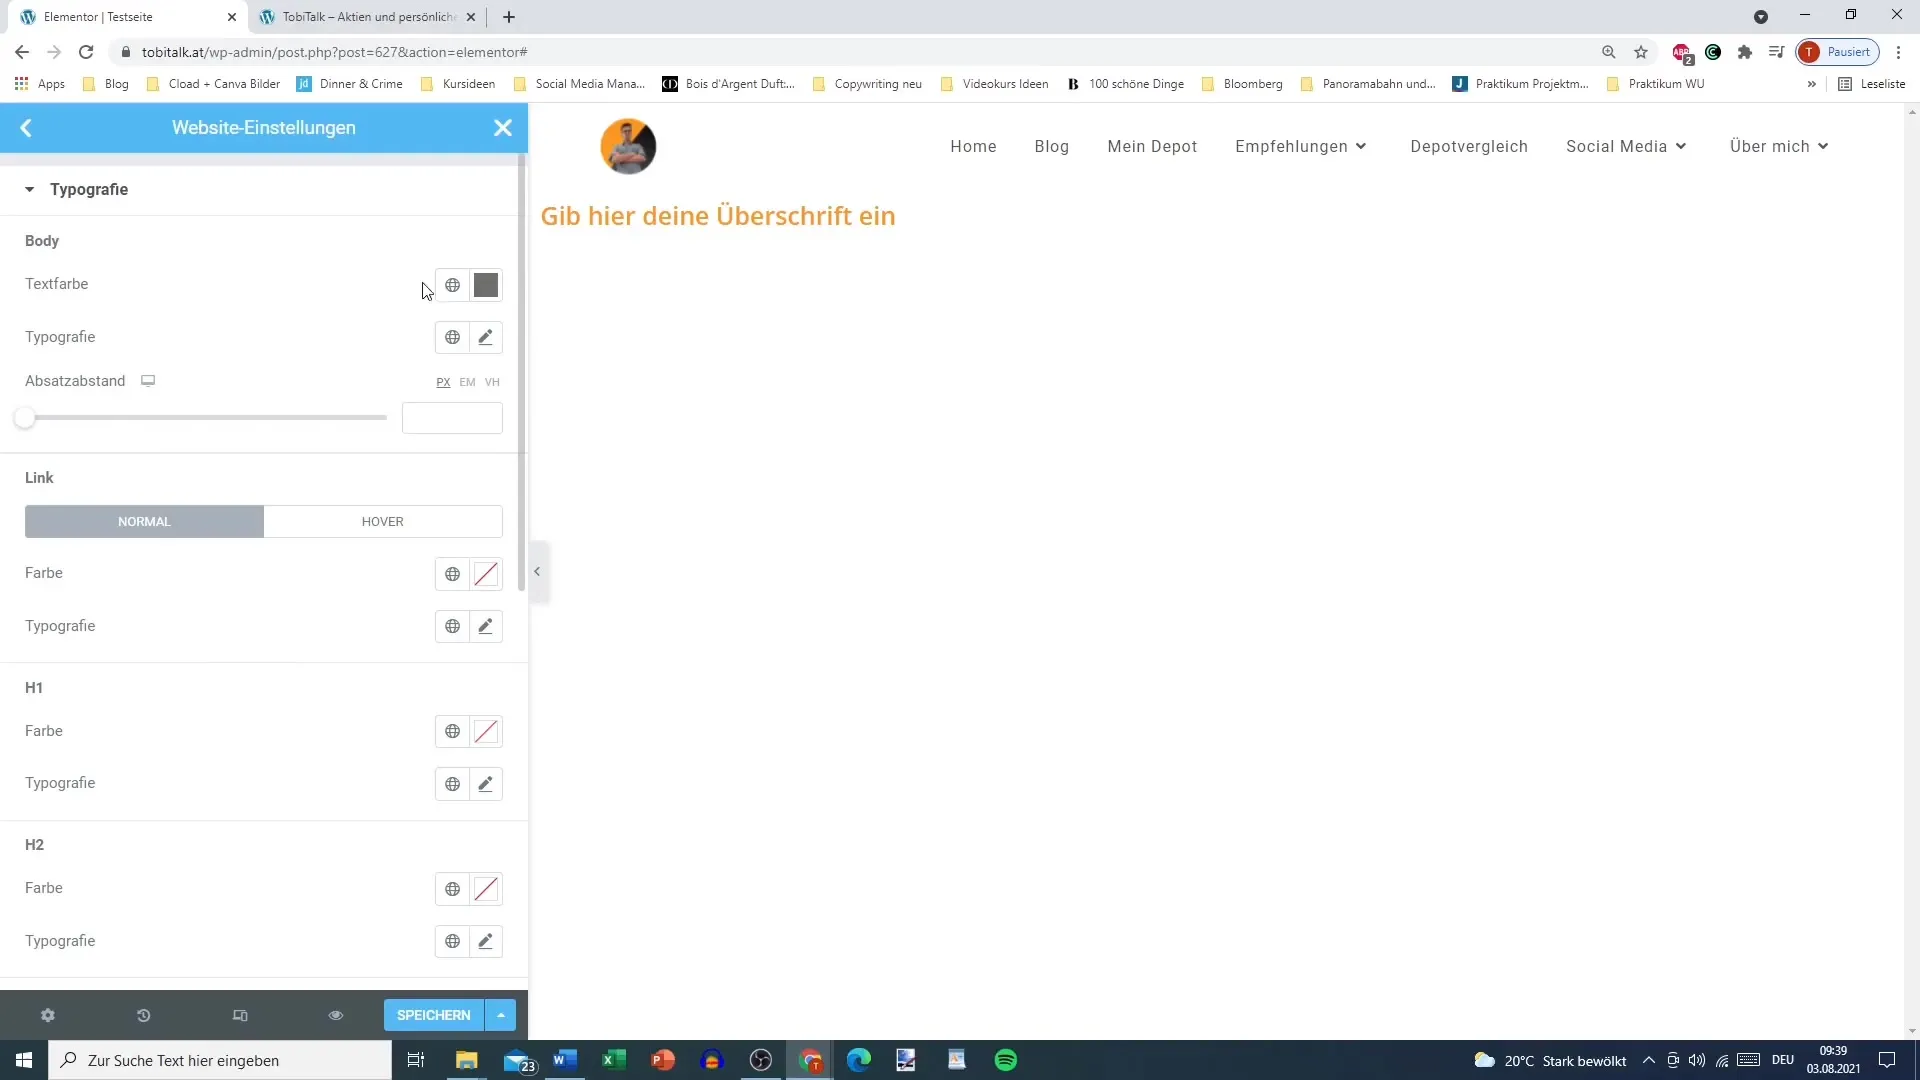
You can set the text color for the body text. Choose a desired color or define a global color previously set in the color palette.
5. Define Custom Font
Choose a font you want to use as the standard, for example, "Anton." Note that loading fonts may take some time depending on your internet connection.
6. Set Font Size
Adjust the font size in pixels. This option allows you to optimize the readability of your texts by selecting the appropriate size for your target audience.
7. Define Text Attributes
Here, you can set attributes such as bold, italic, underline, or strikethrough for the body text. These features help you highlight important information or vary the style of your texts.
8. Adjust Line Height and Letter Spacing
Change the line height for better readability. The letter spacing can also be adjusted to achieve an appealing visual effect. Here, you can set the values to best suit your layout.
9. Set Heading Styles
It is also possible to make specific adjustments for different headings (H1 to H6). You can define colors, fonts, and sizes individually for each heading.
10. Define Hover Effects
To add more dynamism to your text, you can define hover effects for links. This may include changing the color of links when hovered over with the mouse to enhance interactivity.
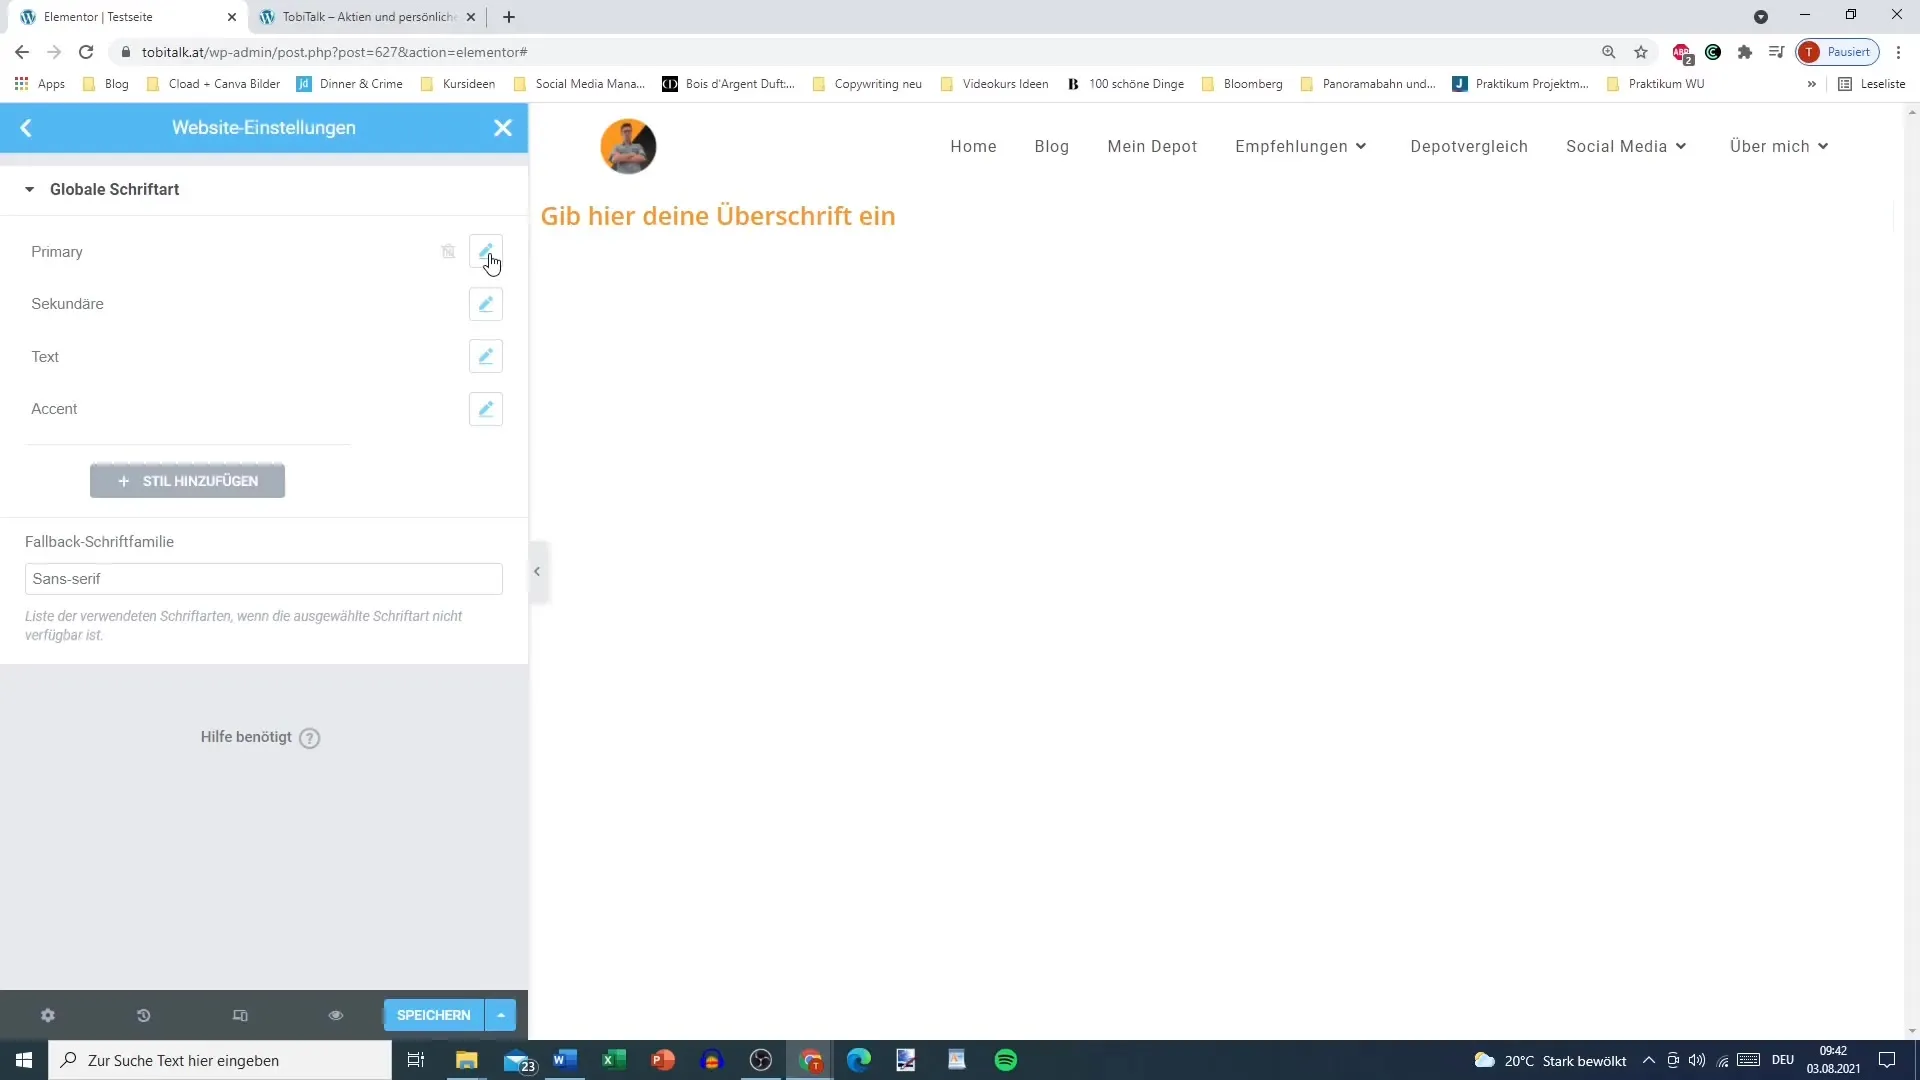
11. Manage Global Fonts
If you want to manage global fonts, click on "Manage Global Fonts." Here, you can adjust settings for different categories such as primary, secondary, or accent texts.
12. Make Final Adjustments
Check your changes or edit them as needed. Then decide to save all changes to ensure that your typographic settings are effectively applied throughout the entire website.
Summary
The typography settings in Elementor give you the freedom to customize the appearance of your website. You have the option to set fonts, sizes, and styles to optimize the user experience. These adjustments significantly contribute to the visual identity of your brand and improve the readability of your content.
Frequently Asked Questions
Which fonts can I use in Elementor?You can use a variety of Google Fonts and custom fonts in Elementor.
How do I change the text color for the body text?Go to the typography settings and choose the desired color under the text or color settings.
Can I set hover effects for links?Yes, you can create hover effects for links to change their color or style when hovering the mouse over them.
How do I save my typography settings?Don't forget to click on "Save Changes" after making your adjustments in the typography settings.
How can I navigate between different heading levels?In the typography settings, you can select and customize the different heading levels (H1 to H6).
