If you want to make your WordPress site appealing, buttons are a crucial element. They help to significantly guide user interaction and contribute to the user experience. In this guide, I'll show you how to effectively use the button settings in Elementor to visually enhance and functionalize buttons. We will walk through the most important features and settings step by step to help you customize your buttons according to your preferences.
Main Insights
- You can customize colors, typography, and hover effects.
- You have the option to make global settings that apply to all the buttons on your site.
- You can make individual adjustments for each button.
Step-by-Step Guide
Create and Customize Button
First, you need to ensure you have added a button in your Elementor editor. Simply click on the "+" symbol to create a new layout and drag the button widget into your section.
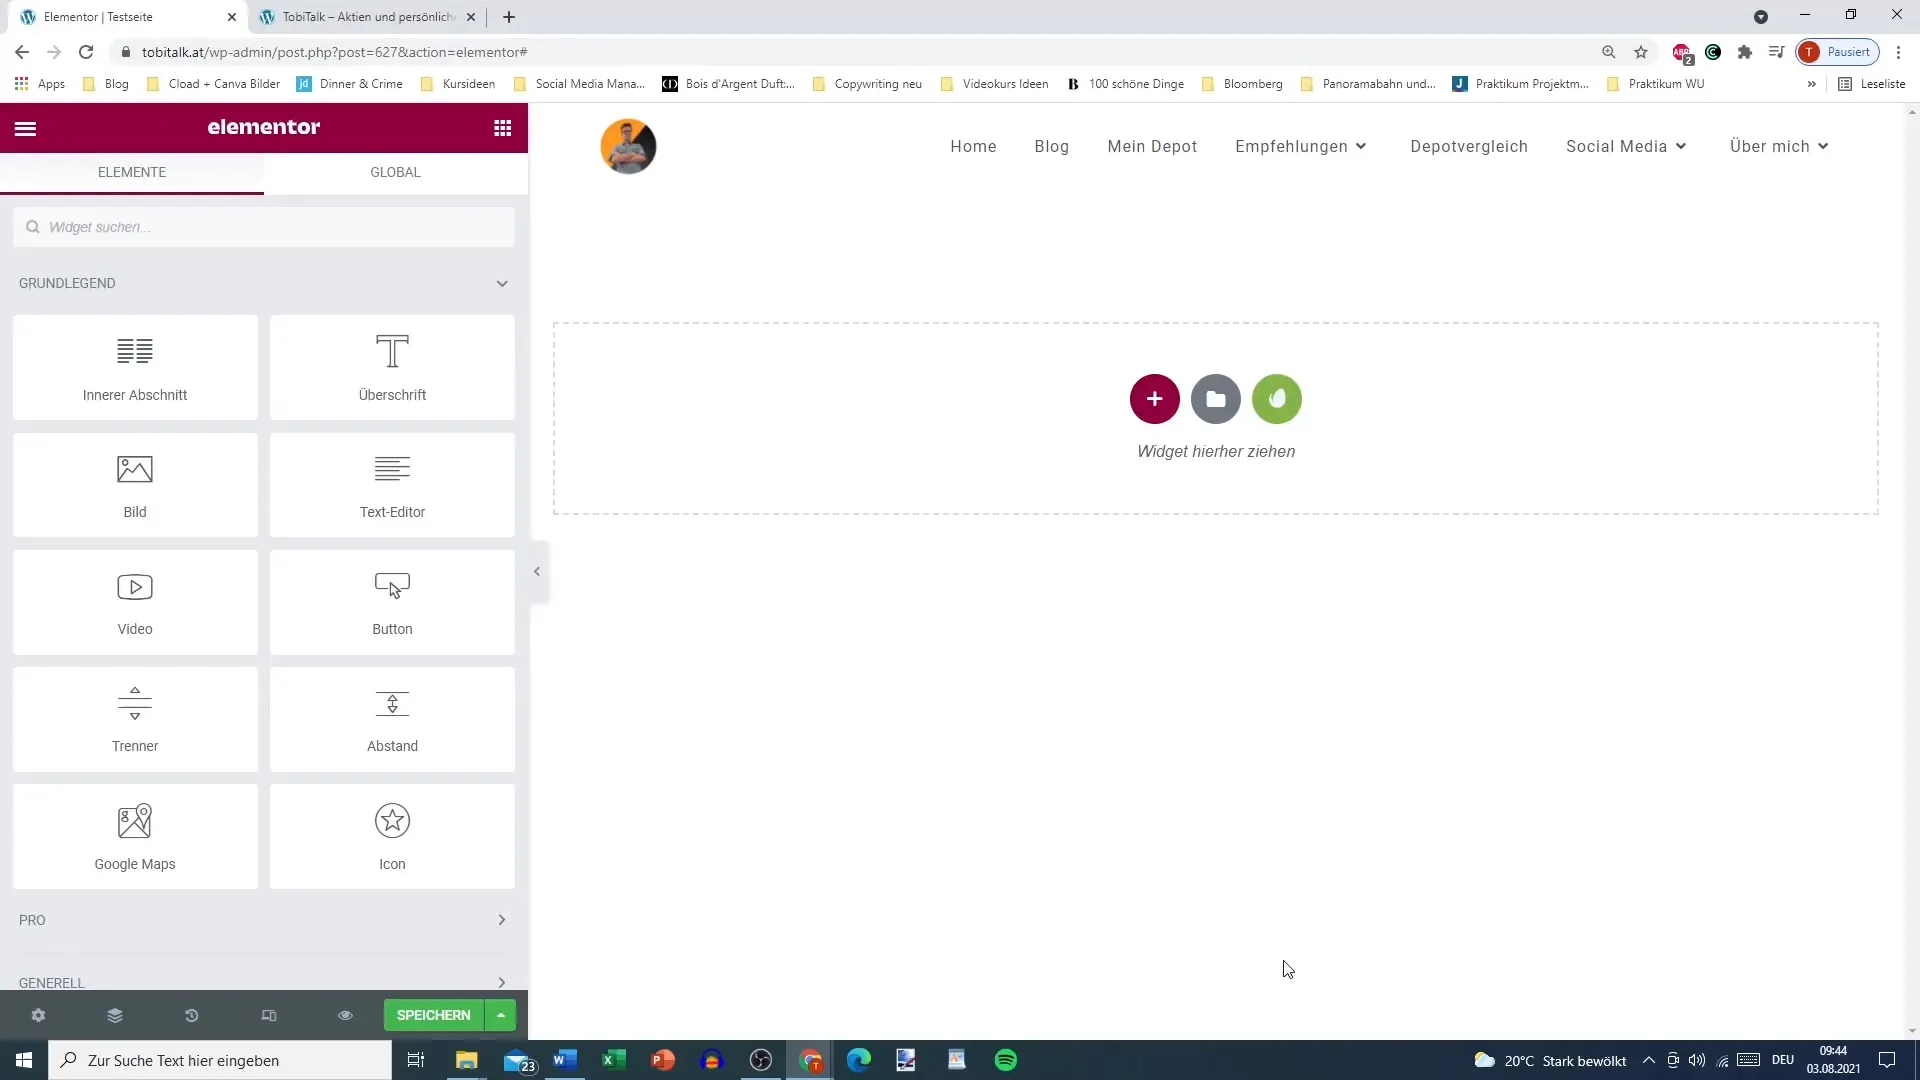
After adding the button, you will see various settings on the left side that you can customize.
Change Style and Typography
To enhance the appearance of your button, you can change the typography and colors. Go to the "Style" tab and select the desired text color and background color. You also have the option to choose a gradient color as the background.
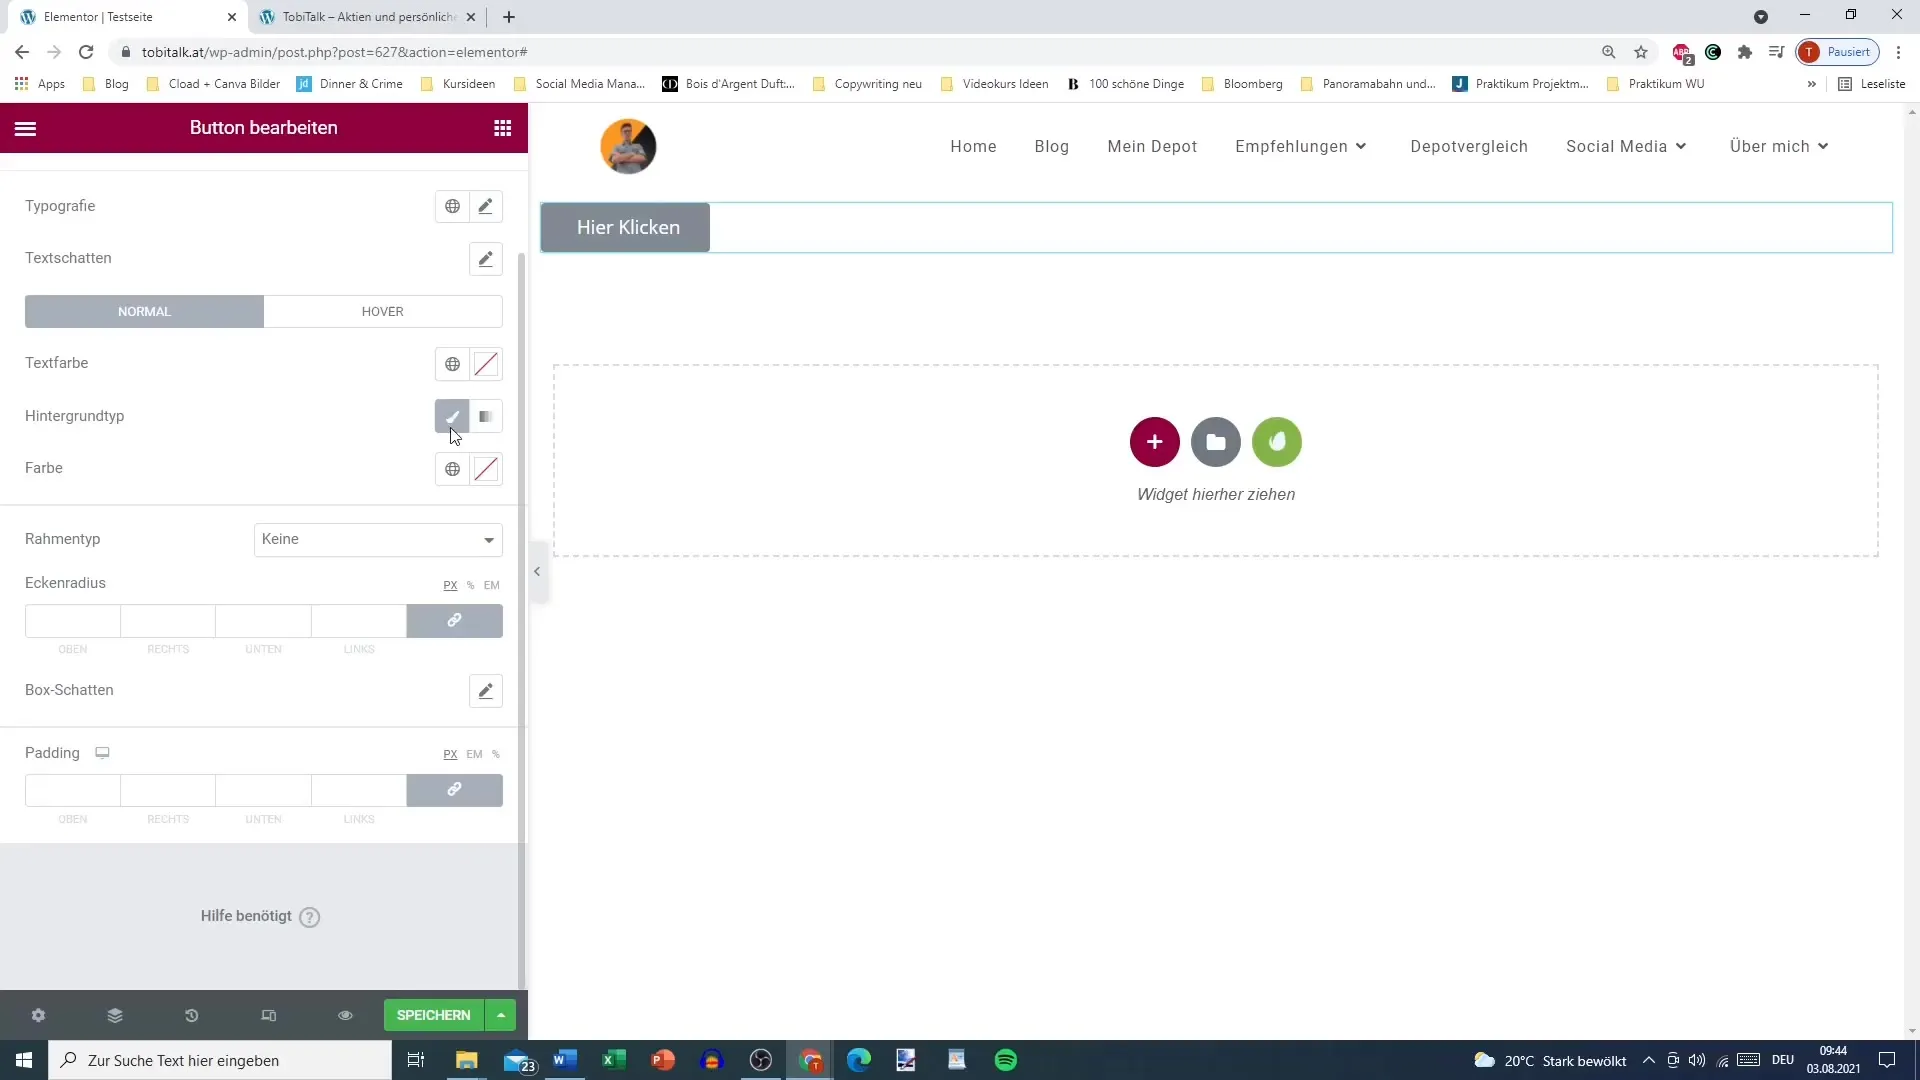
You can adjust the typography for the button by selecting font, font size, and other options. This will help you create a button that visually matches your website.
Use Global Settings
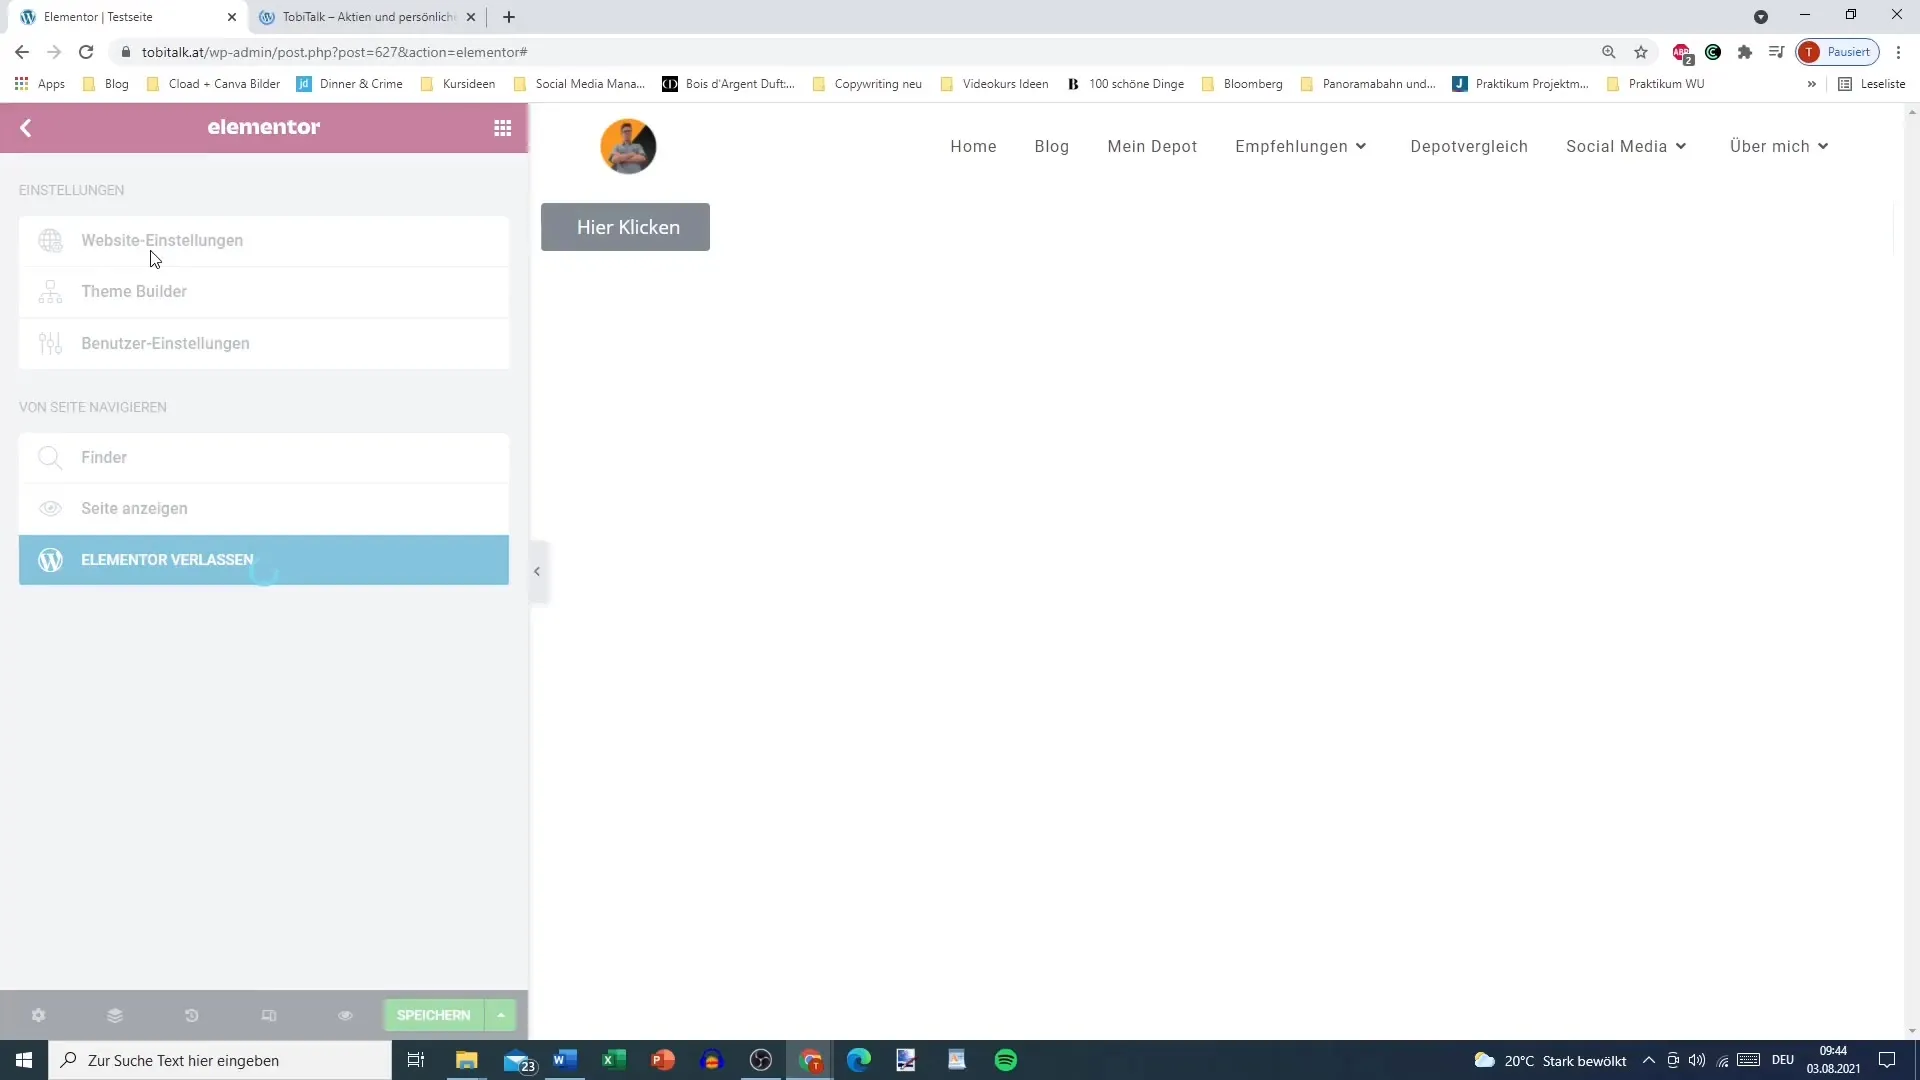
If you wish, you can also make global settings for your button. This is particularly useful when you have multiple buttons on your website that require the same styling. Navigate to the "Site Settings" and choose the button style. Here you can set general options such as colors or typography that will then apply to all buttons.
Adjust Hover Effects
To enhance the user experience, it is important to set hover effects for your button. This means that the color or appearance of the button changes when the user hovers over it with the mouse. For example, you can change the background color to black and the text color to white when the button is highlighted.
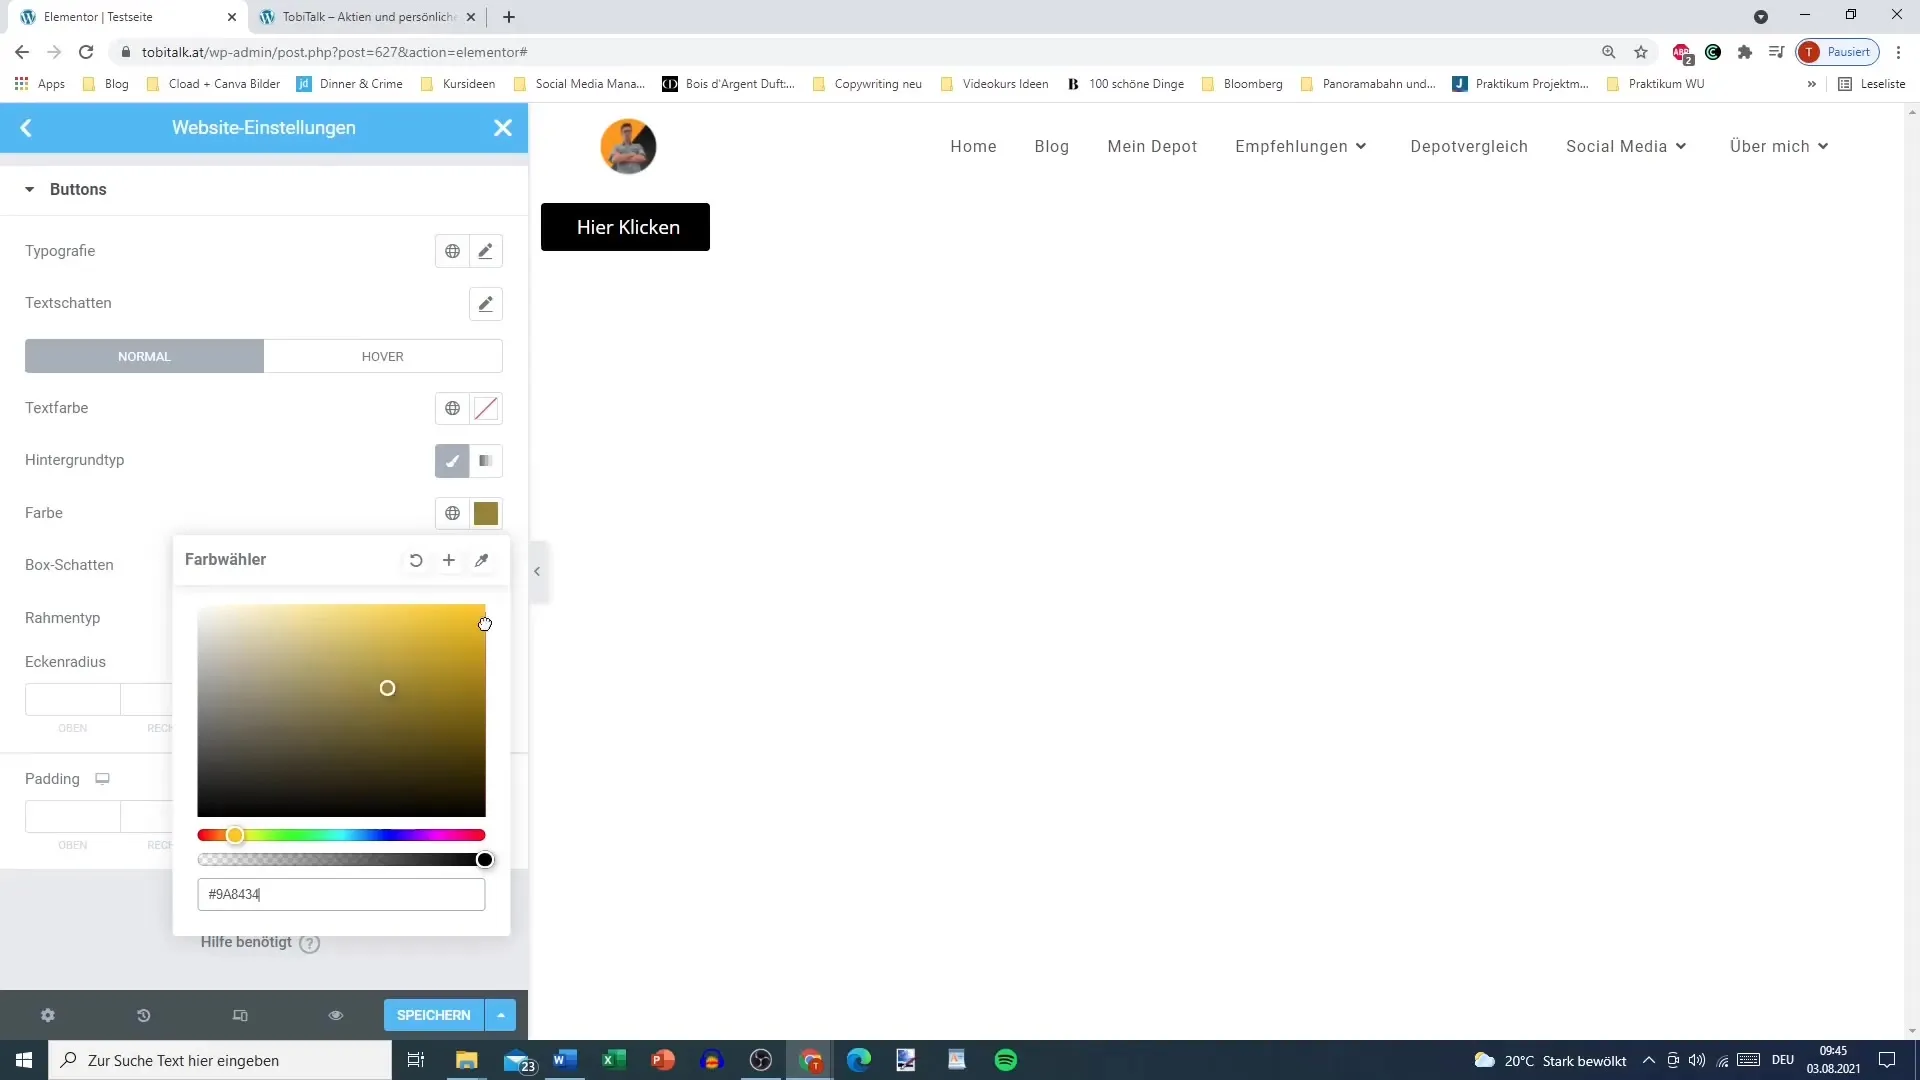
An attractive hover effect is crucial to increase interactivity for your visitors.
Define Borders and Spacing
In addition to colors, you can also customize the border and border radius of your button. You have the option to choose different types of borders, such as solid lines. Adjust the width and color according to your preferences to give your button an individual look.
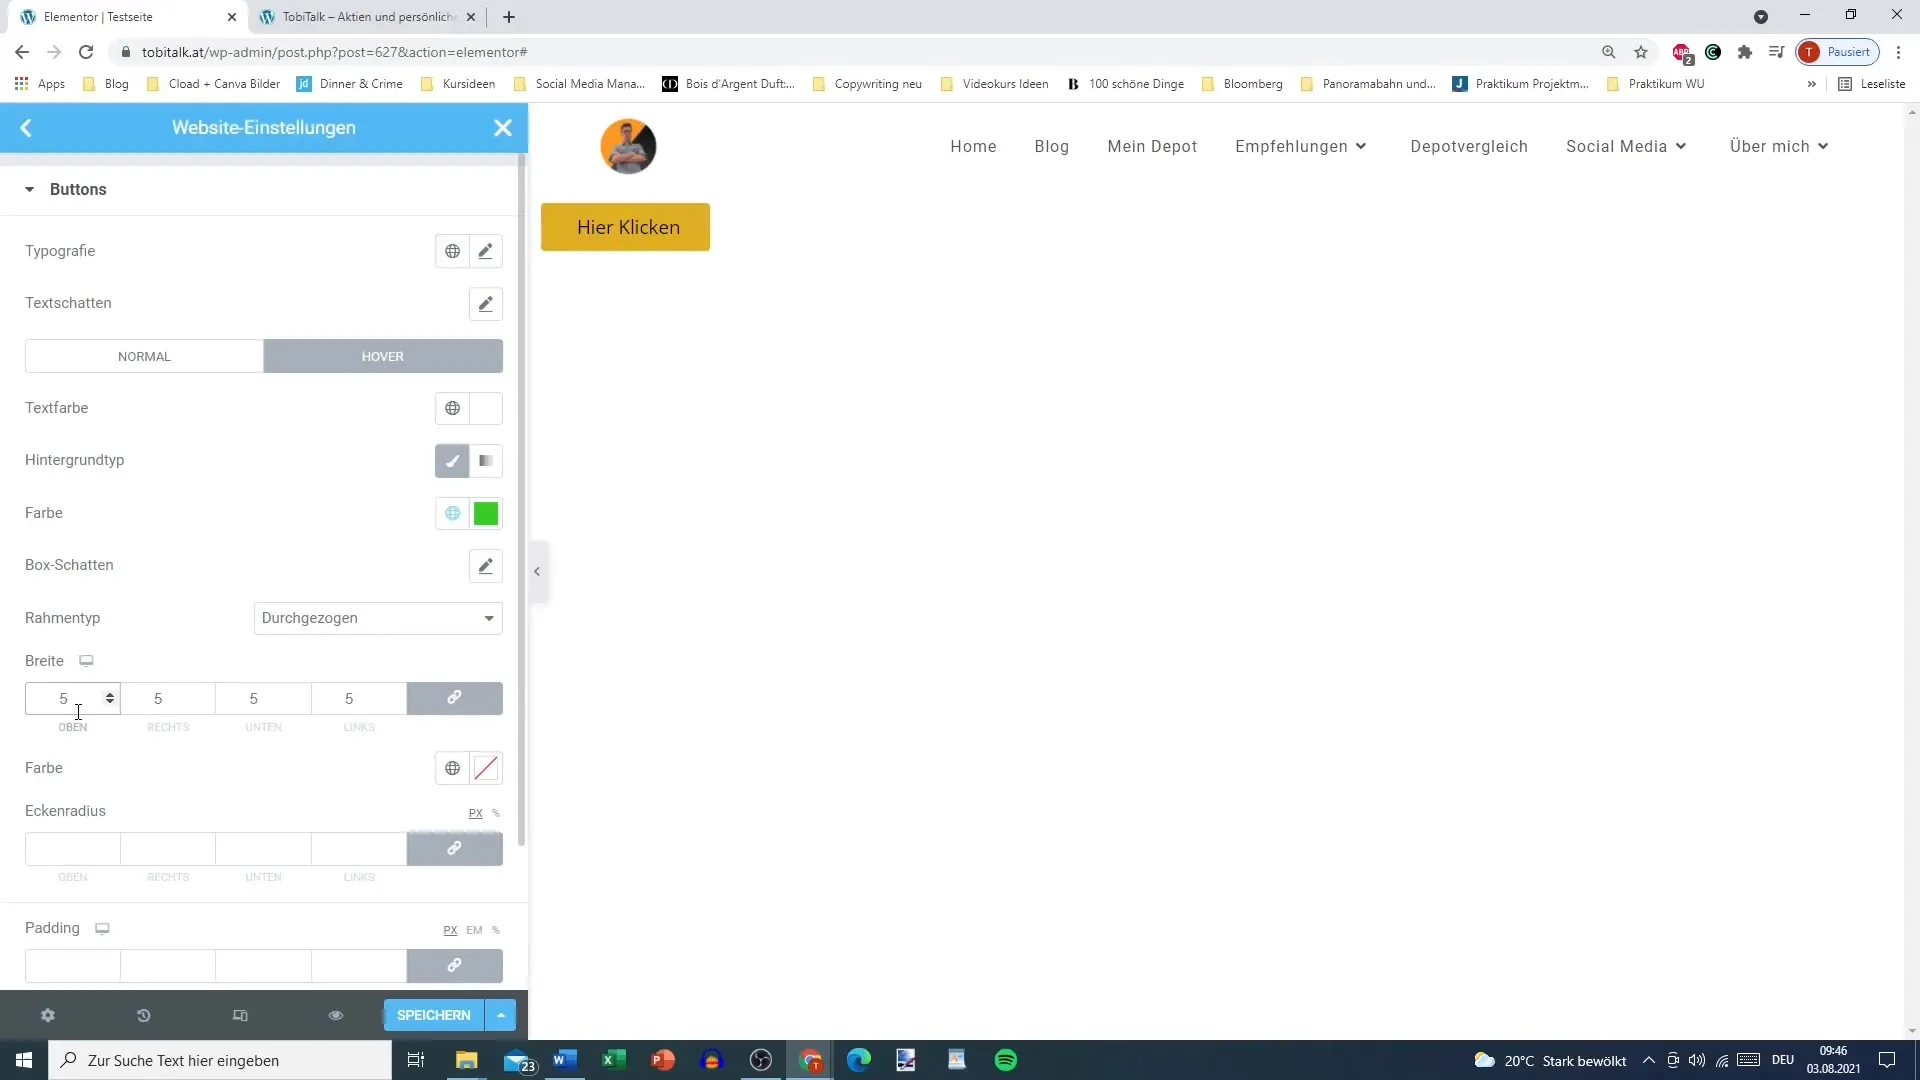
You can round the corners of the button, creating a modern and clean look. Experiment with the corner radius to achieve the desired effect.
Also, consider the padding of the button. This will adjust the spacing between the text and the edges of the button, contributing to improved user-friendliness.
Link Values
An important feature in Elementor is linking values. By using value links, you can, for example, adjust all corners uniformly by activating the chain. If you want to make an individual adjustment, turn off this link, and you can set each value independently.
Copy the Styling
An efficient way to transfer your styled button to other buttons is to use the "Copy Style" function. If you like the styling of a button, simply right-click on it and select "Copy Style." Then click on the button to which you want to apply the same styling and choose "Paste Style."
This function saves time and ensures that your design stays consistent.
Why global presets can be useful
If you are working on a comprehensive website, it can be useful to make global presets for buttons in Elementor. This way, you do not have to repeat the same settings every time. This can be particularly advantageous for large projects, as it significantly shortens the design and development time.
Summary
You have now learned all the important steps to customize the button settings in Elementor for your WordPress site. From adding a button to specific customizations such as colors, typography, and hover effects – the guide offers you the possibilities you need to optimize your buttons.
Frequently Asked Questions
What are hover effects?Hover effects are visual changes of a button when the mouse pointer hovers over it.
How can I style multiple buttons simultaneously?Use the "Copy Style" function to apply the styling of one button to other buttons.
Are global presets better than individual ones?Global presets save time on comprehensive websites, while individual customizations offer more flexibility.
How can I change the typography of my button?Go to the "Style" tab in the Elementor editor and choose the desired font and size.
Can I adjust the corner radius?Yes, you can adjust the corner radius as desired to create rounded or square buttons.
