When you work with Elementor, it is inevitable that you will sometimes make mistakes or want to revert changes. The good news is that Elementor provides you with the ability to track the history of your changes and view and reload revisions of your page. In this guide, I will explain how you can effectively use these functions to make your work more efficient.
Key Takeaways
- The history shows the recent changes to the page.
- You can revert to previous versions of your page.
- Revisions allow you to work on different saved states of the page and restore them if needed.
Steps to Use History and Revisions in Elementor
To use the history and revisions in Elementor, follow these simple steps:
Accessing History and Revisions Settings
You can find the history of changes directly in the bottom bar of Elementor. Here you will find the icon that looks like a clock. Click on this arrow with the clock.
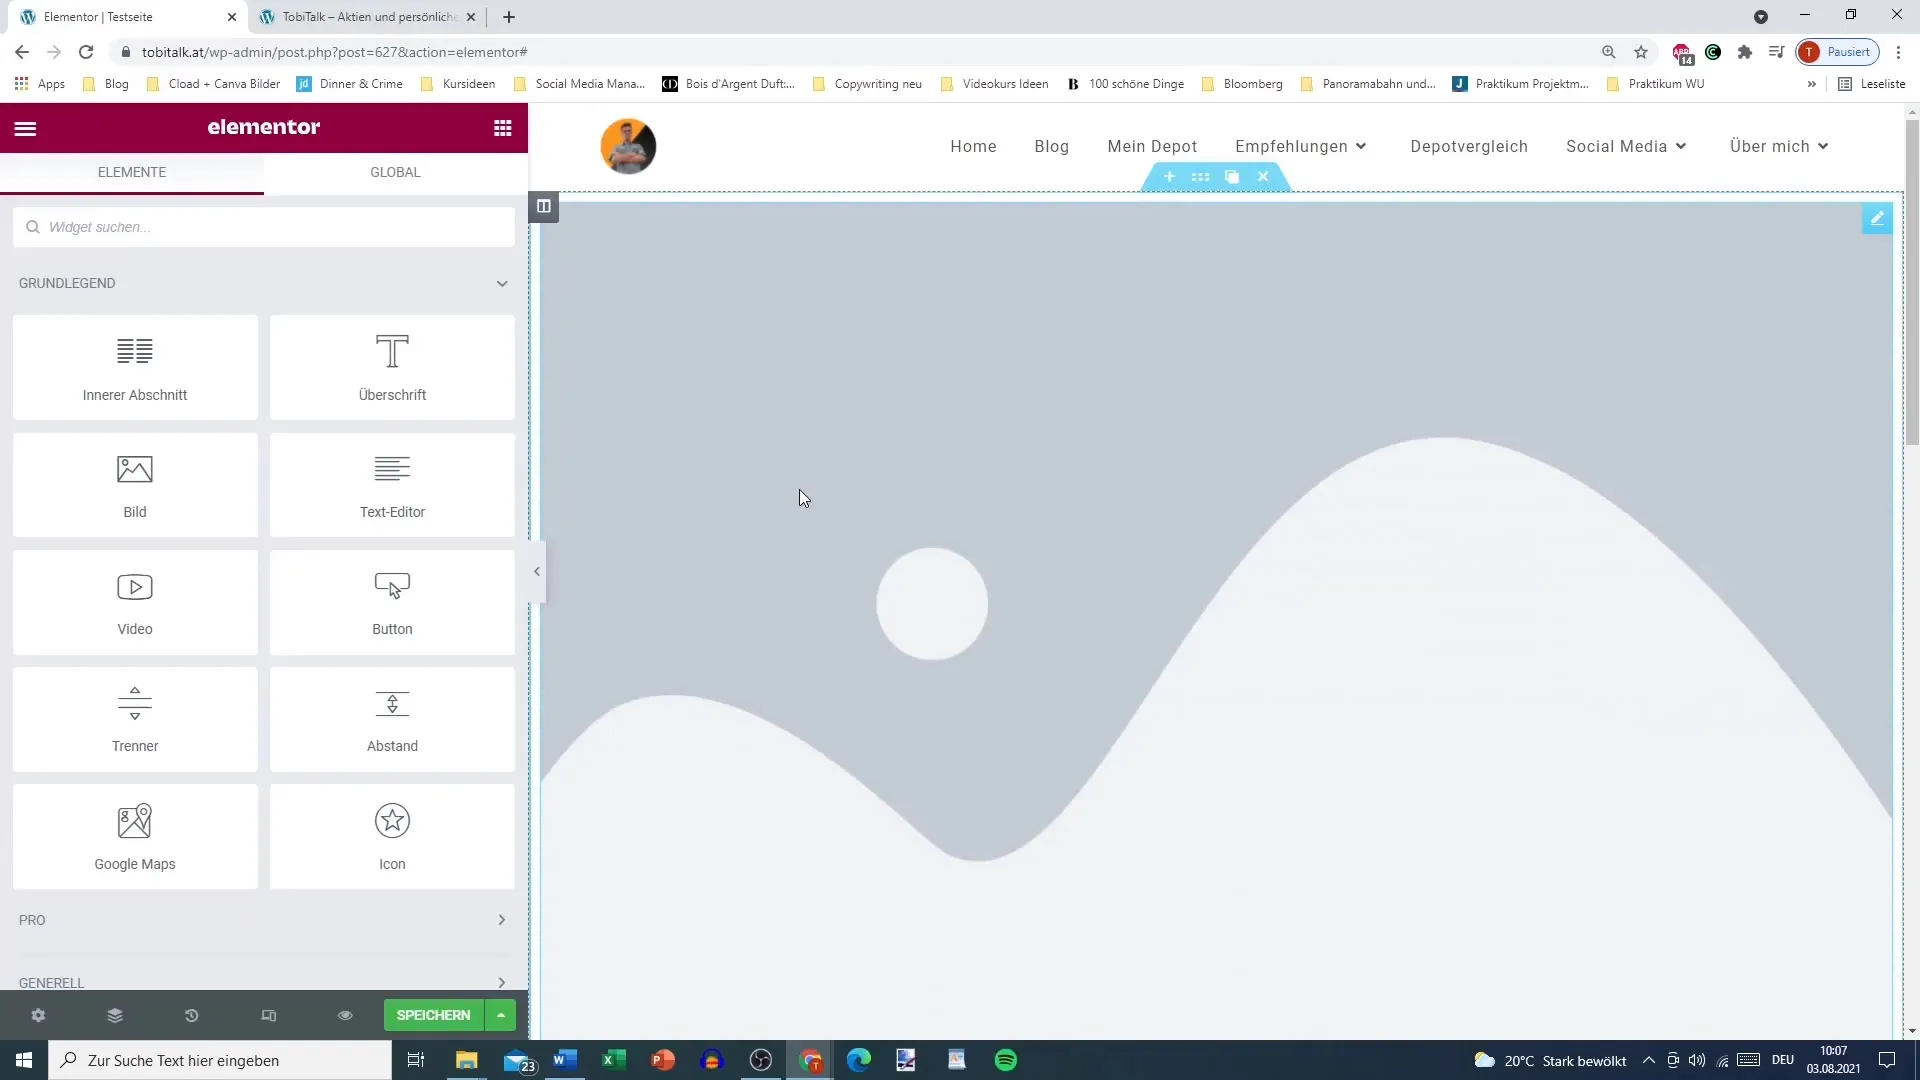
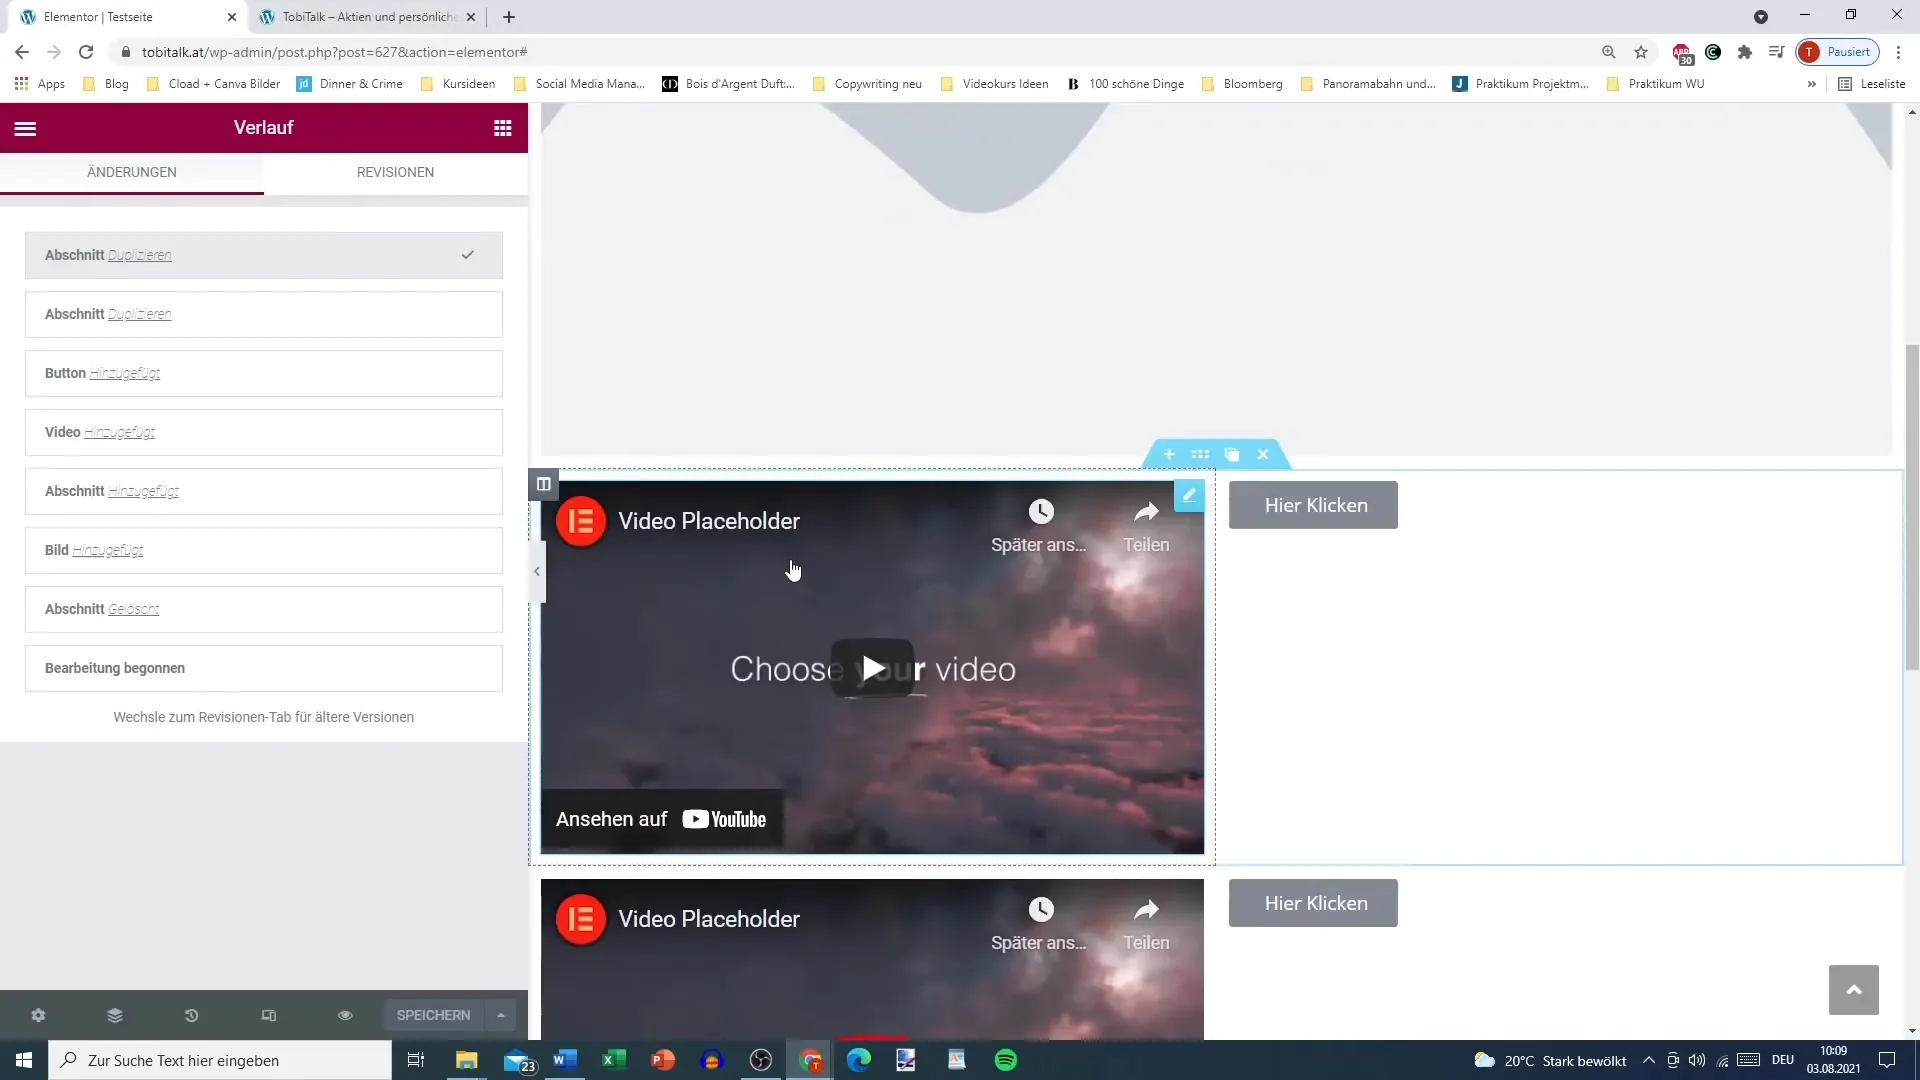
The clock symbolizes the history. When you click on it, you will see an overview of your recent changes. In this list, the latest change is always at the top, while the oldest changes are displayed further down.
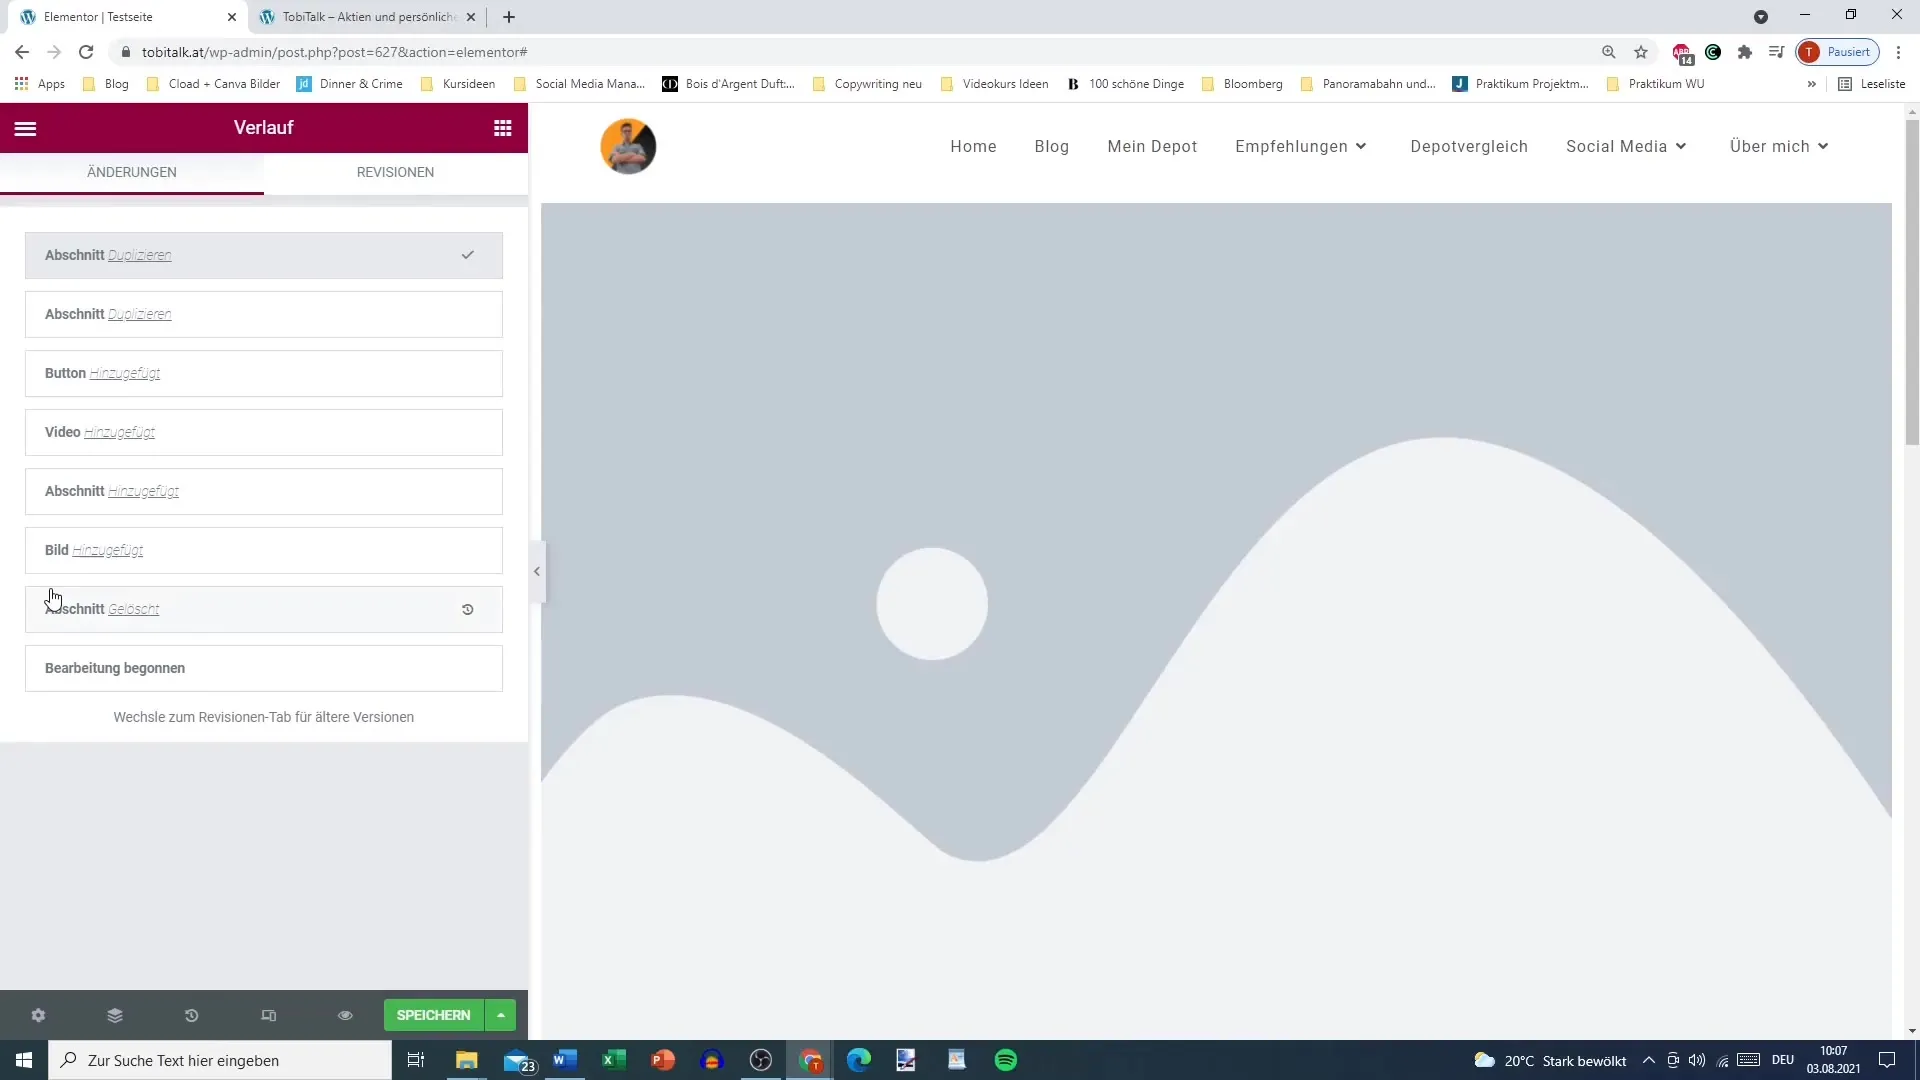
Resetting Changes through History
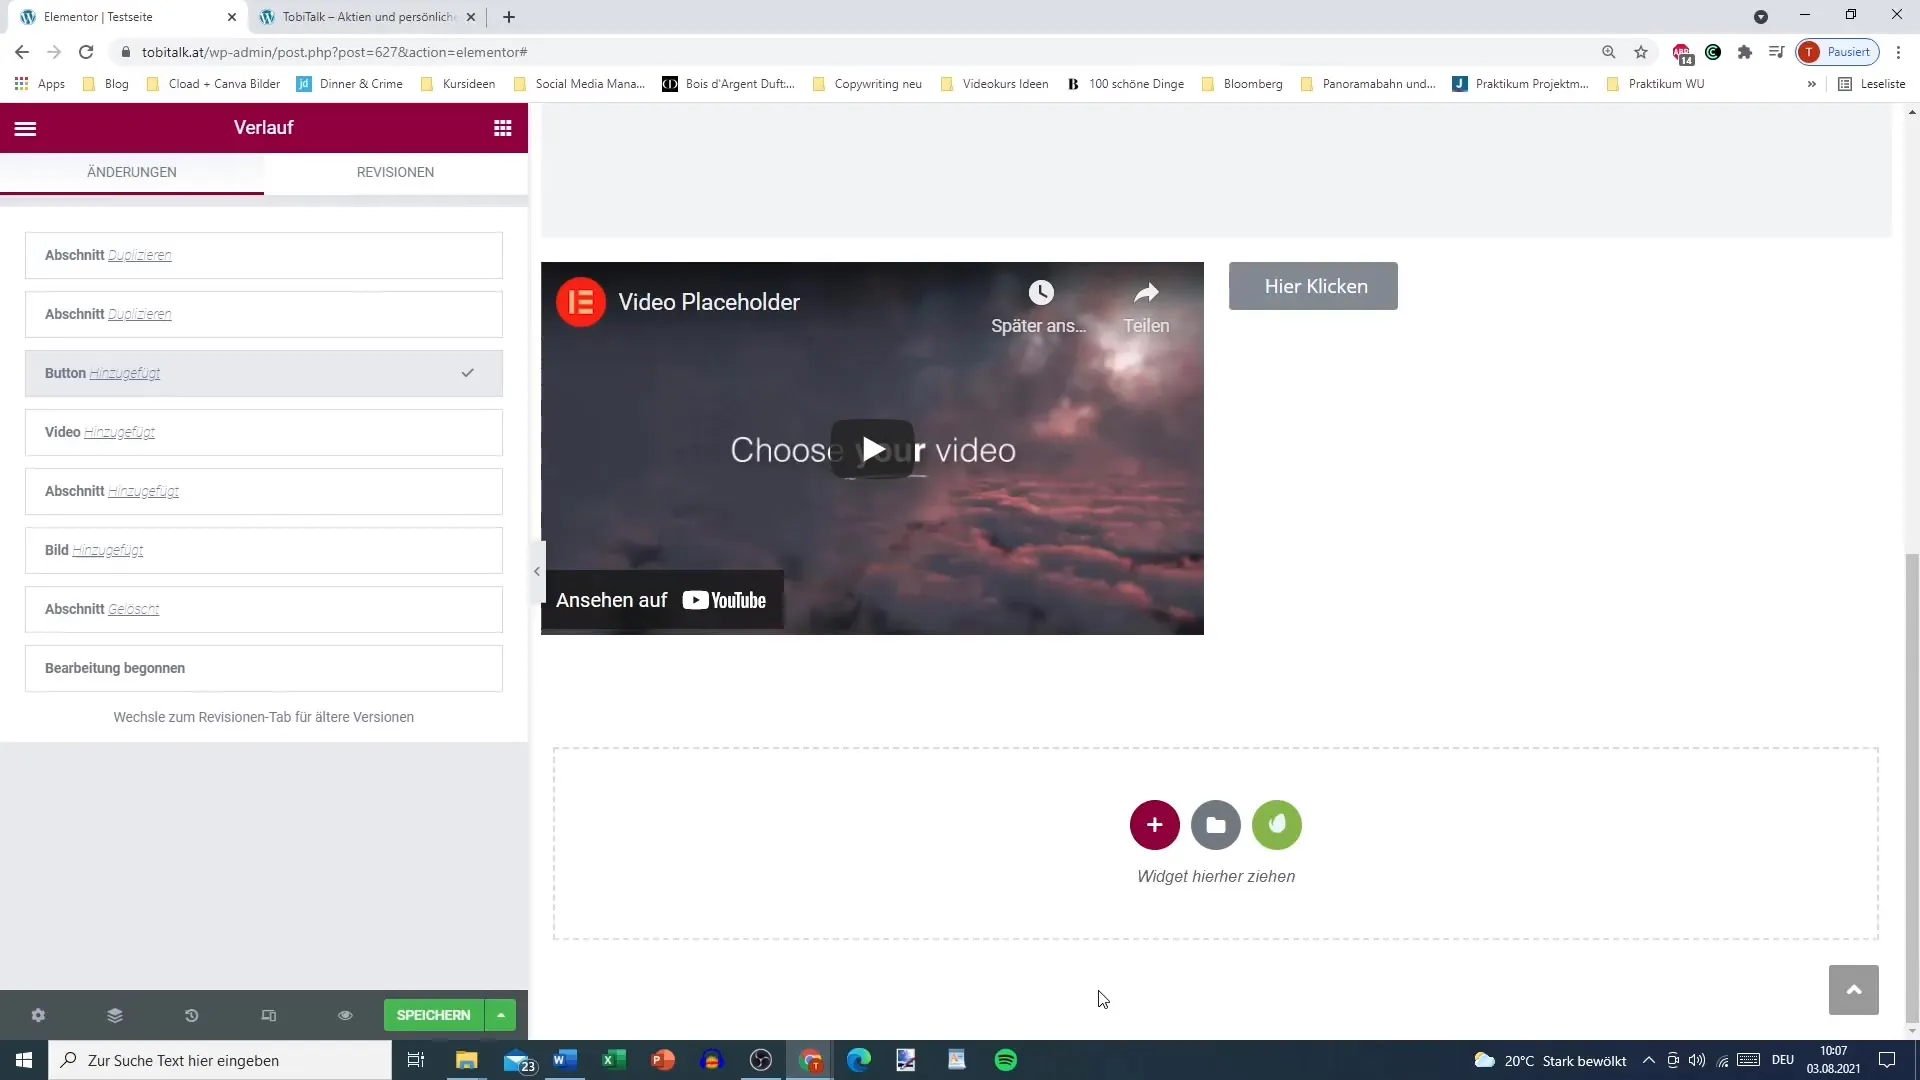
Let's say you duplicated a section or added a button and now want to undo one of these changes. You can click on the desired point in the history to reset your page to that previous version.
For instance, when you click on the "Back" button, you will see the change you made. Note that all adjustments made afterwards will not be visible until you have returned to the desired version.
Using Revisions
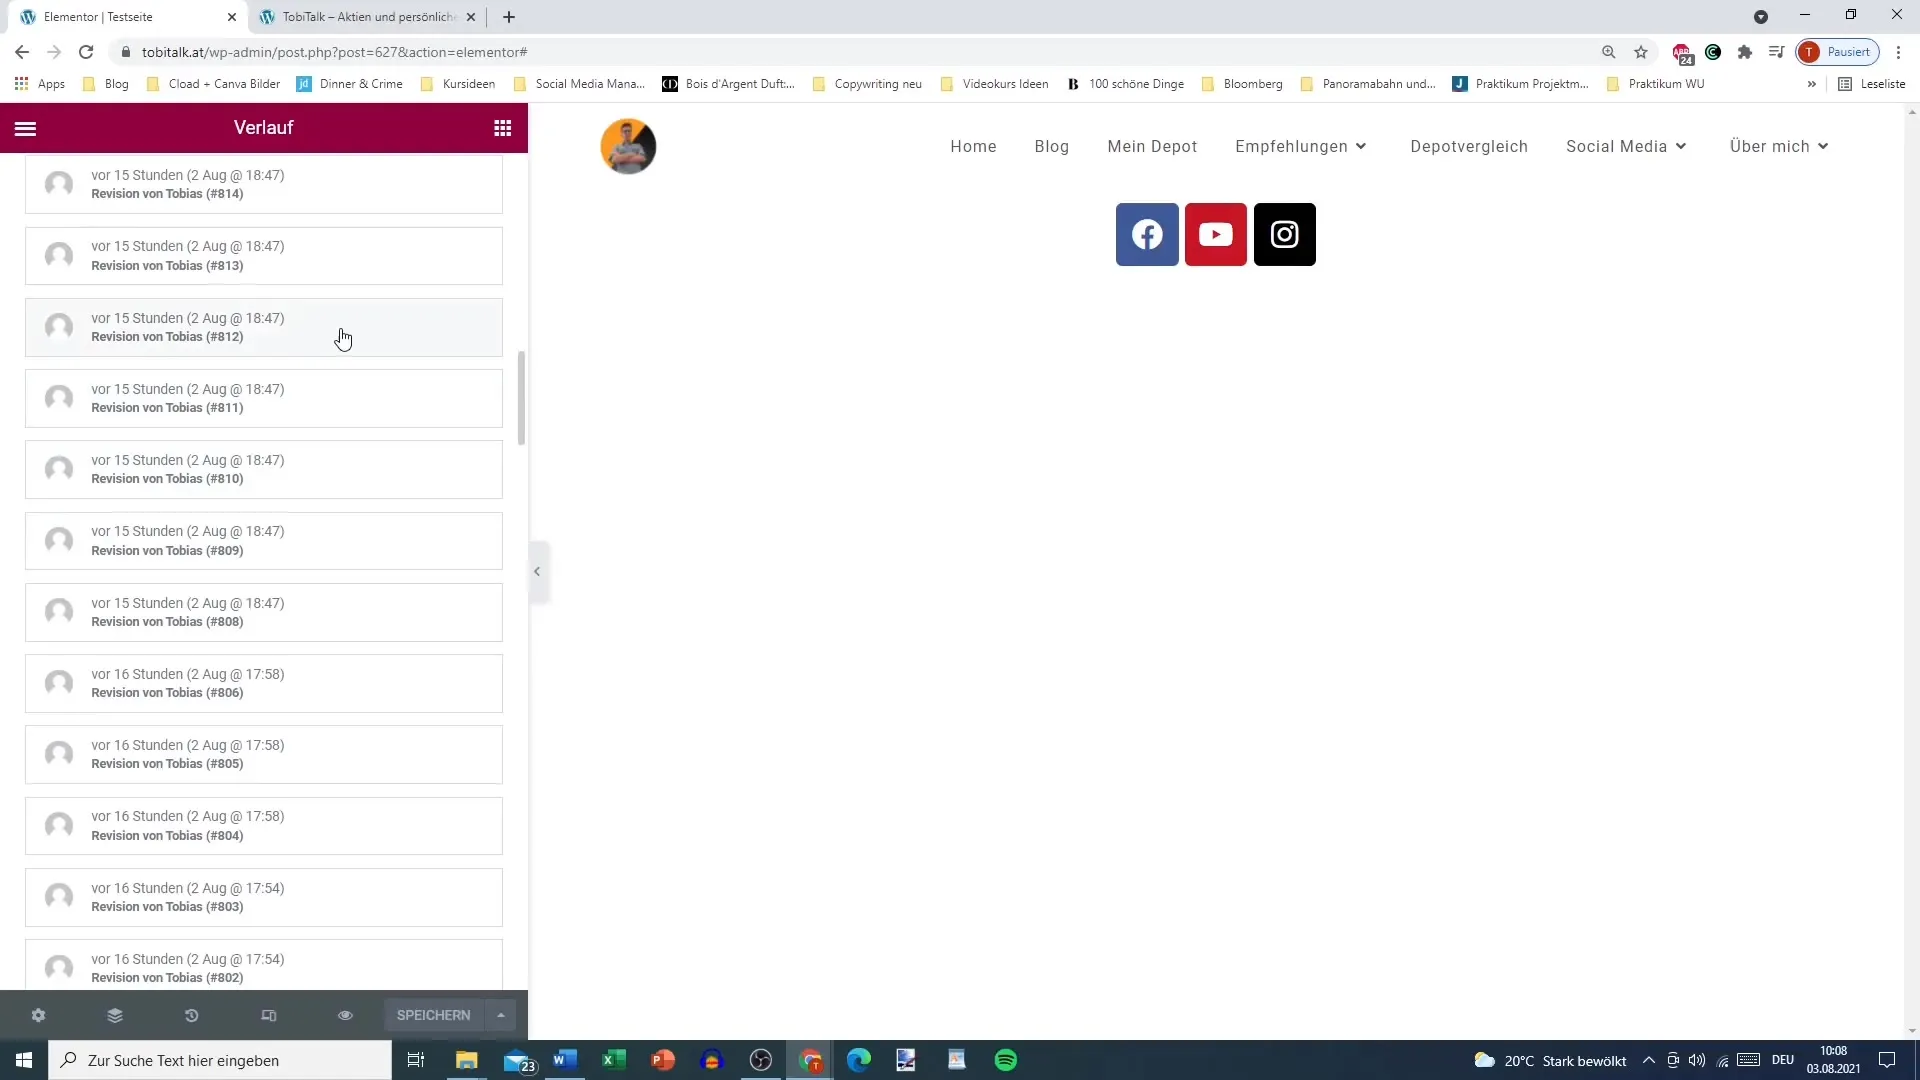
If you need more details and saves, you can switch to revisions. You will also find these in the lower area. Here you will see a list of all saves you have made on this page.
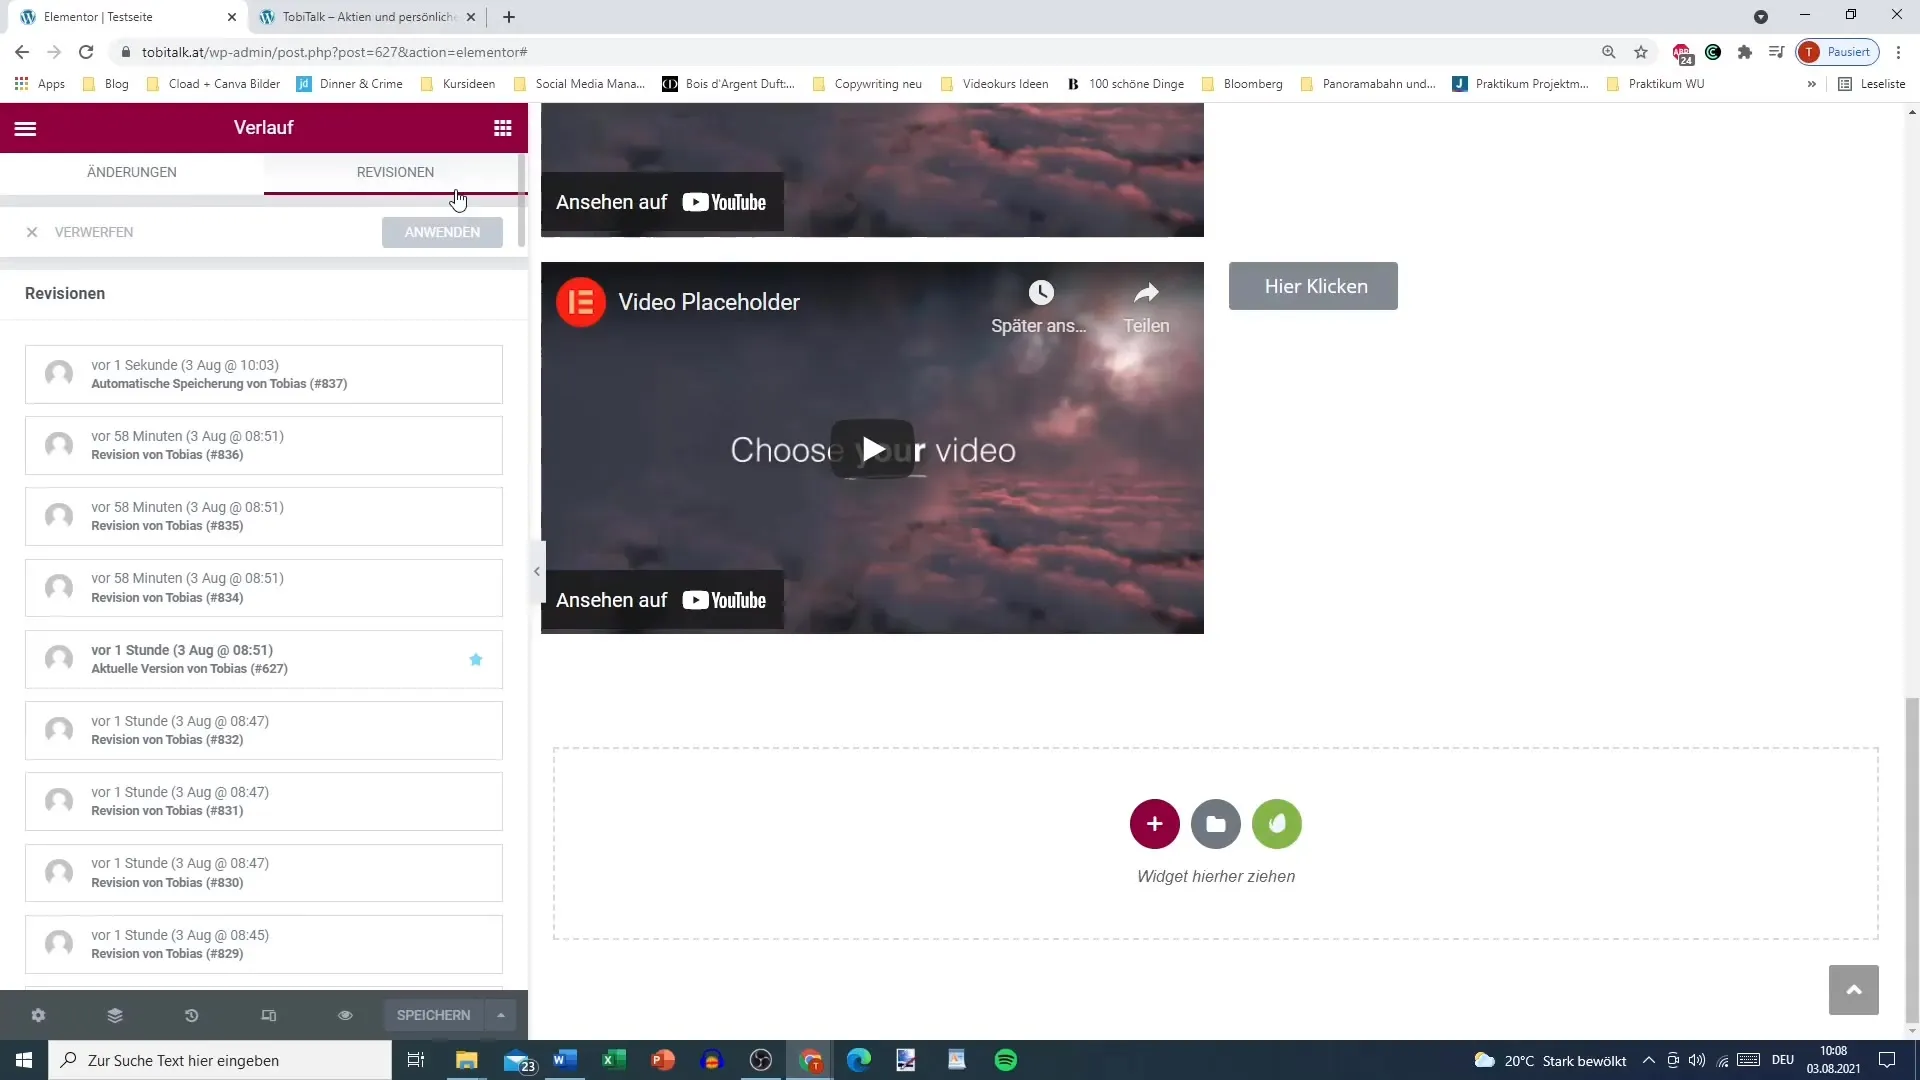
Each revision is displayed with a timestamp. You can browse the revisions to find out what was on your page at a certain time. If you want to return to a specific revision, simply click on the desired revision.
For example, you can select the revision with timestamp 777 to see the changes that were made to your elements at that time. The changes could be related to widgets or layout elements.
Saving Changes
After resetting the desired settings or applying revisions, do not forget to click on "Apply" to save the changes. This is crucial to ensure that you stay on the desired version of the page.
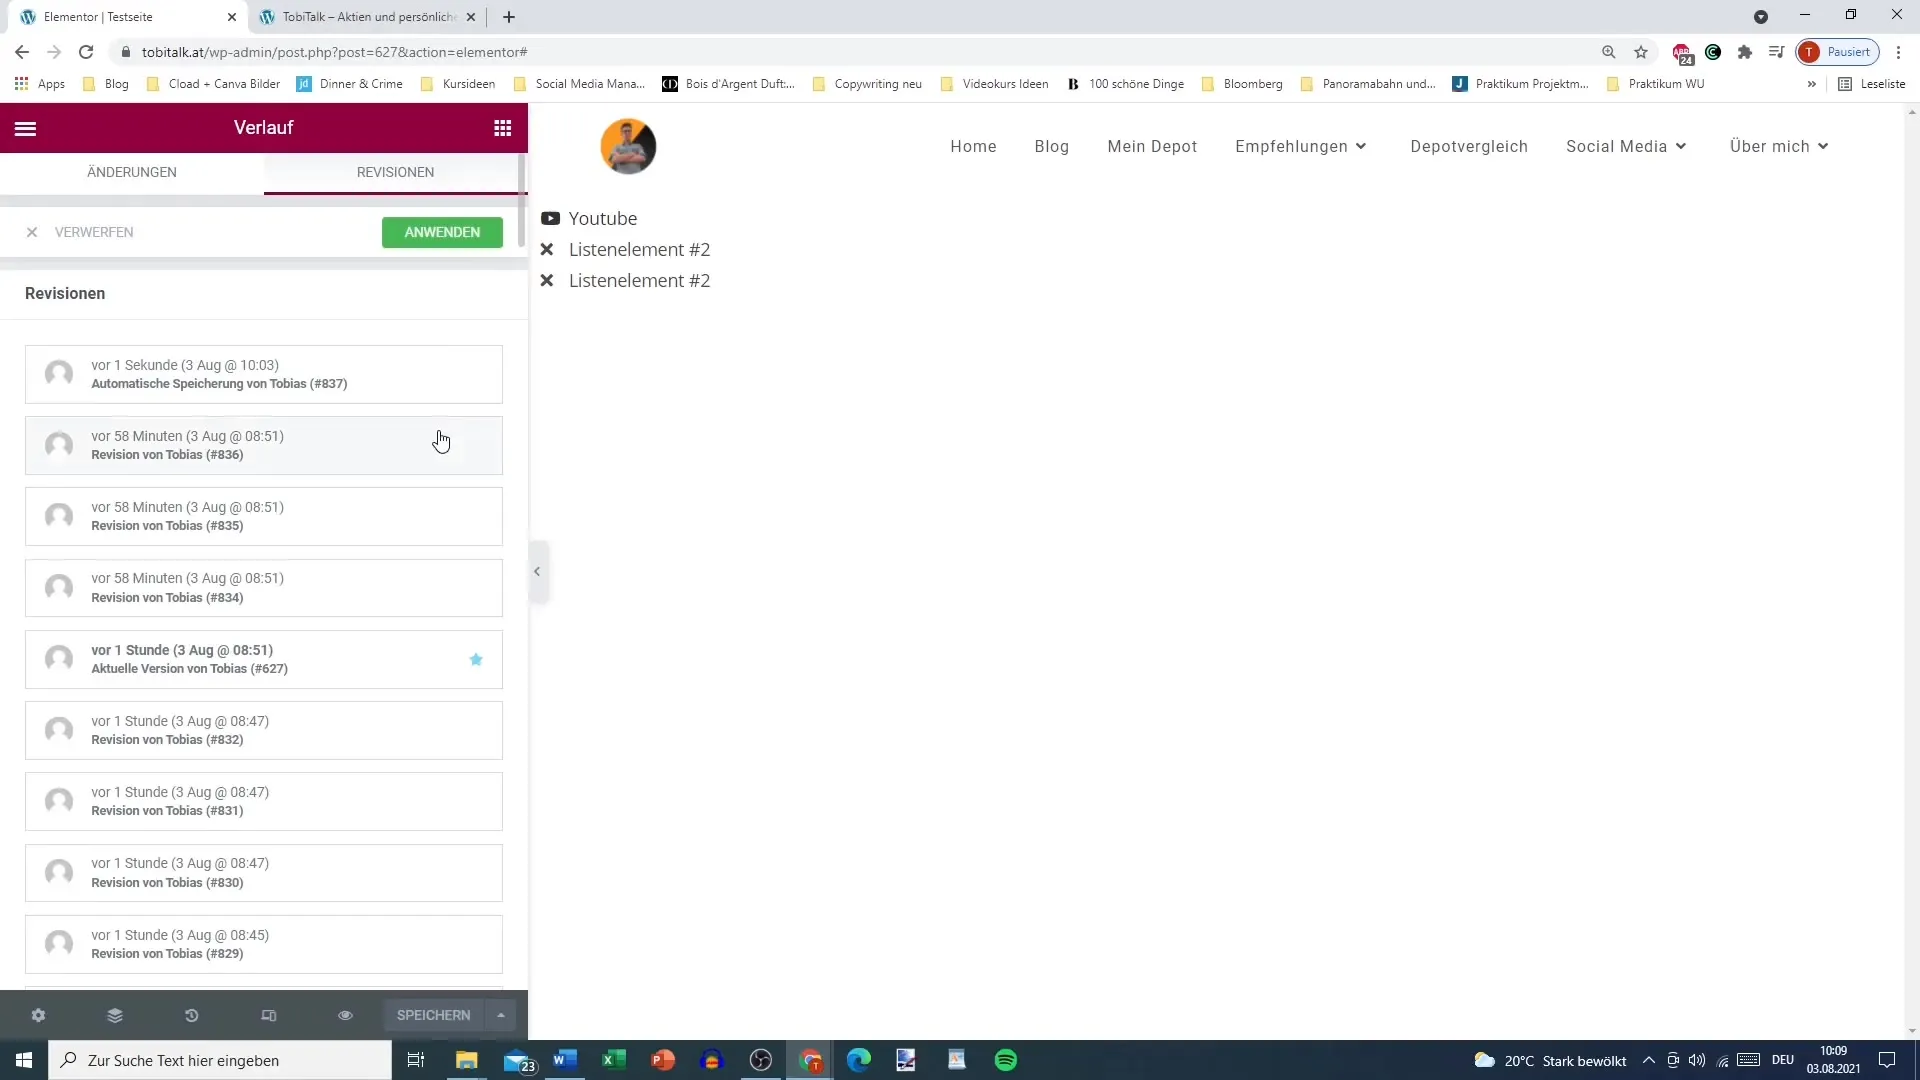
If you do not do this, you could be reset to the old mode, which means that all changes made could be lost.
Final Steps for Security
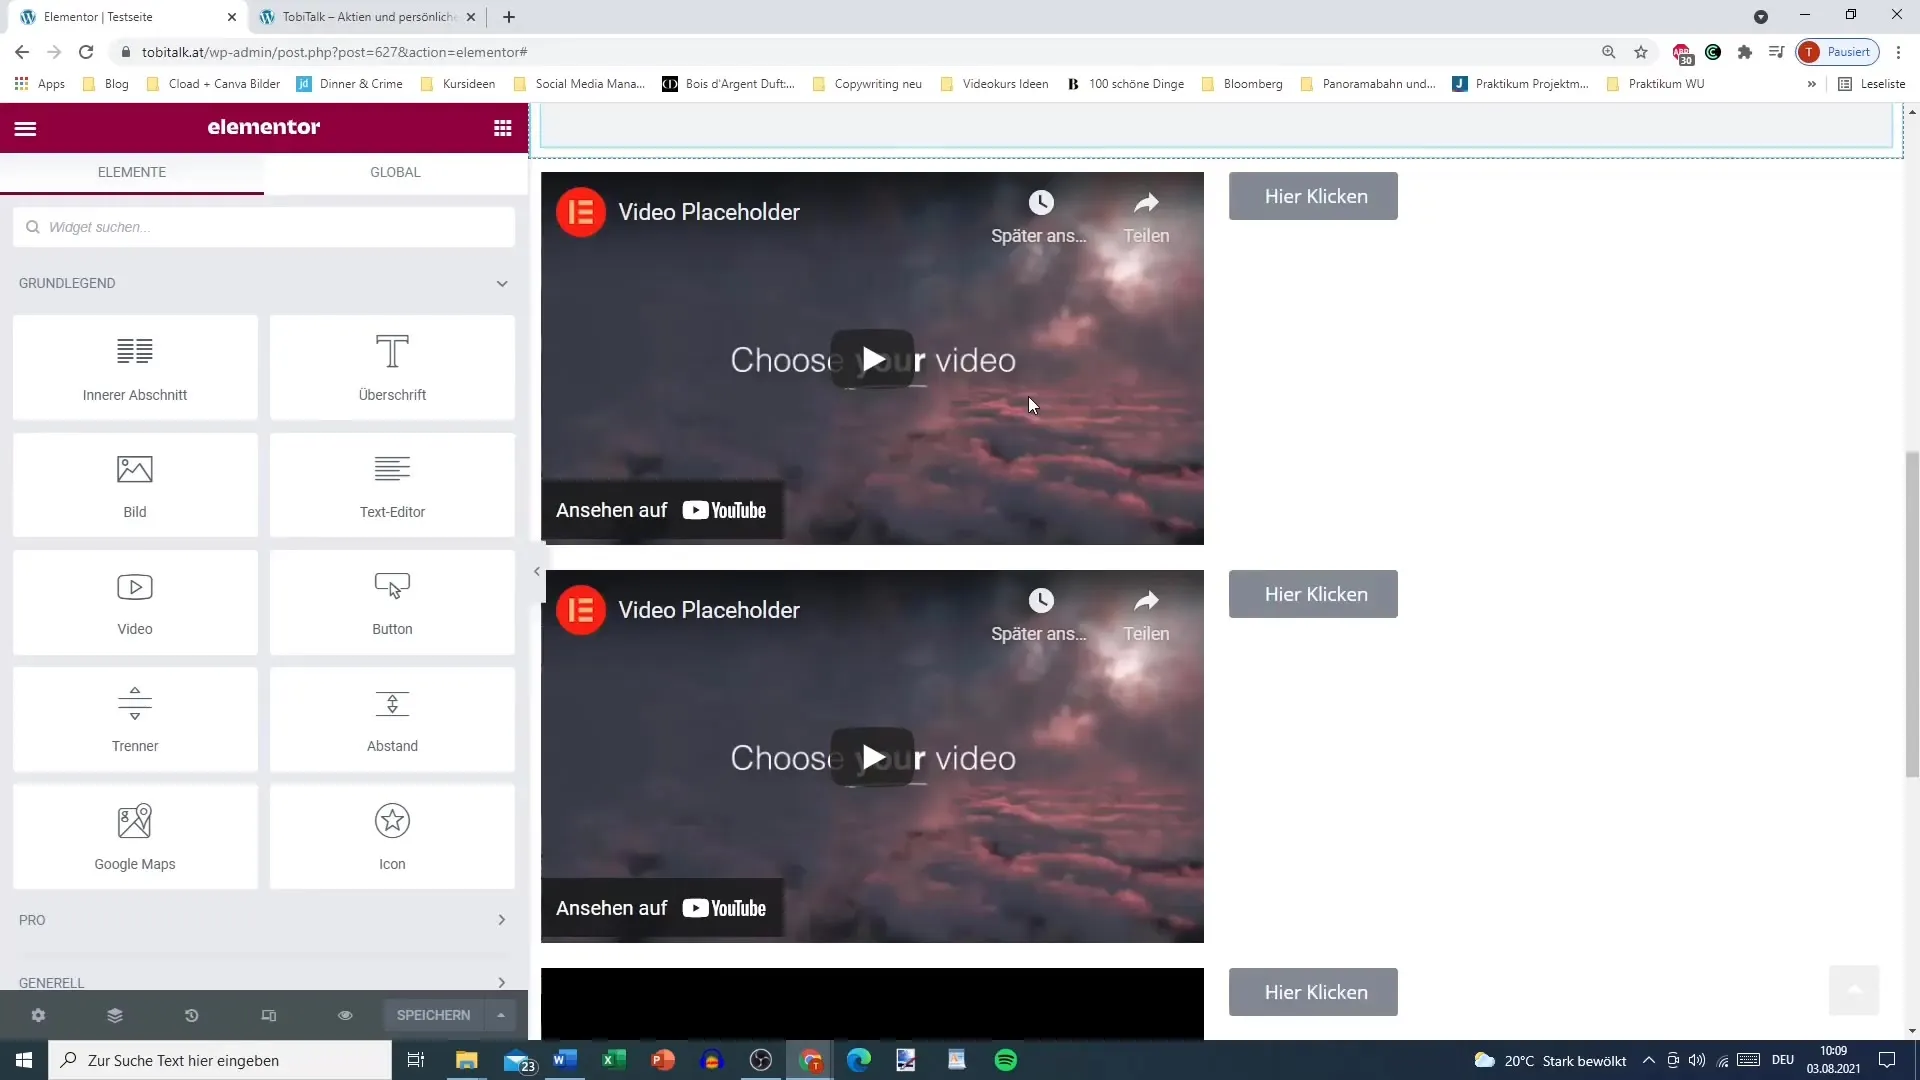
It is advisable to save the entire page once you are finished with the changes. This way, you can ensure that you always have access to the latest version if you need to revert.
Summary
By using the history and revisions in Elementor, you can better organize and control your work on WordPress pages. Errors can thus be quickly undone, and you can restore precisely the version you need.
Frequently Asked Questions
How can I access the history in Elementor?Click on the clock icon in the bottom bar of Elementor.
What happens when I select an old change in the history?The selected old change will be restored on your page, and all subsequent changes will be removed.
How can I identify the latest revisions?The revisions are timestamped and show when the last save operations took place.
What do I need to do to save my changes?Click on the "Apply" button to save your changes made.
Can I revert to an older version at any time?Yes, you can select and revert to an earlier version from the history or revisions at any time.


