Adapting your website is crucial to provide a unique user experience. With Elementor for WordPress, you have numerous tools available to enhance your pages. The advanced settings are an important aspect that is often overlooked. In this guide, you will learn how to effectively utilize these settings to precisely control design details.
Key Takeaways
- Identify and apply the difference between Padding and Margin.
- Use negative values for Margin to overlap elements.
- Insert custom CSS classes and create IDs for menu items.
Step-by-Step Guide
1. Access Advanced Settings
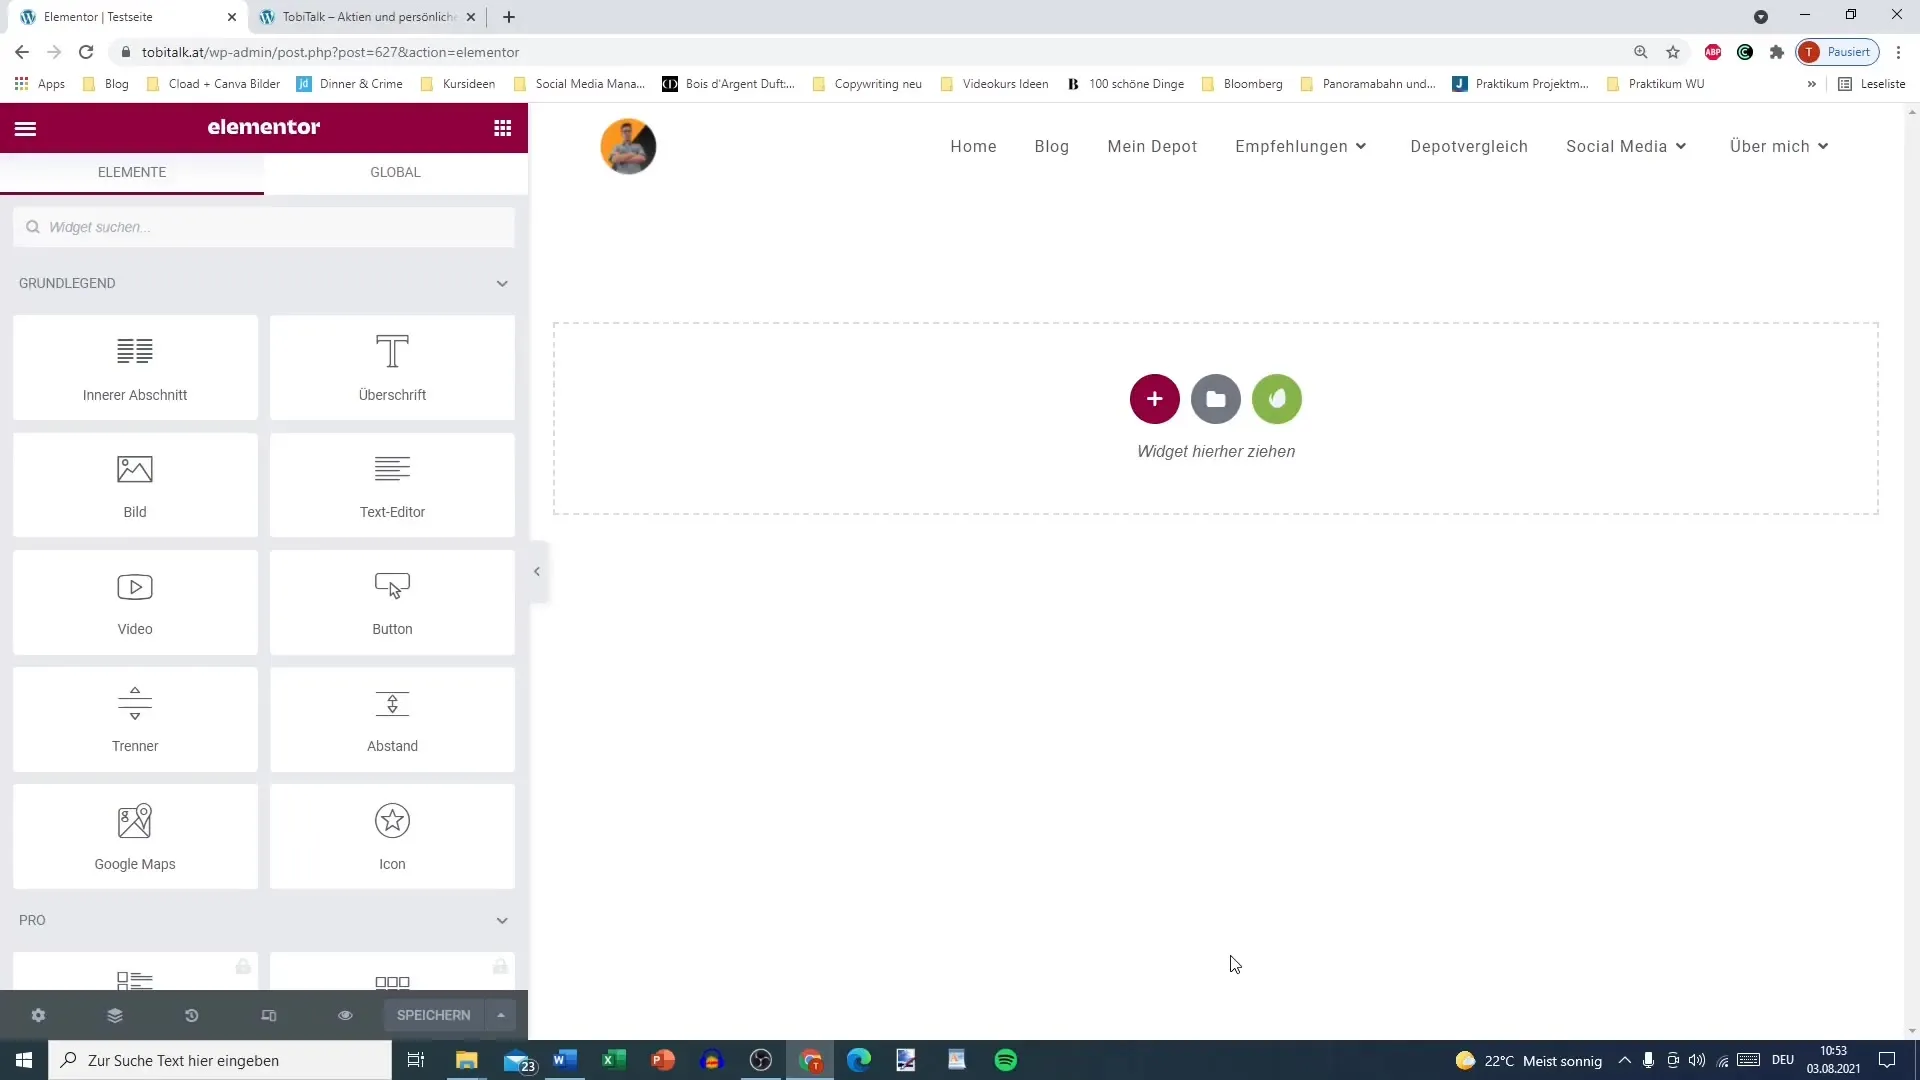
When you start editing your page, add a new section. Click on the "Advanced" tab. Here you will find complex options to help you make specific customizations.
2. Understand Padding and Margin
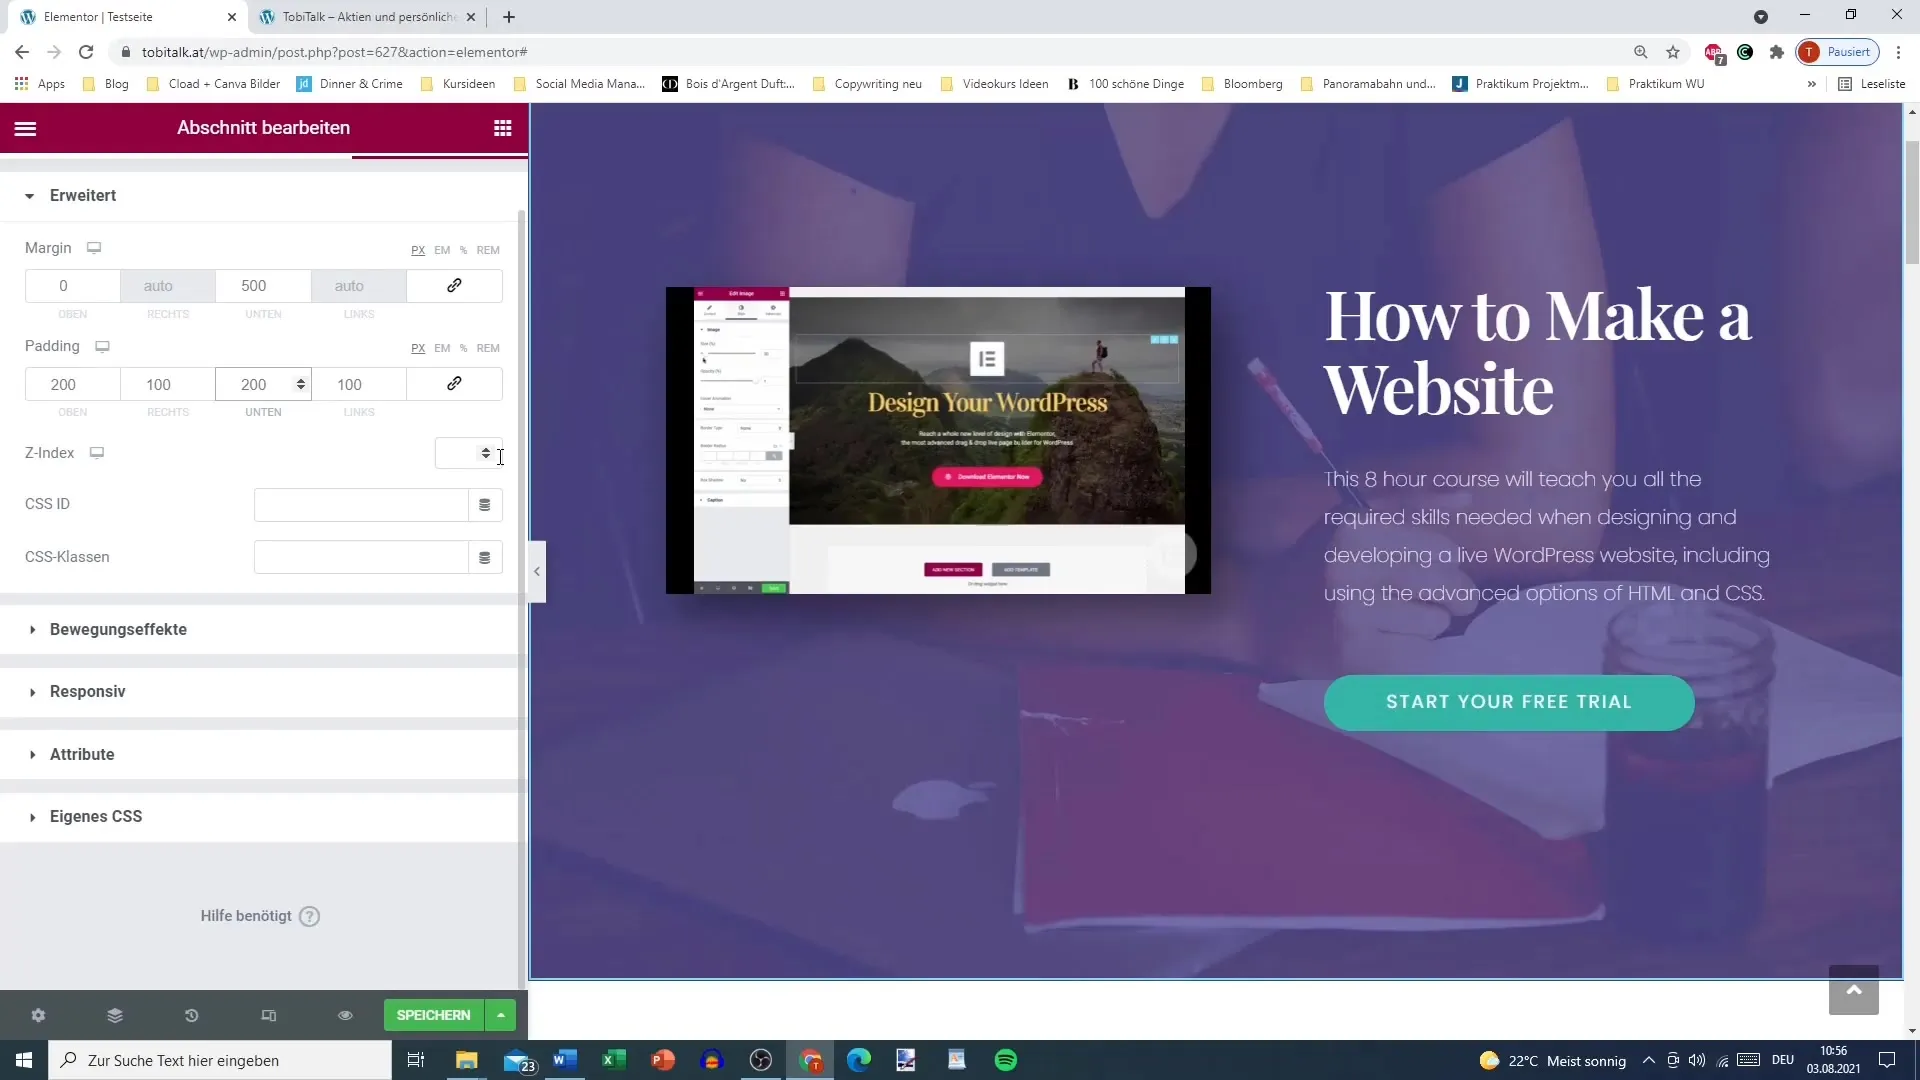
A central point in the advanced settings is the values for Padding and Margin. Padding is the distance between your element's content and its edge, while Margin refers to the distance from the adjacent element.
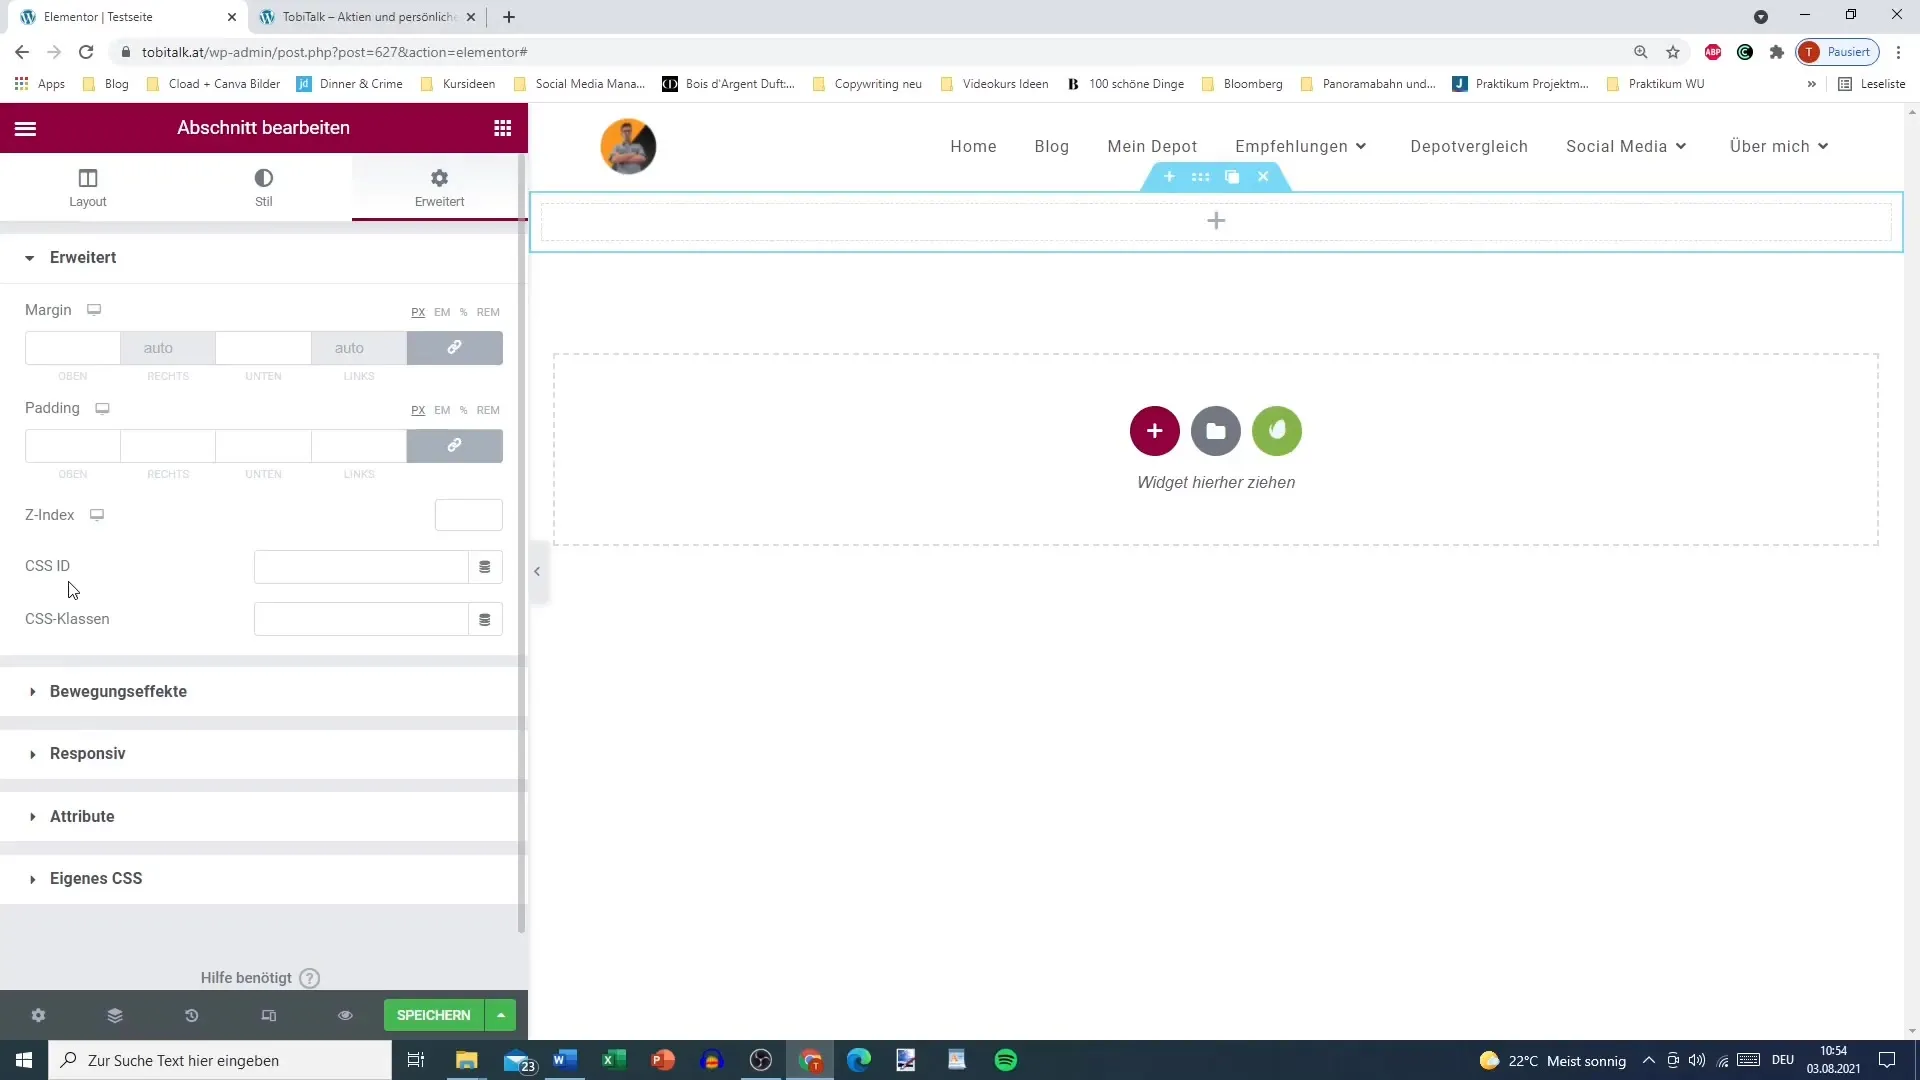
For example, specifying a Padding of 200px results in the content of your element being 200px away from the edges.
3. Adjust Padding Values
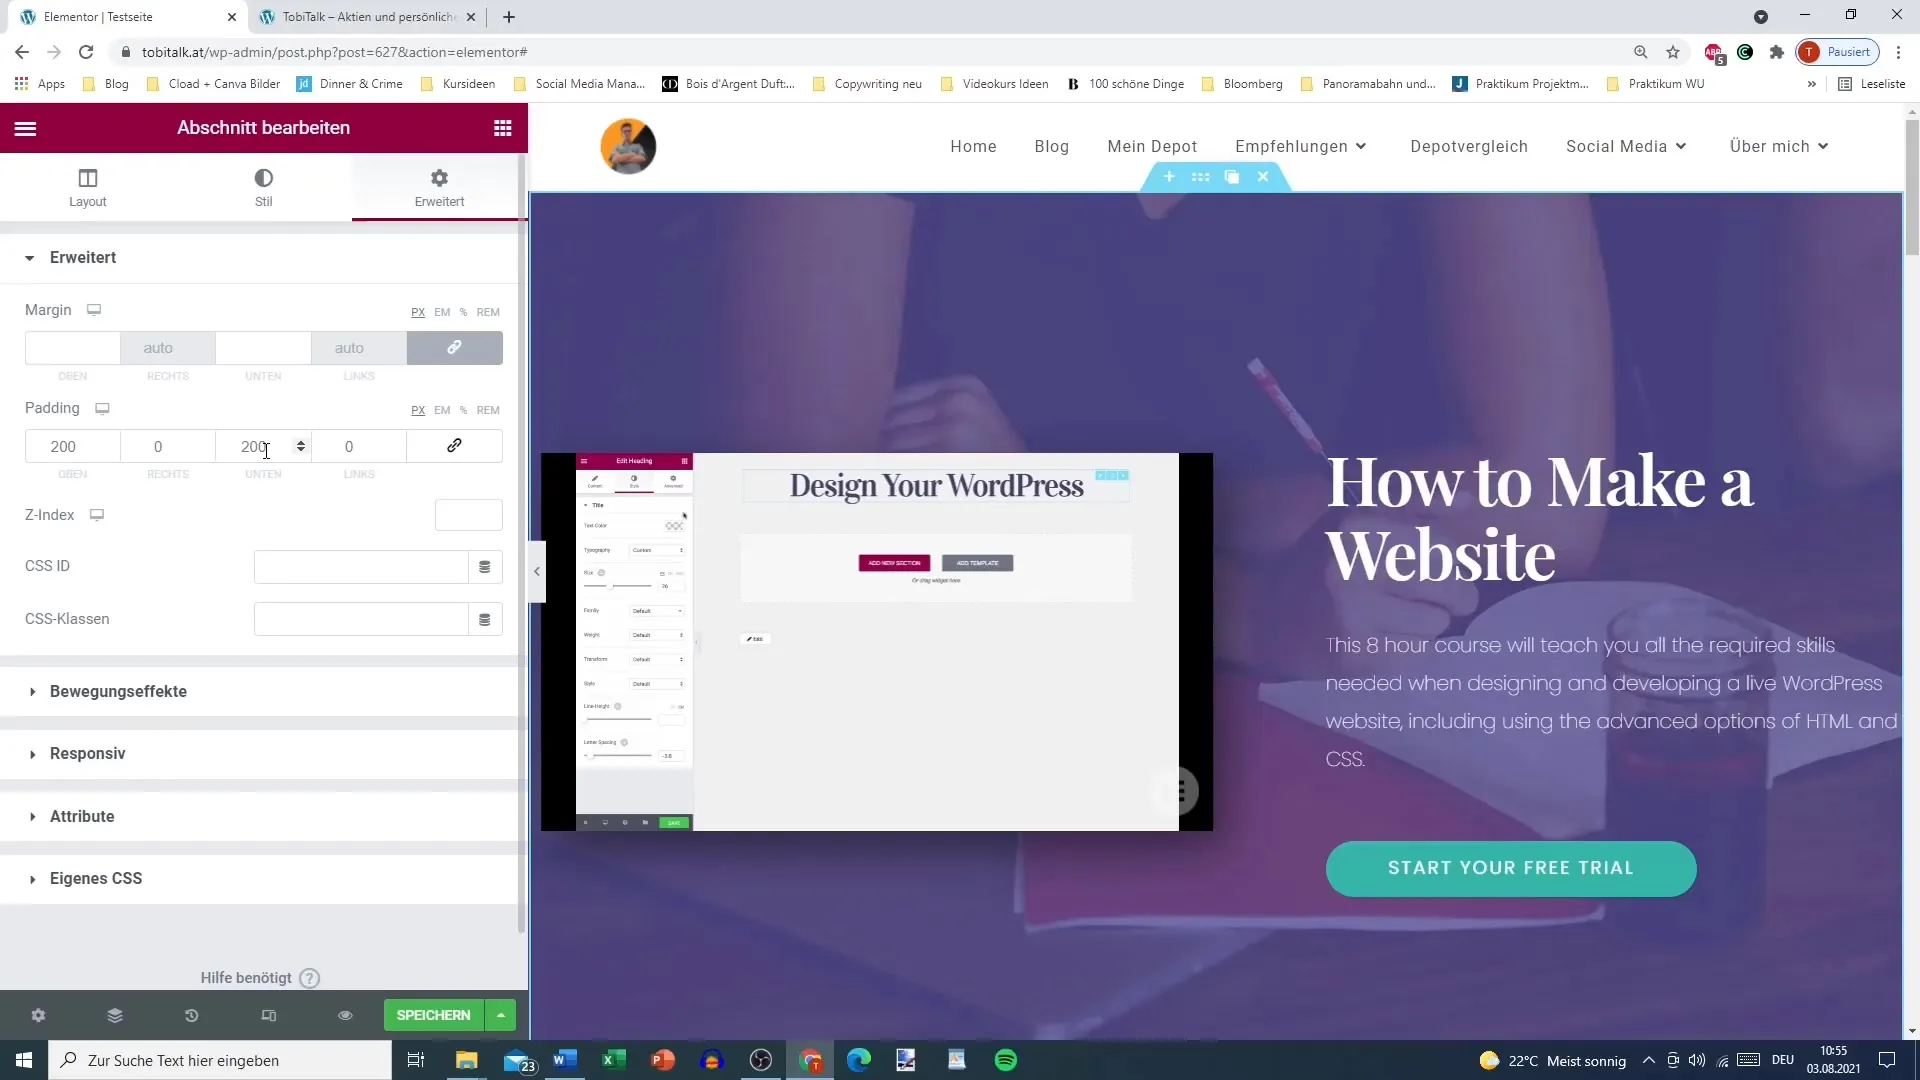
Suppose you want to adjust the Padding values of a specific section to create more or less space. You can set the values individually, such as 100px bottom and 200px top. This allows you to create an appealing height for the section.
4. Using Margin
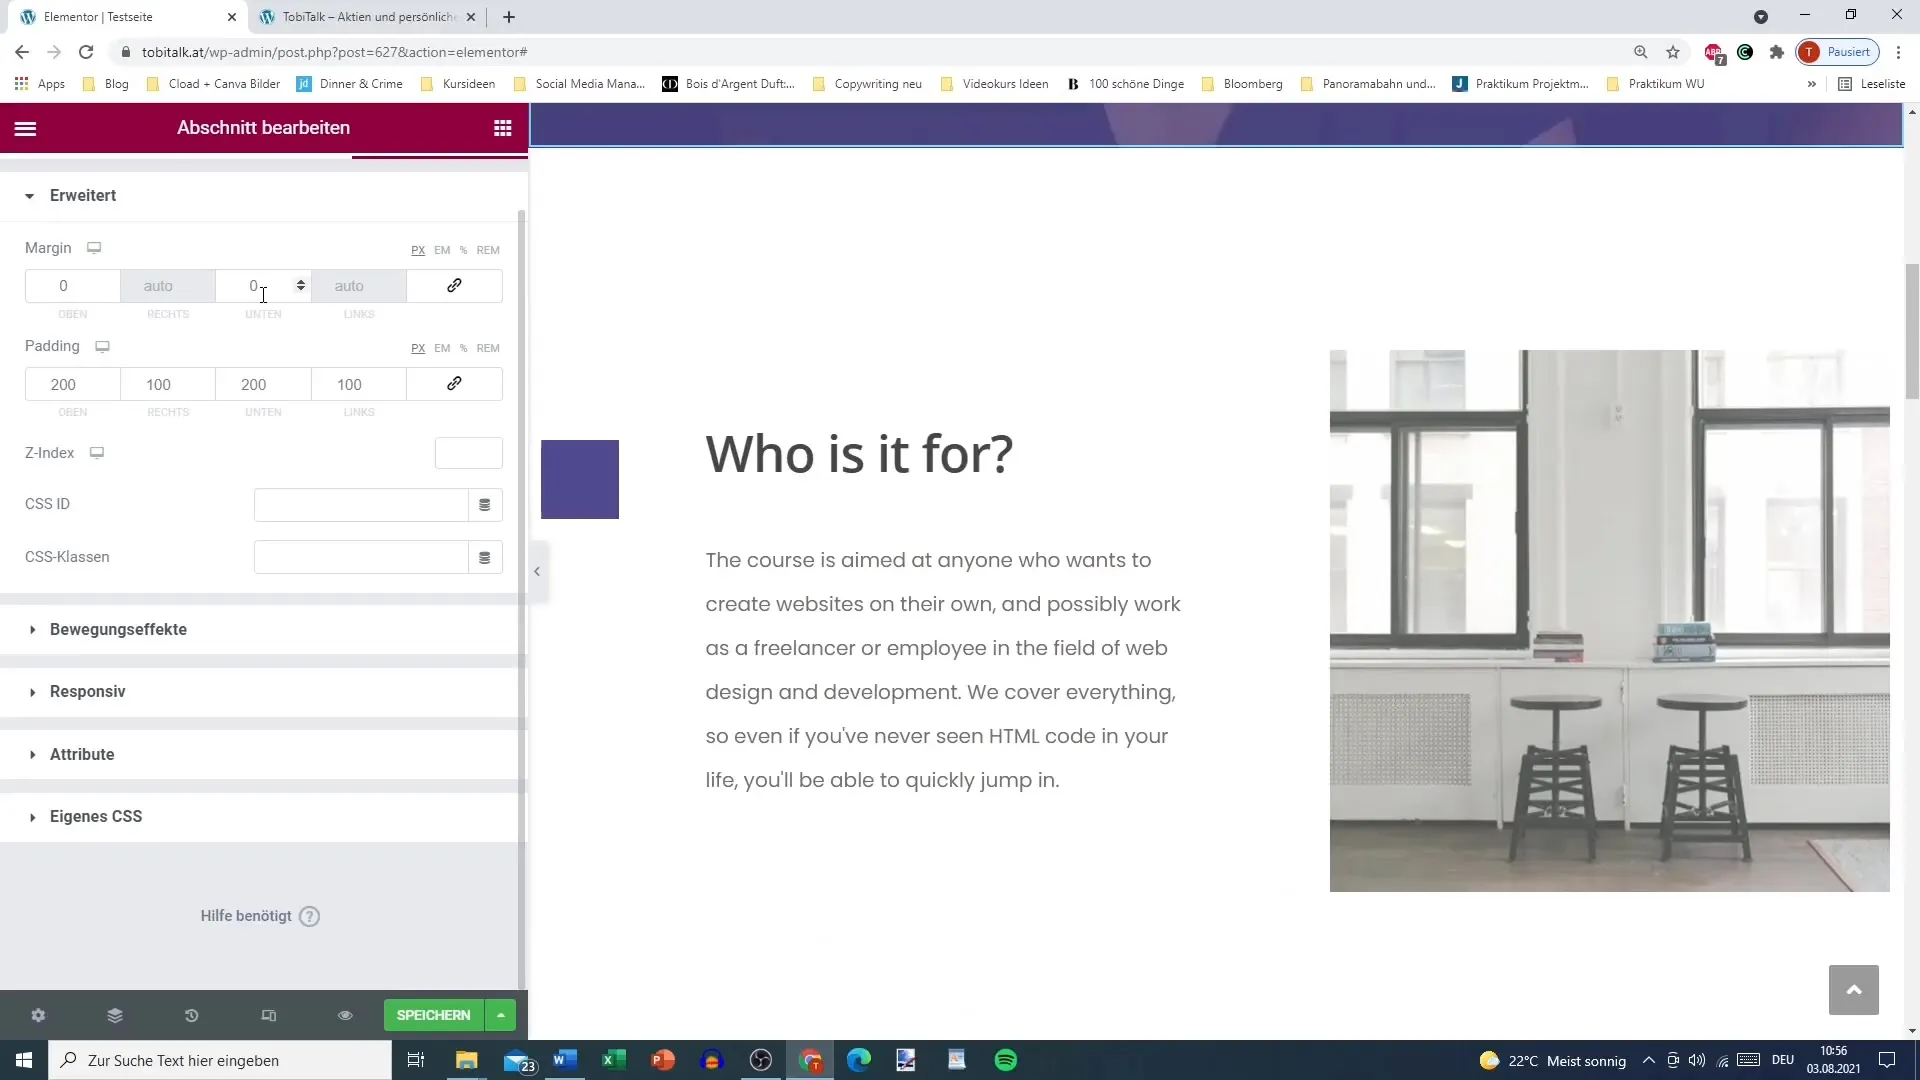
Margin is as important as Padding. Specifying a Margin of 500px downwards results in a 500px distance between the current section and the following section. It is crucial to understand that Margin determines the distance between your element and other elements, while Padding works within your element.
5. Linking Values
You can link Padding and Margin values to set the same distance in all directions. A square layout can sometimes look unflattering, while rounded values can help smooth out the corners of the sections.
6. Using Z-Index and CSS Classes
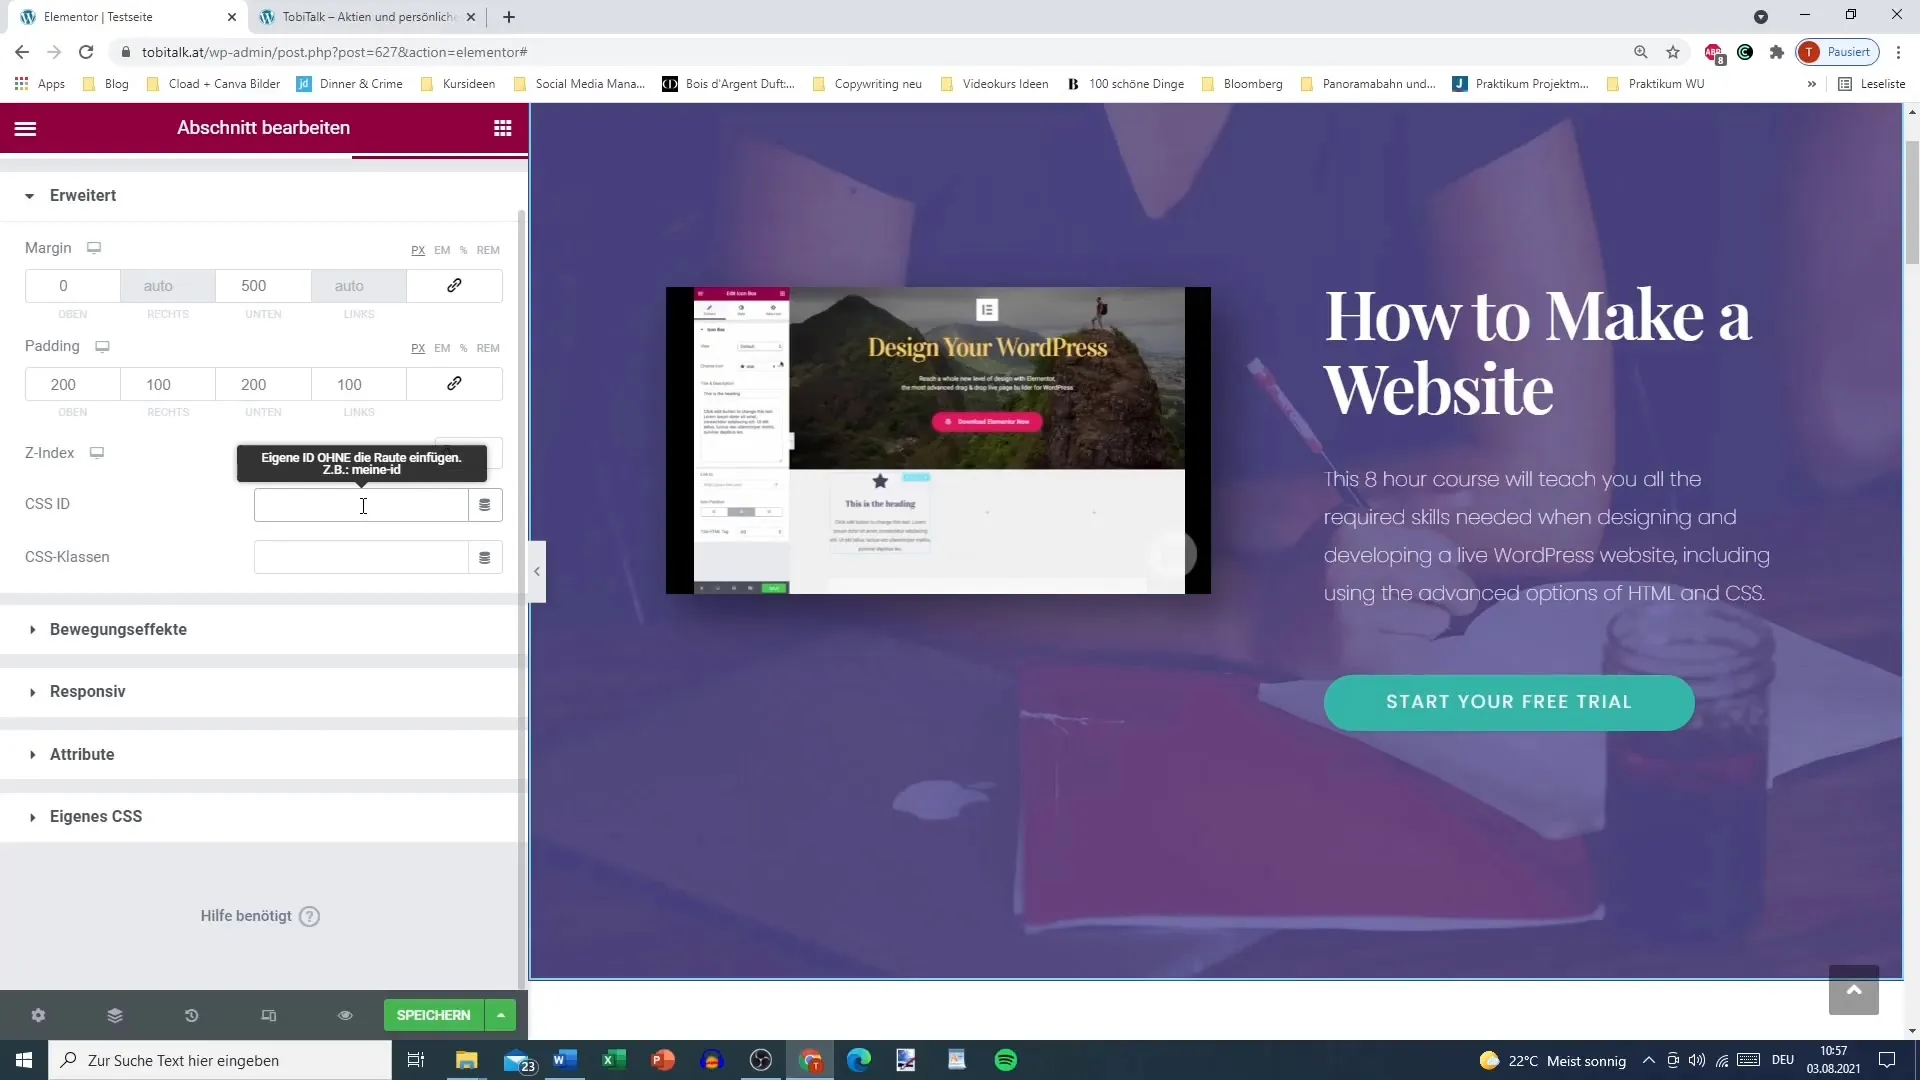
Working with Z-Index allows you to determine the visibility of overlapping elements. This is helpful when you want to place elements in the foreground or background.
Additionally, you can create and use CSS classes to assign specific styles to your sections. It is important to strategically choose class names to ensure unique identification.
7. Using Negative Margins
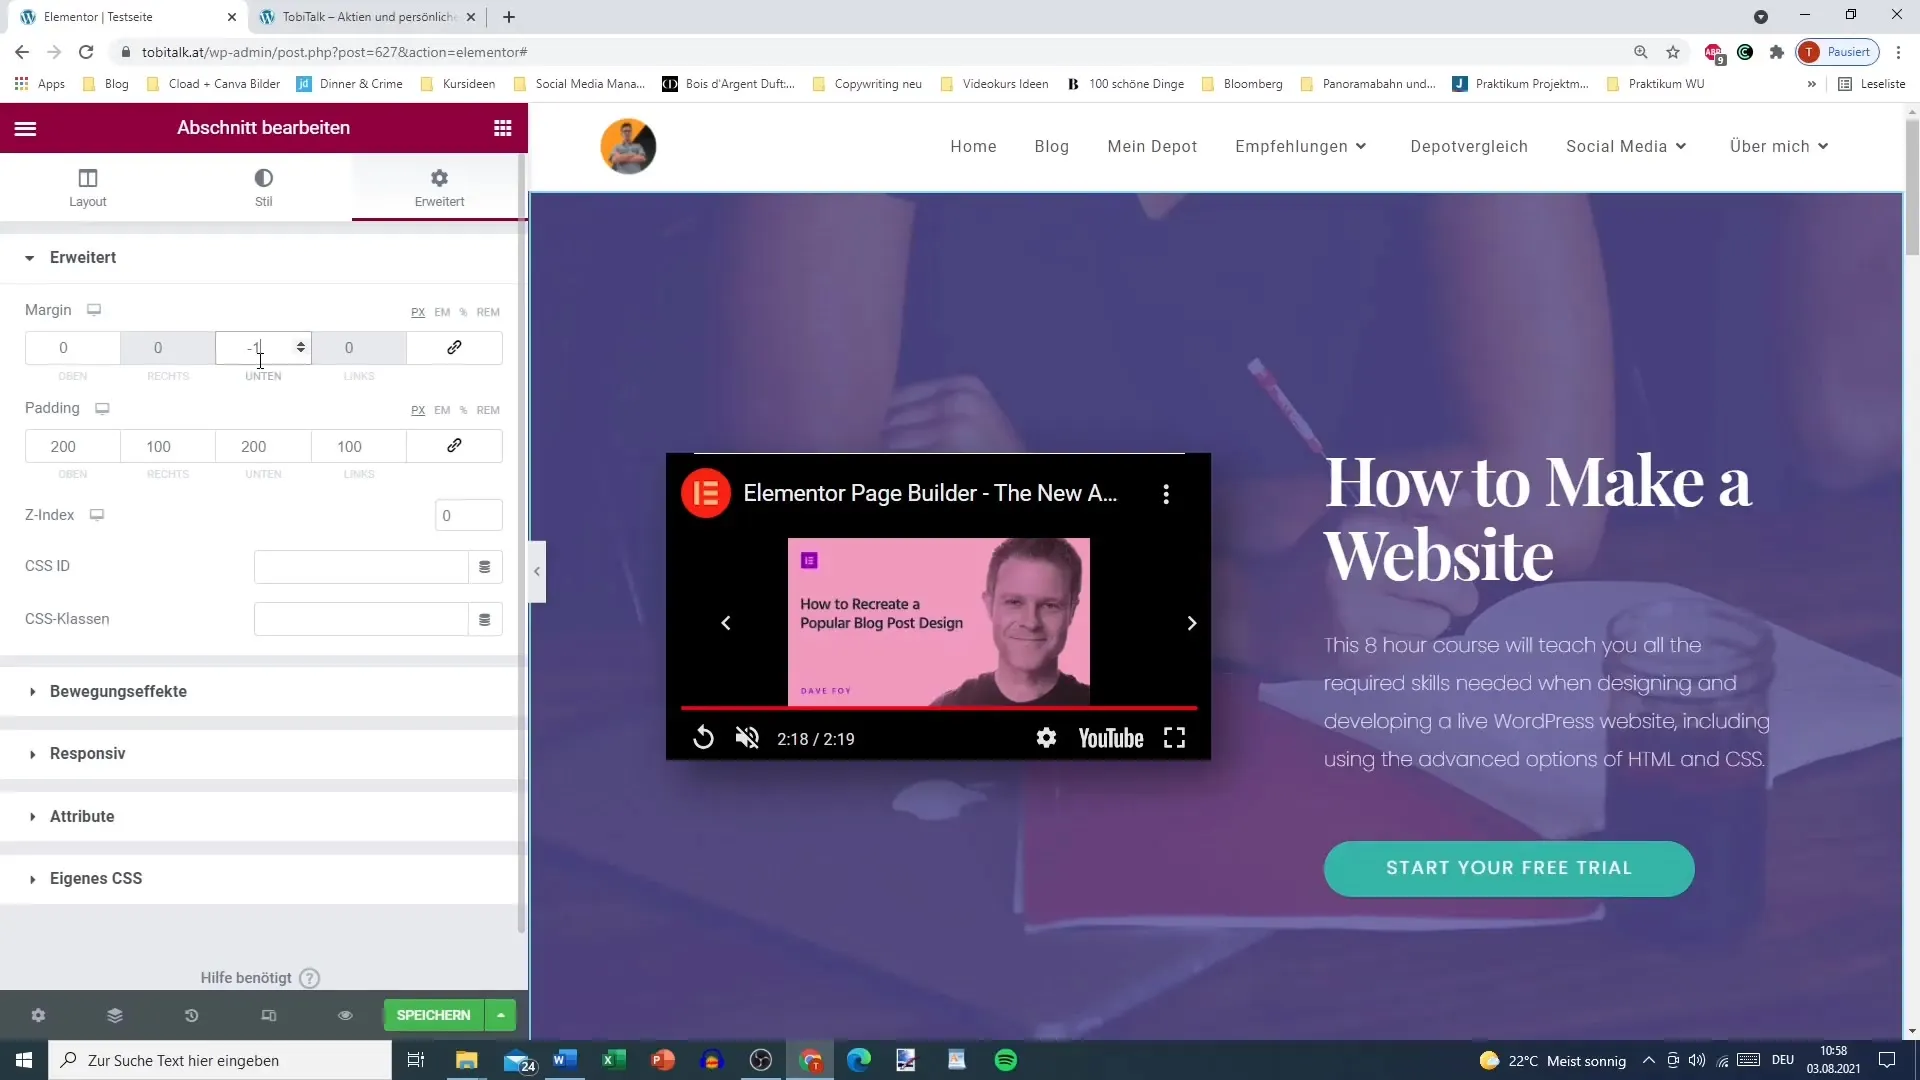
An interesting feature is creating negative margins. This allows you to arrange sections to overlap or come closer together. Even though you cannot directly enter minus signs, you can still adjust the values to achieve the desired effect.
8. Further Customizations and Looking Ahead
In future tutorials, we will also take a closer look at motion effects and additional extensions. This will allow you to further refine and make your website design more dynamic.
Summary
The advanced settings in Elementor offer you a variety of options to design your website. Whether it's padding or margin - with these functions, you can specifically improve the layout of your pages and ensure an attractive user experience. Use the techniques presented to fully utilize the potential of Elementor and give your website a unique touch.
Frequently Asked Questions
How can I access the advanced settings in Elementor?Add a new section and click on the "Advanced" tab.
What is the difference between padding and margin?Padding is the space inside an element, margin is the space between elements.
Can I use negative margin values?Yes, negative margin values are possible to overlap elements.
How do I create a CSS class in Elementor?You can add a CSS class in the "Advanced" tab under the "Class" section.
Are the advanced settings available in the free version of Elementor?Some features, such as custom CSS classes, are only available in the Pro version.
