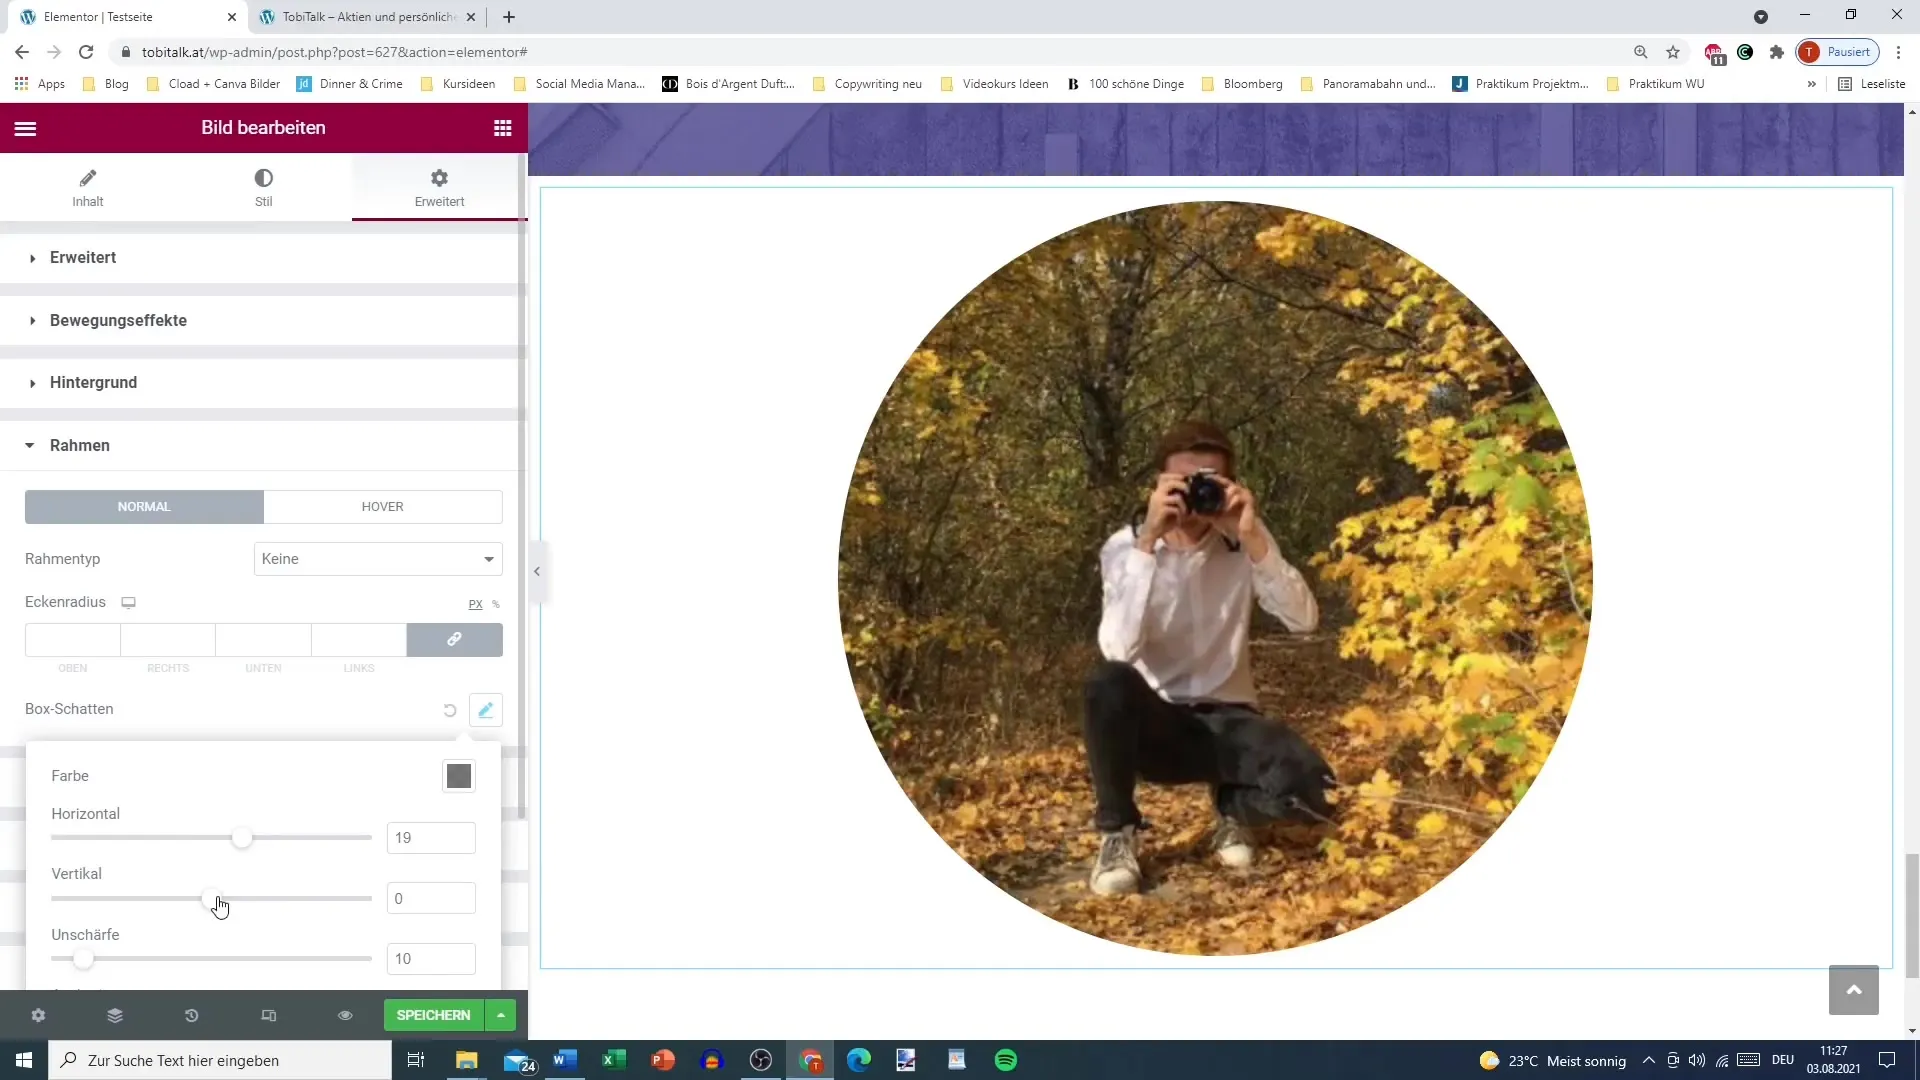
Masking in Elementor is a powerful tool that gives you the ability to creatively and attractively design elements of your website. This technique allows you to cut out shapes or images and customize them individually, which can significantly enhance the visual impact of your site. Additionally, with the "Masking" feature, you can optimize and adjust the space occupied by your content.
In this guide, you will learn how to effectively use masking in Elementor and what possibilities are available to make your designs even more appealing.
Key Insights
- Masking is a function that can only be used at the object level.
- You can choose different shapes such as circles, hexagons, or custom masks.
- Adjustments to the size and position of the masking are both easy and variable.
- It is important to use masking in the right context to ensure an appealing design.
Step-by-Step Guide
Step 1: Select and Edit Element
To start masking, select an element on your page. You will find the masking function in the advanced settings. Go to the element you want to apply the mask to.

Step 2: Activate Masking
After selecting the desired element, navigate to the advanced settings and activate the masking. This is done with a simple click. Once masking is activated, you will immediately see the effects on your element.

Step 3: Choose Masking Shape
Now that you have activated masking, you have various shapes available that you can use for masking. You can choose between predefined shapes like circles, flowers, and hexagons, or use a custom designed mask.

Step 4: Set Image for Masking
To display an image in your masking, simply choose and upload an image. Make sure the image you select fits well with the shape of your masking. Your image will then be cropped according to the masking cutouts.

Step 5: Adjust Size and Position
One of the strengths of the masking function is the ability to easily adjust the size and position of the masking. Play with the settings to make the element appear exactly as you wish. It is important to consider masking in the context of the overall design.

Step 6: Crop and Shape Image
Use the adjustment options to further optimize your masking. You can shrink, enlarge, or move the shape. This function gives you the freedom to apply the mask precisely to your image, making it look optimal.

Step 7: Add Additional Effects
If you wish, you can also add additional effects to the masking, such as shadows or borders. These effects can further enhance the overall image, so do not hesitate to try out and experiment with different combinations.

Step 8: Review the Results
Once you have made all the adjustments, preview the result. Check if the display meets your expectations and if the design looks harmonious.

Summary
The masking function in Elementor allows you to design your layouts creatively and attractively. By choosing different shapes and adjusting images, you can ensure that your content is not only informative but also visually appealing. By following the steps mentioned above, you can easily create individual and professional designs.
Frequently Asked Questions
Which shapes can I use for masking?You can use predefined shapes like circles, flowers, or hexagons, or create your own custom masks.
Can I add images behind?Yes, you can upload images and crop them according to the chosen masking shape.
How do I adjust the size of the mask?You can adjust the size of the mask directly in the settings to achieve the optimal fit.
Are there effects I can add?Yes, you can add shadows, borders, and other effects to your masked element.
How do I review my changes?Use the preview function in Elementor to review your adjustments and ensure everything looks good.


